Hola amigos artesanos, ¡bienvenidos a mi blog!
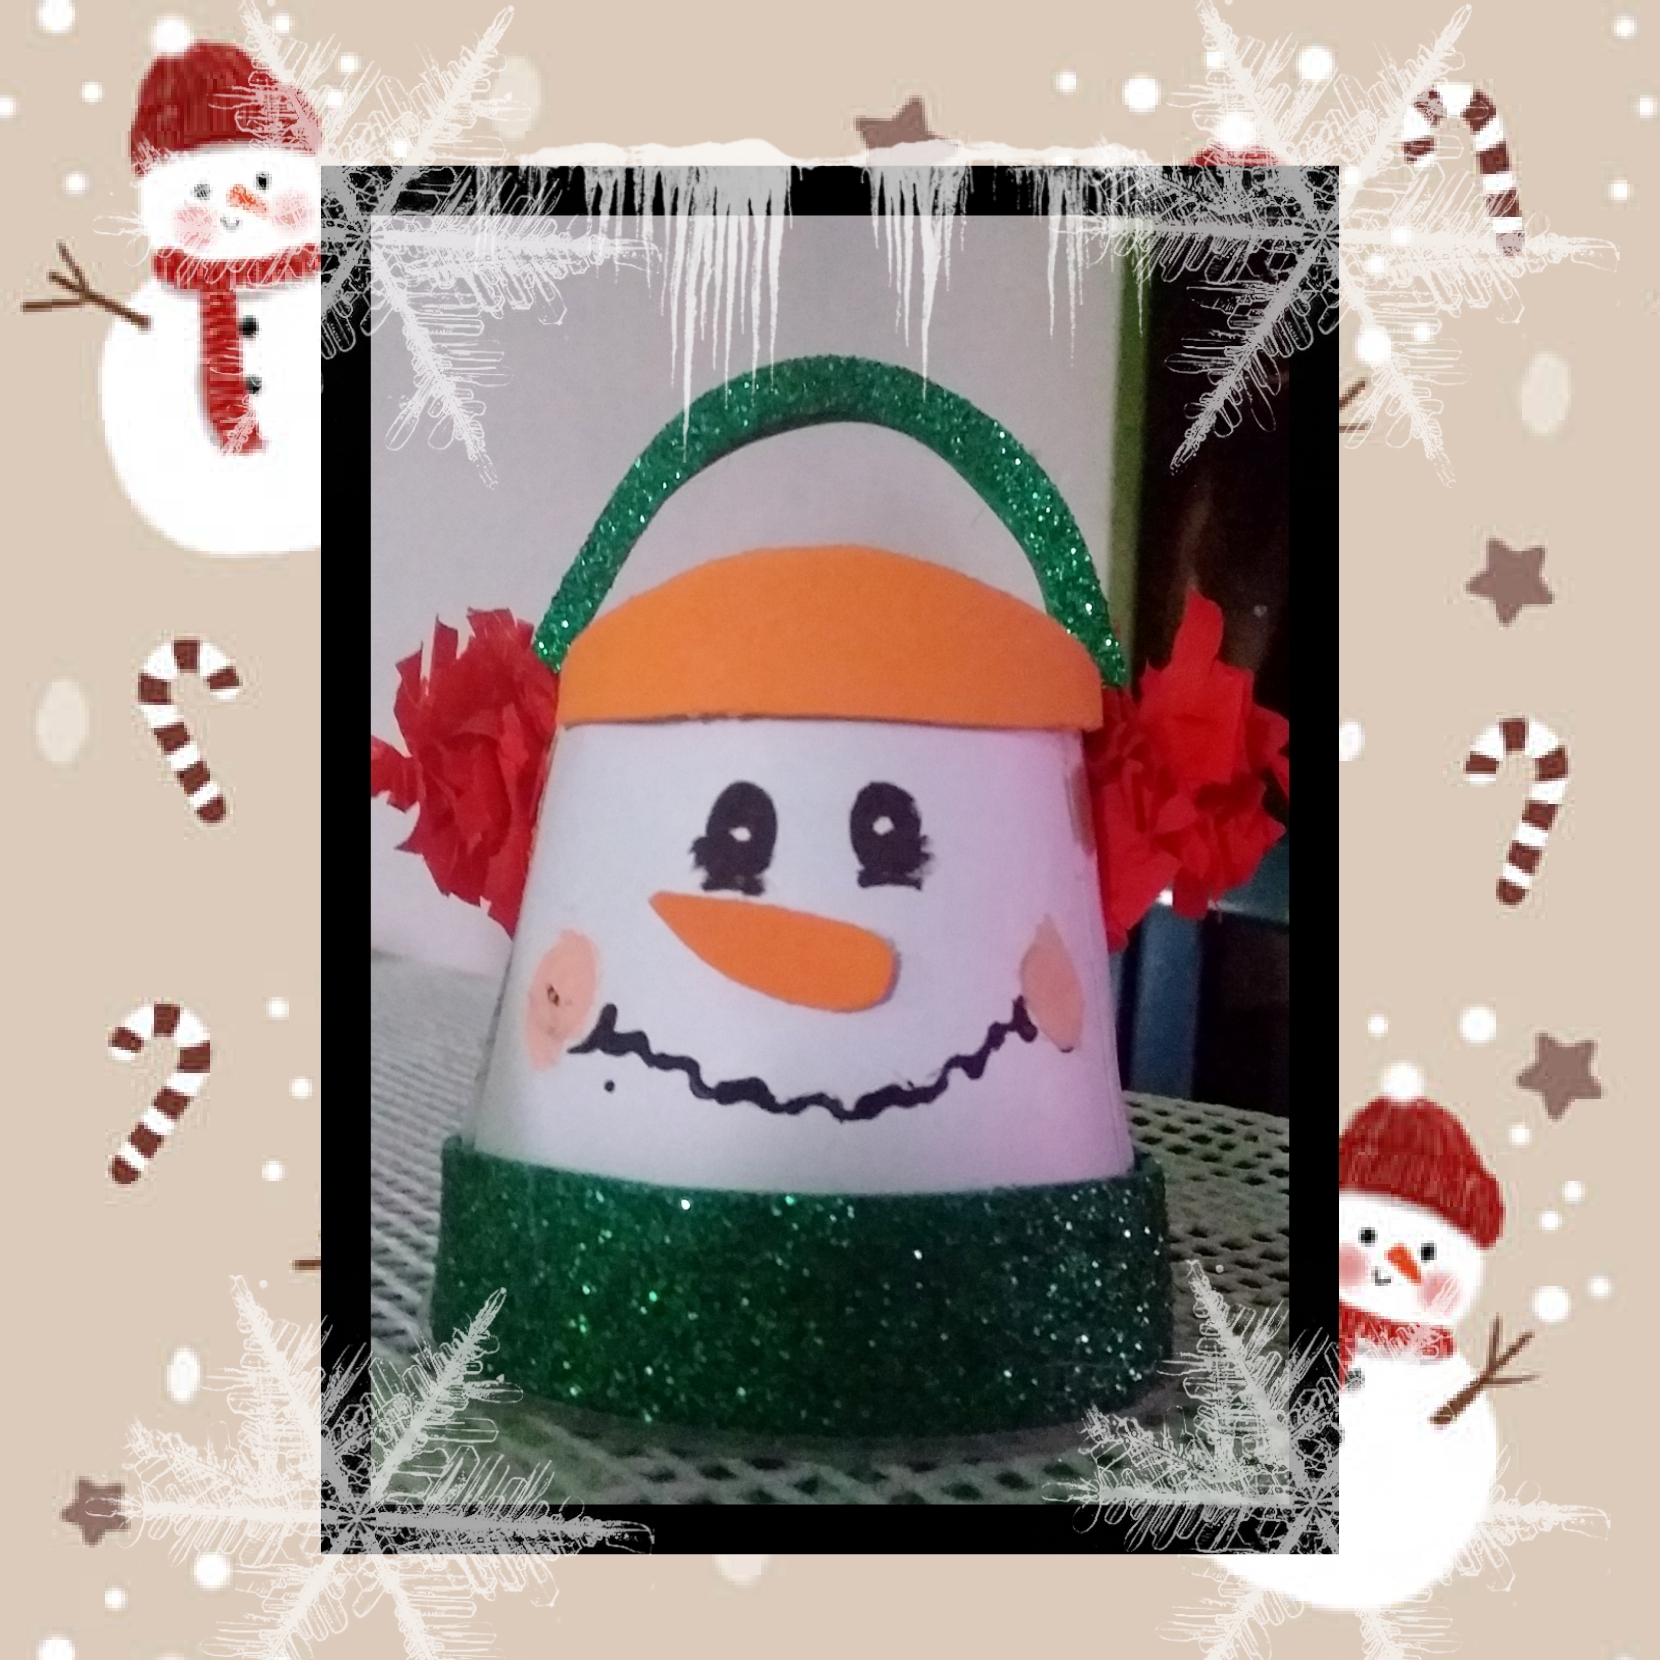
Hoy quiero mostrarte cómo hacer un bonito adorno reciclando un vaso de plástico y en solo unos pocos pasos.
Hello artisan friends, welcome to my blog!
Today I want to show you how to make a nice ornament by recycling a plastic cup and in just a few steps.
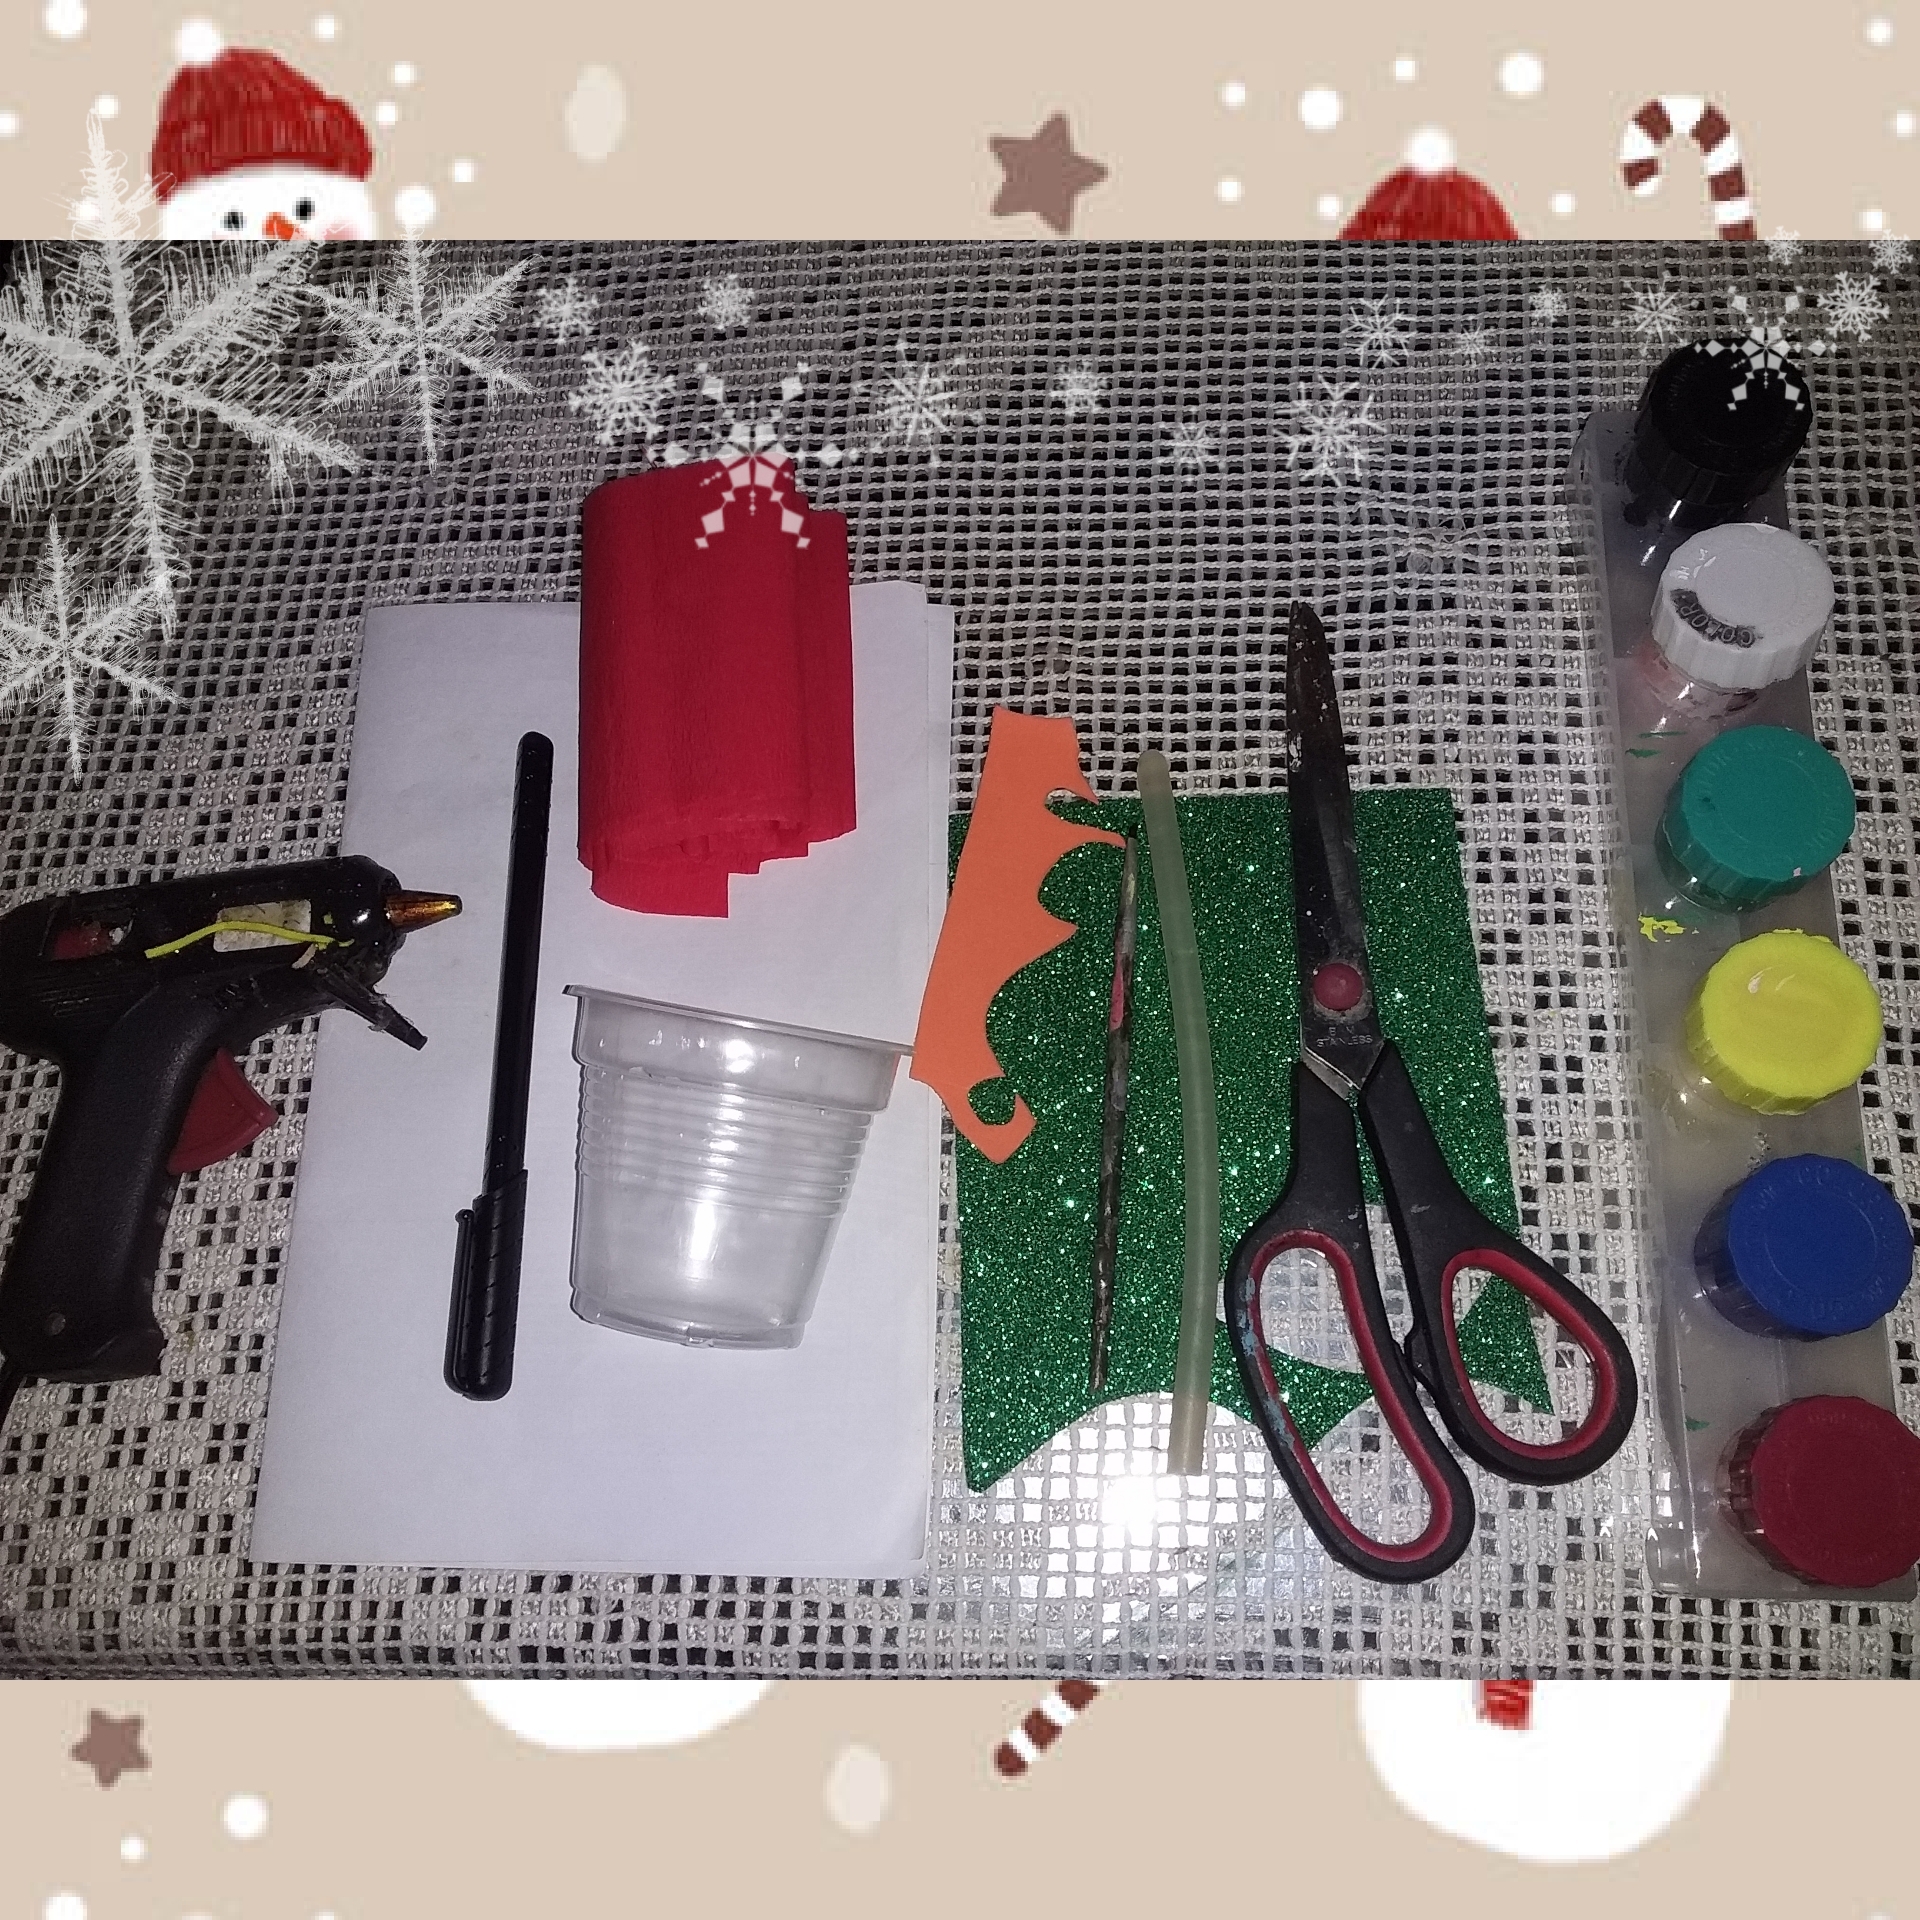
Materiales a utilizar:
- 1 vaso de plástico pequeño.
- Hoja de papel reciclado.
- Espuma verde escarchada.
- Espuma de naranja.
- Papel creepe rojo.
- Pluma de tinta.
- Tijera.
- Pistola y barra de silicona.
- Pintura y pincel.
Materials to use:
- 1 small plastic cup.
- Sheet of recycled paper.
- Green frosty foam.
- Orange foam.
- Red creepe paper.
- Ink pen.
- Scissor.
- Gun and silicone bar.
- Paint and brush.
Paso 1:
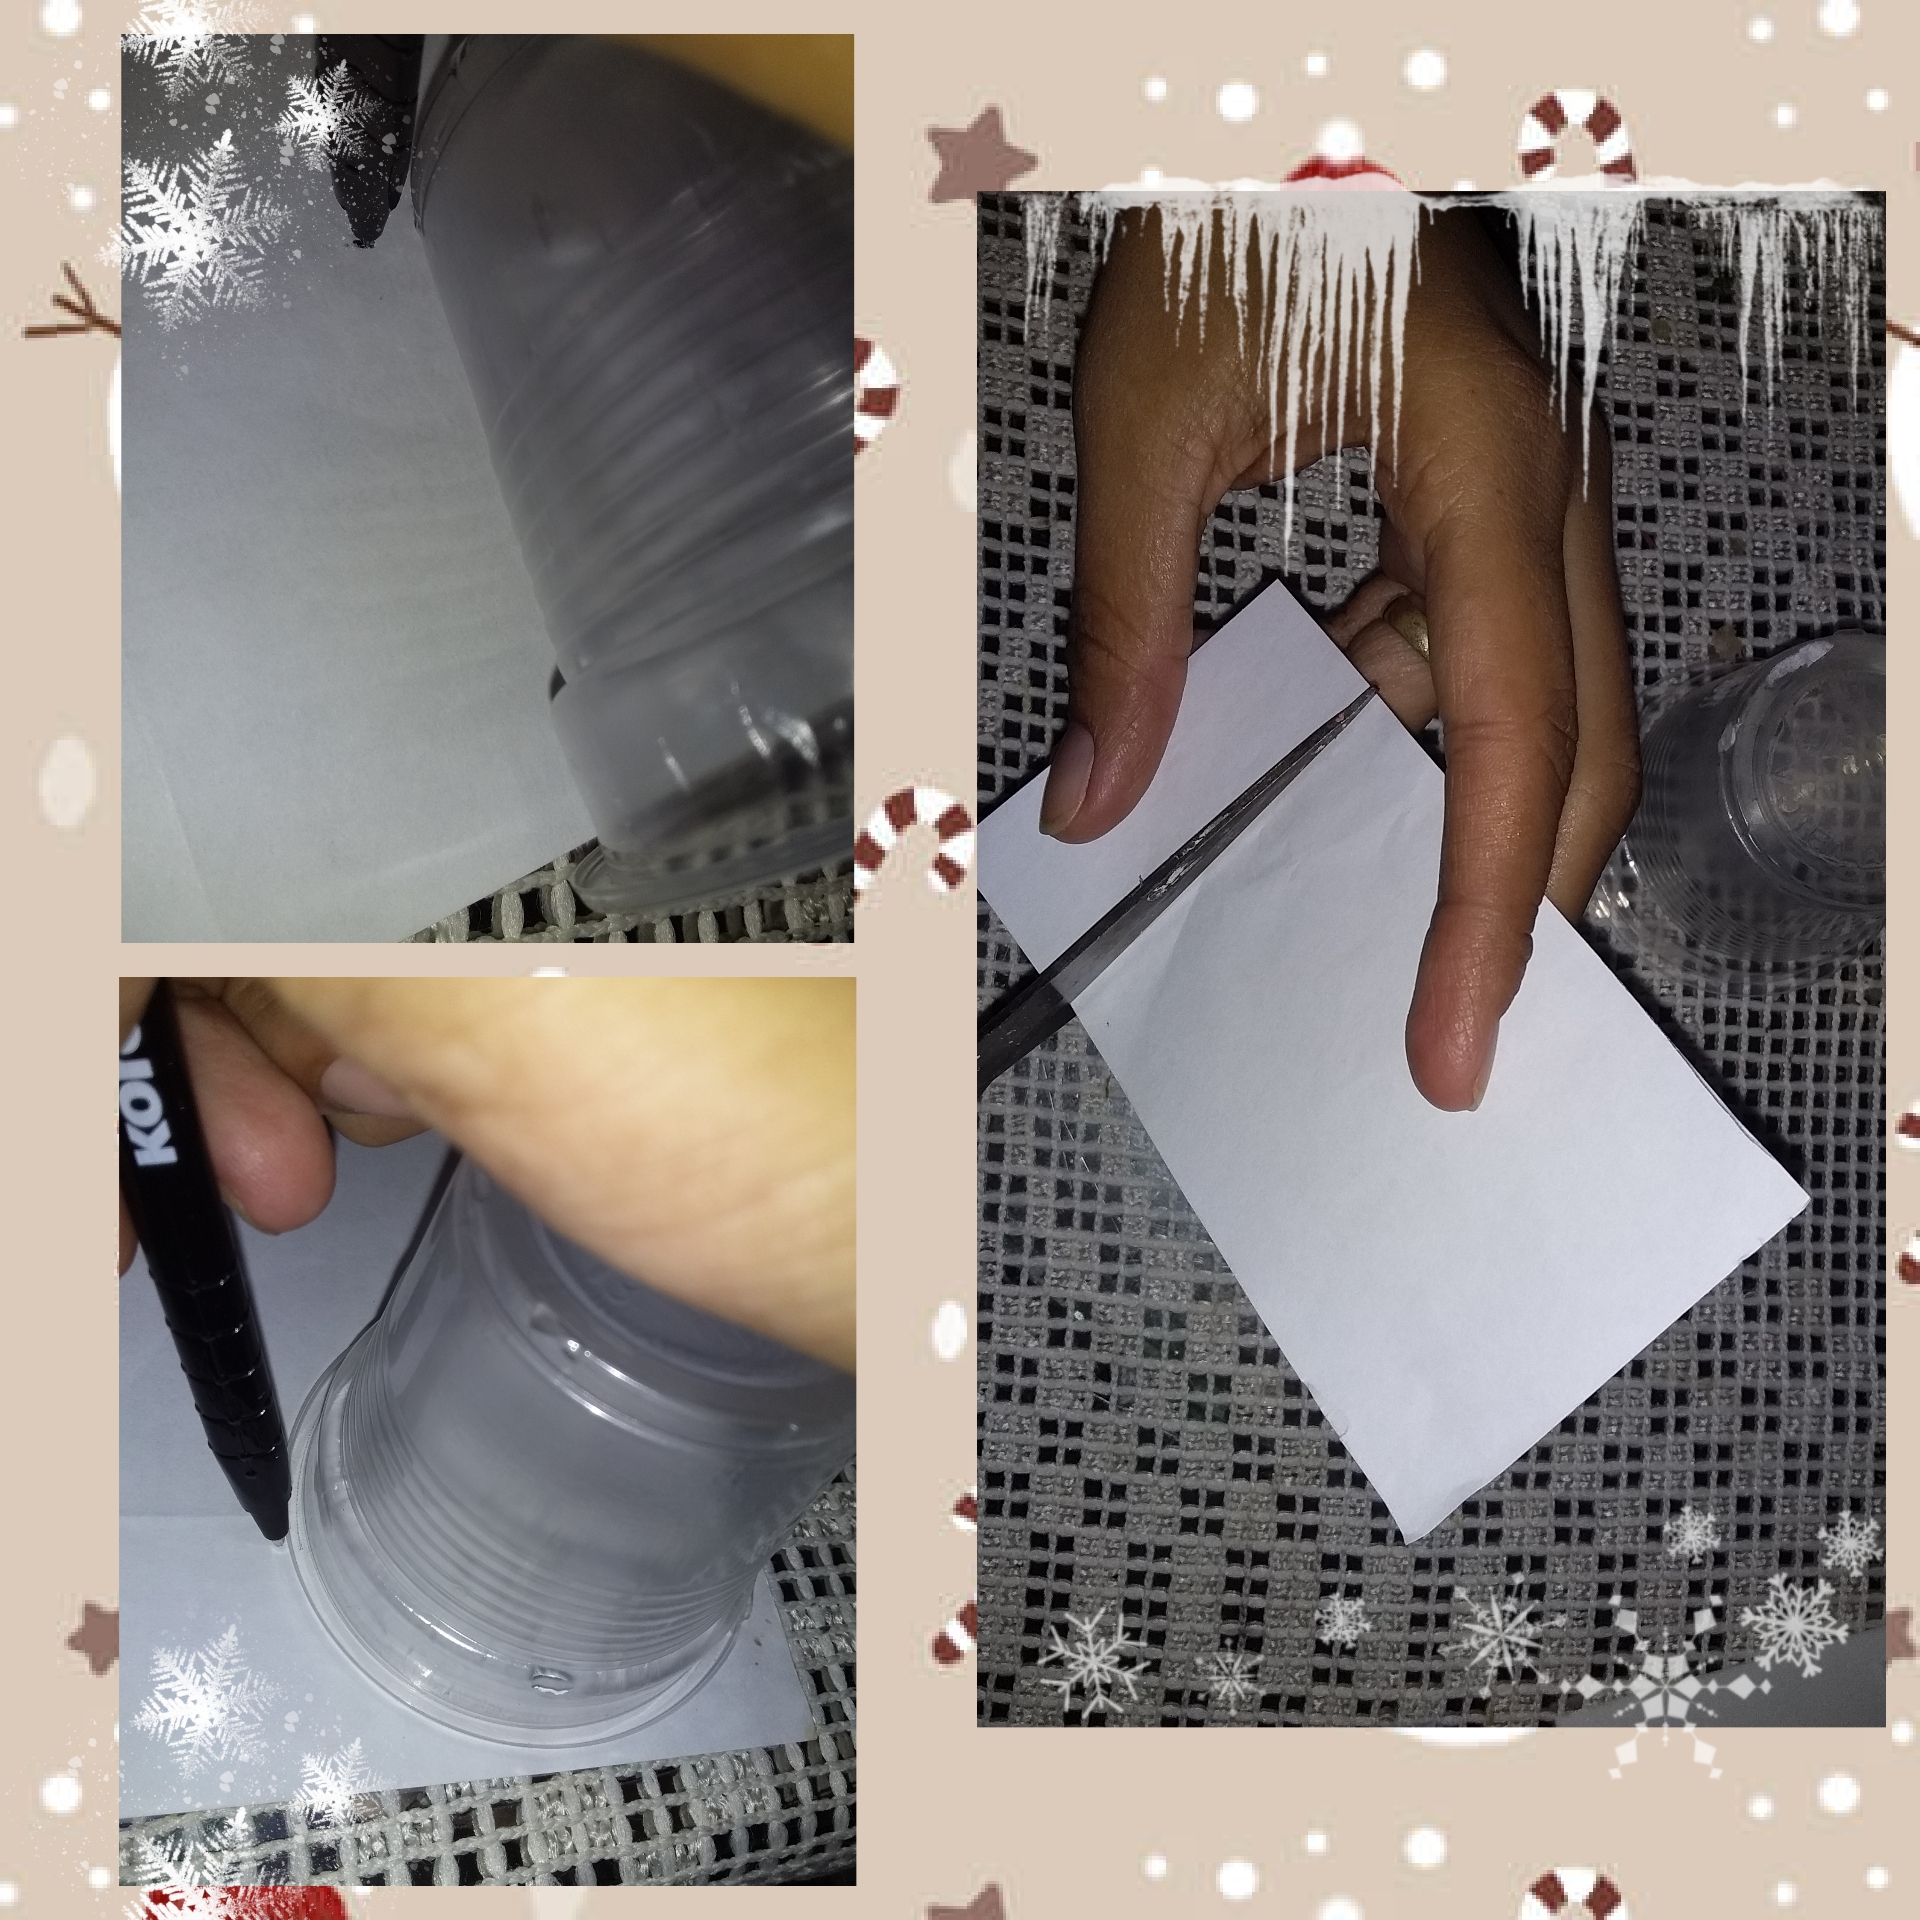
Marcar en la hoja de papel reciclado en la parte en blanco la medida del vaso, tanto para el cuerpo como para la parte superior. Luego cortamos, haremos unos flecos a la hoja (de esta forma nos será mucho más fácil forrar el vaso) luego forraremos el vaso.
Cortamos una tira con la medida de más o menos un dedo y la pegamos al fondo del vaso (el vaso siempre irá al revés)
Step 1:
Mark on the sheet of recycled paper in the blank part the measure of the glass, both for the body and for the upper part. Then we cut, we will make some fringes to the leaf (in this way it will be much easier for us to line the glass) then we will line the glass.
We cut a strip with the measure of more or less a finger and glue it to the bottom of the glass (the glass will always go the other way around)
Paso 2:
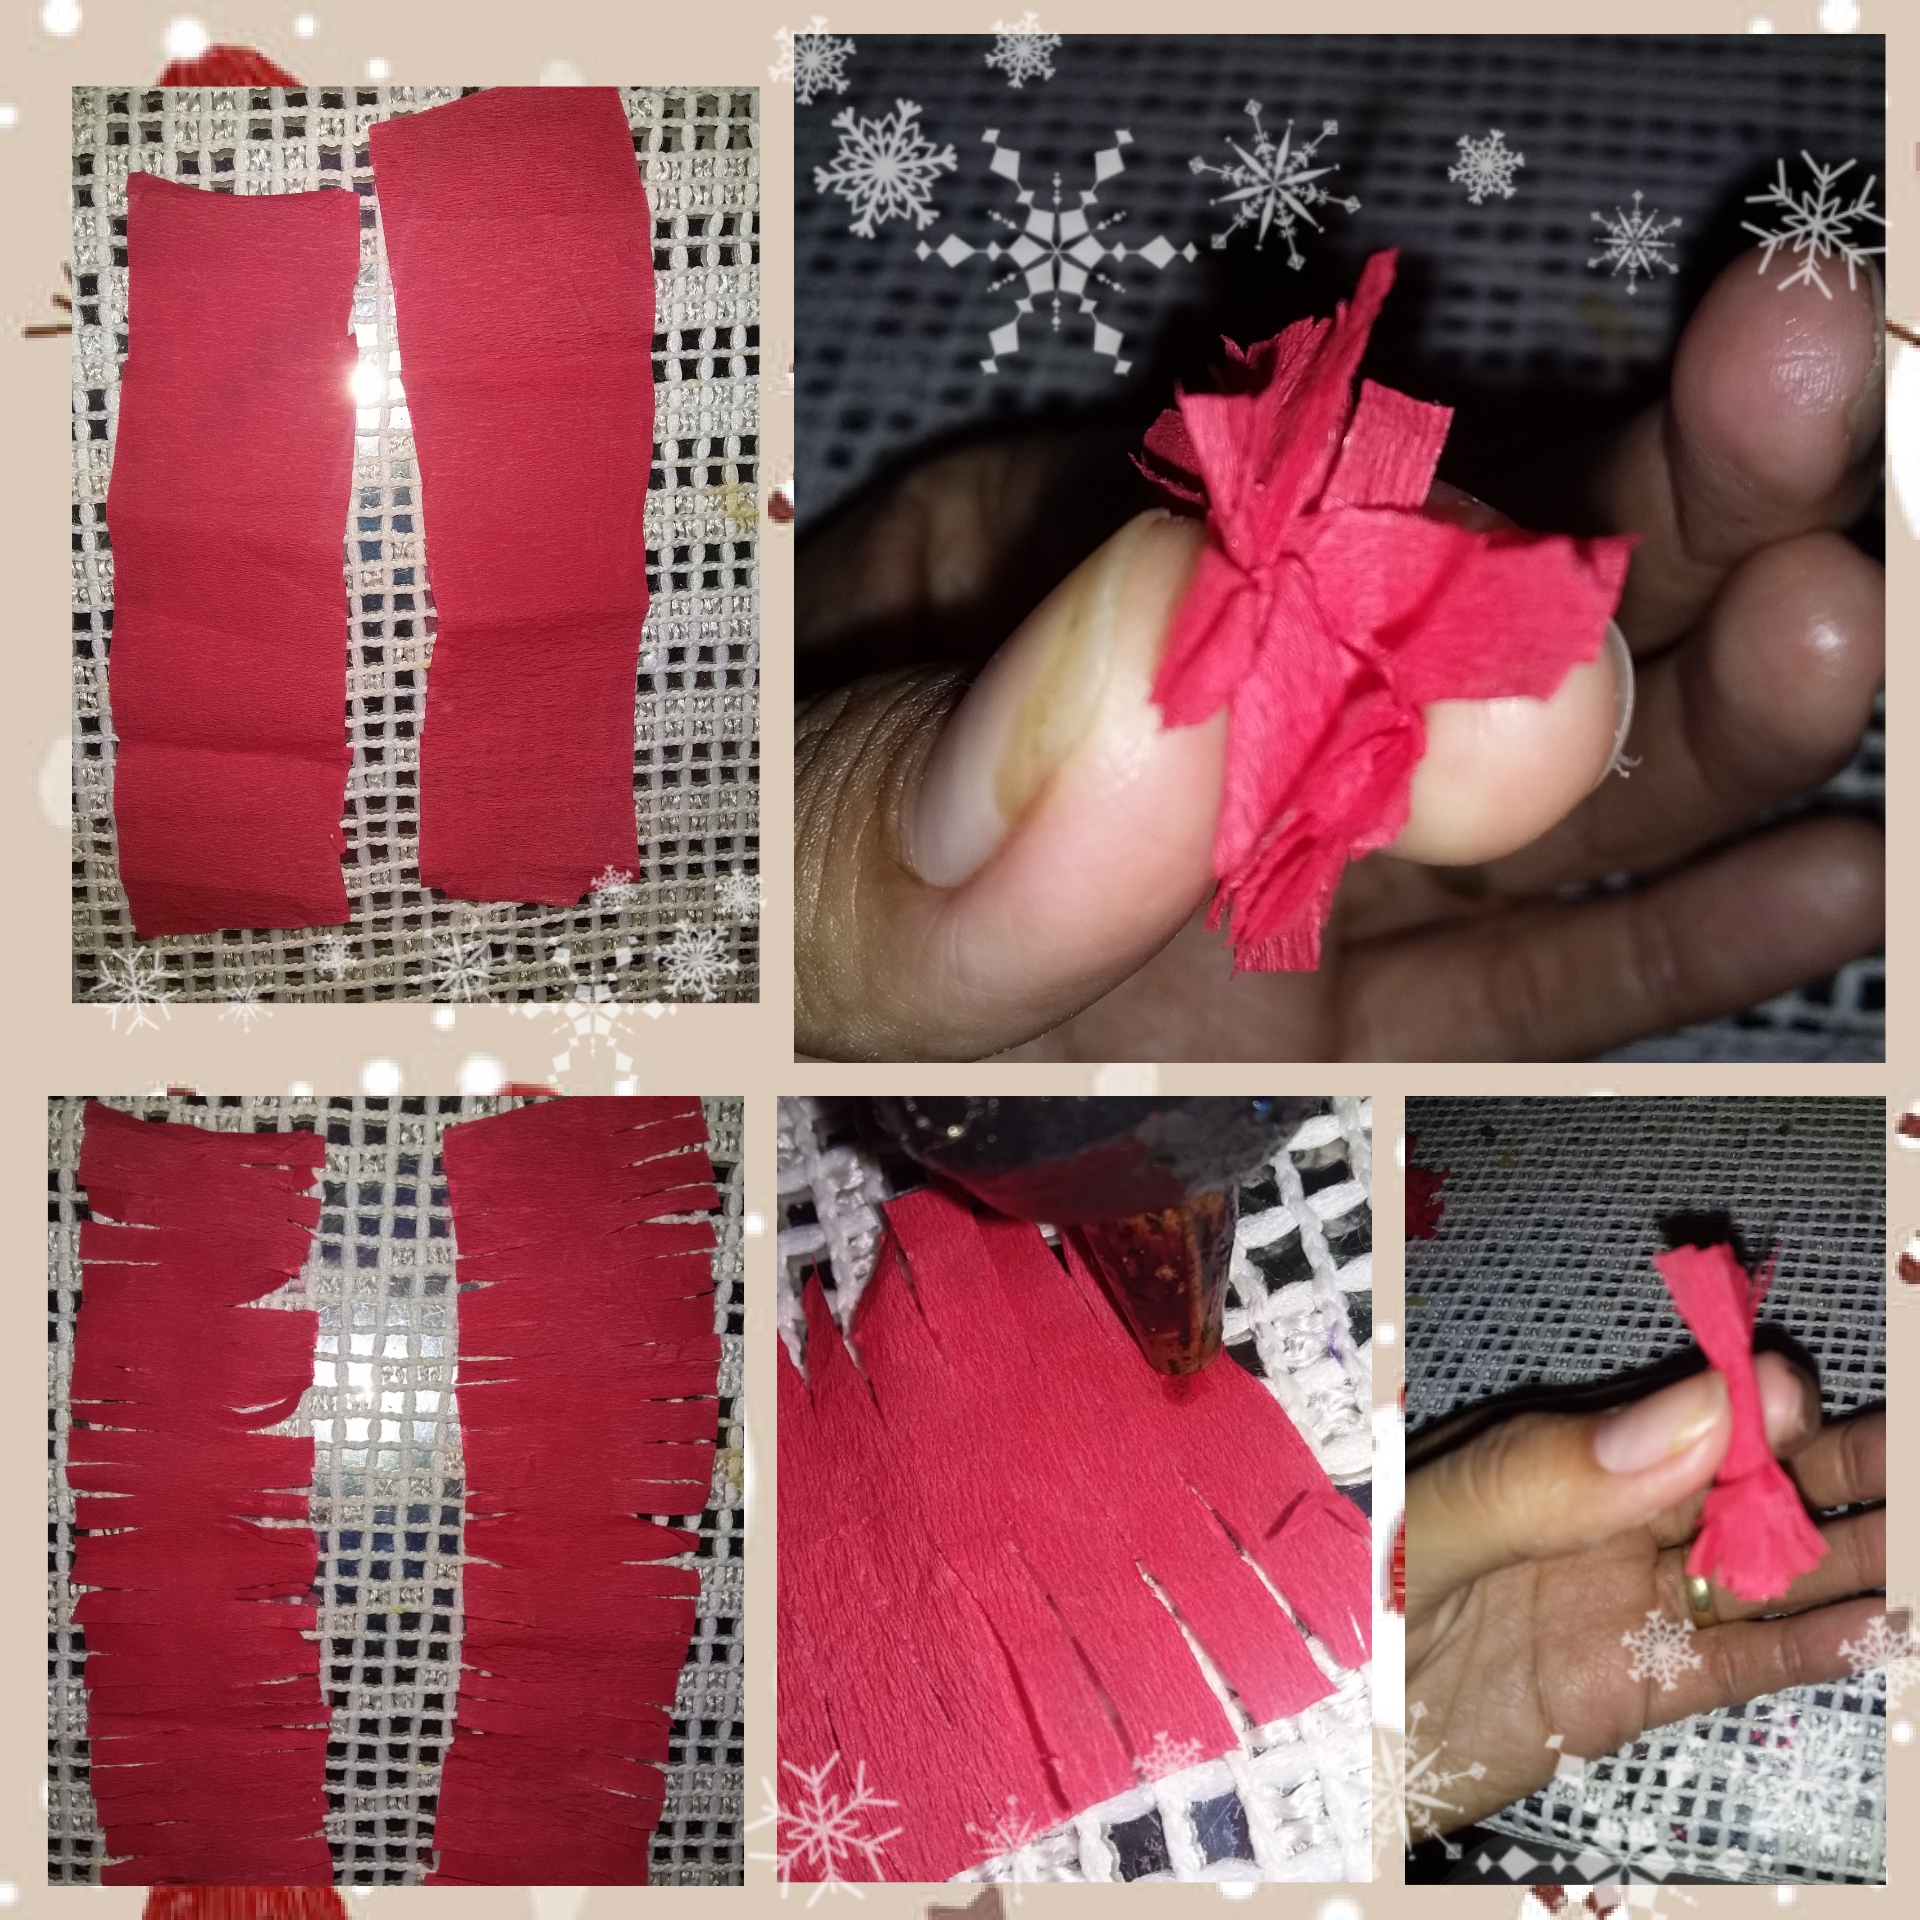
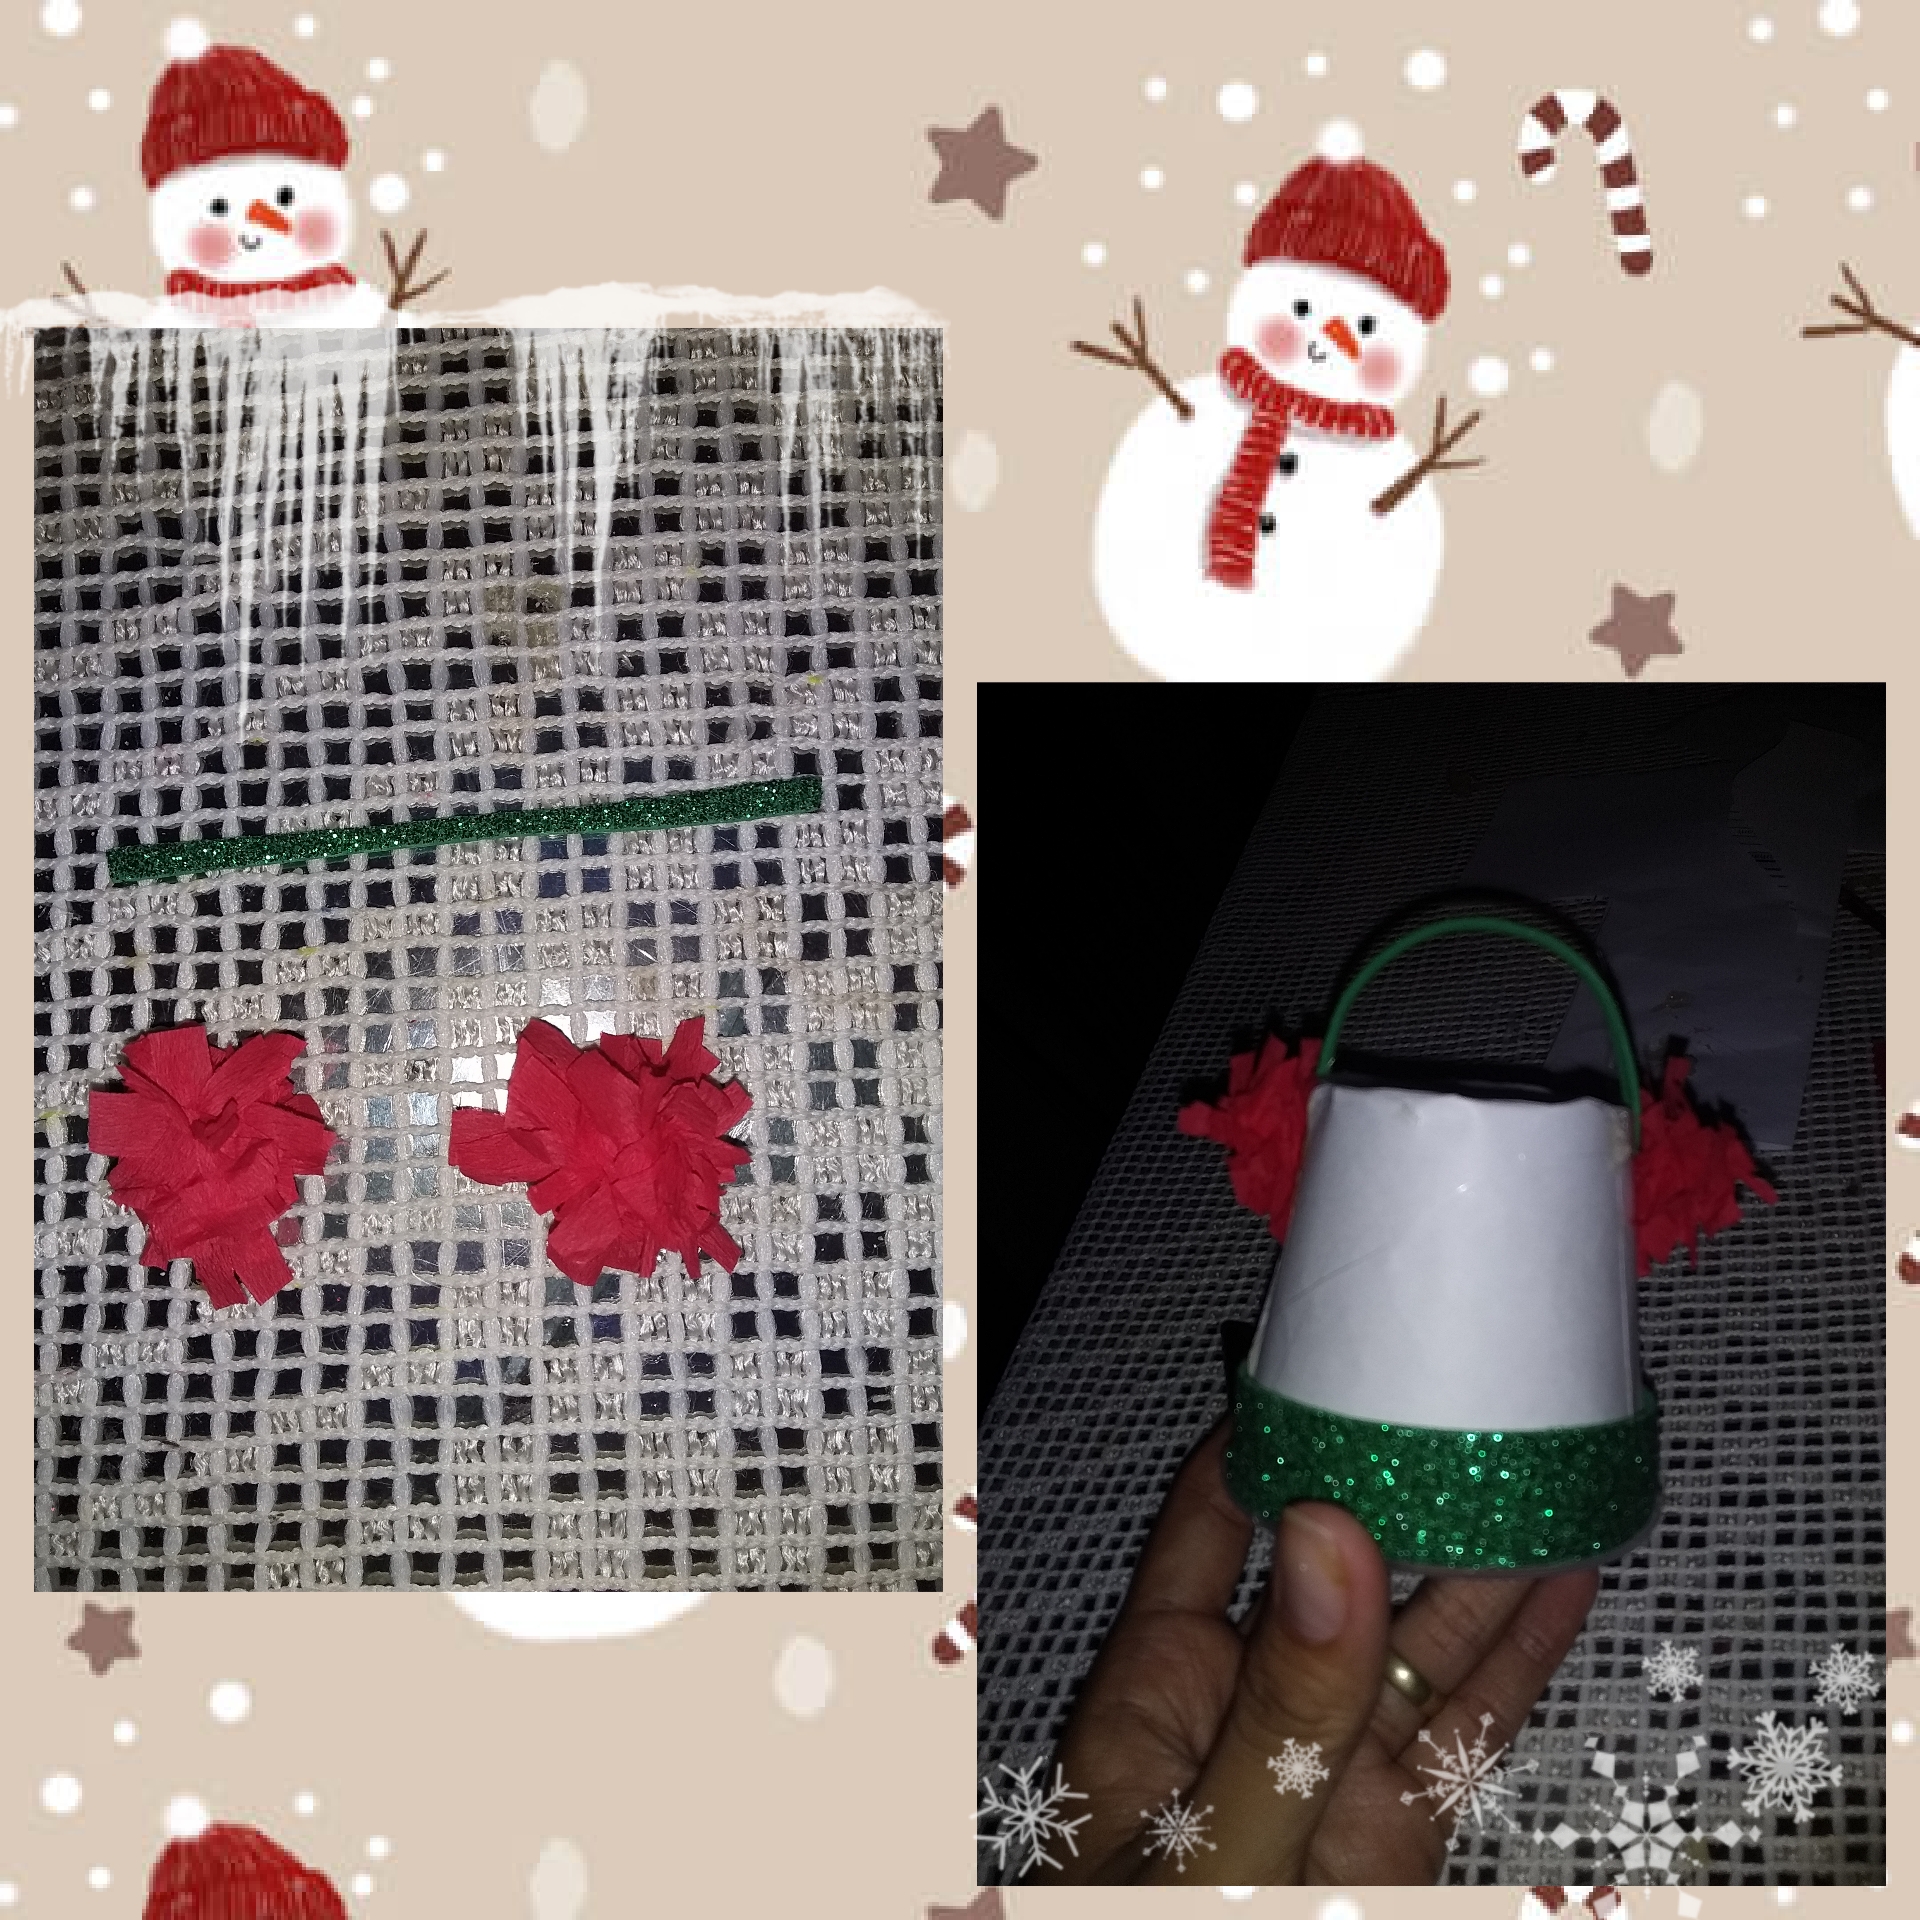
Haremos unos pompones pequeños, cortaremos 2 tiras de papel creepe, hacemos unos flecos como puedes ver en la imagen, luego de esto colocamos una pequeña cantidad de silicona en uno de los extremos y lo enrollamos, luego unimos los extremos donde salen los flecos. , repetimos esto con la otra tira y luego pegamos las dos para hacer un pompón, hacemos este mismo paso una vez más para conseguir dos pompones.
Step 2:
We will make some small pompoms, cut 2 strips of creepe paper, we make some fringes as you can see in the image, after this we place a small amount of silicon in one of the ends and roll it up, then we join the ends where the fringes come out. , we repeat this with the other strip and then we glue the two to make a pompom, we do this same step one more time to get two pompoms.
Paso 3:
Una vez que tengamos los dos pompones, cortamos una tira fina de espuma verde brillante y la pegamos de la siguiente forma que indica la imagen. Y finalmente le pintamos la cara.
Step 3:
Once we have the two pompoms, we cut a thin strip of bright green foam and glue it in the following way that the image indicates. And finally we paint his face.
Y así es que en unos pocos pasos hemos completado nuestro trabajo. Espero que les haya gustado, que tengan un lindo y maravilloso día, ¡Gracias por leer!
And so it is that in a few steps we have completed our work. I hope you liked it, have a nice and wonderful day, Thank you for reading!
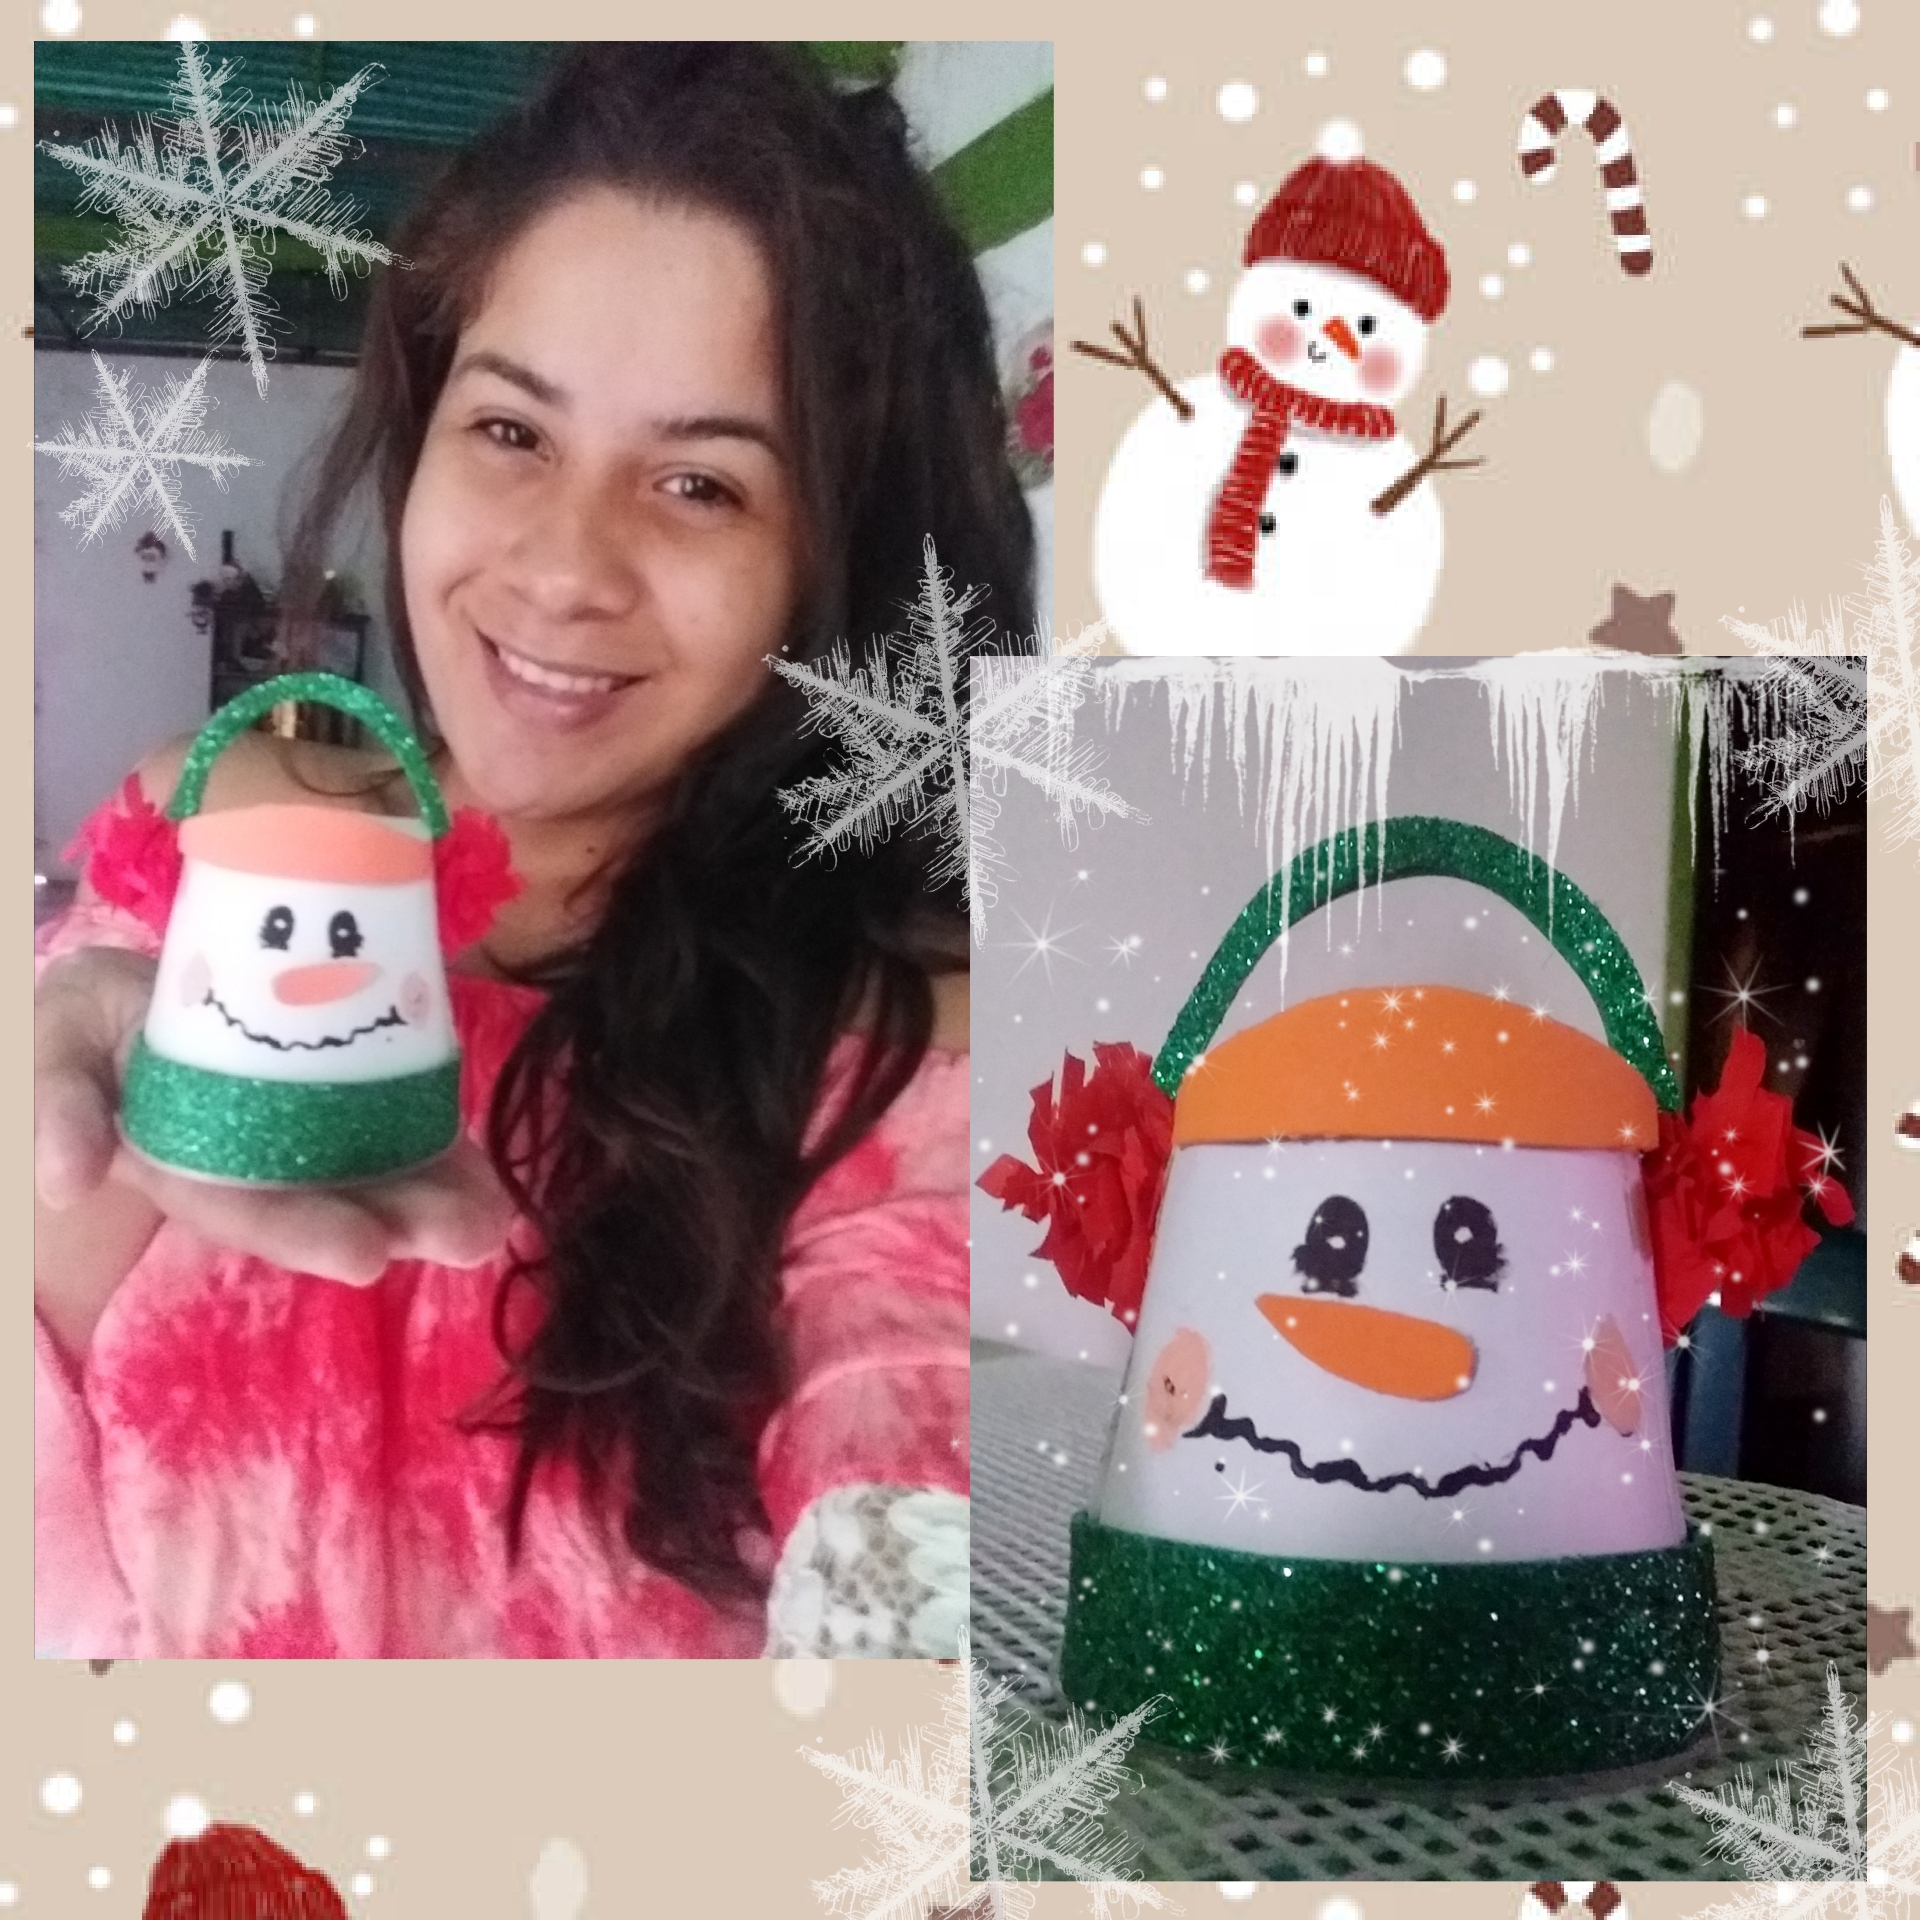
Nota: las fotos son tomadas por mí y editadas por la aplicación Polish
Note: the photos are taken by me and edited by the application Polish
Congratulations @gness! You have completed the following achievement on the Hive blockchain and have been rewarded with new badge(s):
Your next target is to reach 50 posts.
You can view your badges on your board and compare yourself to others in the Ranking
If you no longer want to receive notifications, reply to this comment with the word
STOPTo support your work, I also upvoted your post!
Check out the last post from @hivebuzz:
Support the HiveBuzz project. Vote for our proposal!