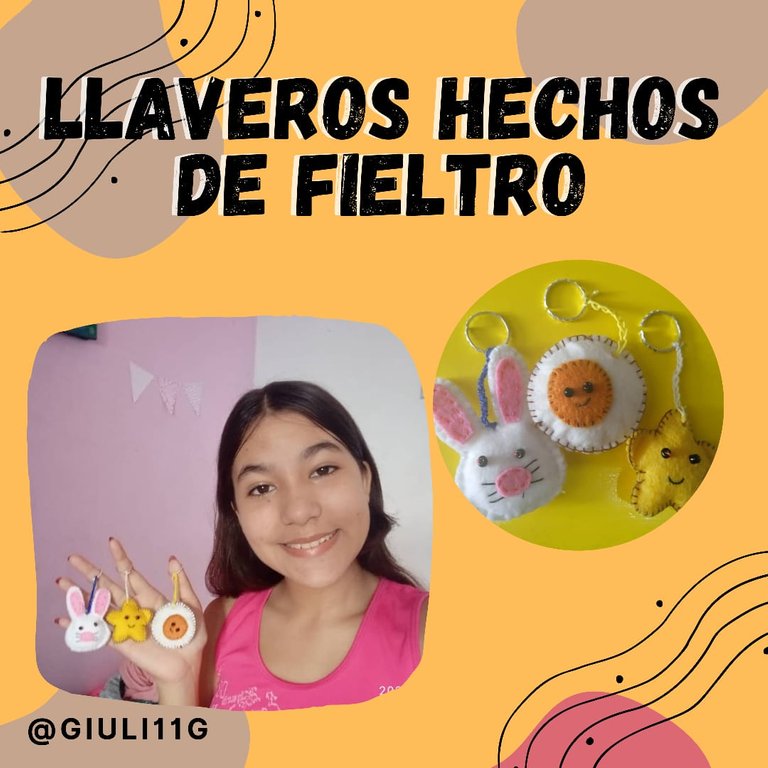
Hola amigos de esta apreciada comunidad Hive DIY, ¡Feliz año 2023!,el día de hoy les mostrare como elaborar estos sencillos pero muy lindos llaveros de fieltro.
Hello friends of this appreciated Hive DIY community, Happy New Year 2023, today I will show you how to make these simple but very cute felt keychains.
Materiales a utilizar:
- Fieltro de Colores
- Agua e hilo
- Aguja de tejer
- Hilo de crochet
- Tijeras
- Argollas
- Cuentas de color negro
- relleno
Materials to use:
Colored Felt
Water and thread
Knitting needle
Crochet thread
Scissors
Hoops
Black beads
stuffing
Paso 1
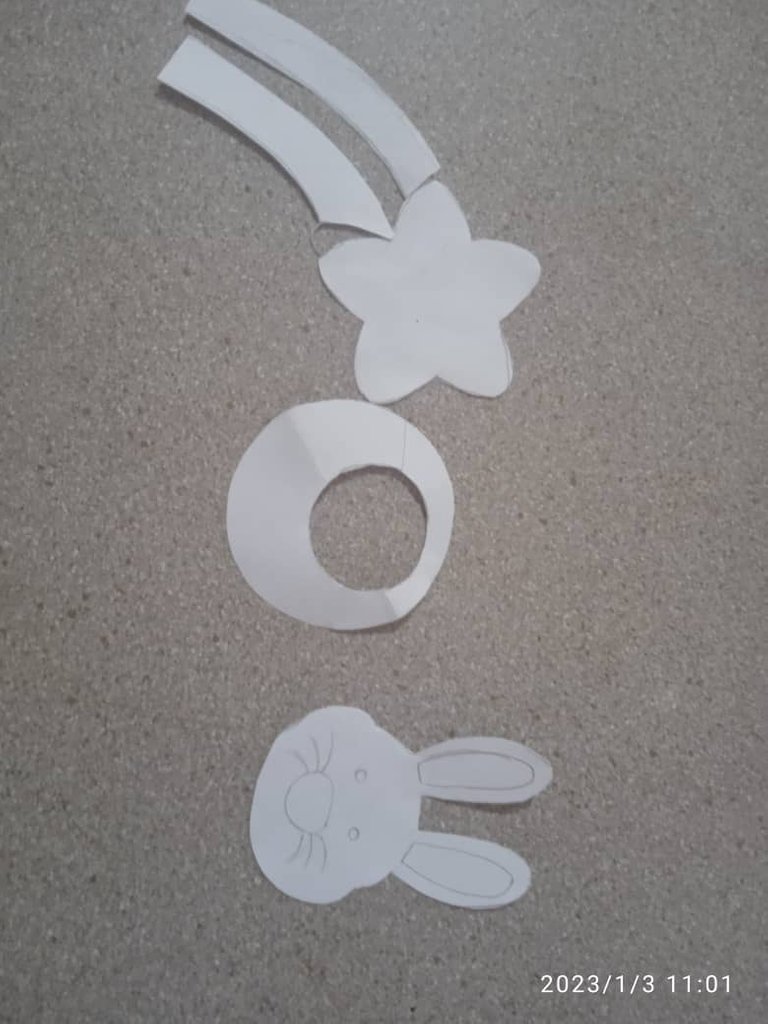
Primero elegí los diseños que quería hacer, yo elegí un huevito, un conejo y una estrella
Y los dibuje por partes en una hoja y los recorte para tener mis moldes.
Step 1
First I chose the designs I wanted to make, I chose an egg, a bunny and a star.
I drew them in parts on a sheet of paper and cut them out to have my molds.
Paso 2
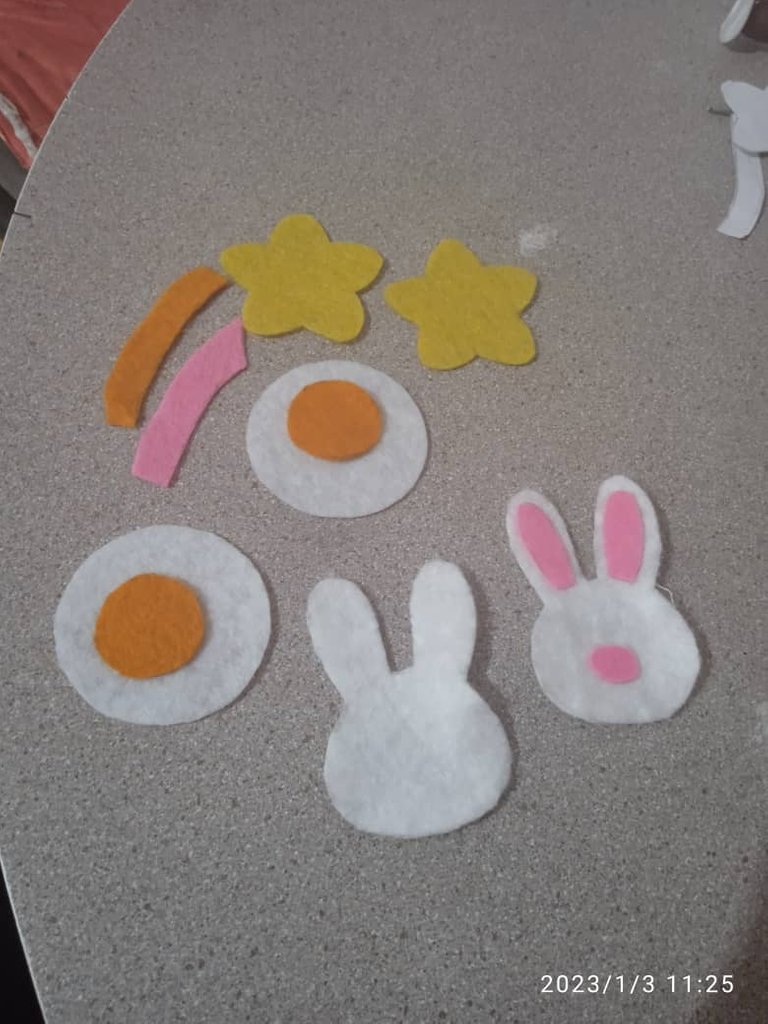
Marque y recorte en el fieltro todas las partes del mis diseños
Step 2
I marked and cut them out on the felt.
Mark and cut out all the parts of my designs on the felt.
Paso 3
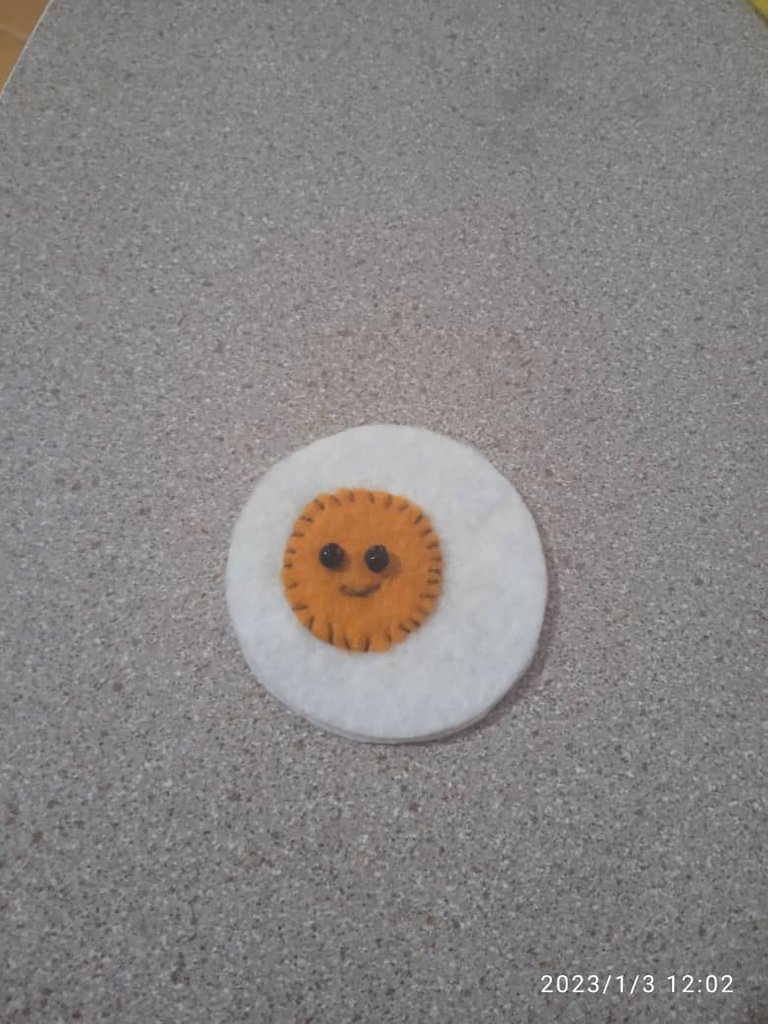
Cosí la parte de adentro de mi figura y le coloque las cuentas que serían los ojos y con hilo marrón le hice la boca.
Step 3
I sewed the inside of my figure and placed the beads that would be the eyes and with brown thread I made the mouth.
Paso 4
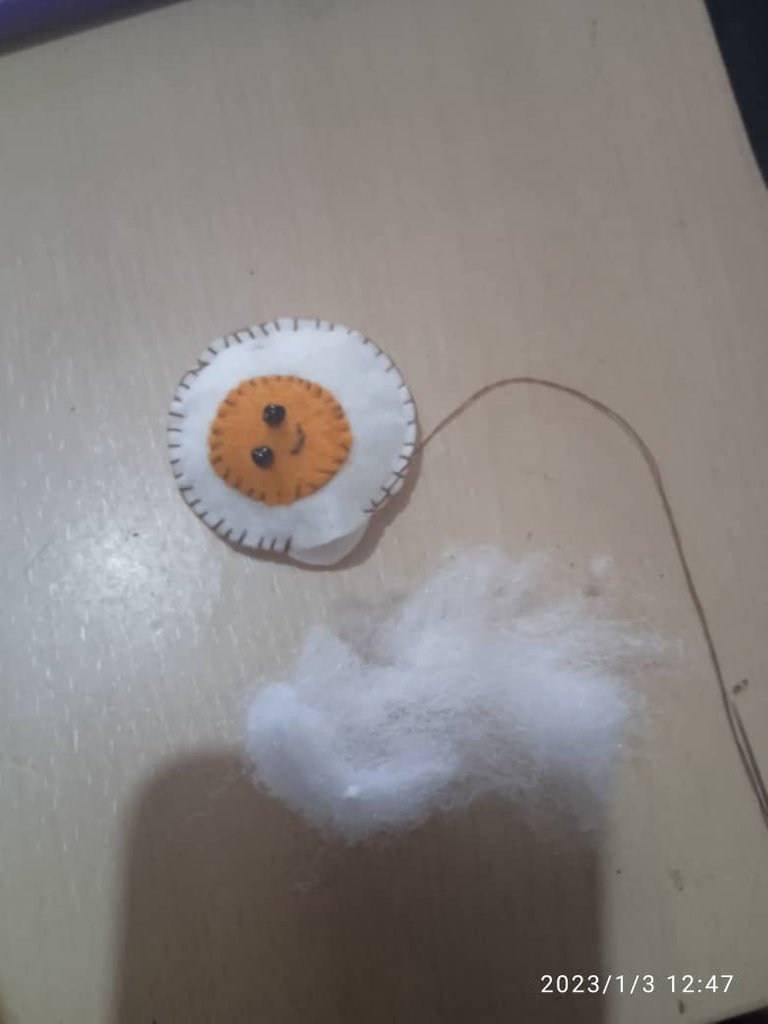
Uní los dos lados y con punto festón le cosí todo el borde dejando un espacio abierto para introducir el relleno, luego que esta rellenado termine de coser y con ayuda de mi saca hoyos le hice uno por donde ira el hilo para poder colgar nuestro llavero.
Step 4
I sewed the two sides together and with brown thread I made the mouth.
I joined the two sides and with scalloped stitch I sewed all the edge leaving an open space to insert the stuffing, after this stuffed finished sewing and with the help of my hole punch I made one where the thread will go to hang our keychain.
Paso 5
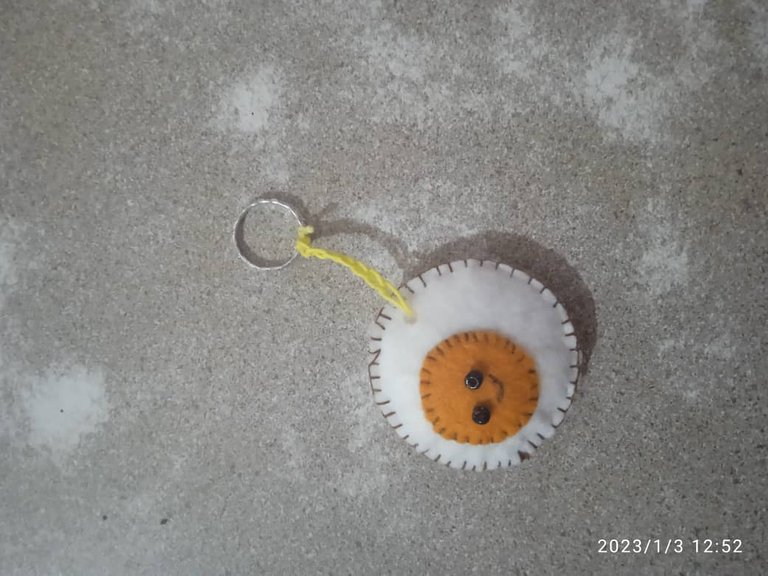
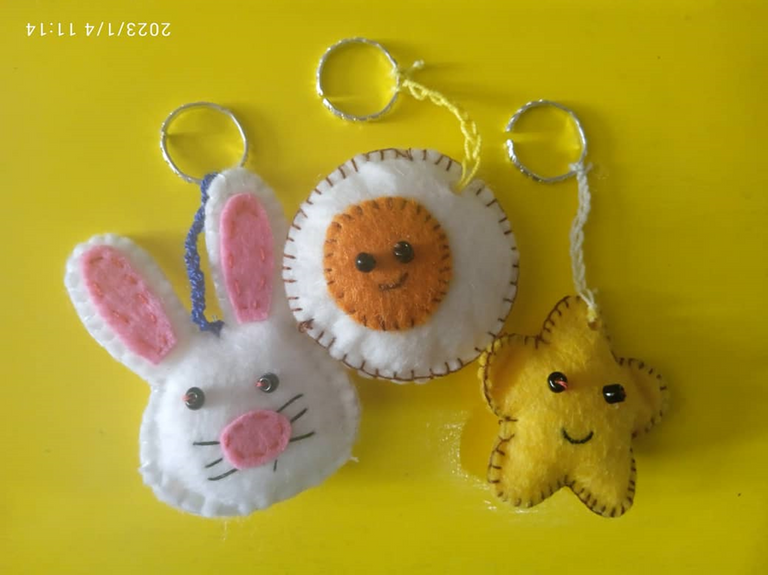
Tejí una cadeneta con hilo amarillo y para terminar en la parte de arriba le coloque la argolla. Este mismo proceso lo realice con los otros llaveros, espero te haya gustado esta idea y la puedas realizar pronto
Step 5
I wove a chain stitch with yellow thread and to finish at the top I placed the ring. I did the same process with the other key chains, I hope you liked this idea and you can do it soon.
¡Hasta mi próximo blog!
Todas las fotos fueron tomadas con el Redmi 9A editadas en Canva y traducidas con Deepl
See you in my next blog!
All photos were taken with the Redmi 9A edited in Canva and translated with Deepl
Thank you for sharing this post on HIVE!
Your content got selected by our fellow curator stevenson7 & you just received a little thank you upvote from us for your great work! Your post will be featured in one of our recurring compilations which are aiming to offer you a stage to widen your audience within the DIY scene of Hive. Stay creative & HIVE ON!
Please vote for our hive witness <3
!discovery 25
This post was shared and voted inside the discord by the curators team of discovery-it
Join our community! hive-193212
Discovery-it is also a Witness, vote for us here
Delegate to us for passive income. Check our 80% fee-back Program
Congratulations @giuli11g! You have completed the following achievement on the Hive blockchain And have been rewarded with New badge(s)
Your next target is to reach 4250 upvotes.
You can view your badges on your board and compare yourself to others in the Ranking
If you no longer want to receive notifications, reply to this comment with the word
STOPCheck out our last posts:
Support the HiveBuzz project. Vote for our proposal!
Qué cositas tan cutes!!1 están bien cosiditas, me encantó tu proyecto gracias por compartir con nosotros.
muchisimas gracias,aprecio tu comentario!!
The rewards earned on this comment will go directly to the people( @equipodelta ) sharing the post on Twitter as long as they are registered with @poshtoken. Sign up at https://hiveposh.com.