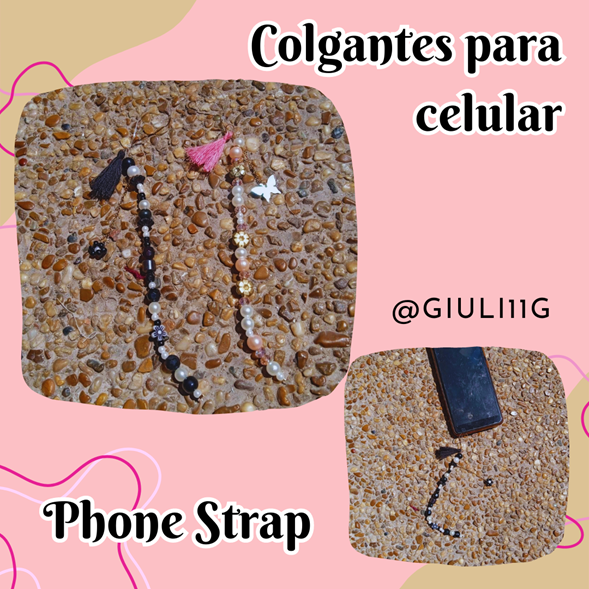
Hola amigos de HIVE DIY, un placer poder compartir nuevamente con ustedes mis manualidades. Los accesorios siempre les han dado un toque distintivo a nuestras prendas, dándoles más carácter y color, y es por eso que el día de hoy les muestro como hacer estos Colgantes para celular, también conocidos como “Straps”. Estos pueden elaborarse con distintos colores de perlas o cuentas, diferentes tamaños, dándole tu propio estilo a este. Estos no tienen un orden especifico la única regla es que los colores seleccionados combinen para que luzca genial.
Hello friends of HIVE DIY, it's a pleasure to be able to share my crafts with you again. Accessories have always given a distinctive touch to our clothes, giving them more character and color, and that is why today I show you how to make these cell phone charms, also known as "Straps". These can be made with different colors of pearls or beads, different sizes, giving it your own style. These do not have a specific order, the only rule is that the selected colors combine to look great.
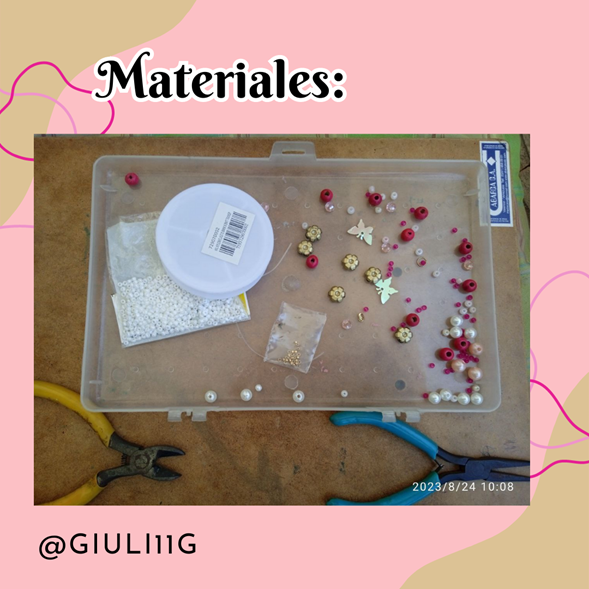
¿Qué materiales necesitamos?
- Hilo Naylon o cualquier hilo fino que tengan a la mano
- Perlas y cuentas de diferentes forma y tamaños
- Grapas de bisutería
- Pinzas
- Hilo de coser
- Trozos de cadena
- Argollitas
- ¡Y Creatividad!
What materials do we need?
Naylon thread or any fine thread you have on hand
Beads and beads of different shapes and sizes
Costume jewelry staples
Tweezers
Sewing thread
Pieces of chain
Hoops
And creativity!
Paso 1
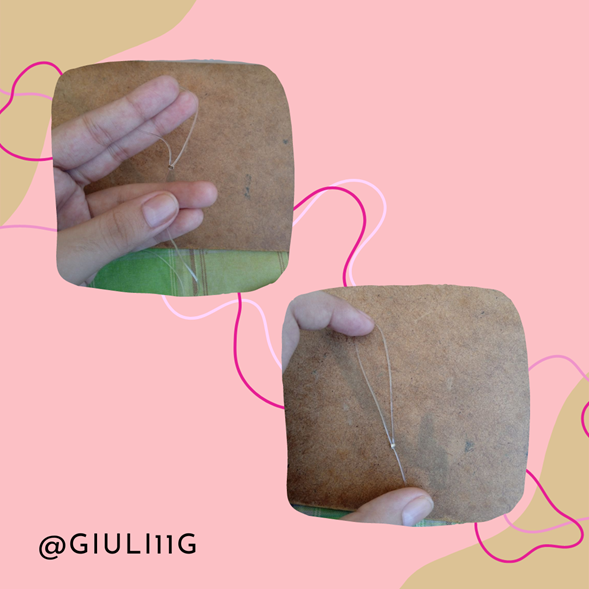
Comencé tomando un trozo de hilo nailon (alrededor de 20cm) e inserté una grapa para formar la parte de donde tenderá el colgante y apreté con la pinza para que quedara bien asegurado
Step 1
I started by taking a piece of nylon thread (about 20cm) and inserted a staple to form the part where the pendant will hang and tightened with the clamp so that it was well secured.
Paso 2
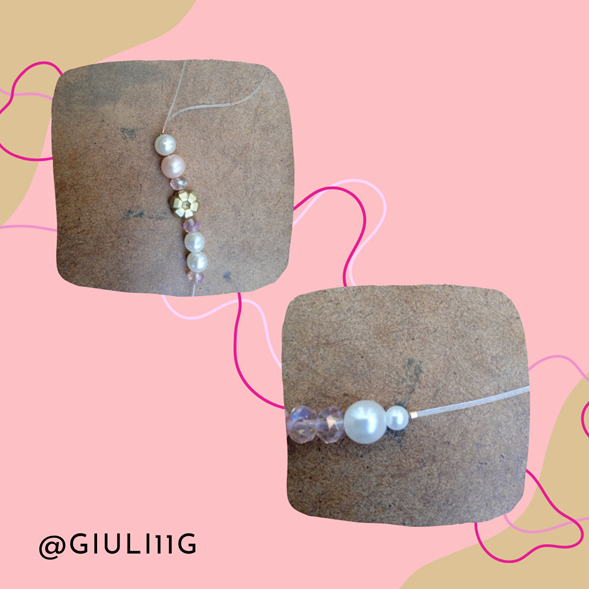
Inserté las perlas y cuentas al nailon, en este caso yo use la gama de rosas, y en este paso no hay una explicación concreta porque el orden es a tu criterio y como te parezca mejor yo fui insertando de acuerdo a como me gustaba, este paso lleva su tiempo , solo una recomendación: es mejor comenzar con cuentas de mayor tamaño y terminar con una pequeña, luce mejor así. Luego de tener las cuentas colocadas en el orden creado, insertamos una grapa y cerramos.
Step 2
I inserted the pearls and beads to the nylon, in this case I used the range of roses, and in this step there is no specific explanation because the order is at your discretion and as you see fit I was inserting according to how I liked, this step takes time, just a recommendation: it is better to start with larger beads and end with a small one, it looks better that way. After having the beads placed in the order created, insert a staple and close.
Paso 3
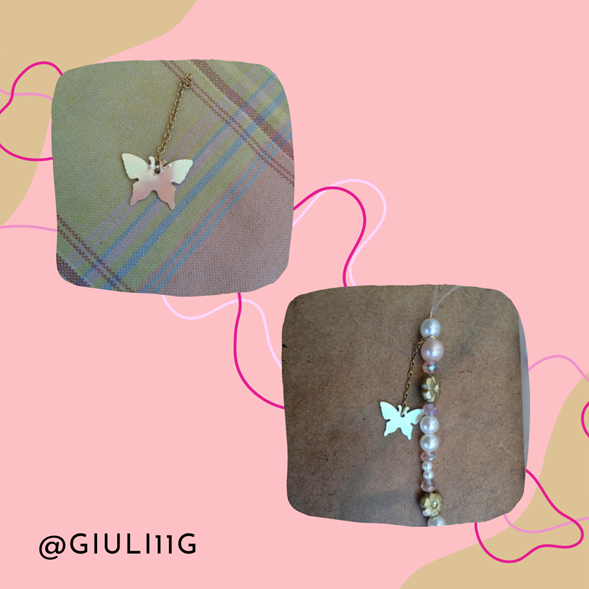
Me pareció buena idea agregarle algunos accesorios más, para que se vea mucho más hermoso de lo que ya estaba y tome una Mariposa , una argolla y un trozo de cadena y o introduje al colgante
Step 3
I thought it was a good idea to add some more accessories, to make it look much more beautiful than it already was, so I took a Butterfly, a ring and a piece of chain and inserted it into the pendant.
Paso 4
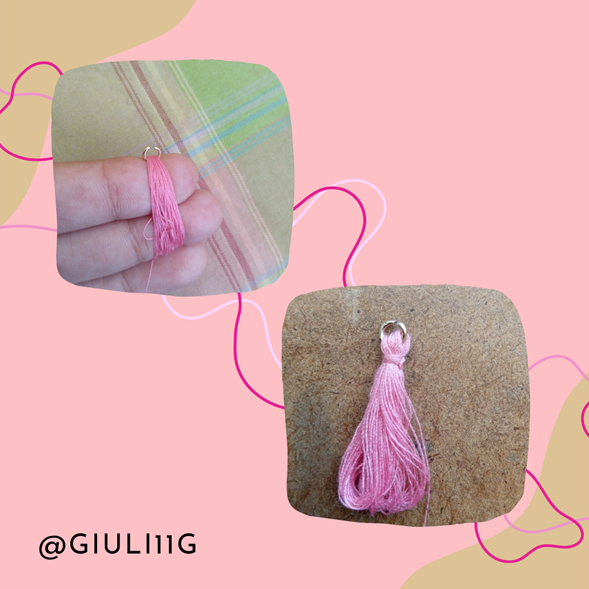
Por ultimo hice una pequeña borla de hilo de coser rosado y también la agregué al colgante.
Step 4
Finally I made a small tassel of pink sewing thread and also added it to the pendant
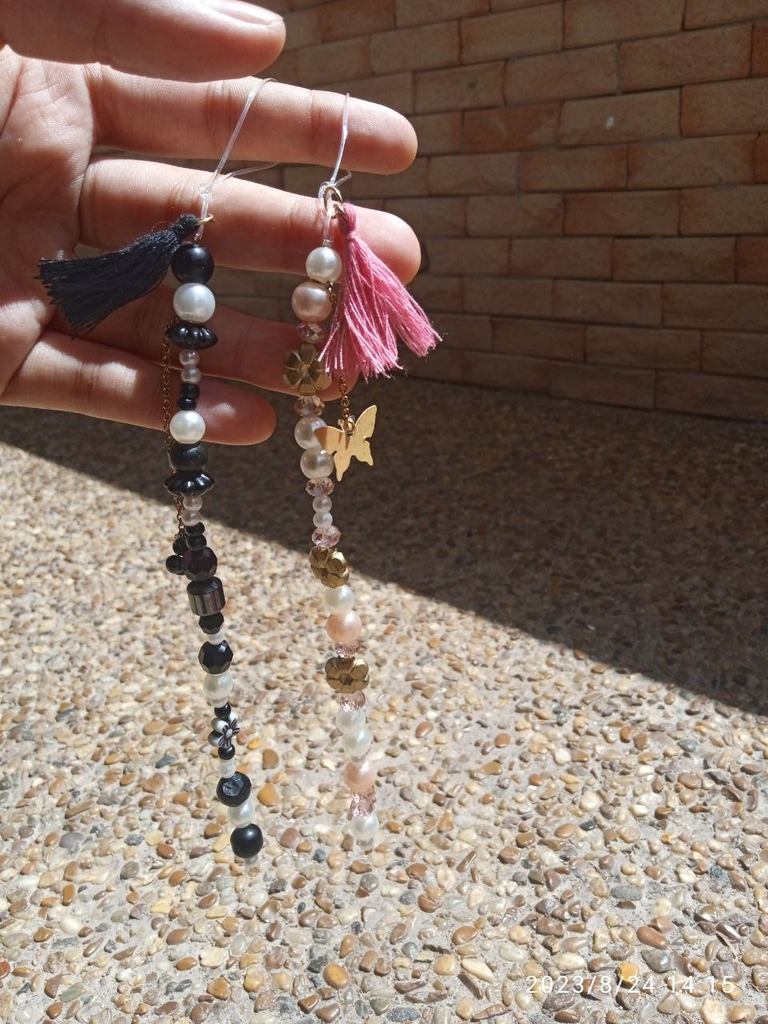
Y así damos por terminado nuestro hermoso Colgante para celular
Déjame saber en los comentarios si te gusto esta idea, espero tú también la puedas hacer
And so we finish our beautiful cell phone pendant.
Let me know in the comments if you like this idea, I hope you can do it too.
¡Nos vemos en el Próximo Blog!
Todas las fotos fueron tomadas Con el Redmi 9A, editadas en Canva y traducidas con DeepL.
All photos were taken with the Redmi 9A, edited in Canva and translated with DeepL.
He visto bastante estos colgantes últimamente, creo que están de moda. A mi me parece que le dan un toque lindo y delicado a el teléfono. He visto que también con letras los personalizan con el nombre o el nombre de algún artista. Están muy lindos los que realizaste amiga, gracias por compartir el proceso detalladamente, Saludos!
Mucas gracias! También los he visto bastante y me pareció una idea genial hacerlos, ¡Aprecio el comentario! Saludos!!