Hola que tal queridos amigos de esta prestigiosa y creativa comunidad, HIVE DIY.
Para mi es un placer estar con todos ustedes compartiendo otro de mis proyectos y también me place de alegría participar en el concurso Anime & foami fusión, moderado por nuestra amiga @marybellrg.
Ademas quiero agradecer a mi tía @kathelopez77 por haberme invitado a formar parte de este creativo y divertido concurso.
Hello dear friends of this prestigious and creative community, HIVE DIY.
For me it is a pleasure to be with you all sharing another of my projects and I am also very happy to participate in the Anime & foami fusion contest, moderated by our friend @marybellrg.
I also want to thank my aunt @kathelopez77 for inviting me to be part of this creative and fun contest.
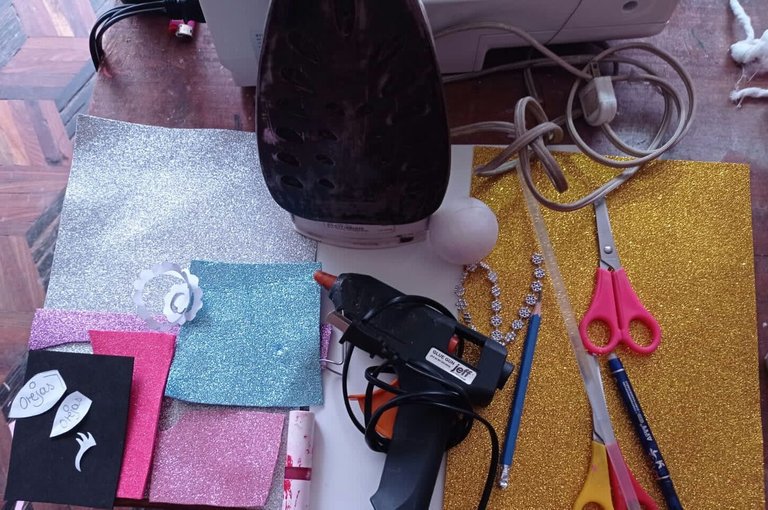
MATERIALES:
• Foami de color blanco, dorado, rosado, fucsia, azul, plateado y negro.
• una bola de anime número 4.
• Plancha de ropa.
• Pistola de silicón.
• Labial de color rojo.
• Lápiz.
• Lapicero.
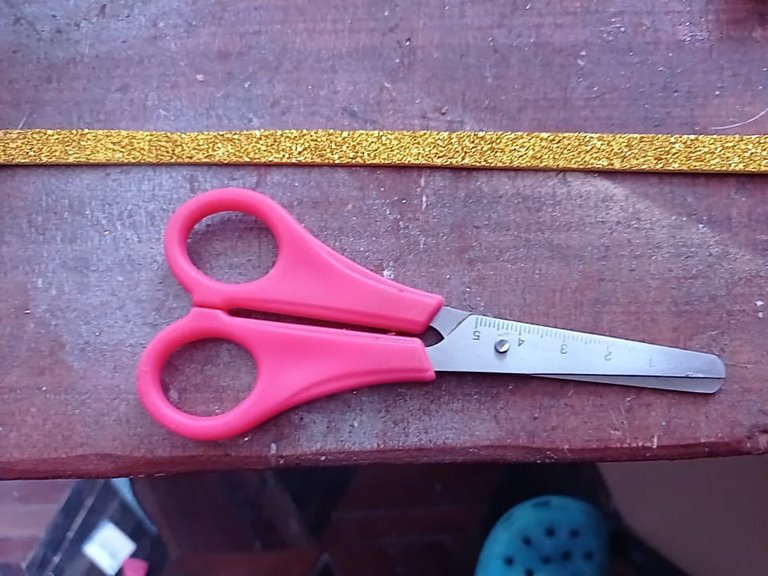
• Tijeras.
• Moldes de orejas de unicornio y una flor en espiral.
• Perlas corridas.
• Marcador de color negro.
MATERIALS:
- Foami in white, gold, pink, fuchsia, blue, silver and black.
- An anime ball number 4.
- Clothes iron.
- Silicone gun.
- Red lipstick.
- Pencil.
- Pencil.
- Scissors.
- Molds of unicorn ears and a spiral flower.
- Beads.
- Black marker.
JOIN ME IN THE STEP BY STEP:
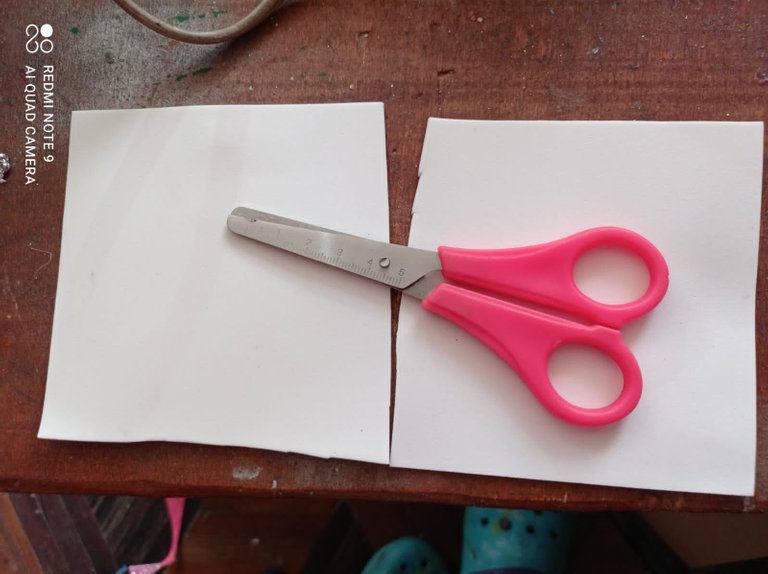
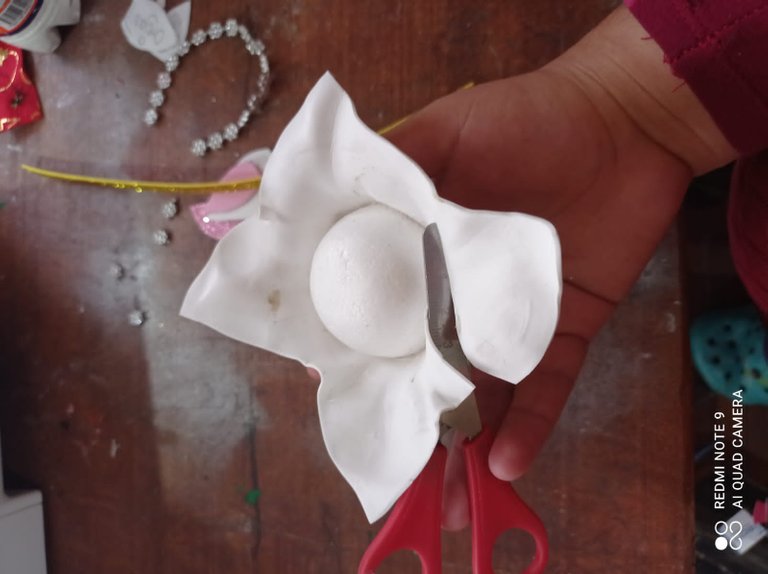
Paso 1:
Comenzamos cortando dos cuadrados más o menos grandes de foami de color blanco.
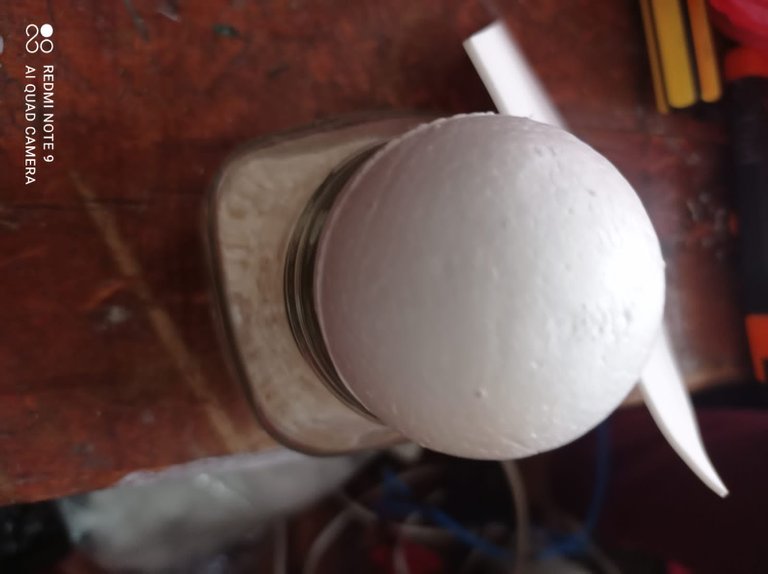
• tomamos un bol o botella de vidrio para colocar la bola de anime en el pico de la misma.
Step 1:
We start by cutting two more or less large squares of white foami.
- We take a bowl or glass bottle to place the anime ball at the top of it.
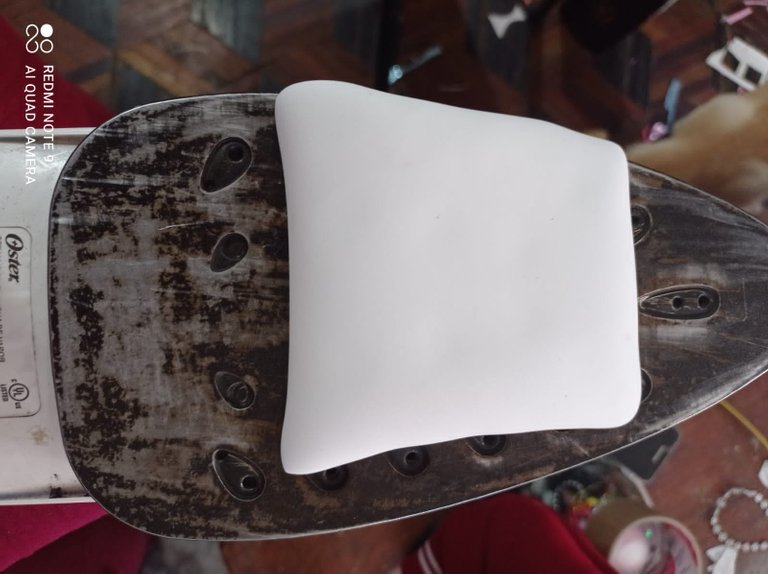
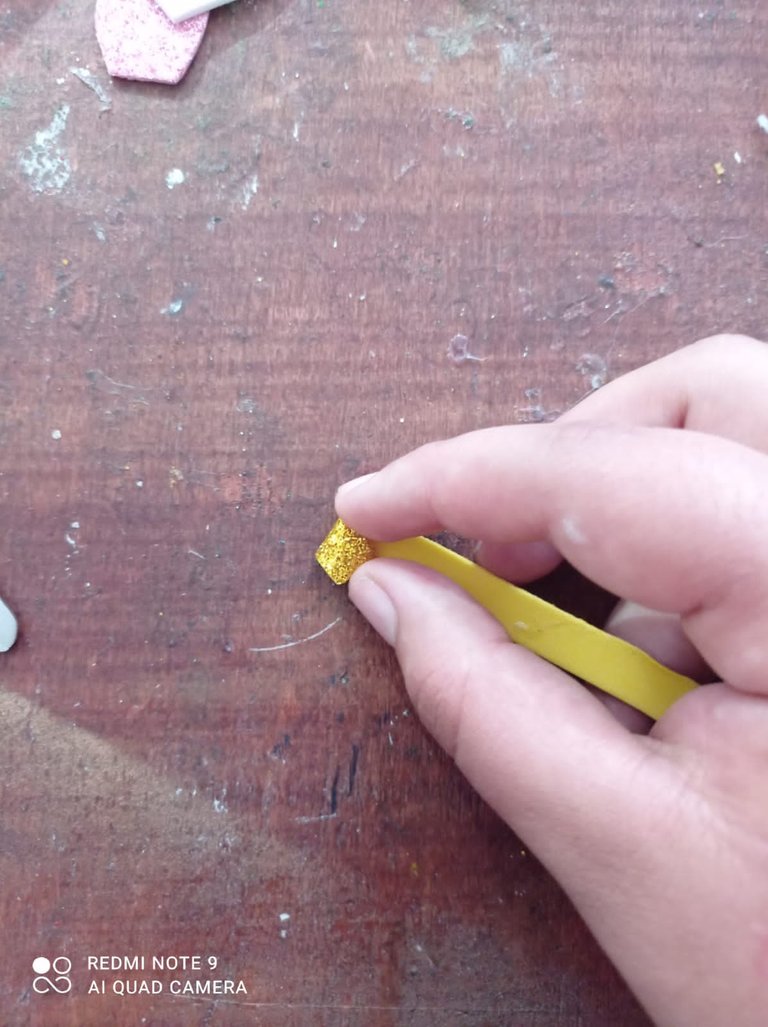
Paso 2:
Luego colocamos los cuadrados en la plancha dejamos unos 5 segundos, y estiramos el foami sobre la bola de anime de tal manera que tome la forma de la bola.
• Con ayuda de una tijera hacemos una tira de medio centímetro de ancho con el foami de color dorado.
Step 2:
Then we place the squares on the iron we leave about 5 seconds, and stretch the foami over the anime ball in such a way that it takes the shape of the ball.
- With the help of a scissors we make a half centimeter wide strip with the gold colored foami.
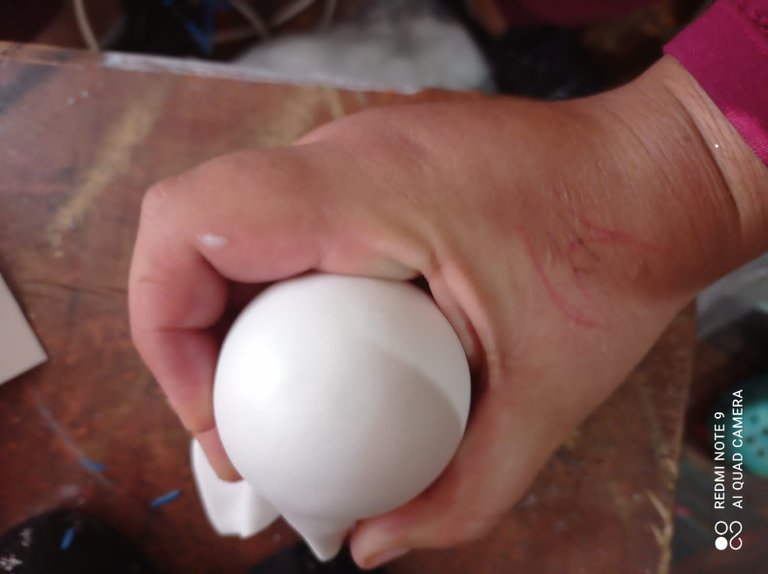
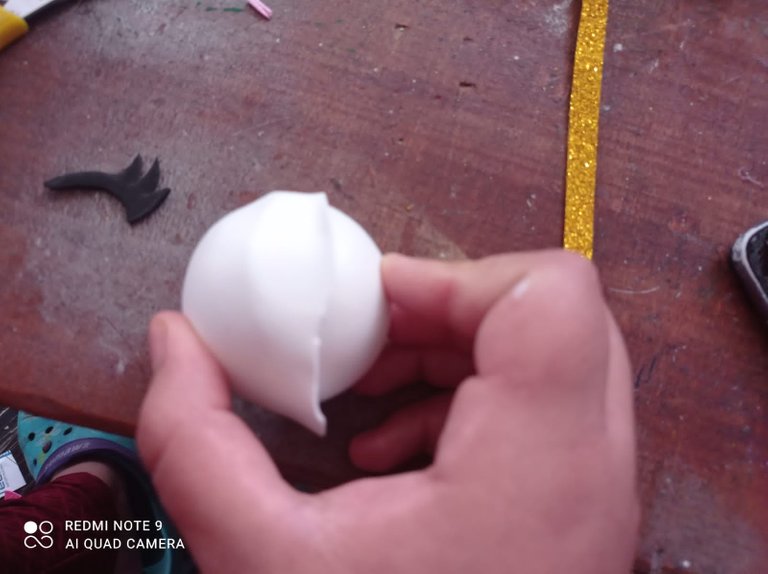
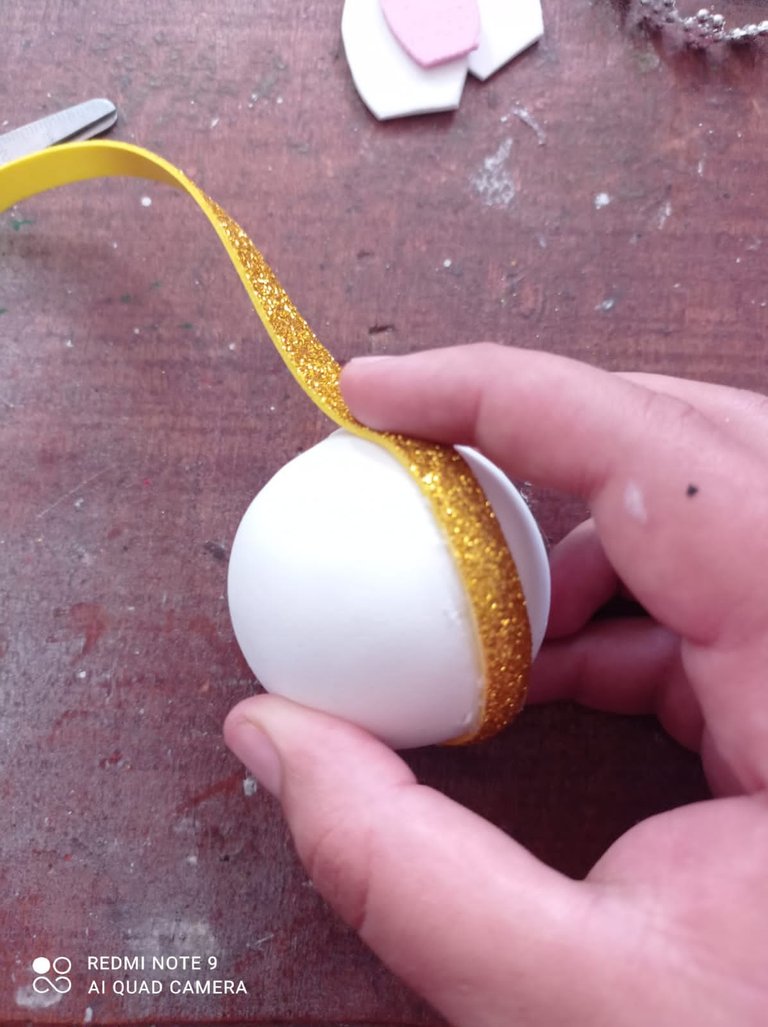
Paso 3:
Después cortamos el sobrante de el foami de color blanco y pegamos el foami a la bola de anime, y con la tira aseguramos por todo el medio de la bola.
(Cortamos el sobrante de la tira.)
Step 3:
Then we cut the excess of the white foami and glue the foami to the anime ball, and with the strip we secure all around the middle of the ball.
(We cut the excess of the strip)

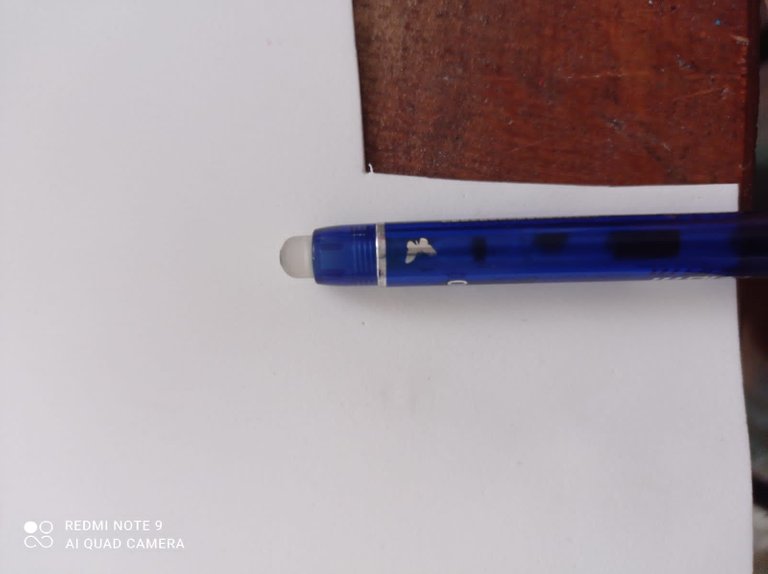
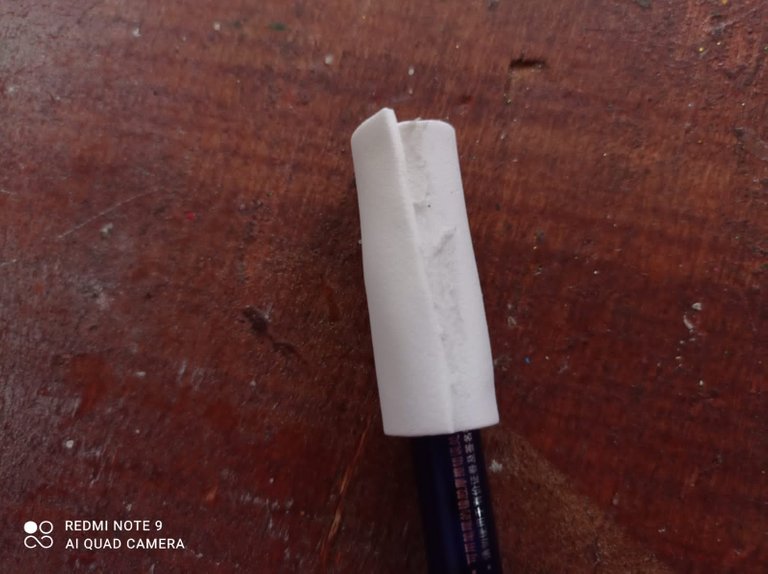
Paso 4:
Ahora medimos el lápiz con el foami de color blanco para cortar un pedazo, para enrollar y pegar en la parte superior del lápiz.
(Esto será nuestra base)
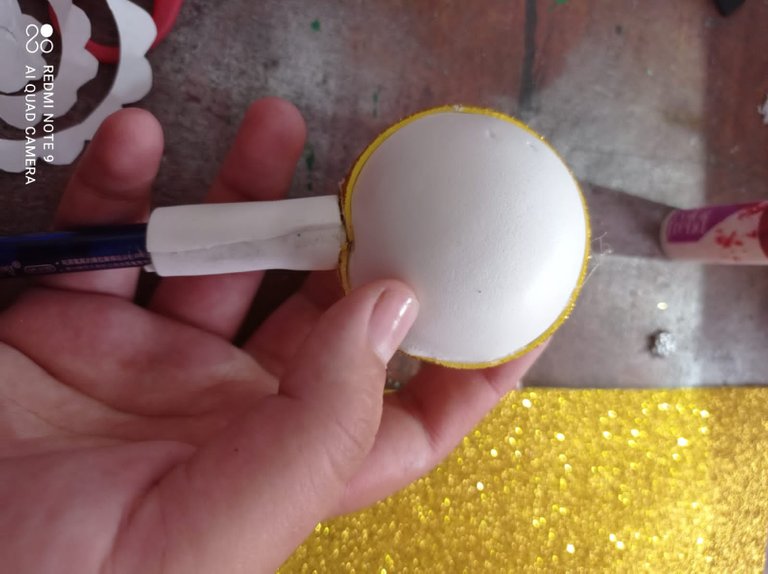
• la bola la vamos a pegar sobre la base con suficiente silicón para que no se despegue.
Step 4:
Now we measure the pencil with the white colored foami to cut a piece, to roll and glue on the top of the pencil.
(This will be our base)
- We are going to glue the ball on the base with enough silicone so that it does not come off.
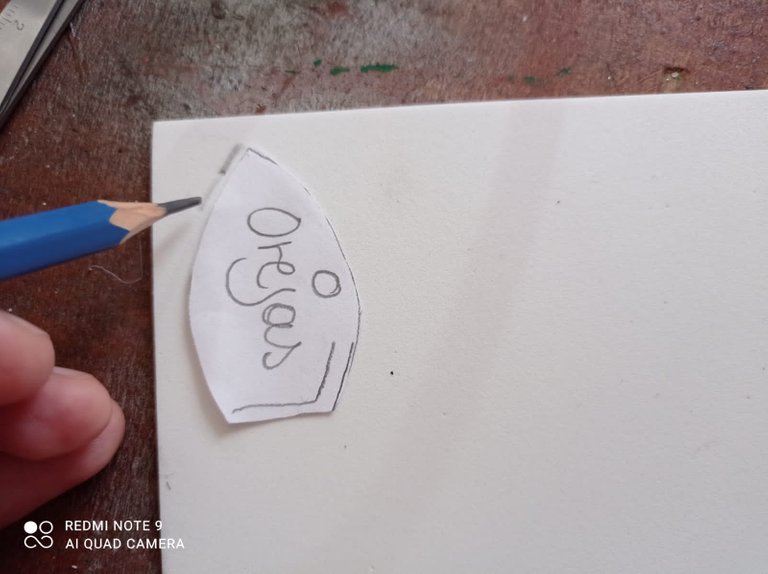
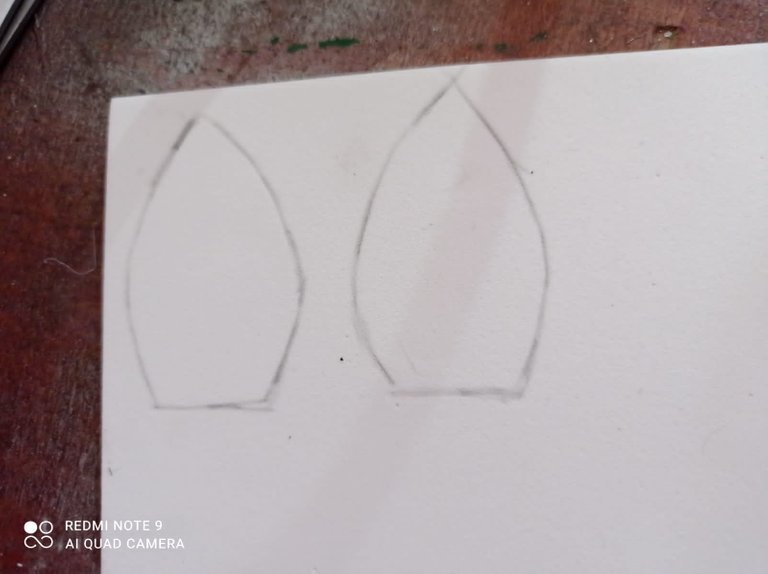
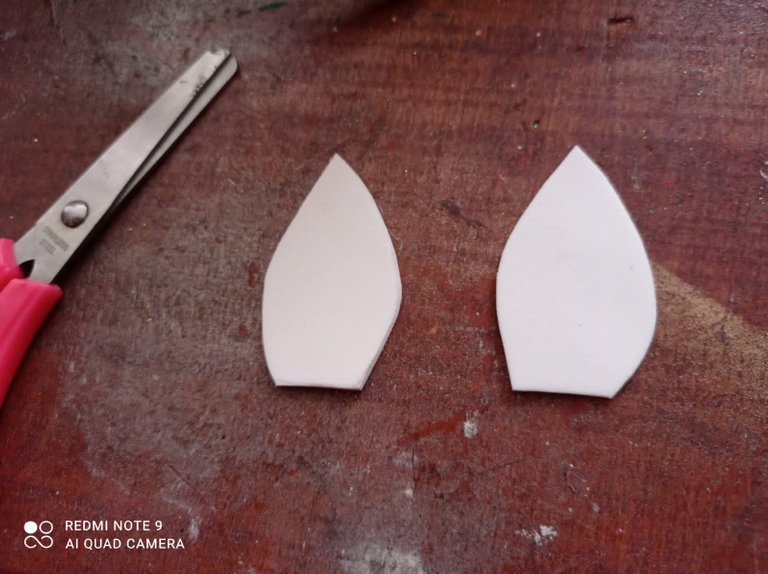
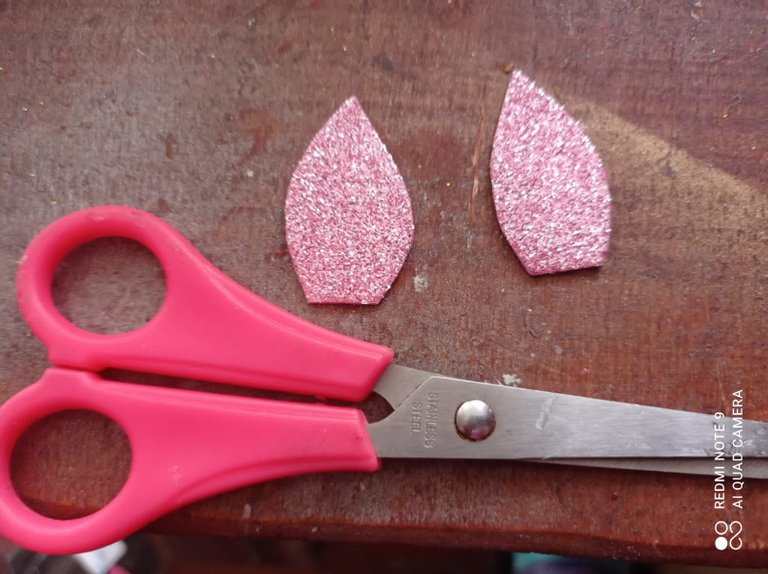
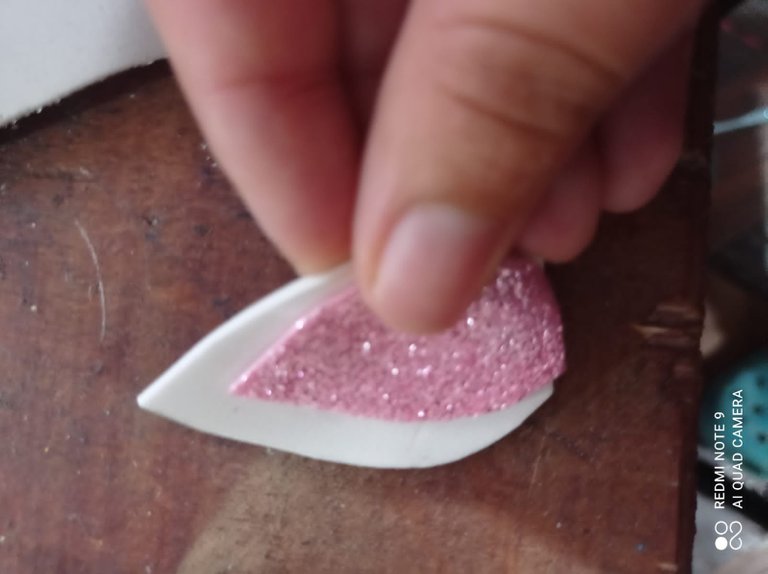
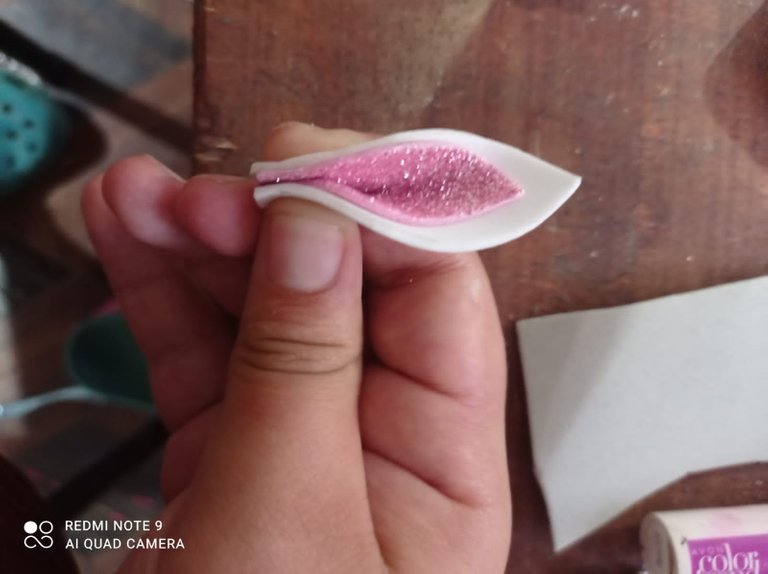
Paso 5:
Seguimos colocando el molde de la oreja sobre el foami de color blanco y el otro sobre el foami de color rosado marcamos, recortamos y pegamos la oreja de color rosado sobre el blanco y en la parte inferior hacer un doble y pegarlo.
Step 5:
We continue placing the mold of the ear on the white foami and the other one on the pink foami. We mark, cut and glue the pink ear on the white one and on the upper part make a double and glue it.
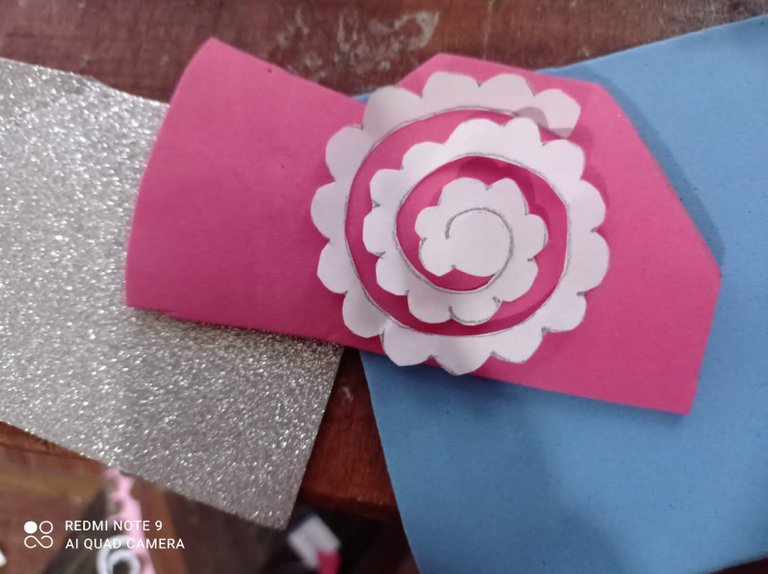
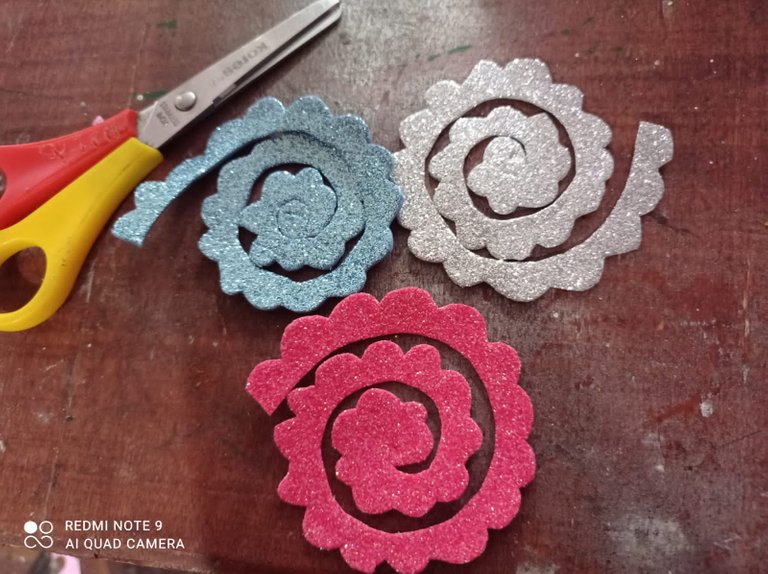
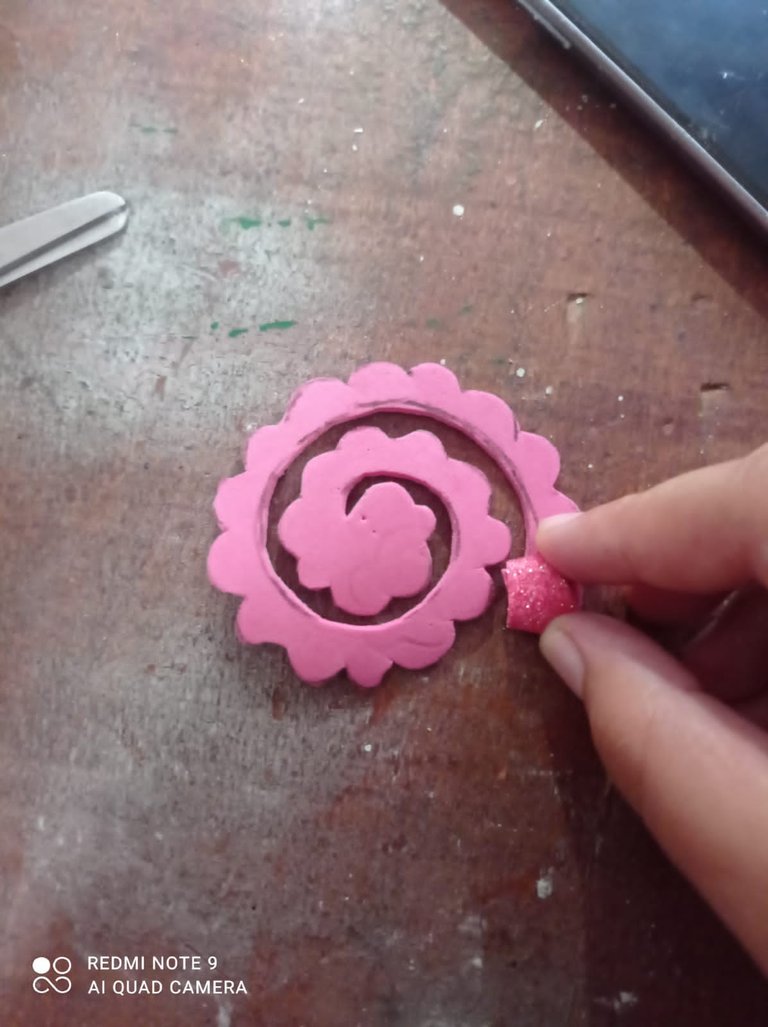
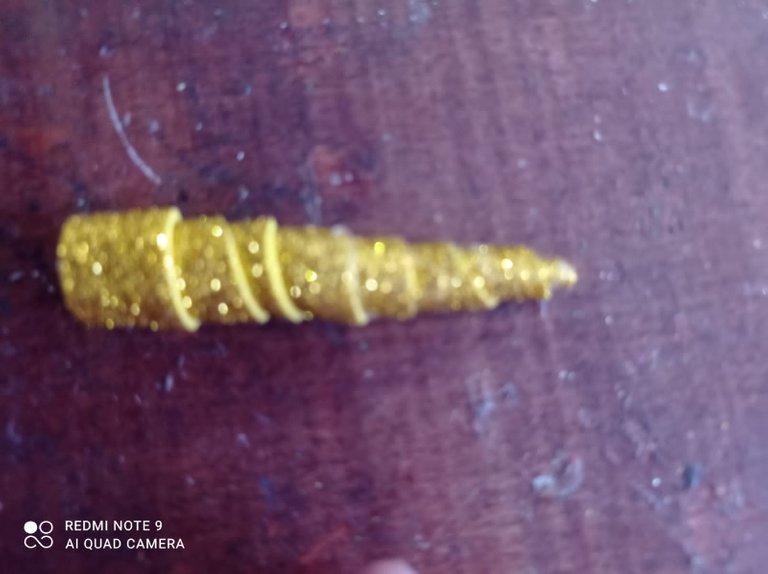
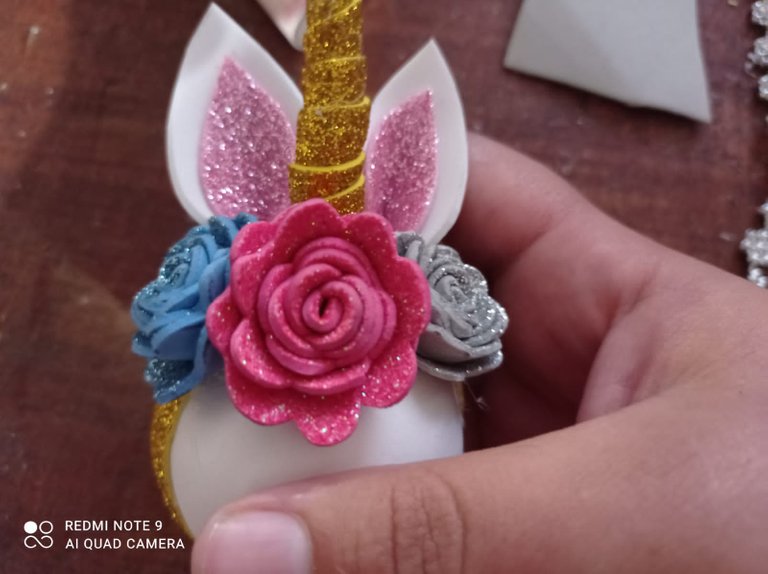
Paso 6:
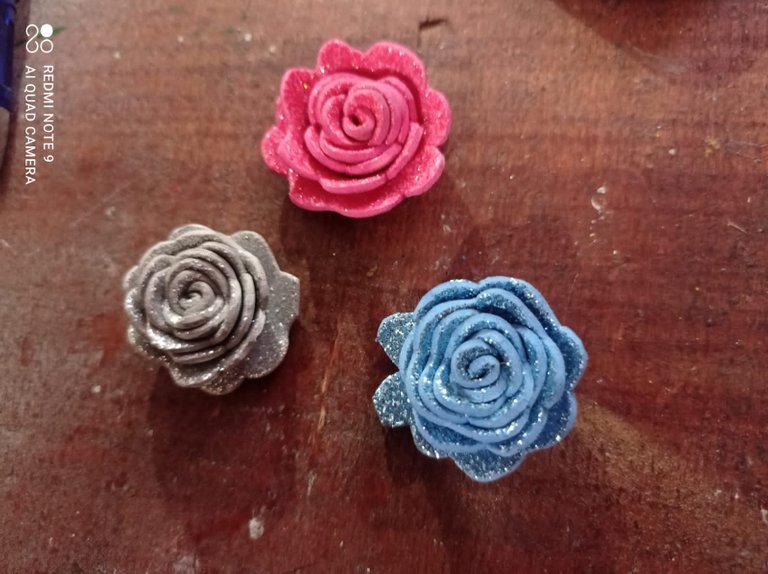
Colocamos el molde de la flor sobre los distintos colores de foami, marcamos, recortamos y vamos enrollando hasta hacer las flores.
• Con una tira de foami de color dorado vamos a enrollar de tal forma que nos quede el cuero del unicornio.
Step 6:
Place the flower mold on the different colors of foami, mark, cut and roll up to make the flowers.
- With a strip of gold colored foami we are going to roll in such a way that we have the leather of the unicorn.
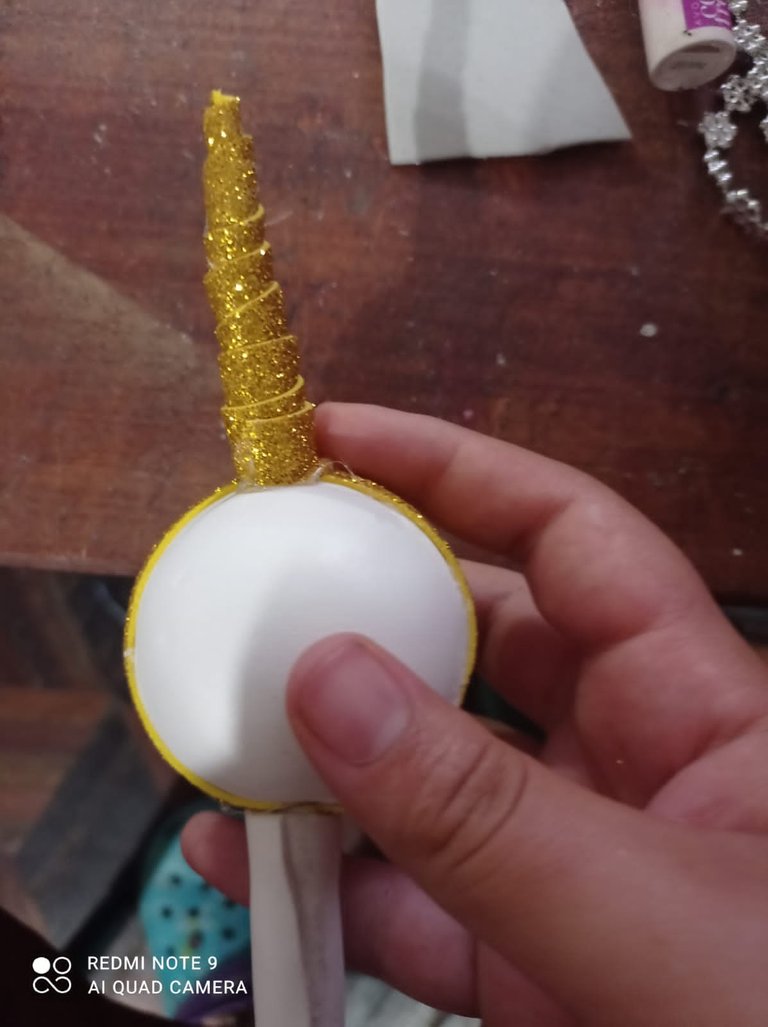
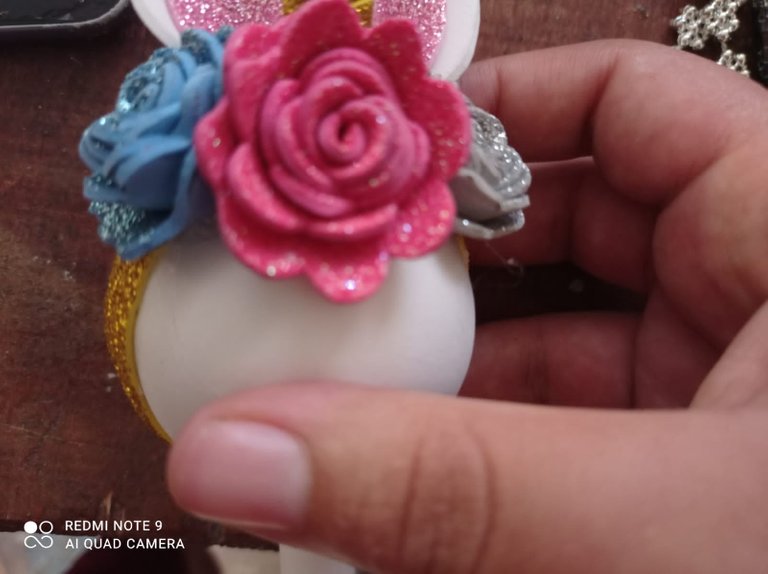
Paso 7:
Hecho esto pegamos el cacho en la parte superior de la bola, también pegamos las flores y luego las orejas.
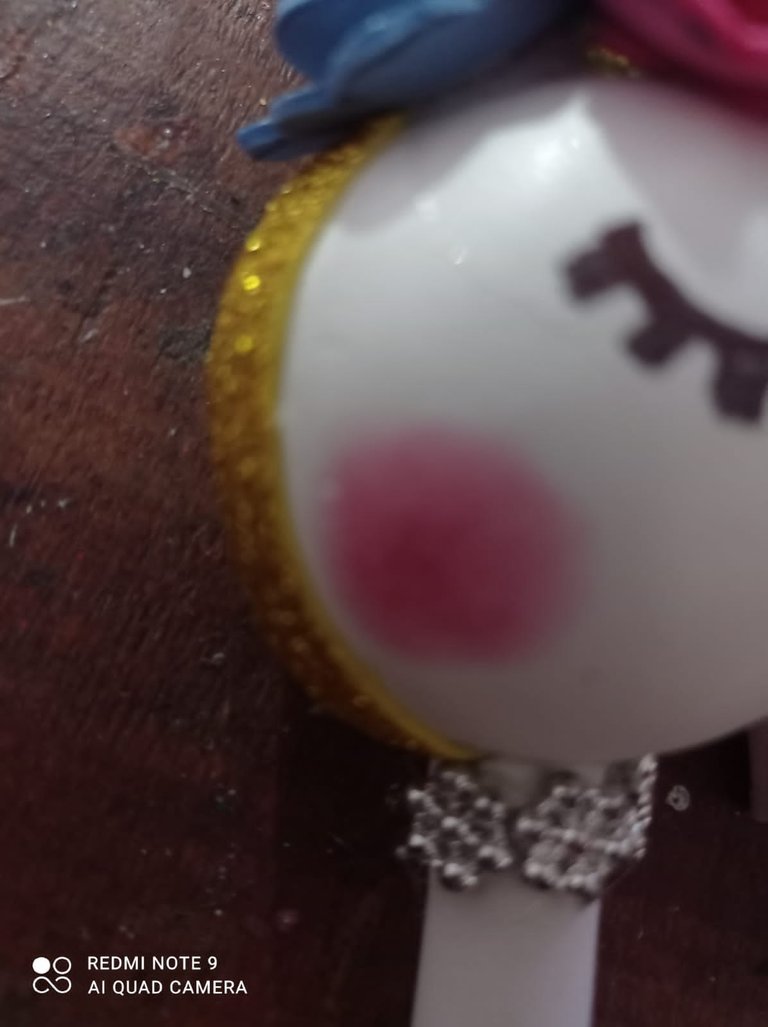
• Para terminar dibujamos los ojos con marcador de color negro y con el labial hacemos el rubor del unicornio.
(También podemos hacer los ojos con foami de color negro).
Step 7:
Once this is done, we glue the tail on the top of the ball, we also glue the flowers and then the ears.
- To finish we draw the eyes with black marker and with the lipstick we make the blush of the unicorn.
(We can also make the eyes with black foami).
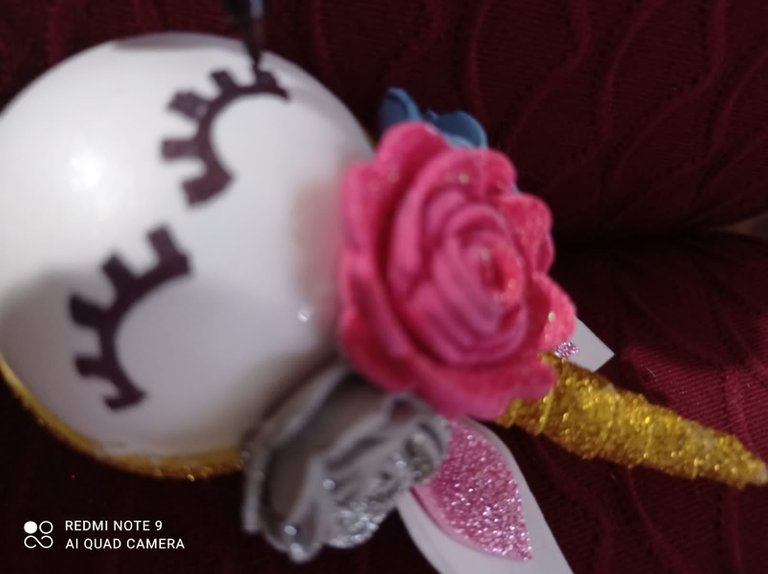
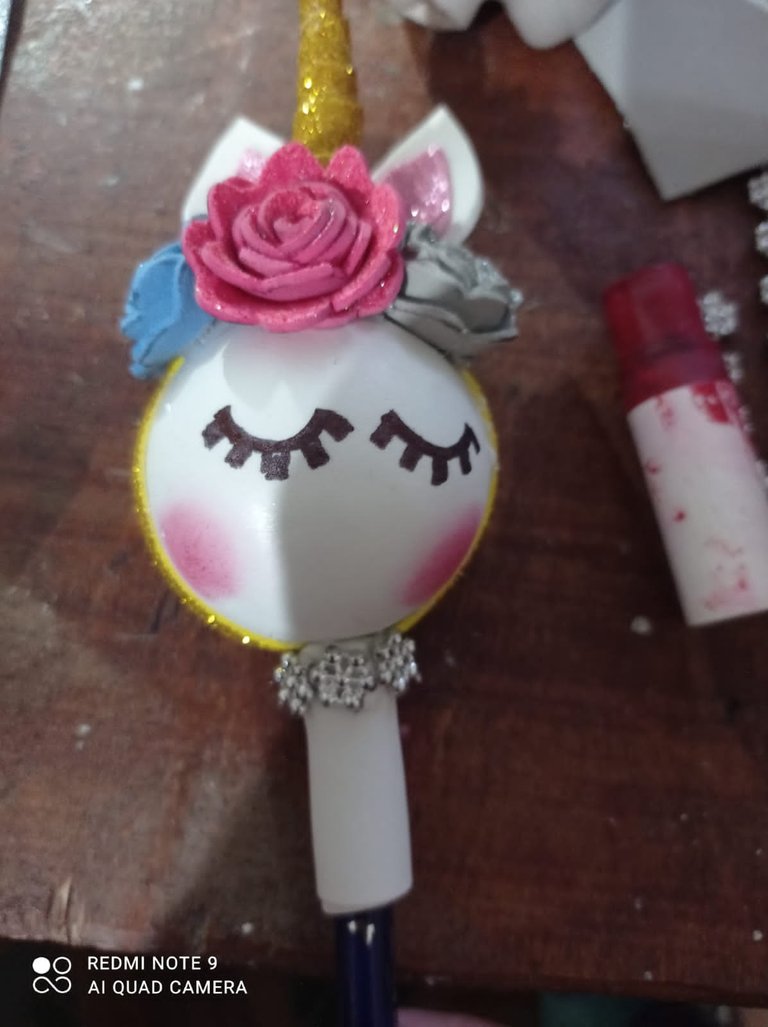
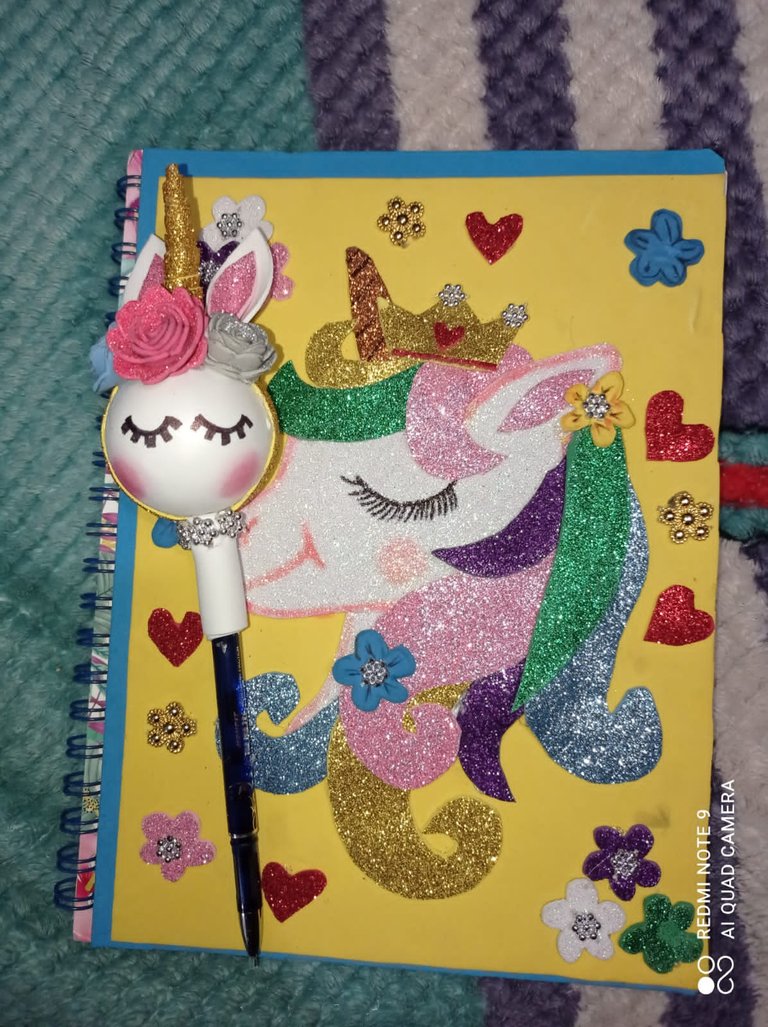
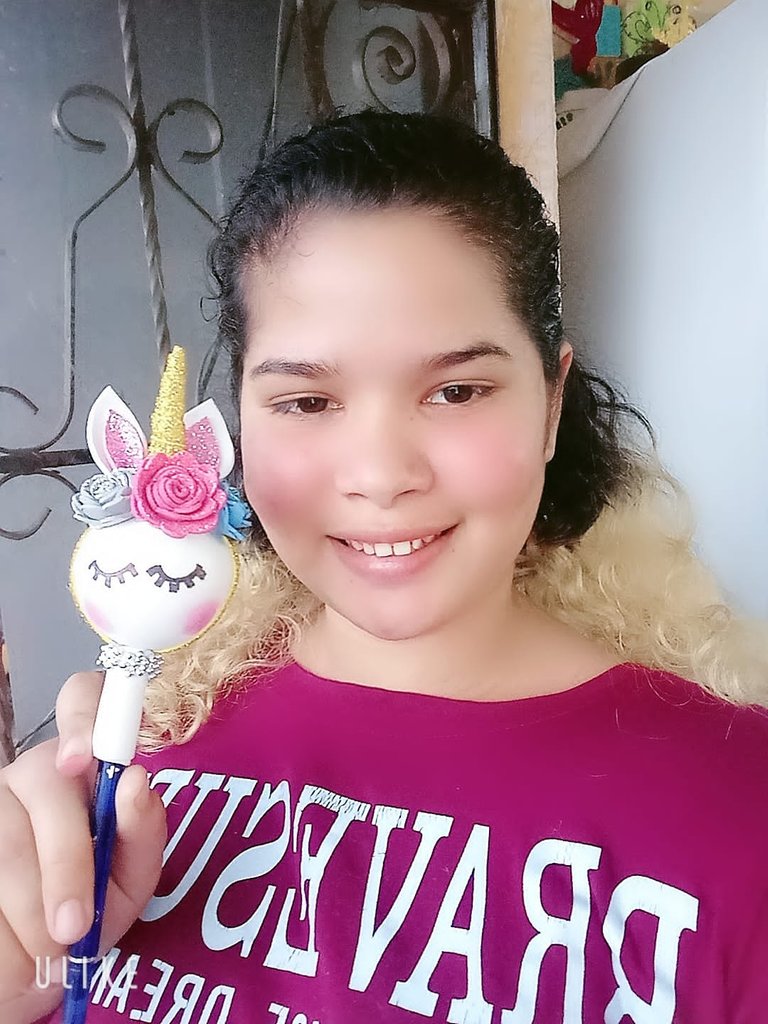
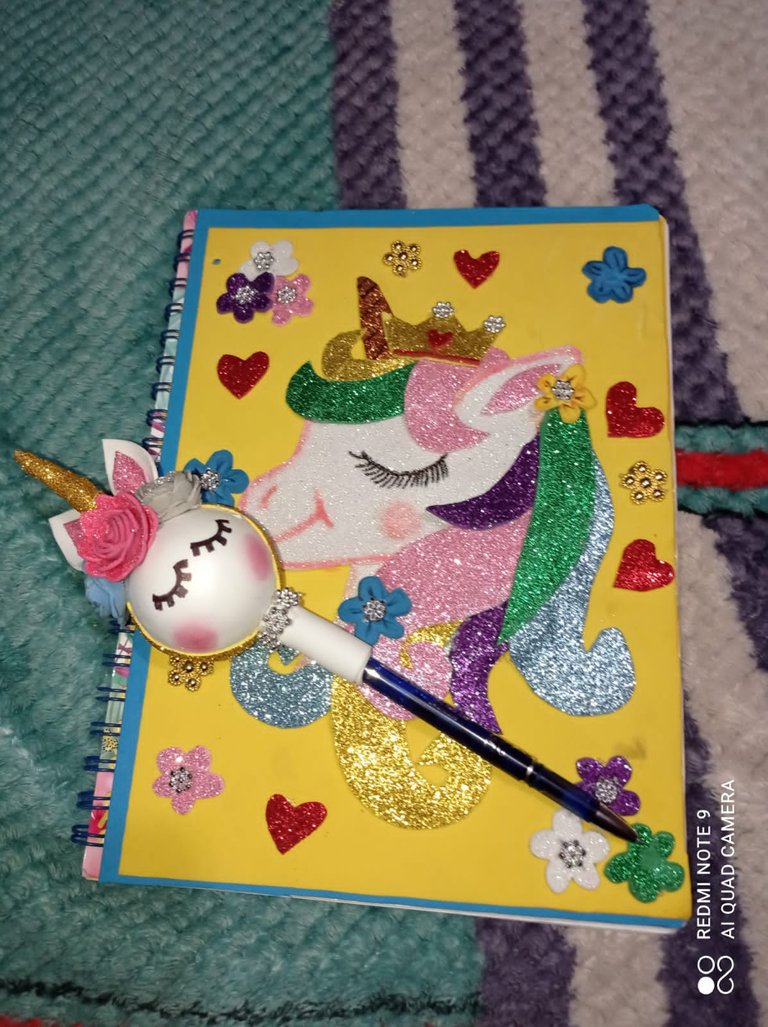
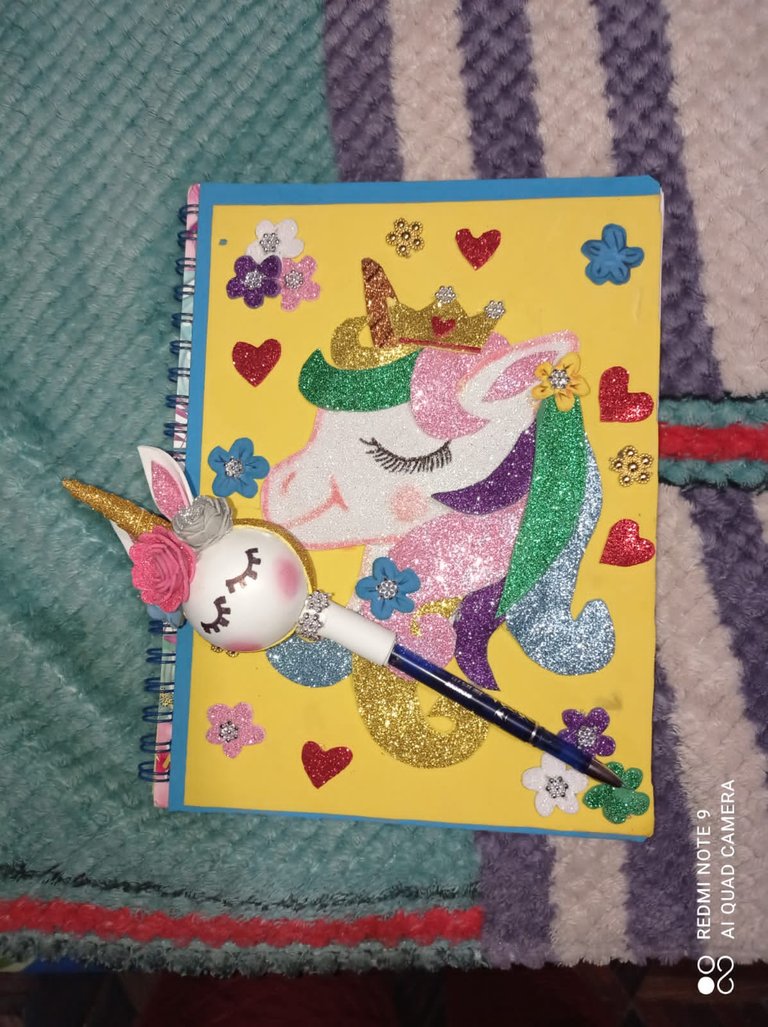
DEAR FRIENDS HERE IS THE FINAL RESULT, OF THIS BEAUTIFUL UNICORN
Quiero aprovechar la oportunidad para invitar a mi amigo @chandehc para que sea parte de este increíble concurso.
I want to take this opportunity to invite my friend @chandehc to be part of this amazing contest.

Congratulations @gemahernandez! You have completed the following achievement on the Hive blockchain and have been rewarded with new badge(s):
Your next target is to reach 7000 upvotes.
You can view your badges on your board and compare yourself to others in the Ranking
If you no longer want to receive notifications, reply to this comment with the word
STOPCheck out the last post from @hivebuzz:
Un lindo trabajo con los materiales propuestos para el concurso. Muchas gracias por participar! 🤗
Para mi es un placer siempre ser parte de estos creativos y emprendedores concursos... saludos y bendiciones...