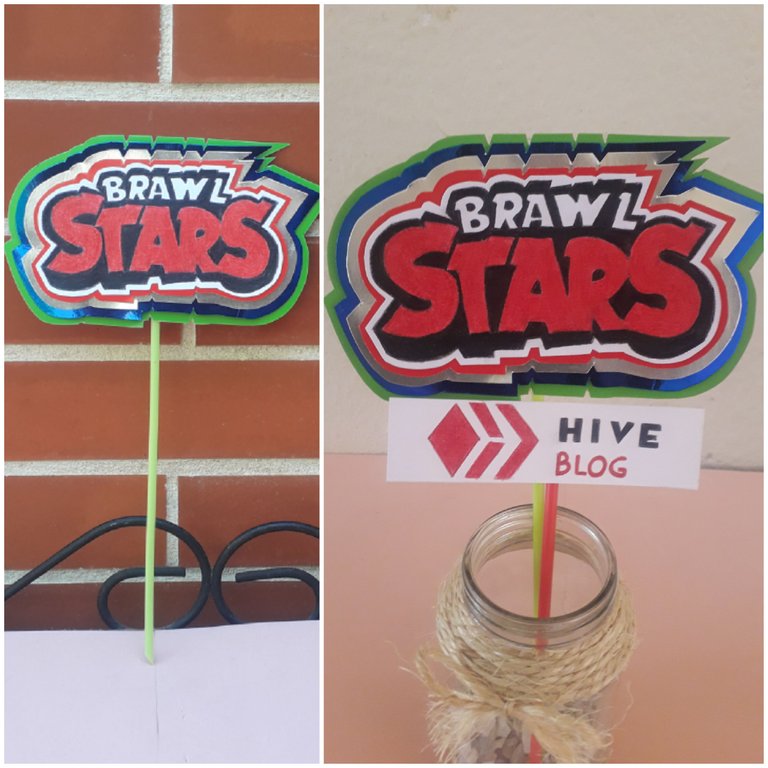
Hello, cherished #Hive Diy community I hope you are well and blessed in all things.
Back with you again to bring you another creation made with my hands.Remember the "Brawl Stars" themed kids birthday arrangement I shared with you? Well, her mommy also asked me to make her a cake topper like I had done for the arrangement. So today I share with you the step by step and the result. The best of all is that I used recycled material at home, scraps of cardboard, colors and lots of love and creativity.
Hola, apreciada comunidad de #Hive Diy espero que se encuentren bien y sean bendecidos en todo.
Nuevamente con ustedes para traerles otra creación hecha con mis manos.¿Recuerdan el arreglo de cumpleaños para niños con motivo de "Brawl Stars" que les compartí? Pues, su mami también me pidió que le hiciera un toper para la torta como lo había hecho para el arreglo. Así que hoy les comparto el paso a paso y su resultado. Lo mejor de todo es que usé material reciclado en casa, retazos de cartulina, colores y mucho amor y creatividad.
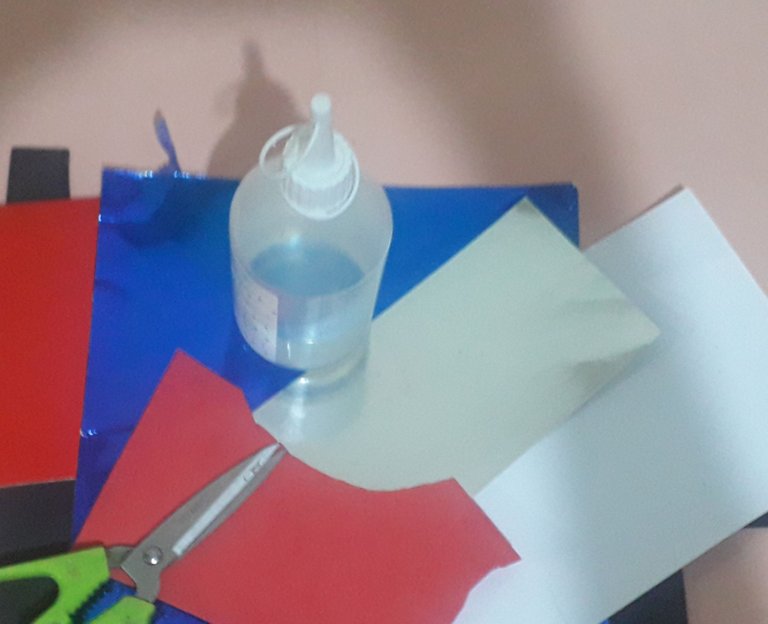
MATERIALS
4 colored cardboard scraps
white cardboard that can be used on one side
Cold silicone
Scissors
scraps of foami
Colors
MATERIALES
Retazos de cartulina de 4 colores
Cartulina blanca que puede estar usada por un lado
Silicón frío
Tijera
Retazos de foami
Colores
ELABORATION
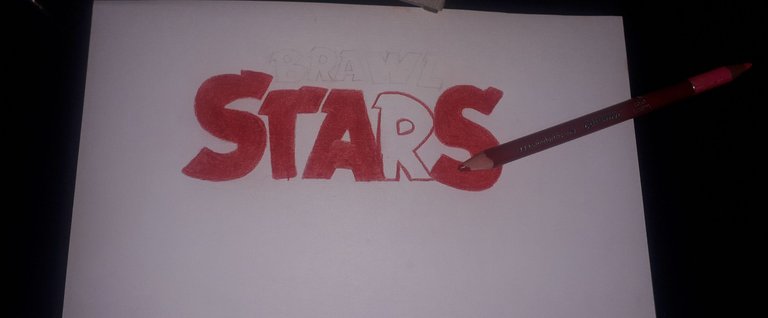
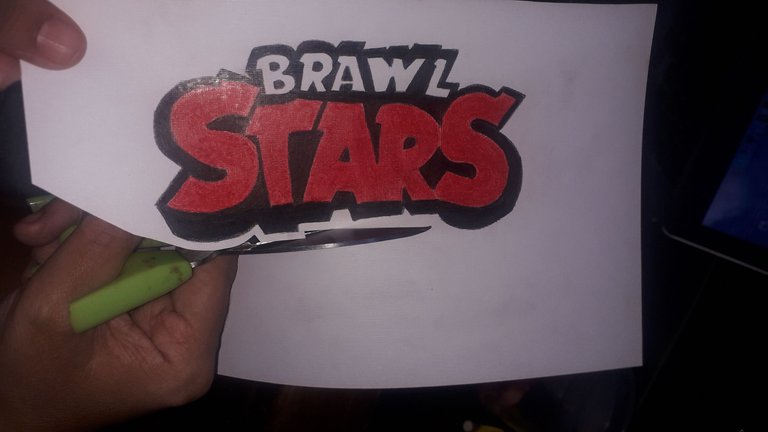
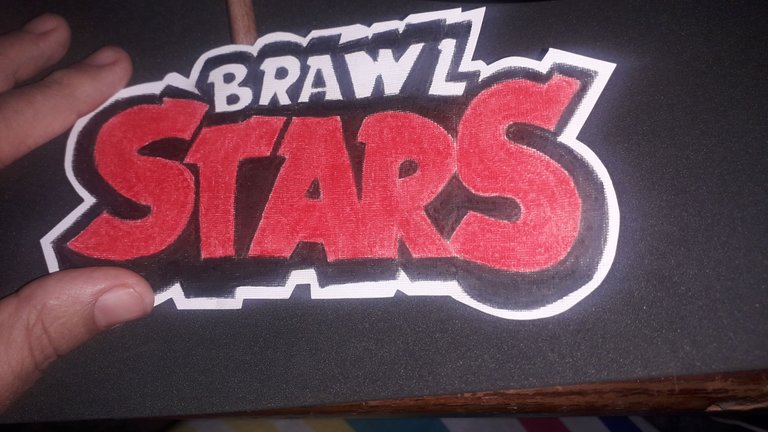
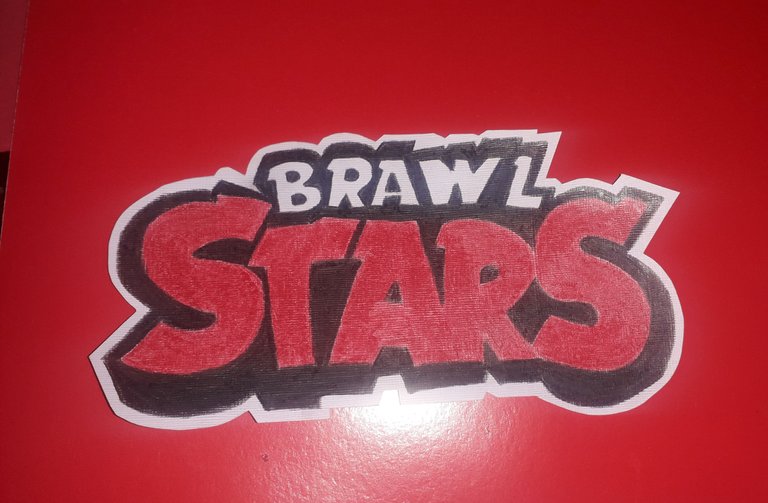
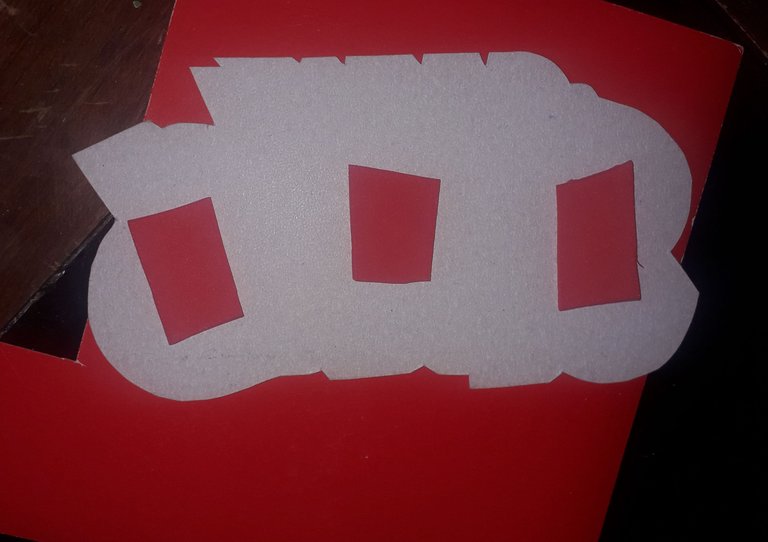
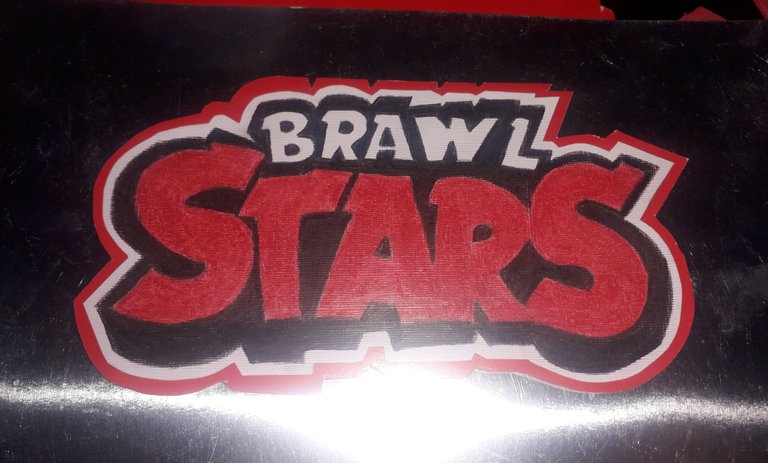
The first thing I did was to mark with graphite pencil the original logo of "Brawl Stars" I do it by hand, seeing the image from my phone. You can do that with any logo you want to make, download the image from the web and then do it on the white cardboard. My husband traces on the computer screen, I prefer to do it by hand. After they get the image they start drawing with colors.
ELABORACIÓN
Lo primero que hice fue marcar con lápiz de grafito el logo original de "Brawl Stars" lo hago a pulso, viendo la imagen desde mi teléfono. Eso pueden hacer con cualquier logo que quieran hacer, descargan la imagen desde la web y luego lo hacen sobre la cartulina blanca. Mi esposo calquea sobre la pantalla de la computadora, yo prefiero hacerlo a pulso. Después que logran tener la imagen comienzan a dibujar con colores.
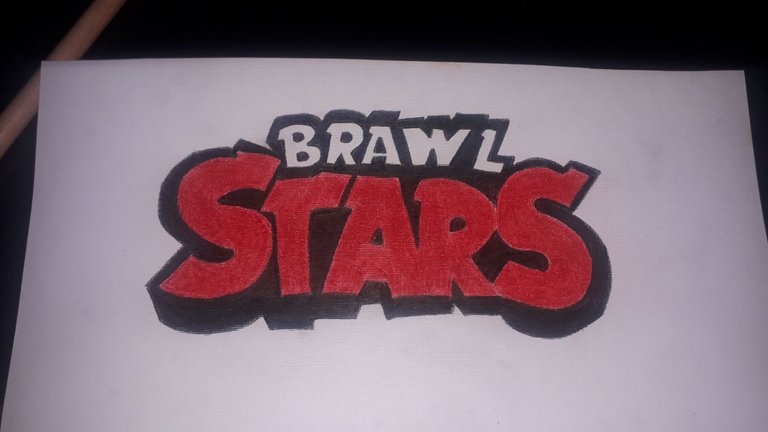
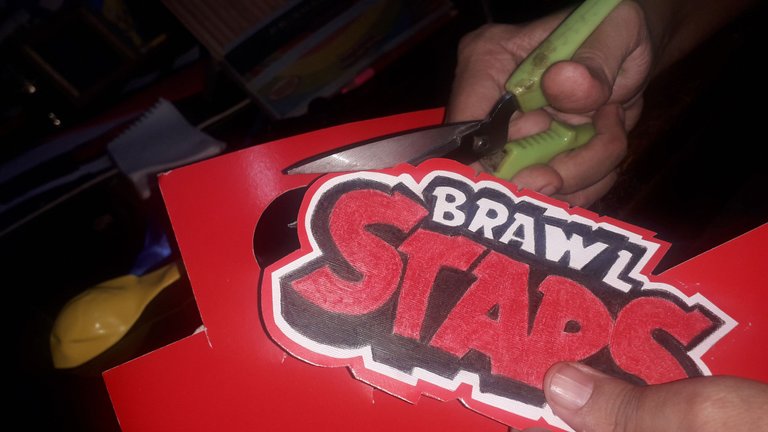
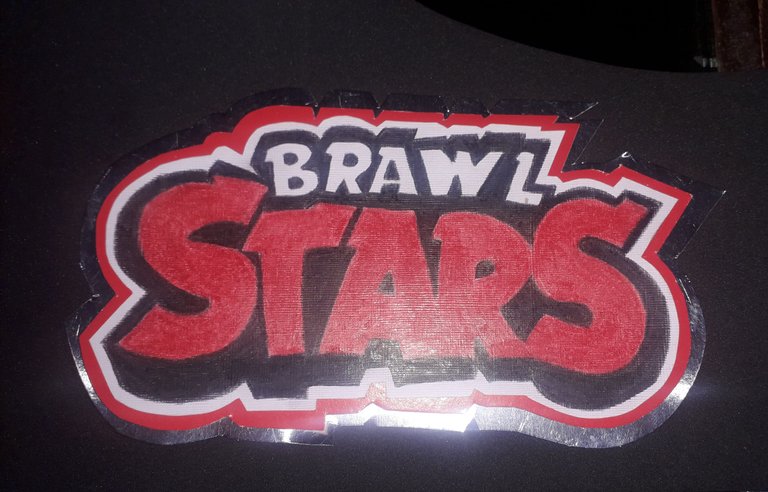
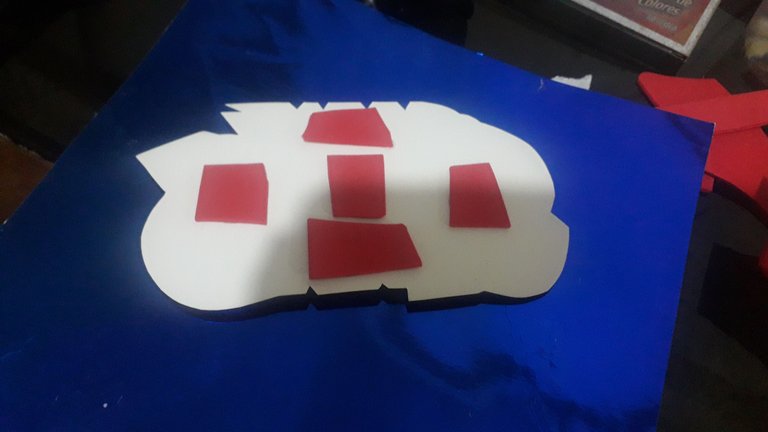
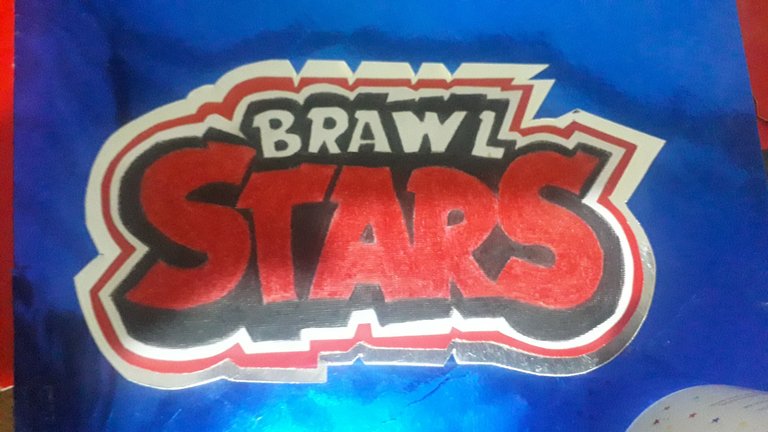
Para la última capa del toper coloqué los retazos de foami como les enseñé en los pasos anteriores, pegué a la cartulina verde, recorté y puse un palillo de globo para que el toper pudiera ponerse en la torta.
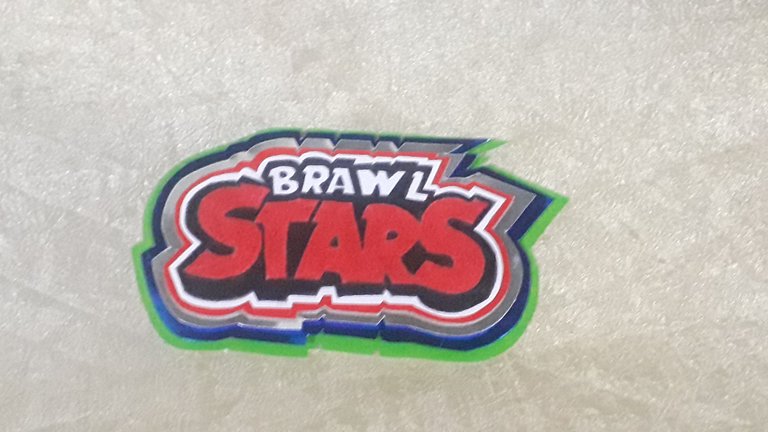
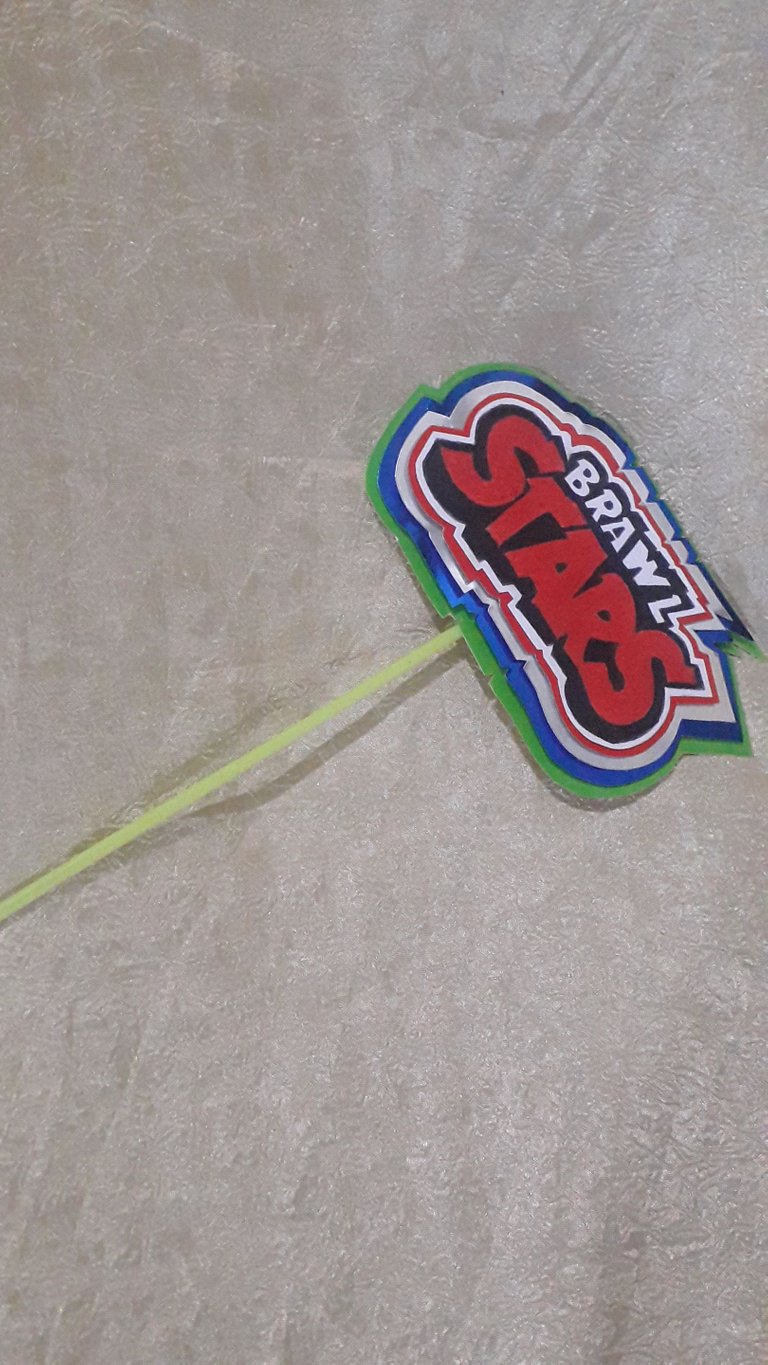
Now I leave you with the nice final result, encouraging you to do it for your little ones, and then tell me about your experience. This type of toper can also be used to decorate your children's room. Blessings. See you in a future post.
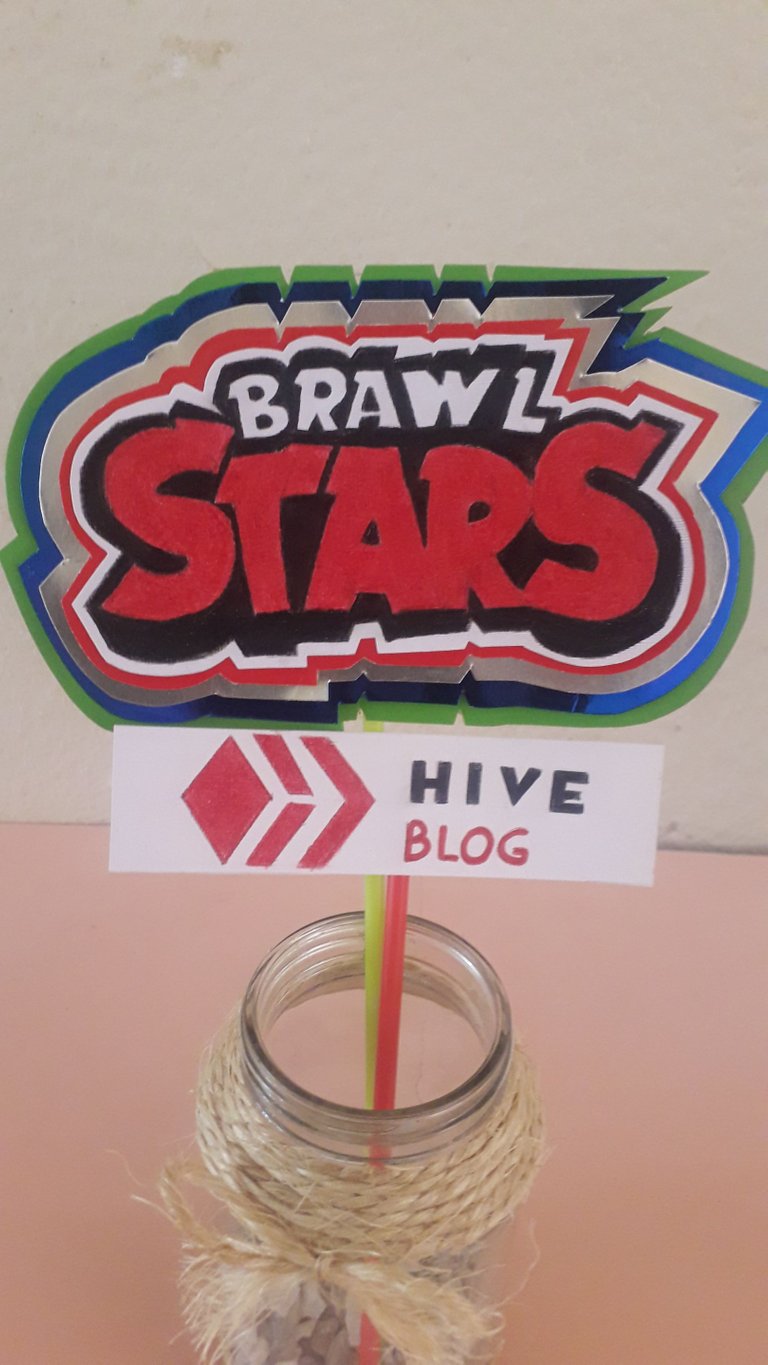
All photos with no author mentioned have been taken by me with my Samsung J2 Prime phone
Congratulations @gcreaciones! You have completed the following achievement on the Hive blockchain and have been rewarded with new badge(s) :
Your next payout target is 250 HP.
The unit is Hive Power equivalent because your rewards can be split into HP and HBD
You can view your badges on your board and compare yourself to others in the Ranking
If you no longer want to receive notifications, reply to this comment with the word
STOPHermanita querida que alegría haberte encontrado por aquí, te felicito por este trabajo, esto está hermoso. Te doy mi bienvenida a este mundo maravilloso de Hive que nos hace más creativos para mostrar nuestris dones. Dios te bengida.
Amén, hermanita bella. Gracias por tu recibimiento tan lindo. Ha sido una maravillosa oportunidad poder interactuar con toda la comunidad de #Hive y aportar y aprender . Abrazos y bendiciones.