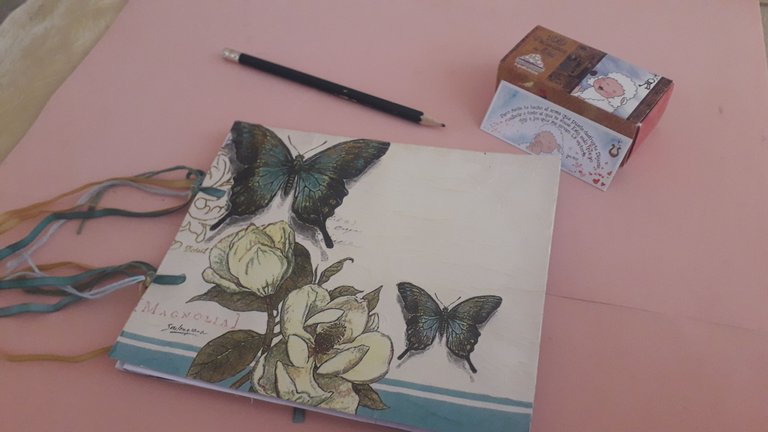
Hello, #Hive Diy friends I hope you are doing great and that you had a nice and productive week.
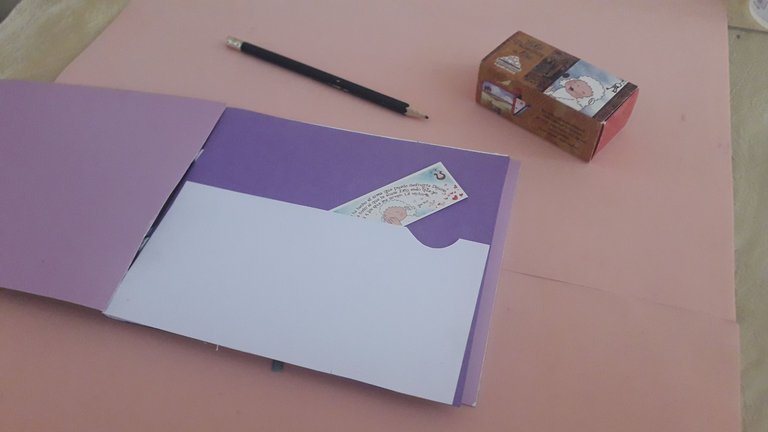
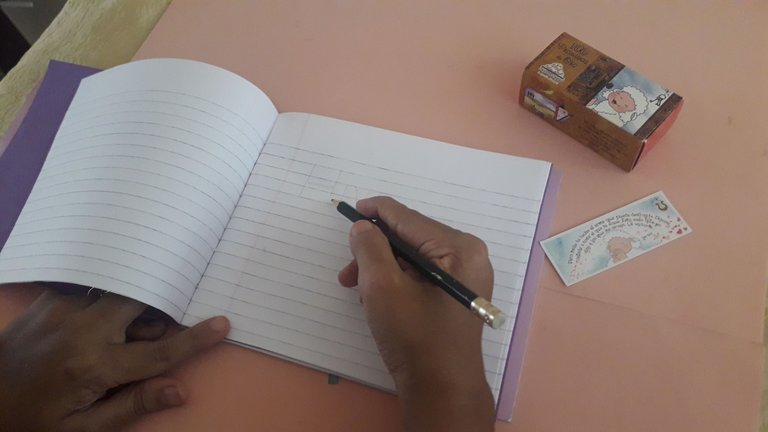
Today I am with you to present a beautiful notebook that I love and use for giveaways and for my own use. For those of us who are lovers of notebooks, agendas and everything that serves to capture our notes is ideal.
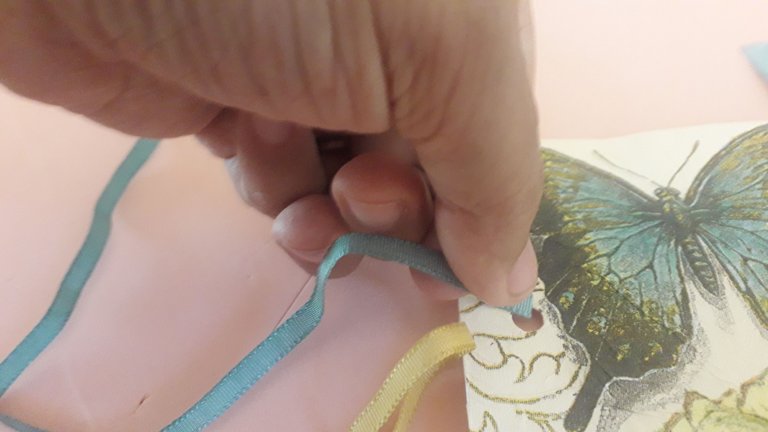
I wanted to decorate the cover with a decorated napkin to give it a more delicate touch, but you can do it with whatever you have at hand, you can paint it, cover it with wrapping paper or even magazine paper.
I knew the napkin technique as decoupage, which is the technique of gluing different paper or napkin cuttings. With this technique we can decorate many surfaces such as wood, metal, glass, fabric, plastic, ceramic and in this case cardboard. The decoupage technique requires the use of many layers of varnish or lacquer, which are sanded until a really beautiful surface is achieved. But in this case I bring you a simple and practical adaptation adaptable to our possibilities, since you only need glue, water, brush, napkin and the surface to decorate.
In a previous publication I presented the same technique in a glass jar that was transformed into a pencil holder.
Now we are going to create the beautiful notebook, I hope you like it and encourage you to do it.
Hola, amigos de #Hive Diy espero que estén muy bien y que hayan tenido una linda y productiva semana.
Hoy estoy con ustedes para presentarles una hermosa libreta de notas que me encanta y uso para regalar y para mi propio uso. Para los que somos amantes de las libretas, agendas y todo lo que sirva para plasmar nuestros apuntes es ideal.
Le quise decorar la portada con servilleta decorada para darle un toque más delicado, pero ustedes pueden hacerlo con lo que tengan a mano, pueden pintarla, forrar de papel de regalo o incluso de revista.
La técnica de la servilleta la conocí como decoupage, que es la técnica que consiste en pegar diferentes recortes de papel o servilleta. Con esta técnica podemos decorar muchas superficies como madera, metal, vidrio, tela, plástico, cerámica y en este caso cartulina. La técnica decoupage requiere el uso de muchas capas de barniz o laca, que se lijan hasta lograr una superficie realmente hermosa. Pero en este caso les traigo una adaptación sencilla y práctica adaptable a nuestras posibilidades, ya que solo se necesita pega, agua, pincel, la servilleta y la superficie a decorar.
En una publicación anterior les presenté la misma técnica en un frasco de vidrio que se transformó en un portalápices.
Ahora les diré cómo hacer la hermosa libreta de notas, espero que les guste y se animen a hacerla.
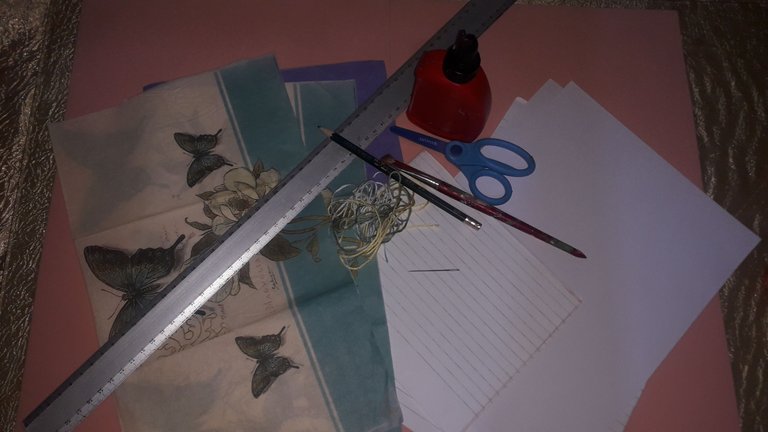
MATERIALS
White cardboard 2 recycled (the size you want to make your notebook).
Double-sided cardboard 2 recycled pieces (to cover the covers of your notebook).
Napkin with design or some paper to decorate your notebook.
White glue.
Paintbrush.
Water.
Scissors.
Ruler.
Pencil.
Sheets of paper (I used exam sheets and divided them in half horizontally).
Thread.
Needle.
Thin fabric ribbons.
Cuter.
Hot silicone.
MATERIALES
Cartulina blanca 2 reciclada (del tamaño que quieran hacer su libreta).
Cartulina doble faz 2 pedazos reciclados (para cubrir las tapas de su libreta).
Servilleta con diseño o algún papel para decorar tu libreta.
Pega blanca.
Pincel.
Agua.
Tijera.
Regla.
Lápiz.
Hojas (yo usé de hojas de éxamen y las dividí a la mitad horizontalmente).
Hilo.
Aguja.
Cintas de tela delgadas.
Cuter.
Silicón caliente.
ELABORATION
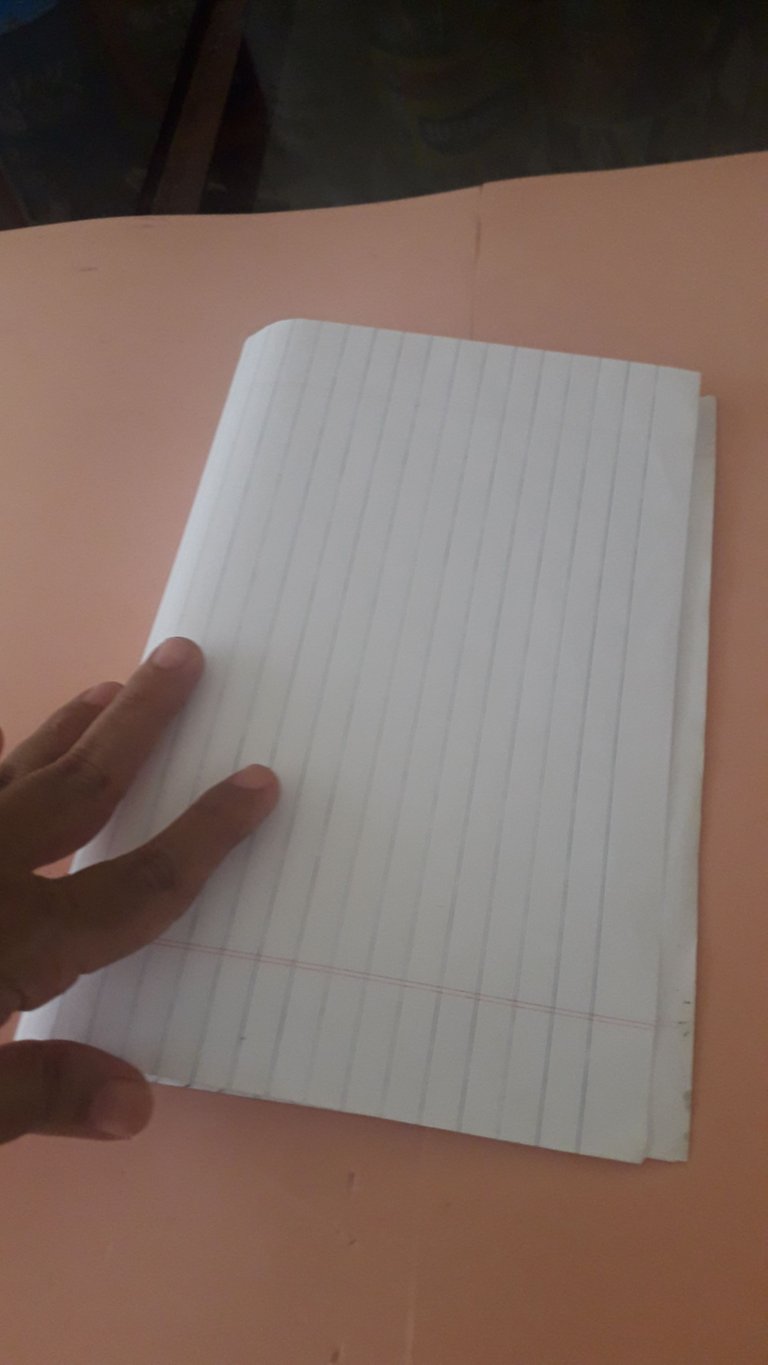
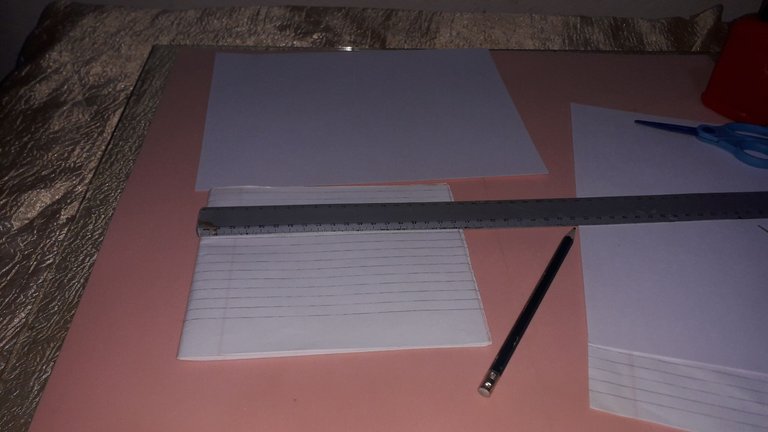
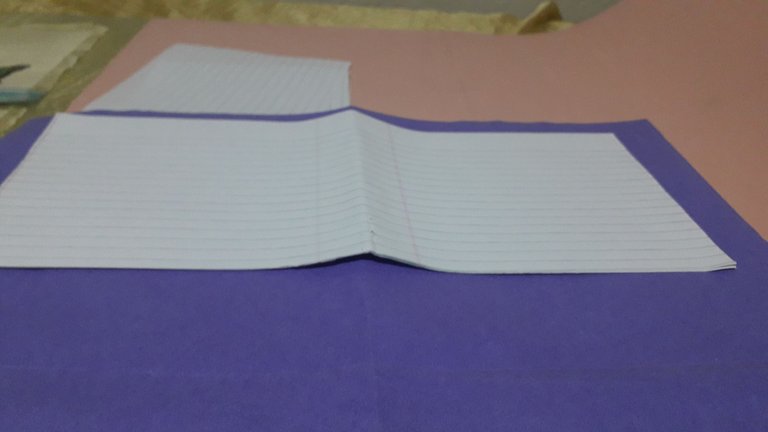
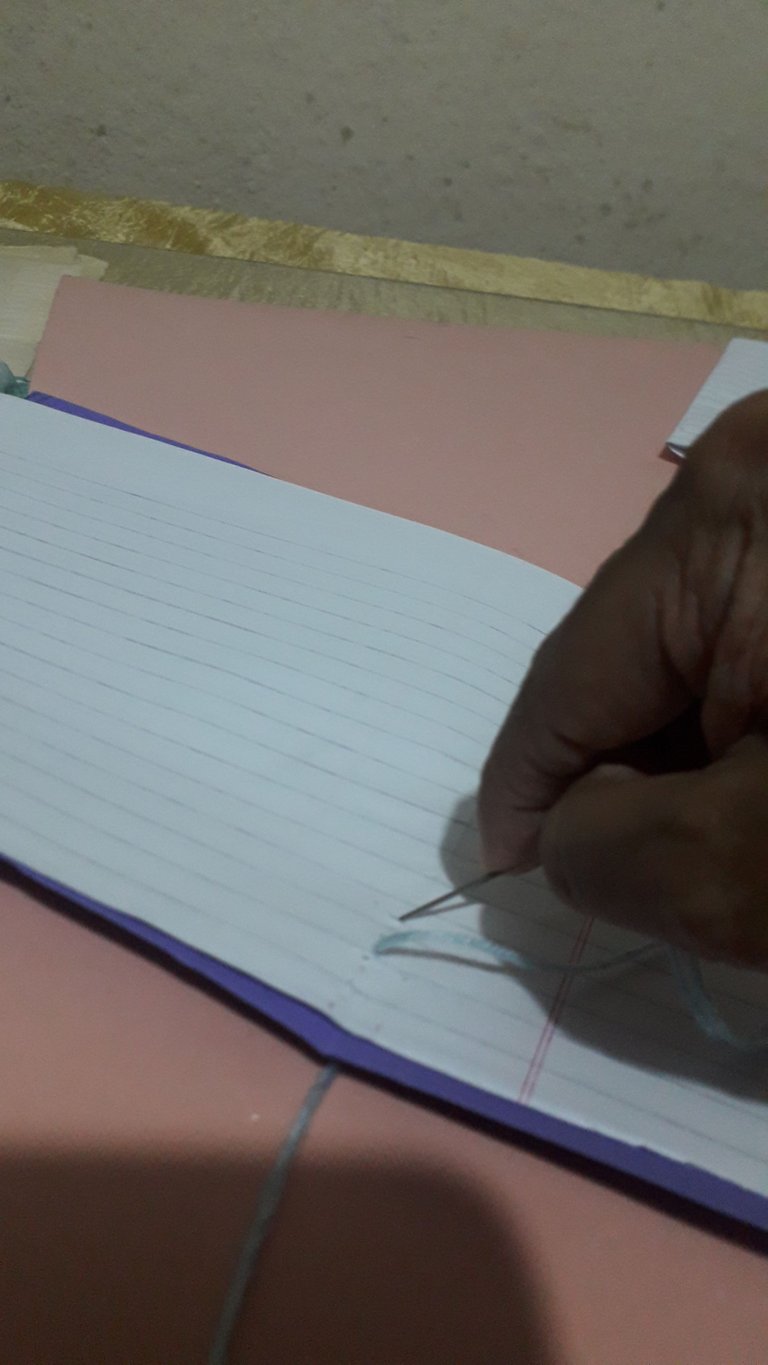
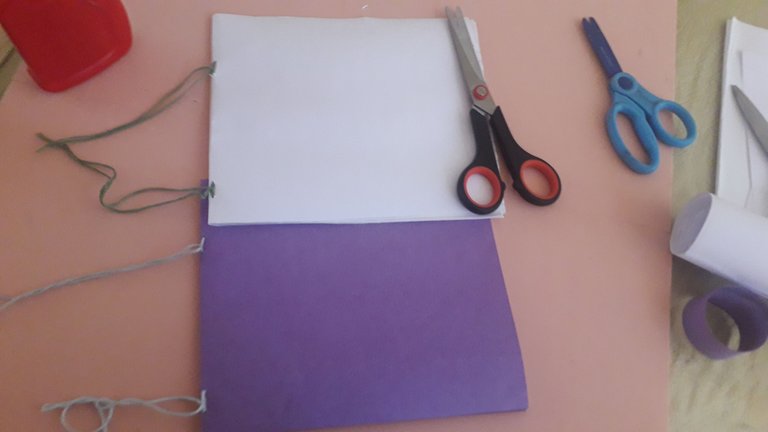
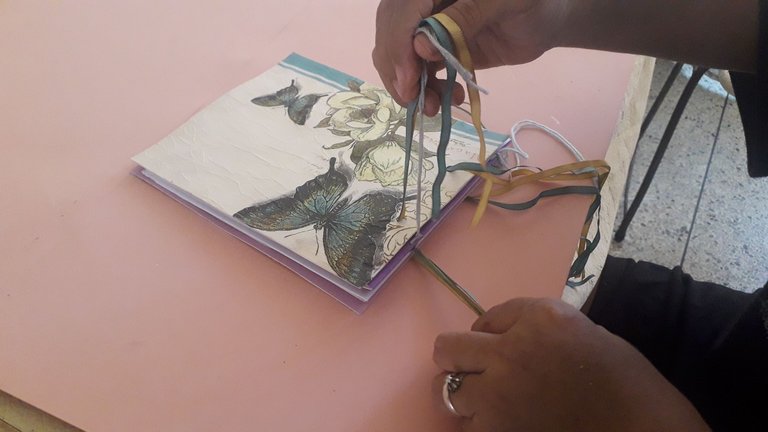
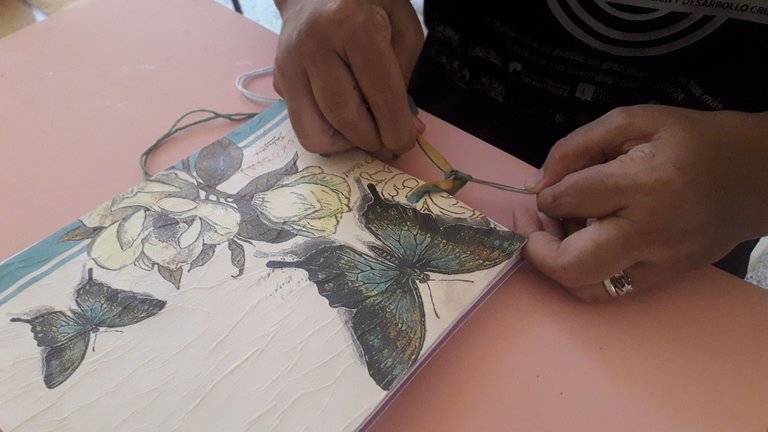
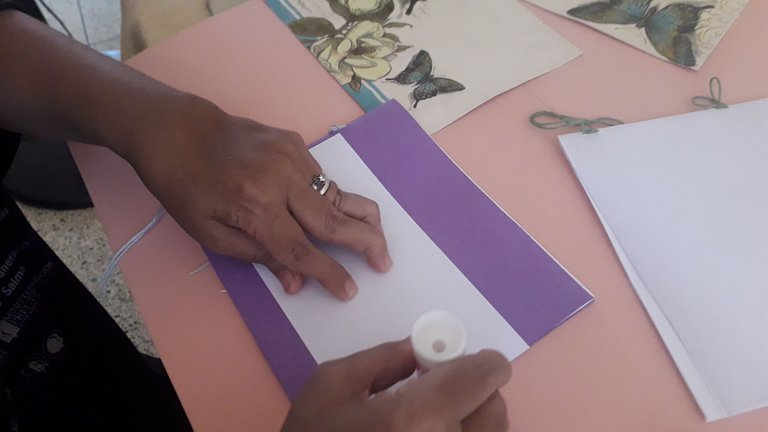
The first thing I did was to cut out the sheets I was going to use to make my notebook, and thus establish the size of the covers. I used 12 test sheets I had at home, and I cut them in half horizontally, since I needed the sheets to be together to be able to sew them together. You can also use white sheets. After cutting the 12 sheets, I separated them into two groups of 6 each.
ELABORACION
Lo primero que hice fue recortar las hojas que iba a usar para armar mi libreta, y así establecer el tamaño de las tapas. Yo usé hojas 12 de examen que tenía en casa, y las corté a la mitad horizontalmente, ya que me hacía falta que las hojas estuviesen unidas para poder coserlas. También pueden ser hojas blancas. Las 12 hojas después de cortarlas las separé en dos grupos de 6 cada uno.
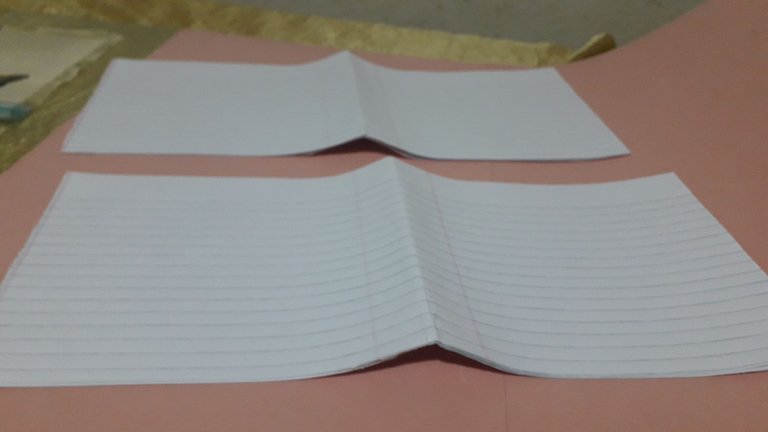
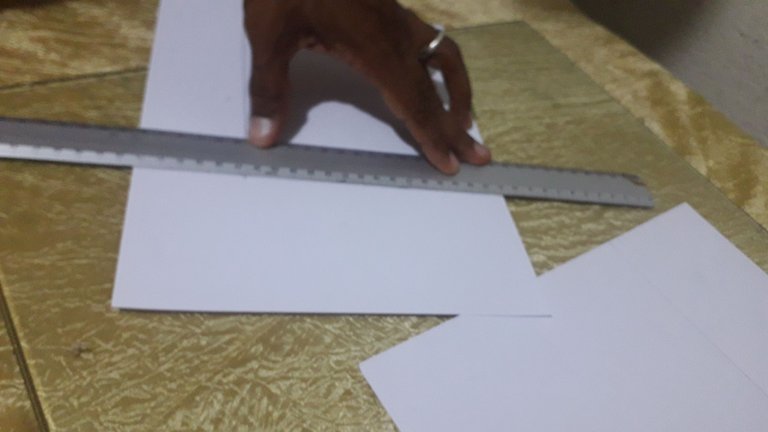
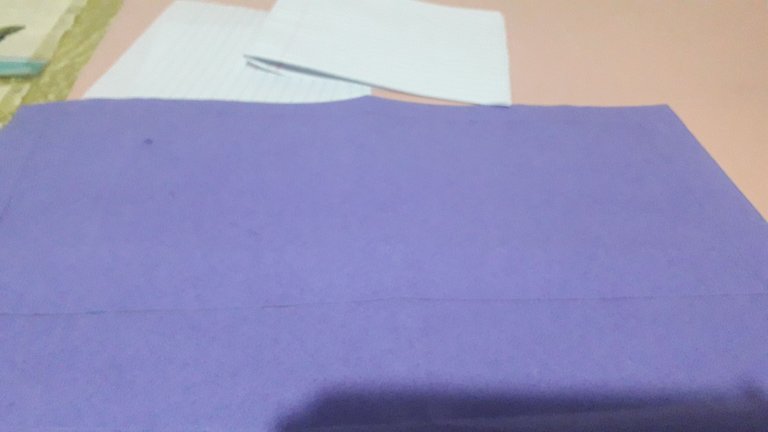
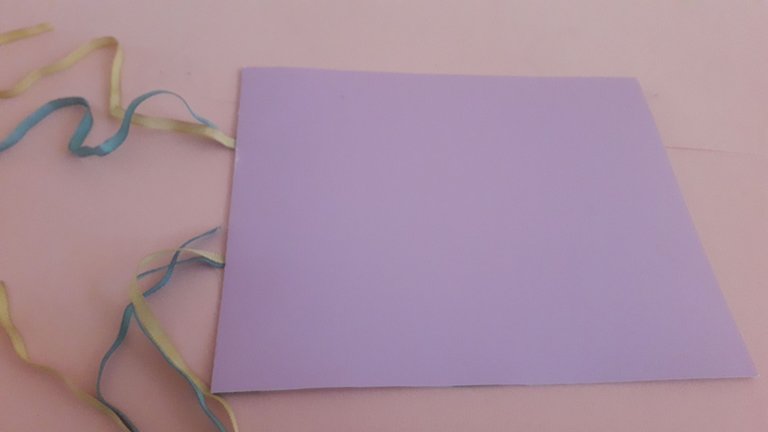
I measured the size of my sheets and then measured the cardboard that would form the covers of my notebook, adding half a centimeter more so that the sheets would not be outside the cover or too tight. I cut the cardboard with the cutter (my husband did this step for me, because of the strength I need to cut with the cutter).
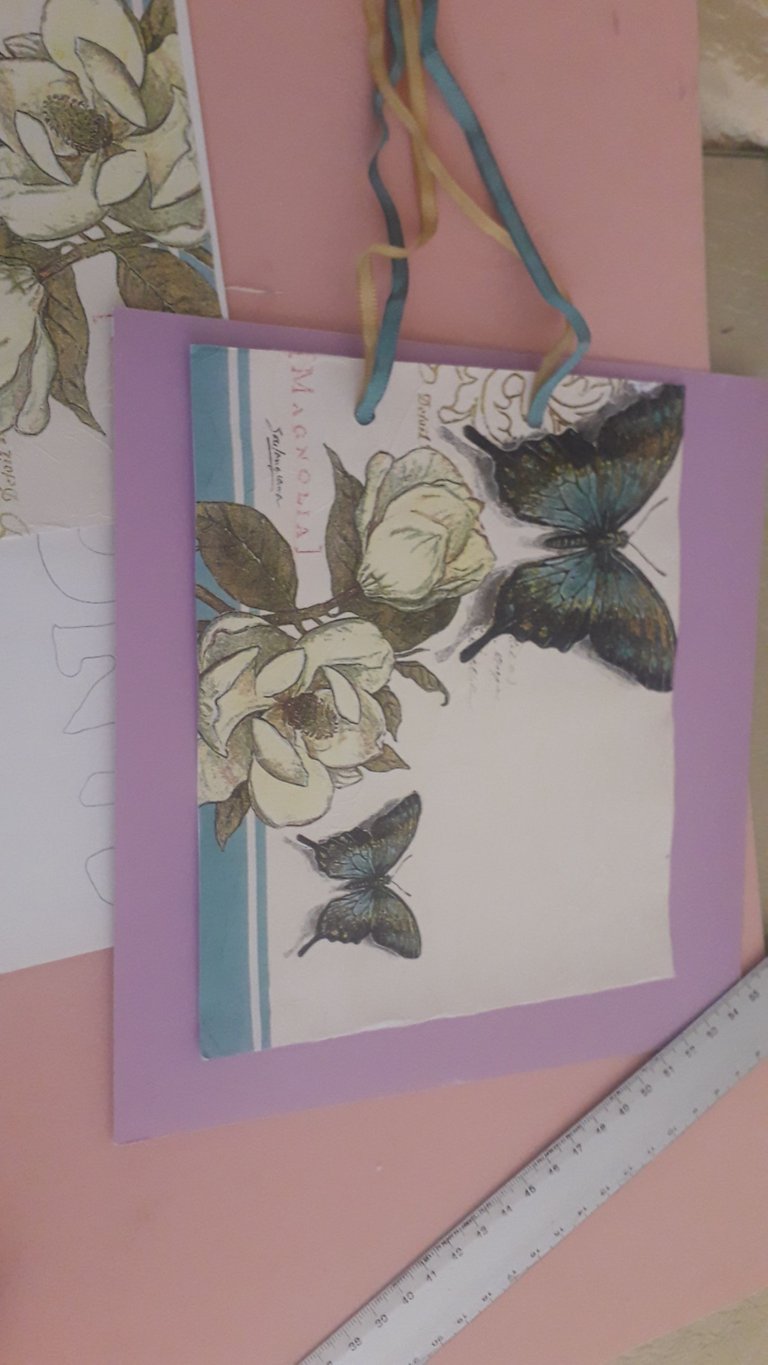
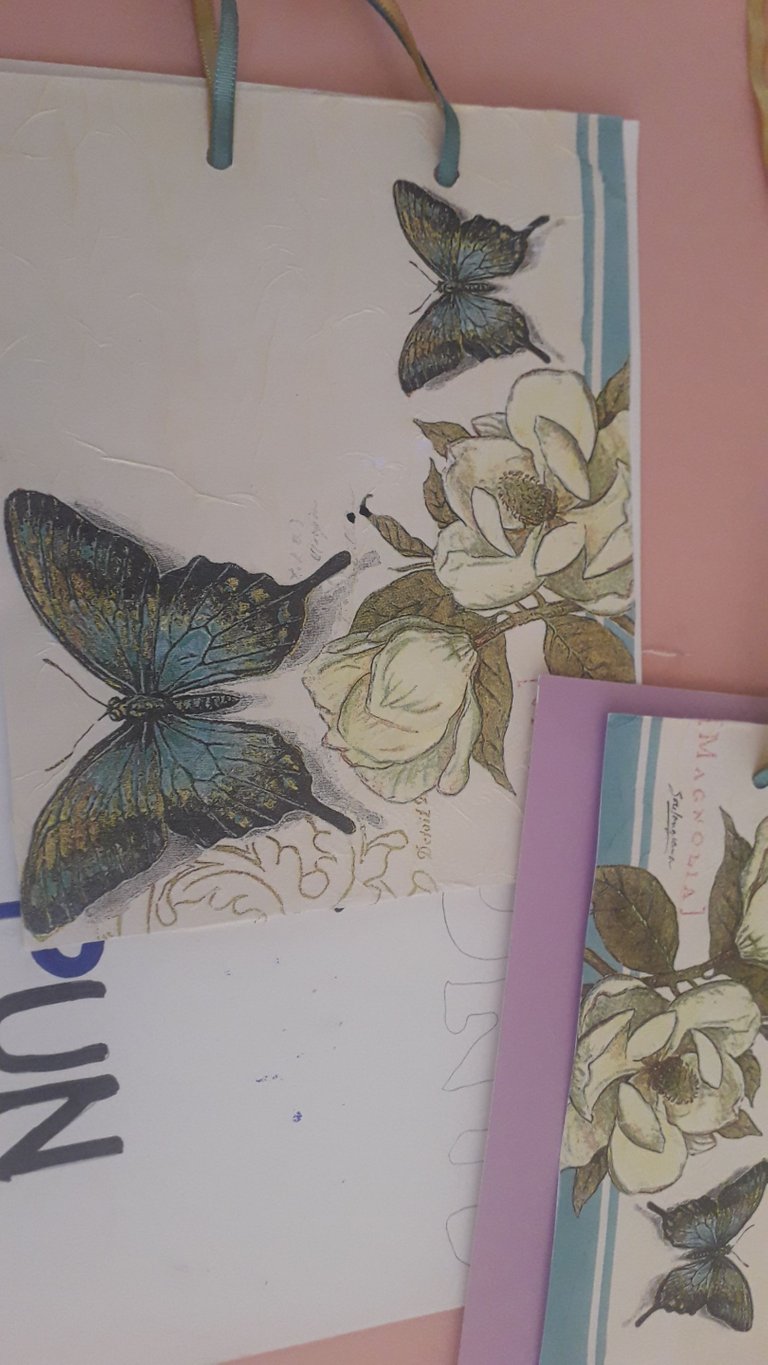
Empecé a decorar las tapas de mi libreta, para lo que diluí un poco de pega blanca con agua, en partes iguales. Con la ayuda de un pincel lleve la preparación a la cartulina y fui pegando la servilleta delicadamente hasta cubrir toda la tapa. Es necesario aplicar el agua con pega arriba de la servilleta para que se adhiera bien y dejar secar (yo lo dejo mínimo una hora).
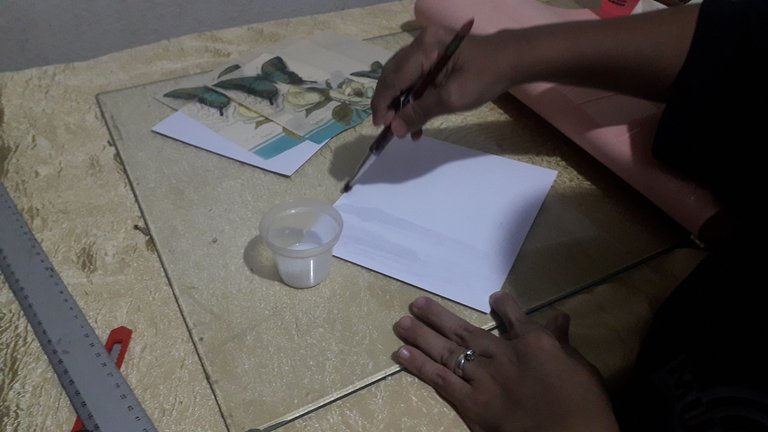
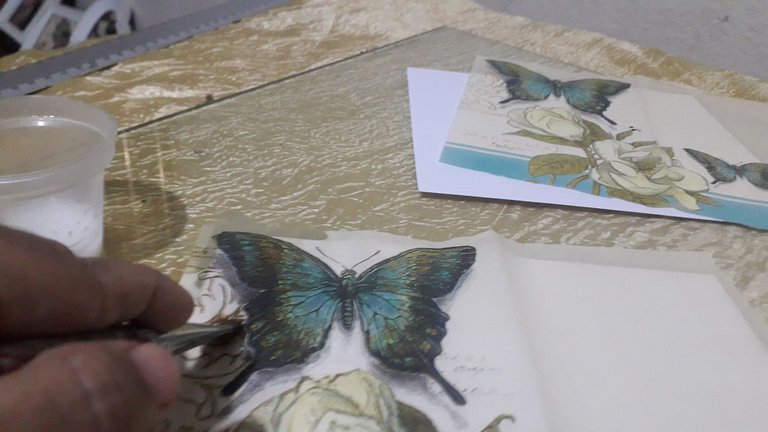
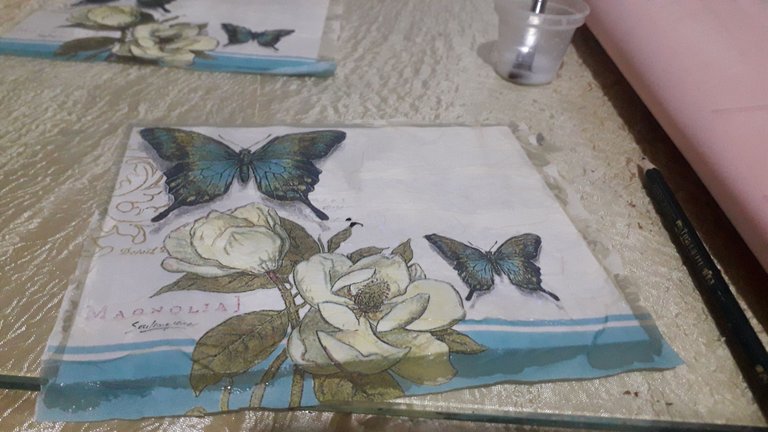
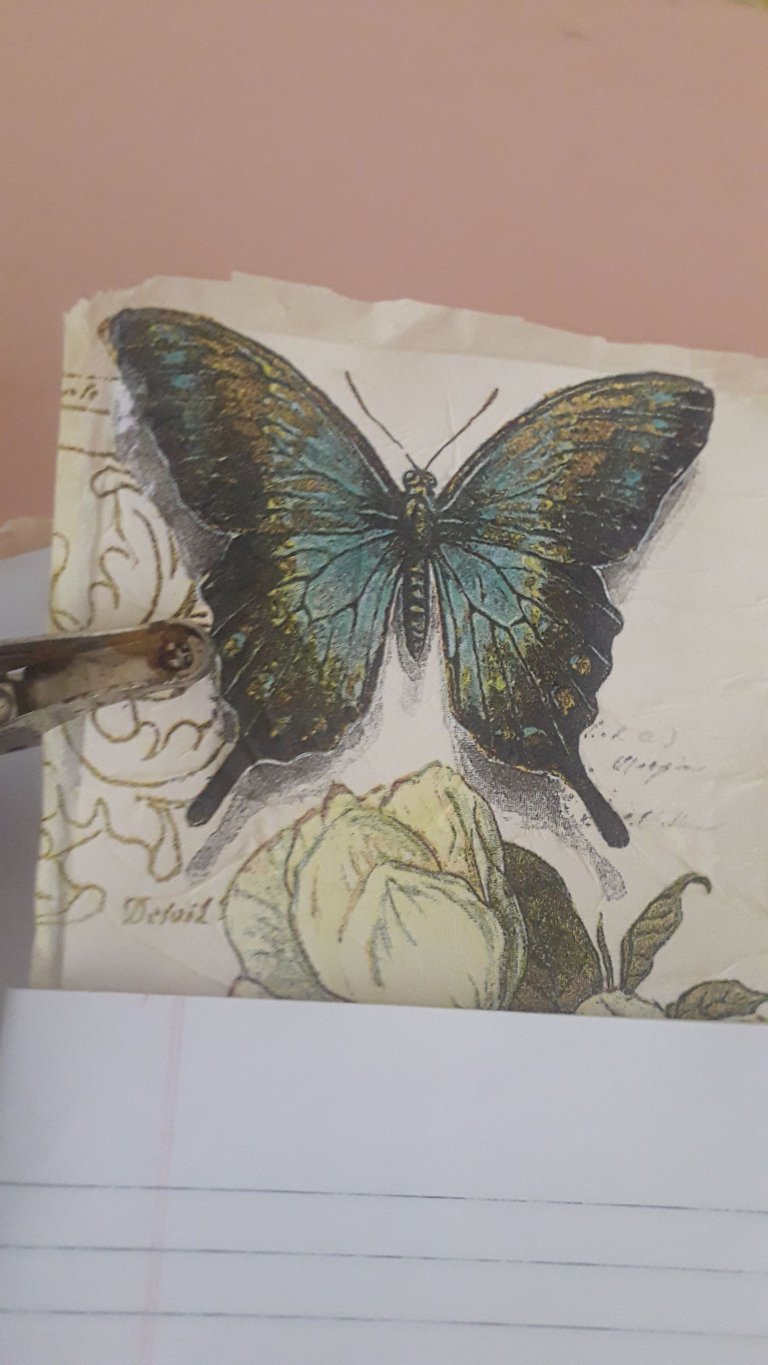
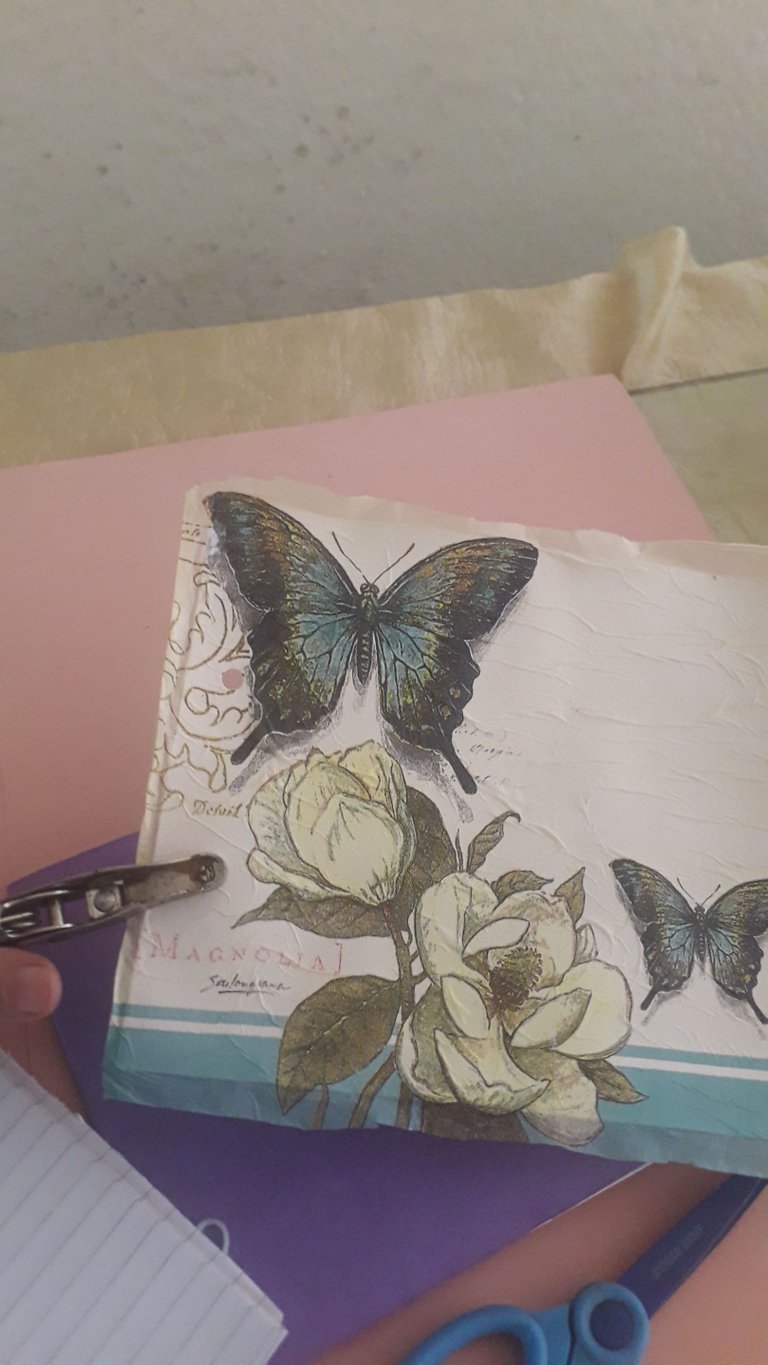
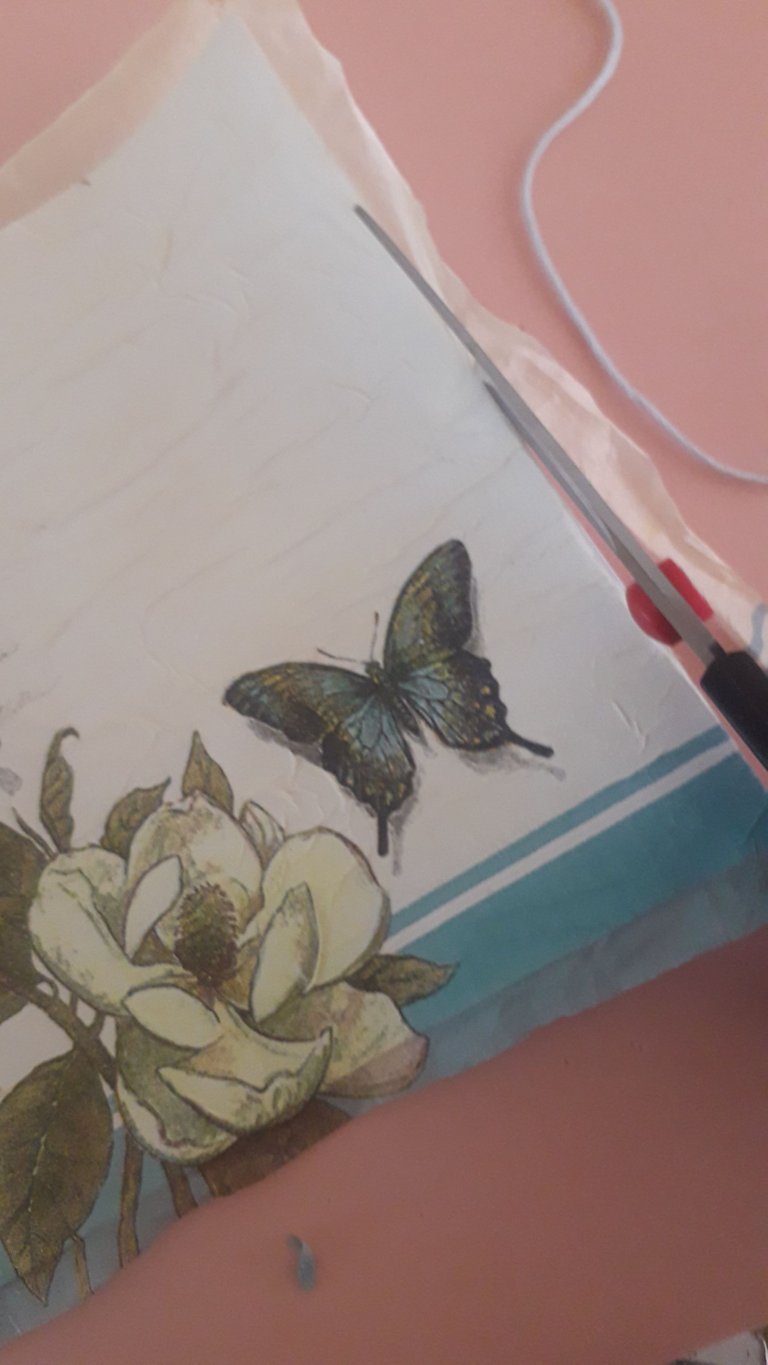
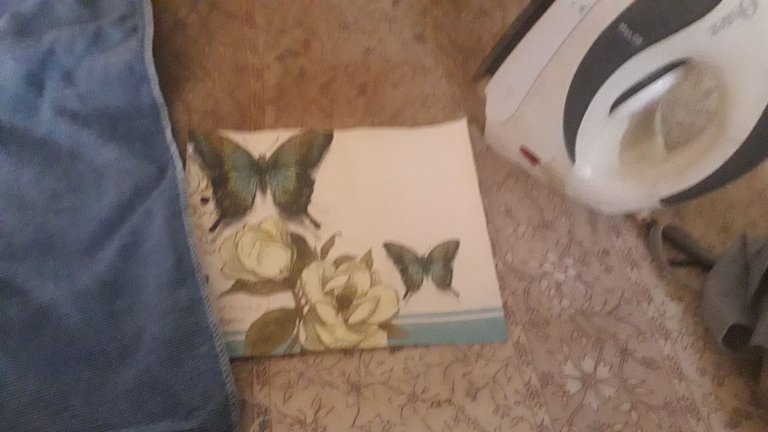
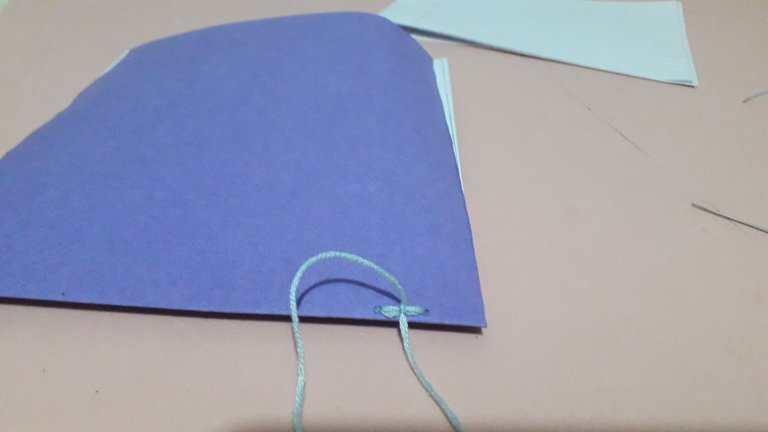
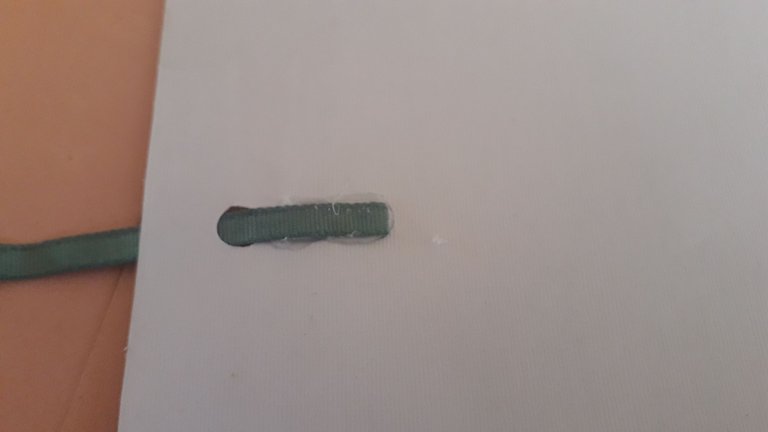
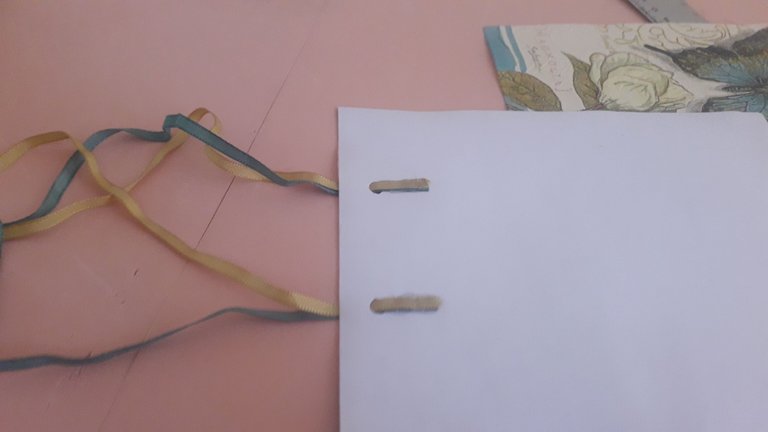
Once each of the notebook covers was dry, I opened two holes using a hole opener in the center of each cover. I trimmed the excess edges of the napkin and ironed each cover with a cloth to smooth it out, since the water and the glue wrinkles it a little because it is cardboard.
Una vez bien seca cada una de las tapas de la libreta le abrí dos huecos usando un abre huecos en el centro de cada tapa. recorté los bordes sobrantes de la servilleta, pasé la plancha con una tela encima de cada tapa para alisarla, ya que el agua y la pega la arruga un poco por ser cartulina.

All photos with no author mentioned have been taken by me with my Samsung J2 Prime phone
La técnica te ha quedado perfecta, gracias por compartirnos tus ideas.
Oh, muchas gracias, yo feliz de compartir de lo que Dios me ha dado. Saludos.
Thank you for sharing this amazing post on HIVE!
Your content got selected by our fellow curator @stevenson7 & you just received a little thank you via an upvote from our non-profit curation initiative!
You will be featured in one of our recurring curation compilations and on our pinterest boards! Both are aiming to offer you a stage to widen your audience within and outside of the DIY scene of hive.
Join the official DIYHub community on HIVE and show us more of your amazing work and feel free to connect with us and other DIYers via our discord server: https://discord.gg/mY5uCfQ !
If you want to support our goal to motivate other DIY/art/music/homesteading/... creators just delegate to us and earn 100% of your curation rewards!
Stay creative & hive on!