Hello, dear #Hive Diy community, I greet you with love and much joy for the opportunity to be again sharing a publication made by me. I thank God that I can be useful when it comes to teaching the art of balloons and especially when it comes to my health condition, I confess that my hands hurt when I have to exert some force to tie the balloons or to divide a balloon into three, in fact my joints swell, but then I take a little rest and my medications and I am left with the satisfaction of seeing the result despite the limitations. That is why I profess that there are no limits that we can not overcome with faith in God and willingness to give the best of us.
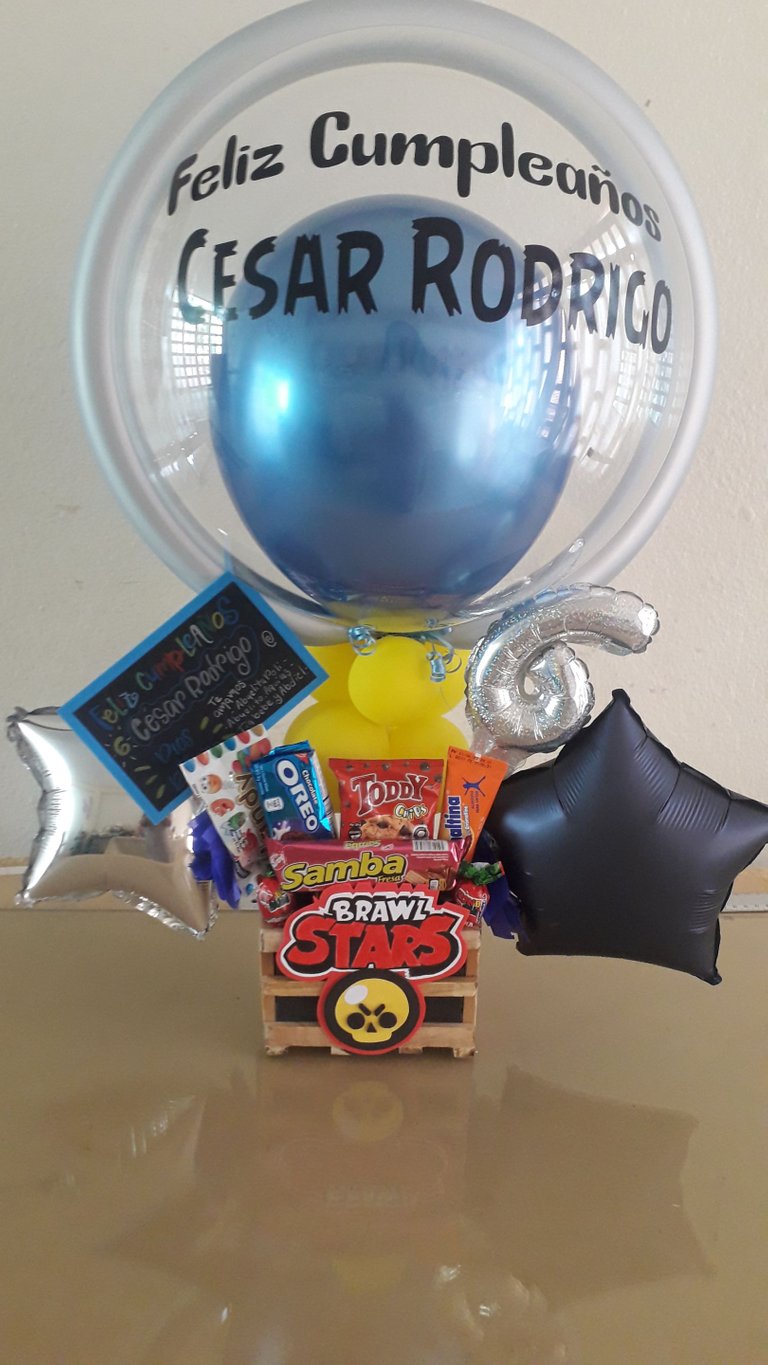
On this occasion a very dear friend of the church where I congregate asked me to make a beautiful arrangement with balloons and candy for her son, César Rodrigo, who turns 6 years old. He loves candy, balloons and the video game brawl stars.
So I put my hands to work and I loved the result and that's why I bring them to you today. As I have already shared with you other publications with balloons, today I will show you the details that I have not explained in previous occasions.
The idea is that you can put together your arrangements as I do and bring love, joy and a super special detail made with your own hands. Nowadays balloon arrangements are very fashionable and cost a lot of money if we want to have them made, so it is an excellent opportunity to learn how to make them and not worry about what you are going to give to your special person.
Without more to tell you, for now I will show you the materials to use and the step by step of this nice arrangement.
Hola, apreciada comunidad de #Hive Diy les saludo con amor y mucha alegría por la oportunidad de estar nuevamente compartiendo una publicación hecha por mí. Doy gracias a Dios de poder ser útil a la hora de enseñar el arte de los globos y sobretodo tratándose de mi condición de salud, les confieso que mis manos me duelen cuando debo ejercer cierta fuerza para amarrar los globos o para dividir un globo en tres, de hecho se me inflaman las articulaciones, pero luego tomo un poco de reposo y mis medicamentos y me queda la satisfacción de ver el resultado a pesar de las limitaciones. Es por ello que profeso que no hay límites que no podamos superar con la fe puesta en Dios y disposición de dar lo mejor de nosotros.
En esta ocasión una amiga muy querida de la iglesia donde me congrego me pidió que le hiciera un lindo arreglo con globos y chucherías a su hijo, César Rodrigo, quién cumple 6 años de edad. A él le apasionan las chucherías, los globos y el vídeo juego brawl stars.
Así que puse manos a la obra y me encantó el resultado y por eso se los traigo hoy. Como ya les he compartido otras publicaciones con globos, hoy les enseñaré los detalles que no les he explicado en las anteriores ocasiones.
La idea es que puedan armar sus arreglos como lo hago yo y llevar amor, alegría y un detalle súper especial hecho con sus propias manos. Hoy día los arreglos con globos están muy de moda y cuestan mucho dinero si quisiéramos mandarlos a hacer, por eso es una excelente oportunidad aprender a hacerlos y ya no preocuparse por lo que van a regalar a su persona especial.
Sin más que decirles, por ahora les mostraré los materiales a utilizar y el paso a paso de este lindo arreglo.
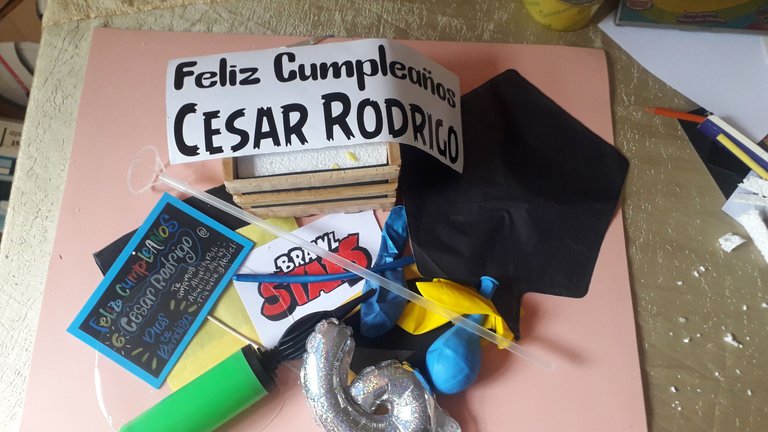
MATERIALS
1 18" Bubble Balloon
Bubble balloon stick and cup
Wooden box
2 10" star metallic balloons
2 sticks with cup for metallic balloons
2 yellow latex balloons
Anime
Black, yellow and blue tissue paper
SHot Silicone
Silicone gun
Knick-knacks
Brawl Stars handmade logo
Personalized bubble balloon label
MATERIALES
1 Globo burbuja de 18”
Palillo y copa para globo burbuja
1 Globo de látex plateado cromado mil figuras
2 Globos metalizados estrellas de 10“
2 palillos con copa para globos metalizados
2 Globos de látex amarillo
Caja de madera
Anime
Papel de seda negro, amarillo y azul
Silicón caliente
Pistola de silicón
Chucherías
Logo hecho a mano de Brawl Stars
Etiqueta para globo burbuja personalizada
ELABORATION
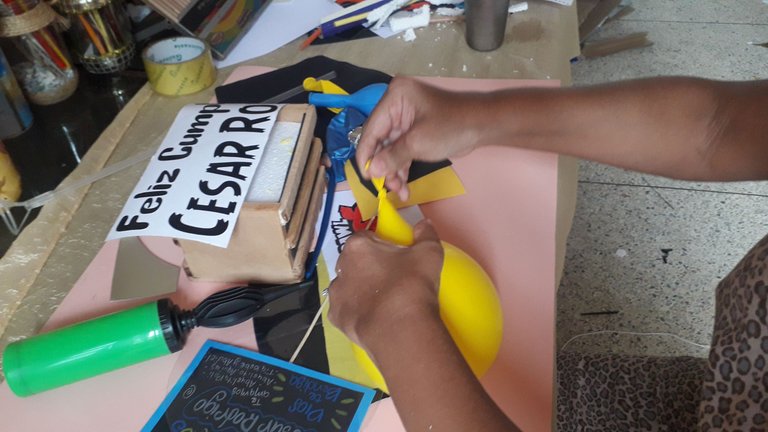
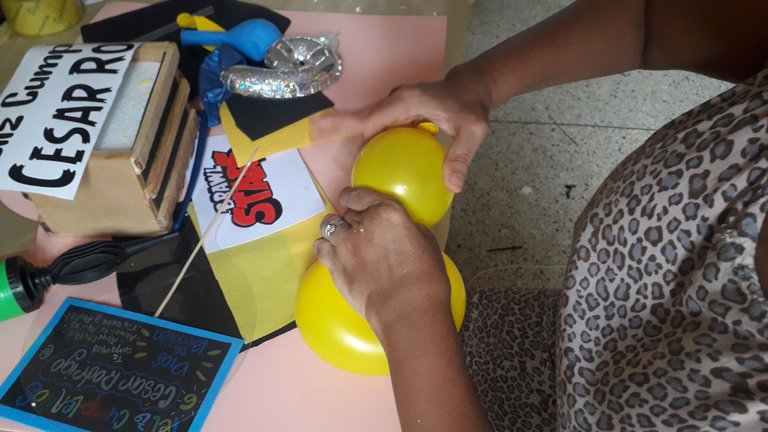
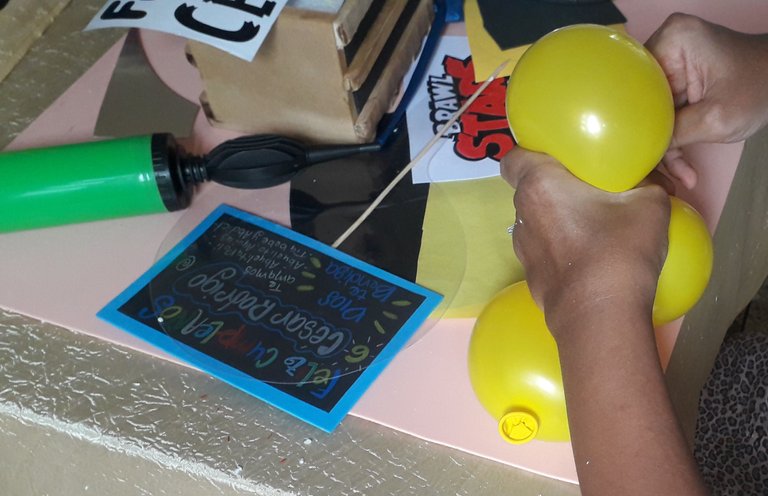
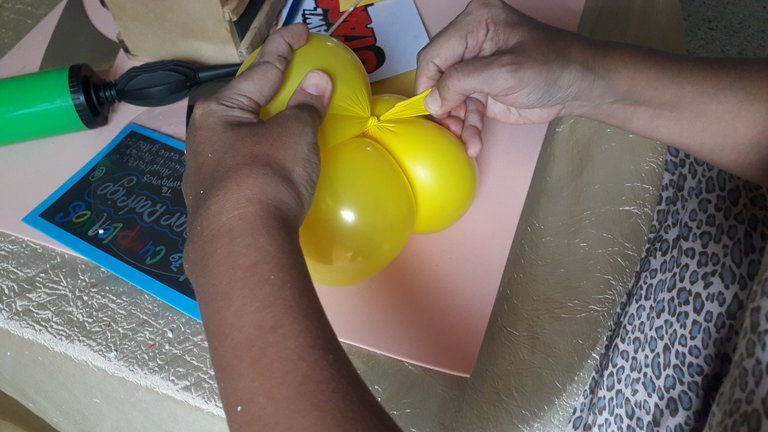
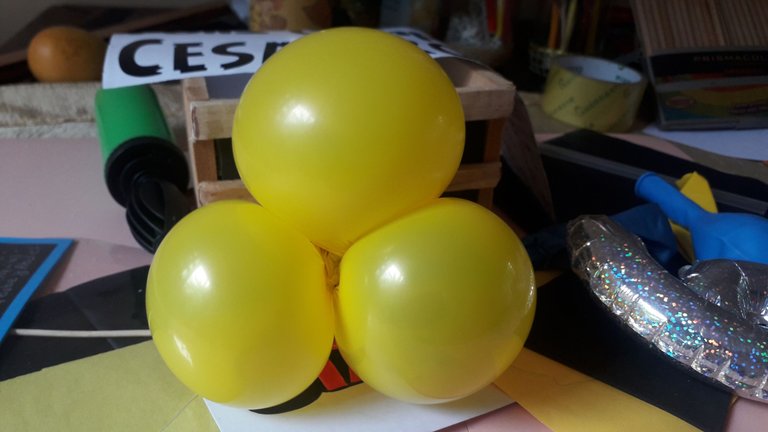
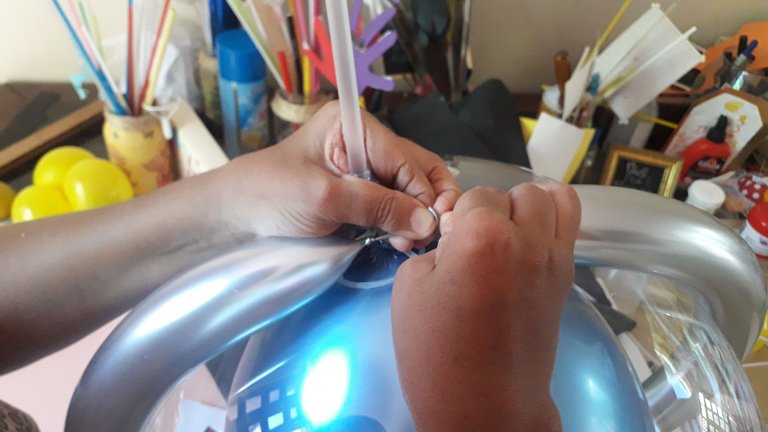
Once I had the little wooden box with its respective anime inside, I took a yellow latex balloon (you can choose the color you want) and inflated it to a measure of five pumps with the pump; when I do it with my mouth I blow air into the balloon about seven times. I try not to make it too tight because the idea is to let the balloon bend while inflated to get three balloons in one. As you can see in the photos, the balloon is divided with the hands and is given several turns, then I hold with the left hand the balloon formed so that it does not come loose and I divide in two what is left of the balloon, I turned several times and at the end the nozzle of the balloon gives several turns between the balloons and makes it stay fixed.
ELABORACIÓN
Una vez que tuve la cajita de madera con su respectivo anime adentro, tomé un globo de látex amarillo (puedes escoger el color que desees) y lo inflé a una medida de cinco bombazos con la bomba de inflar; cuando lo hago con la boca lo que hago es soplar aire al globo unas siete veces. Trato de que no me quede muy tenso porque la idea es que el globo se deje doblar estando inflado para obtener tres globitos en uno. Como observan en las fotos con las manos se divide el globo y se le da varias vueltas, luego sujeto con la mano izquierda el globito formado para que no se me suelte y divido en dos lo que queda del globo, giré varias veces y al final la boquilla del globo da varias vueltas entre los globitos y hace que quede fijo.
I then filled the bubble balloon with her latex balloon inside just like I did and shared with you in the previous post. Once I had the bubble balloon inflated, I attached it to its stick.
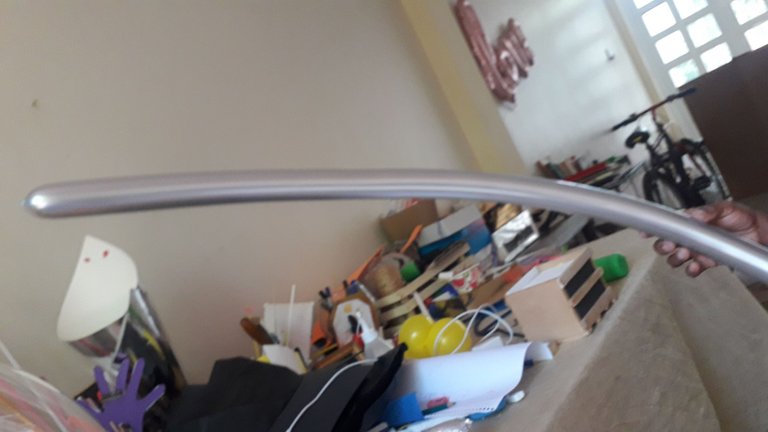
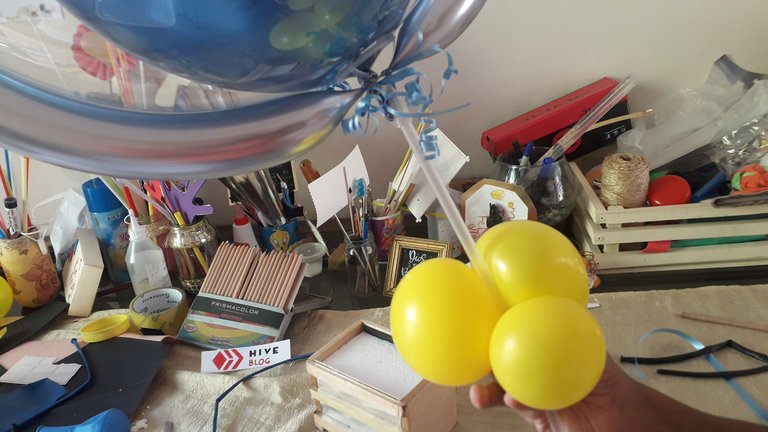
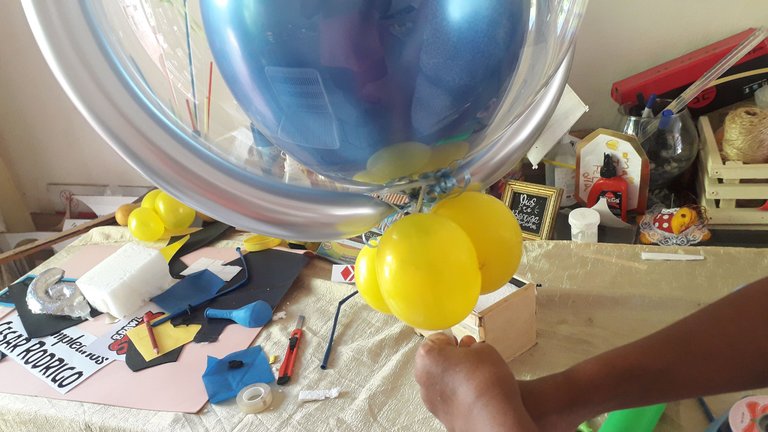
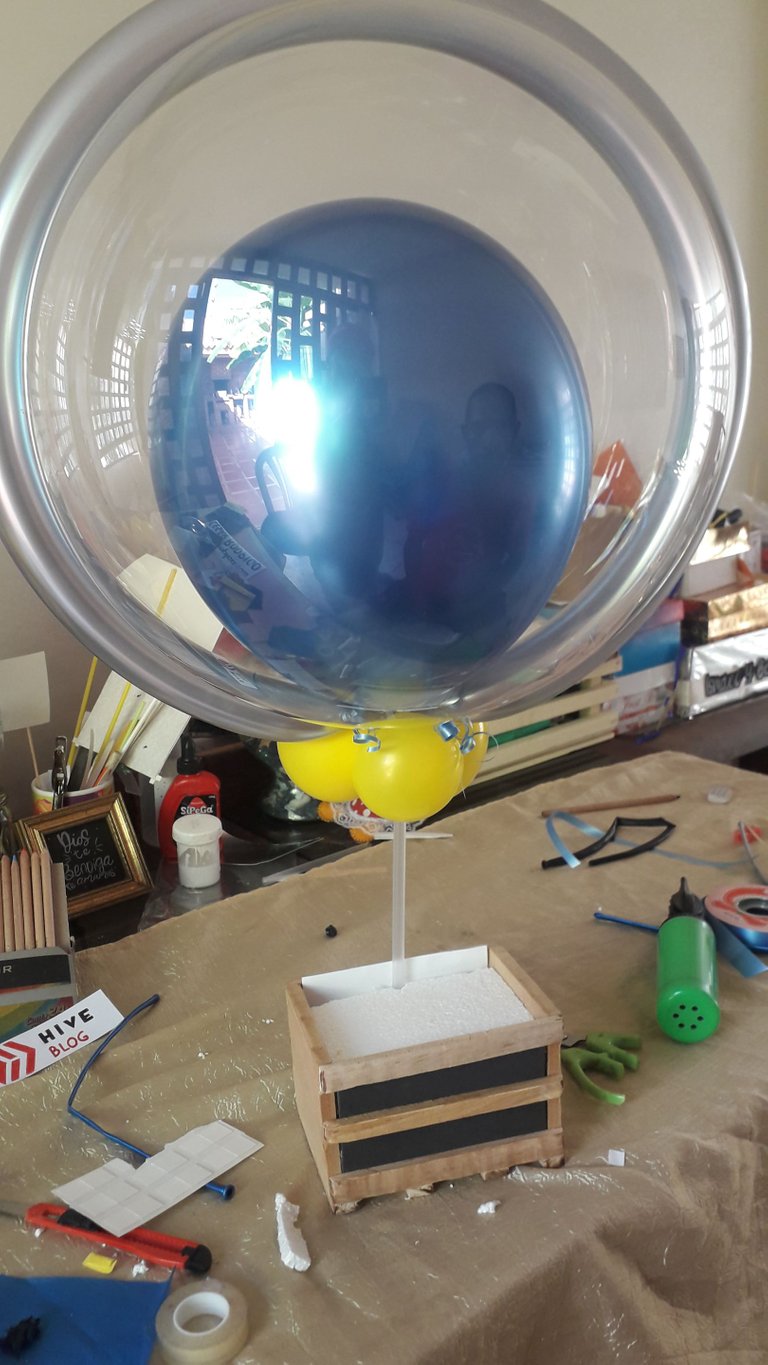
This time I wanted to surround the bubble balloon with one of those balloons used in children's parties to make figures. I just filled it with the inflator and took the bubble balloon to hug it with this balloon. I took the triple yellow balloon that I made with just one balloon and placed it under the bubble balloon. In addition to giving it a decorative touch, this also serves to cover the cup that holds the bubble balloon. It is more aesthetic if we cover it. Then, as it was already on its stick, I adjusted it in the wooden box, (for more resistance I put some hot silicone on it).
Luego llené el globo burbuja con su globo de látex adentro tal como lo hice y les compartí en la publicación anterior. Al tener el globo burbuja inflado, lo sujeté a su palito.
En esta ocasión quise rodear el globo burbuja con un globo de esos que se utilizan en las fiestas de niños para hacer figuras. Solo lo llené con el inflador y tomé el globo burbuja para abrazarlo con este globo. Tomé el globito amarillo triple que hice con solo un globo y lo coloqué debajo del globo burbuja. Esto además de darle un toque de decoración, también sirve para cubrir la copa que sujeta al globo burbuja. Es más estético si lo cubrimos. Luego, como ya estaba en su palito, lo ajusté en la caja de madera, (para mayor resistencia le coloqué un poco de silicón caliente).
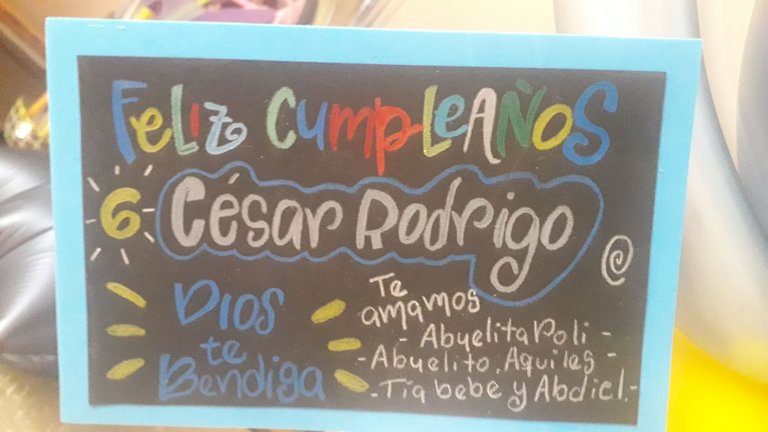
You know that I make birthday cards with the chalkboard technique (in a past opportunity I shared with you how I make them). I took advantage of this occasion and made one for César Rodrigo as his mom told me to do.
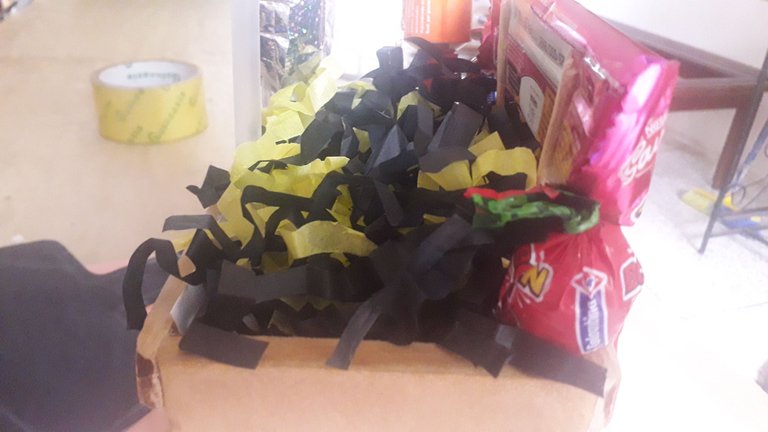
Al ajustar el globo en la cajita de madera, comencé a armar el arreglo con galletas, chupetas, dulces y chocolates. Como aún quedaban espacios vacíos, inflé unos globos metalizados, les coloqué su palito y los inserté en la cajita. En el frente de la caja de madera puse el logo de Brawl Stars, uno de los videojuegos que le gusta a César Rodrigo (el pequeño cumpleañero que recibirá el arreglo como regalo). Este Logo lo hice a mano. No sé si pueden fijarse, pero está dibujado con lápices de colores. Solo la carita de fondo amarillo con borde negro, está hecha con foami.
Ustedes saben que las tarjetas de cumpleaños las hago con la técnica de pizarra (en una oportunidad pasada les compartí como las elaboro). Aproveché esta ocasión y le hice una a César Rodrigo tal como su mamá me indicó.

As always, it is a thrill for me to share with you these creations that God allows me to make. I hope you liked them. Of course, I hope little Cesar Rodrigo likes it too. I say goodbye until a new opportunity in which I will share with you another creation. God bless you.
Remember:
"Love is the key, perseverance is necessary and God is the engine."
Recuerden:
"El amor es la clave, la perseverancia es necesaria y Dios es el motor"
Todas las fotos sin autor mencionado han sido tomadas por mí con mi teléfono Samsung J2 Prime
Saludos amiga, muy bello el cotillón, César debe estar muy feliz y comiendo todos esos dulces más aún. Bendiciones!
Hola, amiga, gracias. sí y eso alegra a todos los niños, se trata de sorprenderlos con un poco de creatividad y práctica. Cuando lo intentes me cuentas.Amén, igual, bendiciones para ti y familia.
Esta muy bonito el cotillón amiga, gracias por compartirlo.
Oh, gracias, amiga. Es un gusto compartir de lo que Dios me ha dado para que también se animen a hacerlo y llenen de amor y alegría a sus niños. Saludos.
Congratulations @gcreaciones! You have completed the following achievement on the Hive blockchain and have been rewarded with new badge(s) :
Your next target is to reach 50 comments.
You can view your badges on your board and compare yourself to others in the Ranking
If you no longer want to receive notifications, reply to this comment with the word
STOP