

Hello my dear community of Hive, I am very excited because this time I come to show you how to make a personalized mickey mouse piñata, this is an order for the son of a friend since her birthday is coming, the measures that this piñata has are 35 centimeters high and wide.also if you have a business or entrepreneurship you can sell it for 3$ this price varies depending on the size of it.
VAMOS!!
Now, let's start with the materials for this cute piñata, I hope you make it and leave me pictures in the comments of how it turned out and what you thought of the easy and simple process of making it.
LET'S GO!
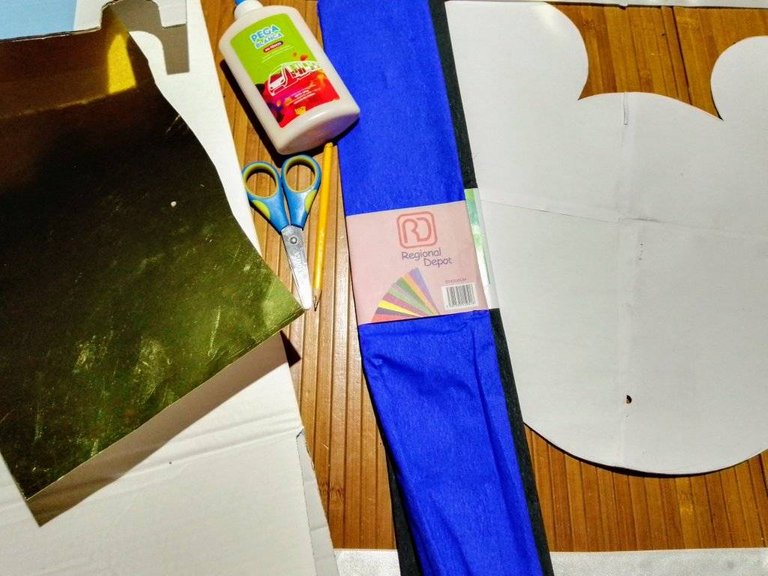

MATERIALES
- Moldes
- Cartón, puede ser reciclado
- Papel crepe : negro y azul oscuro o azul rey
- Cartulina metalizada dorada
- Pega blanca
- Tijera
- Cordón o trenza
- Cuadritos de hojas, pueden ser recicladas
- Pistola y barras de silicón

MATERIALS
- Moulds
- Cardboard, can be recycled
- Crepe paper : black and dark blue or royal blue
- Gold metallic cardboard
- White glue
- Scissors
- Cord or braid
- Leaf squares, can be recycled
- Silicone gun and silicone sticks

PASO A PASO
STEP BY STEP
STEP 1: We transfer the mold from paper to cardboard, with a pencil.
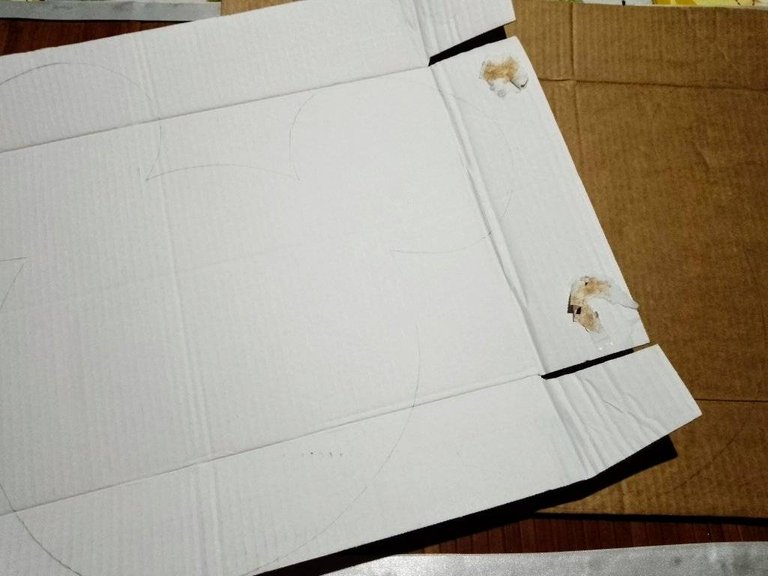
STEP 2: We are going to mark with the pencil 2 strips of cardboard, depending on the width we want the piñata, I made it of 11 centimeters and began to cut everything with the scissors or an exacto following the line carefully.
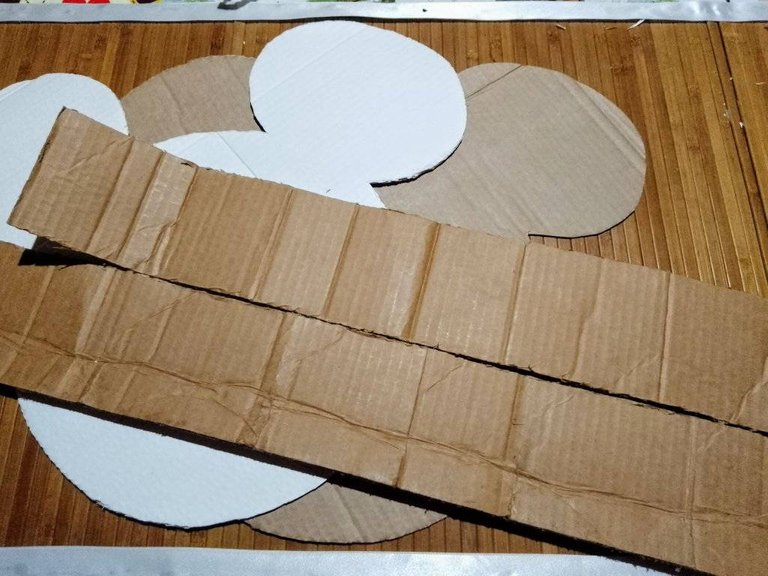
STEP 3: We take one of the pieces and start gluing with the silicone gun, the strips that we cut and we will do it all around the edge of the piñata.
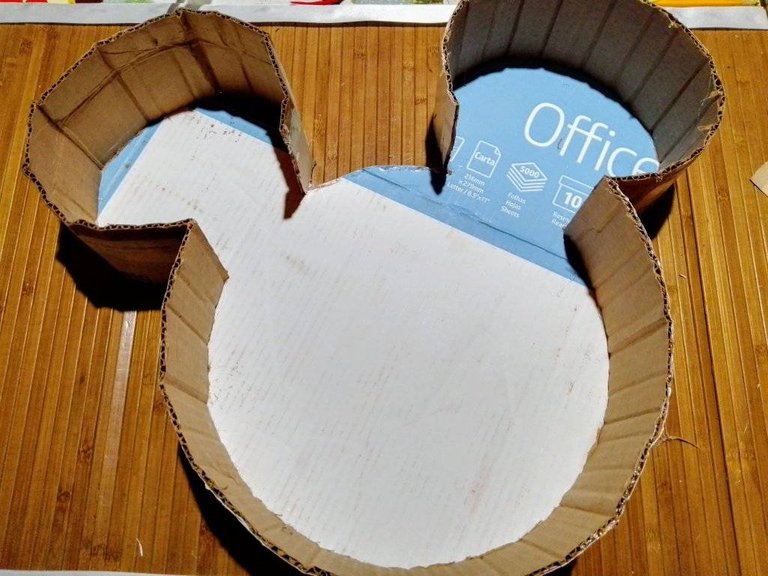
STEP 4: We are now going to glue with the silicone gun the other missing piece.
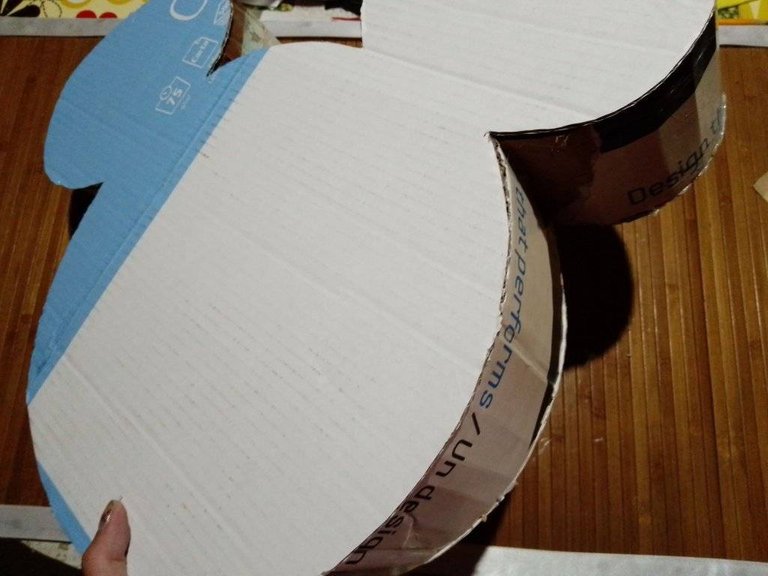
STEP 5: Cut the white or recycled leaves into squares, to start gluing them with white glue all around the edge of the piñata. This will ensure that the piñata will be harder and firmer.

STEP 6: Then to insert the candies inside the piñata, mark a square and cut with the exacto or scissors. Minus the bottom part so that it can be closed without falling out.
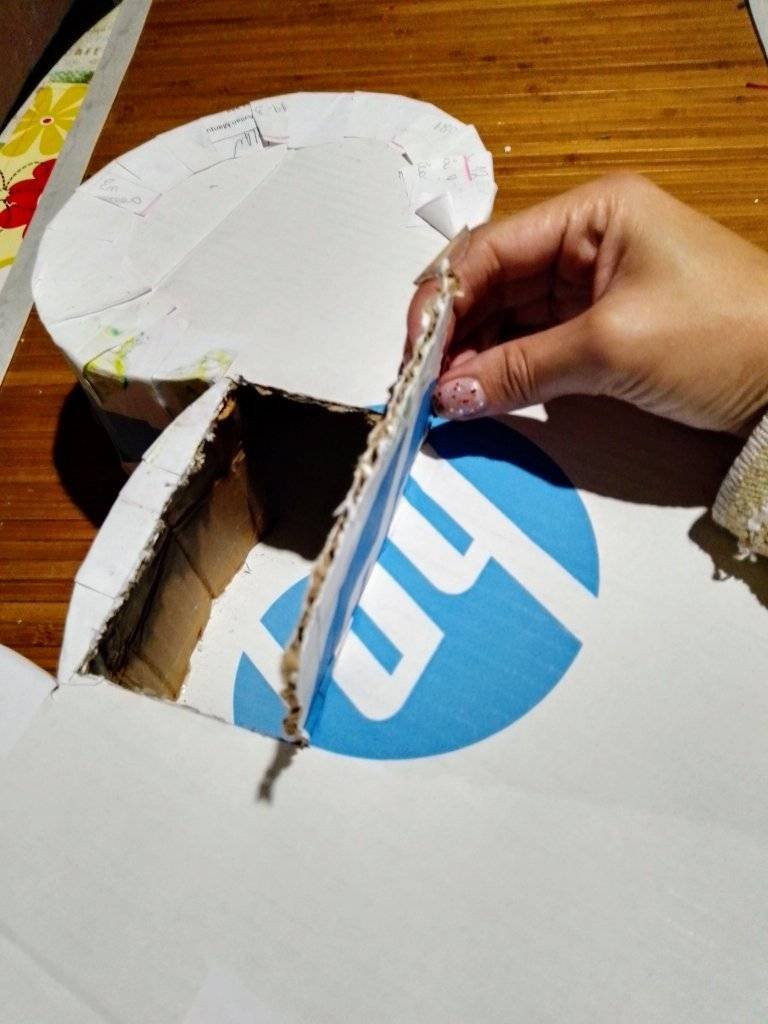
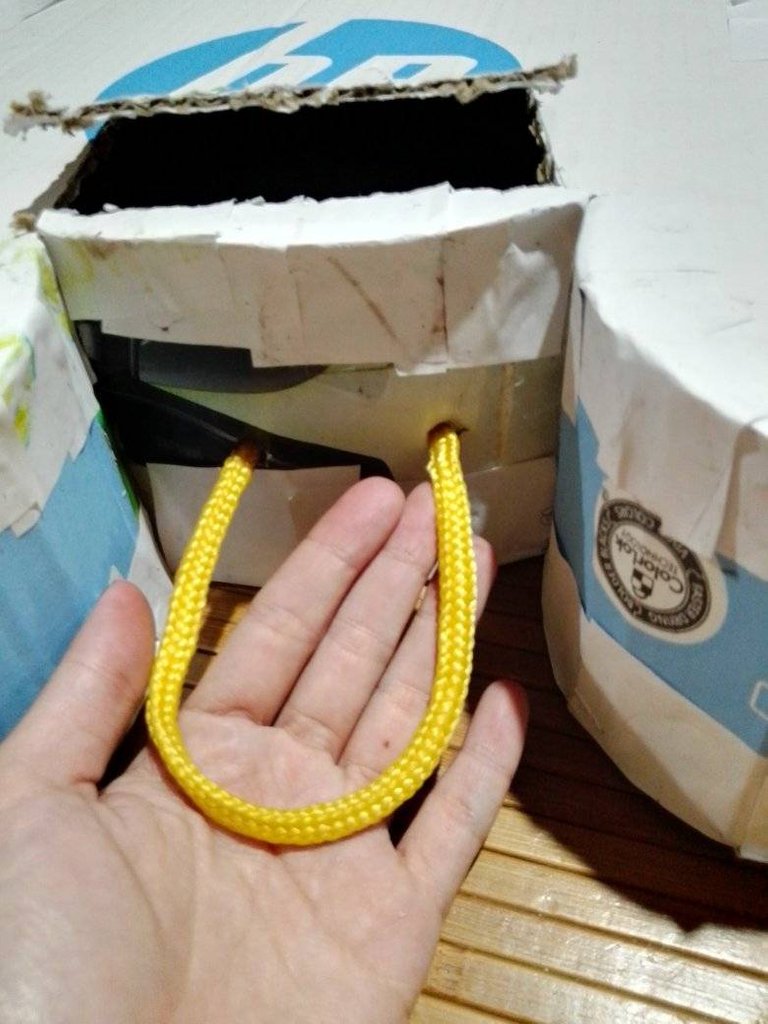
STEP 7: Now, in order to hold the piñata and prevent it from falling, we will open some holes with a distance of about 5 or 6 centimeters to introduce the cord or braid, it should look something like this👇
STEP 8: We start decorating the piñata, I cut out small pieces of crepe paper 3 centimeters wide and started to decorate it like this, one part dark blue and the part with the black ears.
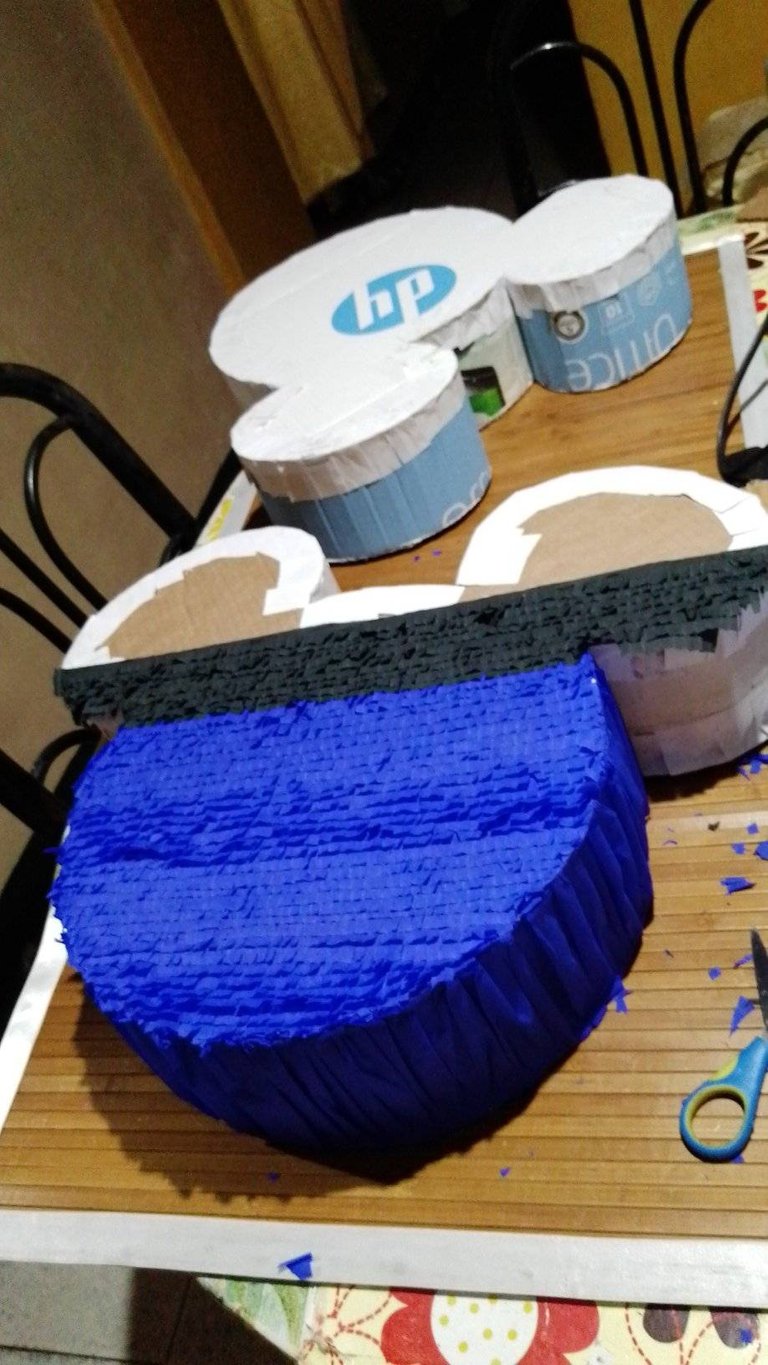
FINAL STEP :You can decorate it as you like and with your favorite colors and accessories.
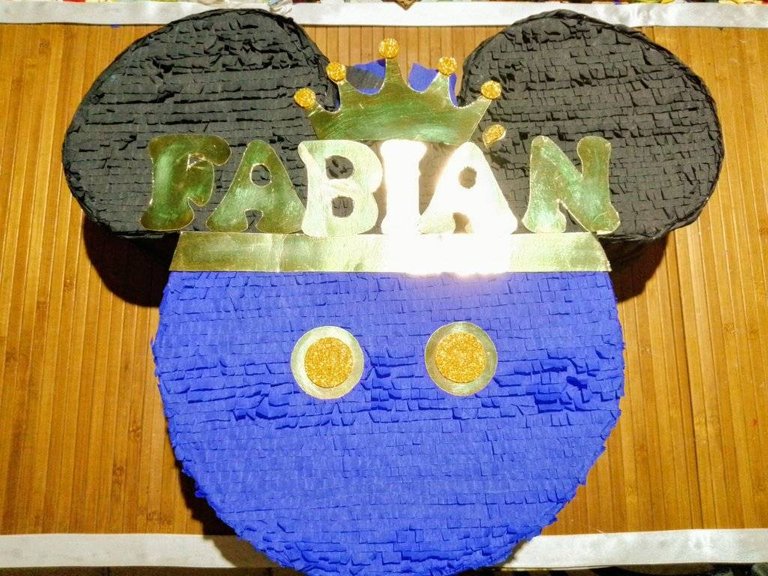
Thank you for coming here ! I hope you do this nice and economical idea and enjoy it which is the most important thing. Photographs and text of my property.

Este tipo de confecciones se subestiman mucho, en especial cuando lo hace manualmente una persona, es un trabajo de hormiga y de michos detalles. Me recuerda a la época cuando veía en la televisión el programa Art Attack. Un piñata original y personalizada sin duda. Saludos
Así mismo es, muchisimas gracias <3