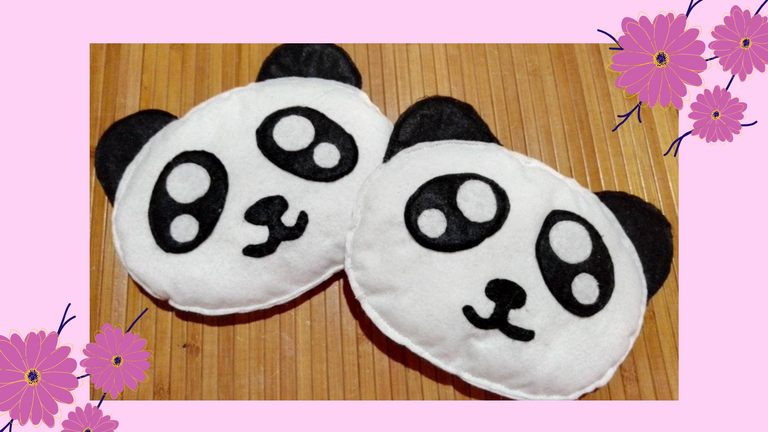
Hello everyone in this wonderful community of hive, I am very happy because this is my second post of the step by step to make a beautiful, tender, simple and easy craft, and best of all is that it can help you to start your own business and start entrepreneurship from wherever you are.
These cushions are ideal for the day of love and friendship that is coming soon or also to give to that special person on their birthday, anniversary or any celebration, so let's get started and stay until the end of the post so you can make yours too. ! LET'S GO!

MATERIALES
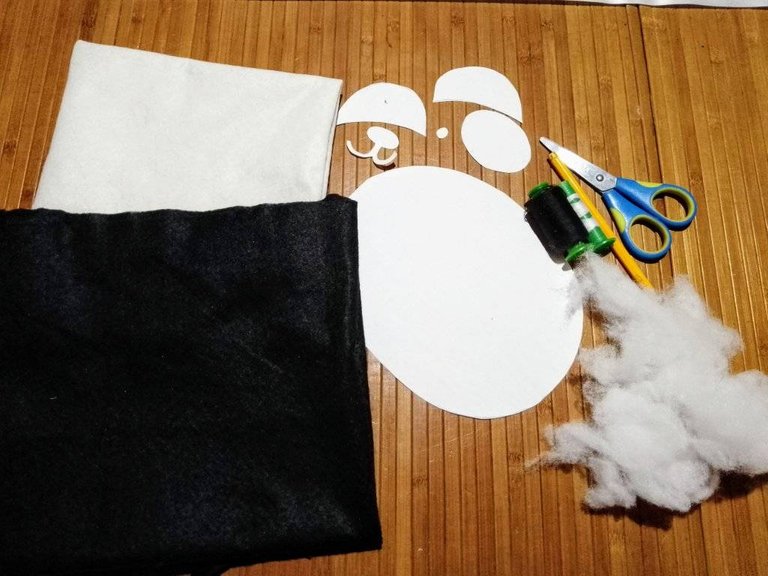
- Moldes.
- 1 Pliego de fieltro color negro.
- 1 Pliego de fieltro color blanco.
- Hilos de coser blanco y negro.
- Guata para rellenar, también puedes utilizar otros rellenos como goma espuma.
- 1 Tijera.
- 1 lápiz.
- Tiza preferiblemente de color blanco.
- Cartón.

MATERIALS
- Molds.
- 1 sheet of black felt.
- 1 sheet of white felt.
- Black and white sewing threads.
- Wadding for stuffing, you can also use other stuffing such as foam rubber.
- 1 scissors.
- 1 pencil.
- Chalk, preferably white.
- Cardboard.
 )
)

PROCEDIMIENTO

PROCEDURE
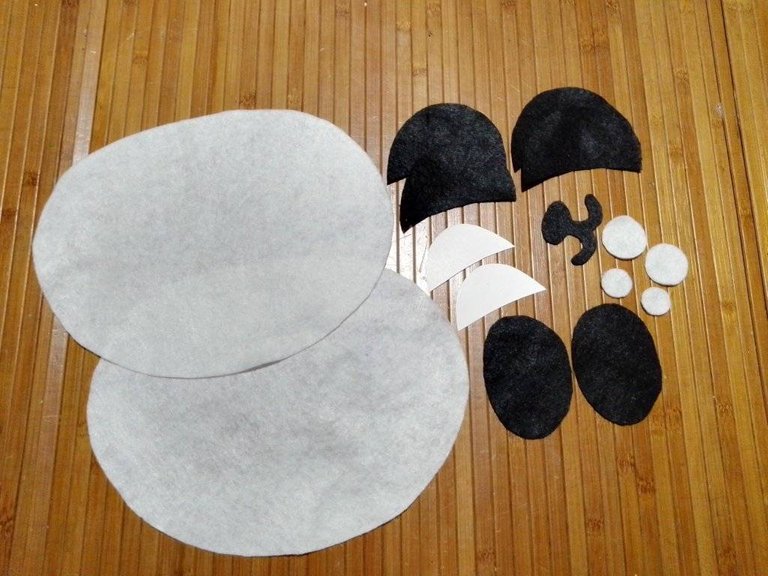
We will need 2 pieces for the face and 4 circles for the eyes in the white felt, and 4 pieces for the ears, 2 for the eyes and 1 for the nose in the black felt.
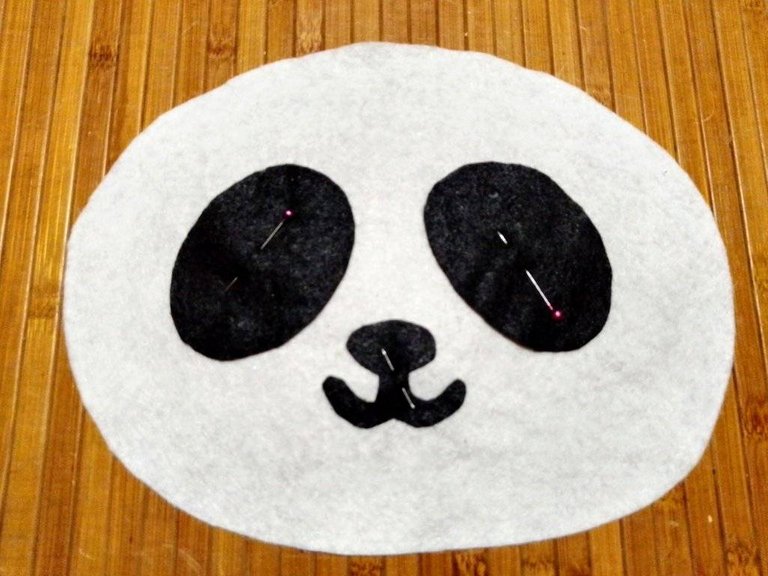
STEP 2.With pins we fix the black pieces, to start sewing them.
STEP 3. then we will take the cardboard and we will make 2 ears but smaller than the mold, this is to introduce them in the middle of these and that they are fixed. you should be something like this👇.
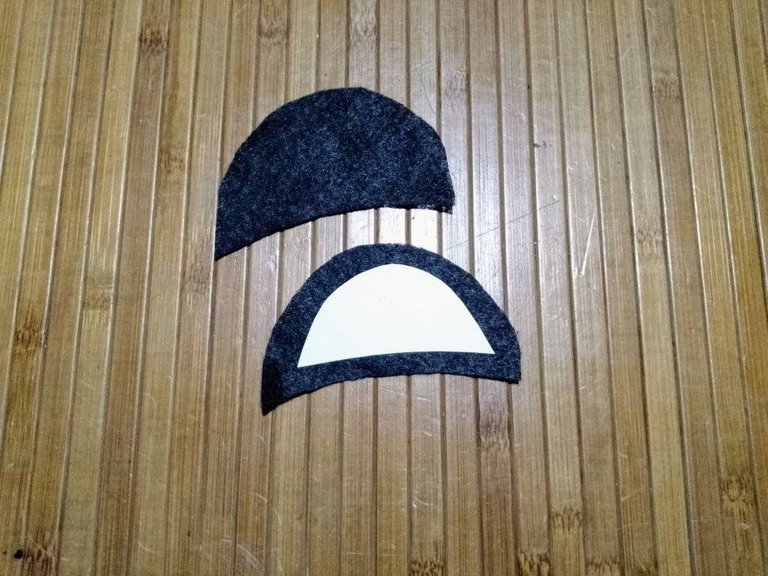
STEP 4. Now start sewing all the black pieces together, so that this is the result👇.
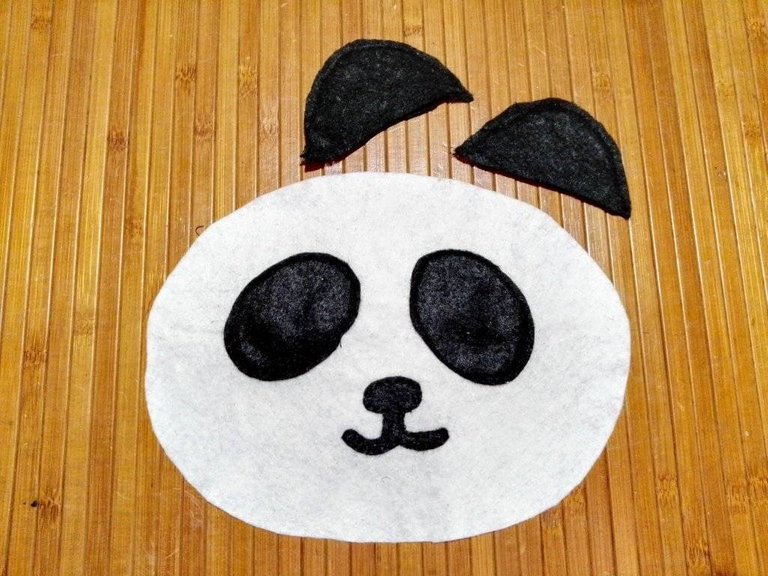
PASO 5.Empezamos a fijar y a coser los ojos.
STEP 5.We start to fix and sew the eyes.
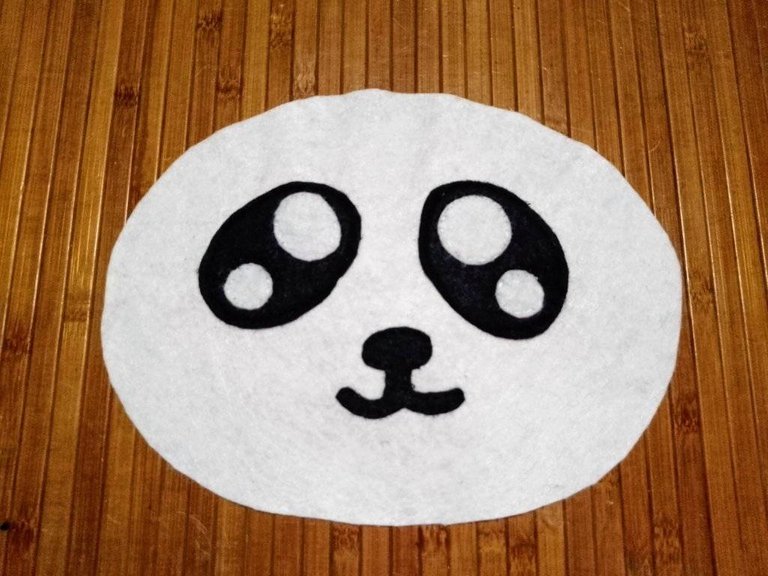
STEP 6. With the pins fix the position you want for the ears.
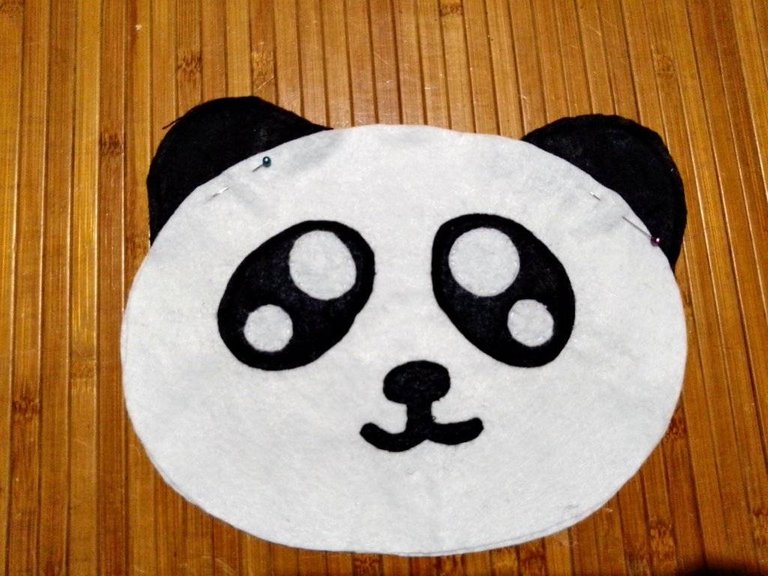
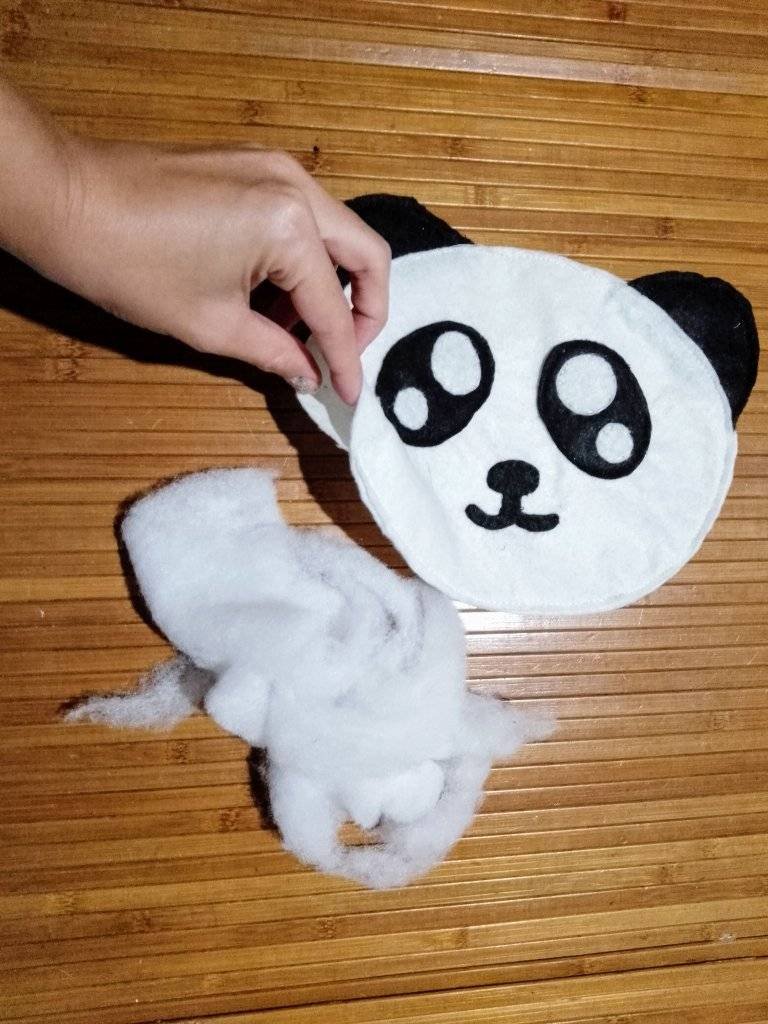
STEP 7. With the white thread begin to sew and close the 2 pieces of the bear's face together with the ears, remember to leave an opening to fill the cushion.
PASO 8. Este es el resultado final, yo realice otro más.
STEP 8. This is the final result, I made another one.
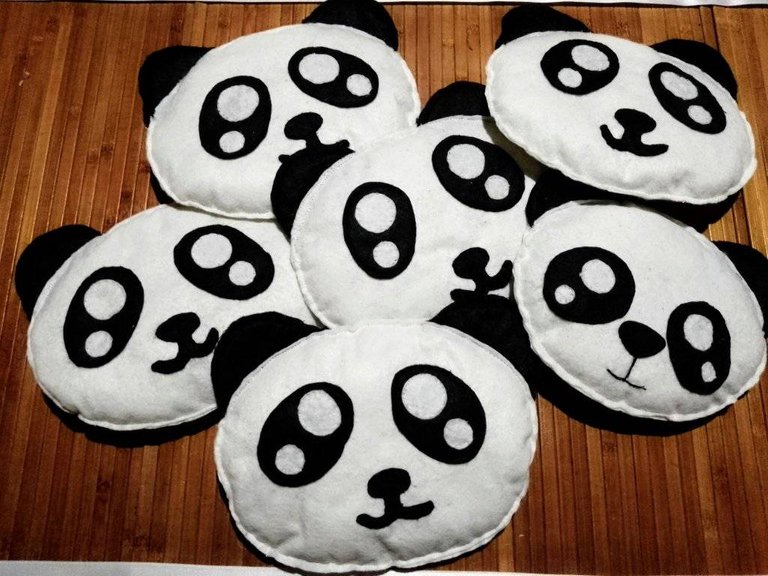
Textos y foto de mi propiedad.
See you in my next publication Thank you very much.
Texts and photo of my property .
Imagen cortesía del programa Canva.
Image courtesy of Canva software.
Sin duda son una ternura 🥰 el complemento perfecto para un arreglo de cumpleaños o fecha especial.
!discovery 25
Asi es amiga !
This post was shared and voted inside the discord by the curators team of discovery-it
Join our community! hive-193212
Discovery-it is also a Witness, vote for us here
Delegate to us for passive income. Check our 80% fee-back Program
Your content has been voted as a part of Encouragement program. Keep up the good work!
Use Ecency daily to boost your growth on platform!
Support Ecency
Vote for new Proposal
Delegate HP and earn more
Congratulations @gavimaye12! You have completed the following achievement on the Hive blockchain and have been rewarded with new badge(s):
Your next target is to reach 600 upvotes.
You can view your badges on your board and compare yourself to others in the Ranking
If you no longer want to receive notifications, reply to this comment with the word
STOPCheck out the last post from @hivebuzz:
Support the HiveBuzz project. Vote for our proposal!