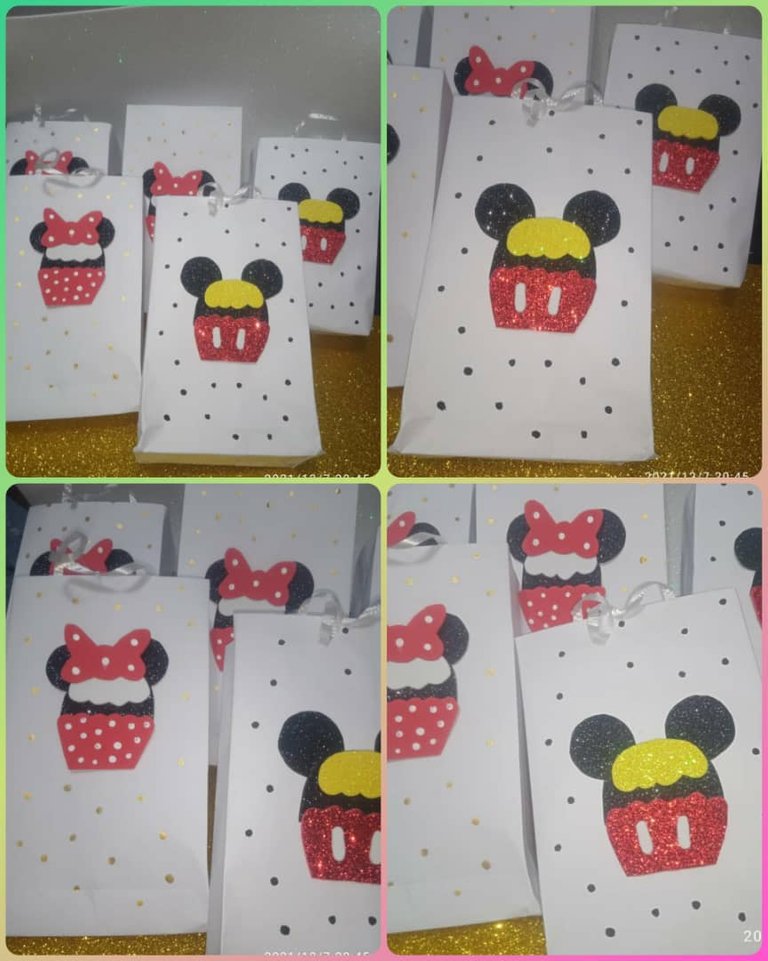
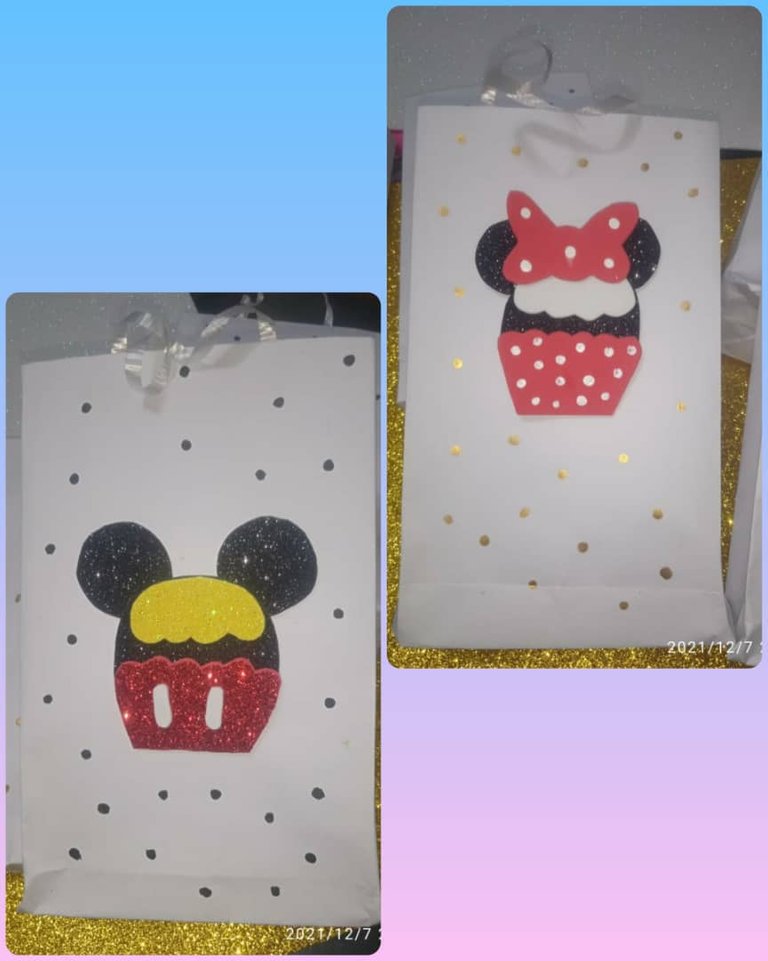
Happy Thursday my little breads I hope everyone is well and tonight I want to present a simple and delicate craft work how is the development of a gift bags inspired by Mickey mouse and Minnie dolls, the same are ideal for gifts at children's parties of that theme, are very simple to develop but very practical because it will allow us to give gifts of cotillions to the little ones in the house.
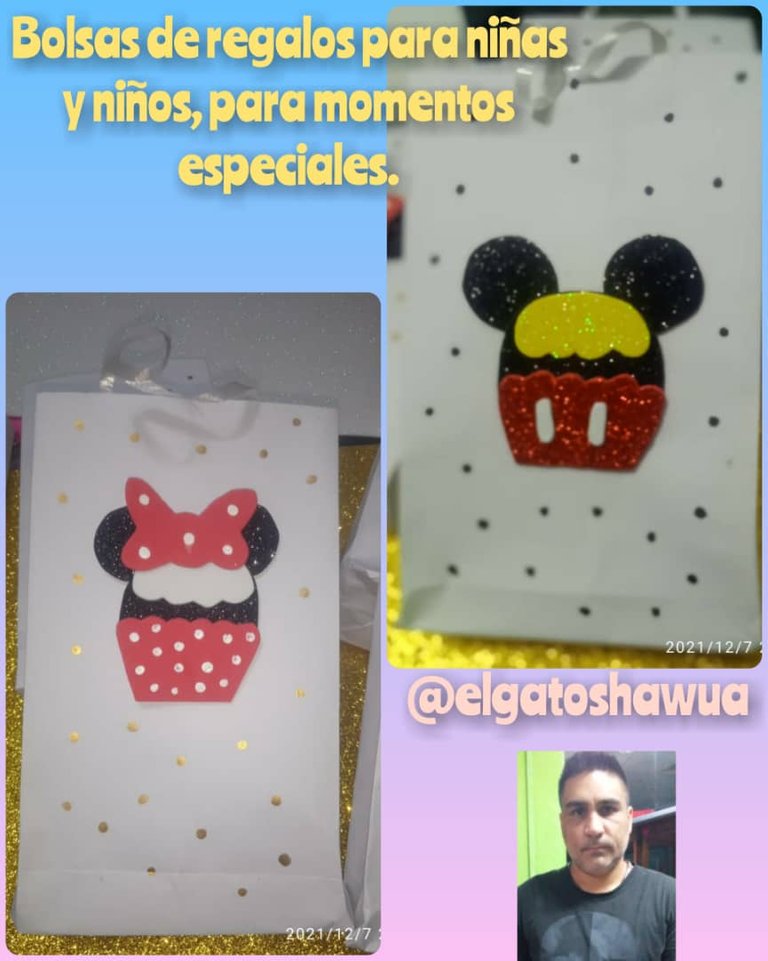
Feliz jueves mis panitas espero que todos se encuentren bien y la noche de hoy quiero presentarles un sencillo y delicado trabajo de manualidades cómo es la elaboración de unas bolsitas de regalo inspirada en los muñecos de Mickey mouse y Minnie, las mismas son ideales para obsequiar en fiestas infantiles de esa temática, son muy sencillas de elaborar pero muy prácticas ya que nos va a permitir obsequiar dar de cotillones a los chiquitos de la casa.
Materials:
Yellow/red/black/fuchsia/white Foami, scissors, ruler, silicone, white cardboard, paintbrush, white, gold and black cold paint.
Materiales:
Foami amarillo/ rojo/ negro/ fucsia /blanco, tijera, regla, silicón, cartulina blanca, pincel, pintura al frío blanca, dorada y negra.
Step by step:
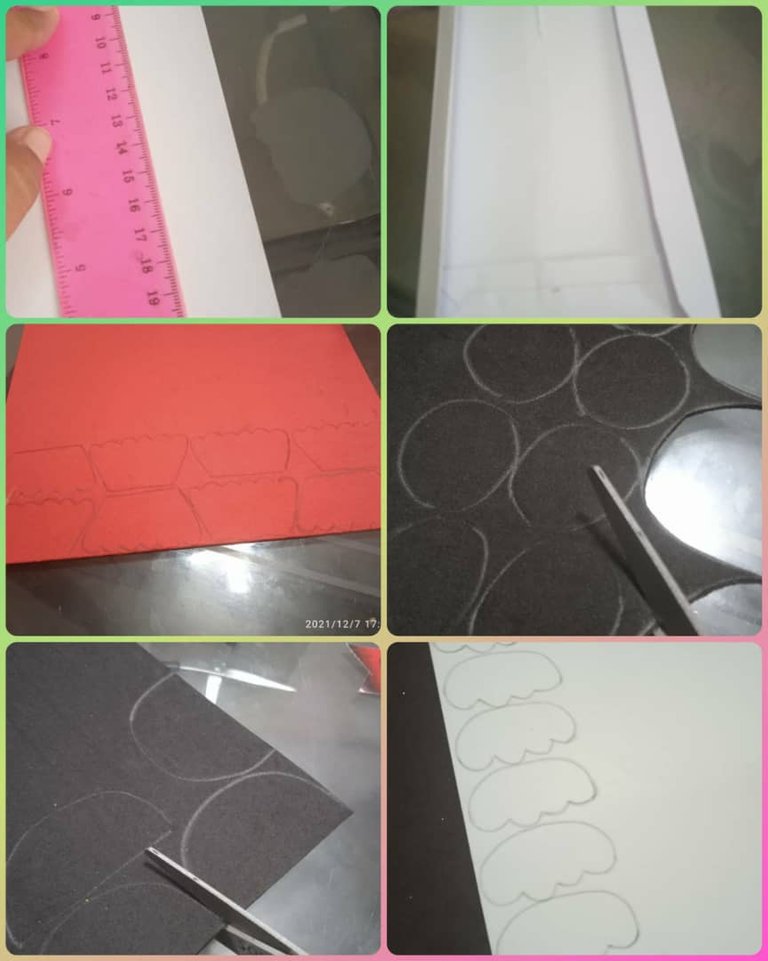
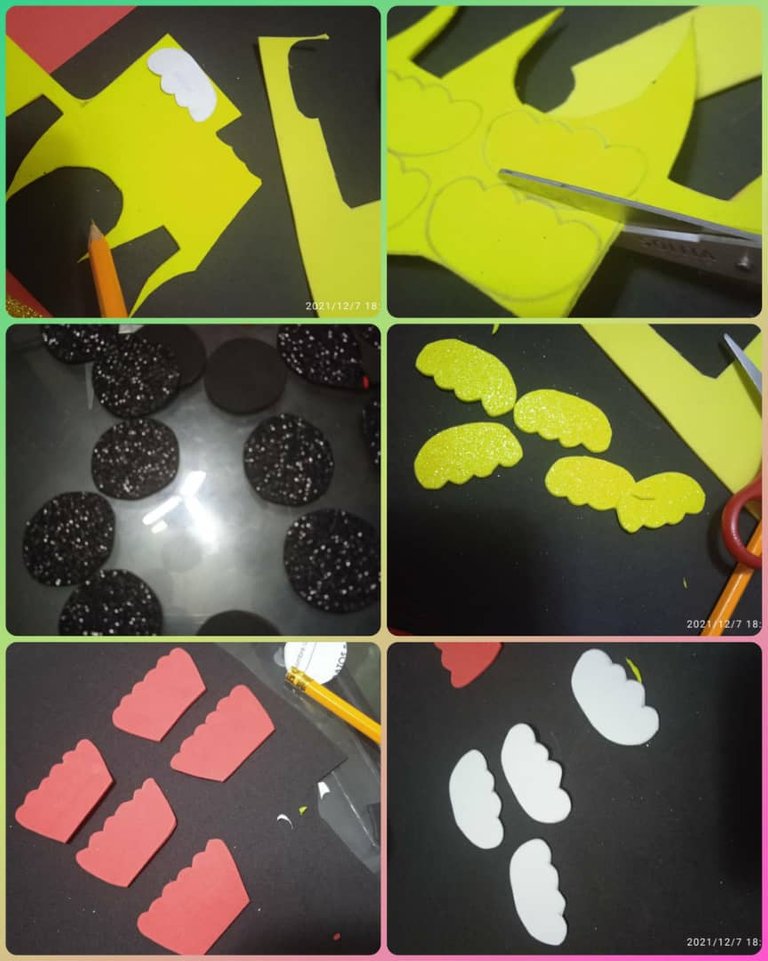
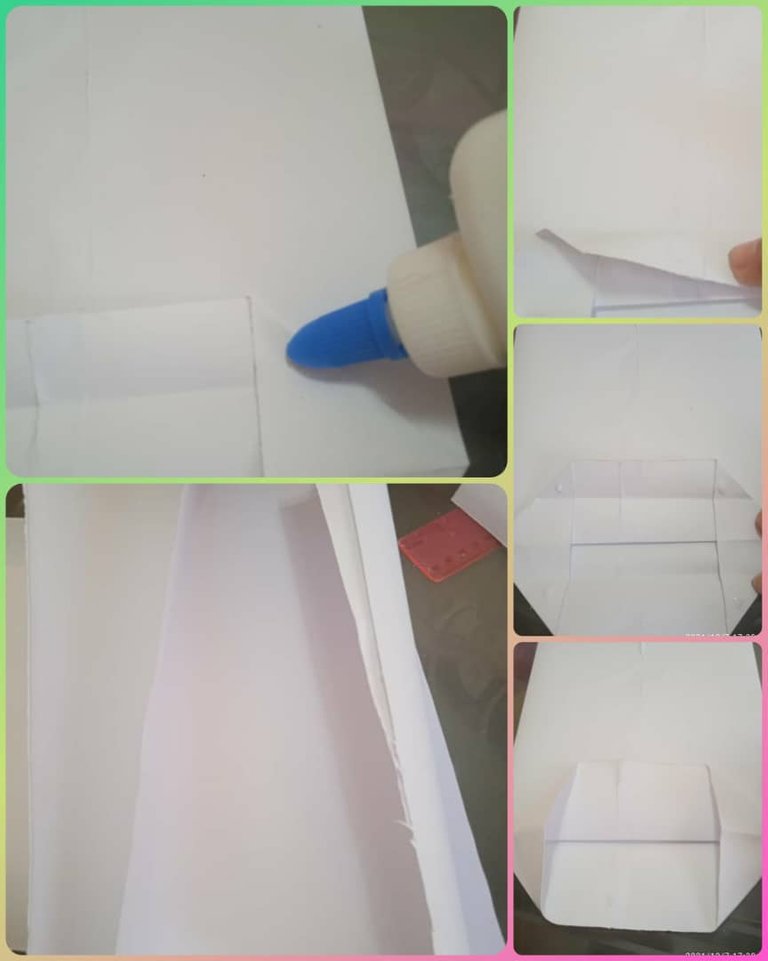
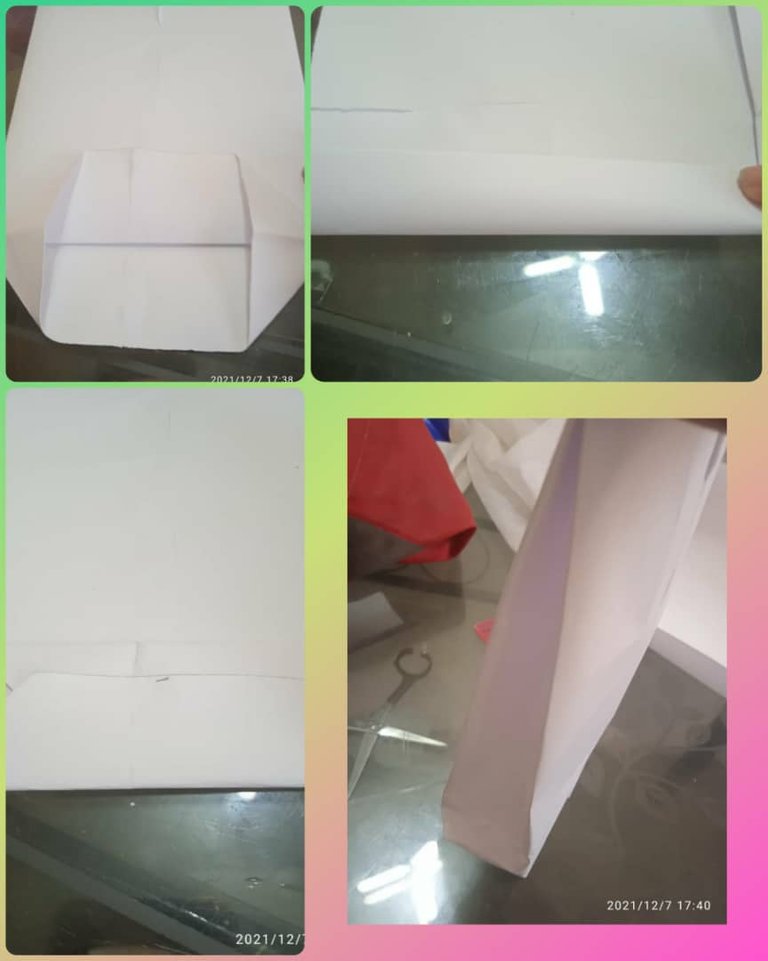
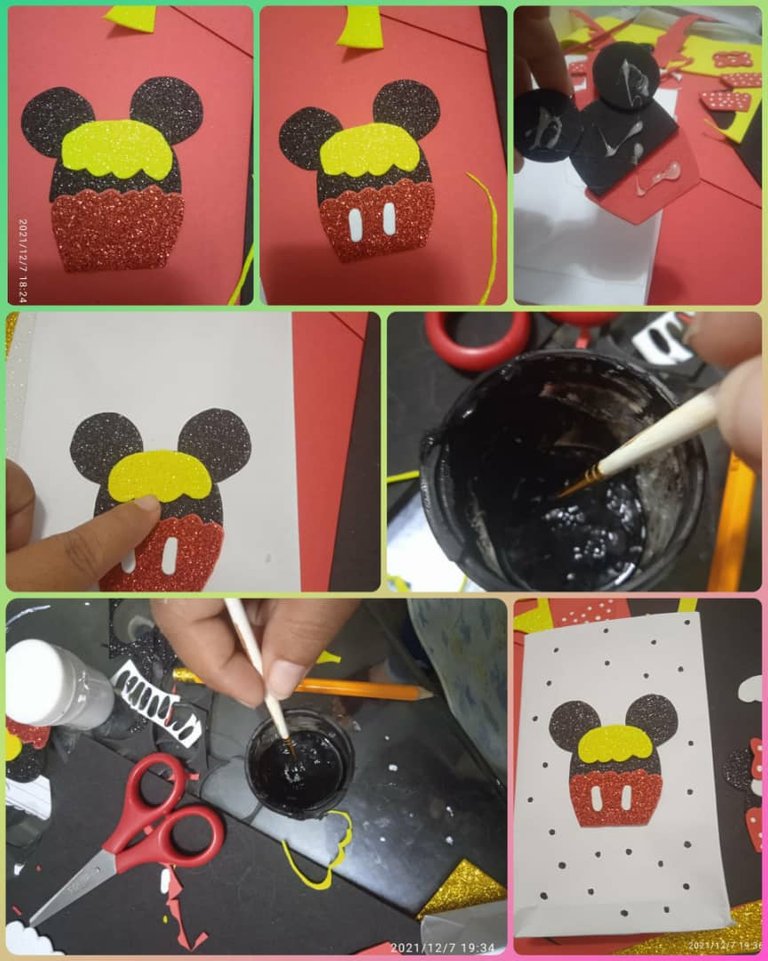
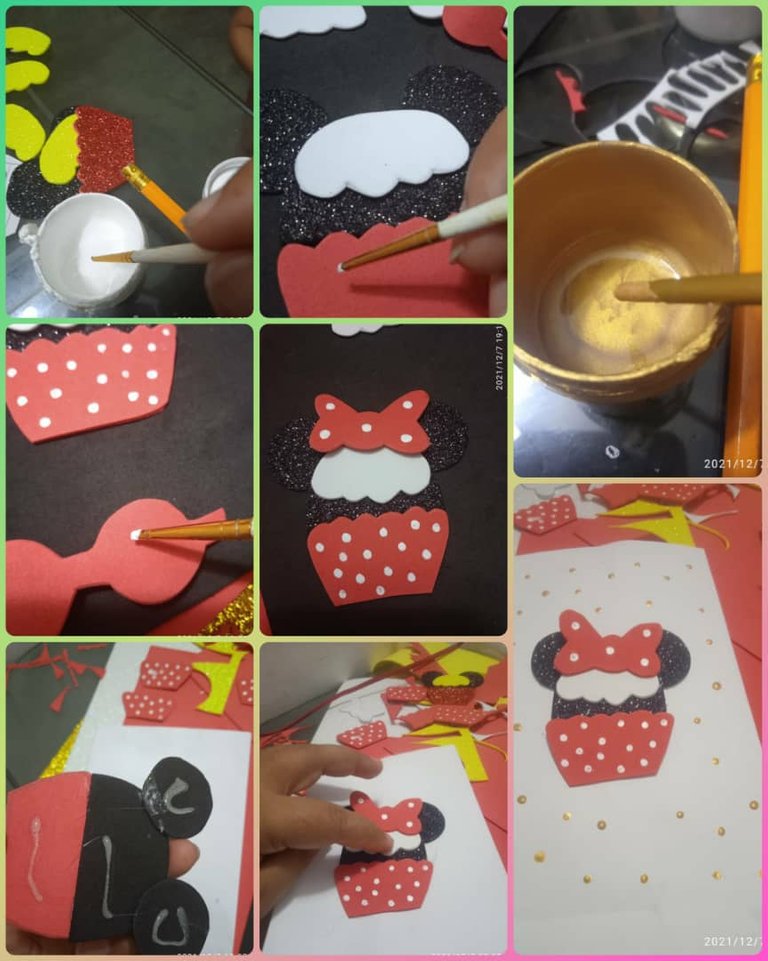
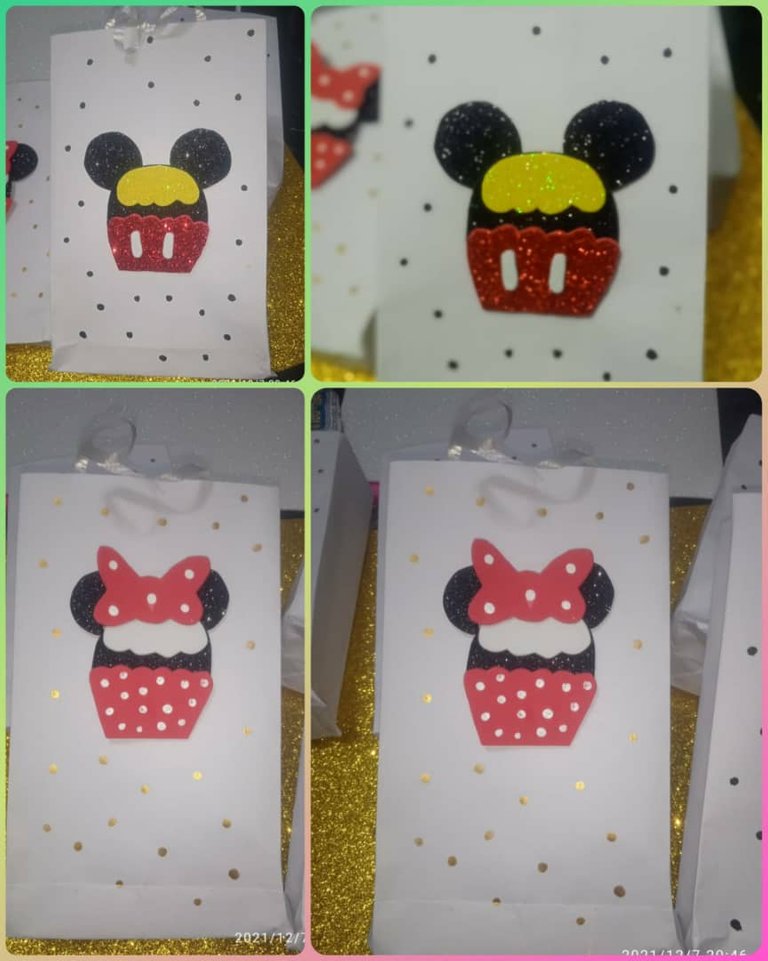
To start with the elaboration of the bags we must mark and cut in the white cardboard the following measures 33 x 21 cm then we glue to join and assemble the rectangle, it folds 5 cm approximately at the bottom continuing folding the corners inward also fold and leave a centimeter at the ends, we add a little glue in each corner square and we place one on top of the other also fold the sides to remove the edge and we place a small ribbons that will allow us to grab the bags, on the other hand in each of the foamis draw each of the pieces how the ears, bow among others proceeded to cut and assemble the figure of Minnie, we dotted with white color the bow and what would become the body, on the front of the bag and decorate it we will make golden dots and the cotillion for children dotted black color being this nice and simple gift, I hope you can take advantage of this idea.
Paso a paso:
Para iniciar con la elaboración de las bolsitas debemos marcar y recortar en la cartulina blanca las siguientes medidas 33 x 21 cm luego pegamos para unir y armar el rectángulo, se dobla 5 cm aproximadamente en la parte inferior continuando doblando las esquinas hacia adentro también doblamos y dejamos un centímetro en las puntas, le agregamos un poco de pega en cada cuadrito de cada esquina y le colocamos una encima de la otra igualmente doblamos los lados para sacarle filo y le colocamos unas pequeñas cintas que nos va a permitir a agarrar las bolsitas, por otro lado en cada uno de los foamis dibujamos cada una de las piezas cómo las orejas, lazo entre otros procedimos a recortar e ir armando la figura de Minnie, le puntiamos con el color blanco el lazo y lo que vendría siendo el cuerpo, en la parte frontal de la bolsita y para decorar le vamos a hacer puntitos dorados y el cotillón para los niños punteamos de color negro quedando este bonito y sencillo obsequio, espero que le puedas sacar provecho a esta idea.
Photos by me @elgatoshawua.
Translated by DeepL.
Fotos de mi autoría @elgatoshawua.
Traducido por DeepL
Your content has been voted as a part of Encouragement program. Keep up the good work!
Use Ecency daily to boost your growth on platform!
Support Ecency
Vote for new Proposal
Delegate HP and earn more
The rewards earned on this comment will go directly to the person sharing the post on Twitter as long as they are registered with @poshtoken. Sign up at https://hiveposh.com.