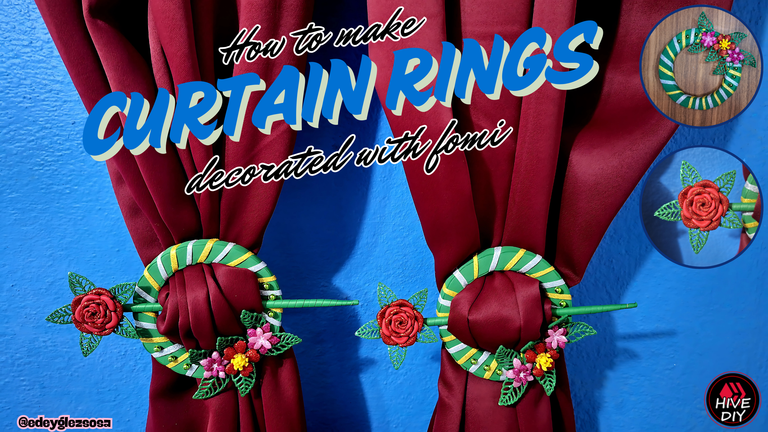
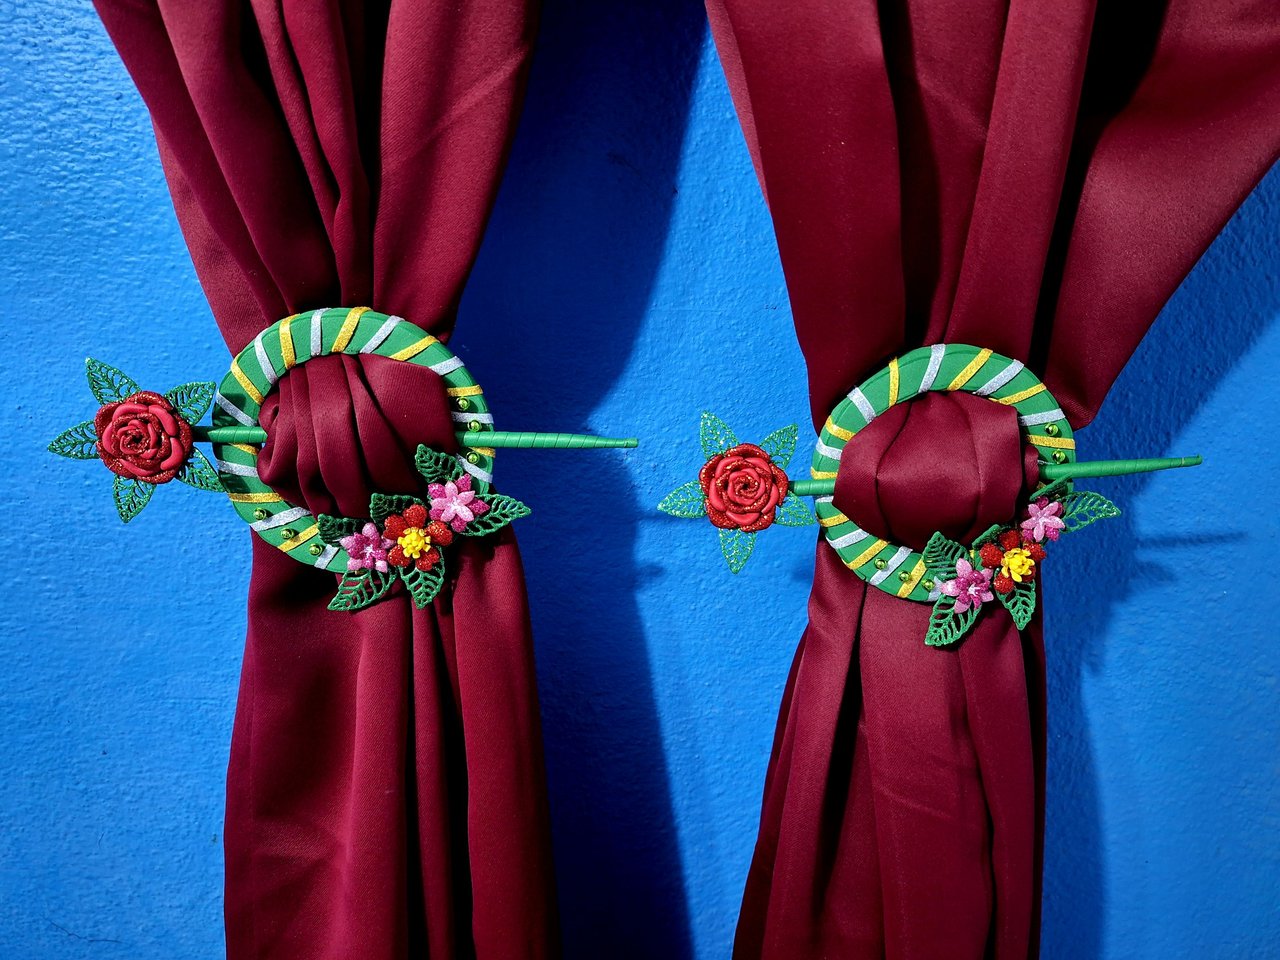
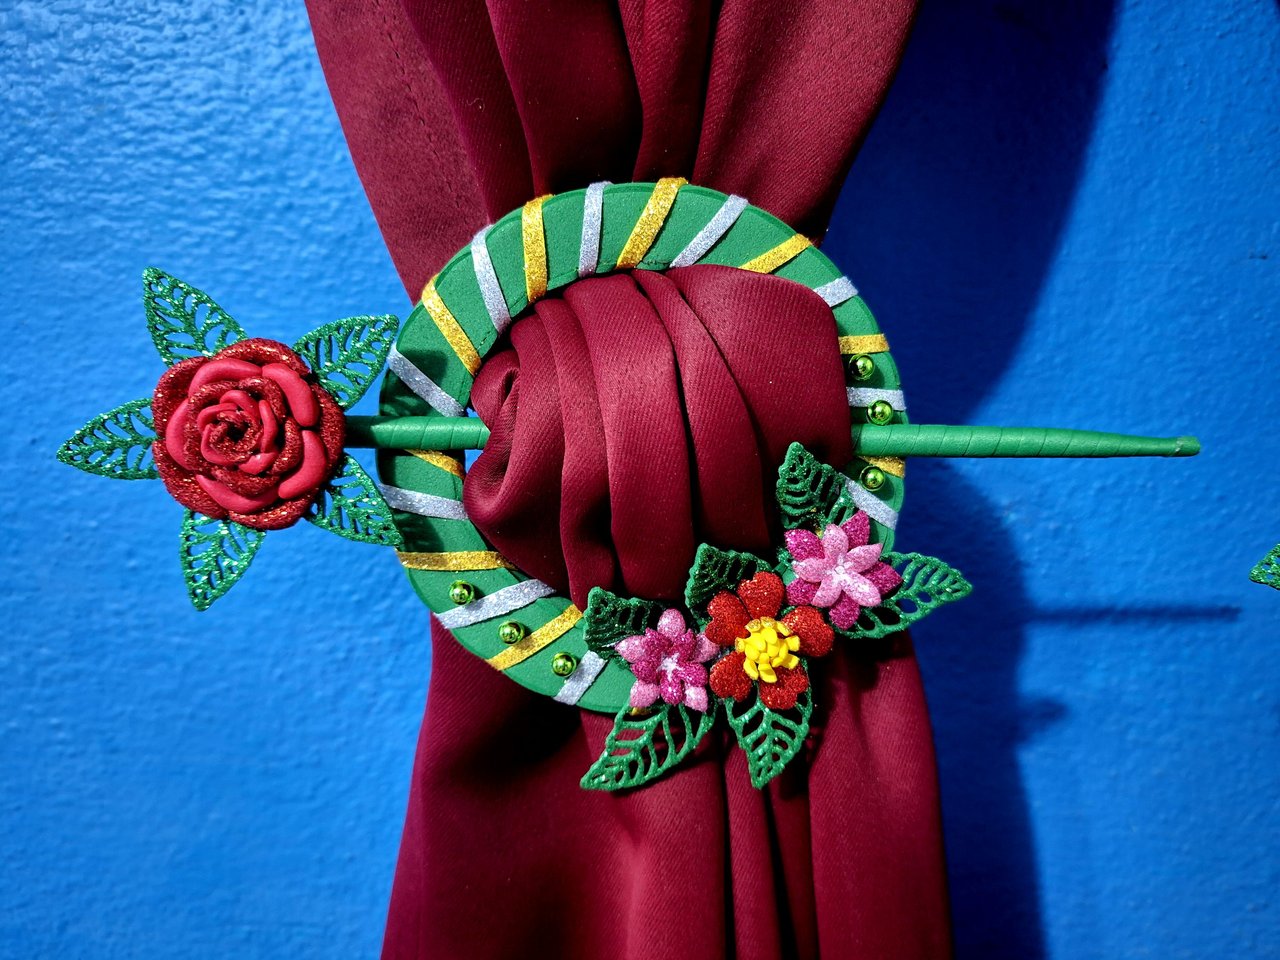
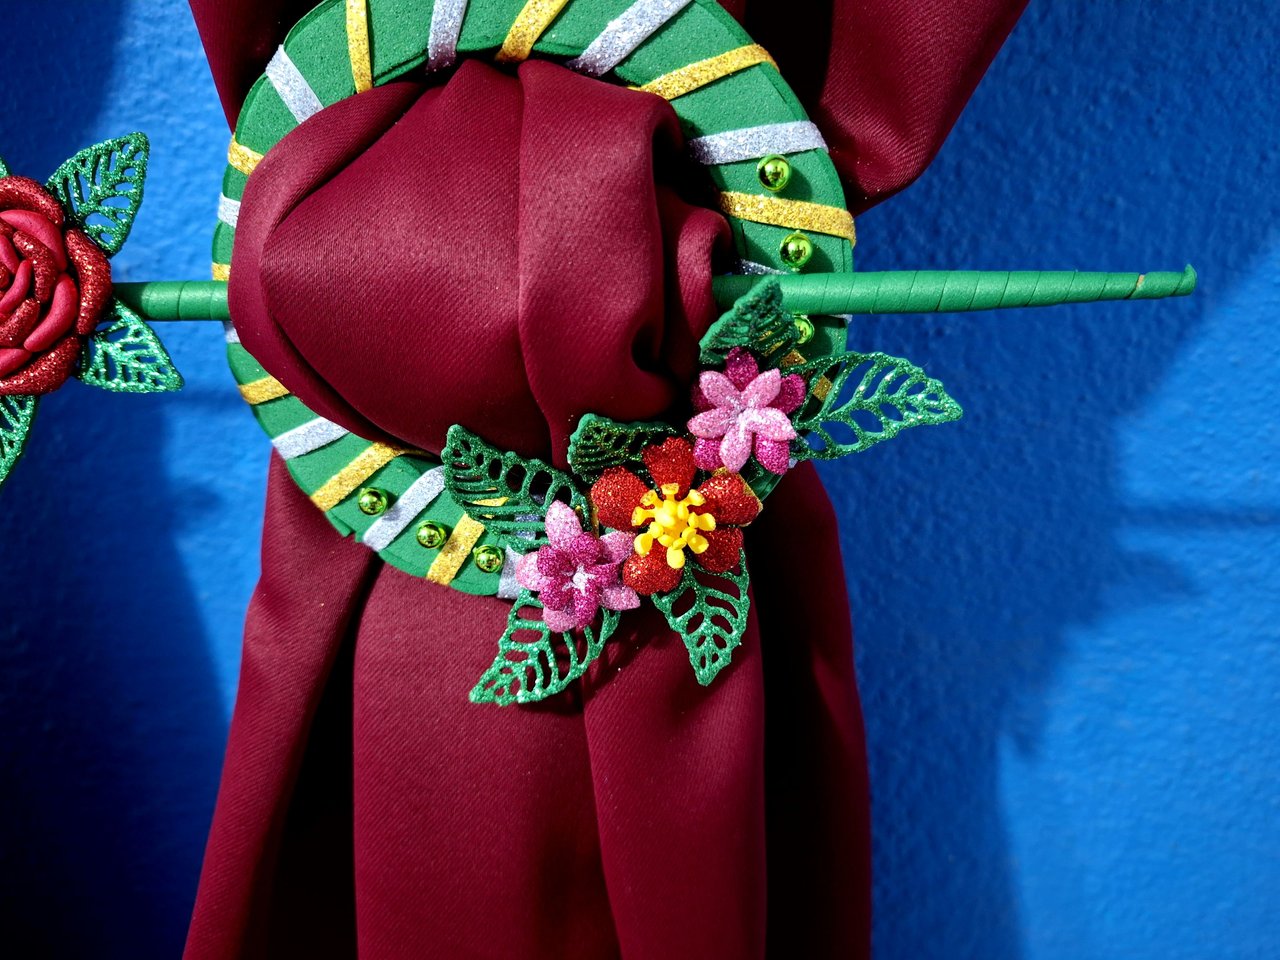
Hello friends of the community @hivediy. Today I want to show you how to make a curtain clip. You may know this object by another name, such as curtain clip, curtain buckle or curtain clip. If so, don't worry, because in the end it all has the same purpose: to keep your curtains closed.
The funny thing about this object is that I didn't know I needed it until it was too late. The idea came from an event in which a strong wind, some red curtains and a porcelain figurine were involved. You can imagine what happened and that is why, after some internet research, I found out that this type of object existed. Immediately, I was convinced that I had to make a pair for my curtains and put a lot of color and glitter, as I usually do with my crafts. So let's get to know the materials and then the tutorial. Let's start.
Hola amigos de la comunidad @hivediy. El día de hoy quiero enseñarles a confeccionar un aro sujetador de cortinas. Puede que este objeto lo conozcan por otro nombre, tal como presilla de cortinas, hebilla de cortinas o clip de cortinas. Si es así, no se preocupen, pues al final todo tiene el mismo objetivo: mantener cerradas las cortinas.
Lo curioso de este objeto es que no sabía que lo necesitaba hasta que fue demasiado tarde. La idea surgió a partir de un suceso en el cual se vieron involucrados un fuerte viento, unas cortinas rojas y una figurilla de porcelana. Ya podrán imaginarse lo que sucedió y es por eso que, tras unas búsquedas por internet, me enteré de que este tipo de objetos existía. Inmediatamente, me convencí de que tenía que hacer un par para mis cortinas y de paso ponerle mucho colorín y brillo, como ya acostumbro a hacer con mis manualidades. Así que pasemos a conocer los materiales y seguidamente el tutorial. Comencemos.
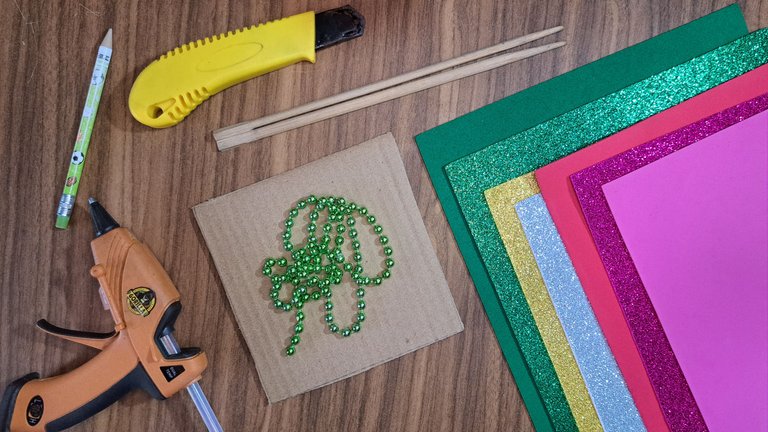
Materials // Materiales
| English | Español |
| ✔️ Red, pink, fuchsia, gold, silver and fuchsia frosted fomi | ✔️ Fomi escarchado rojo, rosado, fucsia, dorado y plateado |
| ✔️ Green, red and pink plain Fomi | ✔️ Fomi liso verde, rojo y rosado |
| ✔️ Bright green plastic beads | ✔️ Perlas plásticas verdes brillantes |
| ✔️ Cutter and scissors | ✔️ Cúter y tijeras |
| ✔️ Chopsticks | ✔️ Palillos chinos |
| ✔️ Pencil or marker | ✔️ Lápiz o marcador |
| ✔️ Recycled cardboard | ✔️ Cartón reciclado |
| ✔️ Hot silicone | ✔️ Silicona caliente |
Step by step // Paso a paso
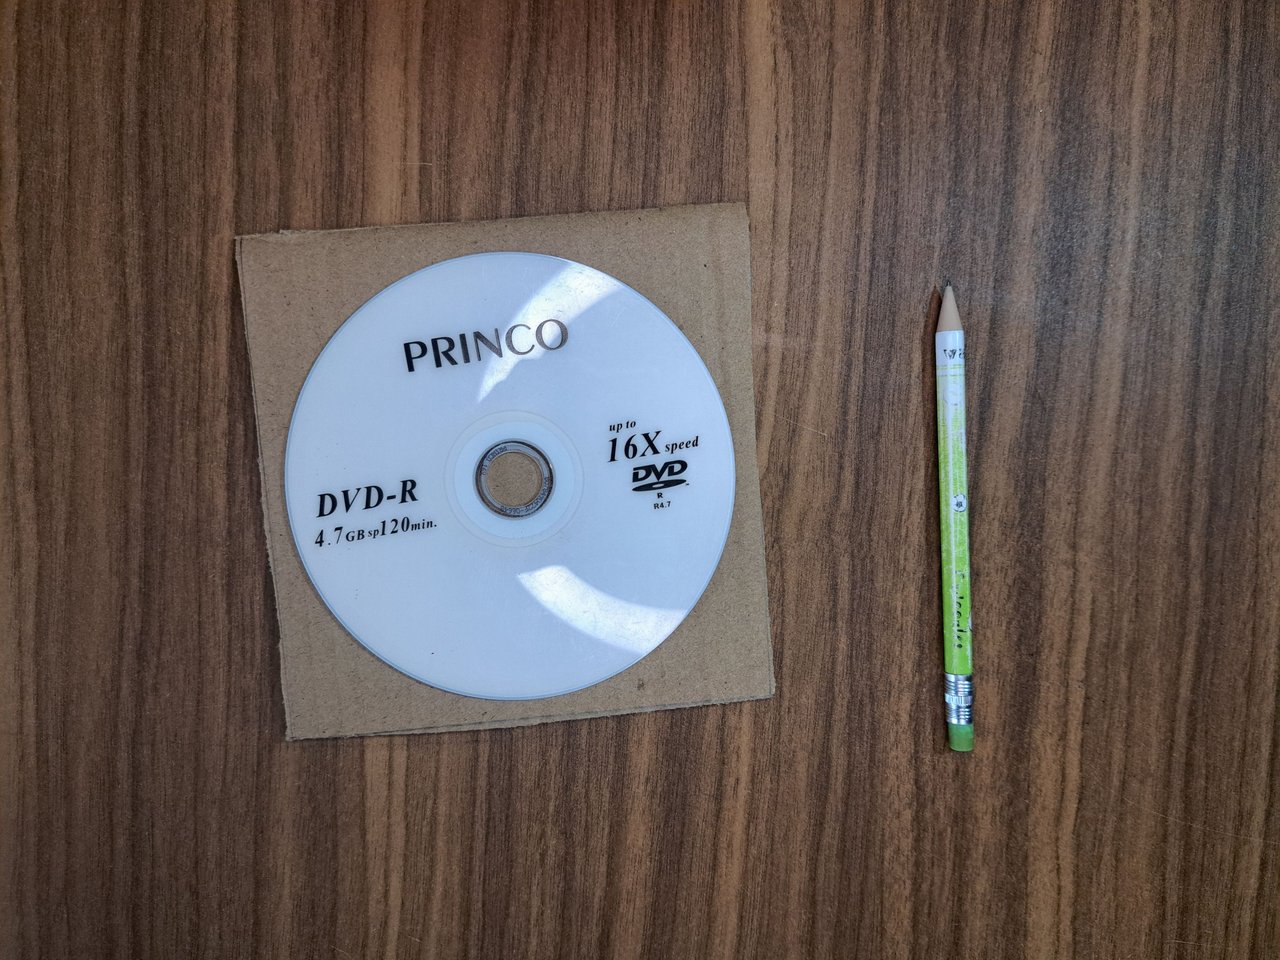
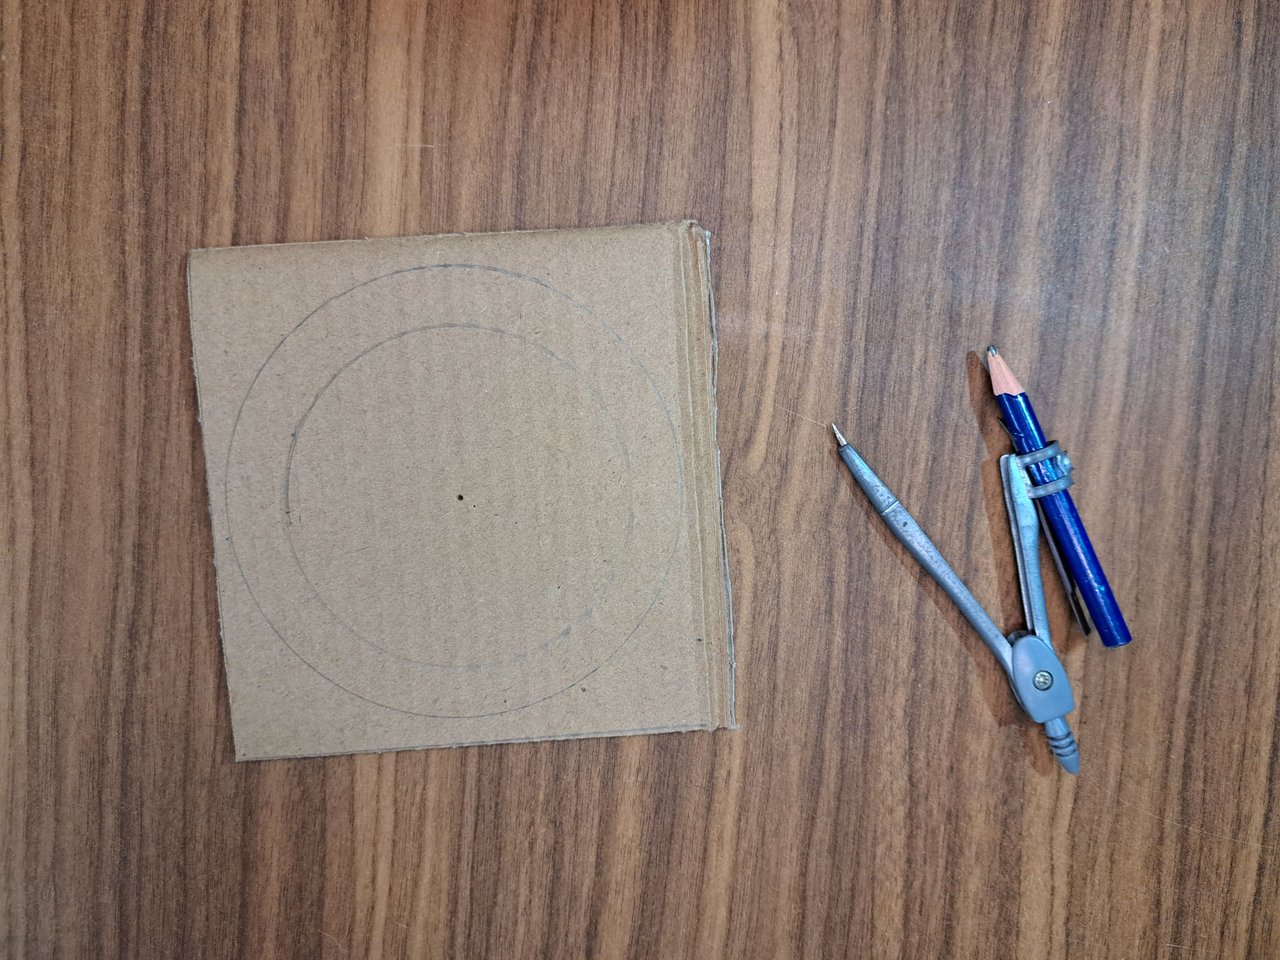
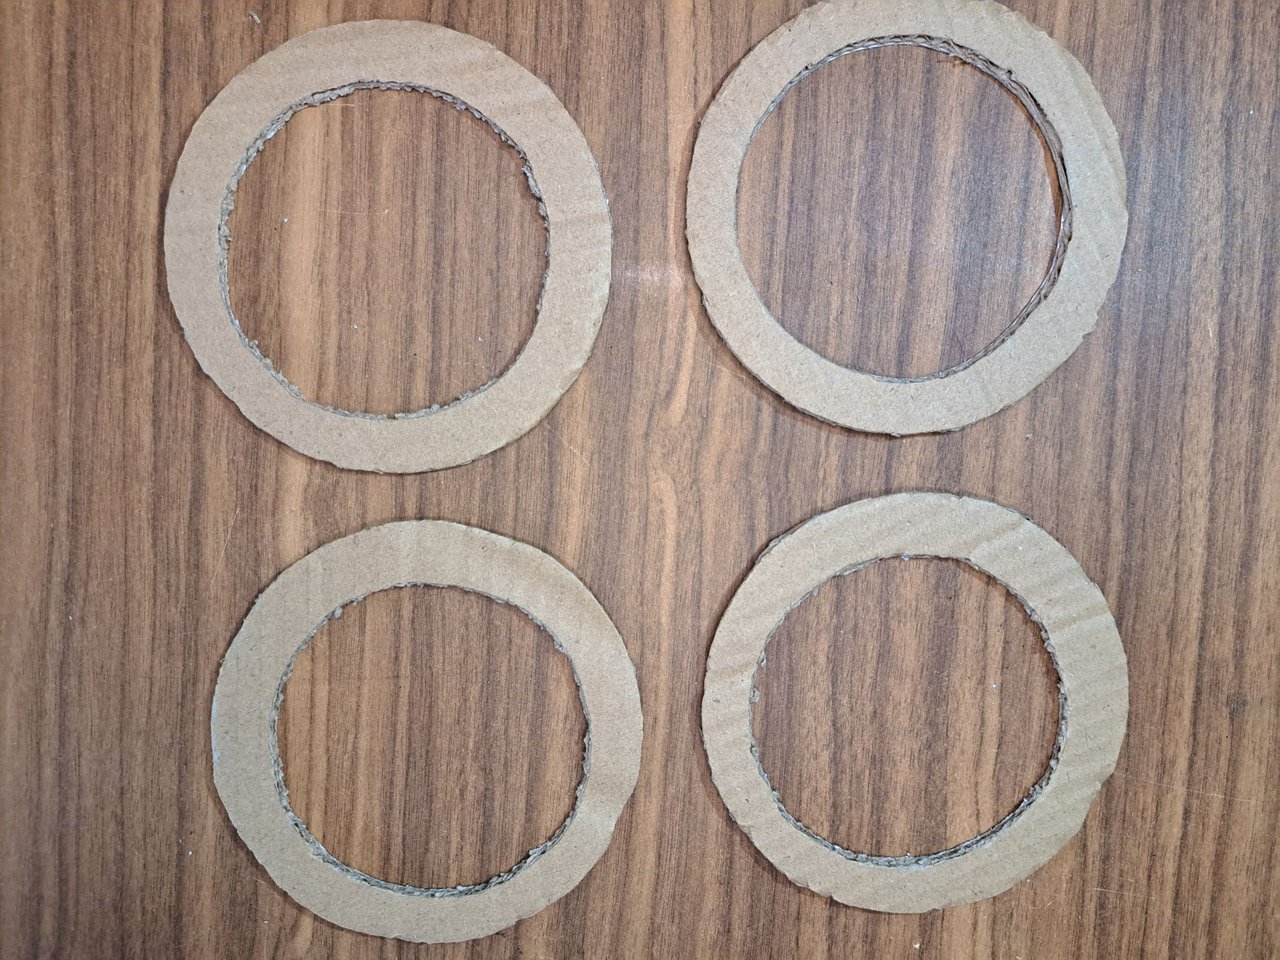
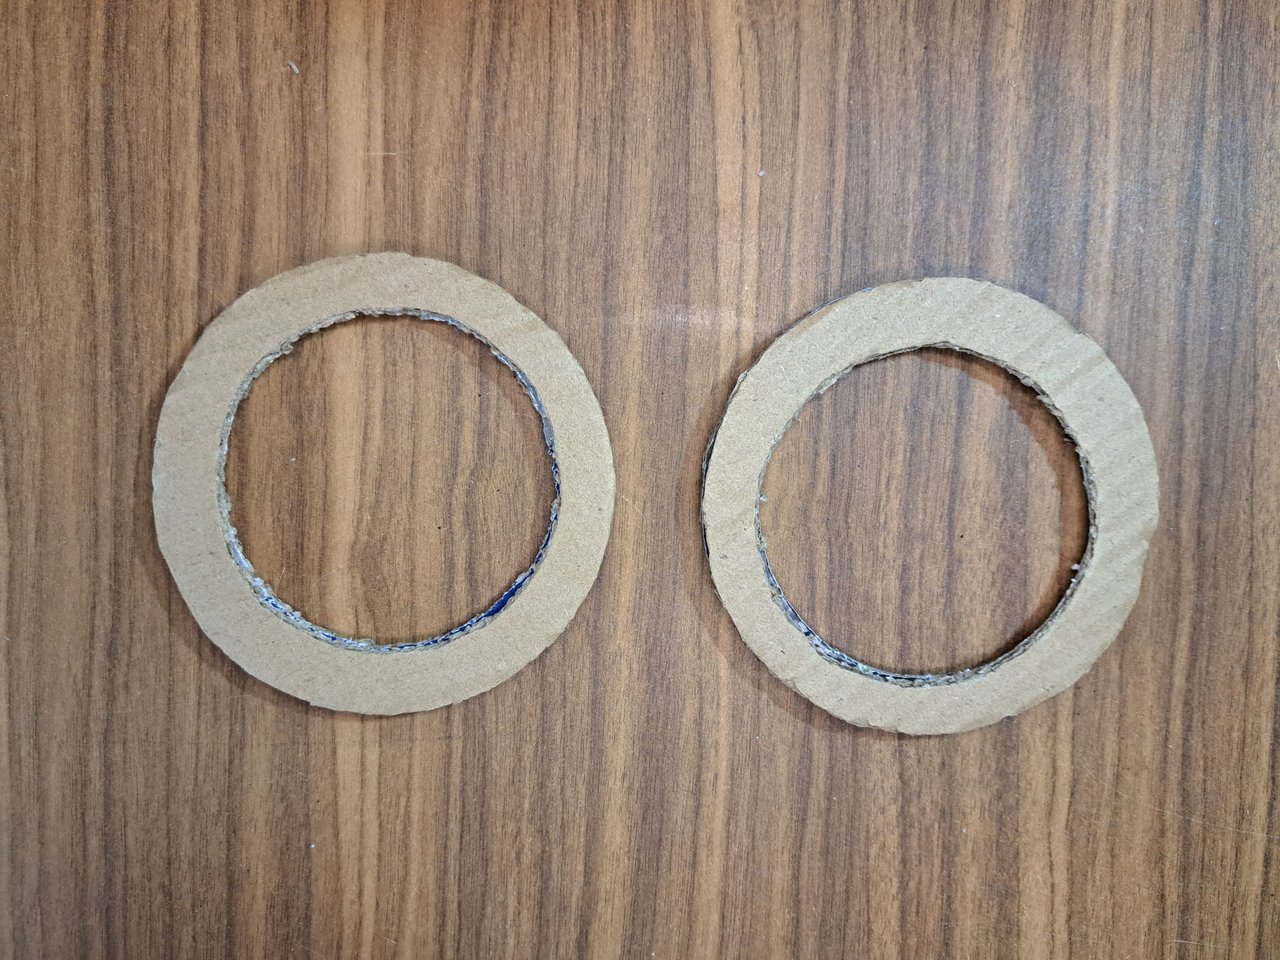
1️⃣ I started by cutting the cardboard into four pieces large enough to mark the outline of a CD inside. Then I used a compass to mark another smaller circle inside the previous one. Both circles can be traced freehand and with the desired measurements. The important thing is to cut out the four circles and form a pair, gluing them in pairs to increase the thickness and strength of the cardboard.
Empecé cortando el cartón en cuatro piezas lo suficientemente grandes como para poder marcar el contorno de un CD dentro. Luego utilicé un compás para marcar otro círculo más pequeño dentro del anterior. Ambos círculos pueden ser trazados a mano alzada y con las medidas deseadas. Lo importante es recortar los cuatro círculos y formar un par, pegándolos en parejas para aumentar el grosor y la resistencia del cartón.
 |  |
 |  |
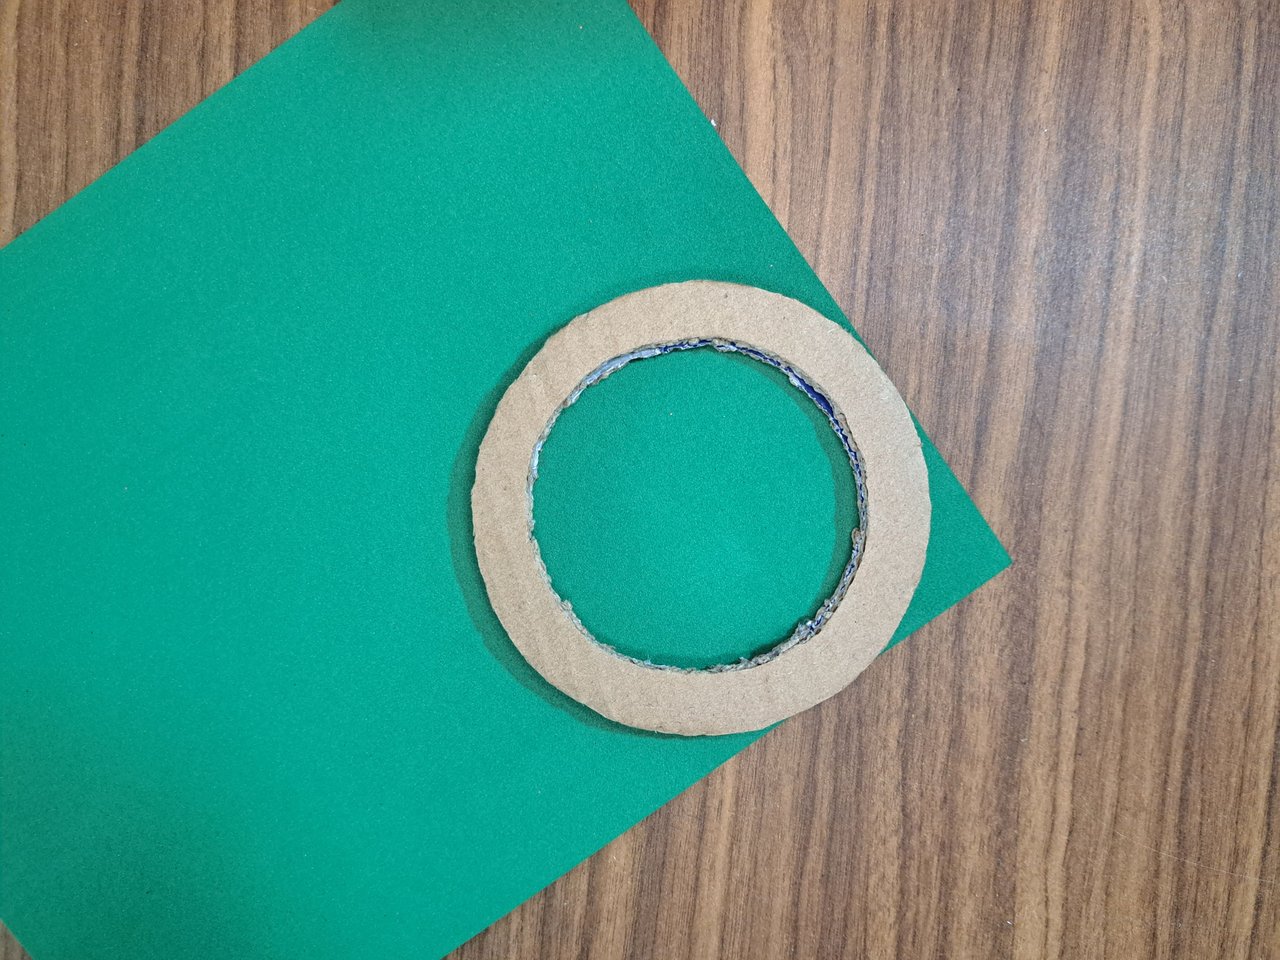
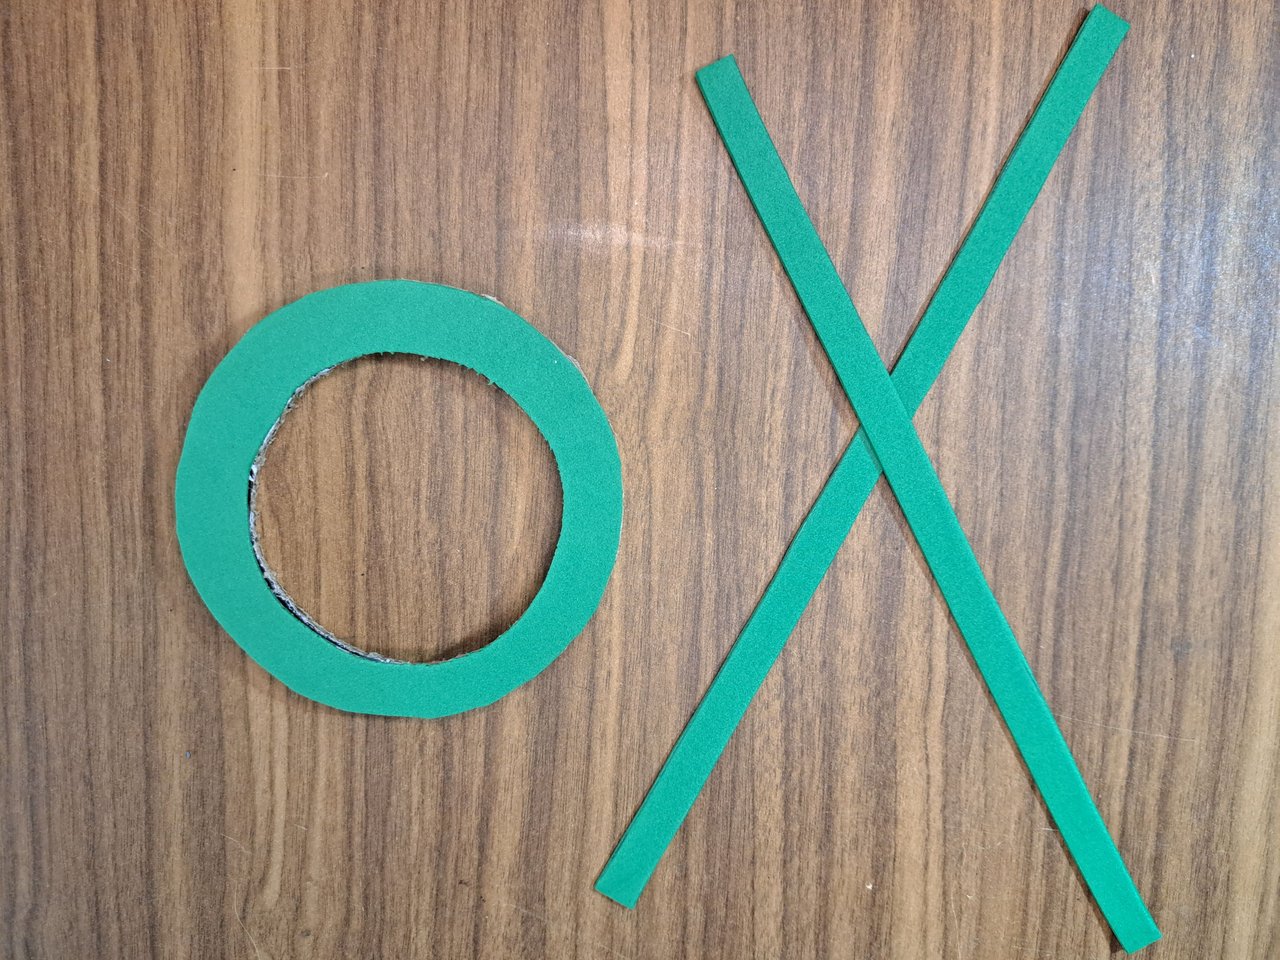
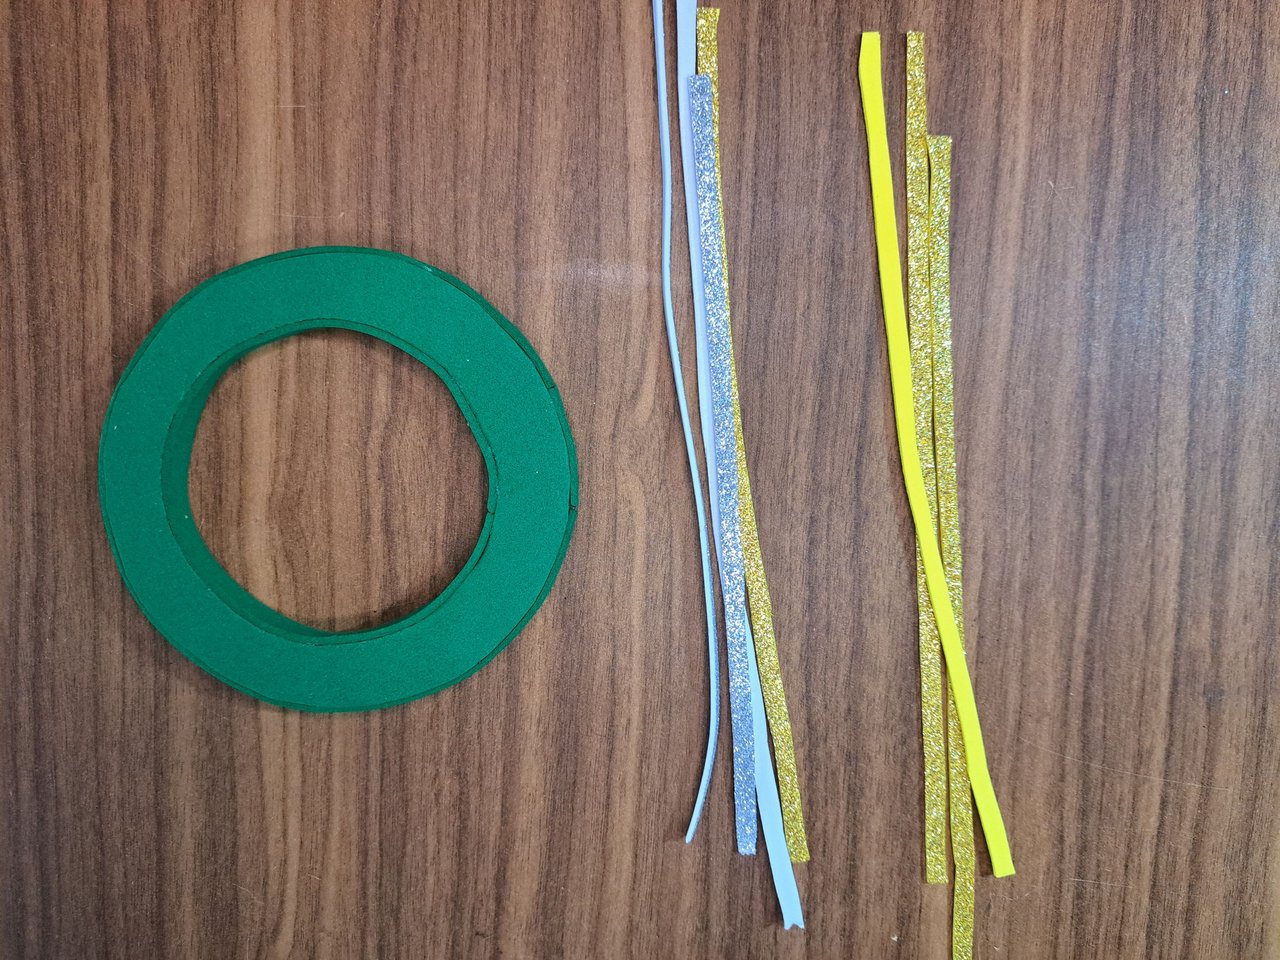
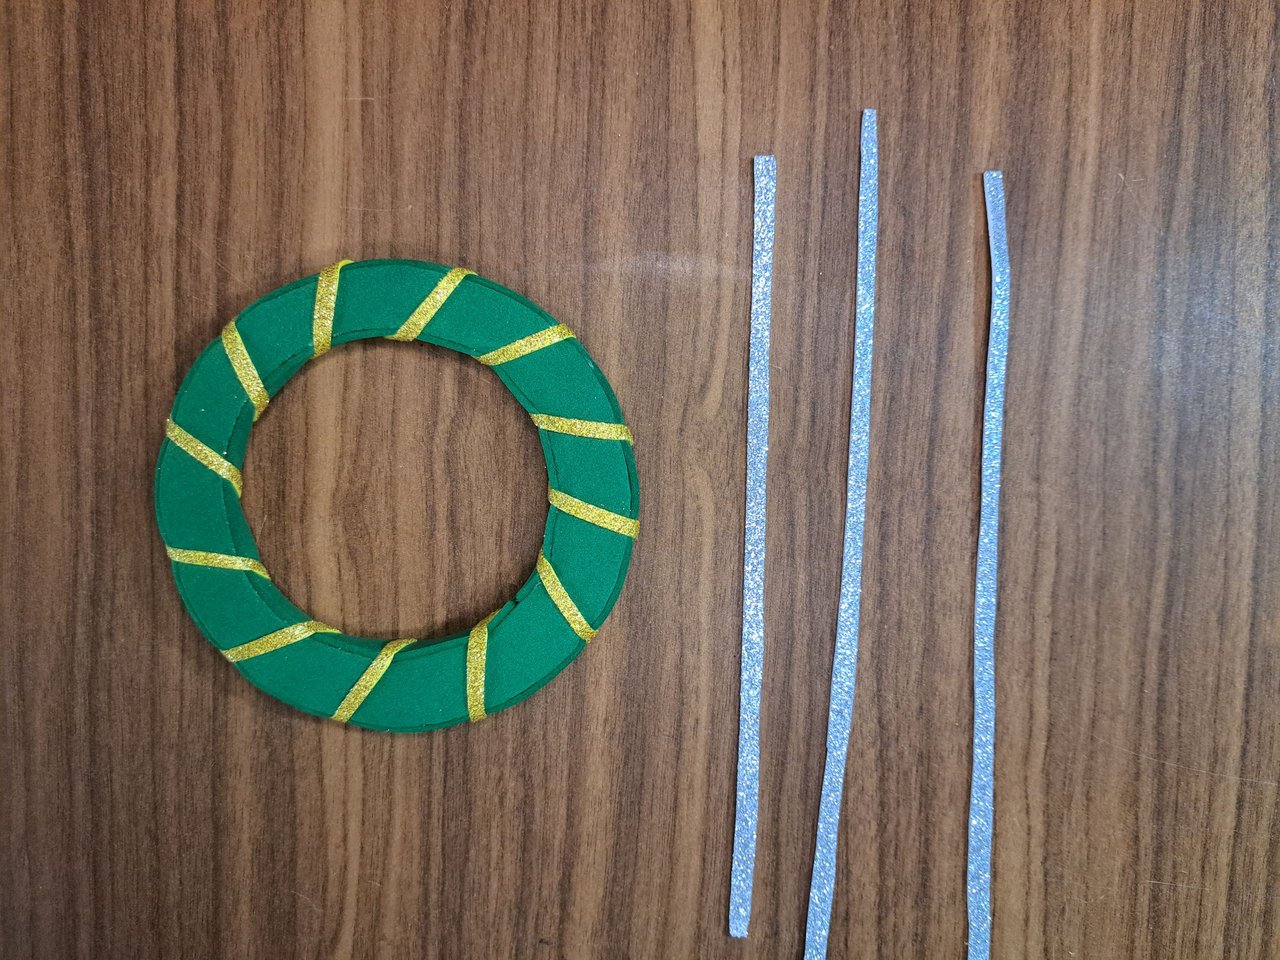
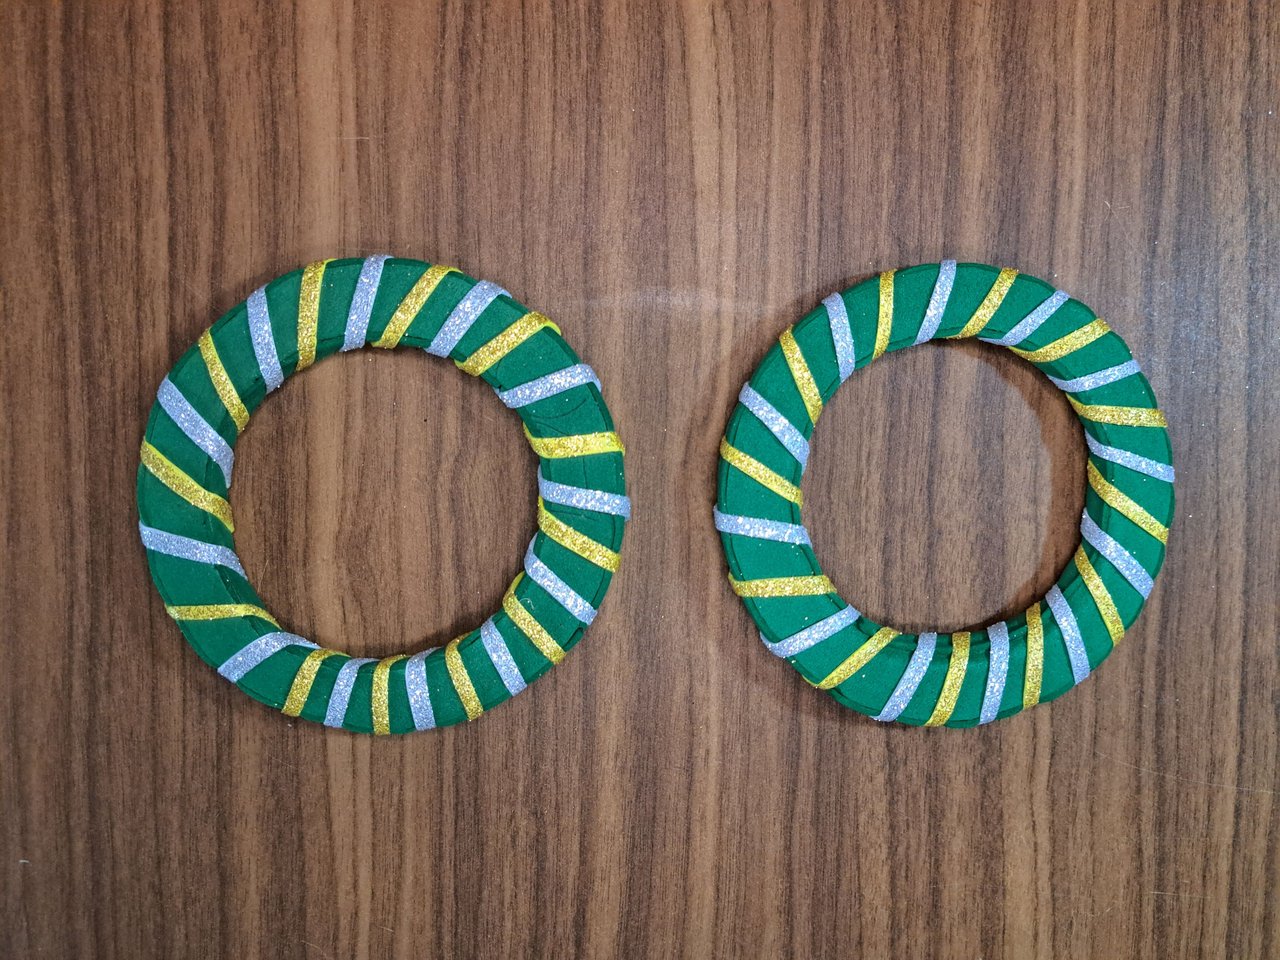
2️⃣ Next, I covered both sides of the hoops with fomi, as well as the inner and outer rim. I cut out several strips of frosted, gold, and silver fomi, which I wrapped interleaved around the hoops, forming a pretty colorful pattern.
A continuación, cubrí las dos caras de los aros con fomi, al igual que el borde interno y exterior. Recorté varias tiras de fomi escarchado, dorado y plateado, las cuales envolví intercaladamente alrededor de los aros, formando un bonito patrón de colores.
 |  |  |
 |  |
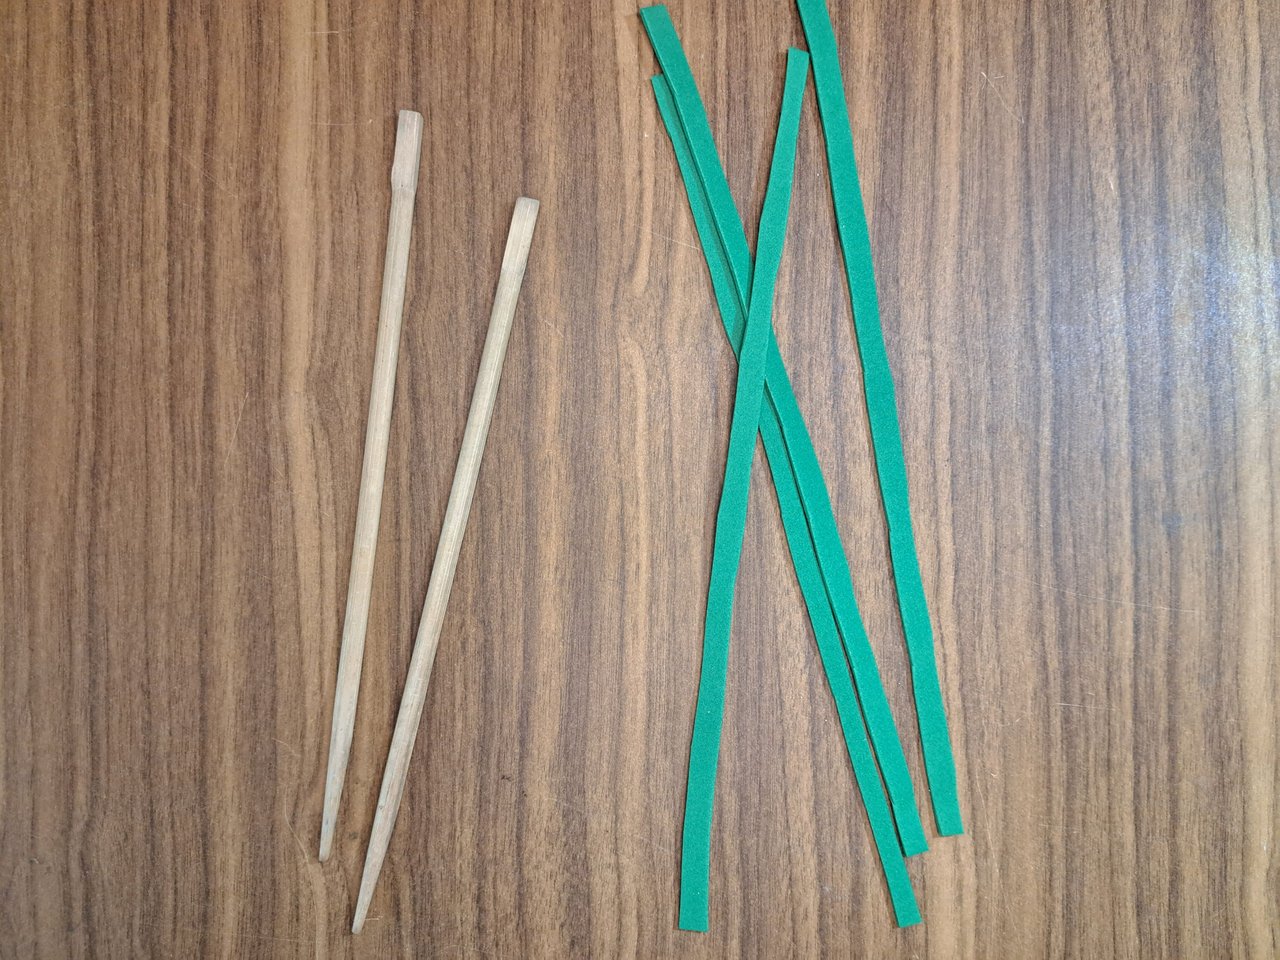
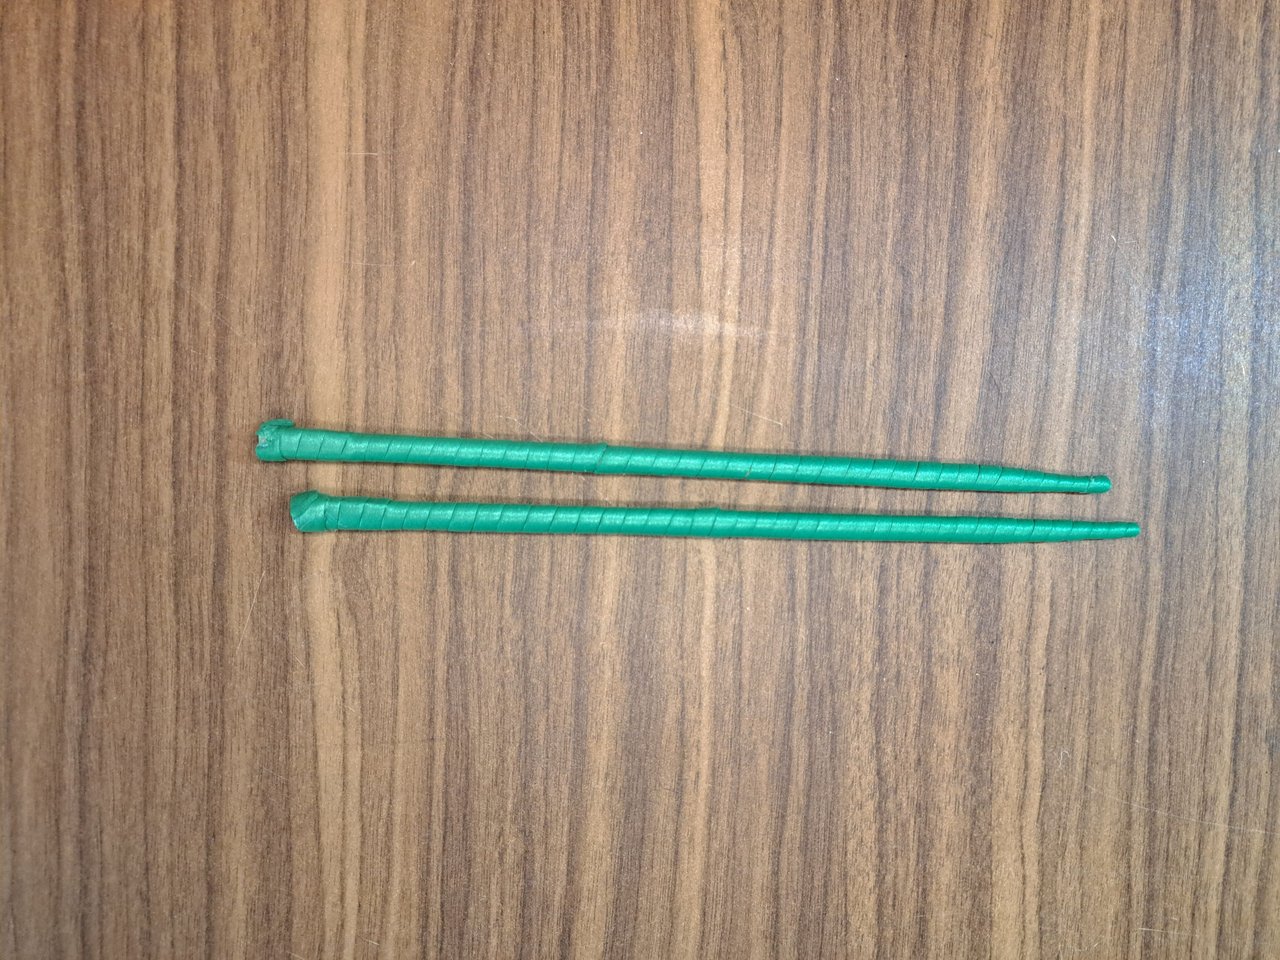
3️⃣ I cut the leftover plain green fomi into strips and wrapped them around the two chopsticks, covering their surface completely. While wrapping the fomi, I was very careful that the strips were not mounted on top of each other around the edge, as this causes the thickness of the wooden chopstick to increase.
Recorté en tiras el fomi verde liso sobrante y lo envolví alrededor de los dos palillos chinos, cubriendo su superficie completamente. Mientras envolvía el fomi, tuve mucho cuidado de que las tiras no quedaran montadas una encima de otra por el borde, ya que esto causa que aumente el grosor del palillo de madera.
 |  |
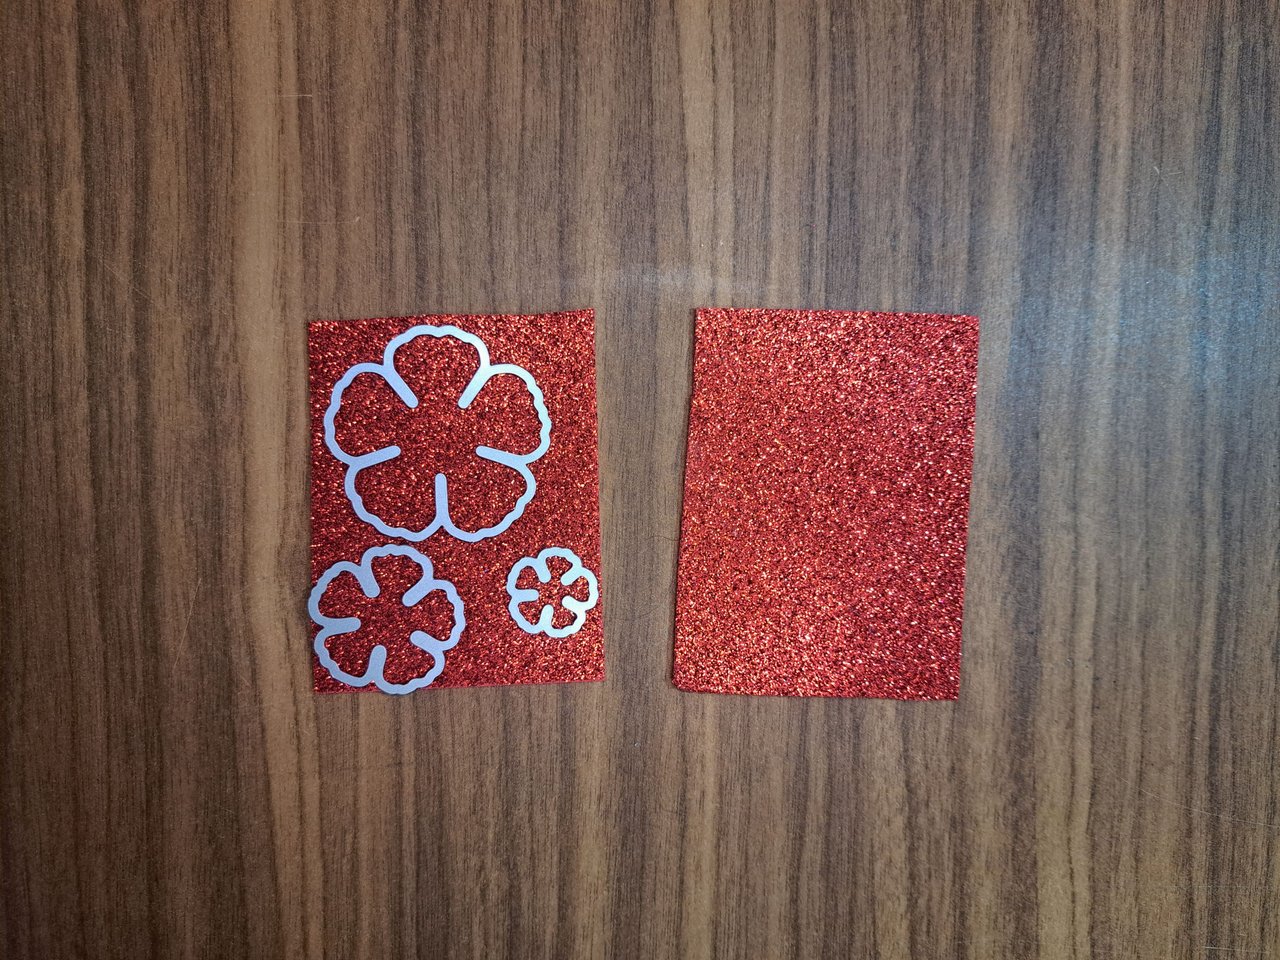
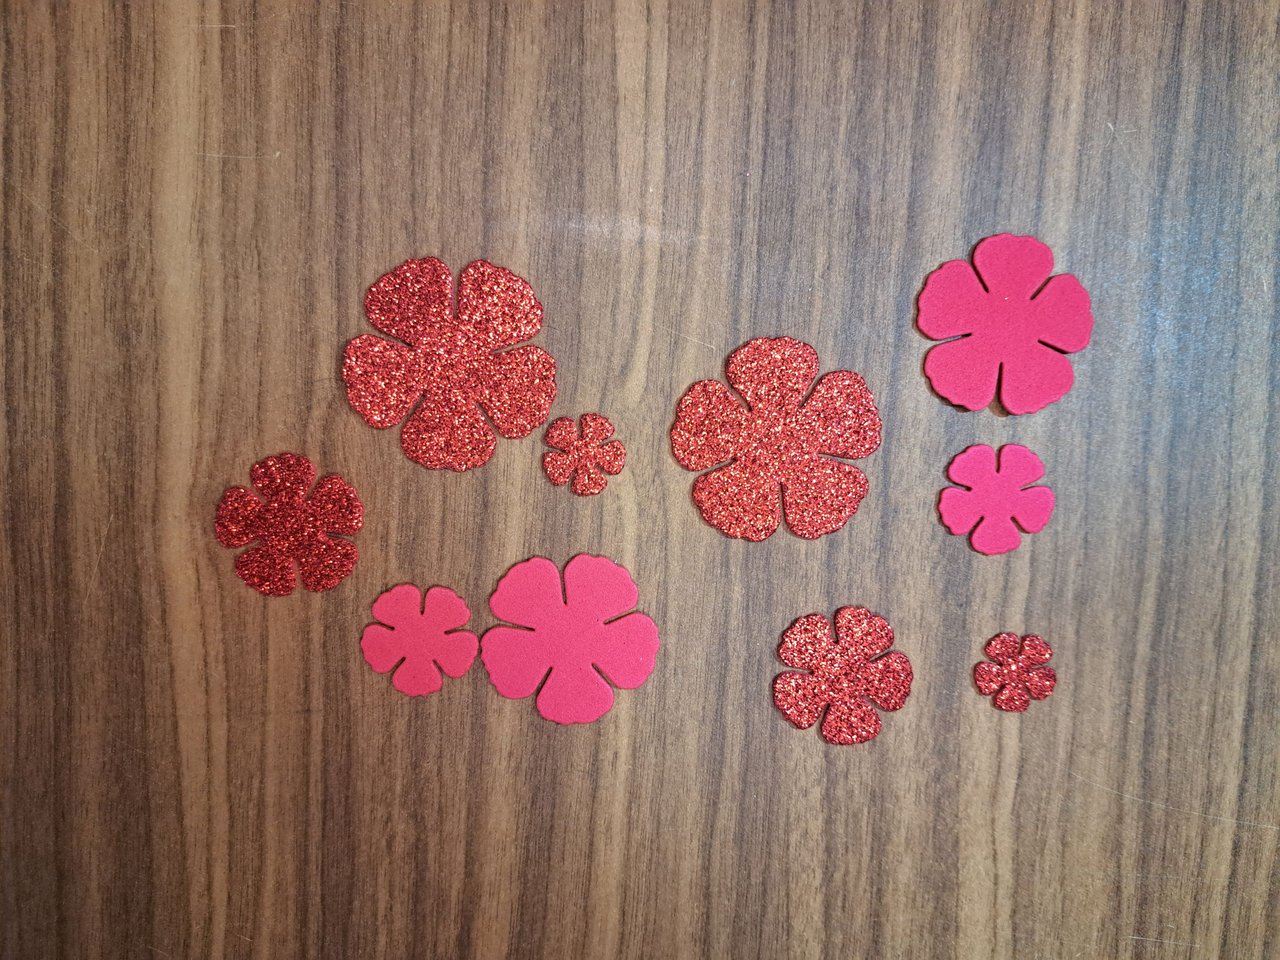
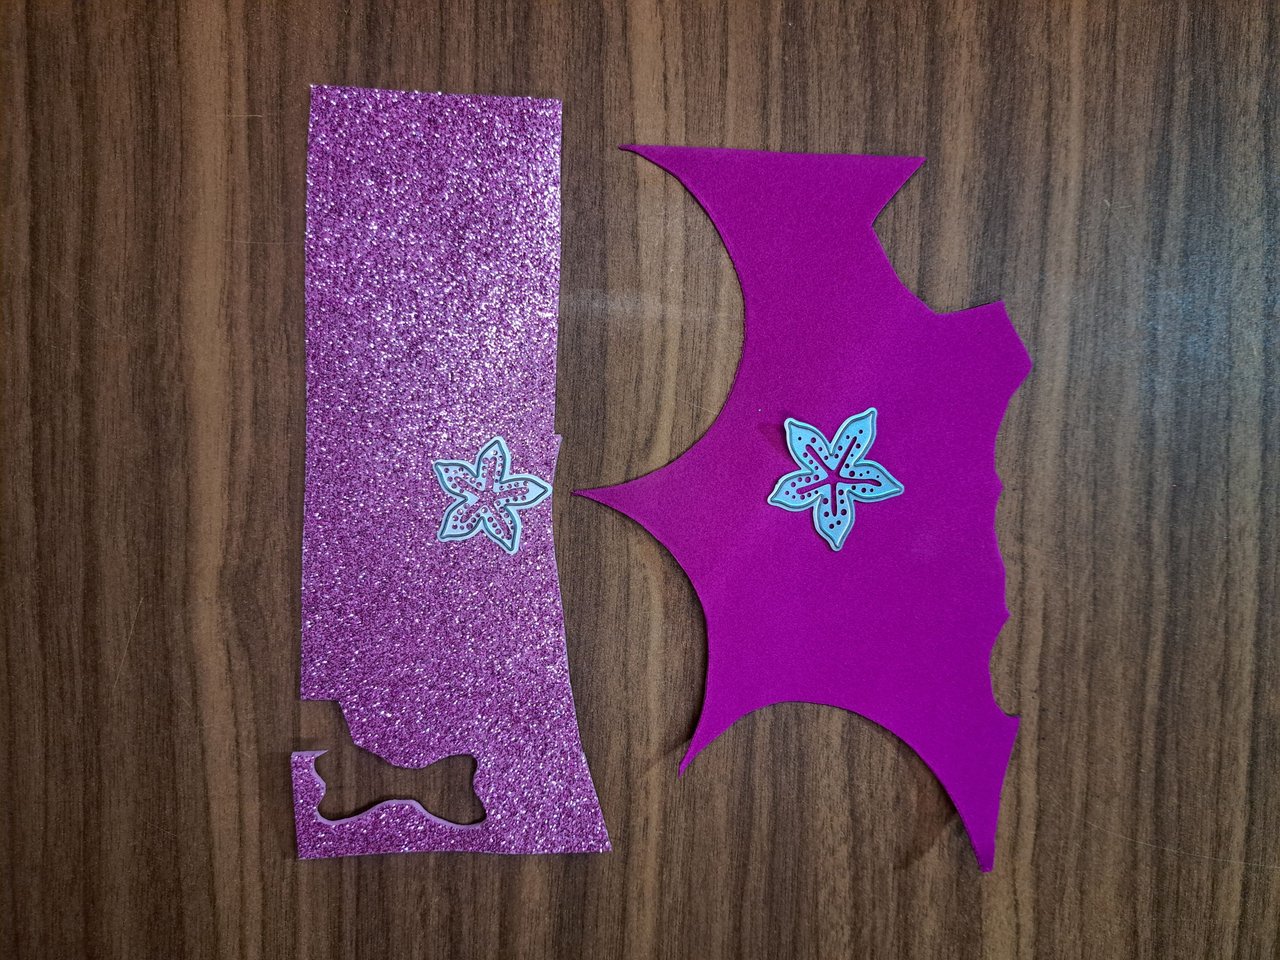
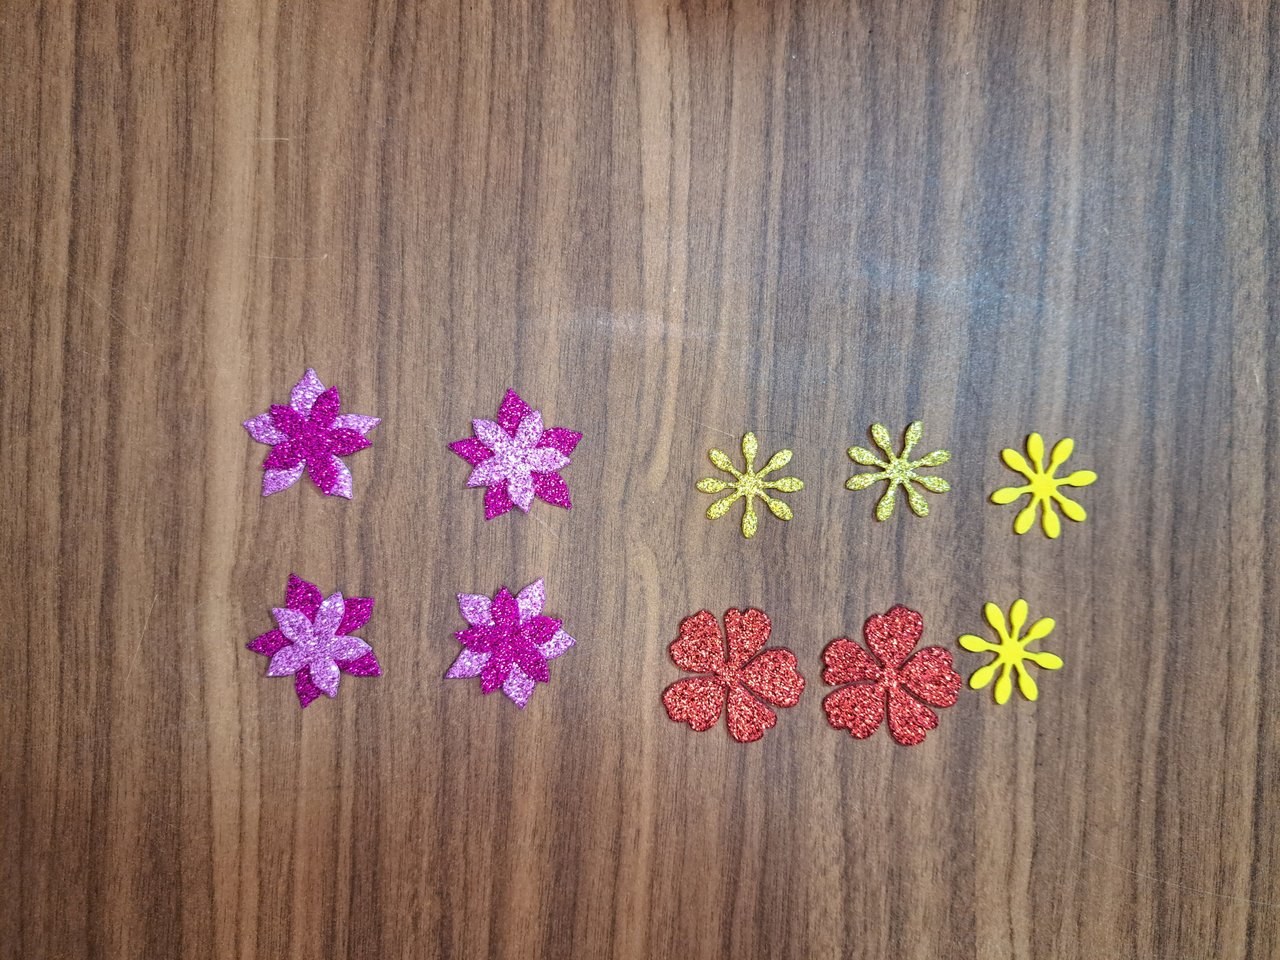
4️⃣ Next, I cut out the patterns for the different types of flowers I will be using. In the case of the roses, I wanted to try a new color design by interspersing layers of plain and frosted fomi. In the image you can see that I am using cutting dies to speed up the process, but the process can be done using scissors.
A continuación, recorté los patrones de los distintos tipos de flores que estaré utilizando. En el caso de las rosas, quise probar un nuevo diseño de colores intercalando capas de fomi liso y fomi escarchado. En la imagen podrán apreciar que estoy utilizando troqueles de corte para agilizar el proceso, pero dicho proceso se puede realizar empleando unas tijeras.
 |  |
 |  |
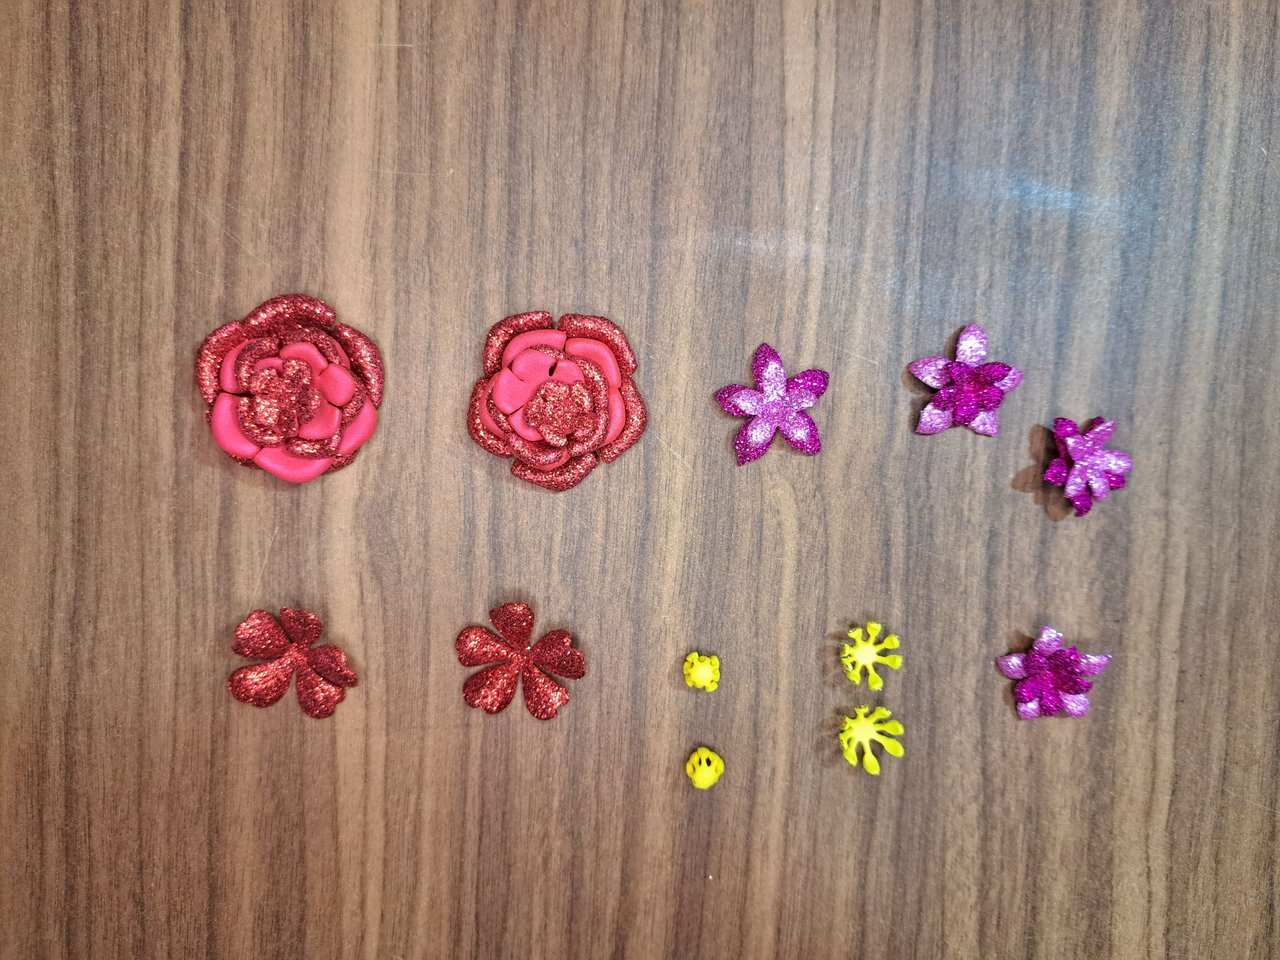
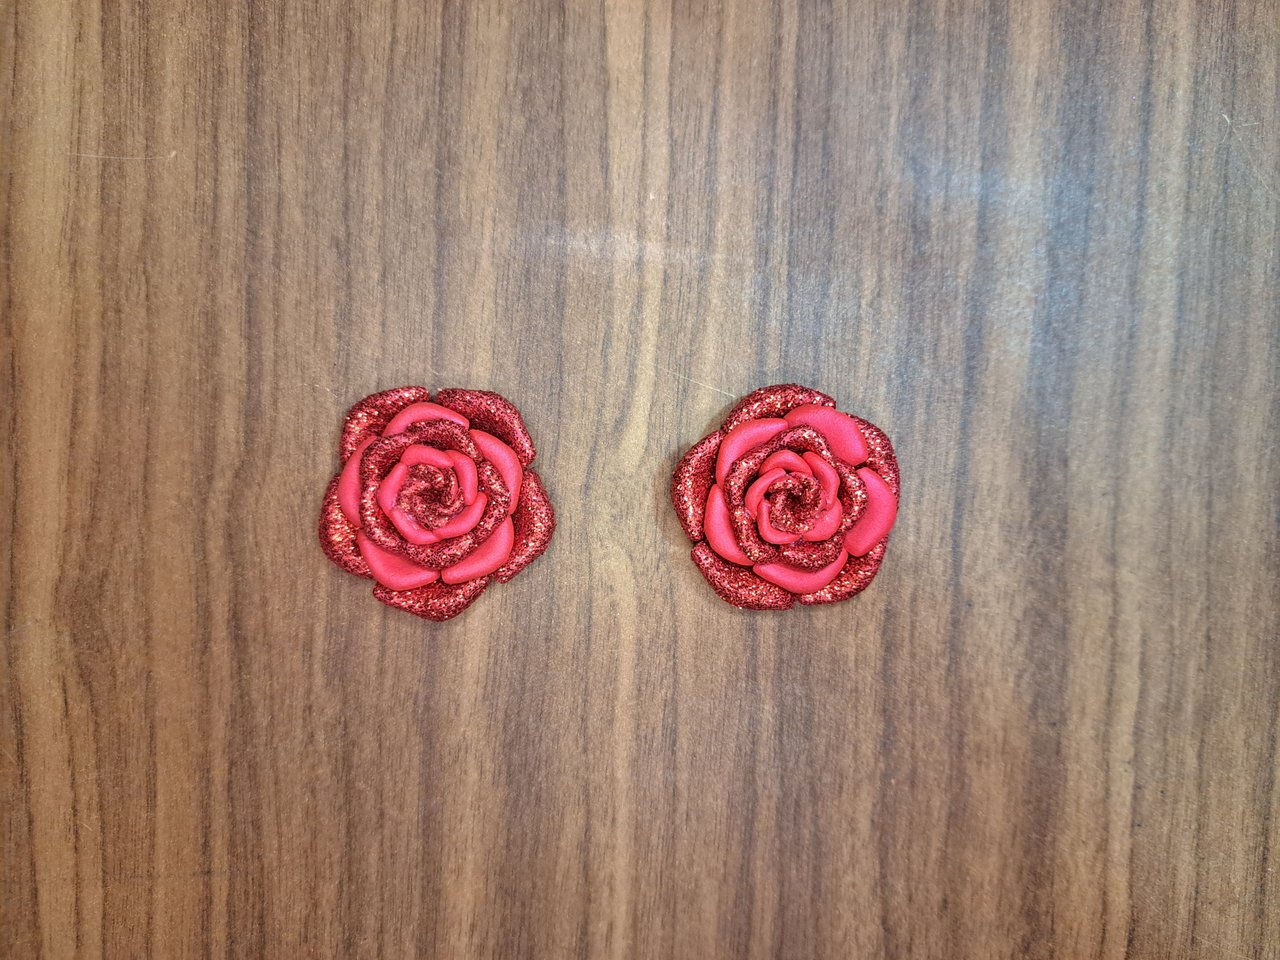
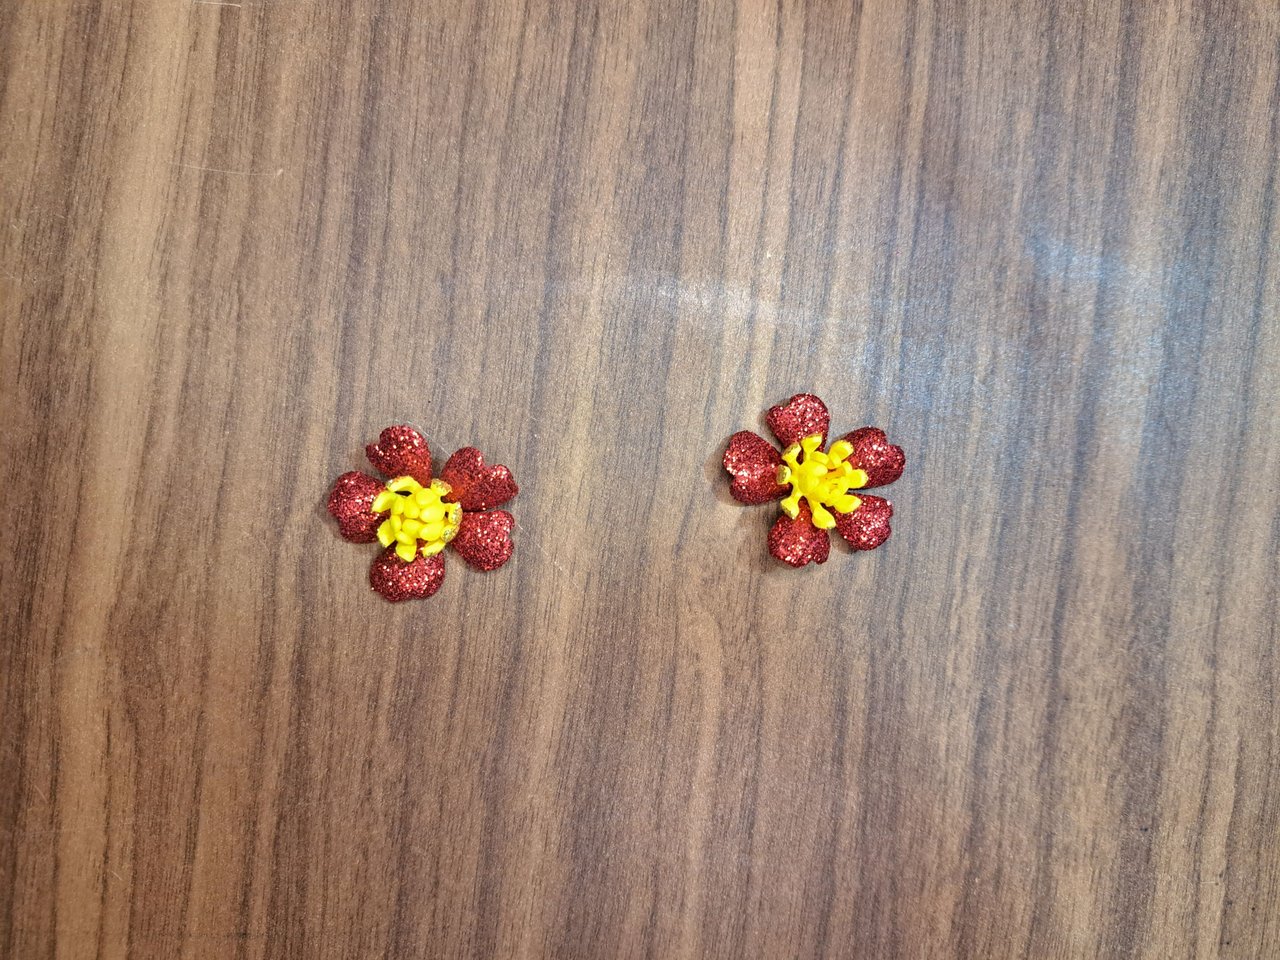
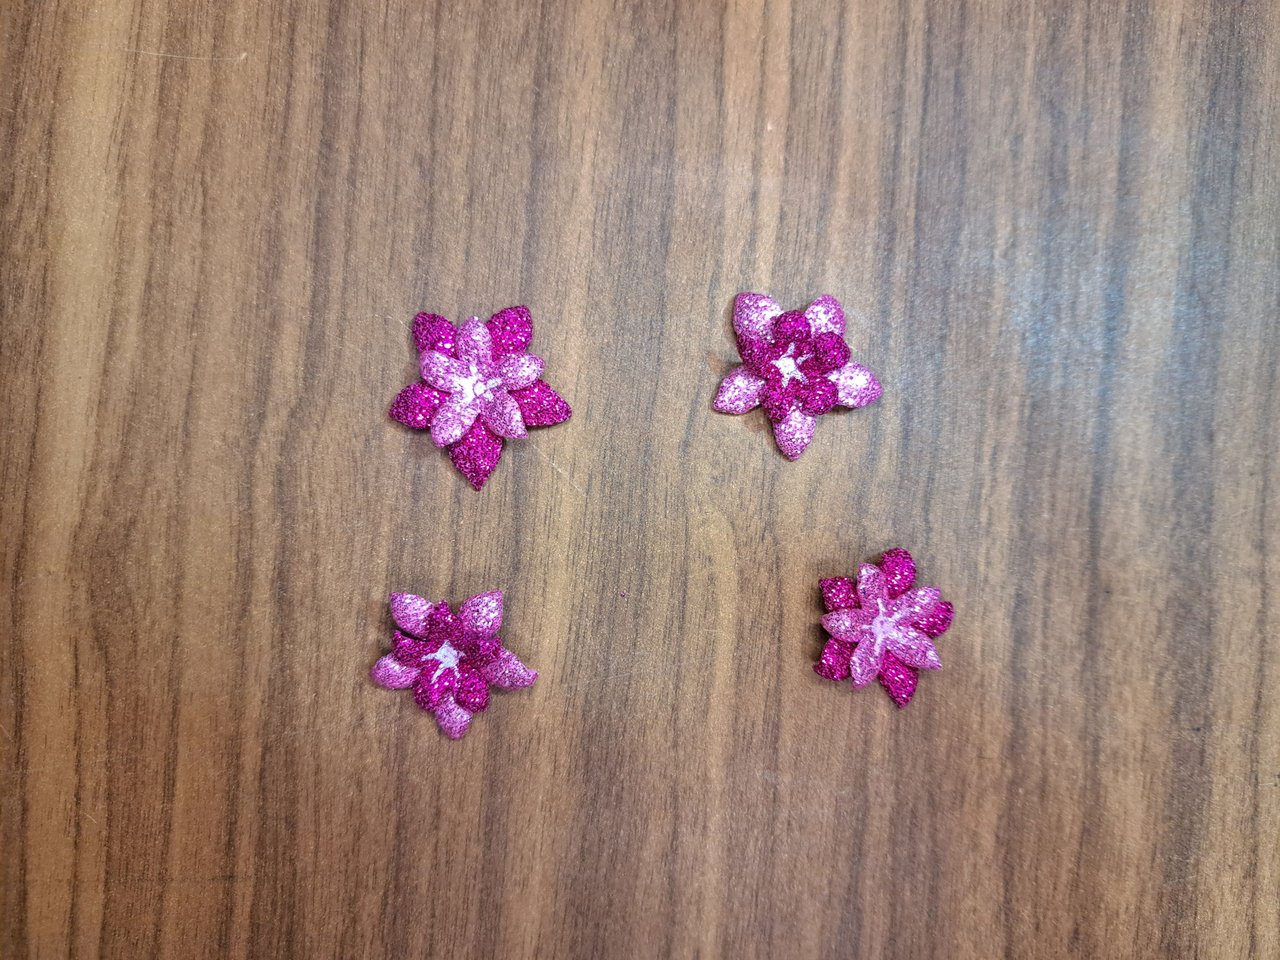
5️⃣ With the flower patterns cut out, I proceeded to thermoform them to assemble them. In the case of the roses, I followed the usual procedure; with the pink flowers I intercalated the colors to give more contrast and to the poppies I added double pistils to increase their volume.
Con los patrones de las flores recortados, procedí a termoformarlas y así poder ensamblarlas. En el caso de las rosas, seguí el procedimiento habitual; con las flores rosas intercalé los colores para dar más contraste y a las amapolas les puse doble pistilo para aumentar su volumen.
 |  |
 |  |
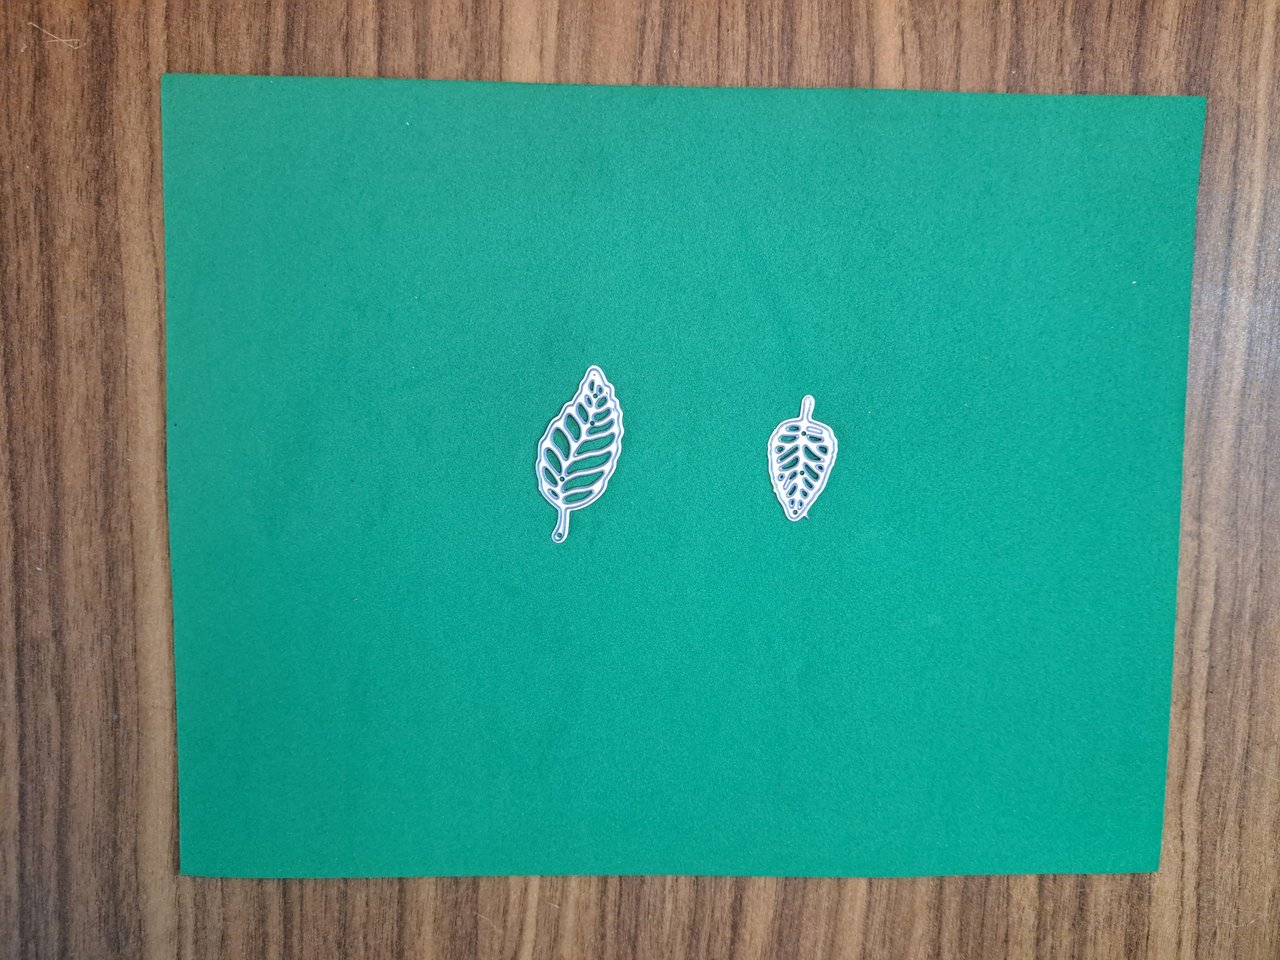
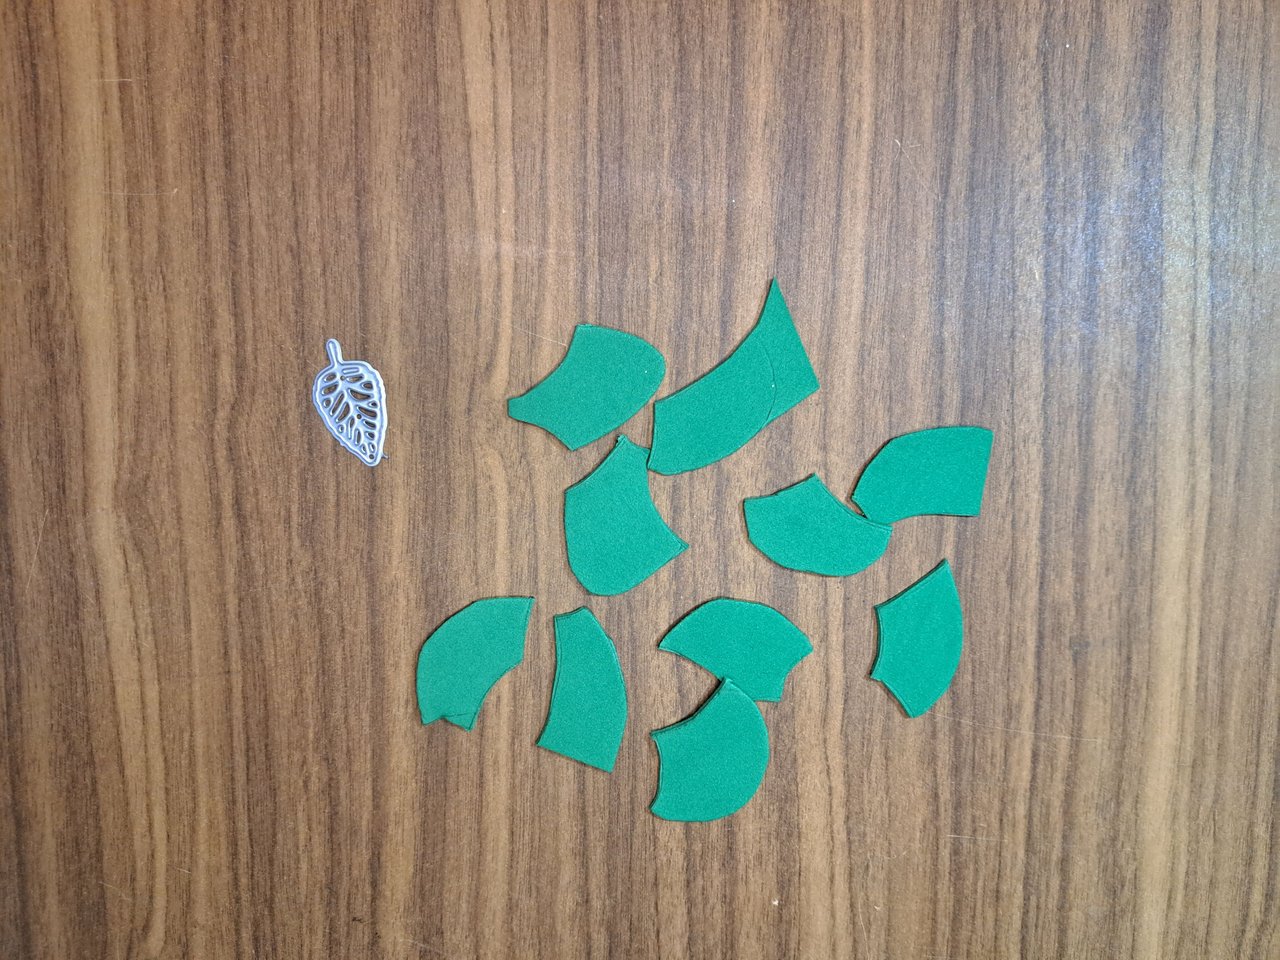
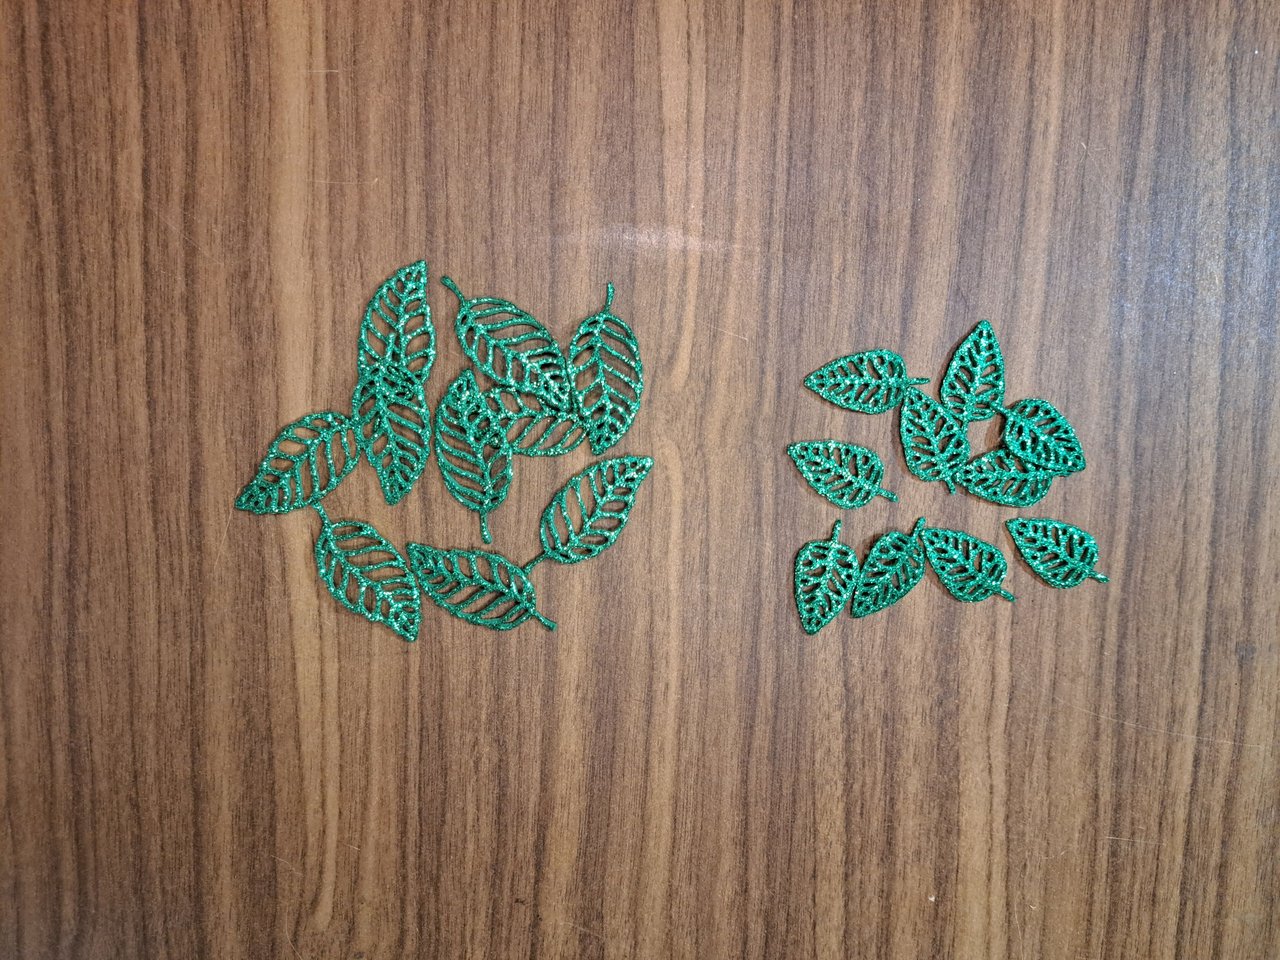
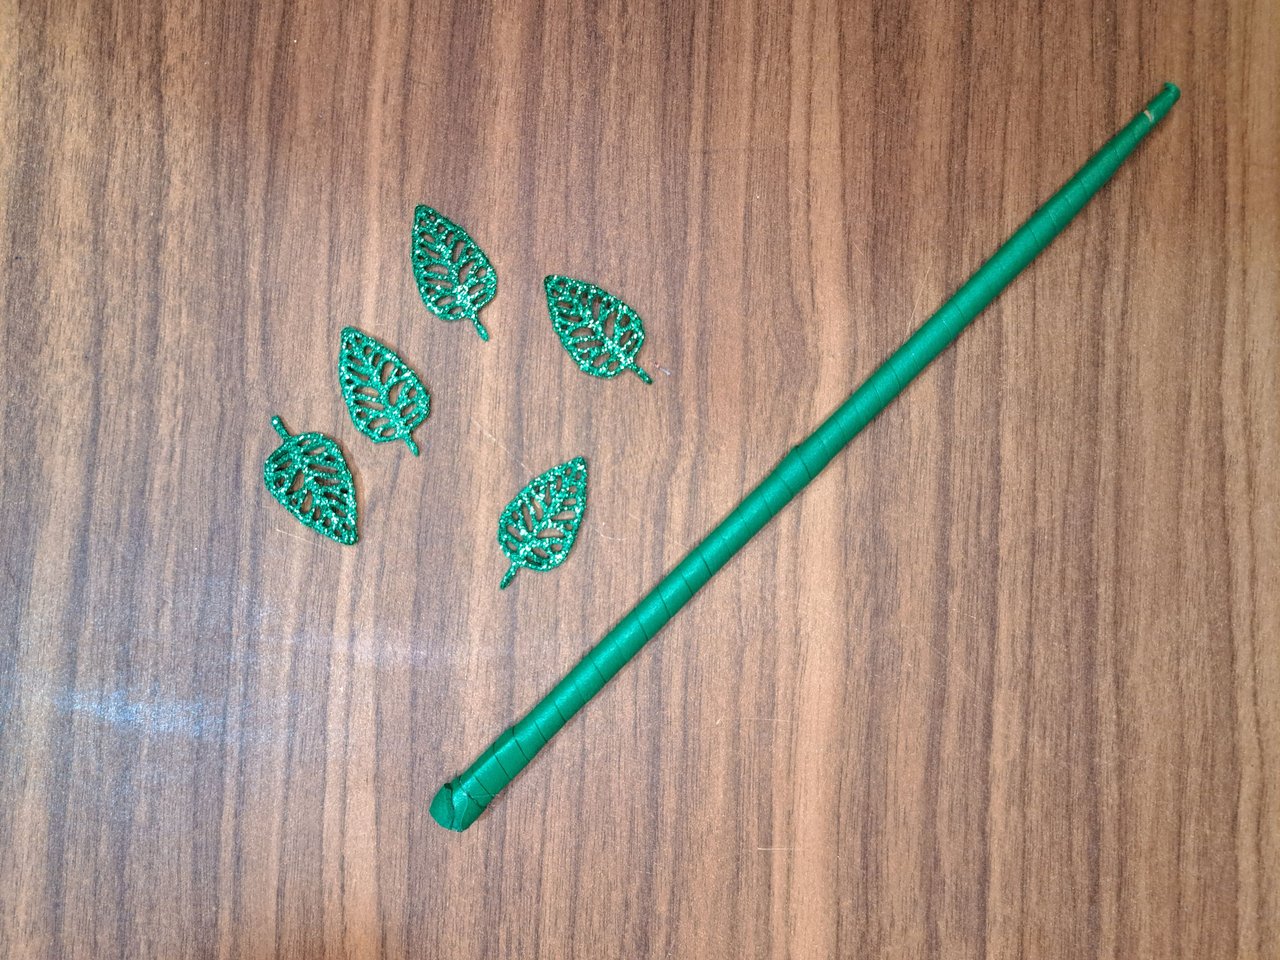
6️⃣ On a sheet of frosted green fomi, mark and cut out the leaves. I used 10 small leaves and 12 medium leaves. That would be 5 leaves for each chopstick and 6 leaves for each ring. In the images, the frosted green fomi is face down so that it does not affect the quality of the image.
En una lámina de fomi verde escarchado, marque y recorte las hojas. Utilicé 10 hojas pequeñas y 12 hojas medianas. Serían 5 hojas para cada palillo chino y 6 hojas para cada aro. En las imágenes, el fomi verde escarchado está boca abajo para que no afecte a la calidad de la imagen.
 |  |
 |  |
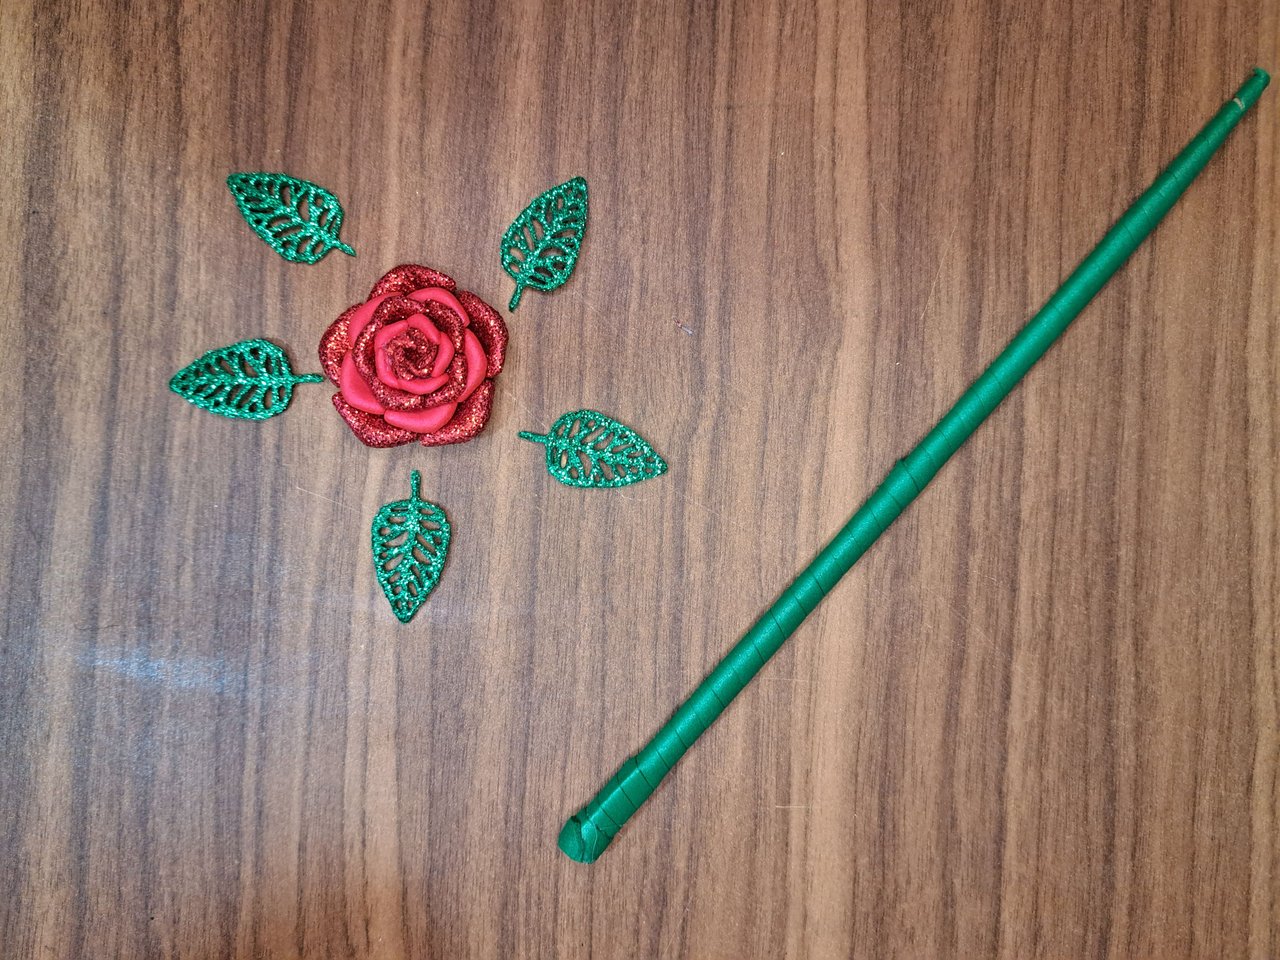
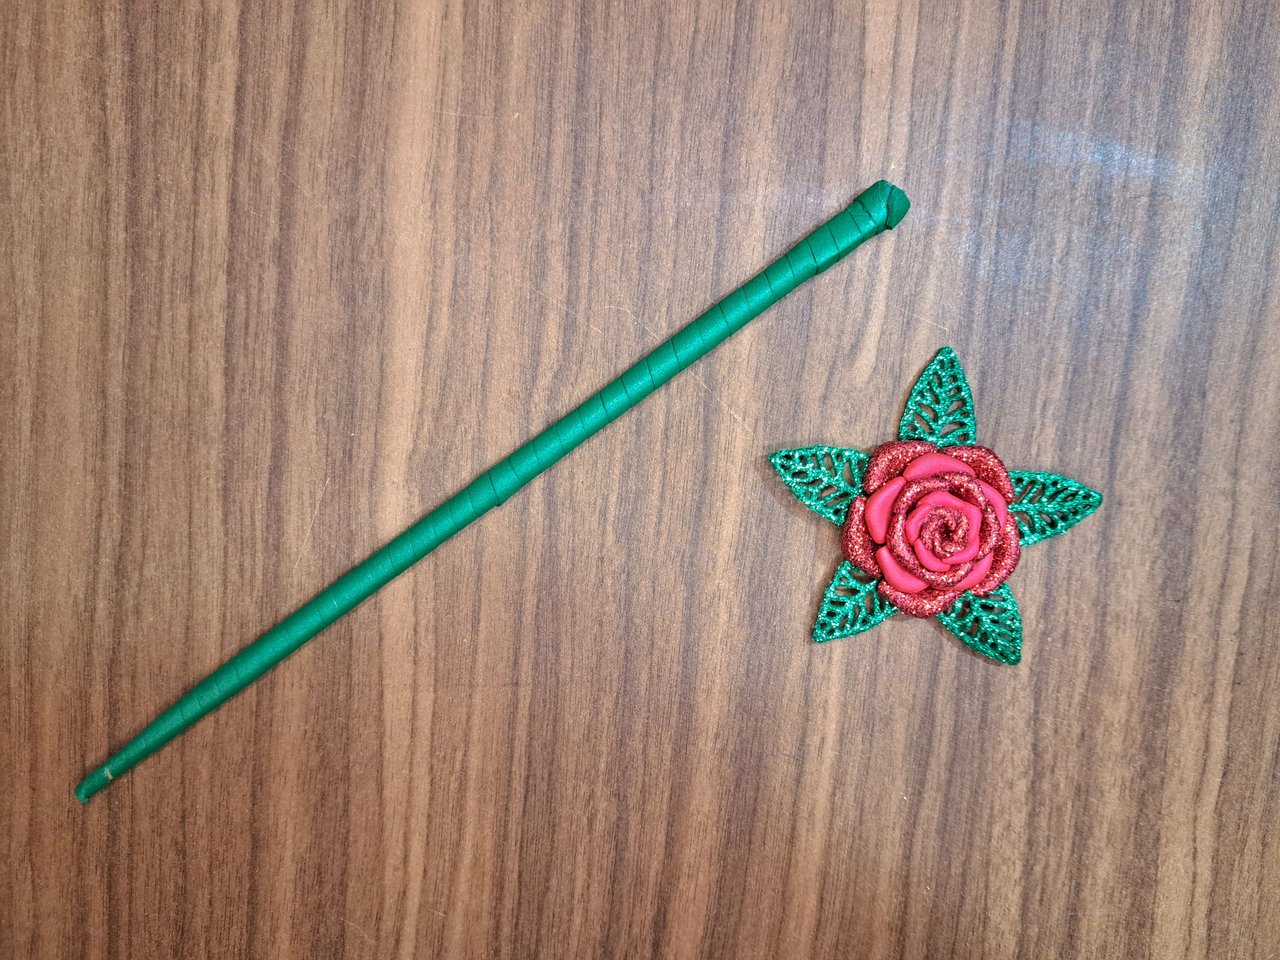
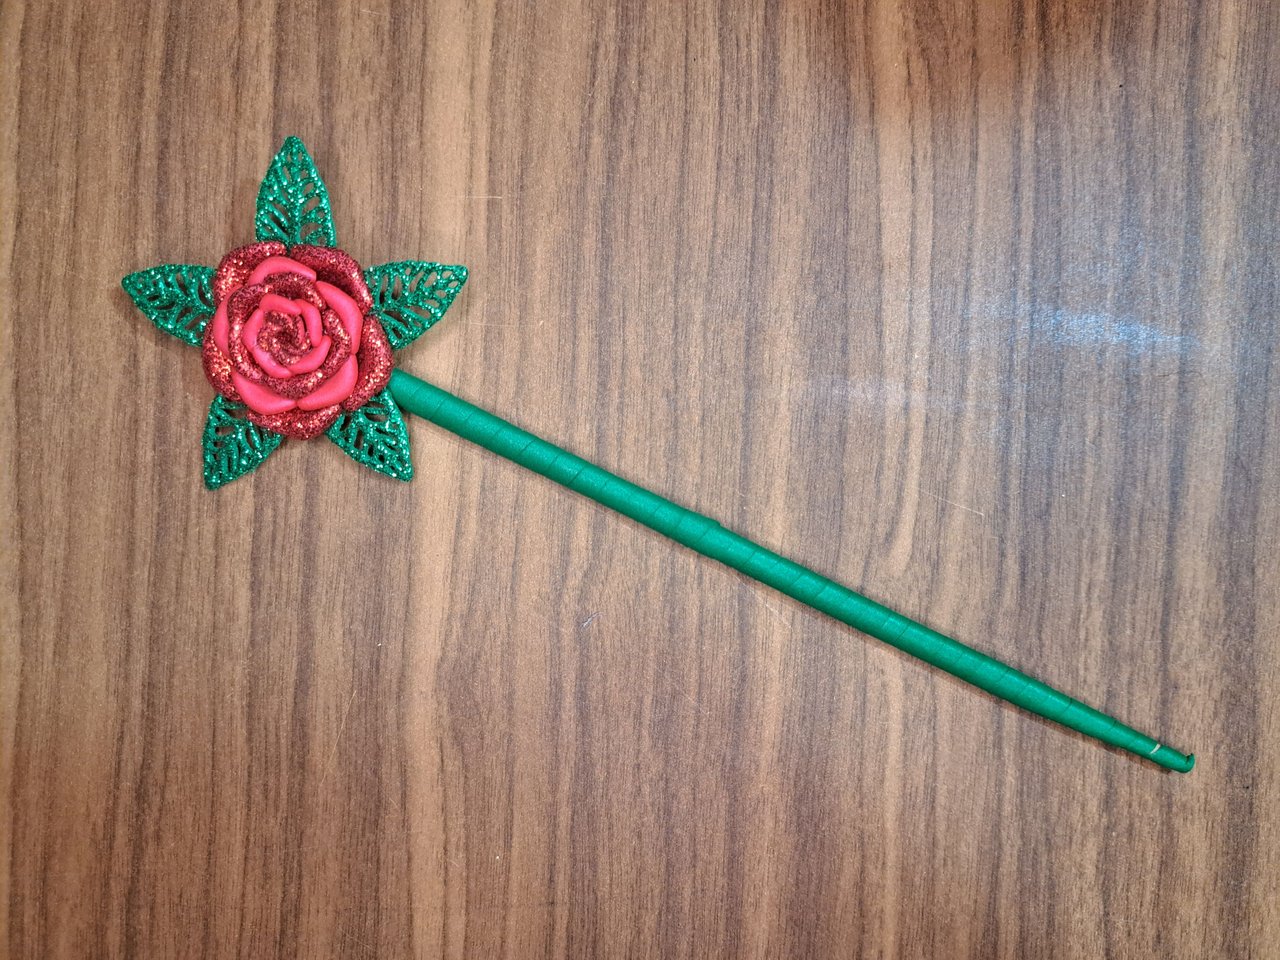
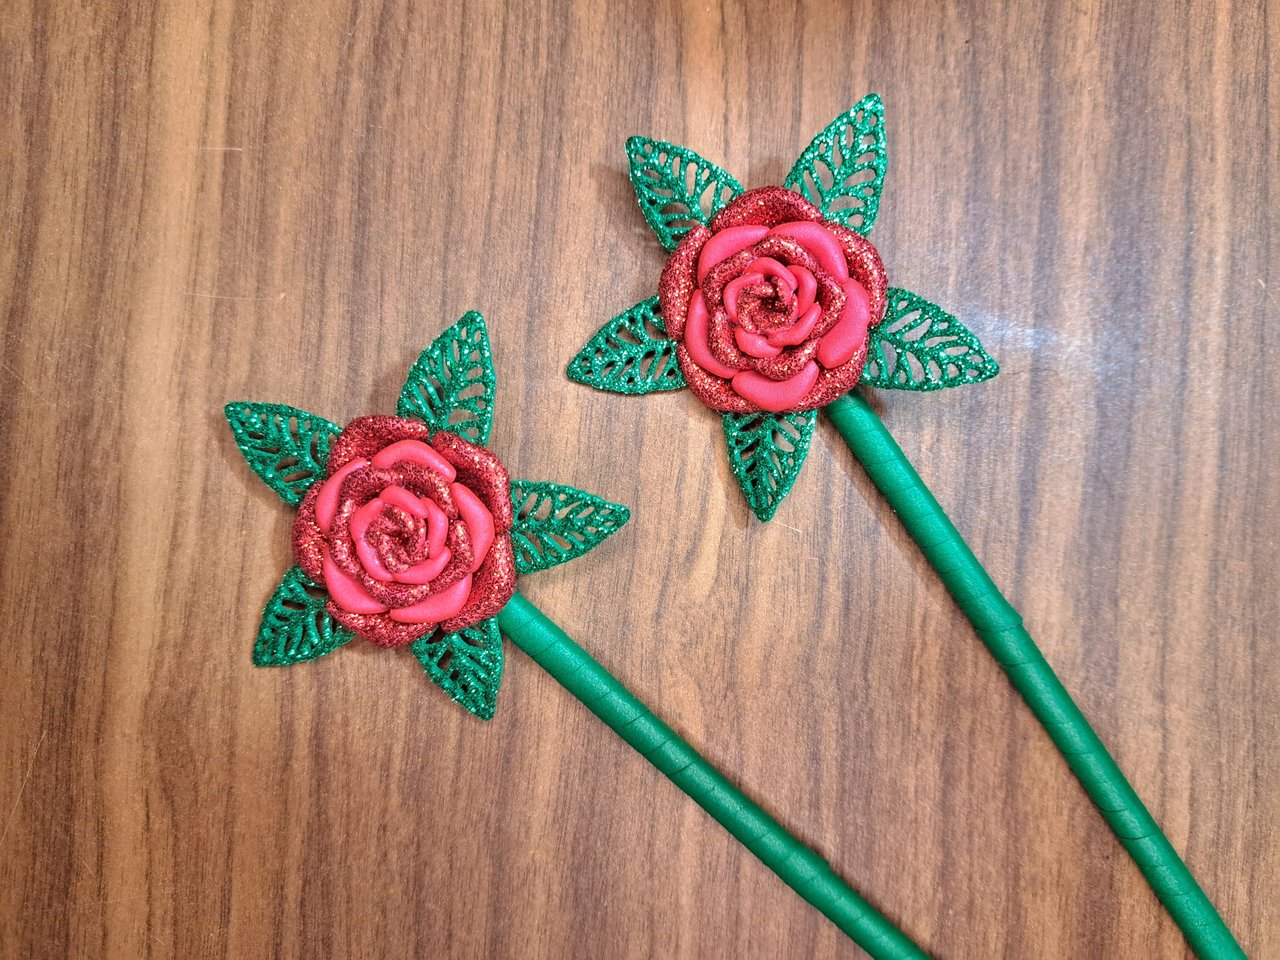
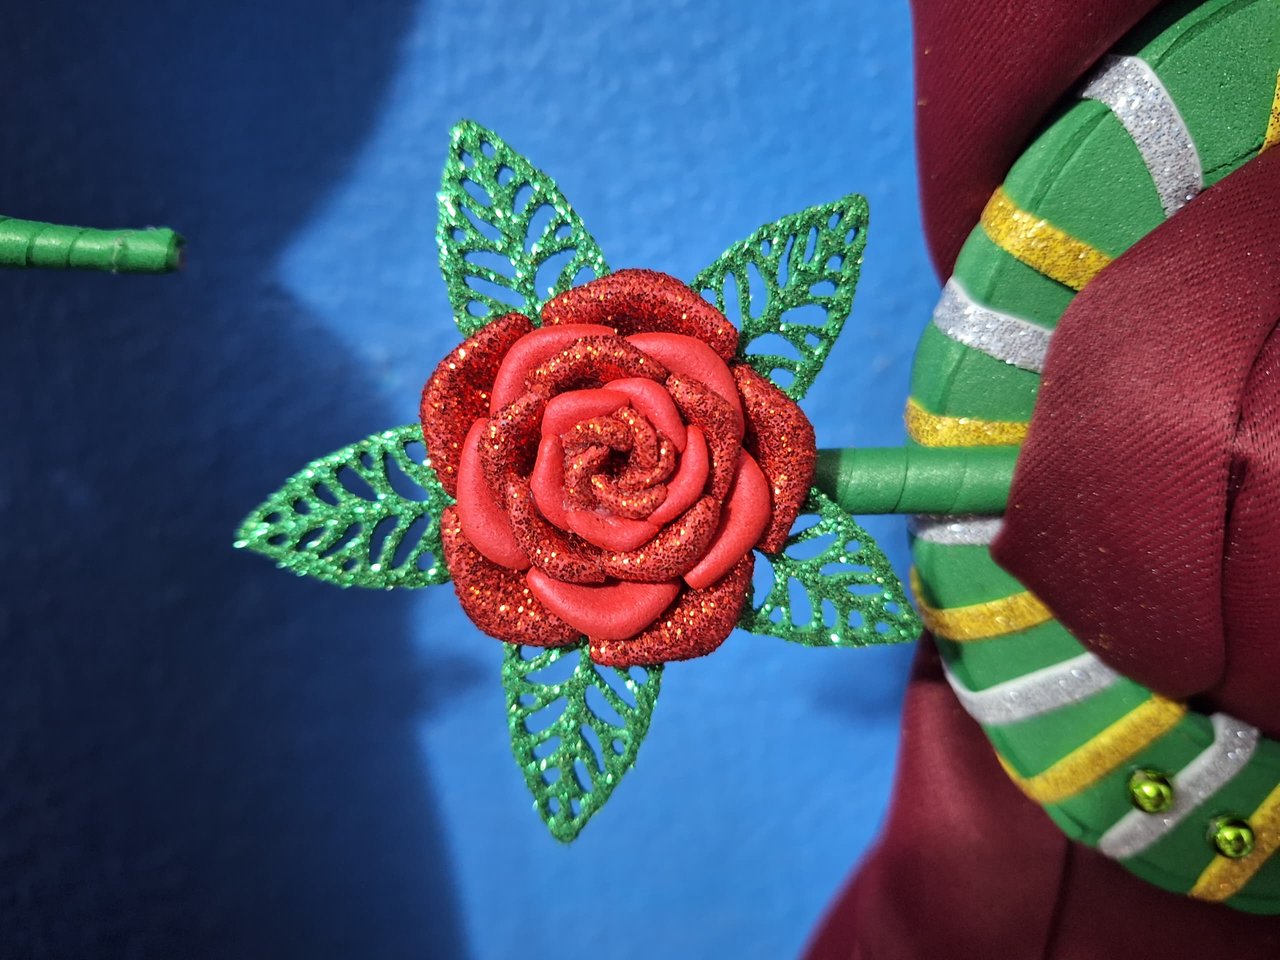
7️⃣ Once I had all the components ready, I began to assemble the ornament. I started with the chopsticks, to which I glued a rose bordered with five small leaves at the wider end.
Una vez tuve todos los componentes listos, comencé a montar el adorno. Empecé por los palillos chinos, a los cuales les pegué en su extremo más ancho una rosa bordeada con cinco hojas pequeñas.
 |  |
 |  |
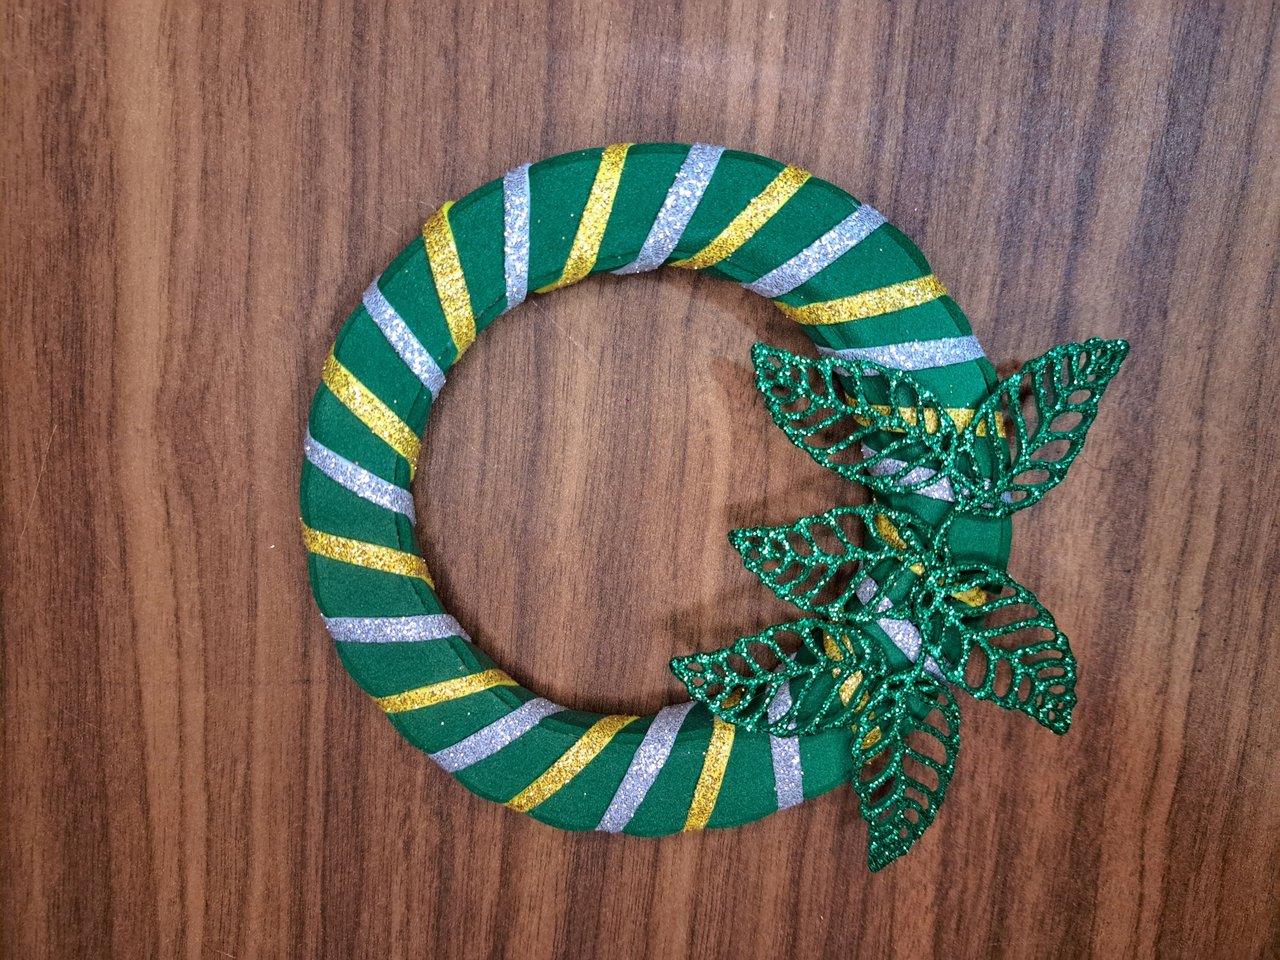
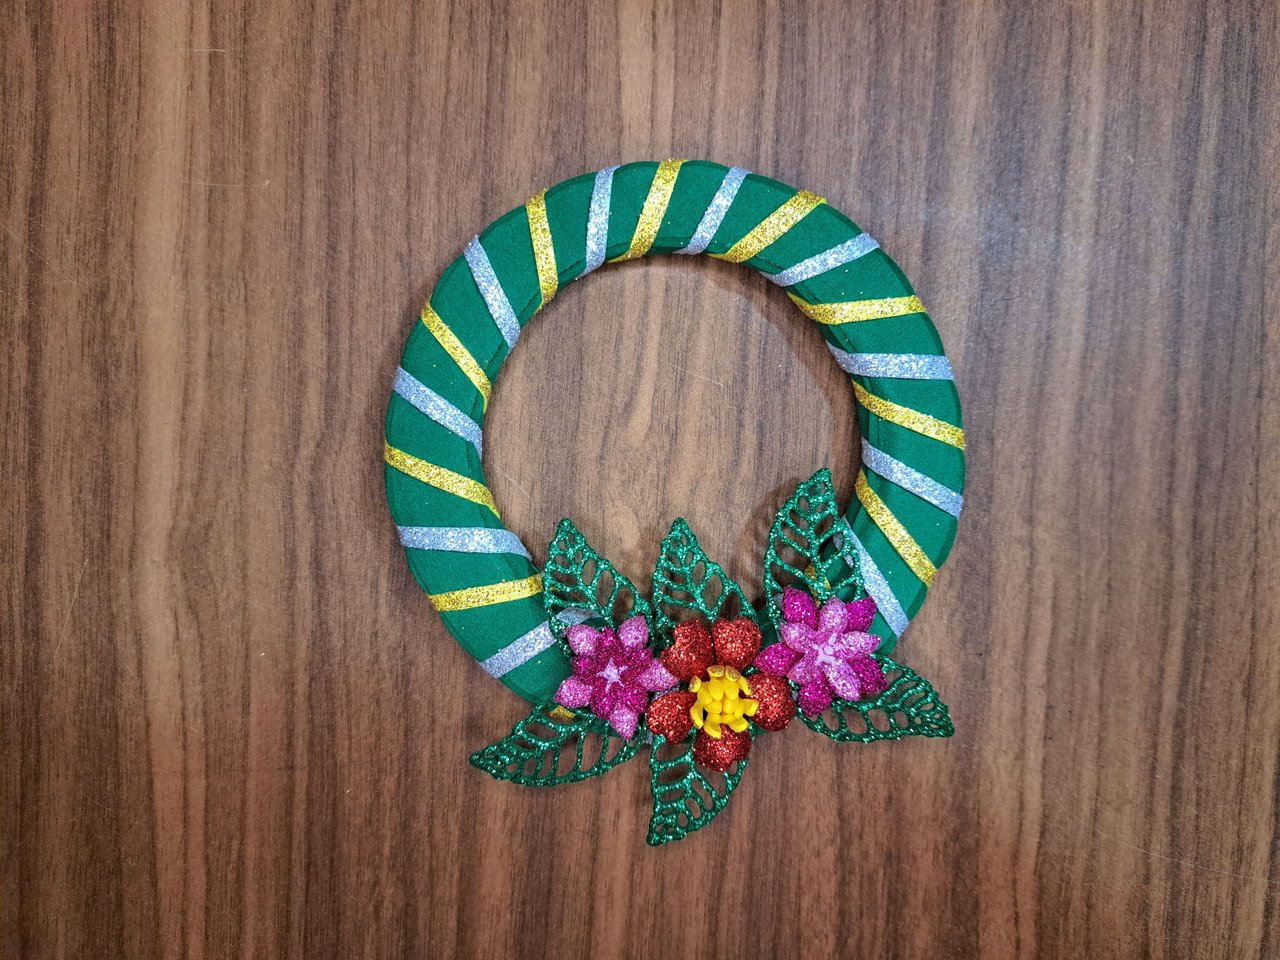
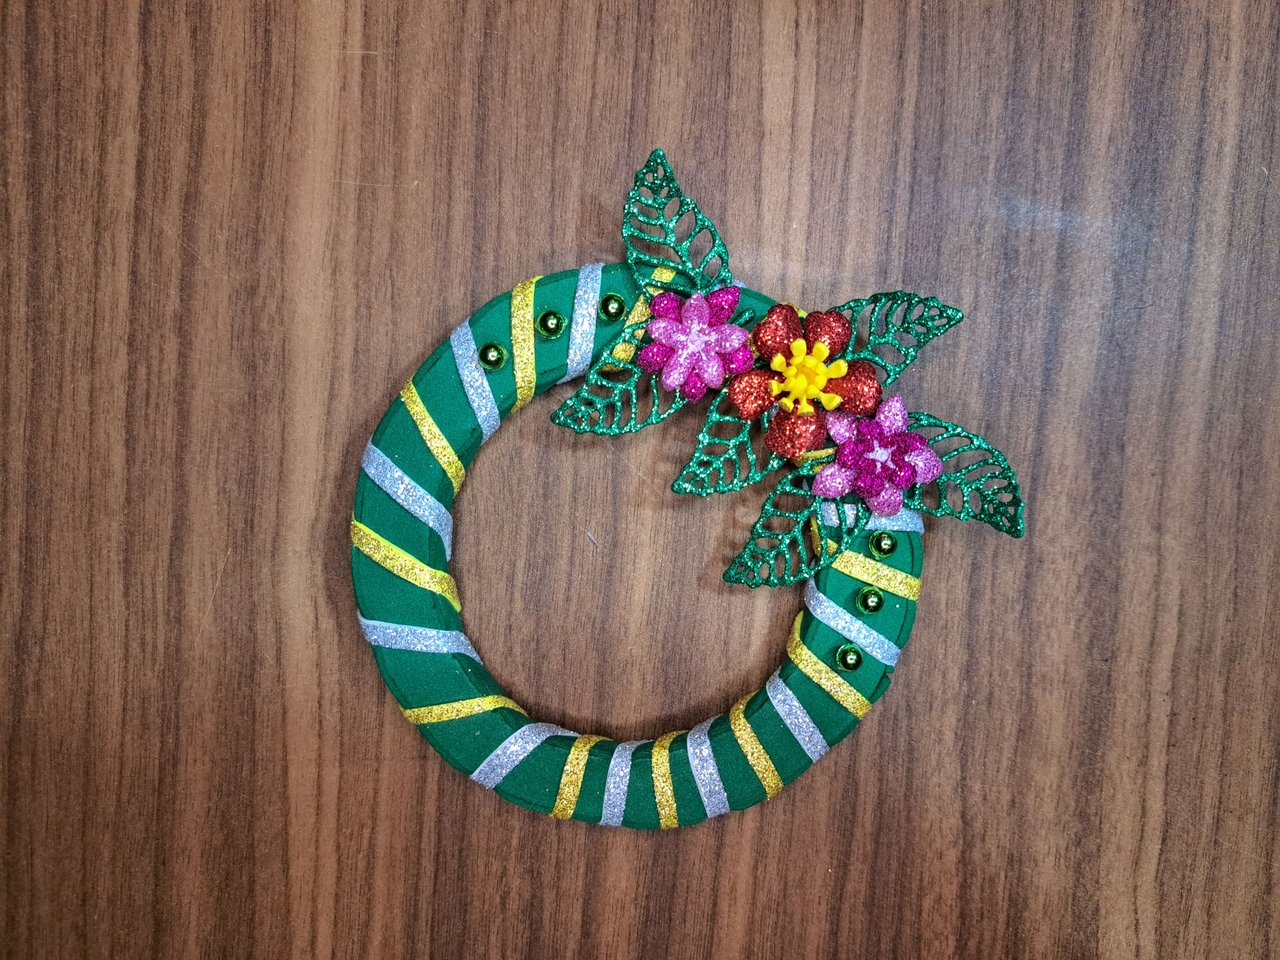
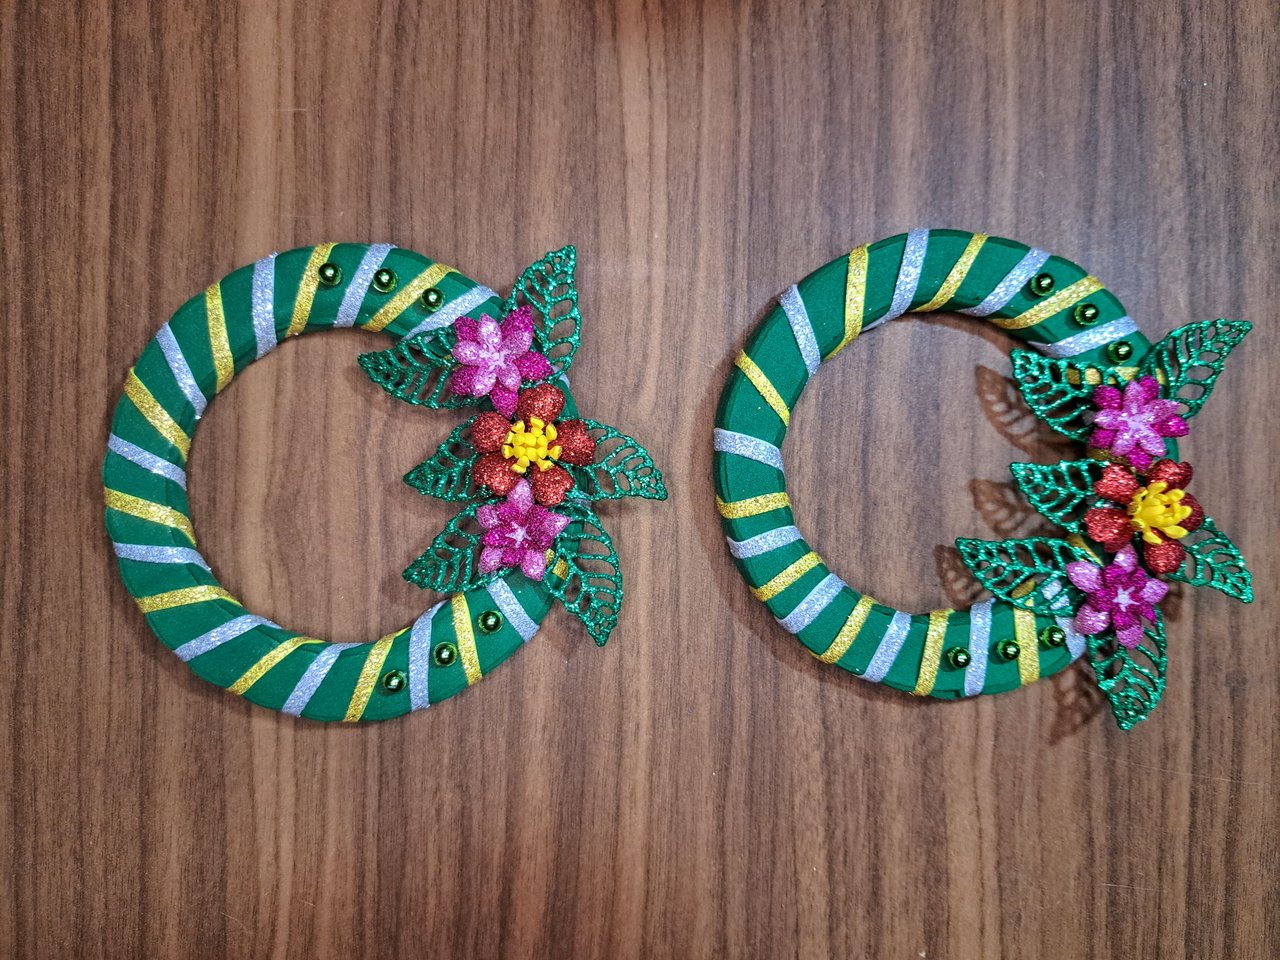
8️⃣ For the hoops, I did the same, but glued the leaves first and then arranged the three flowers in place. To finish, I glued three bright green pearls on each side of the flowers and the ornament was ready.
En el caso de los aros, hice lo mismo, pero pegué primero las hojas y luego organicé las tres flores en su lugar. Para finalizar, pegué tres perlas verdes brillantes a cada lado de las flores y quedaría listo el adorno.
 |  |
 |  |
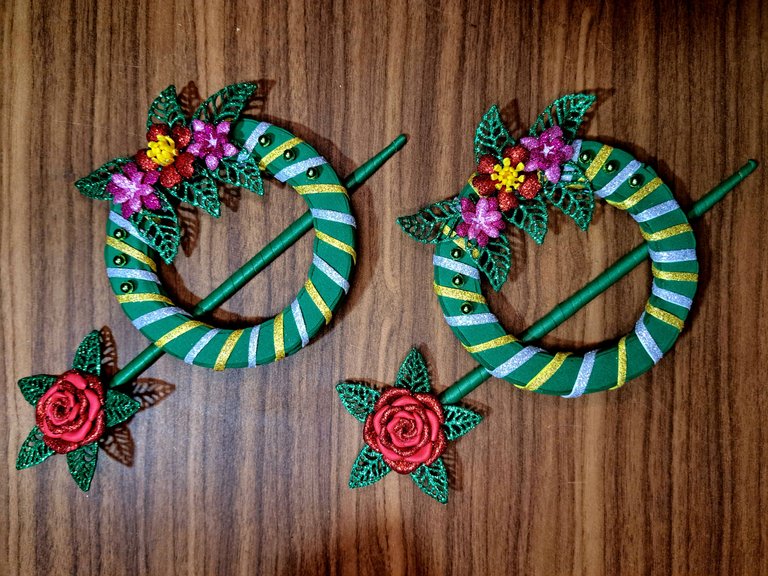
Finished Work // Trabajo Terminado
And so we would come to the end of another tutorial. I hope you liked it and find it useful. For my part, I leave very happy, wishing you a beautiful and happy day. See you next time.
Y así llegaríamos al final de otro tutorial. Espero que haya sido de su agrado y lo encuentren útil. Por mi parte, me voy muy contento, deseándoles un hermoso y feliz día. Hasta la próxima.
 |  |
 |  |

Credits and Resources // Créditos y Recursos
Cover page created in Canva
Translated by DeepL
Images captured with my Samsung Galaxy A53
Inspiration Source


Posted Using INLEO
This post has been shared on Reddit by @edeyglezsosa through the HivePosh initiative.
Mis respetos de como hiciste las hojas en foami, vas a tener que darme un curso online jajaja, te felicito, te quedo muy bonito y decorativo, bastante creativo la verdad, un lindo adorno para las cortinas. 😍
Mi secreto son los troqueles metálico. A veces los incluyo como materiales y a veces no porque no quiero que el no poseer esa herramienta sea un impedimento.
It is shining, stylish, and beautiful. It is eye-catching and able to grab anyone's attention. Love it. Great work!
Colorful and bright are two qualities I use to attract attention. Thanks for the support 🤗.
Pero si te ha quedado bellísimo😍 que lástima el accidente entre la cortina, el viento y la figura de porcelana🙈 pero dió paso a que y crearas algo súper bonito✨
Así es amiga, lo que sucede conviene. Un accidente dio paso a una oportunidad para una nueva manualidad. Gracias por comentar. Saludos.
Que hermoso trabajo, sin duda esos troqueles hacen menos complicado el proceso. Me encanta 😊
Así es amiga, esos troqueles me han aligerado muchísimo la carga de trabajo.
Me encantan tus manualidades, esto es fantastico, delicado y bello!
Y útil, muy útil. Vamos a ver si esas cortinas vuelven a tumbar algo en temporada de viento.
Curtain Clip is usually so useful and you my made it so beautiful
Thanks ☺️
This is a very useful DIY project, and it came out with such a great style and stunning. I simply !LUV it.
@edeyglezsosa, @funshee(1/5) sent you LUV. | tools | discord | community | HiveWiki | <>< daily
Saludos y felicitaciones por tan bonito trabajo, me parece una práctica forma de recoger y a la vez decorar tus cortinas.
Muchas gracias, me alegro de que te gustase.
This is so beautiful, i love the cutsey feel it has to it.