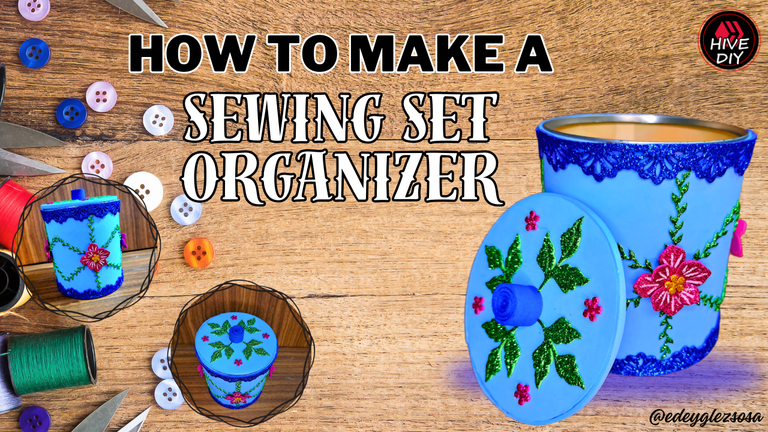
Greetings, beautiful community, and Happy New Year to all of you! This is my first post of the year and I wanted to share with you a craft in which I will be using new materials and tools that my wife and I have acquired to improve the quality of our creations and in the future be able to market them.
Today I will be sharing with you a tutorial in which I will show you step by step how to make an organizer for threads and other sewing tools. At first I thought of it as a container for candy or cookies, but my wife @yale95reyra said nothing like that. According to her, that's where she'll keep all the threads and other tools she's using in her newfound passion for sewing and embroidery.
Saludos, hermosa comunidad, y ¡Feliz Año Nuevo para todos ustedes! Esta es mi primera publicación del año y quería hacerla compartiendo con ustedes una manualidad en la cual estaré utilizando materiales y herramientas nuevas que hemos adquirido mi esposa y yo para mejorar la calidad de nuestras creaciones y en el futuro poder comercializarlas.
El día de hoy les estaré compartiendo un tutorial en el cual les enseño el paso a paso para elaborar un organizador para hilos y demás herramientas de costura. Al principio lo pensé como un envase para caramelos o galletas, pero mi esposa @yale95reyra dijo que nada de eso. Según ella, ahí guardará todos los hilos y demás utensilios que está utilizando en su recién descubierta pasión por la costura y el bordado.
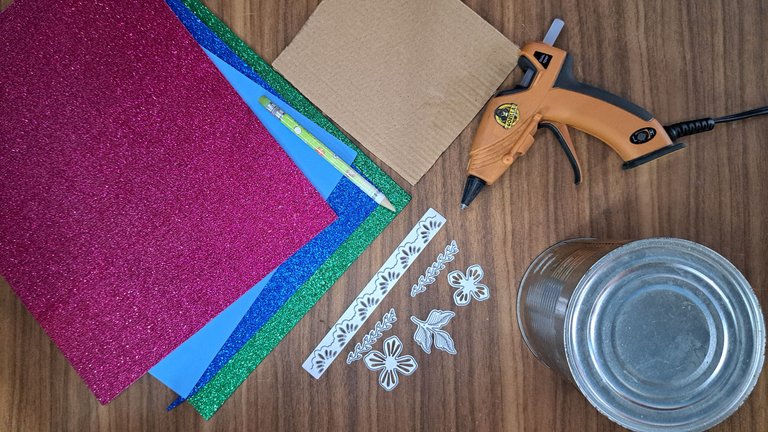
Materials // Materiales
| English | Español |
| ✔️ Frosted pink, dark blue, green and gold frosted fomi | ✔️ Fomi escarchado rosado, azul oscuro, verde y dorado |
| ✔️ Smooth light blue Fomi | ✔️ Fomi liso azul claro |
| ✔️ Recycled cardboard | ✔️ Cartón reciclado |
| ✔️ Metalic container | ✔️ Envase metálico |
| ✔️ Flower-shaped dies, leaf-shaped dies | ✔️ Troqueles con forma de flor, hojas |
| ✔️ Border die cutter | ✔️ Troquel para bordes |
| ✔️ Pencil and Scissors | ✔️ Lápiz y Tijera |
| ✔️ Hot silicone | ✔️ Silicona caliente |
Step by step // Paso a paso
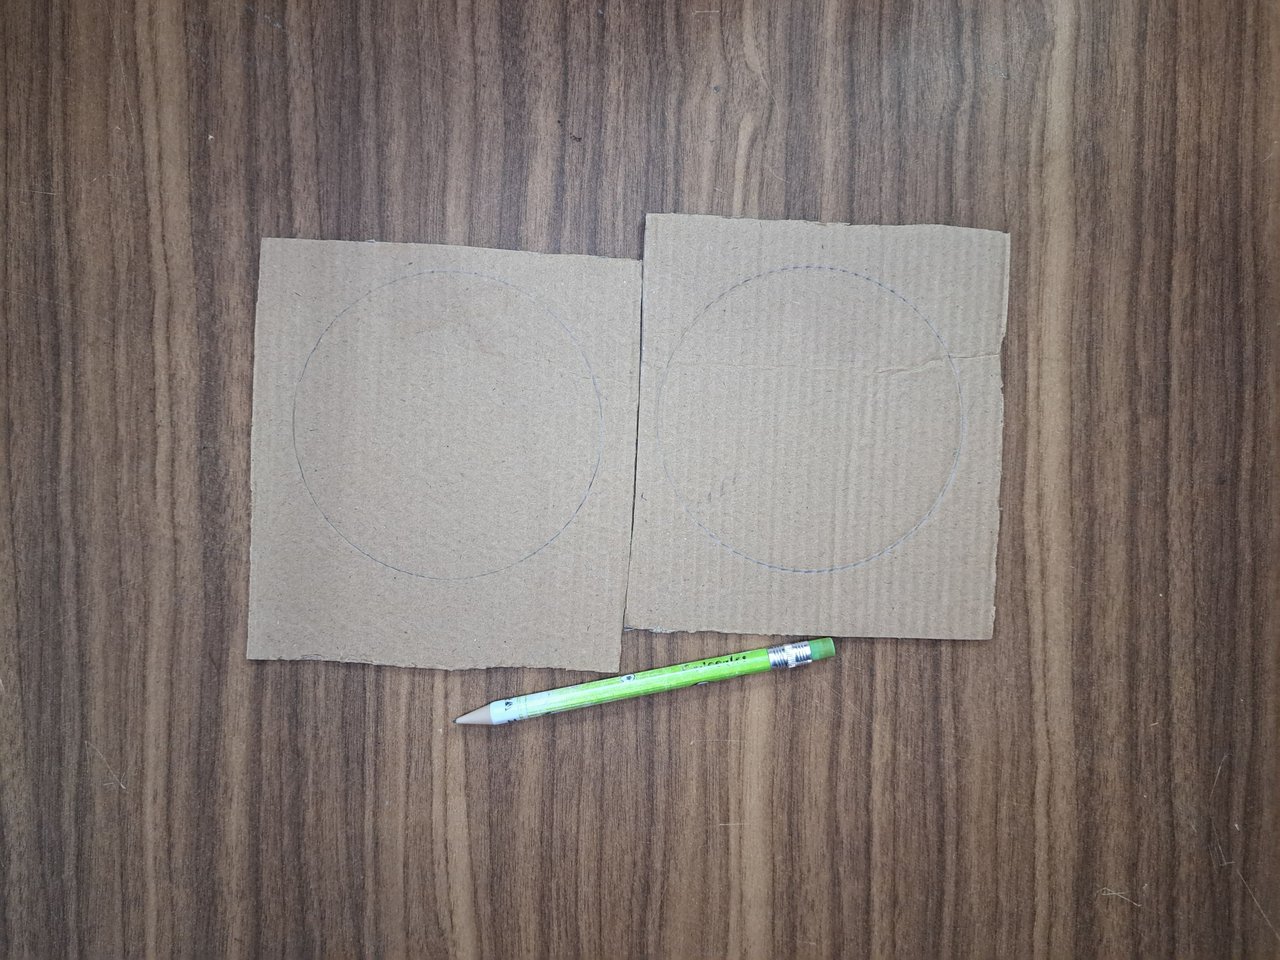
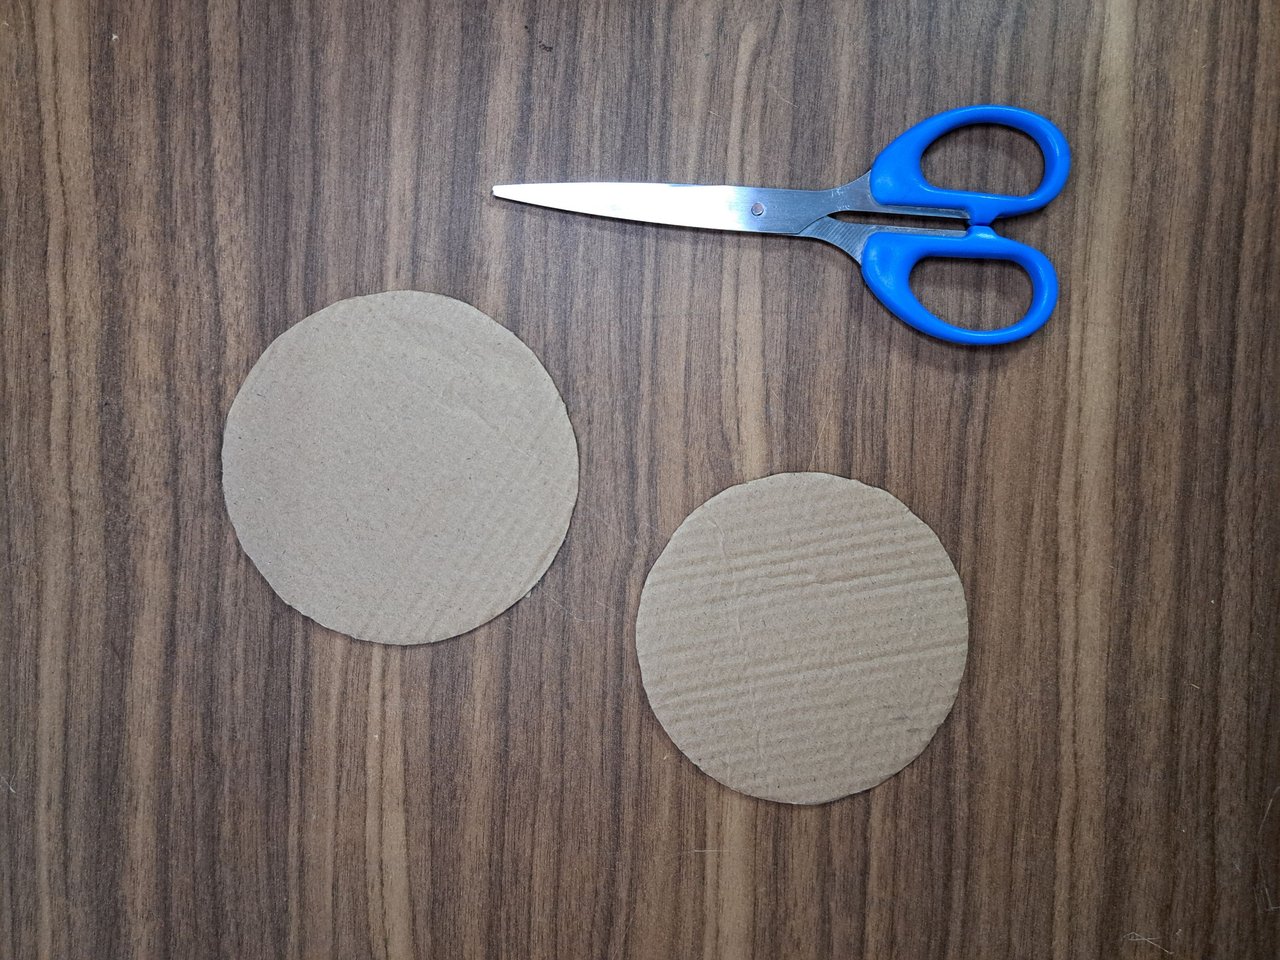
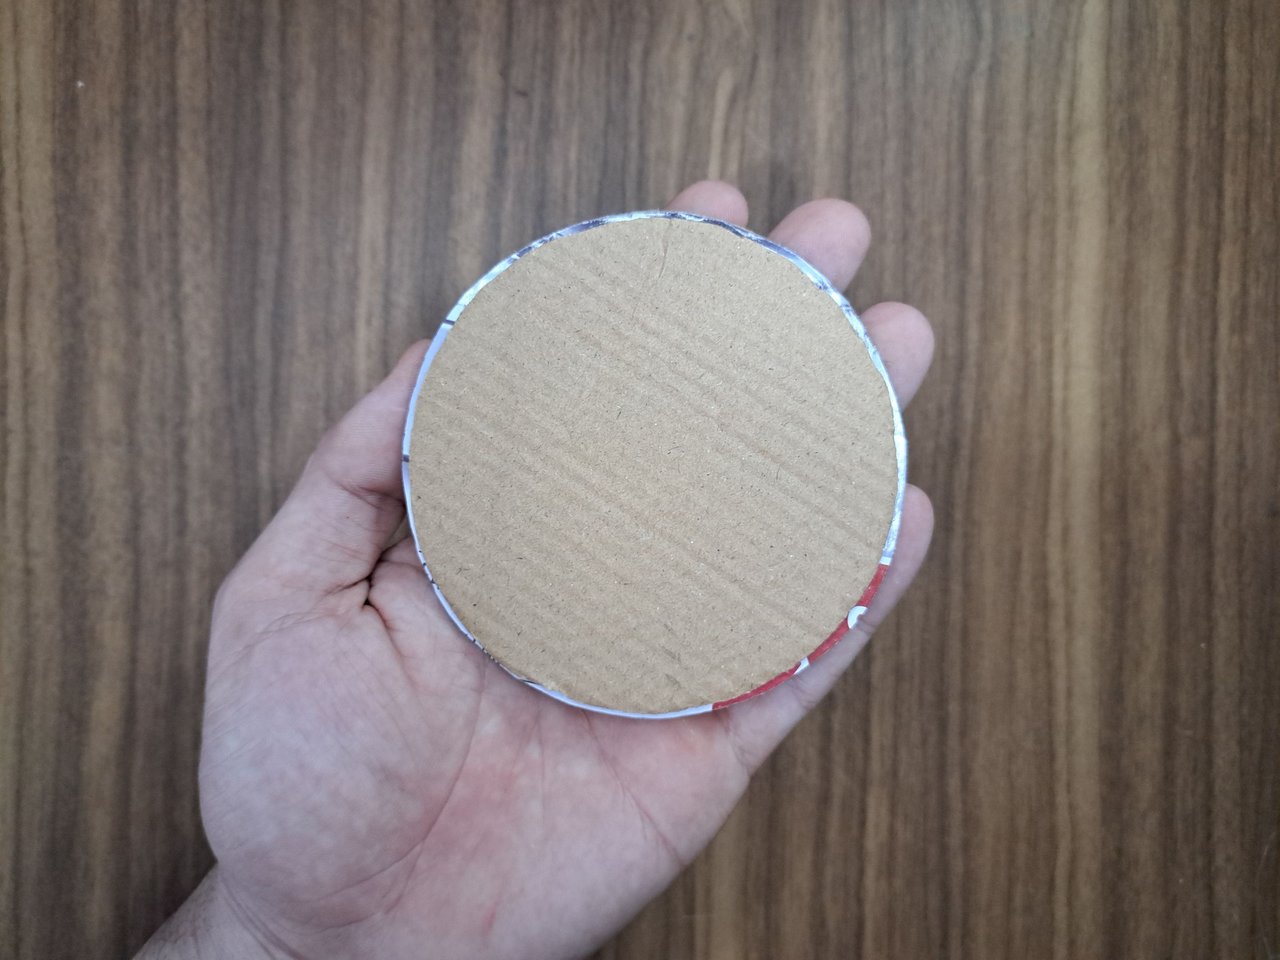
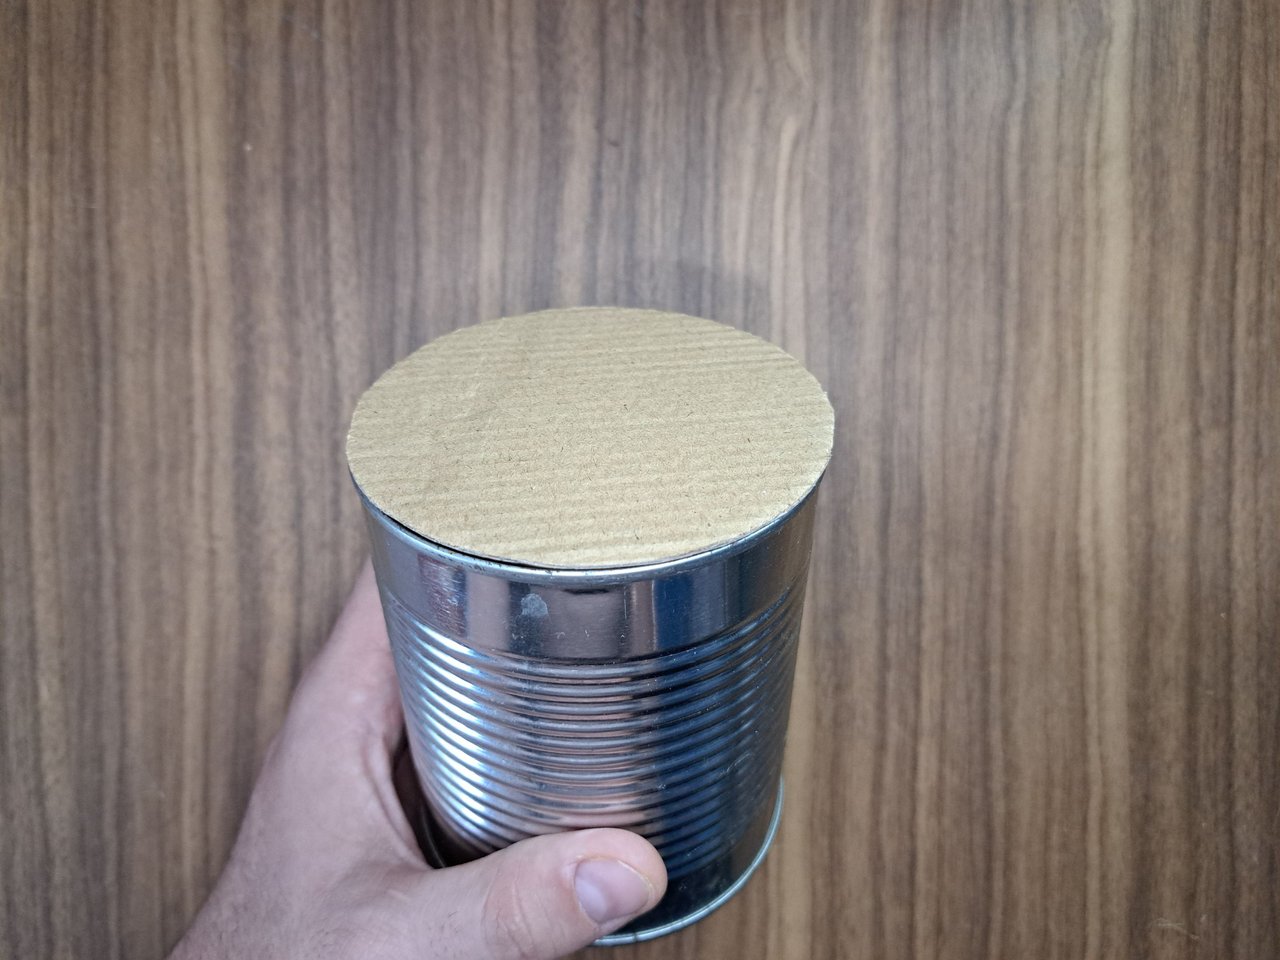
1️⃣ I started by marking the edge of the container on two pieces of cardboard. I cut one of the cardboard circles smaller so that when I glued it underneath the larger one, it would form a closure system that would keep the lid of the container from moving out of place.
Empecé marcando el borde del envase en dos piezas de cartón. Uno de los círculos de cartón lo recorté más pequeño para que, al pegarlo por debajo del grande, quede un sistema de cierre que evite que la tapa del envase no se mueva de su lugar.
 |  |
 |  |
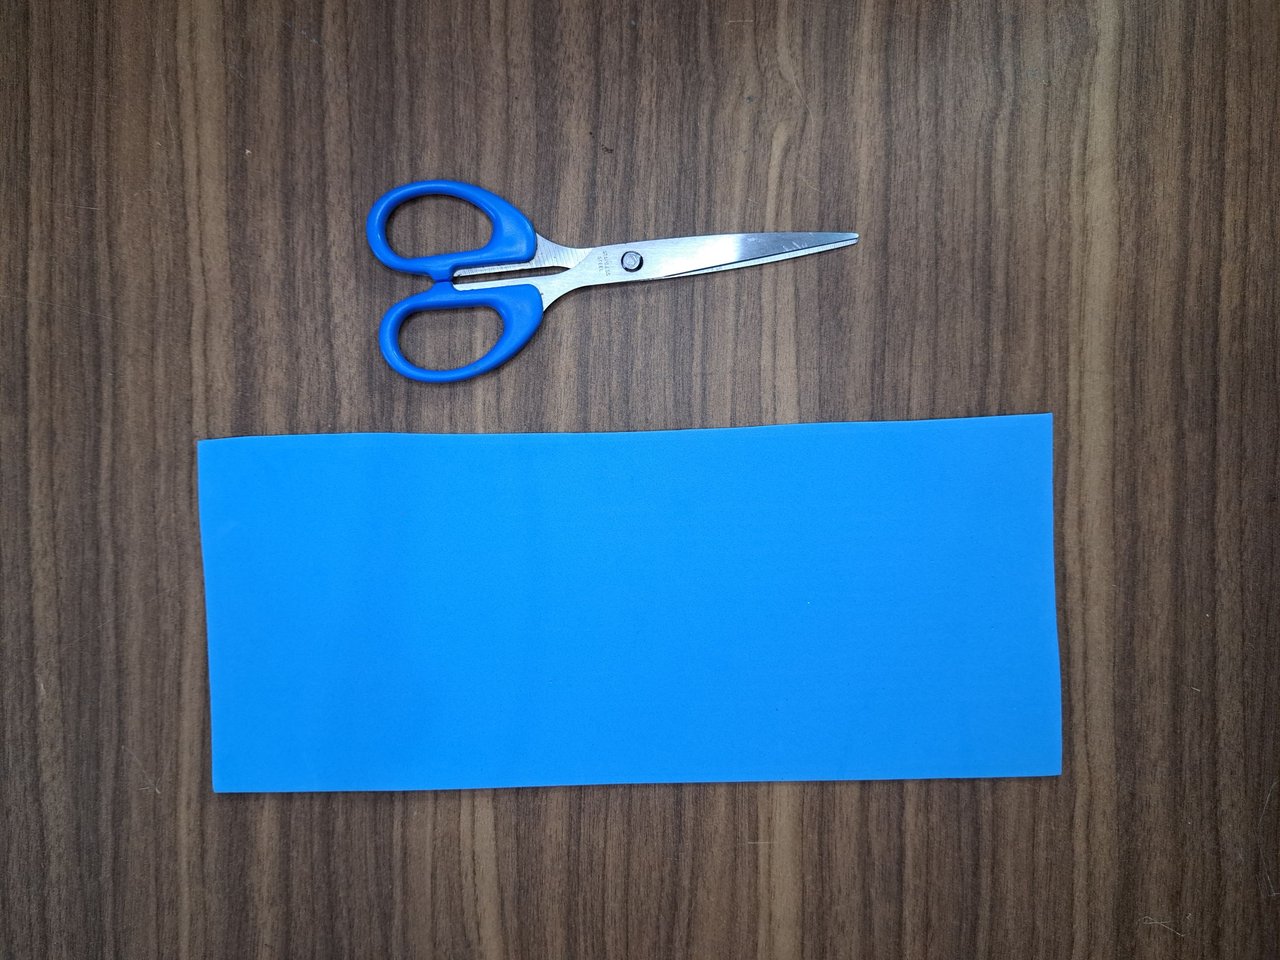
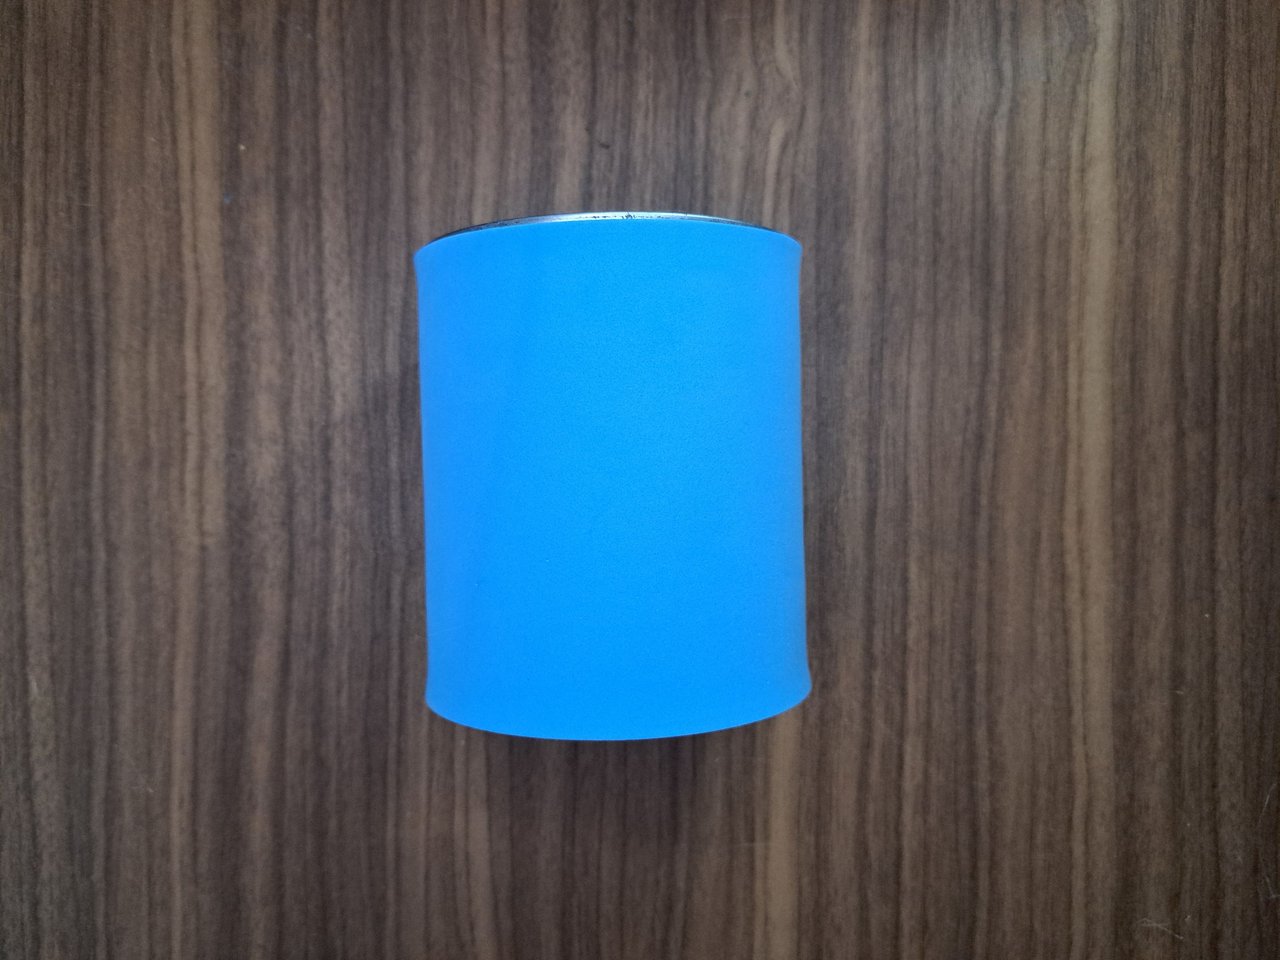
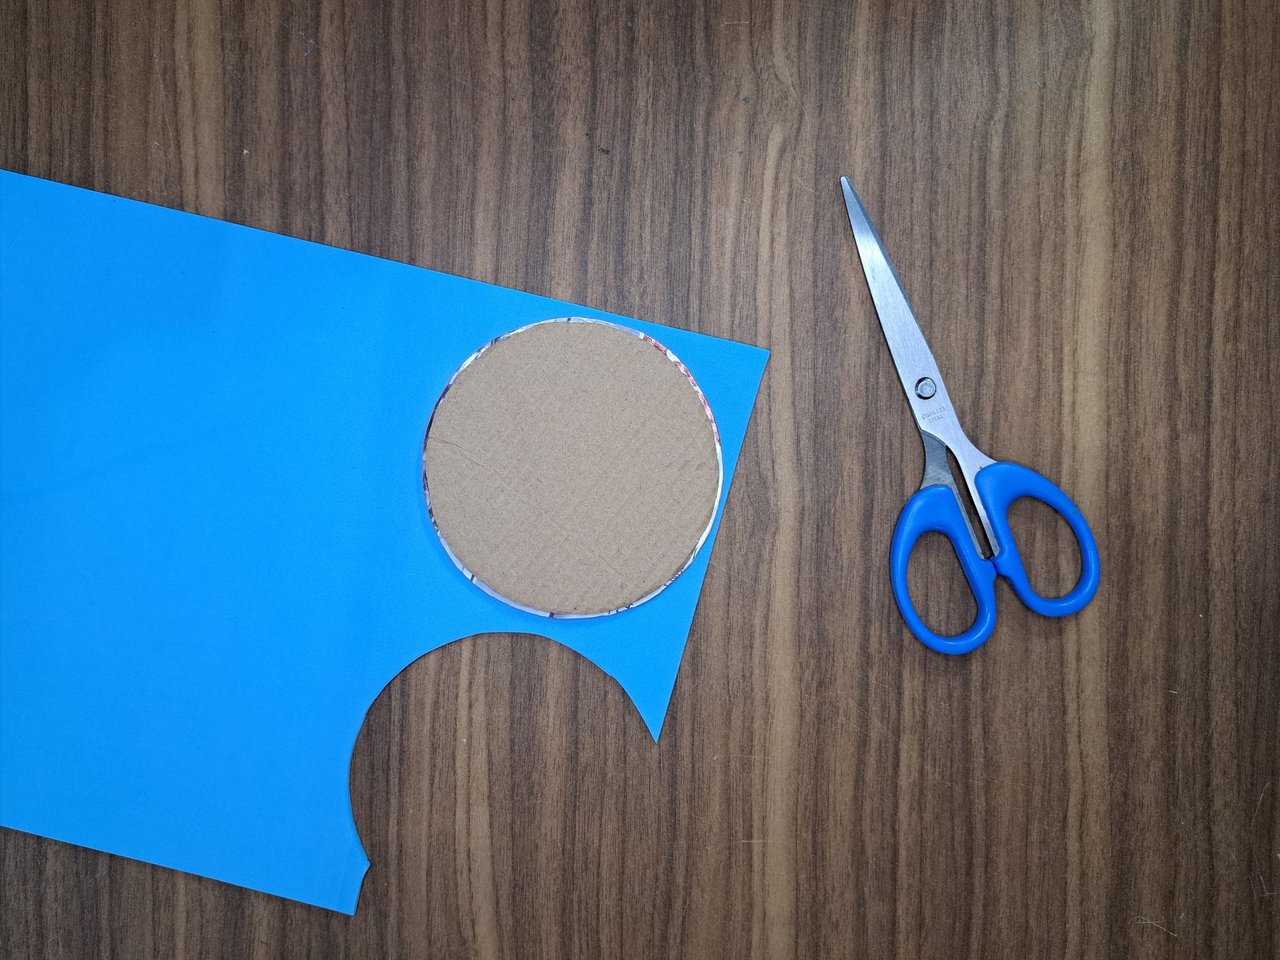
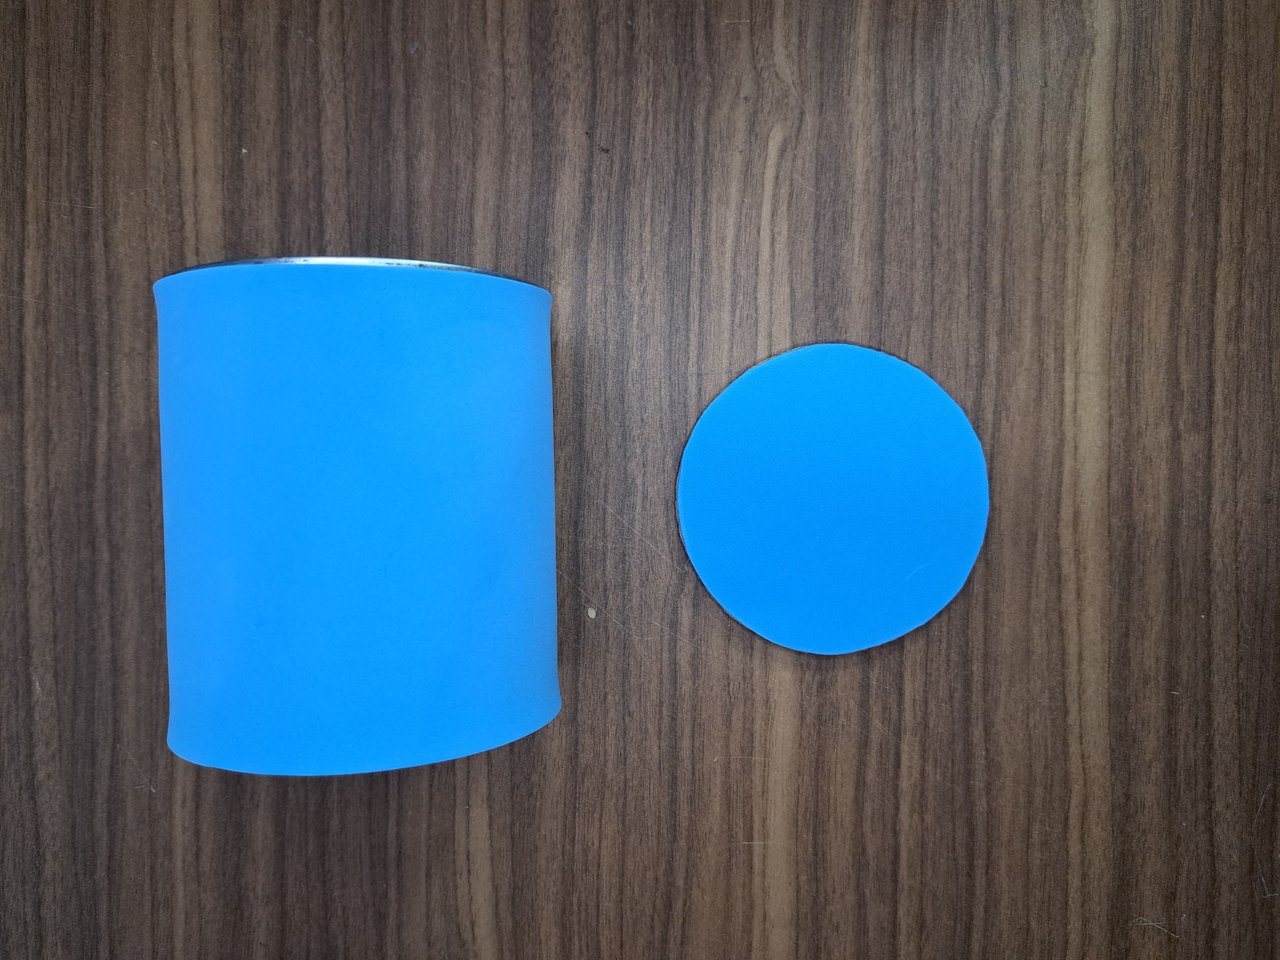
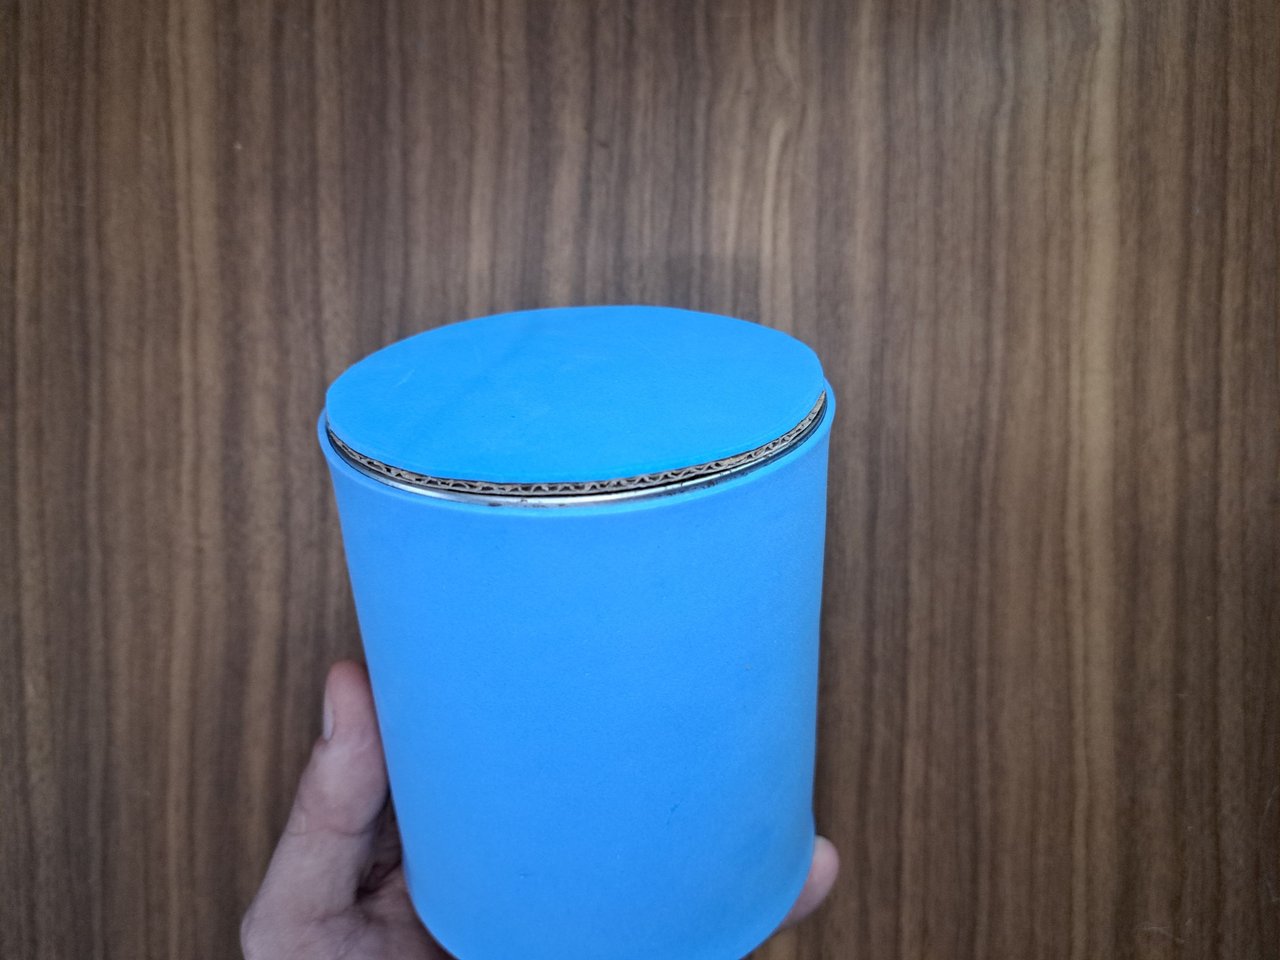
2️⃣ I lined the metal container with the same light blue fomi. I did the same with the lid and placed them on top of each other to make sure they fit perfectly.
Forré el envase de metal con la misma de fomi azul claro. Hice lo mismo con la tapa y las puse una encima de otra para asegurarme de que encajen a la perfección.
 |  |  |
 |  |
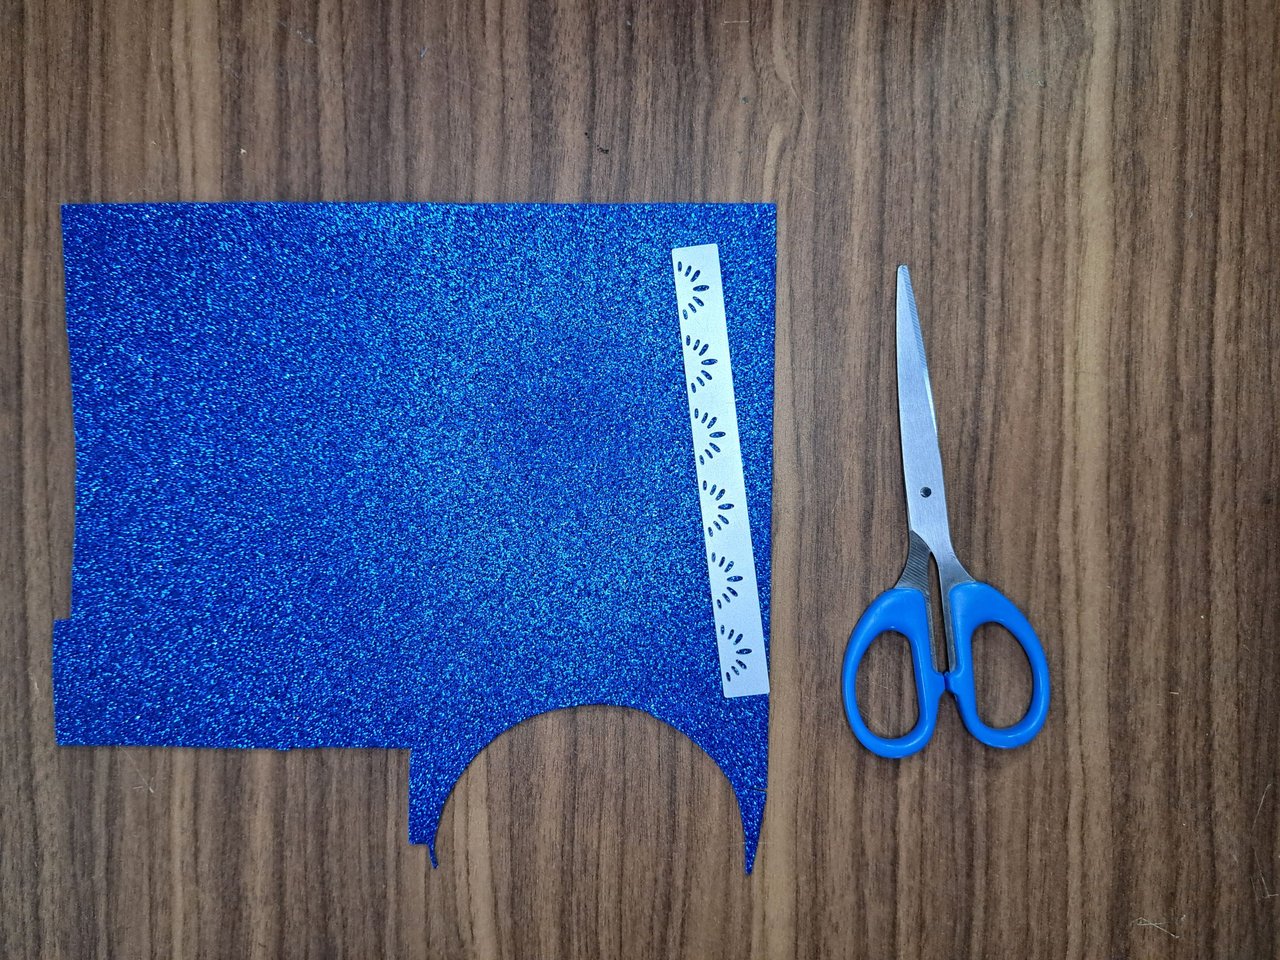
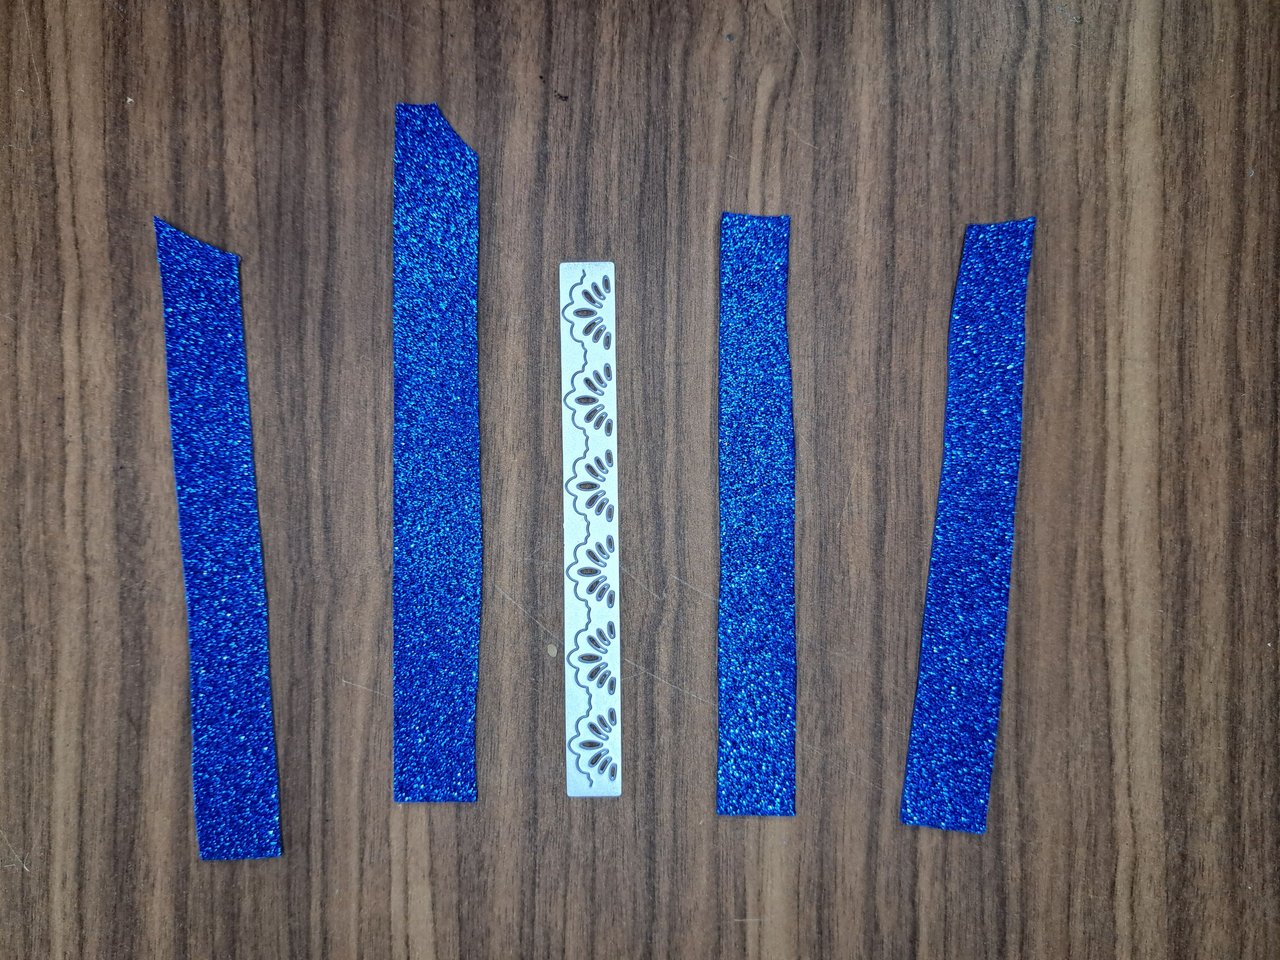
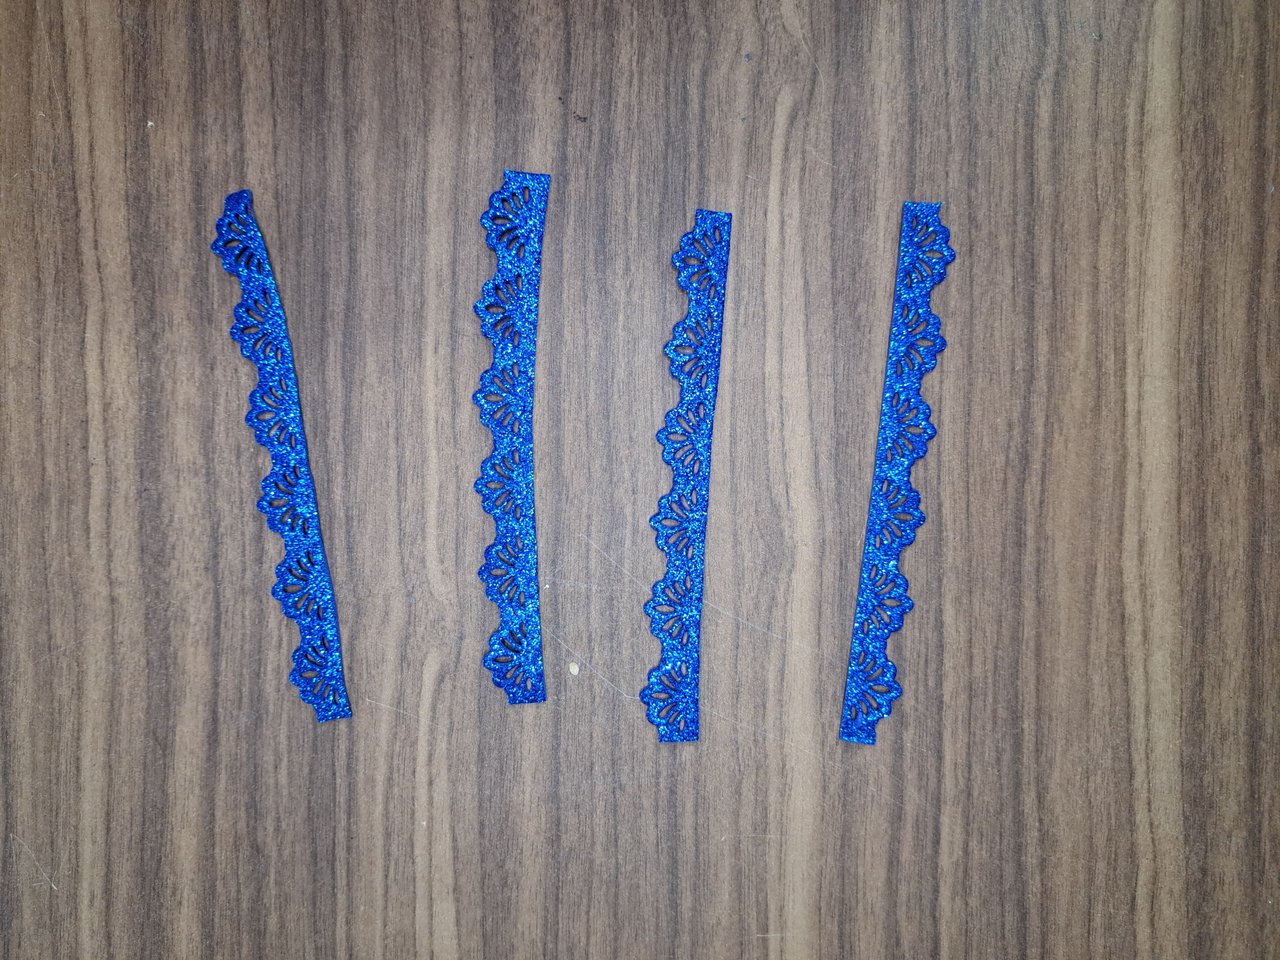
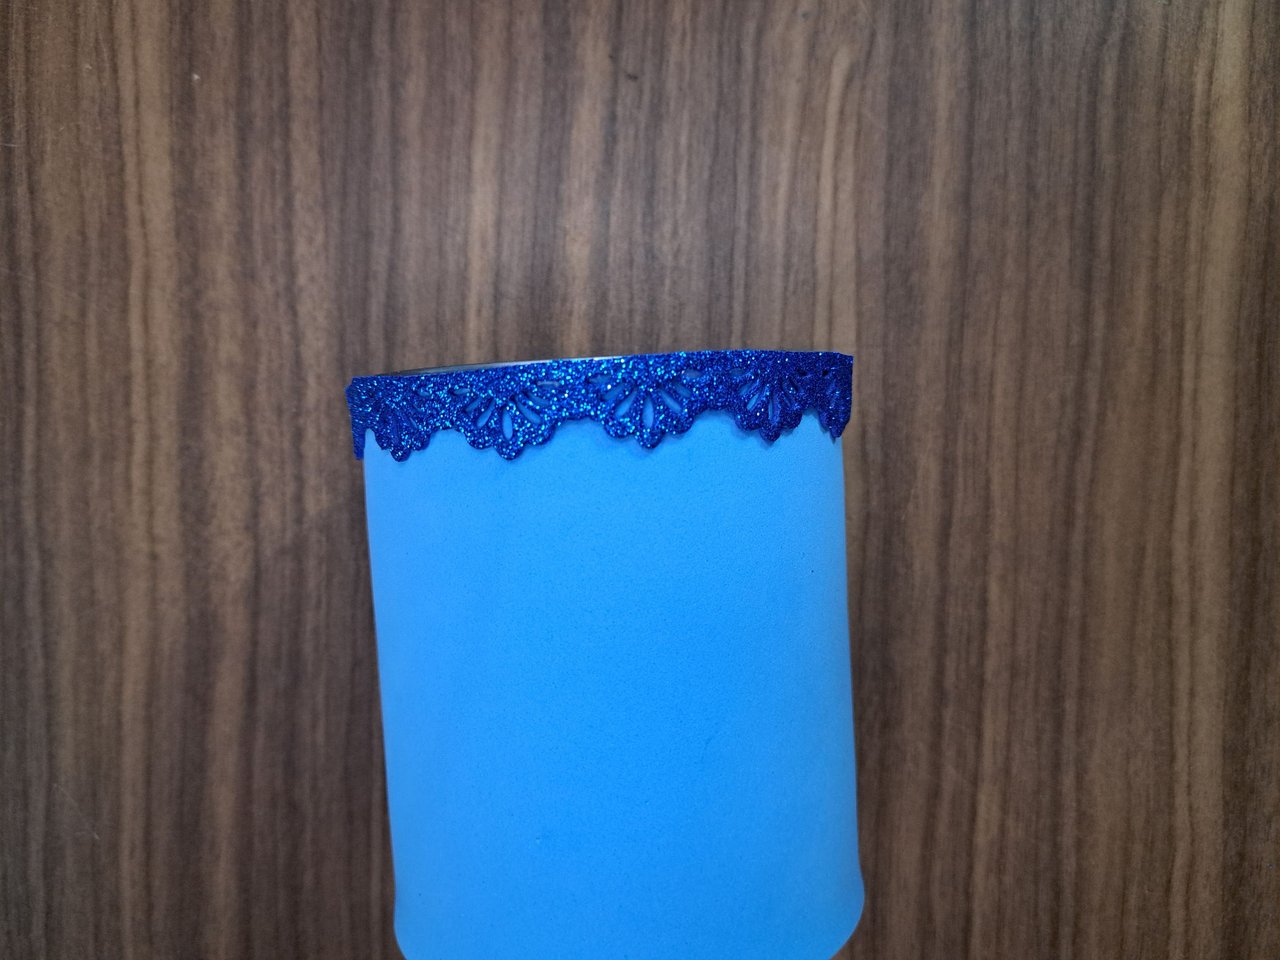
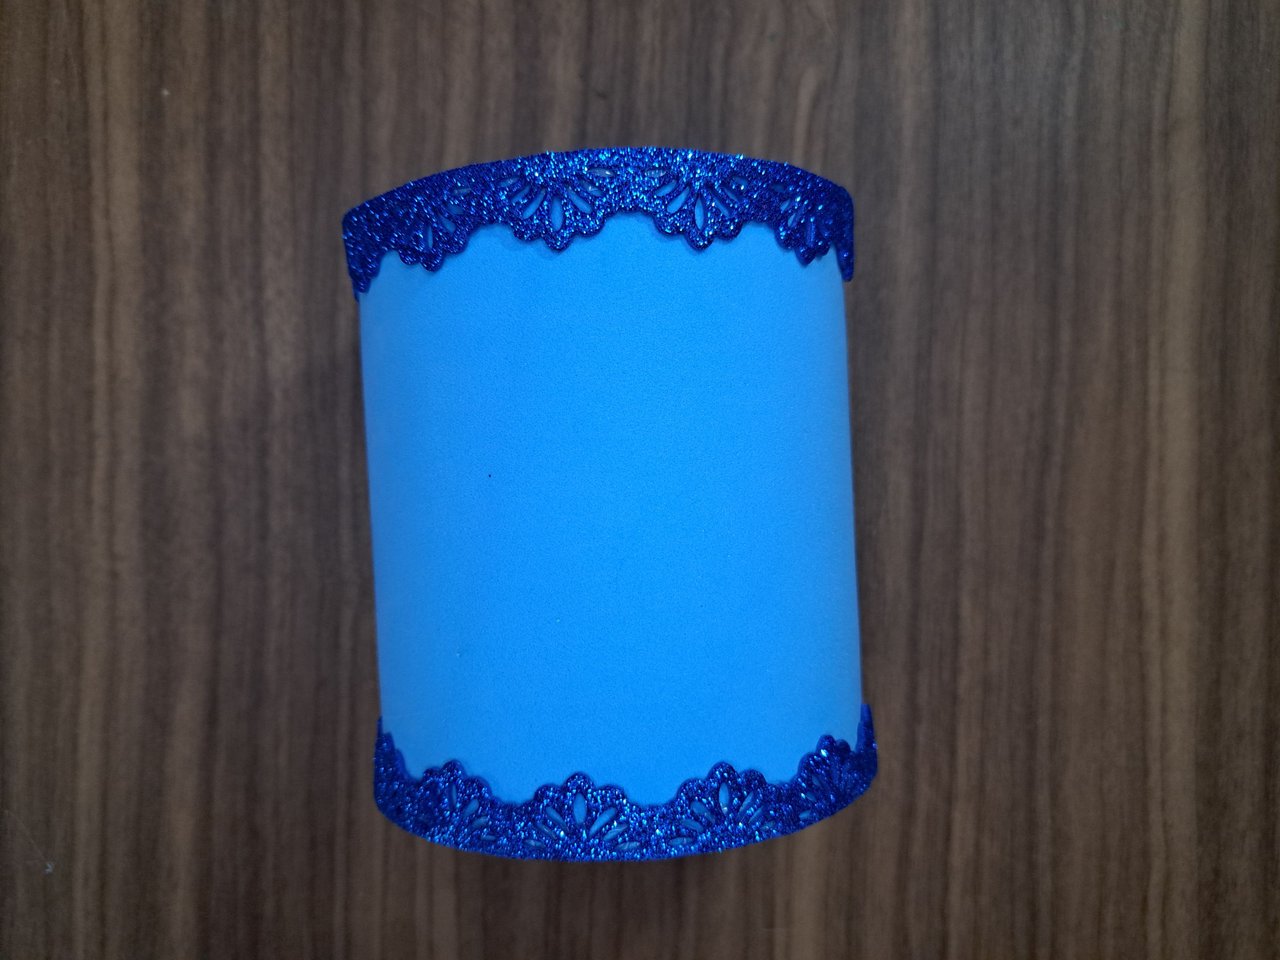
3️⃣ I cut out four strips of dark blue frosted fomi and, using a border die, cut out their pattern on top of the fomi. I glued the four borders around the base and top of the container, facing the pattern inward.
Recorté cuatro tiras de fomi escarchado azul oscuro y, utilizando un troquel para bordes, recorté su patrón encima del fomi. Pegué los cuatro bordes alrededor de la base y la parte superior del envase, orientando el patrón hacia adentro.
 |  |  |
 |  |
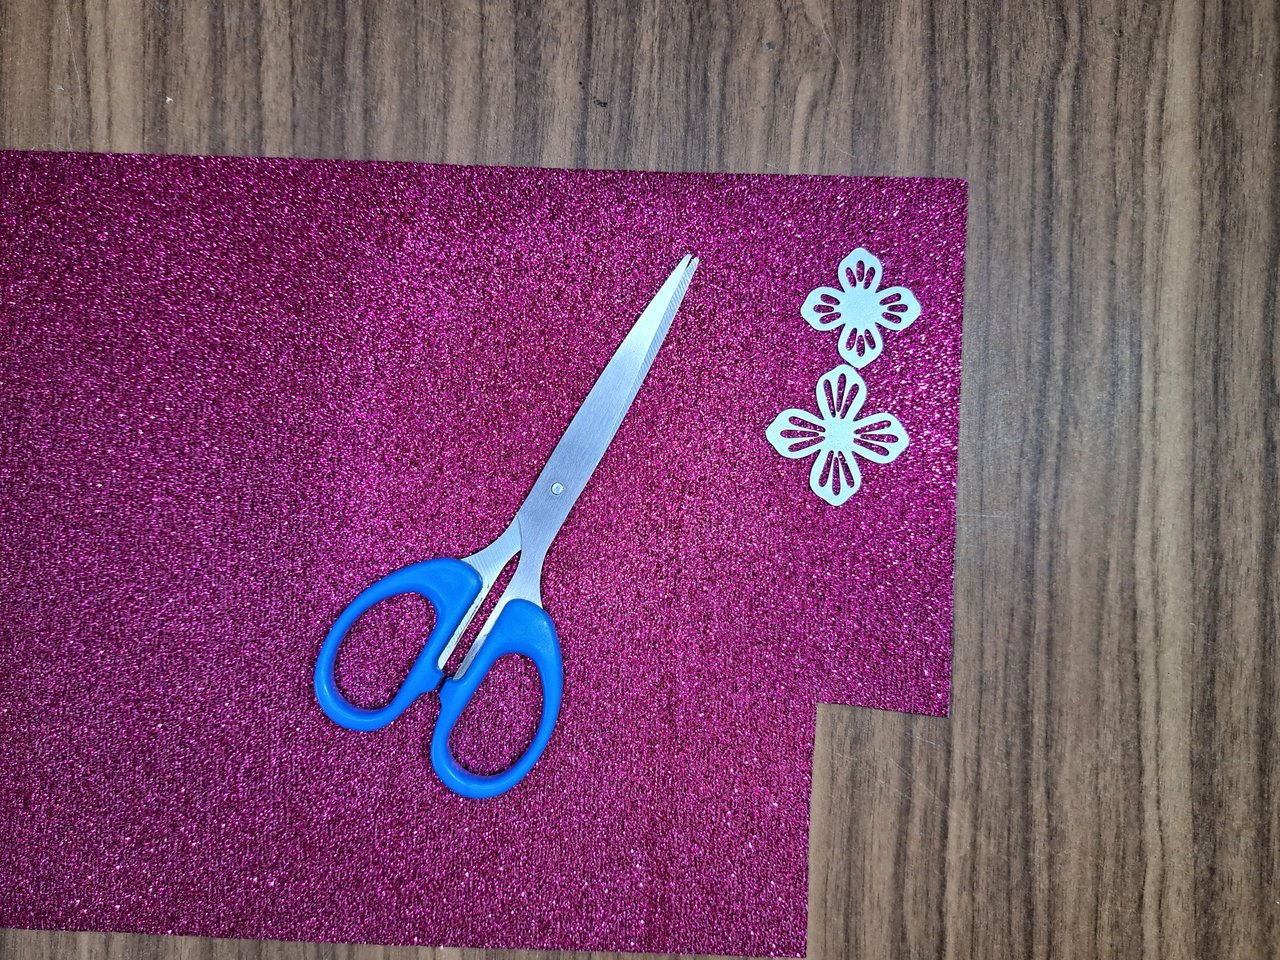
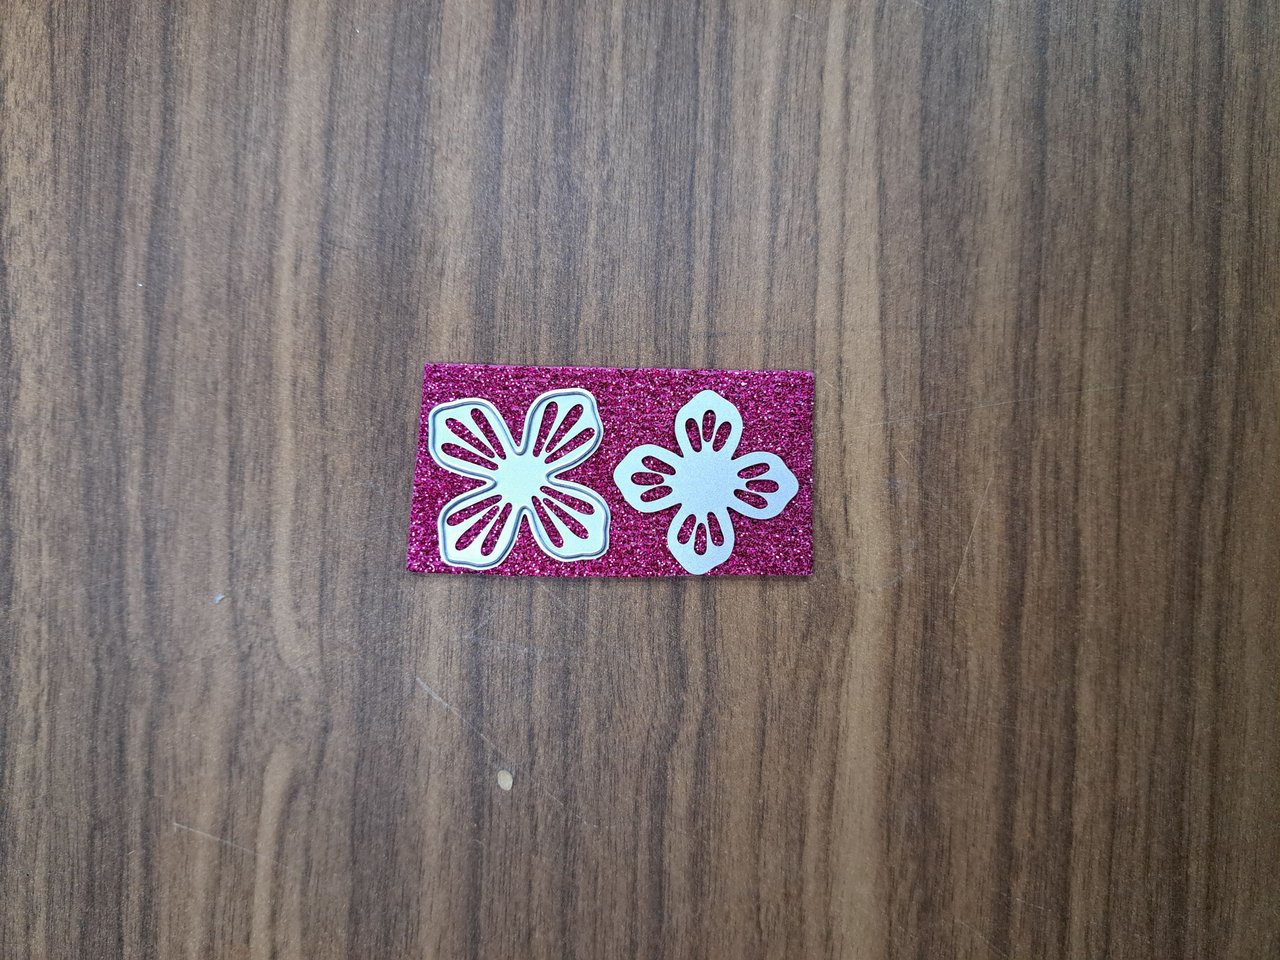
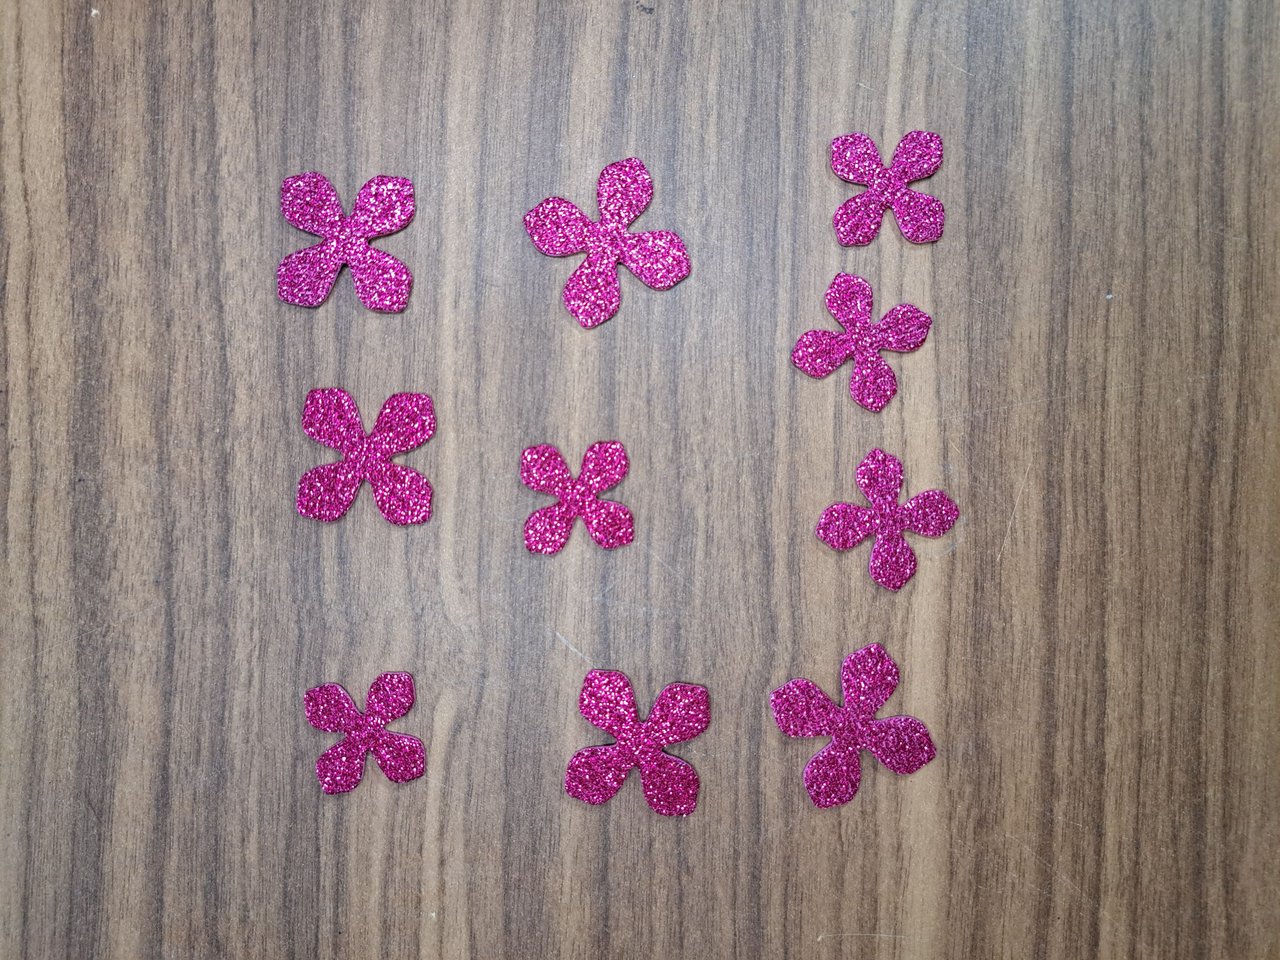
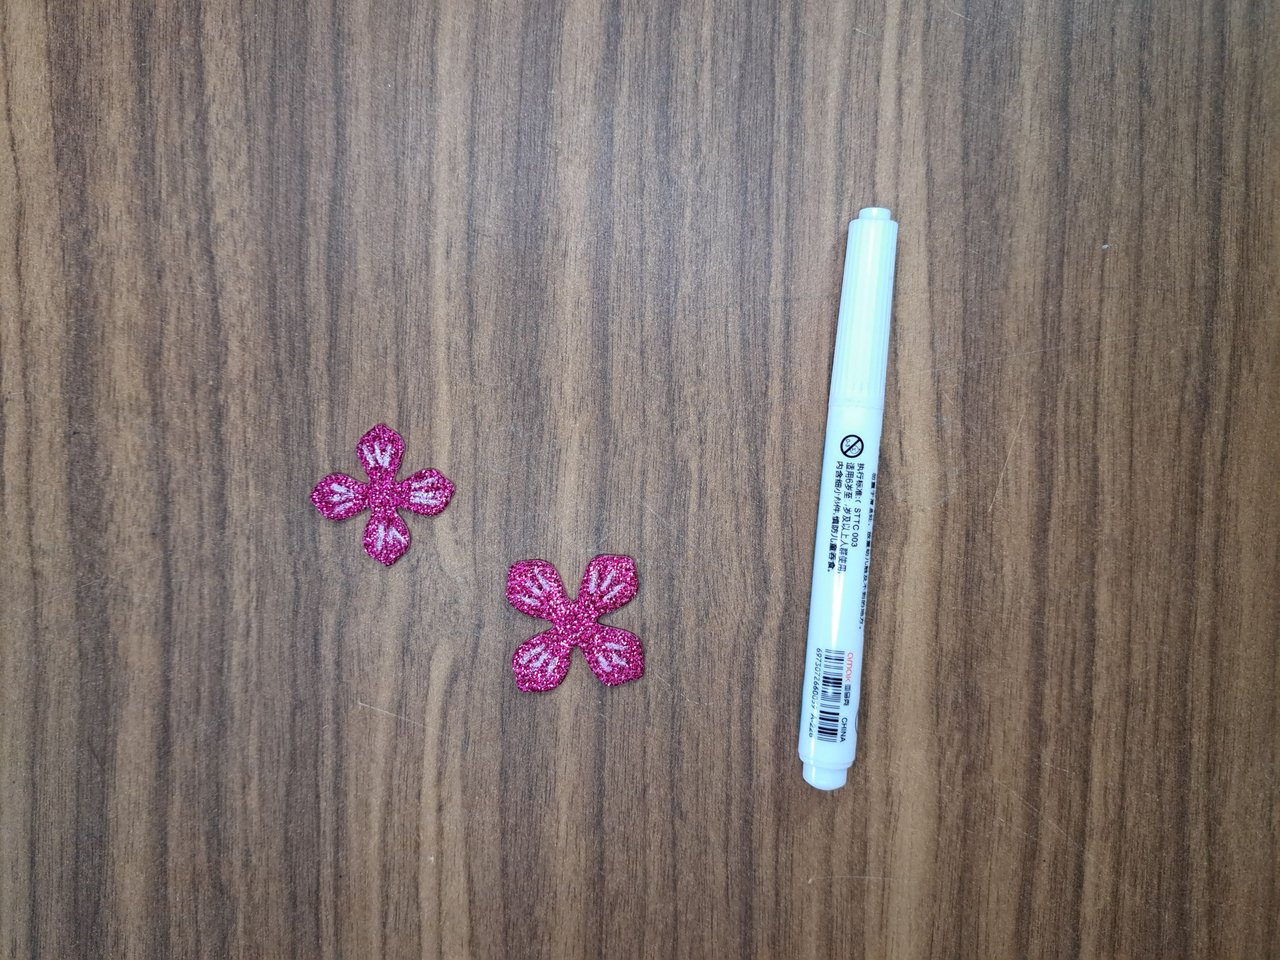
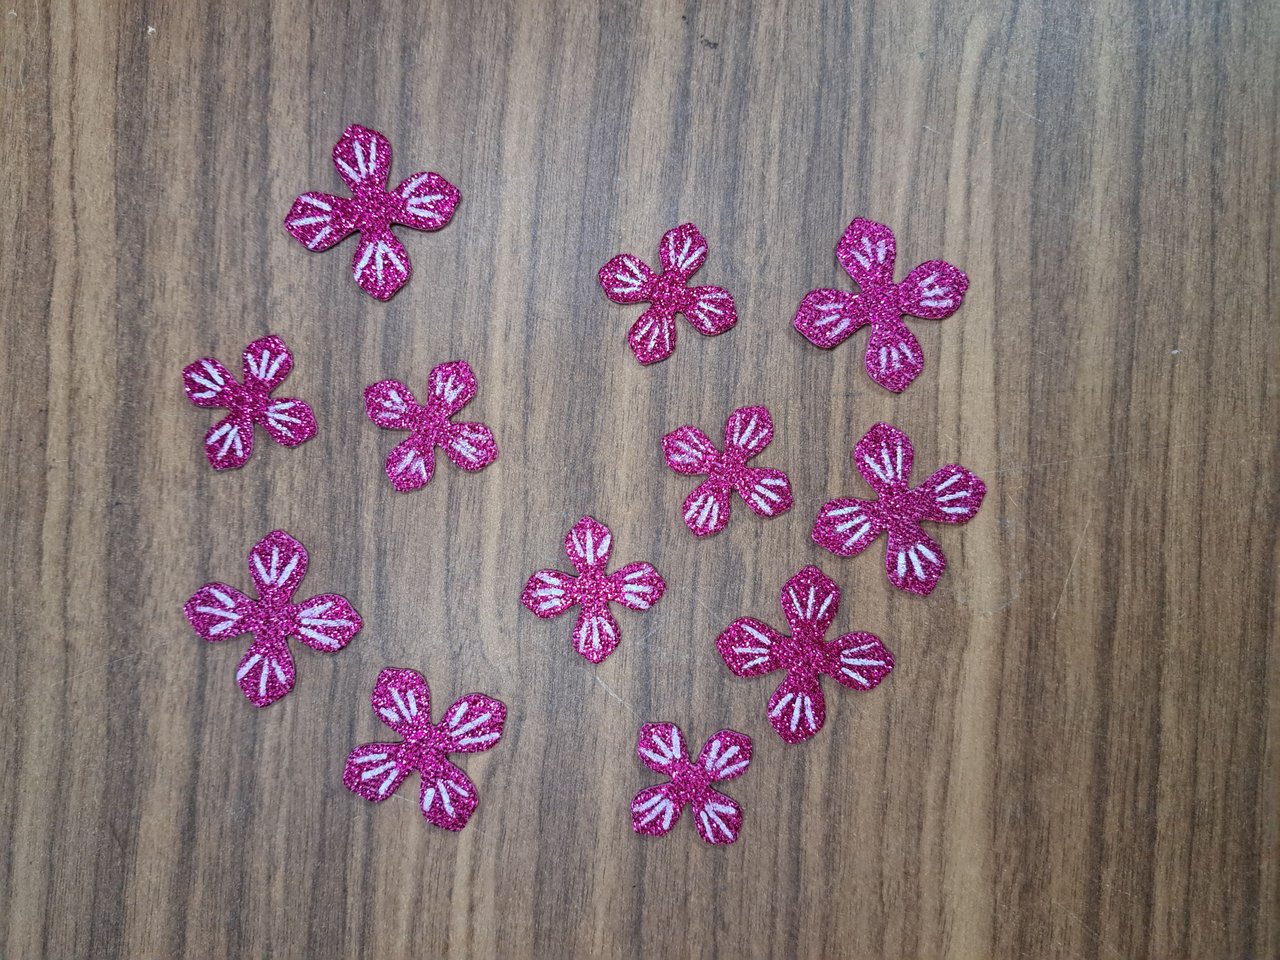
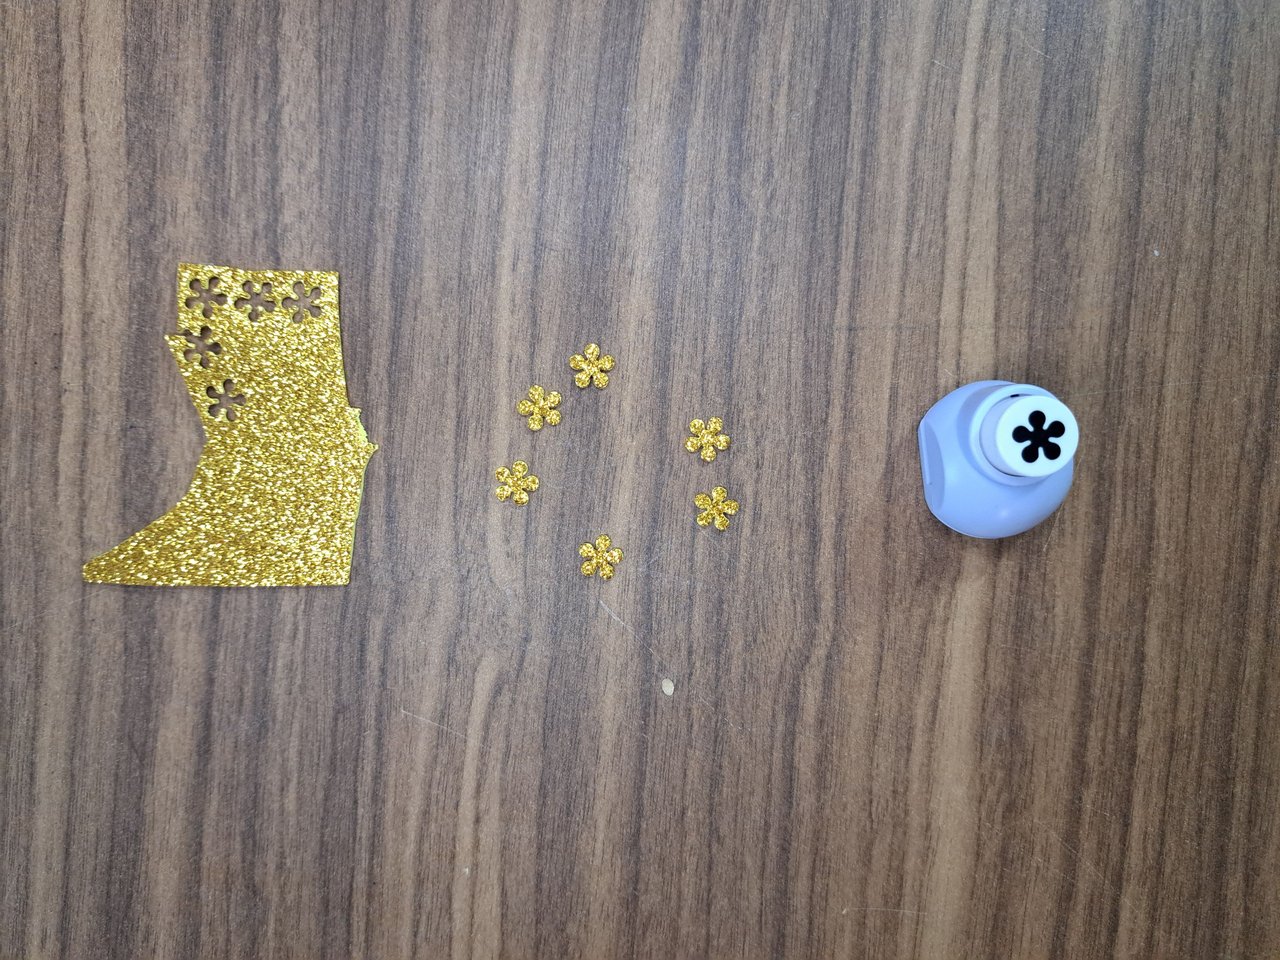
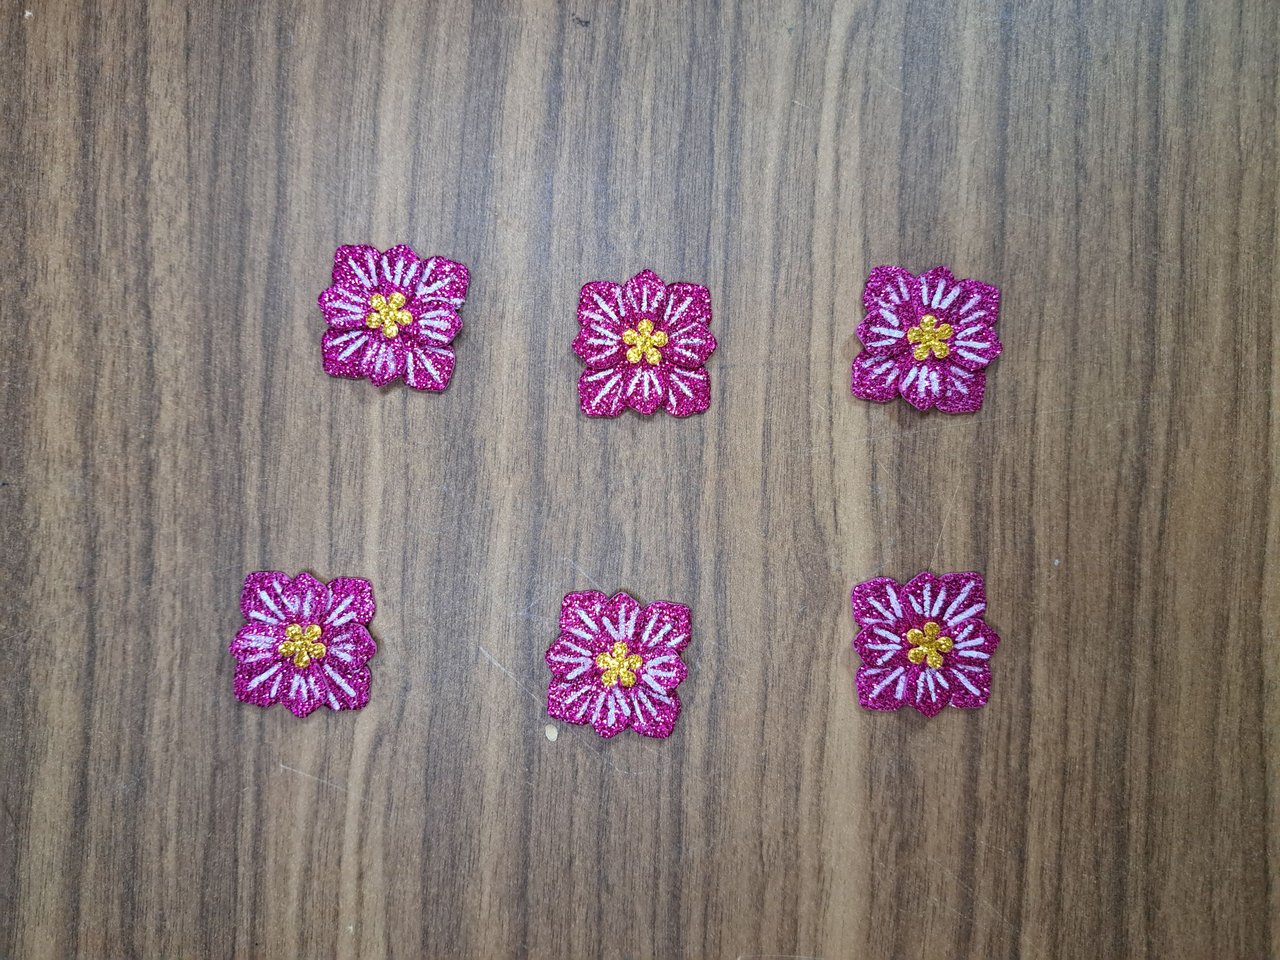
4️⃣ On a sheet of fuchsia pink frosted fomi I cut out 6 silhouettes of flowers and 6 smaller ones. With a white marker, I made three lines on each of the flower petals. I glued the small flowers on top of the medium ones and in the center I added some gold flowers that I cut out using a flower pattern punch.
En una lámina de fomi escarchado rosado fucsia recorté 6 siluetas de flores y 6 más pequeñas. Con un marcador blanco, hice tres líneas en cada uno de los pétalos de las flores. Pegué las flores pequeñas encima de las medianas y en el centro añadí unas florecitas doradas que recorté utilizando una perforadora con patrón de flor.
 |  |
 |  |  |
 |  |
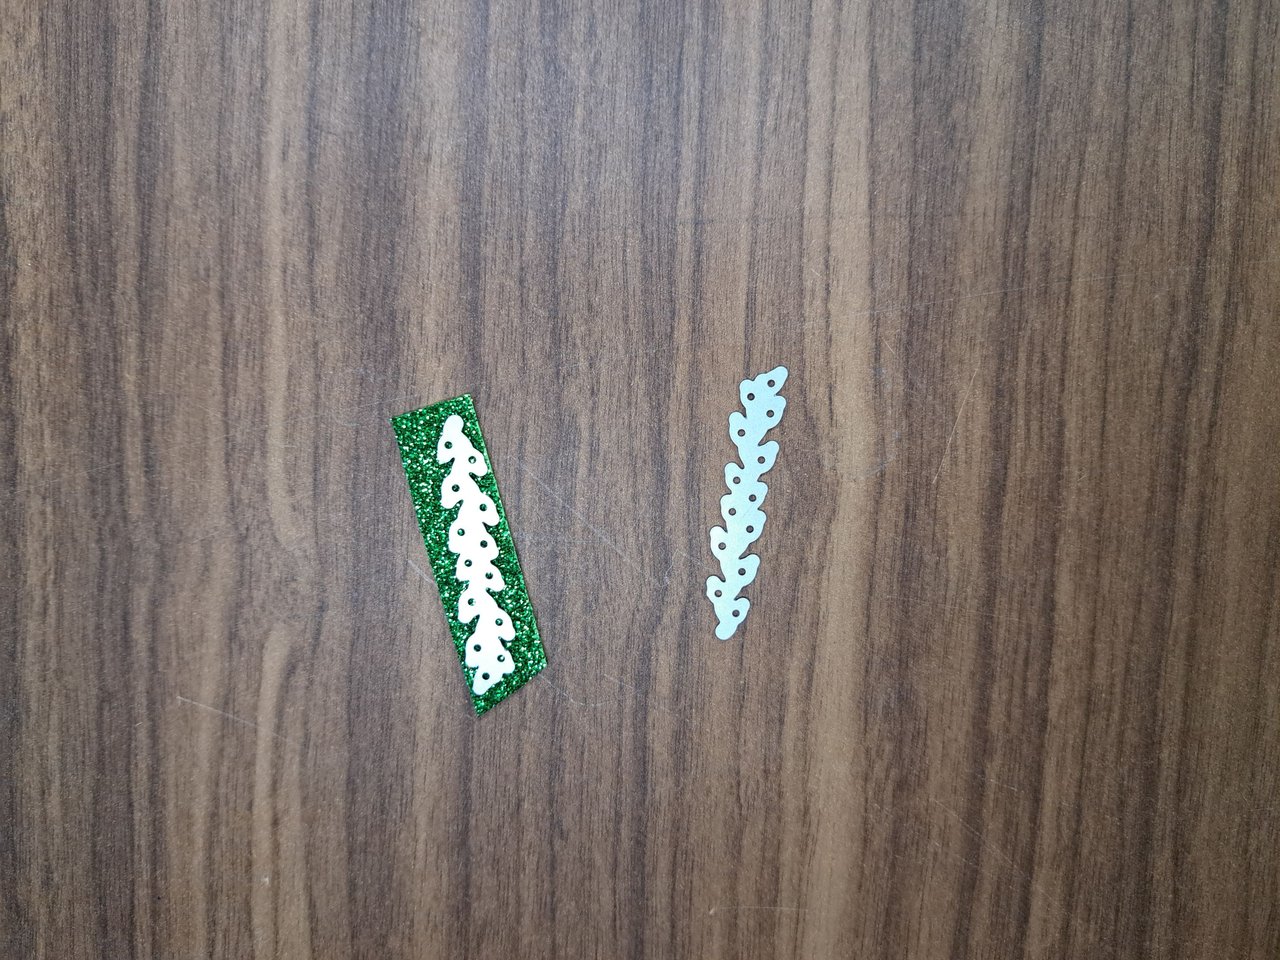
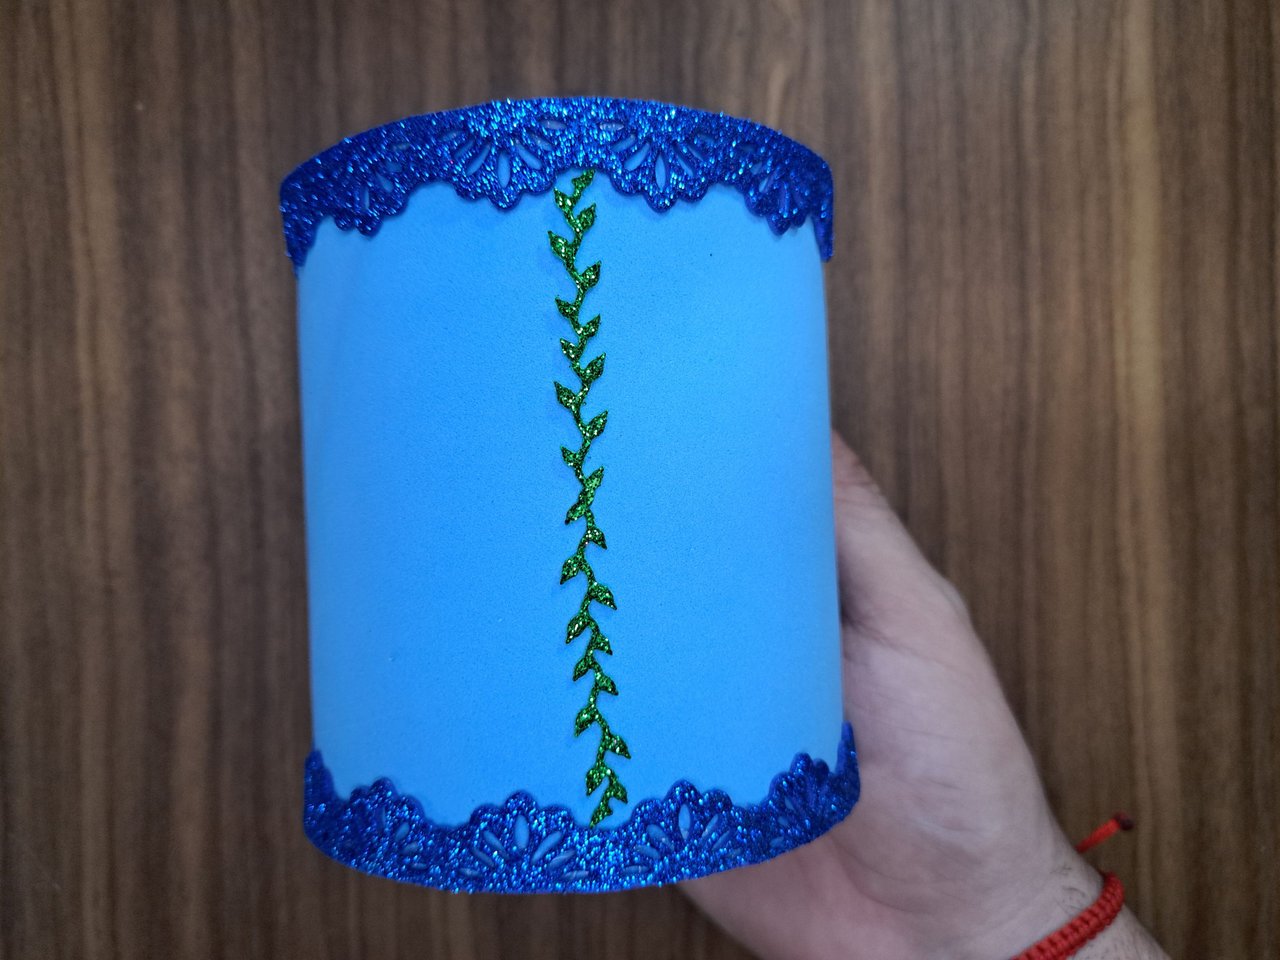
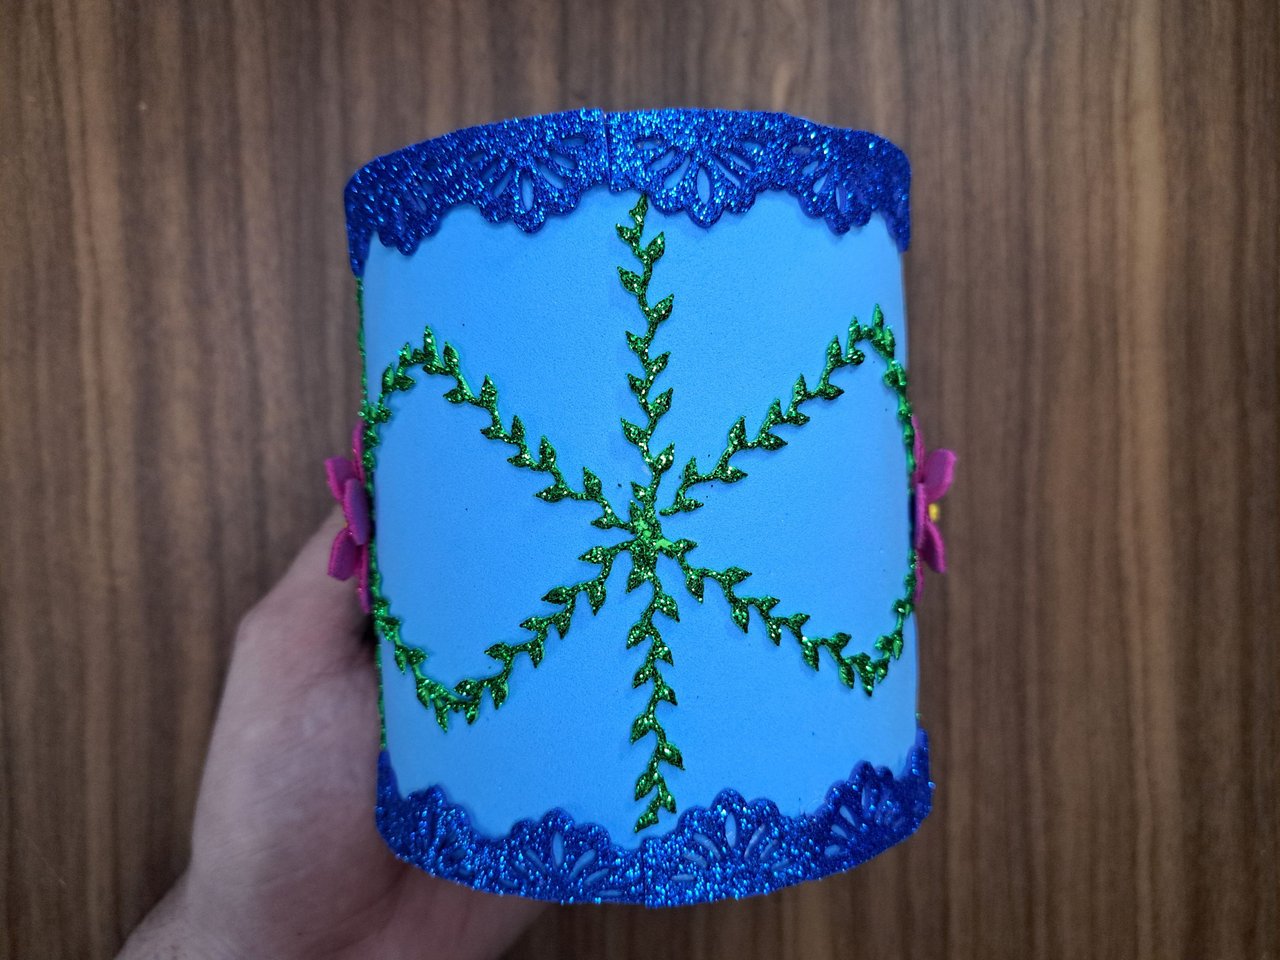
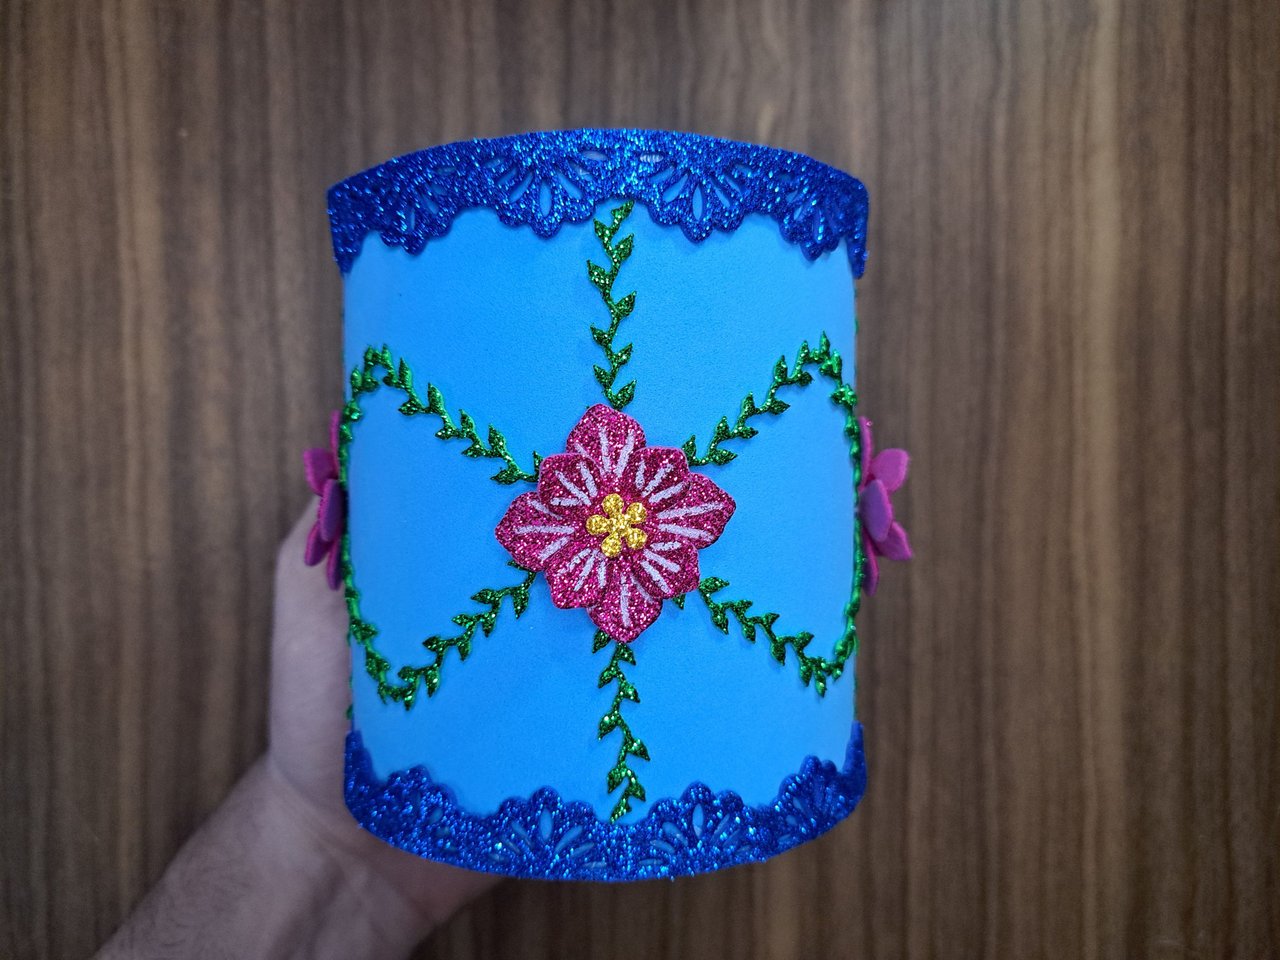
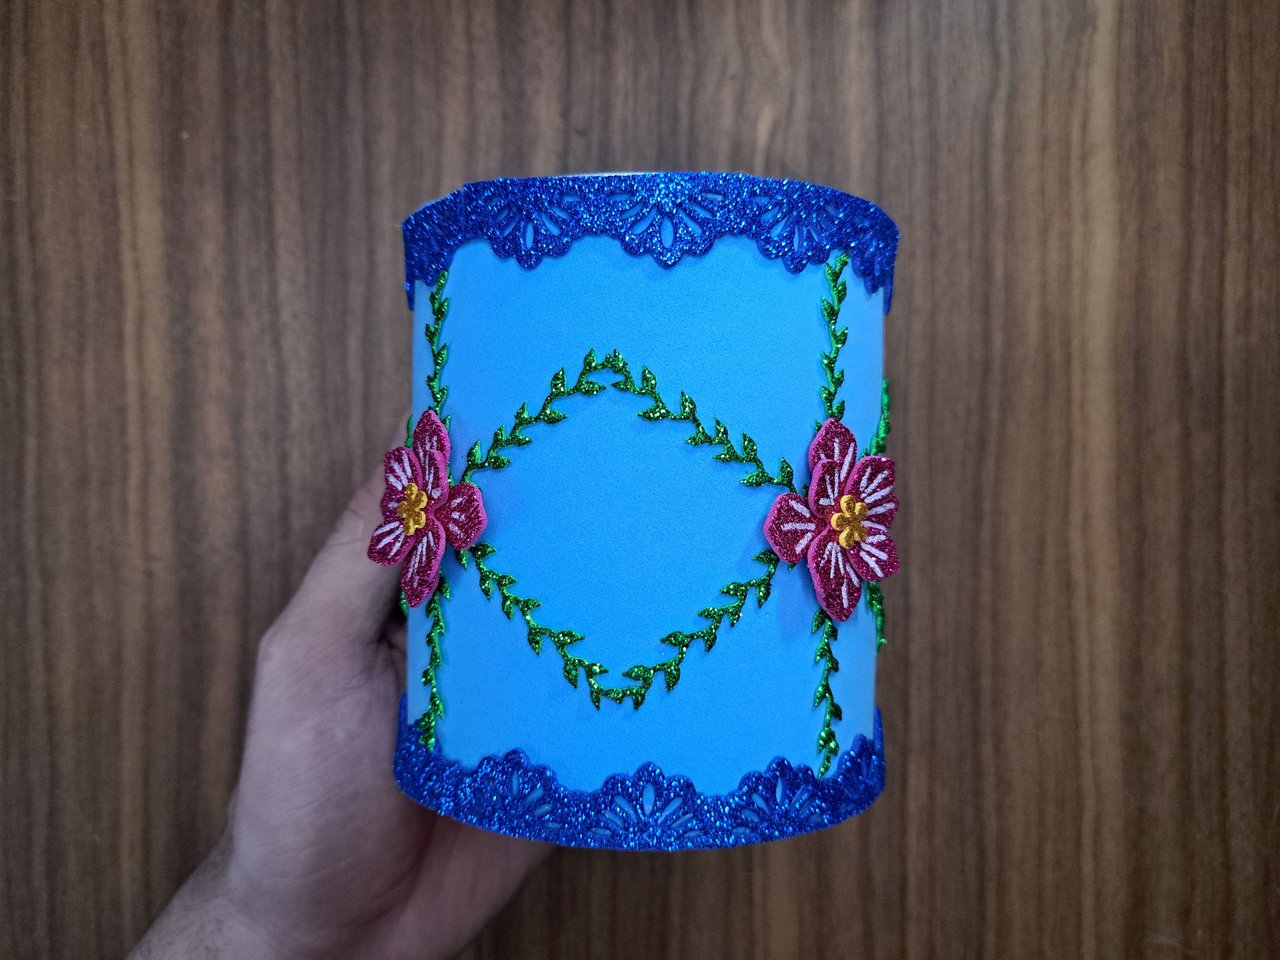
5️⃣ With the leaf dies I cut out their pattern in green frosted fomi and glued them from top to bottom all along the side of the container. I repeated this process with the remaining leaves, but this time in a cross pattern and then added the flowers from the previous step at each of the central intersections of the leaves.
Con los troqueles de hojas recorté su patrón en fomi escarchado verde y las pegué de arriba hacia abajo por todo el costado del envase. Repetí este proceso con las hojas restantes, pero esta vez en cruz para al final agregar las flores del paso anterior en cada una de las intersecciones centrales de las hojas.
 |  |  |
 |  |
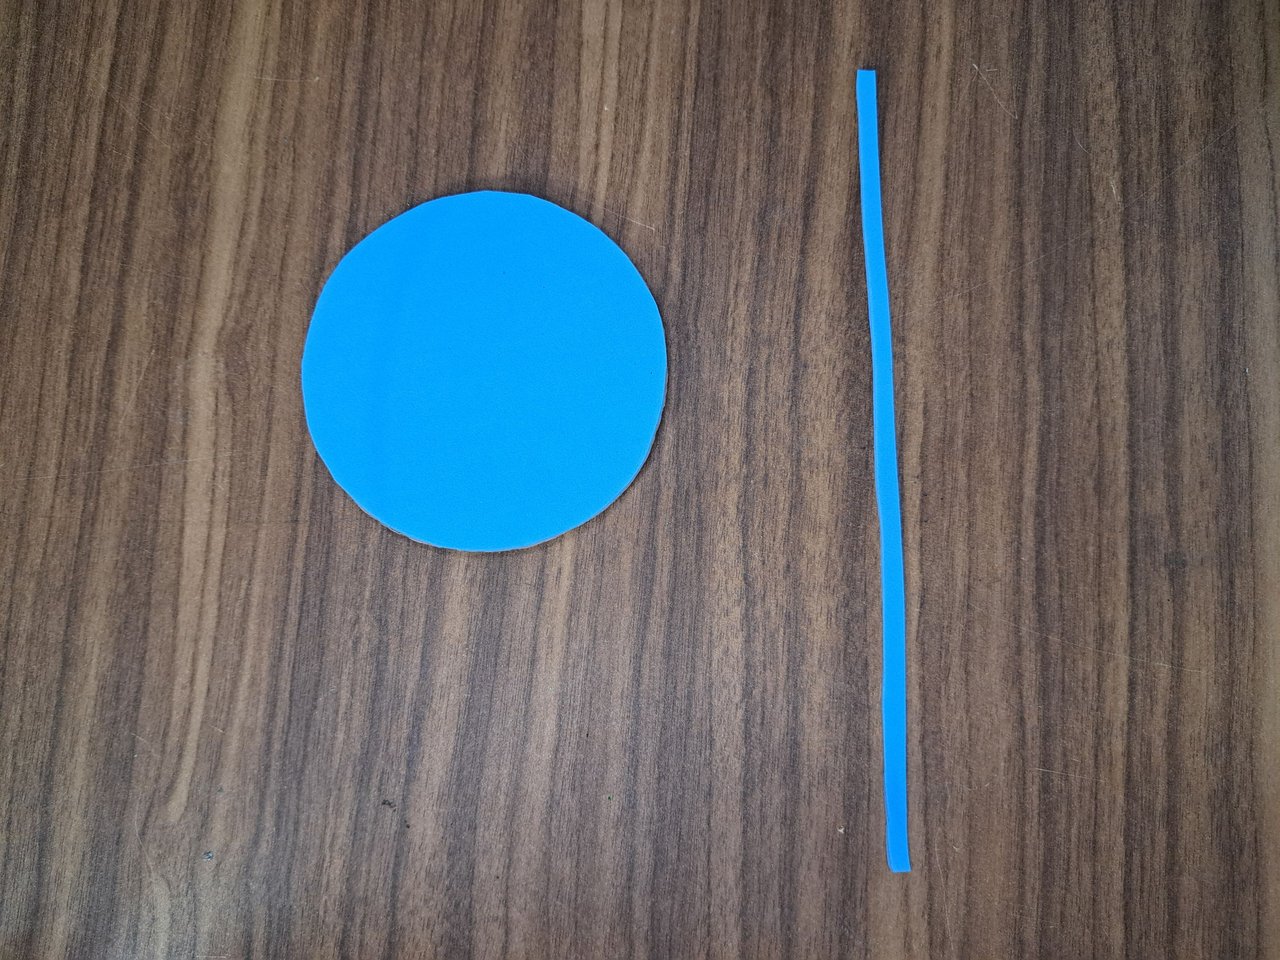
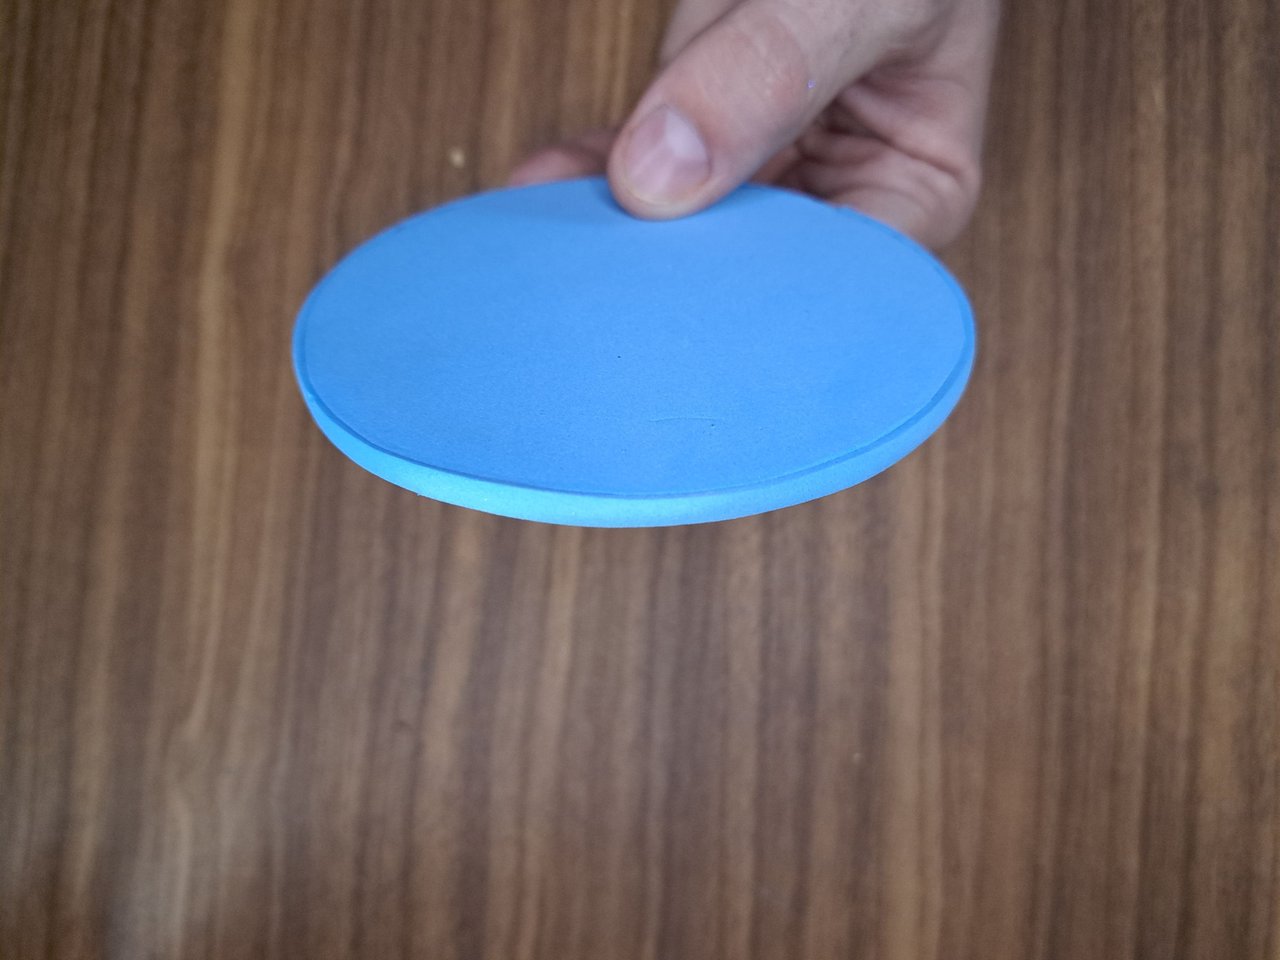
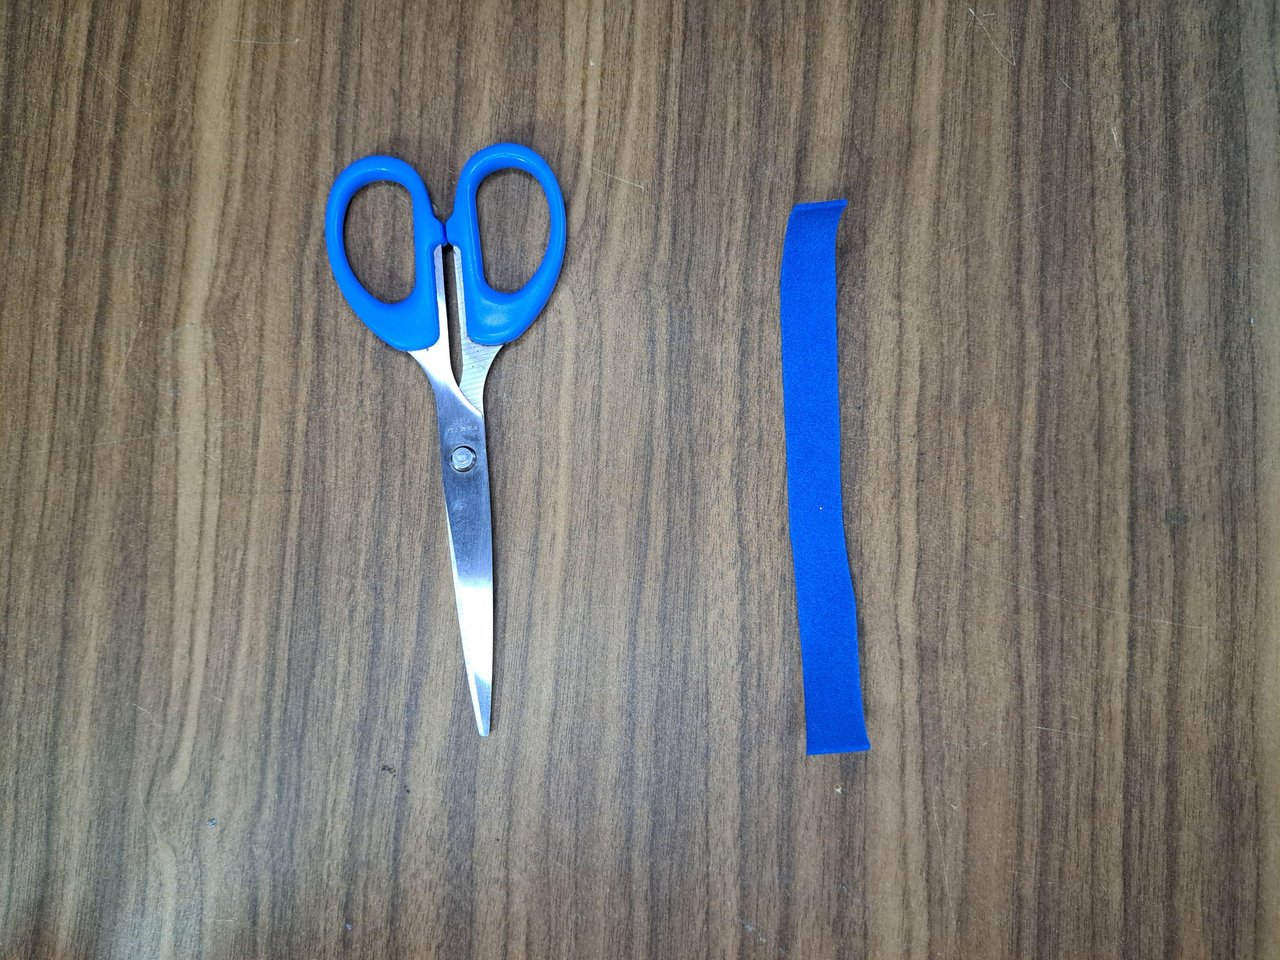
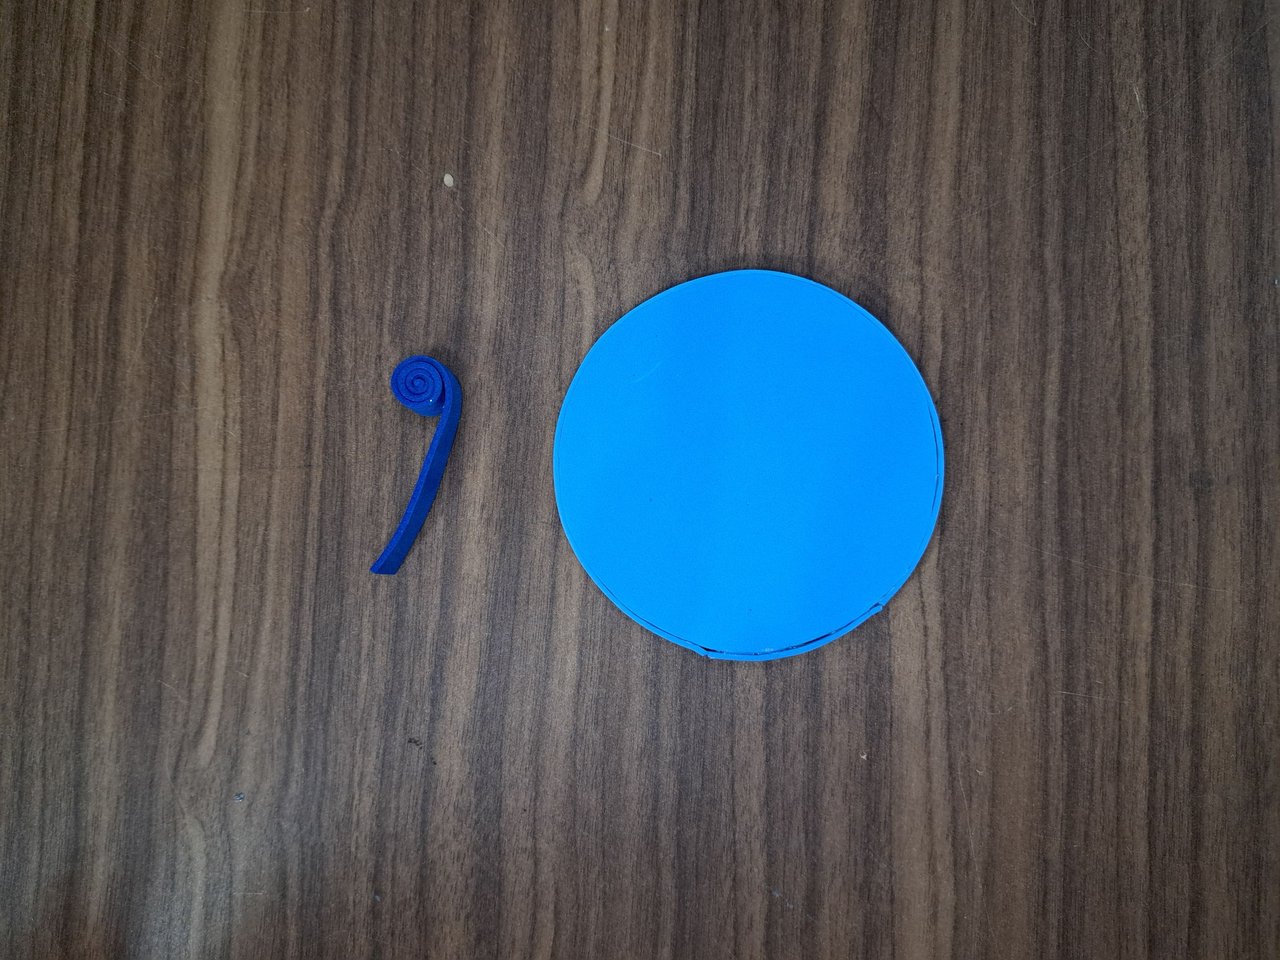
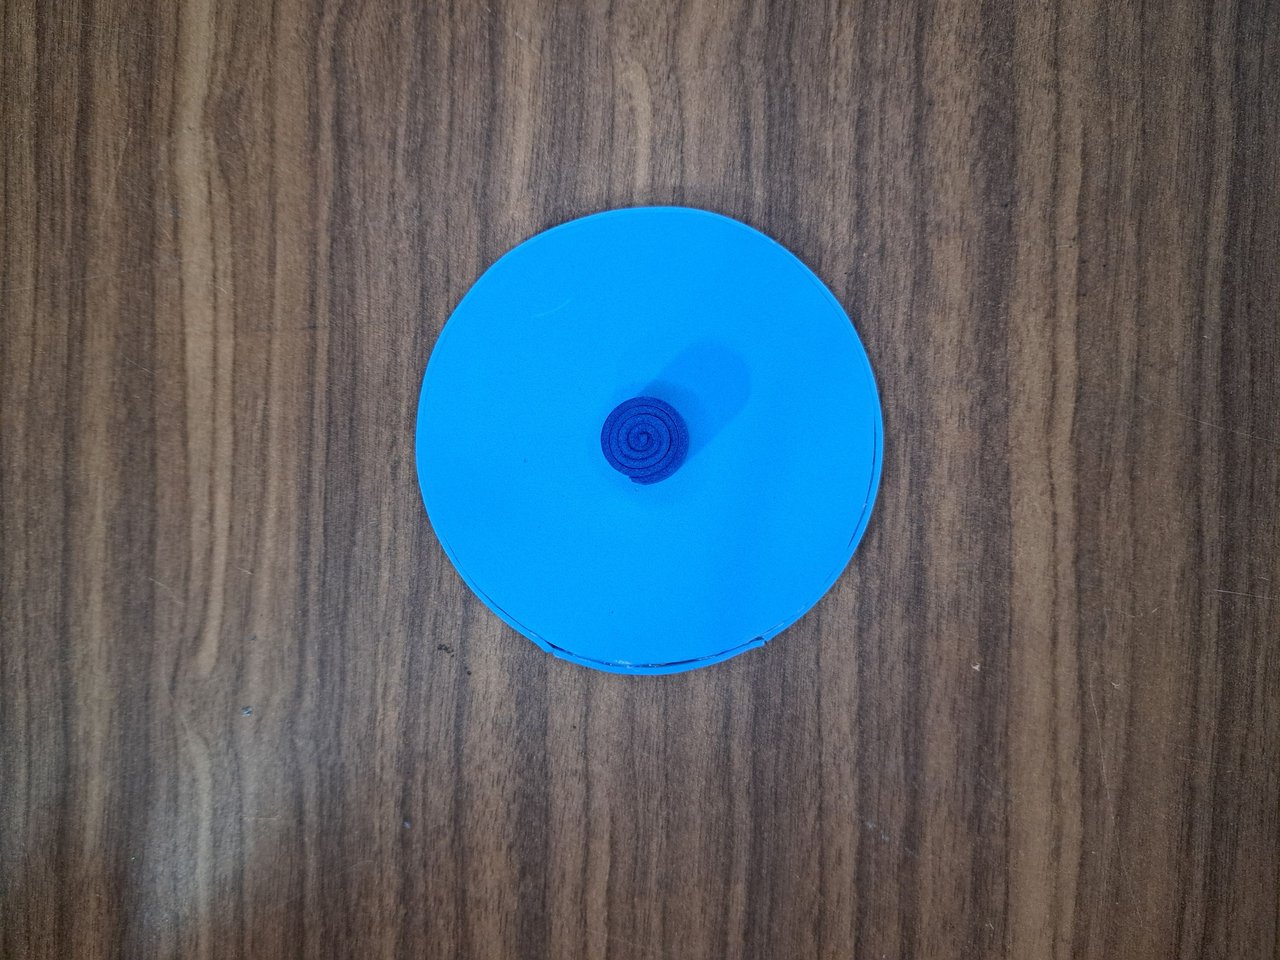
6️⃣ With the body of the container ready, I finished decorating the lid. I cut a thin strip of light blue fomi, which I glued all around the edge to hide the cardboard. With dark blue fomi, I made a grip for the lid, wrapping the fomi and gluing it in the center.
Con el cuerpo del envase listo, pasé a terminar el decorado de la tapa. Recorté una tira fina de fomi azul claro, la cual pegué por todo el borde para ocultar el cartón. Con fomi azul oscuro, hice un agarre para la tapa, envolviendo el fomi y pegándolo en el centro.
 |  |
 |  |  |
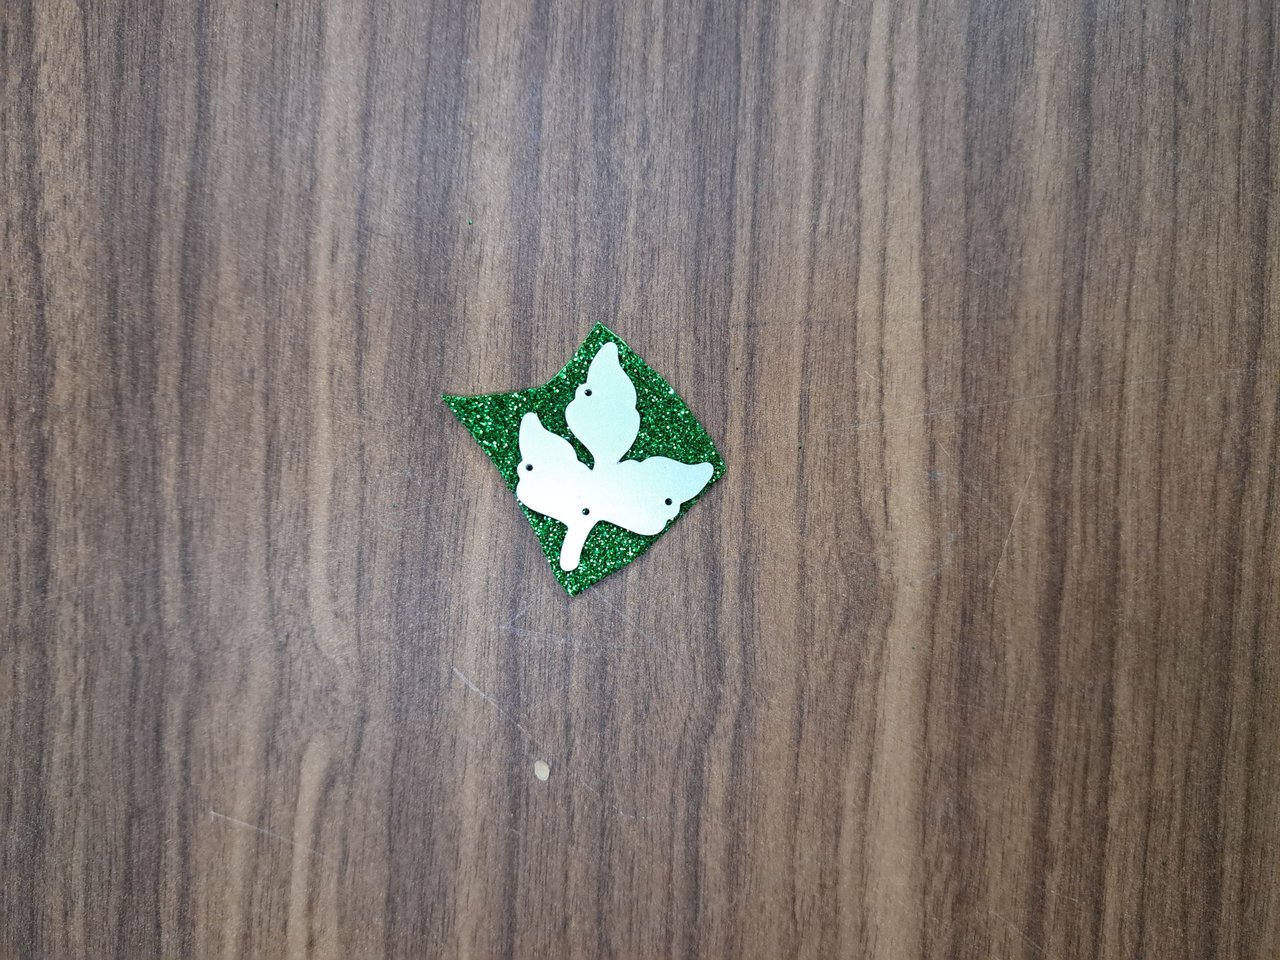
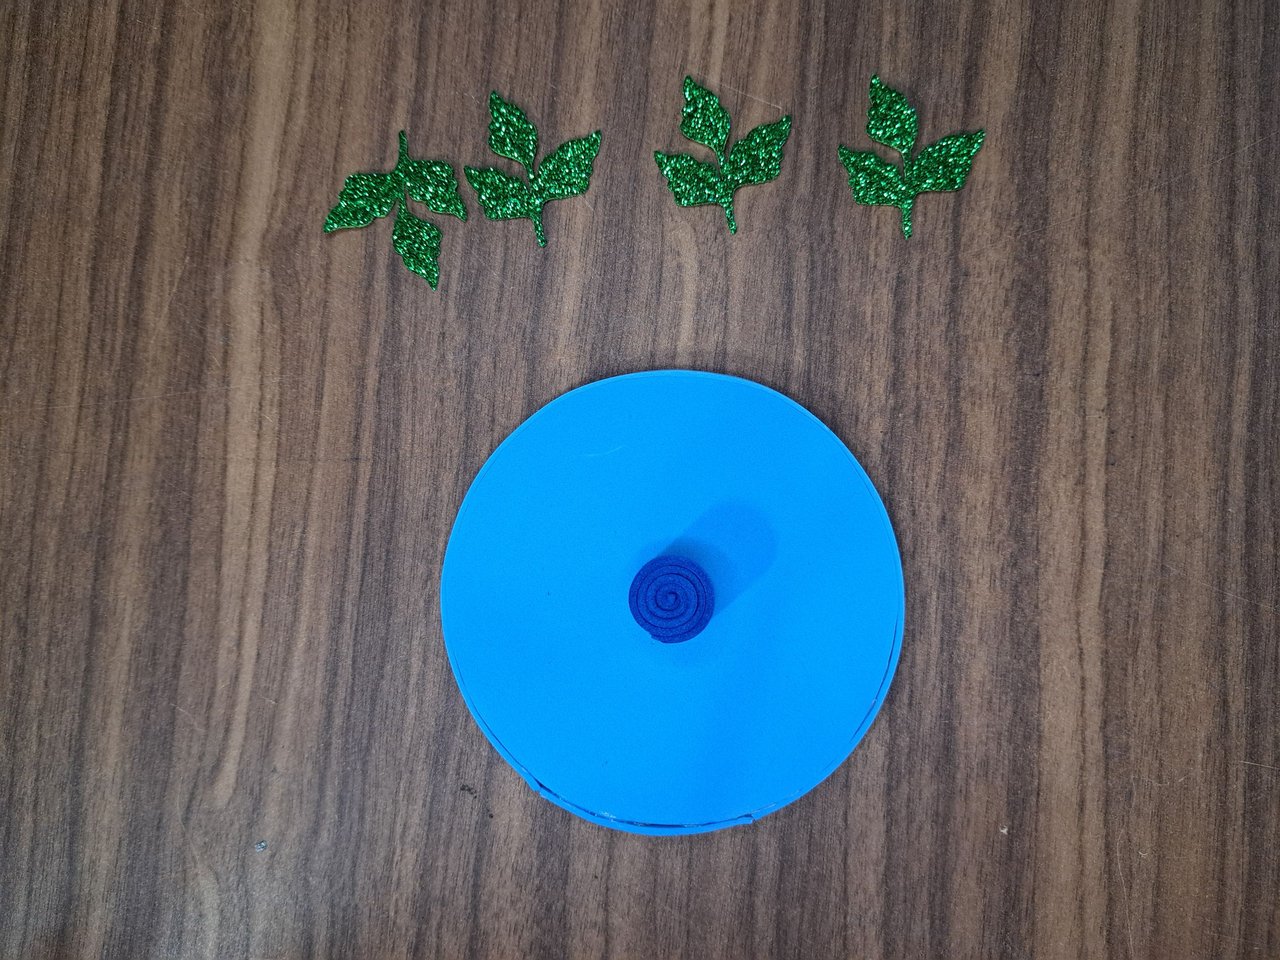
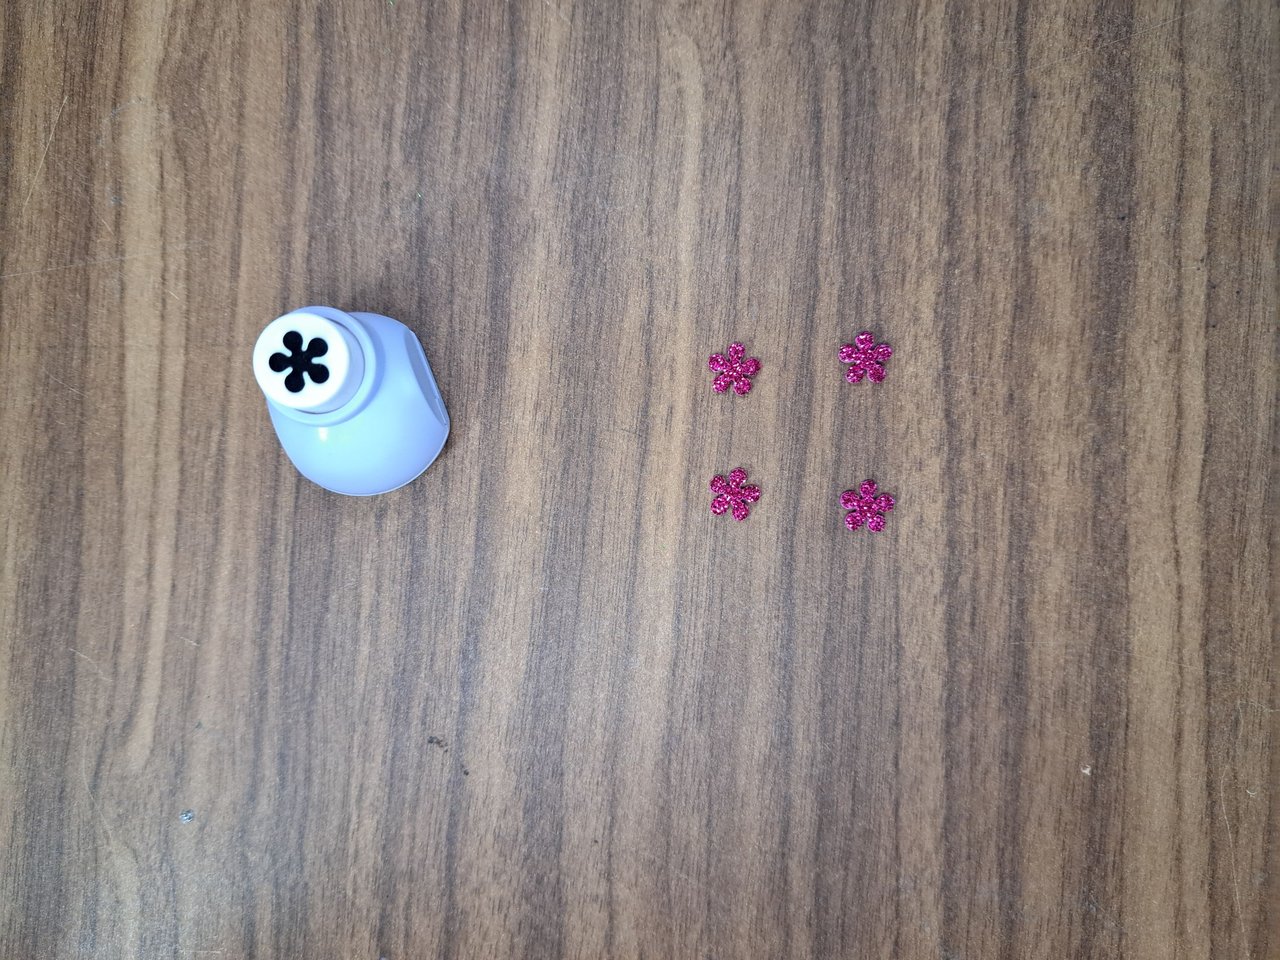
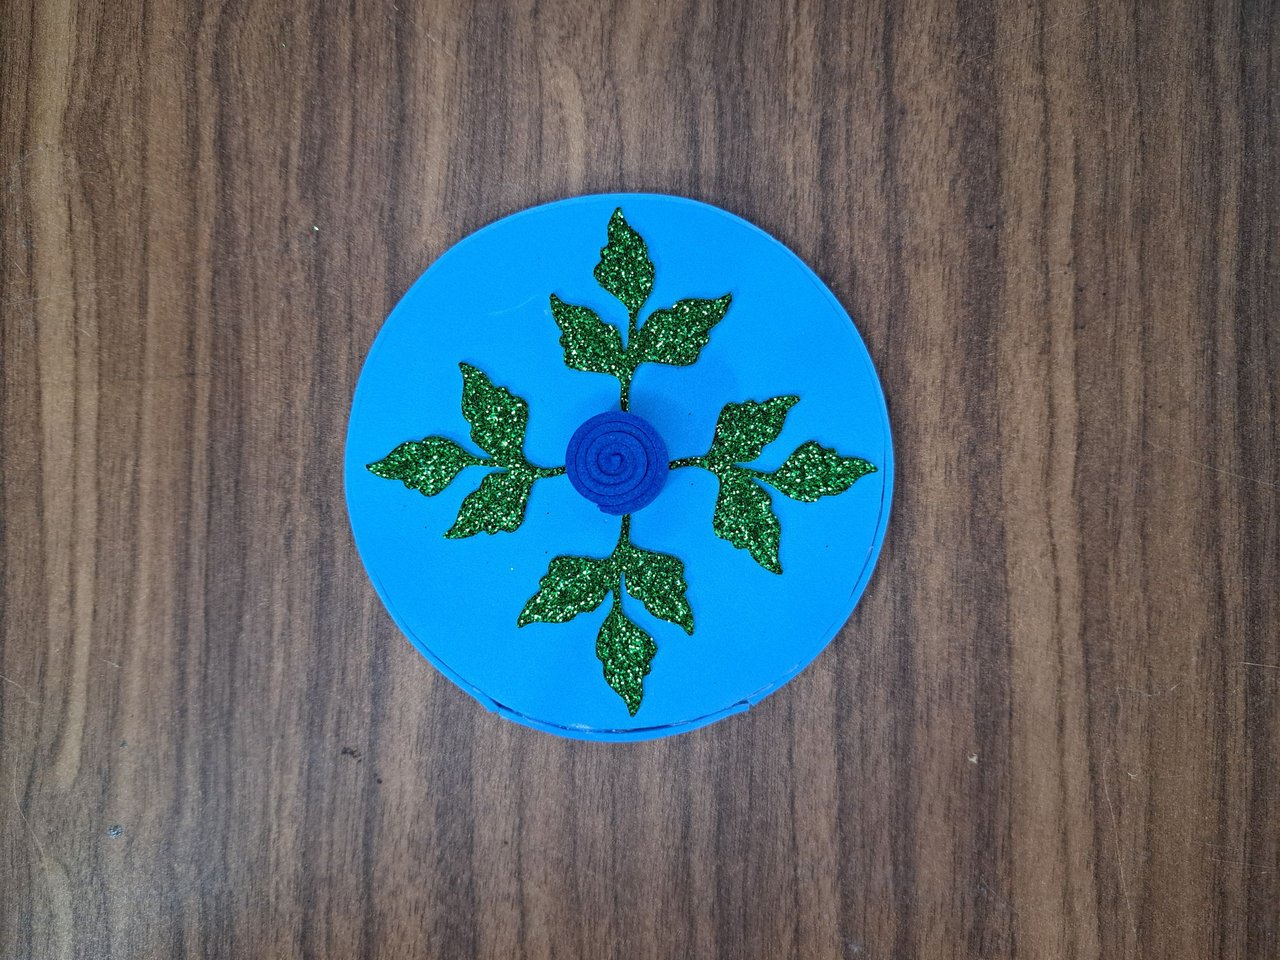
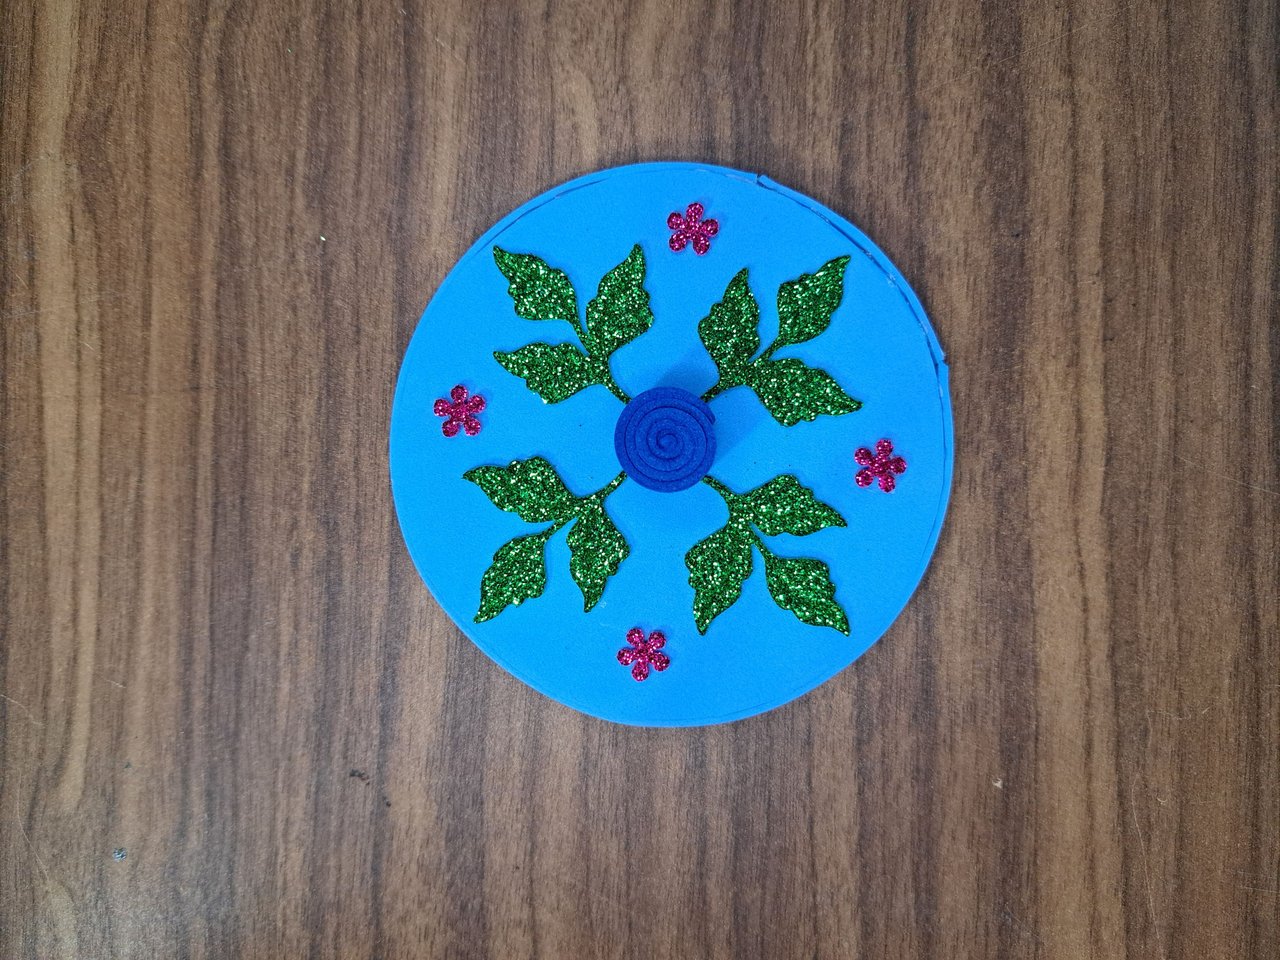
7️⃣ To finish, I cut out four leaves with the larger die and four little flowers with the hole punch, and a bit of pink fuchsia fomi that I had left over from the larger flowers. I glued the leaves in a cross shape and between the spaces I glued the little pink flowers.
Para terminar, recorté cuatro hojas con el troquel más grande y cuatro florecitas con la perforadora, y un poco de fomi rosado fucsia que me sobró de las flores más grandes. Pegué las hojas en cruz y entre los espacios pegué las florecitas rosadas.
 |  |  |
 |  |
Finished Work // Trabajo Terminado
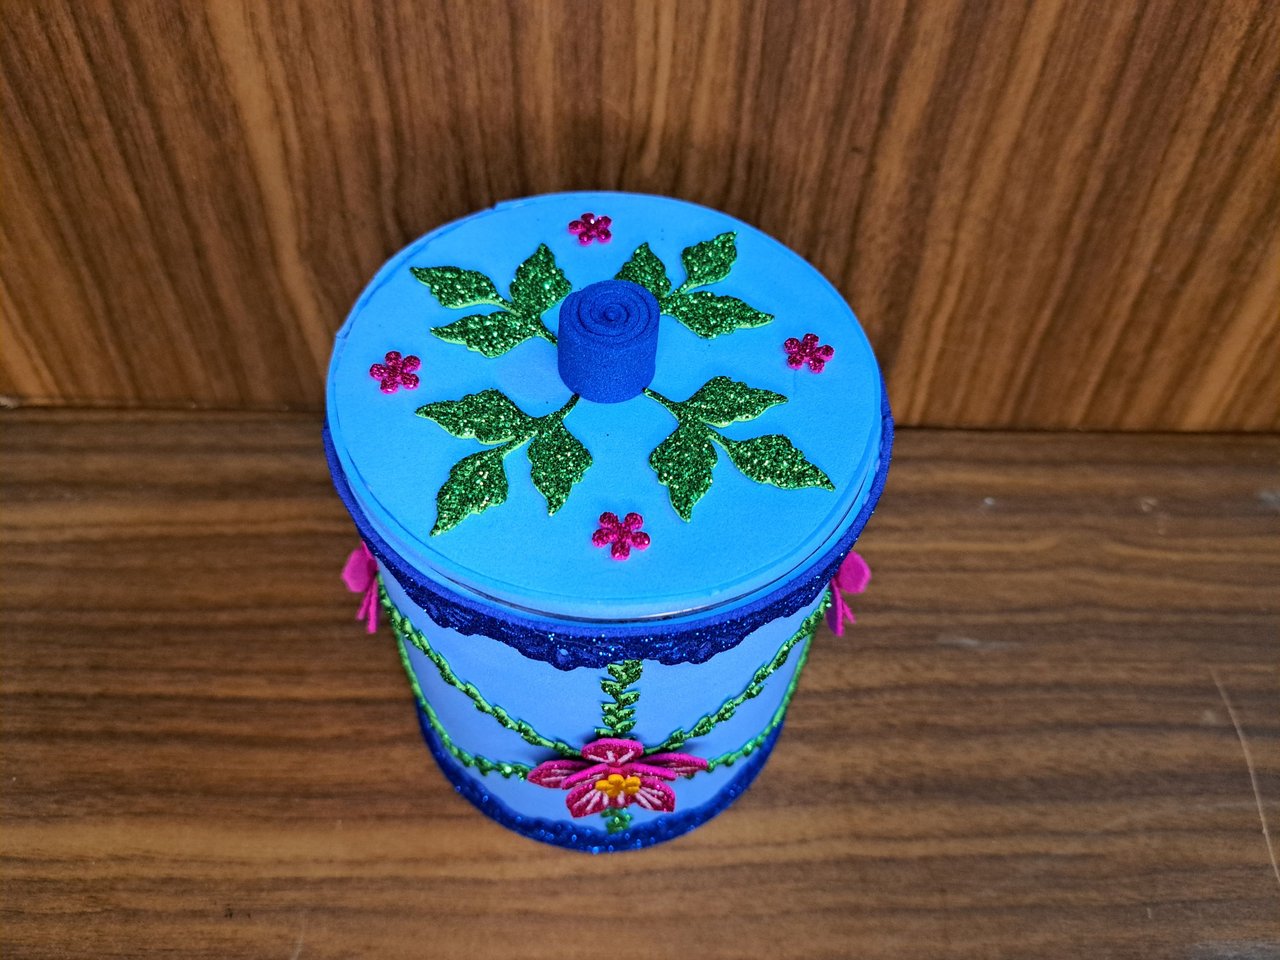
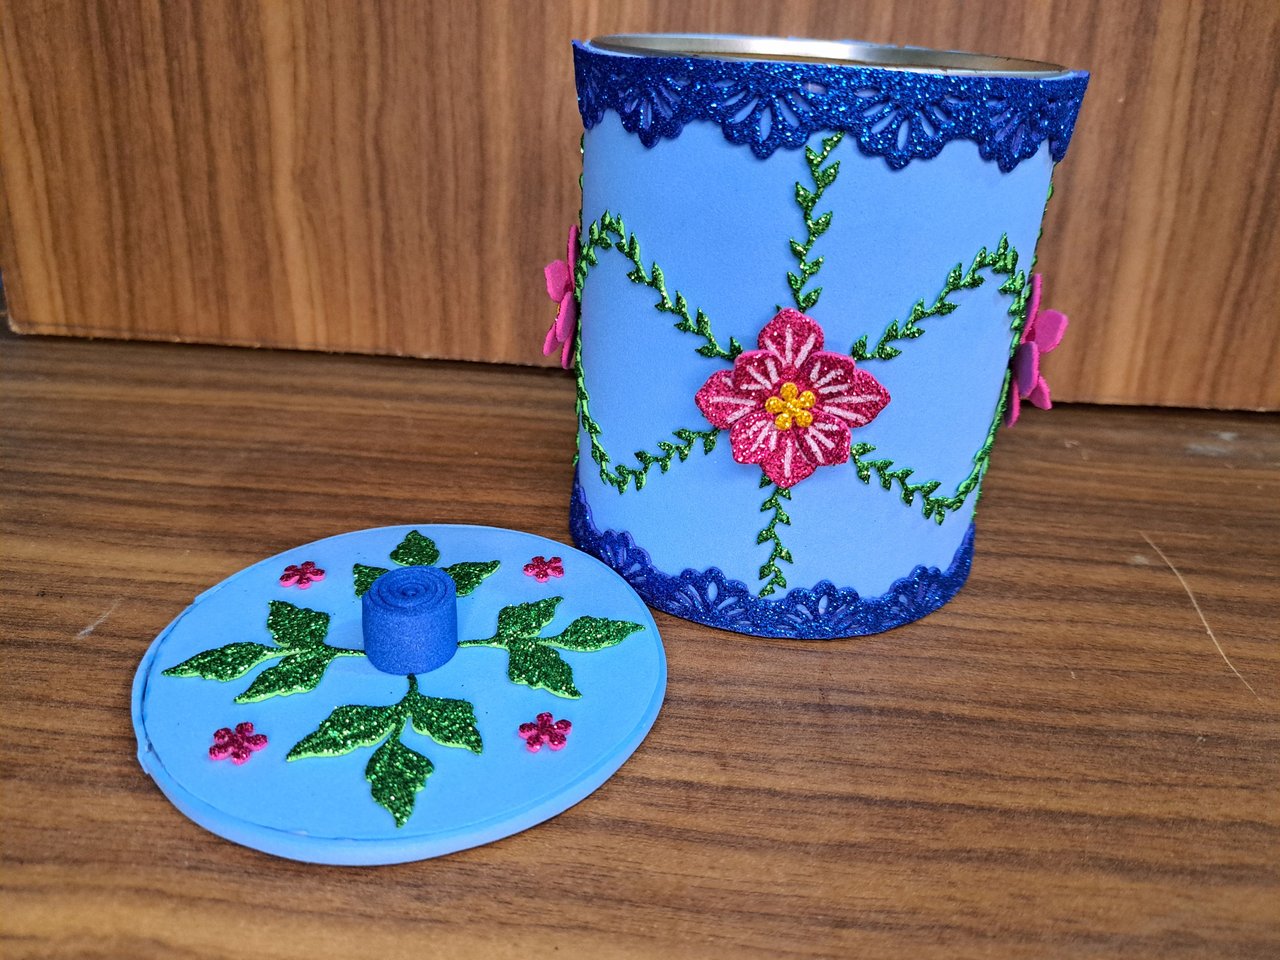
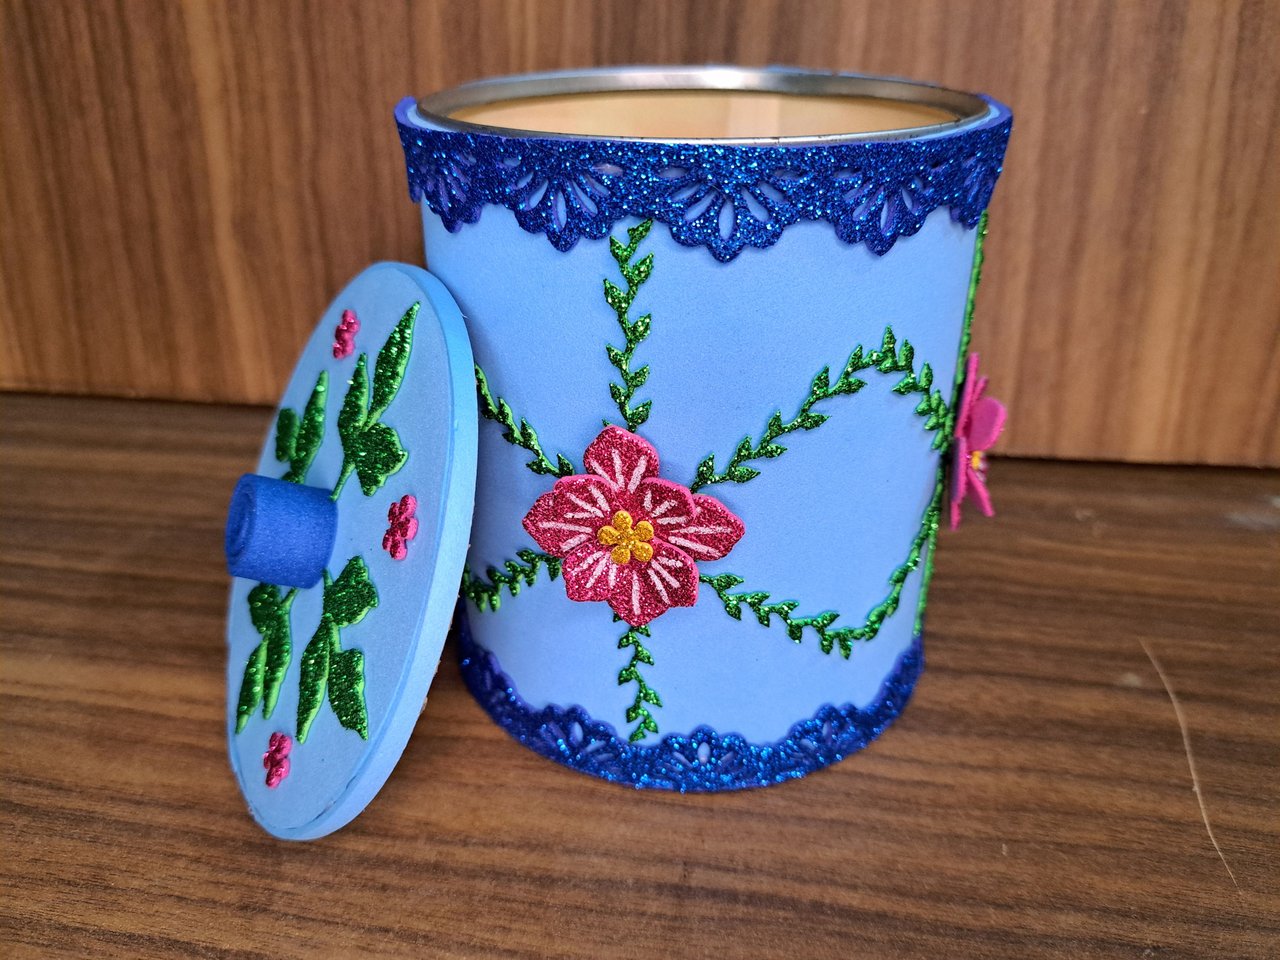
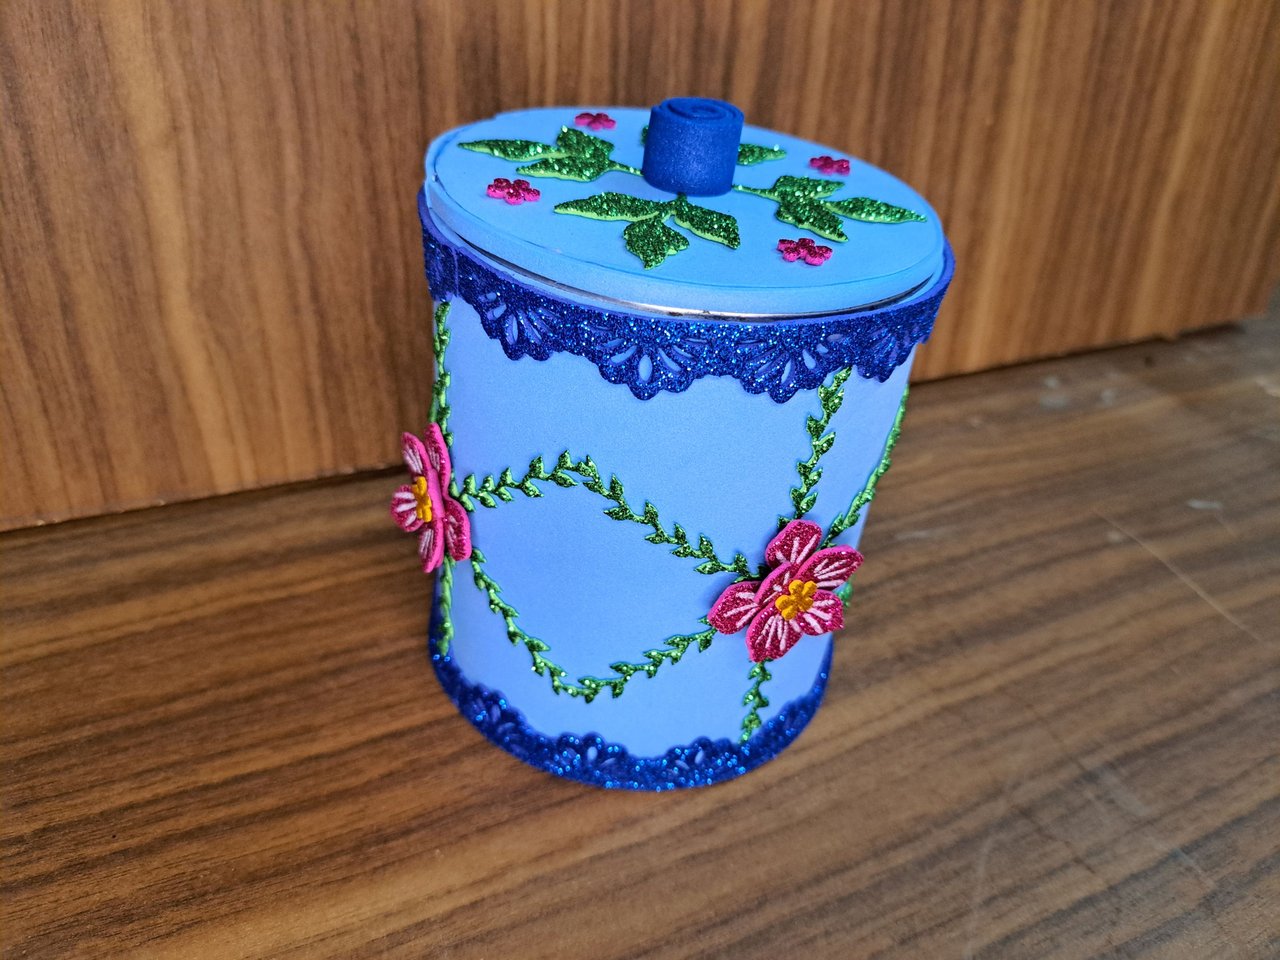
This is how my first craft of the year, as I said before, is ready. I hope you enjoyed the process, as well as the result, which I personally liked very much. I say goodbye wishing you all a happy and prosperous year 2025.
De esta forma quedaría lista la que, como ya dije anteriormente, es mi primera manualidad del año. Espero que hayan disfrutado el proceso, al igual que el resultado, el cual personalmente me gustó mucho. Me despido deseándoles a todos un feliz y próspero año 2025.
 |  |
 |  |

Cover page created in Canva
Translated by DeepL
Images captured with my Samsung Galaxy A53


Posted Using InLeo Alpha
Que bello quedó 😍, una de las cosas más hermosas que has hecho, ni modo, tenía que ser mío 😄.
Ese y otros más que haré son solo para tí 🥹.
Esta bien bonito, muy práctico para guardar alguna prenda o algún condimento. Lo adore
Muchas gracias, me alegro de que te gustase. Saludos.
Quedó bello y los detalles son muy interesantes, es perfecto para guardar lo que deseemos.
Así es amiga, se puede guardar de todo. Gracias por comentar y feliz año nuevo.
Quedó hermoso, me gustan los detalles decorativos, está perfecto para guardar hilos incluso de joyero quedaría muy bien.
Feliz viernes!
Lo cierto es que si parece más un joyero, pero bueno decidieron utilizarlo para guardar hilos y agujas 😅.
Que estén pensando como equipo comercializar su arte es espectacular, les deseo toda la suerte del mundo y mucho éxito con eso, no dudo que tendrán muchos clientes! Ahora para este organizador, amé que el azul sea el color que más predomina. Disfrute mucho la recopilación del proceso (☆ ω ☆)
Muchas gracias amiga por tus buenos deseos.