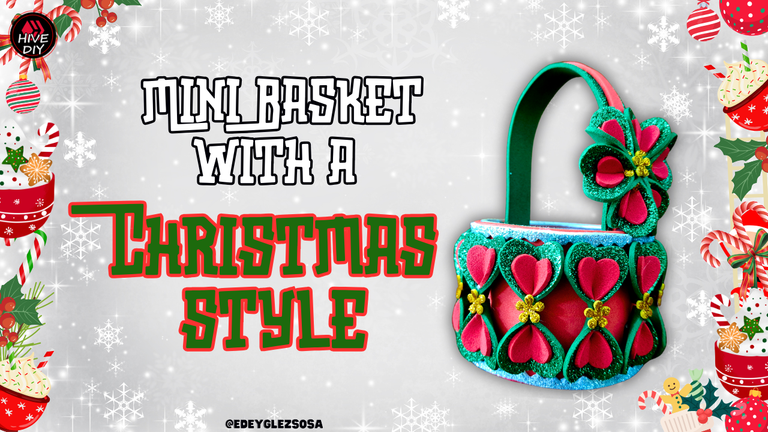
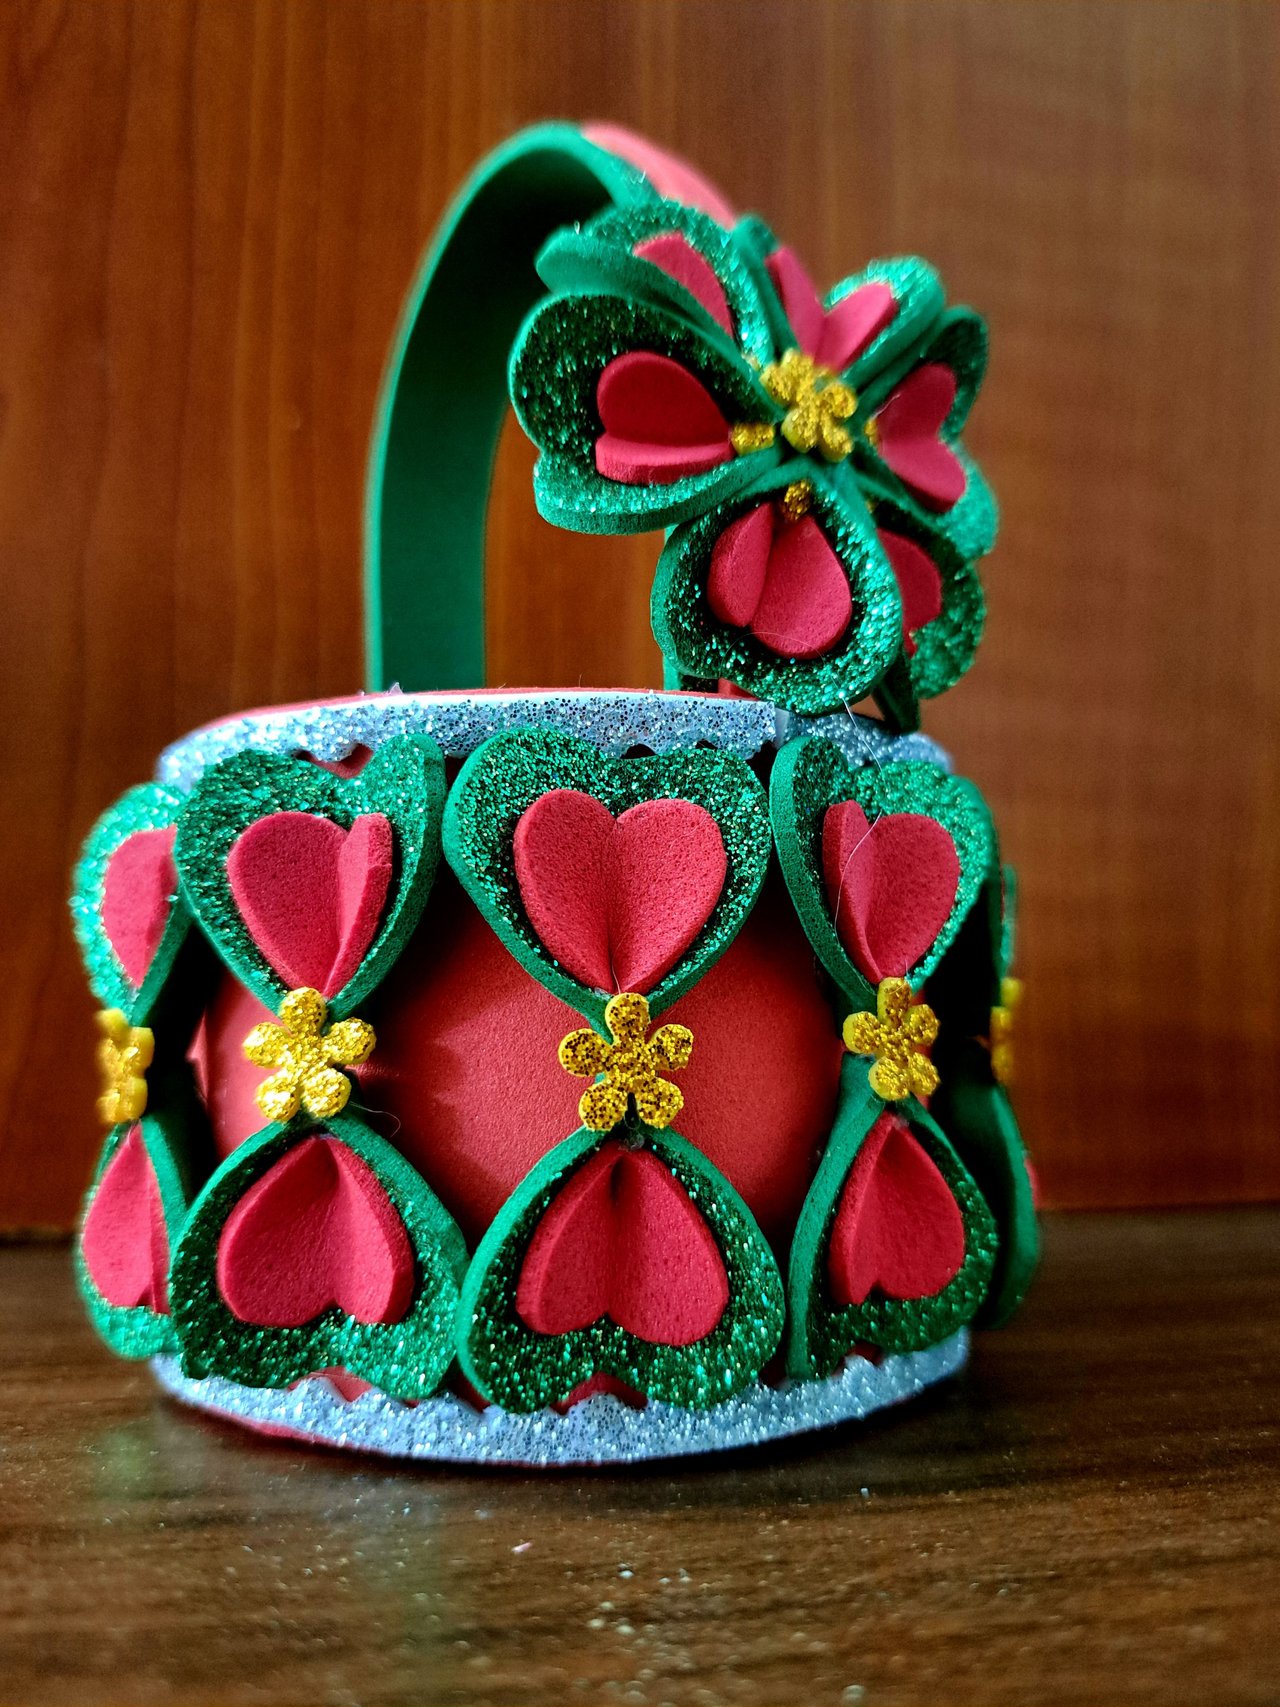
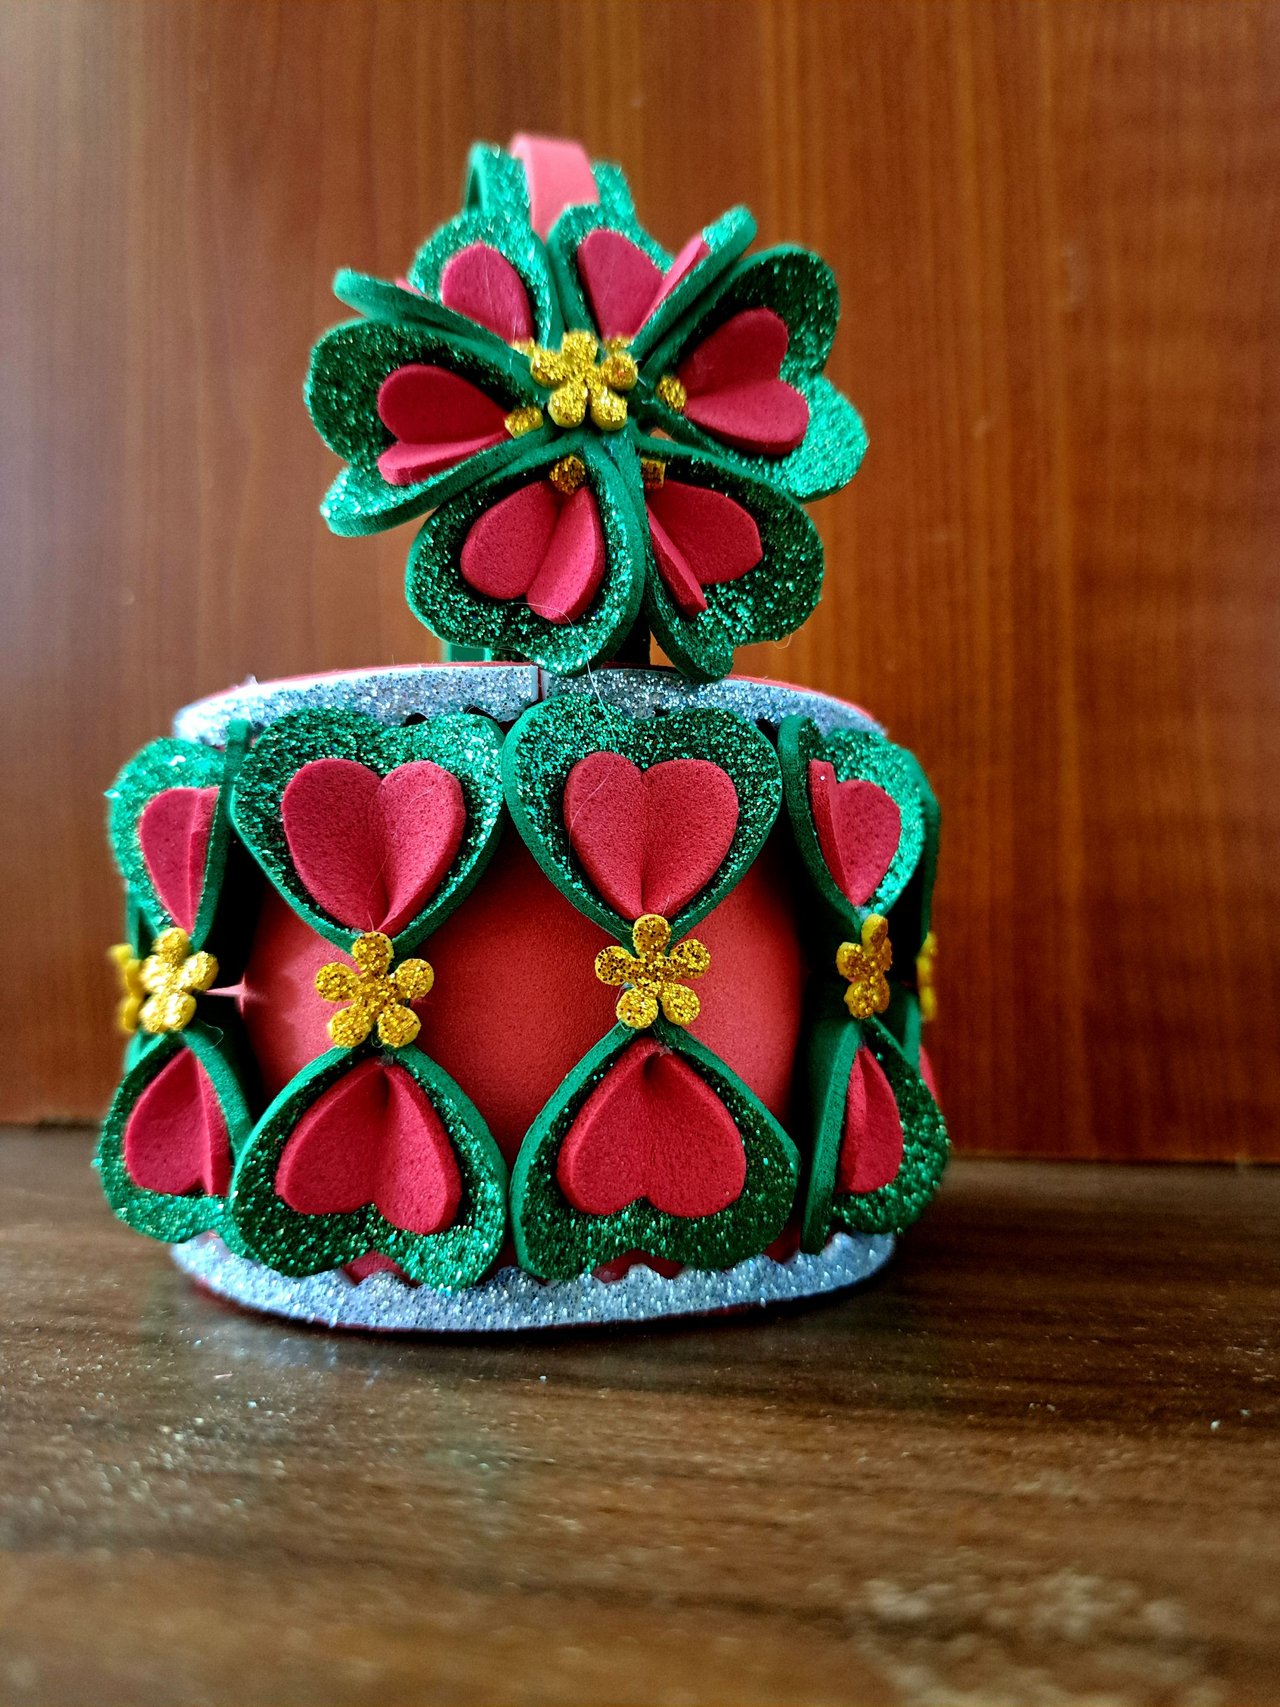
Greetings friends of the Hive DIY community. I want to share with you a type of craft that I like very much, which consists in creating small but beautiful replicas of common objects. This time I will show you how to create a small basket, which can be used as an organizer or as a candy container. And how could it be otherwise, it is decorated in the purest Christmas style with the colors representative of these festive dates.
The basket is made from a round potato chip container and decorated entirely with both plain and frosted fomi. So if you are interested in knowing how to make one just like it, I invite you to join me during the creation process through the following tutorial. Let's get started.
Saludos amigos de la comunidad Hive DIY. Quiero compartir con ustedes un tipo de manualidad que me gusta mucho, la cual consiste en crear pequeñas pero hermosas réplicas de objetos comunes. En esta ocasión les mostraré cómo crear un pequeño cesto, el cual puede ser utilizado como organizador o como contenedor de dulces. Y como no podía ser de otra forma, está decorado al más puro estilo navideño con los colores representativos de estas fechas festivas.
La cesta está elaborada a partir de un envase de papas fritas redondas y decorada completamente con fomi tanto liso como escarchado. Así que si te interesa saber cómo elaborar una igual, te invito a acompañarme durante el proceso de creación a través del siguiente tutorial. Comencemos.
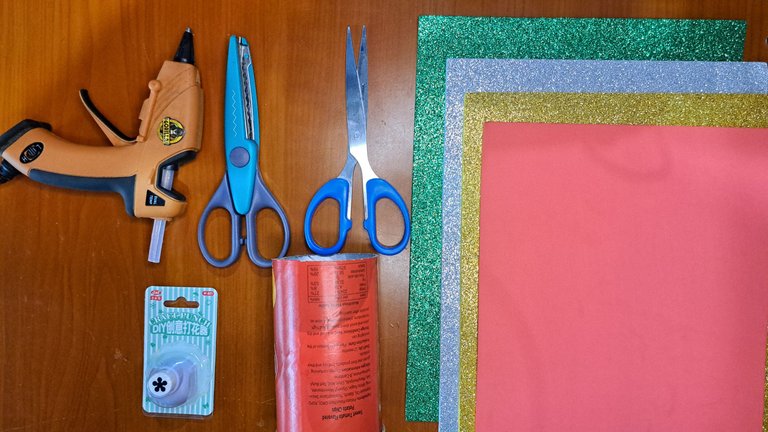
Materials // Materiales
| English | Español |
| ✔️ Frosted green, silver and gold frosted fomi | ✔️ Fomi escarchado verde, plateado y dorado |
| ✔️ Red plain Fomi | ✔️ Fomi liso rojo |
| ✔️ Potato chips container | ✔️ Envase de papas fritas |
| ✔️ Straight and wavy cut scissors | ✔️ Tijera de corte recto y ondulado |
| ✔️ Flower-shaped hole punch | ✔️ Perforadora con forma de flor |
| ✔️ Hot silicone | ✔️ Silicona caliente |
Step by step // Paso a paso
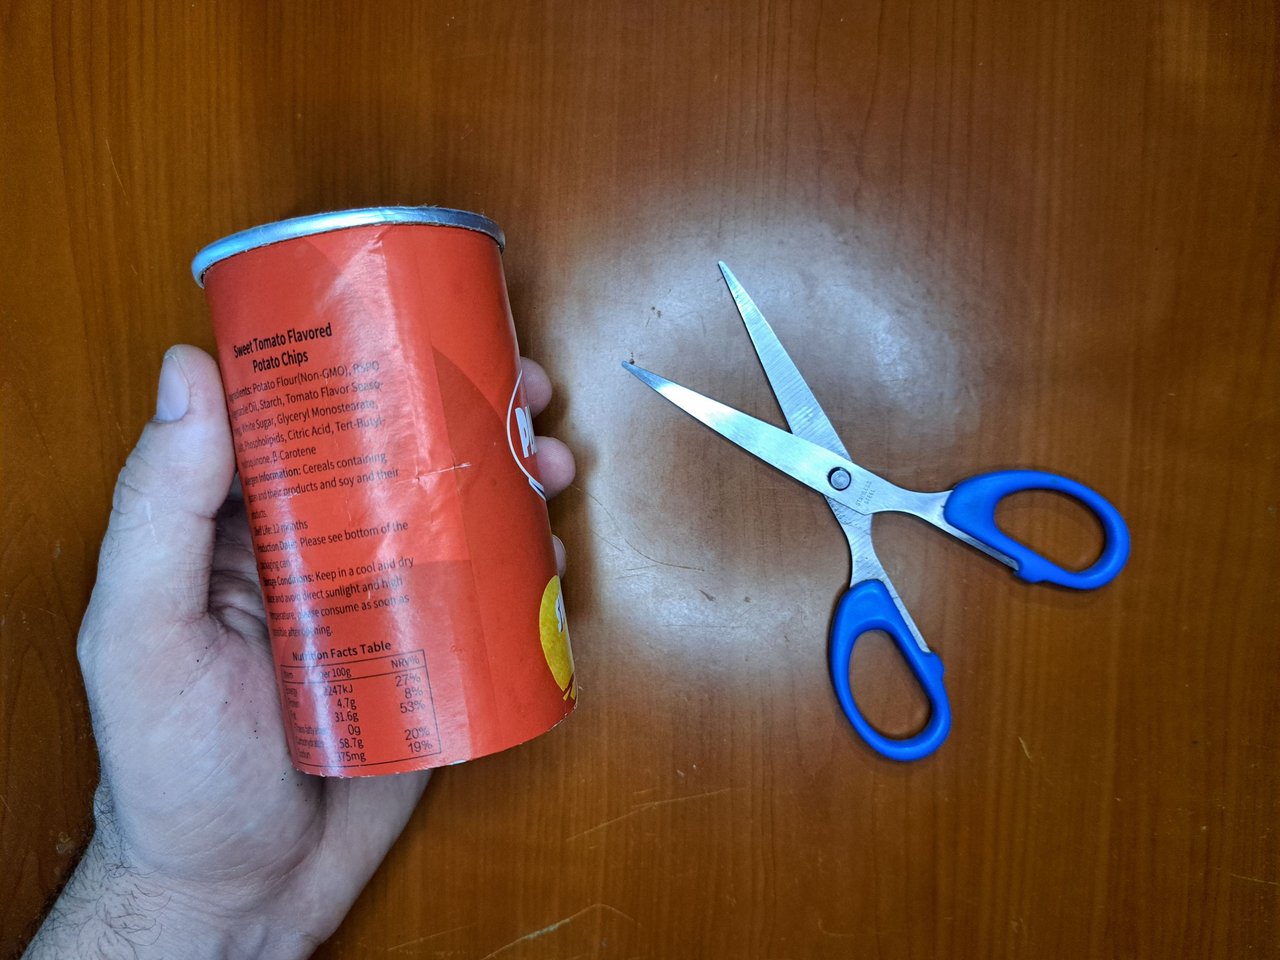
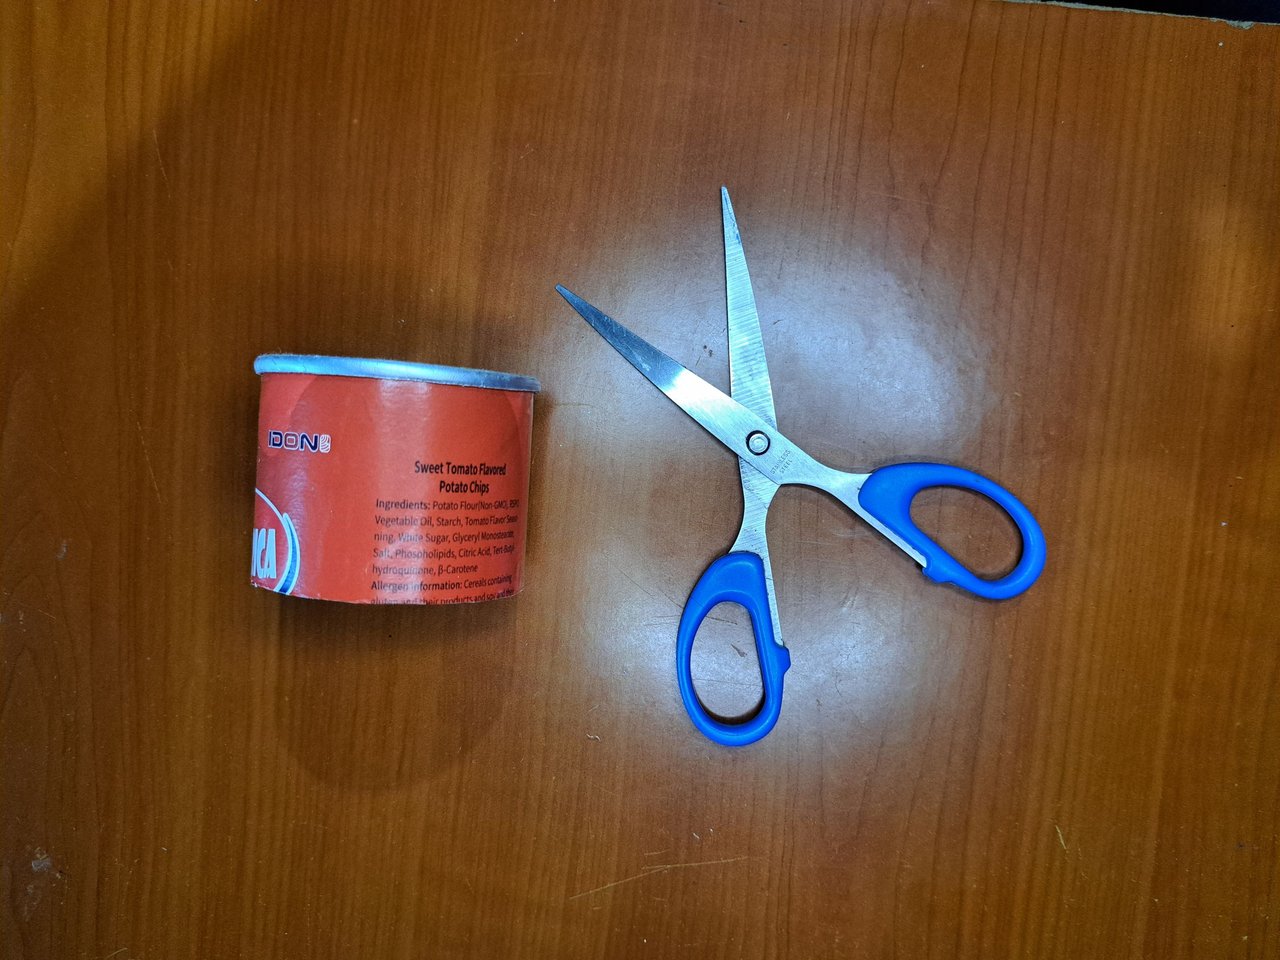
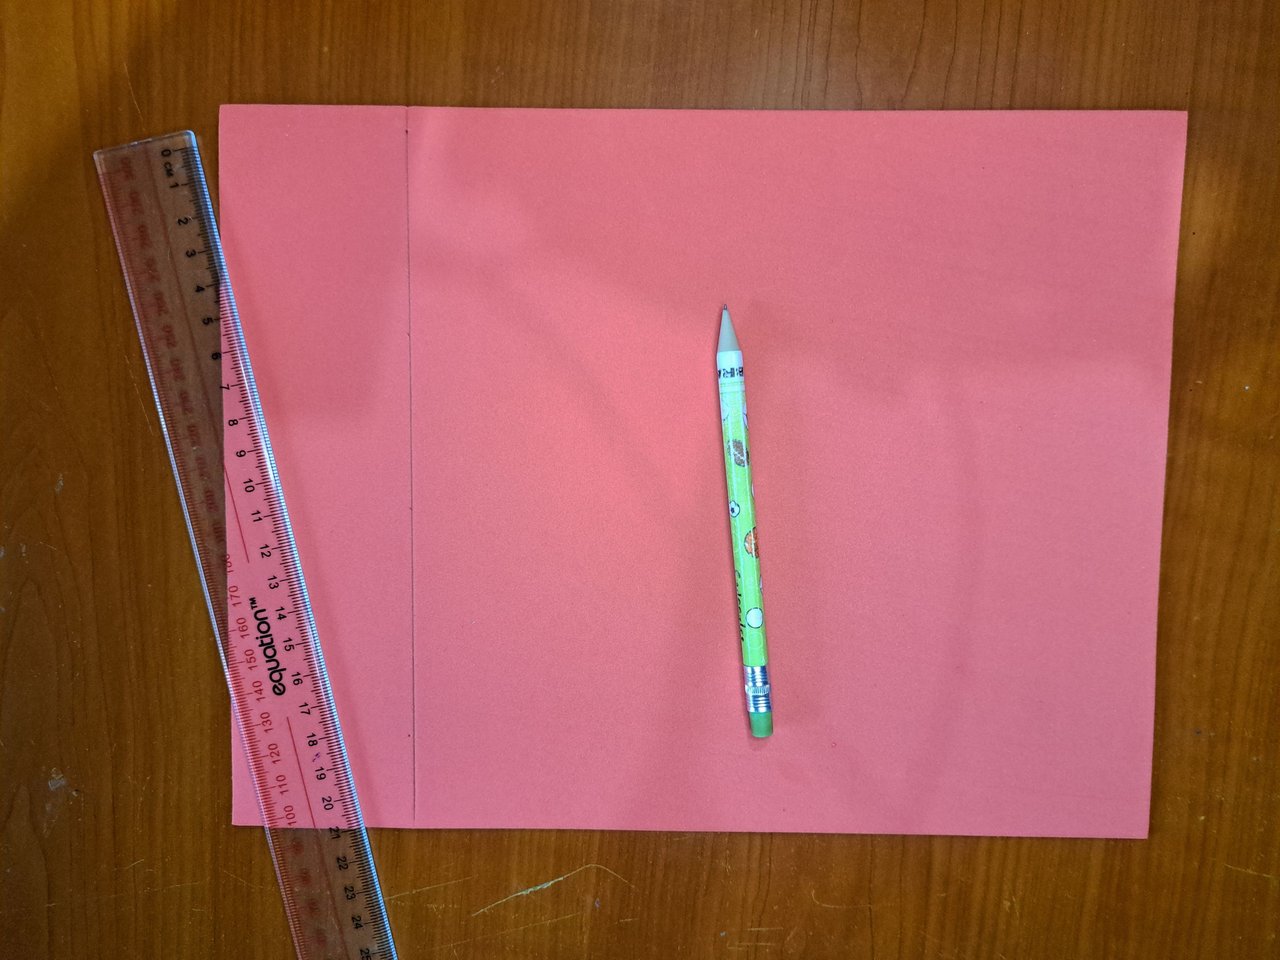
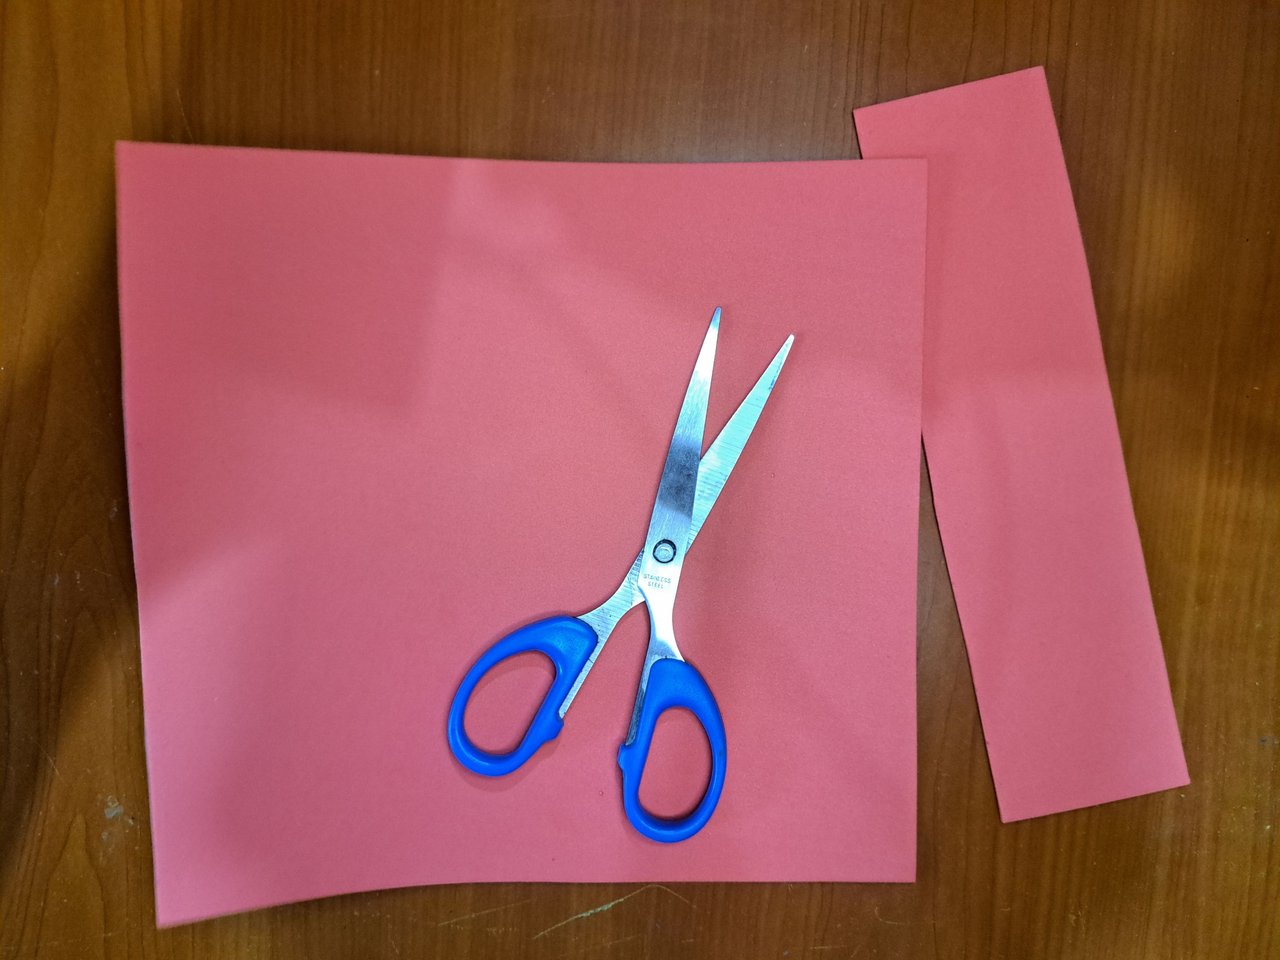
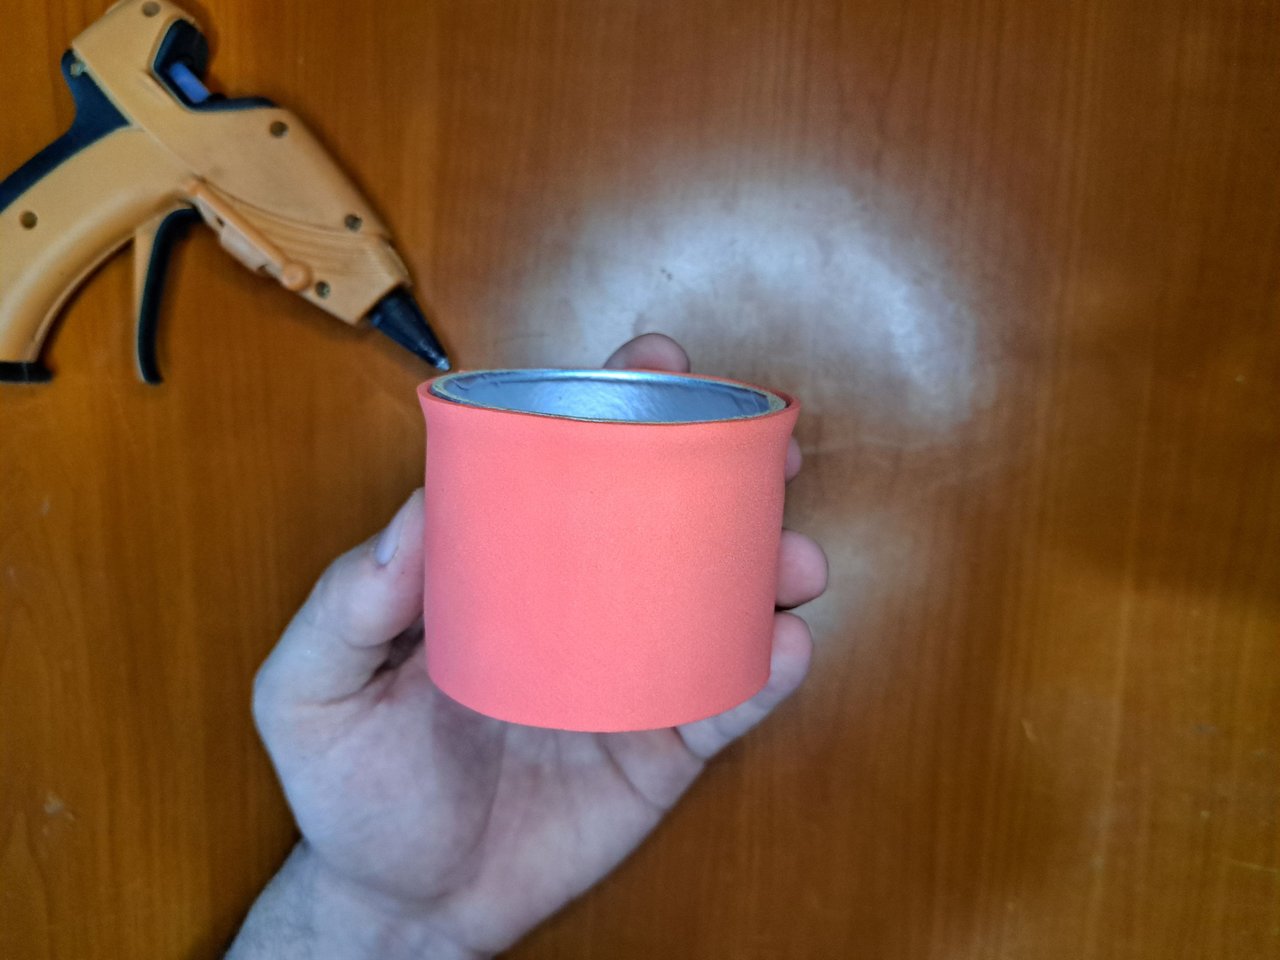
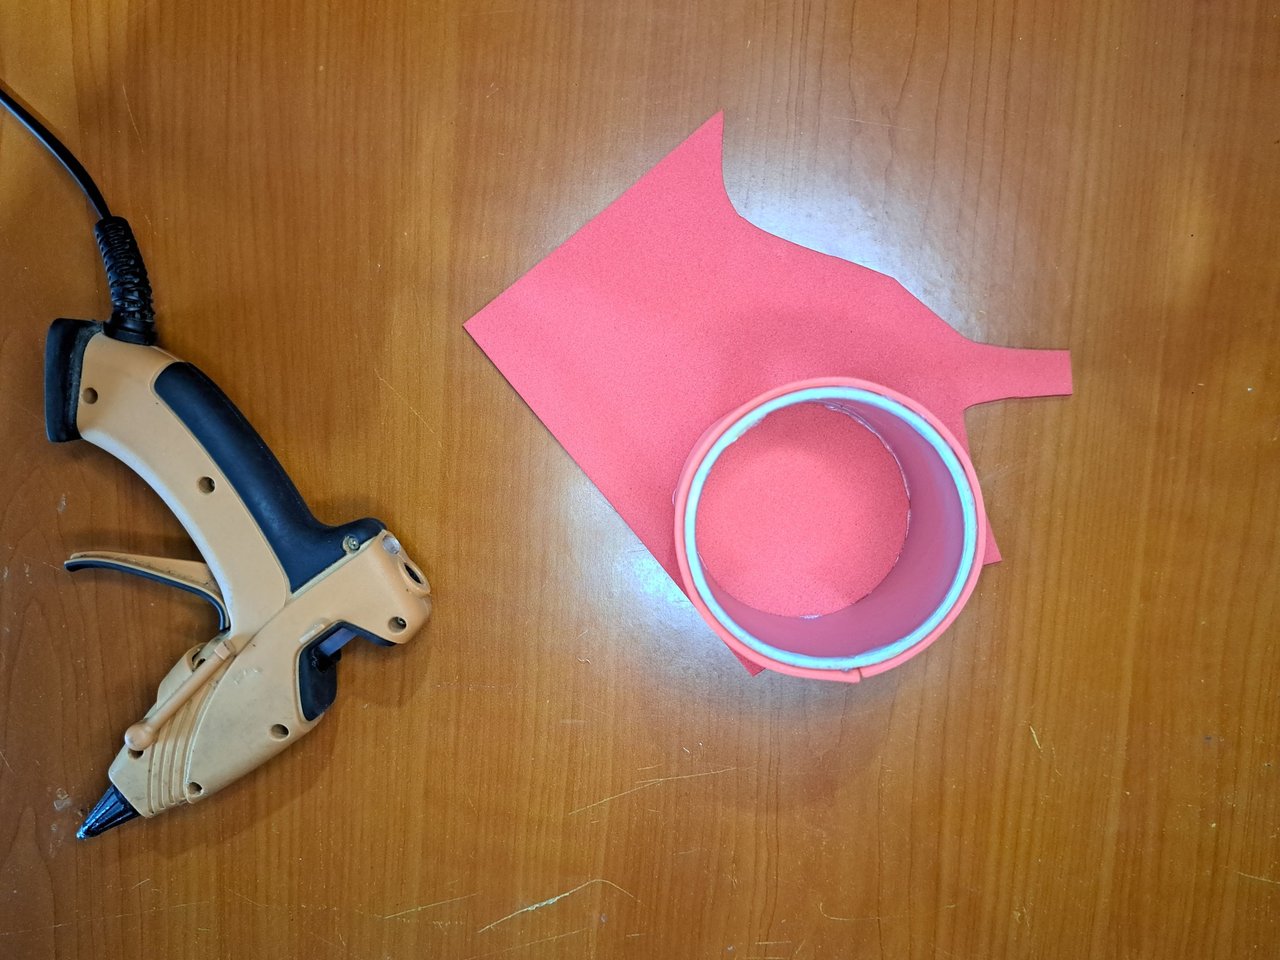
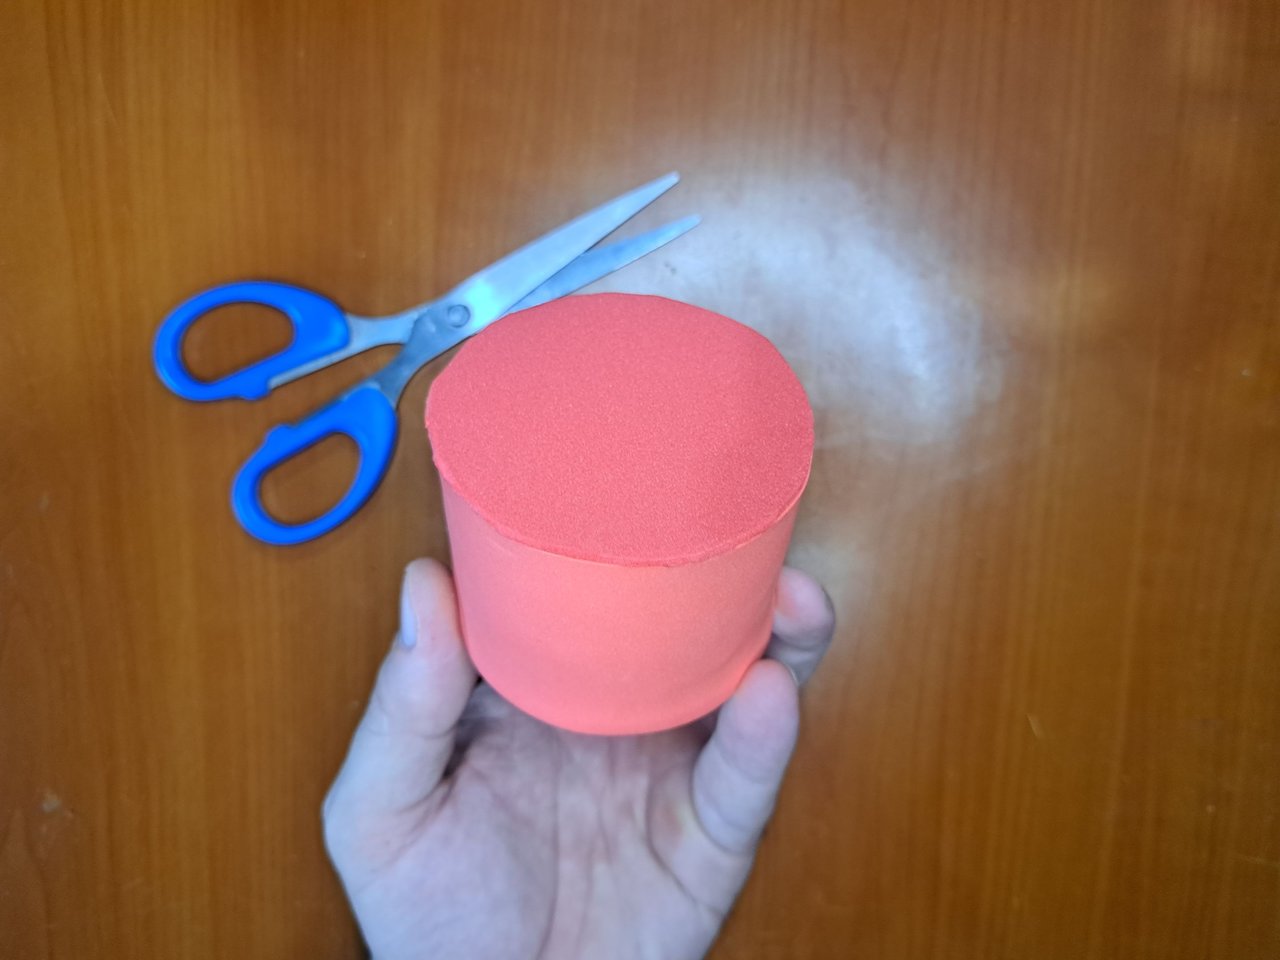
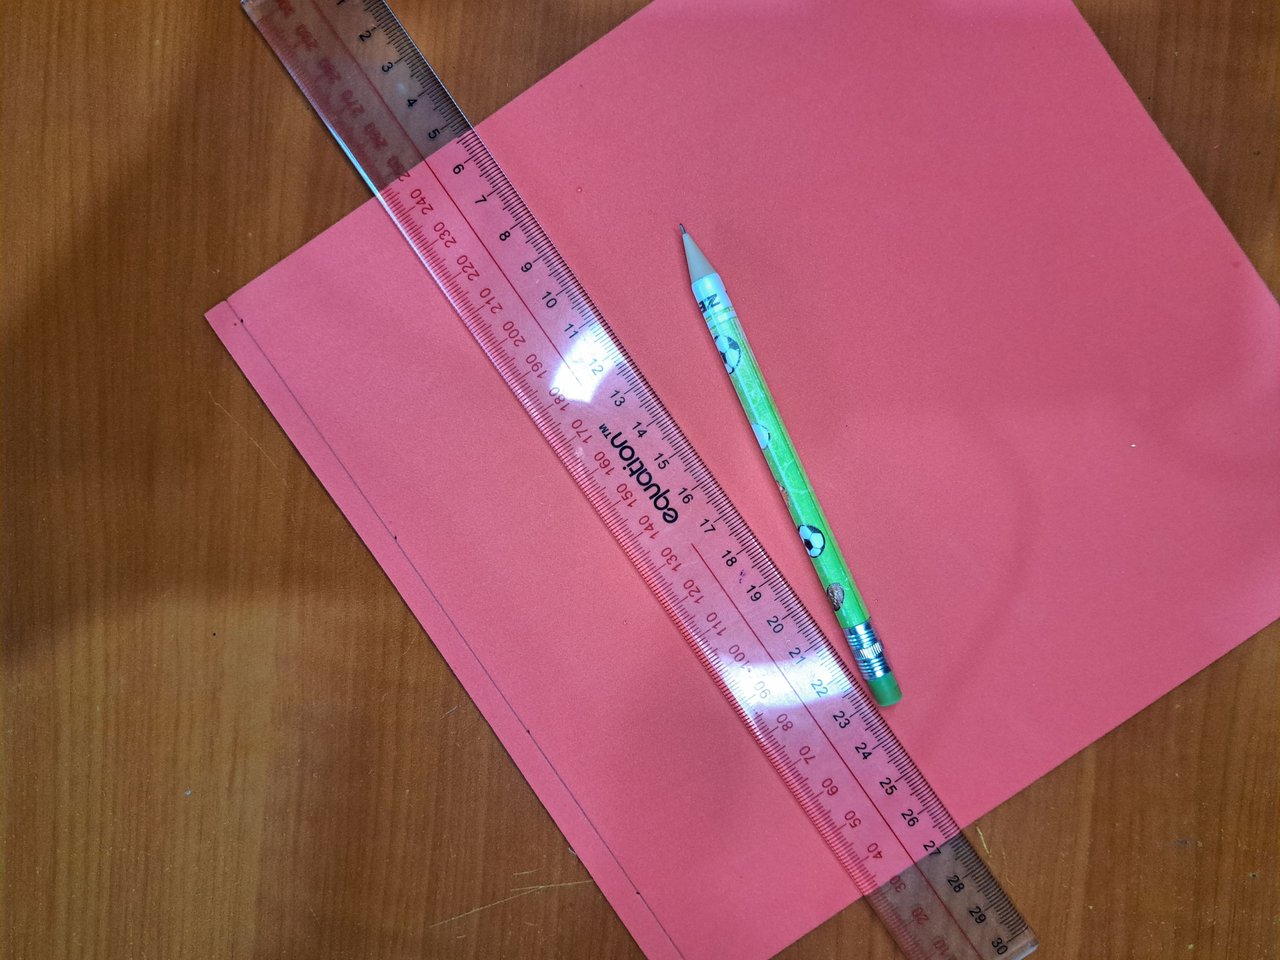
1️⃣ To begin, cut out a section of the potato chip tube to a height of 5 cm. Mark that height on a sheet of plain red fomi, cut it out and glue it around the container. Glue the bottom of the container onto the same sheet of red fomi and cut it out to create the bottom of the basket. If you do not have a cardboard container, you can use any other container that matches the desired width.
Para empezar, recorta una sección del tubo de papas fritas a una altura de 5 cm. Marca dicha altura en una hoja de fomi rojo liso, recórtala y pégala alrededor del envase. Pega la parte inferior del envase sobre la misma hoja de fomi rojo y recórtala para crear el fondo de la cesta. En caso de no poseer un envase de cartón, se puede utilizar cualquier otro recipiente que coincida con el ancho deseado.
 |  |
 |  |  |
 |  |
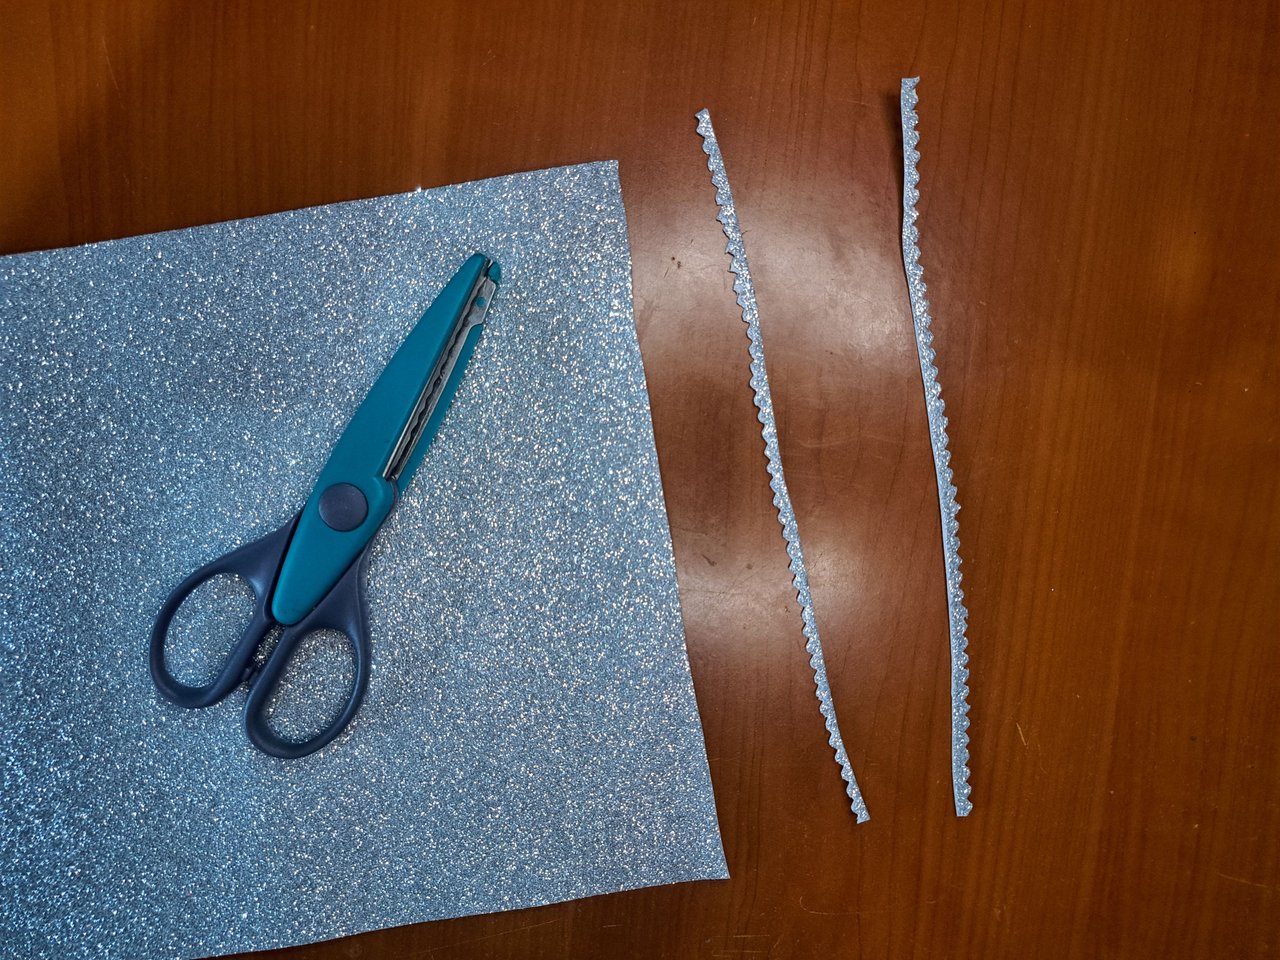
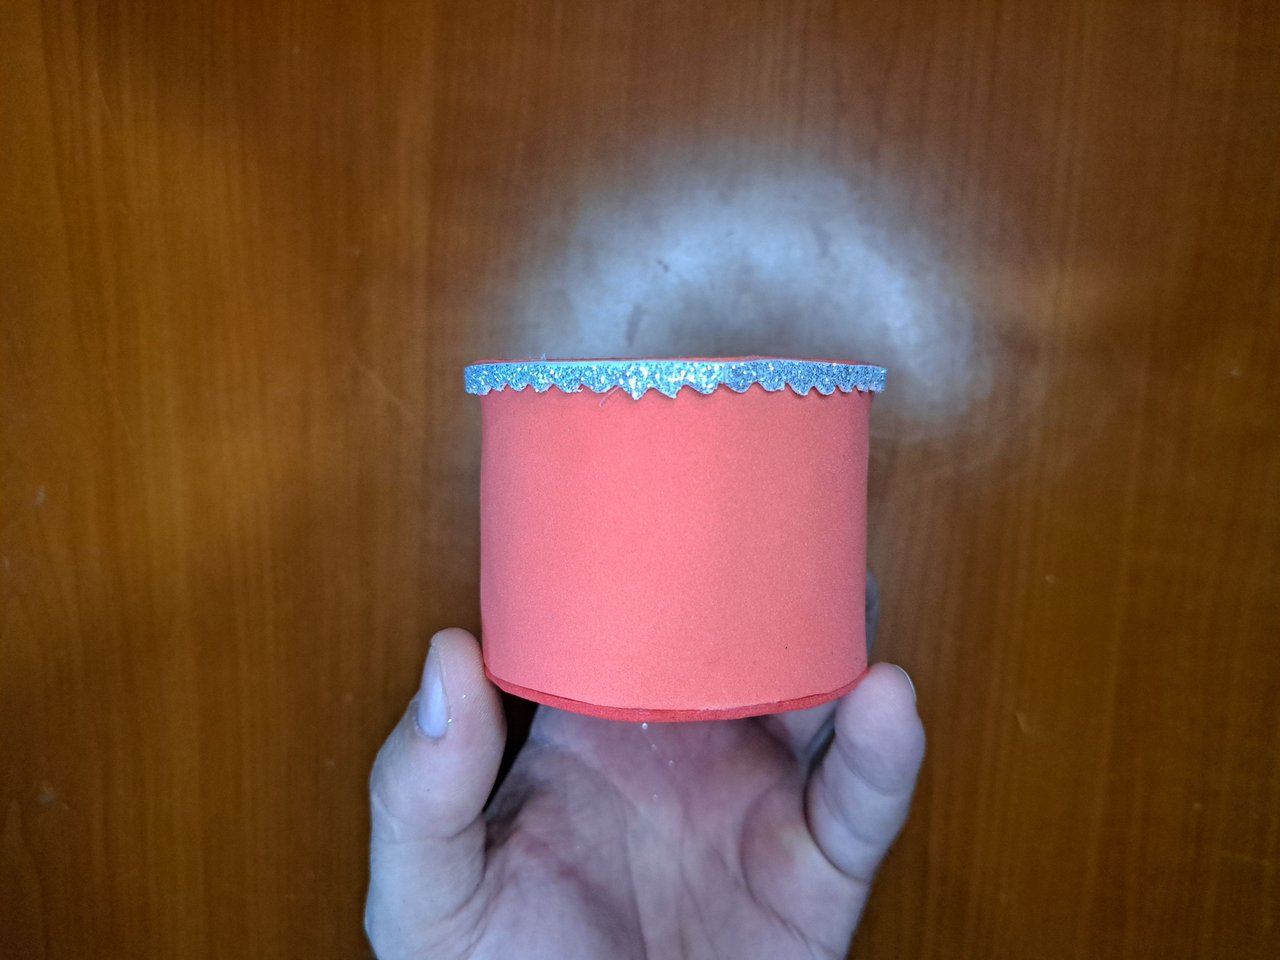
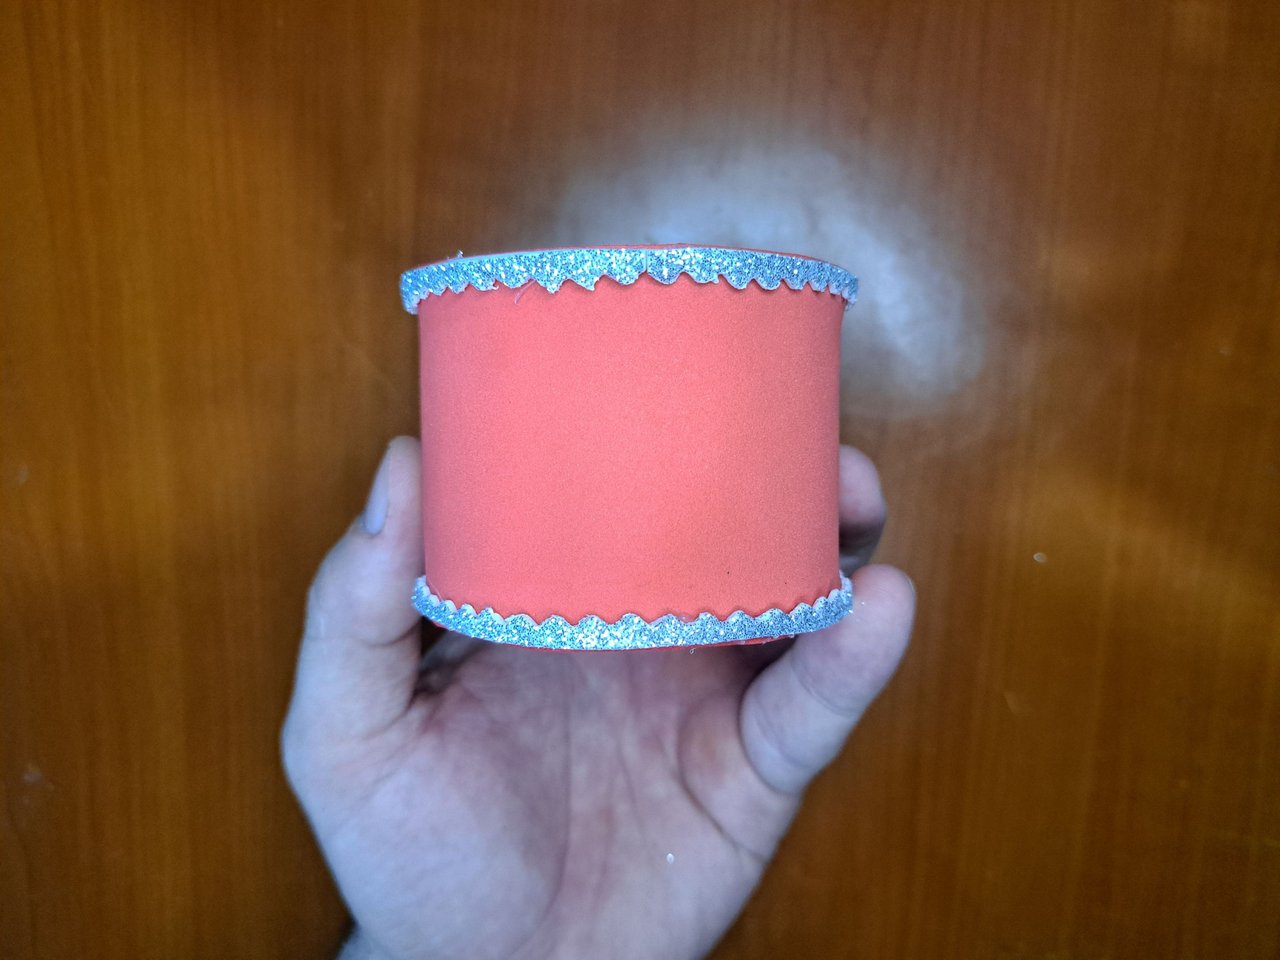
2️⃣ Using the crimp-cut scissors, cut out two strips of silver frosted fomi and glue them around the body of the basket at the edges. The wavy edges of the fomi strips will face inward.
Con la tijera de corte ondulado, recorta dos tiras de fomi escarchado plateado y pégalas alrededor del cuerpo de la cesta en los bordes. Los bordes ondulados de las tiras de fomi irán hacia adentro.
 |  |
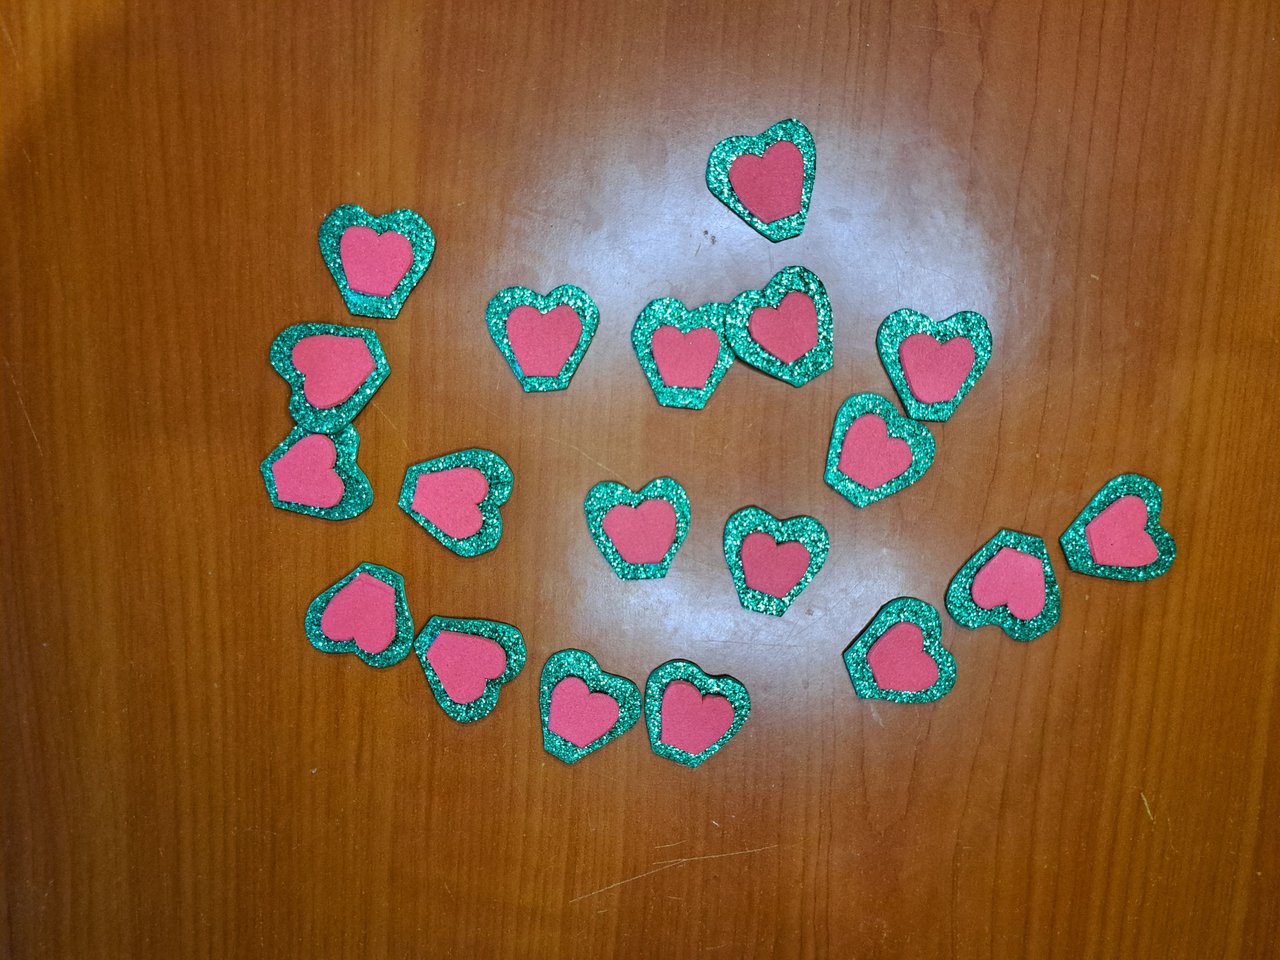
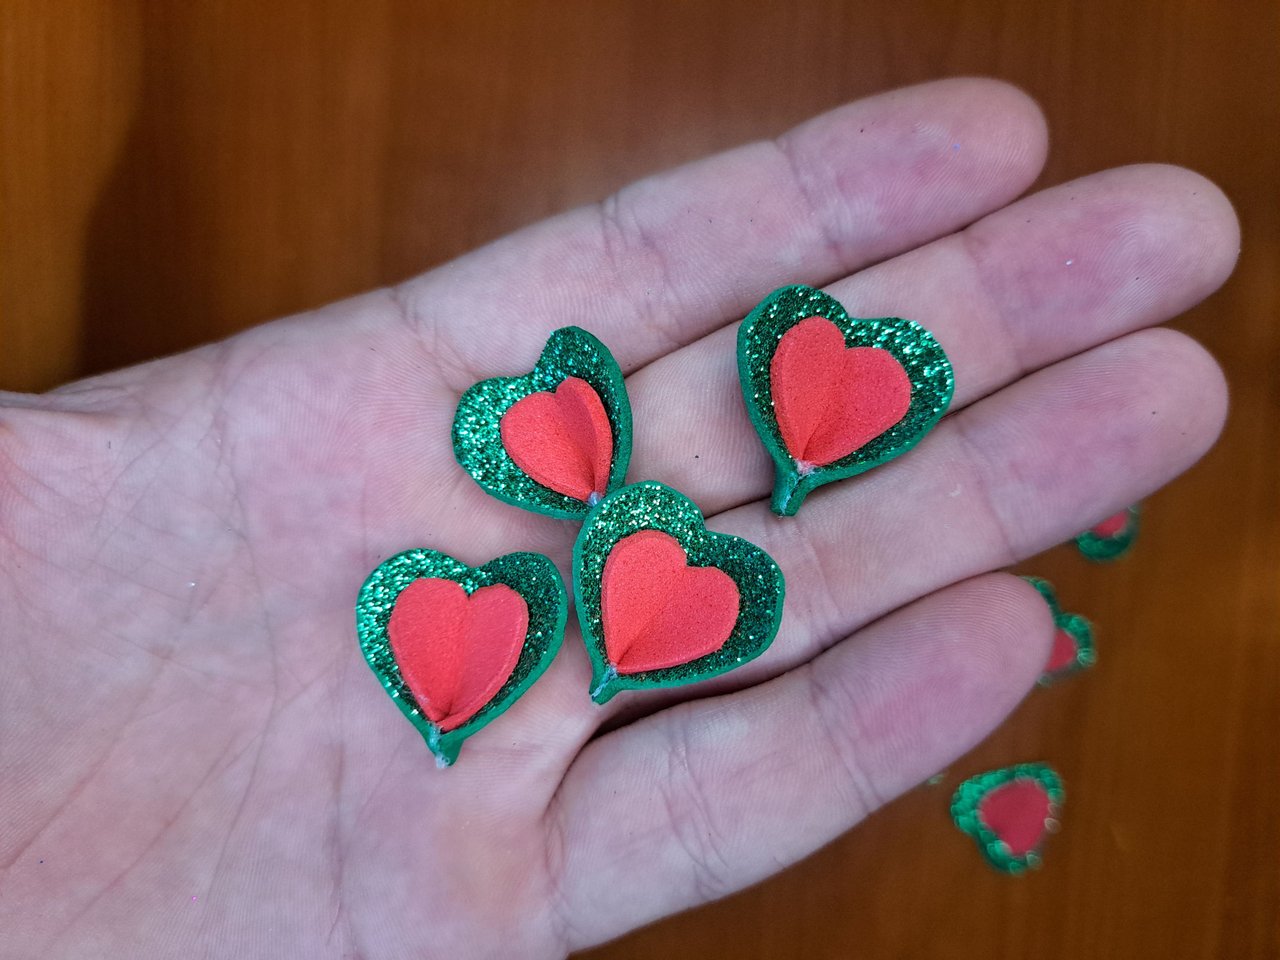
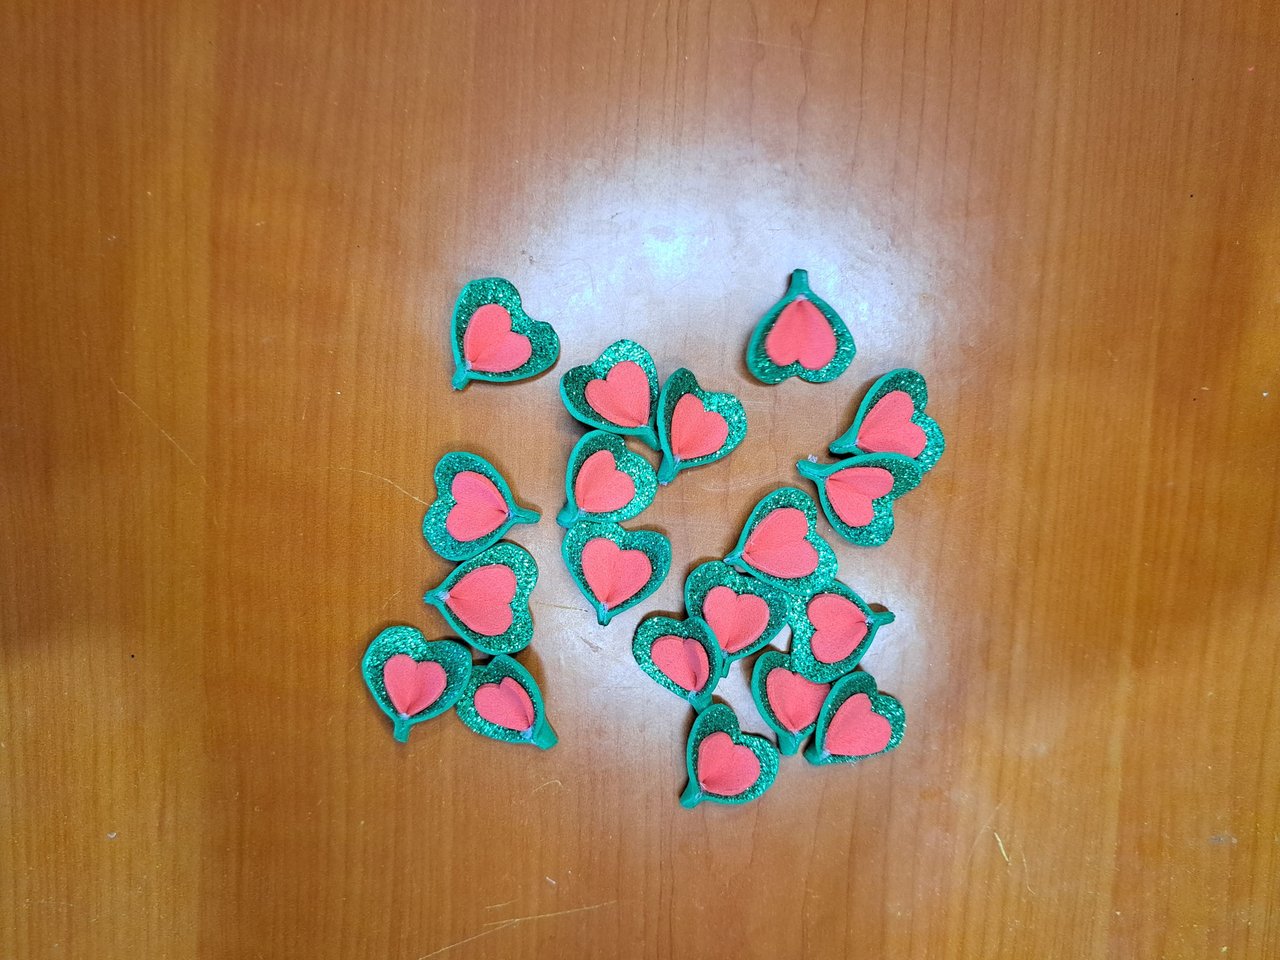
3️⃣ On frosted green fomi, mark and cut out hearts 2.5 cm wide and long. Also cut out red hearts 1.5 cm wide and long. Cut off the ends of all the hearts and glue the red ones on top of the green ones. Close their ends to form petals.
En fomi verde escarchado, marca y recorta corazones de 2.5 cm de ancho y largo. Recorta también corazones rojos de 1.5 cm de ancho y largo. Corta las puntas de todos los corazones y pega los rojos encima de los verdes. Cierra sus puntas formando pétalos.
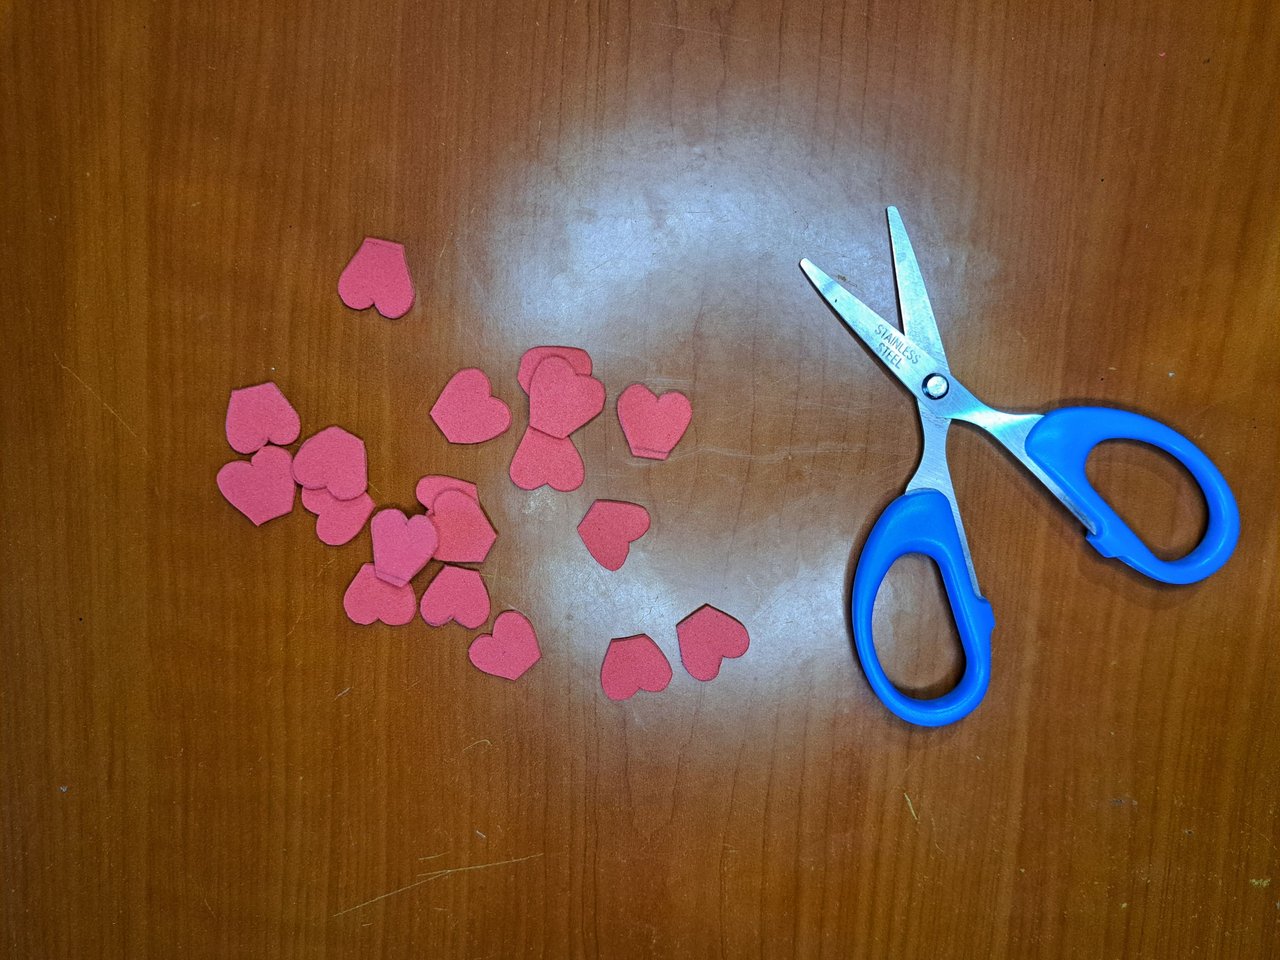 | 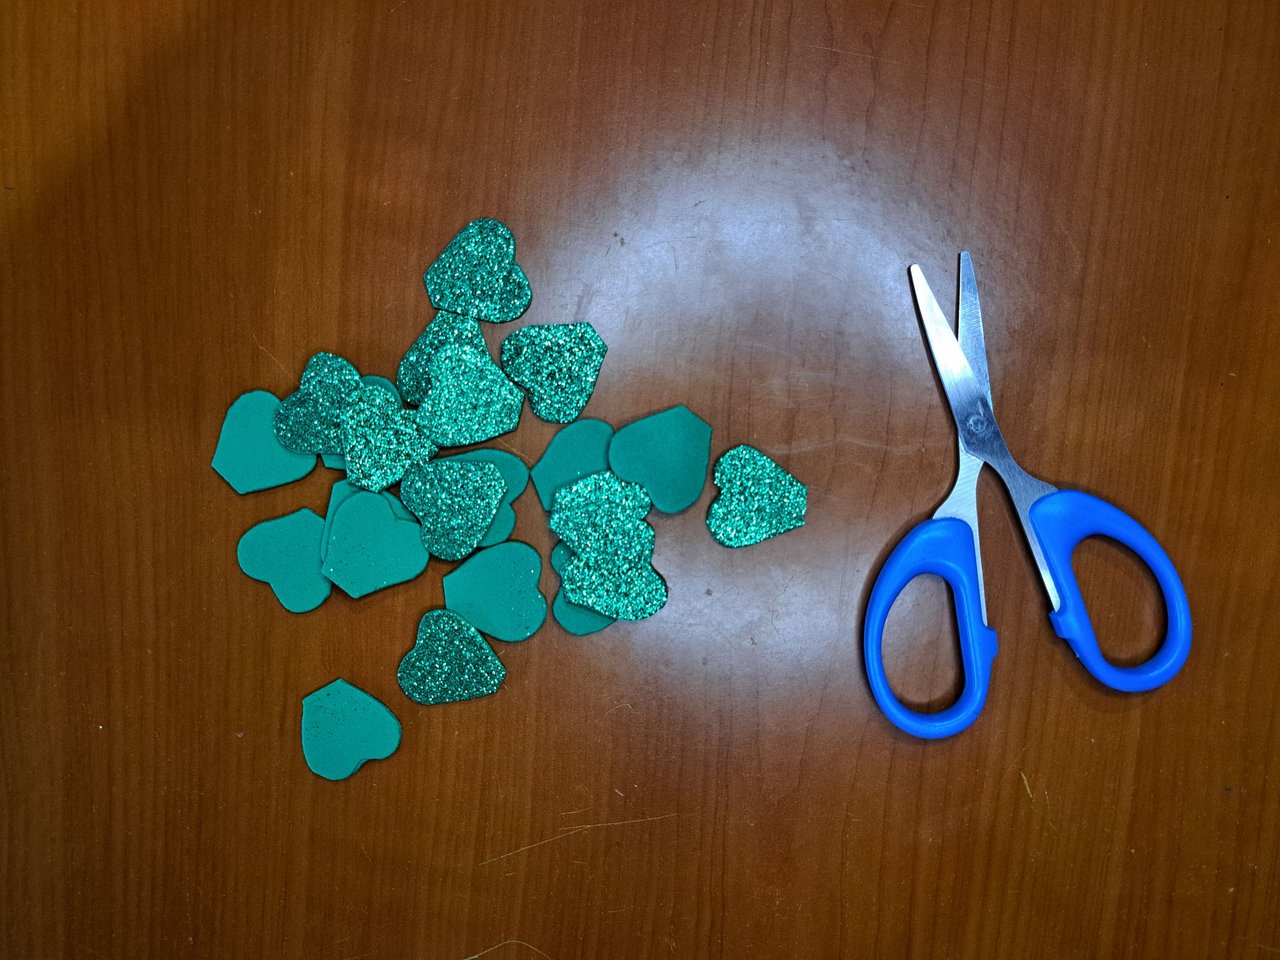 |
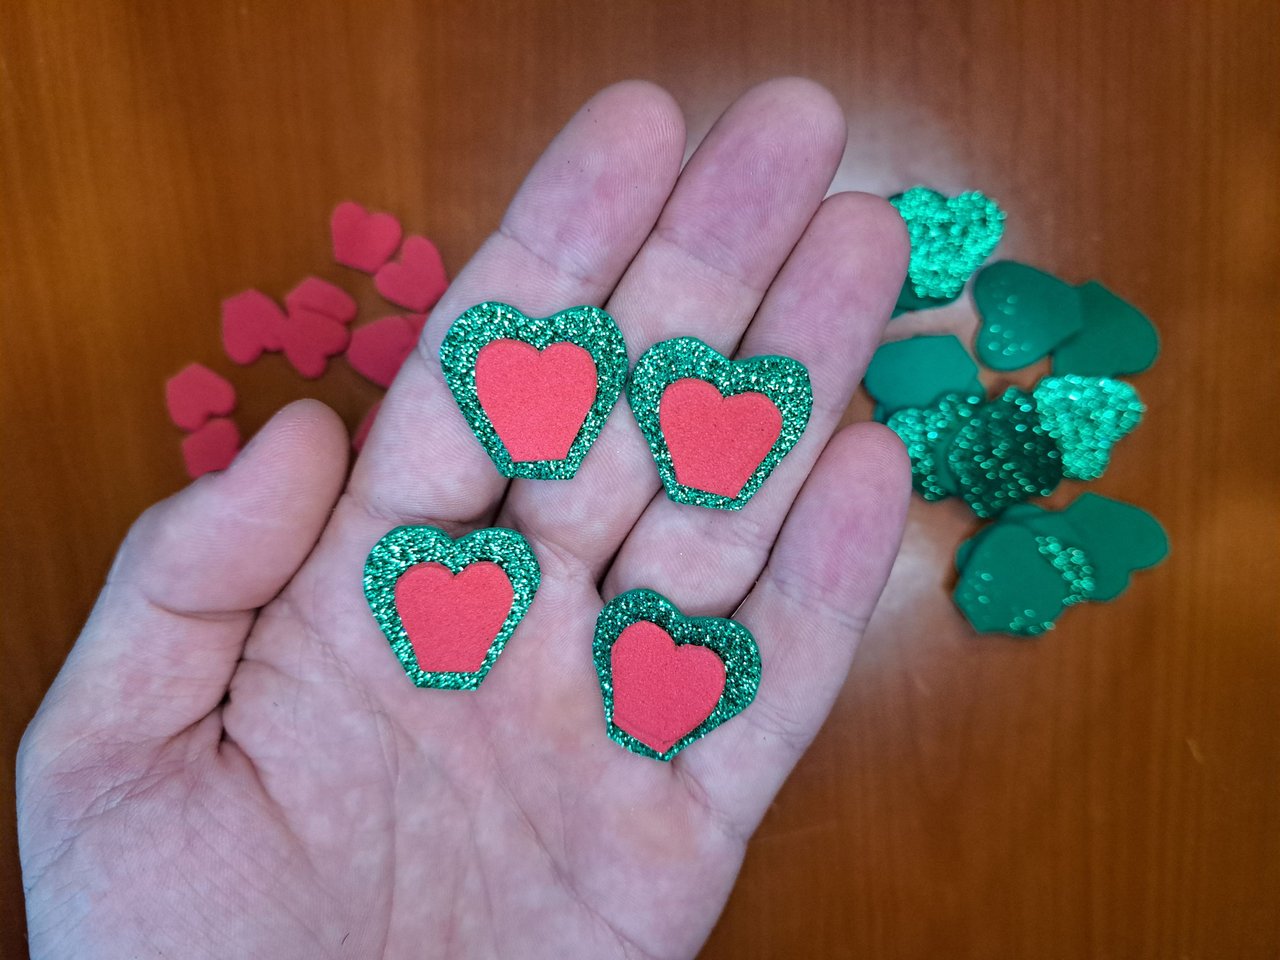 | 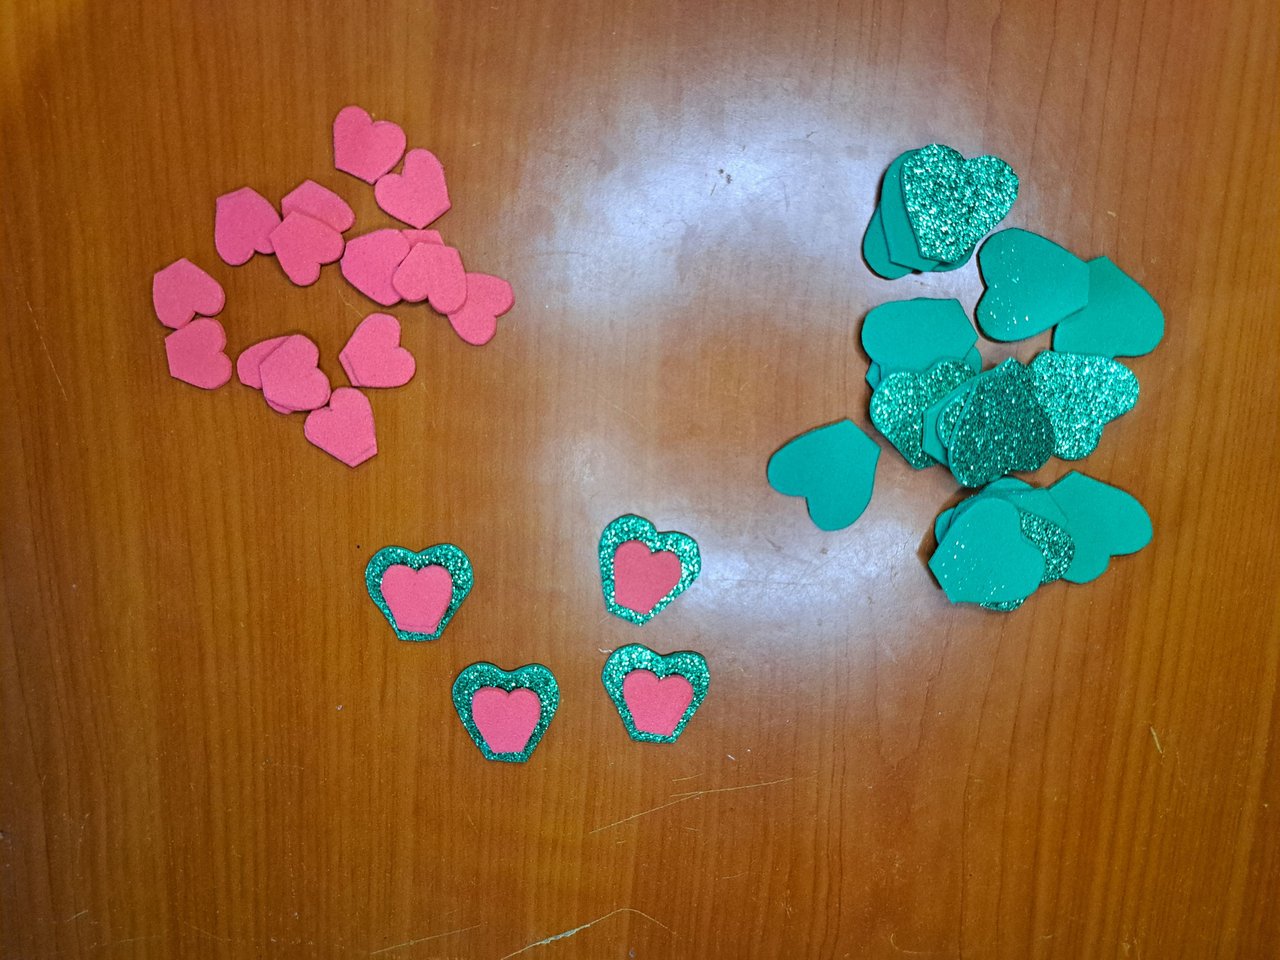 |  |
 |  |
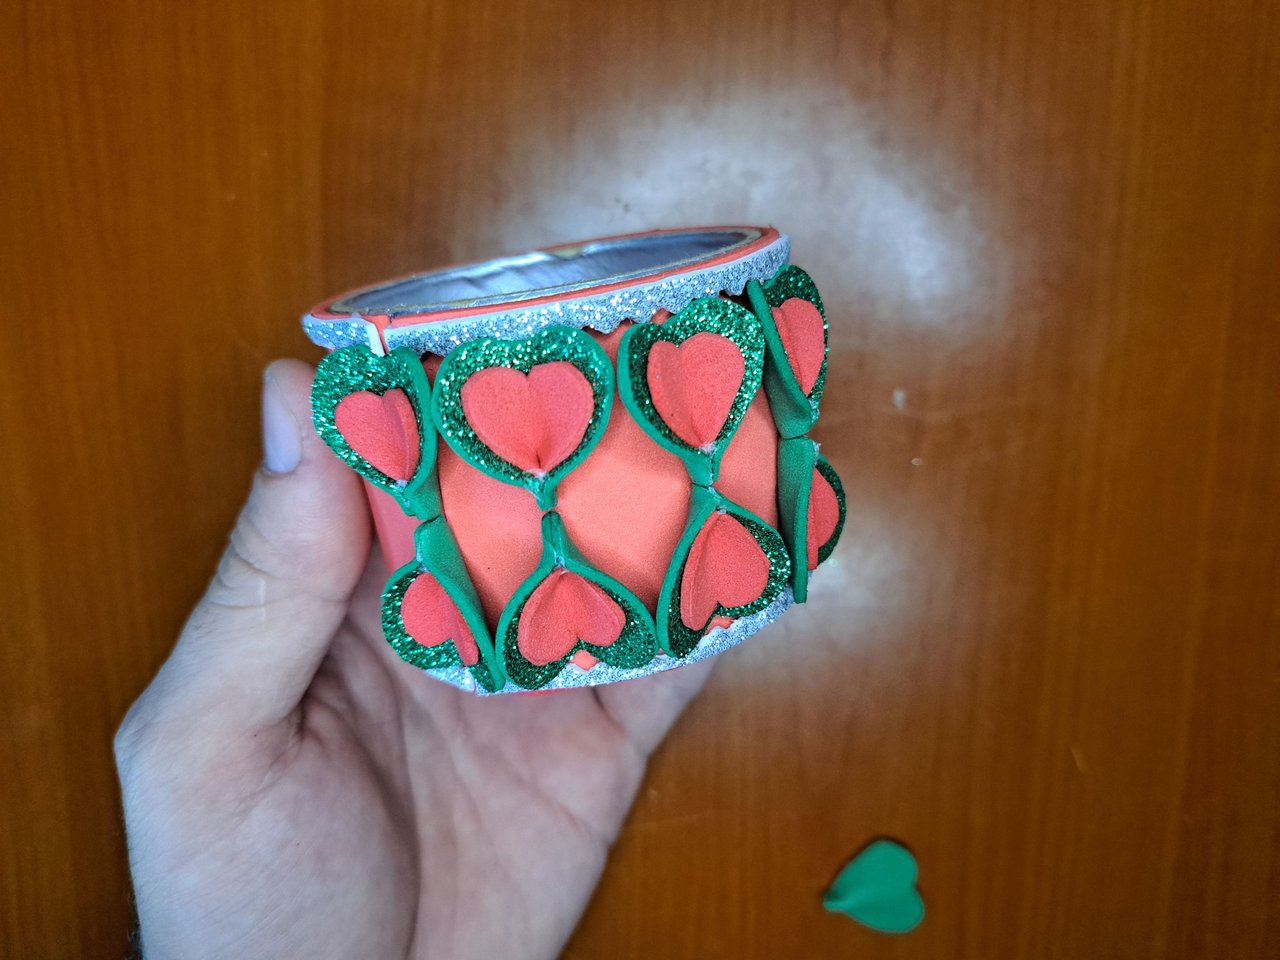
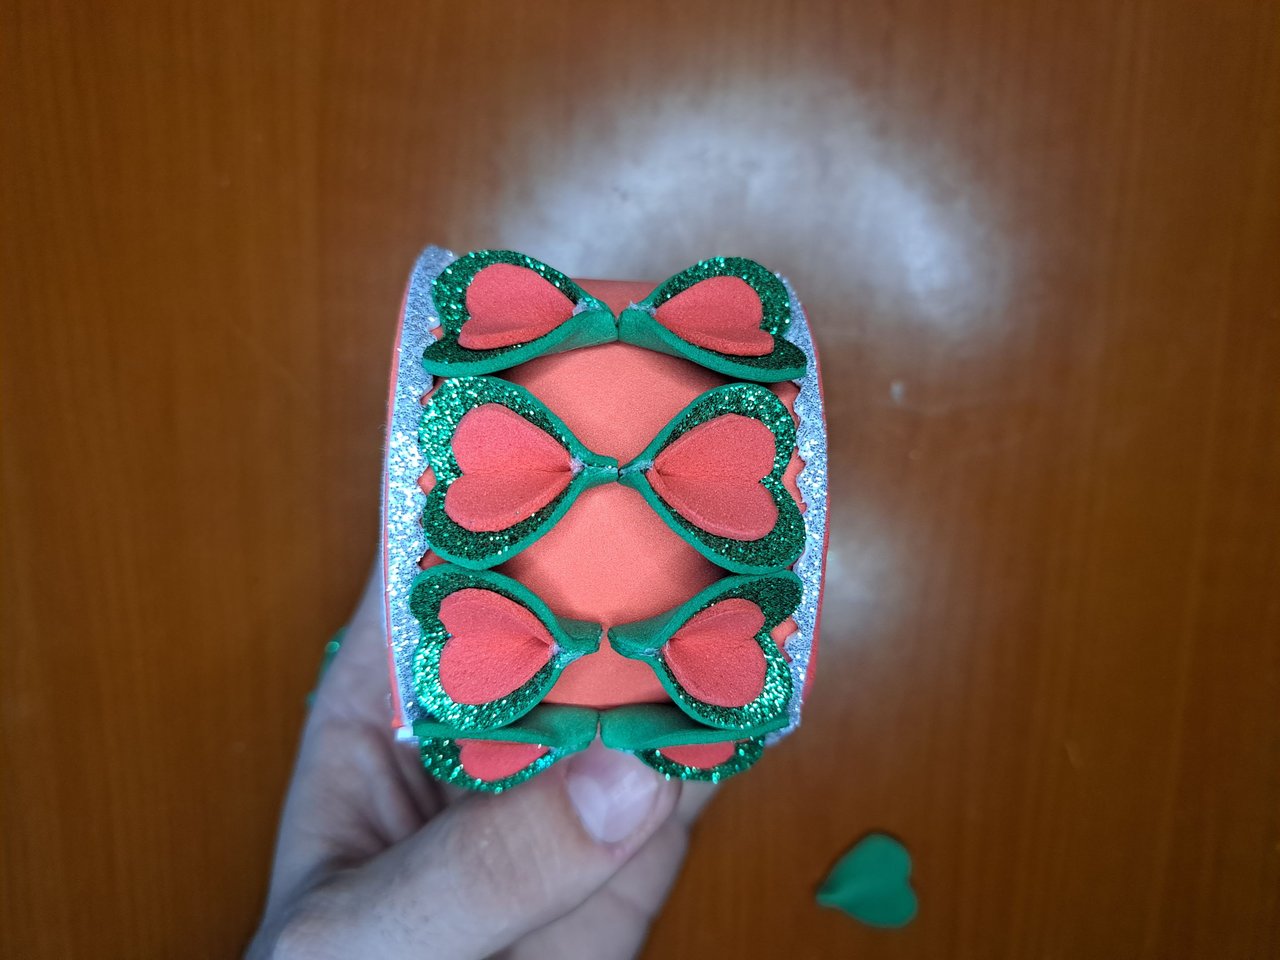
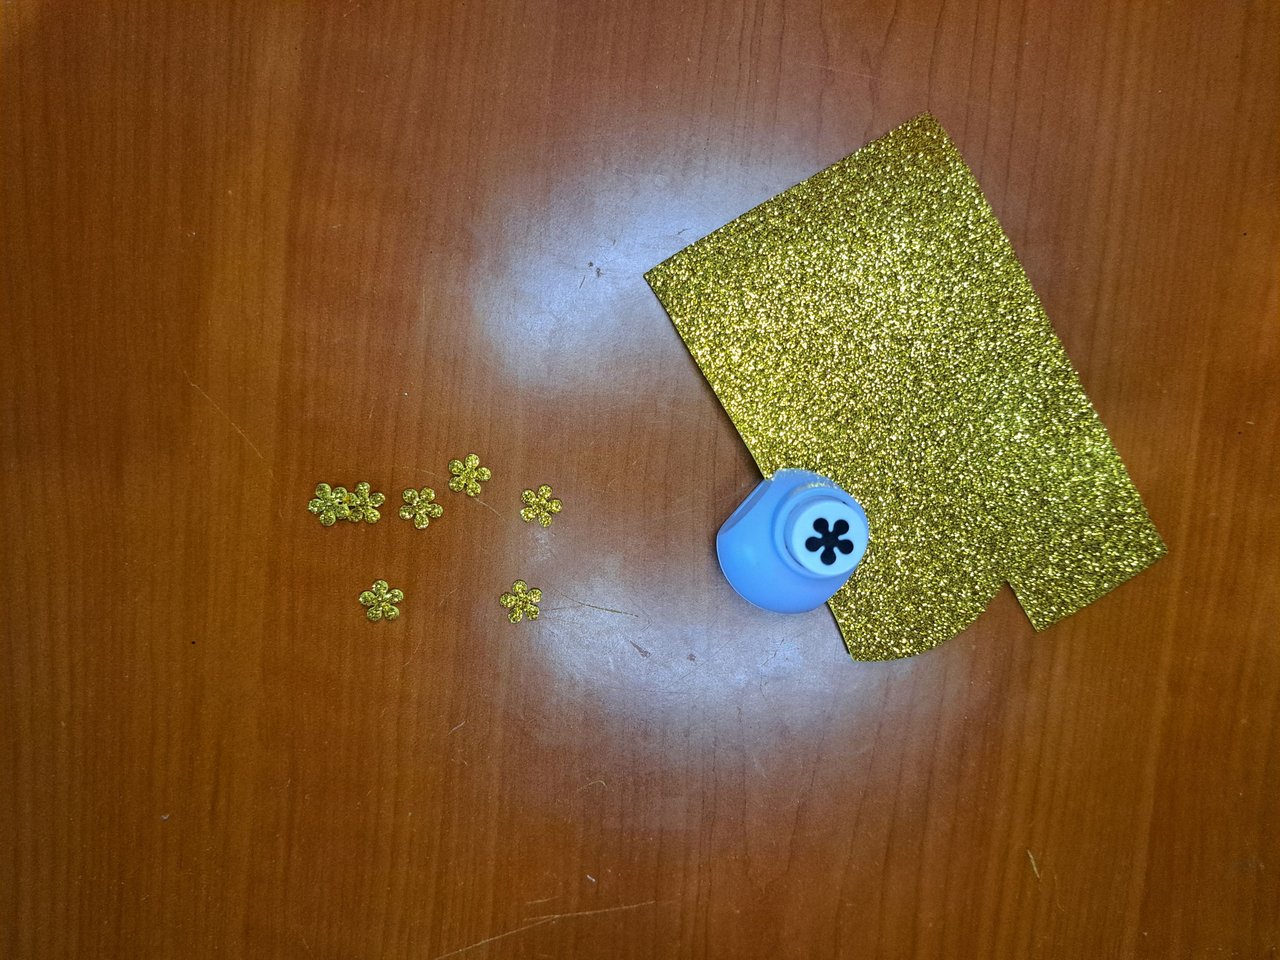
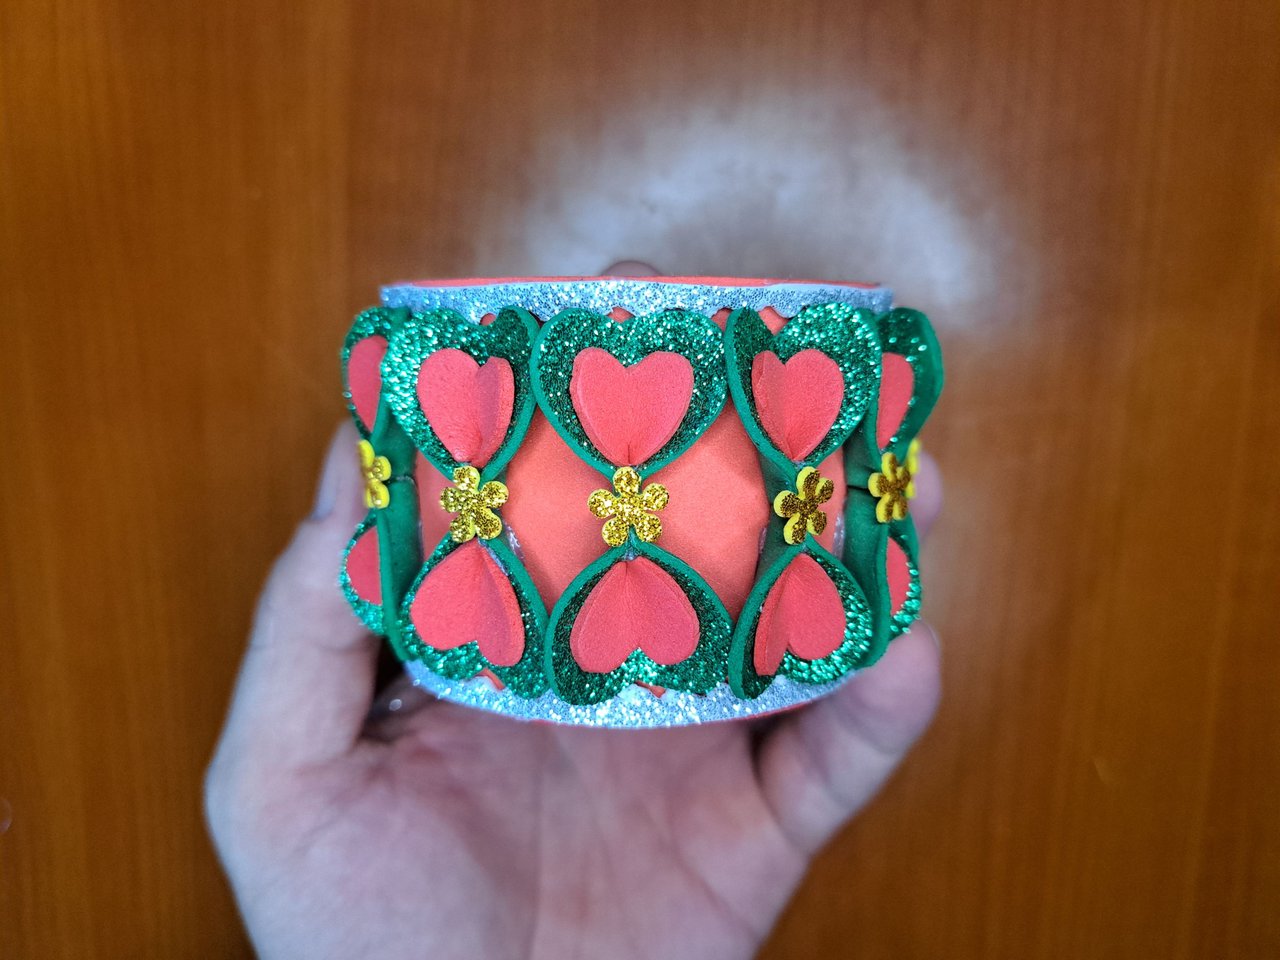
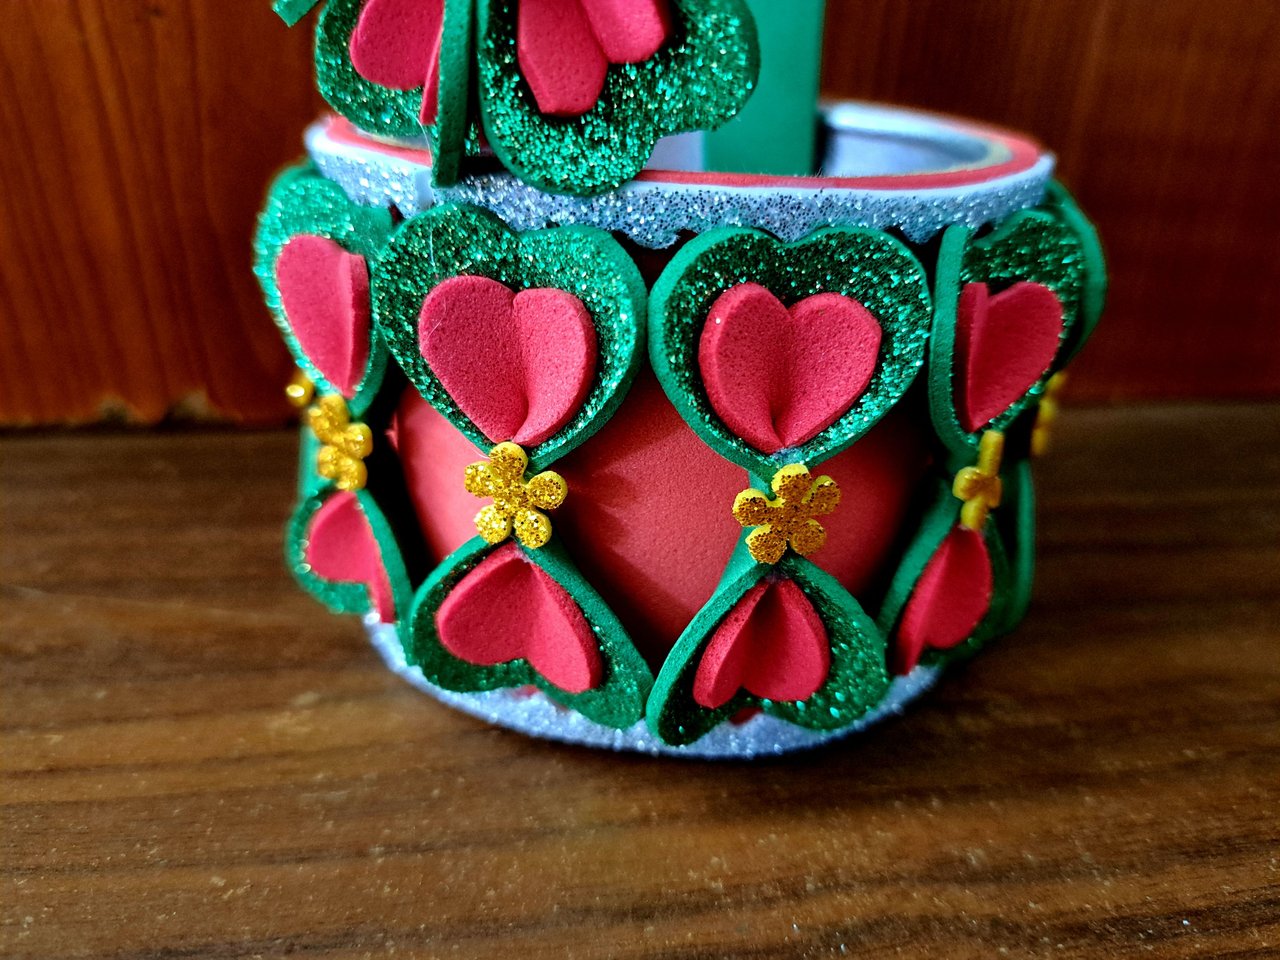
4️⃣ Glue each of the petals in pairs, joined at the tips, around the entire outside edge of the basket. Cut out small gold fomi flowers, either by hand or with a hole punch, and glue them where the petals meet.
Pega cada uno de los pétalos en parejas, unidos por las puntas, alrededor de todo el borde exterior de la cesta. Recorta pequeñas flores de fomi dorado, ya sea a mano o con perforadora, y pégalas en la parte donde se encuentran los pétalos.
 |  |
 |  |
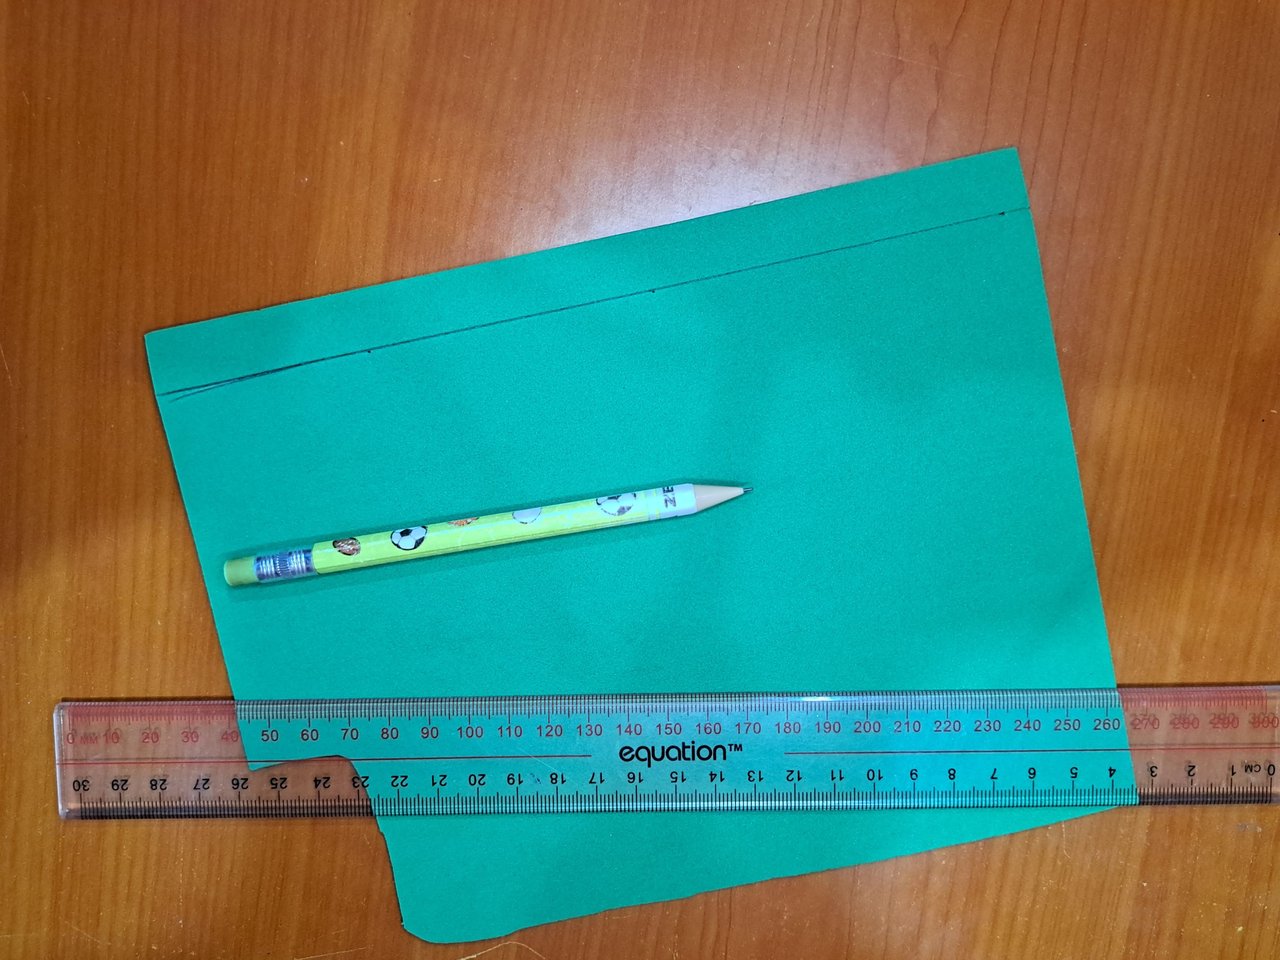
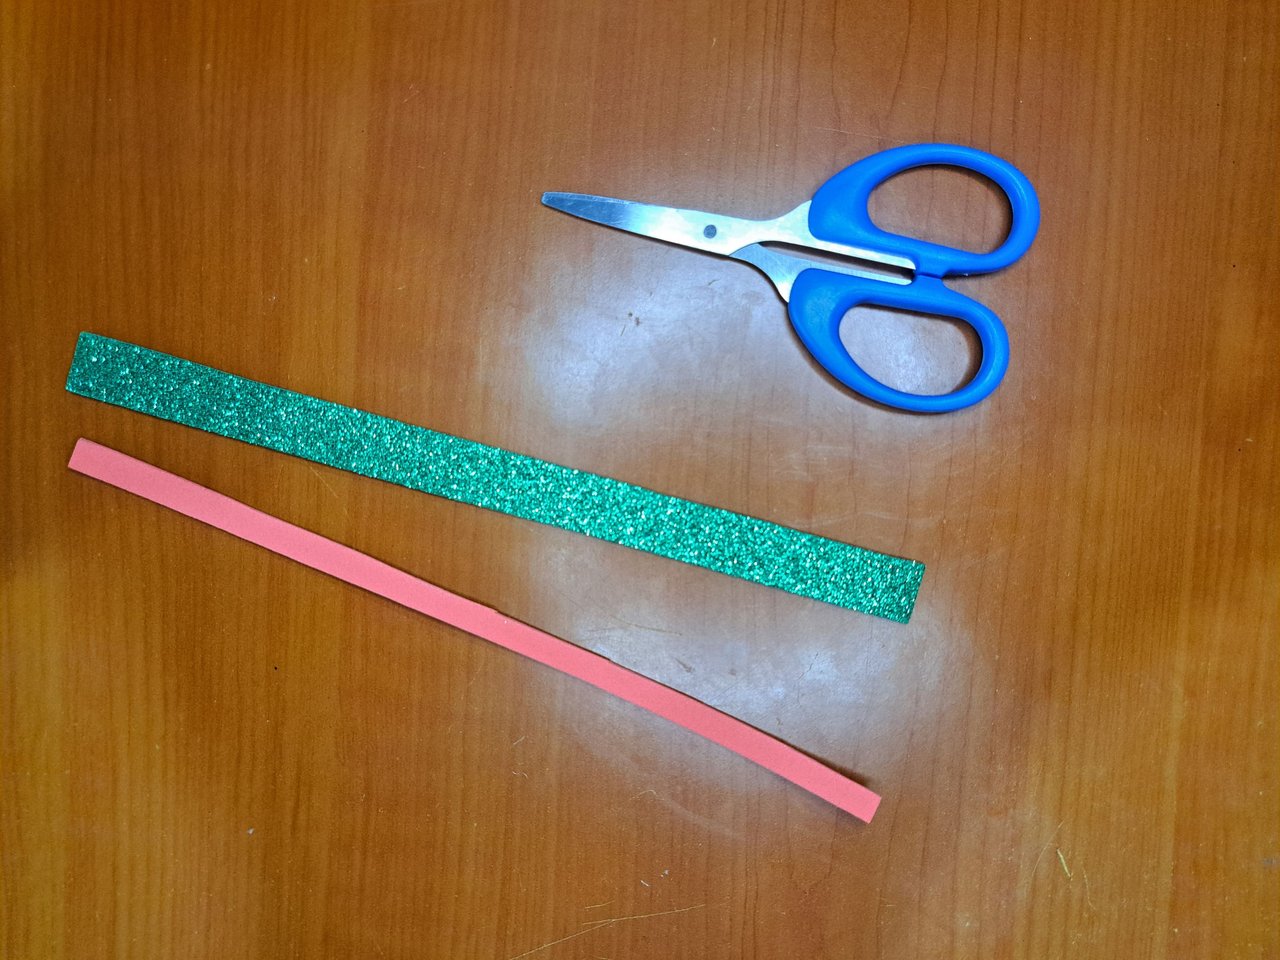
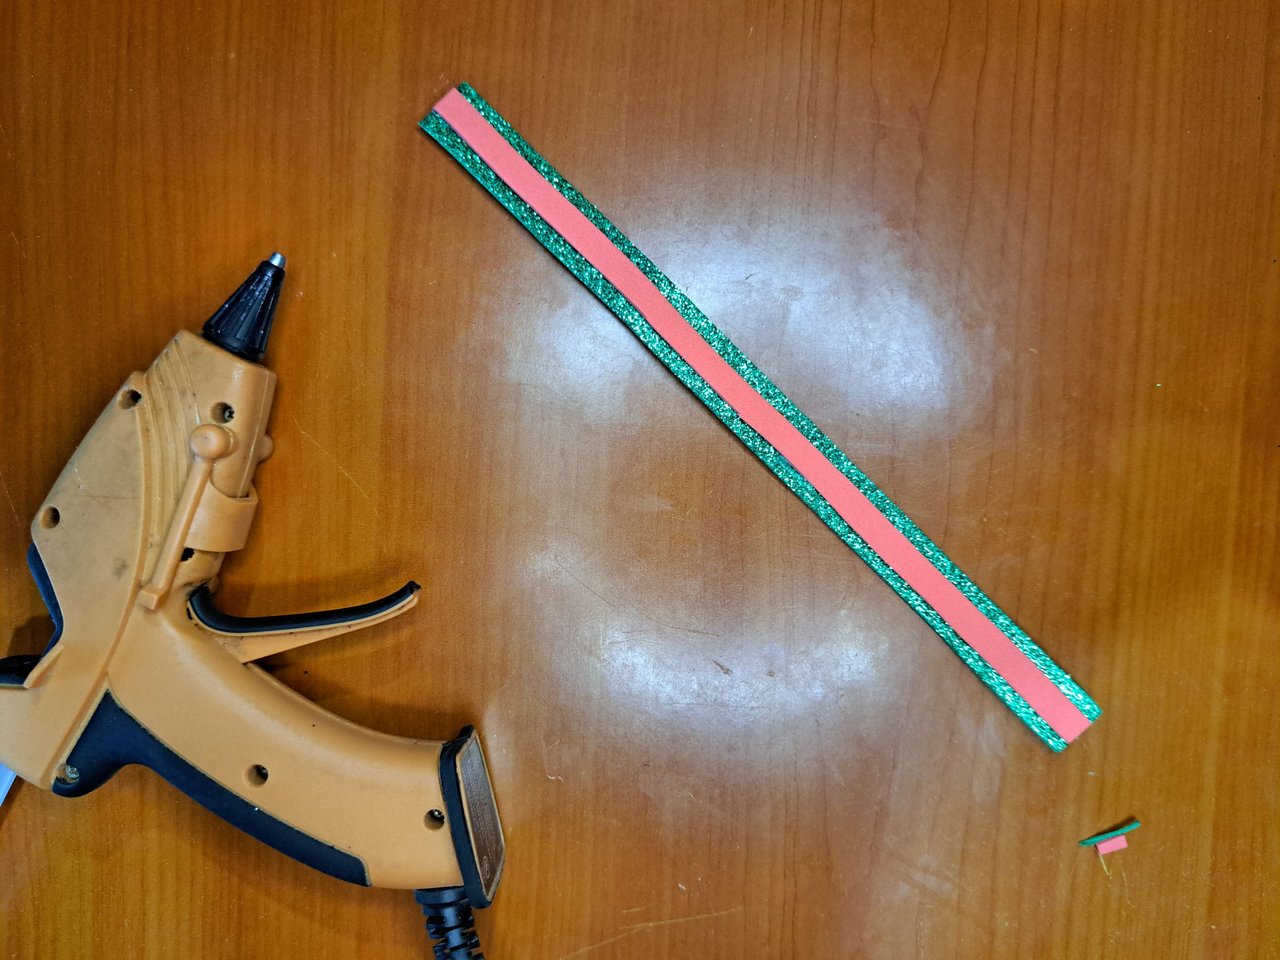
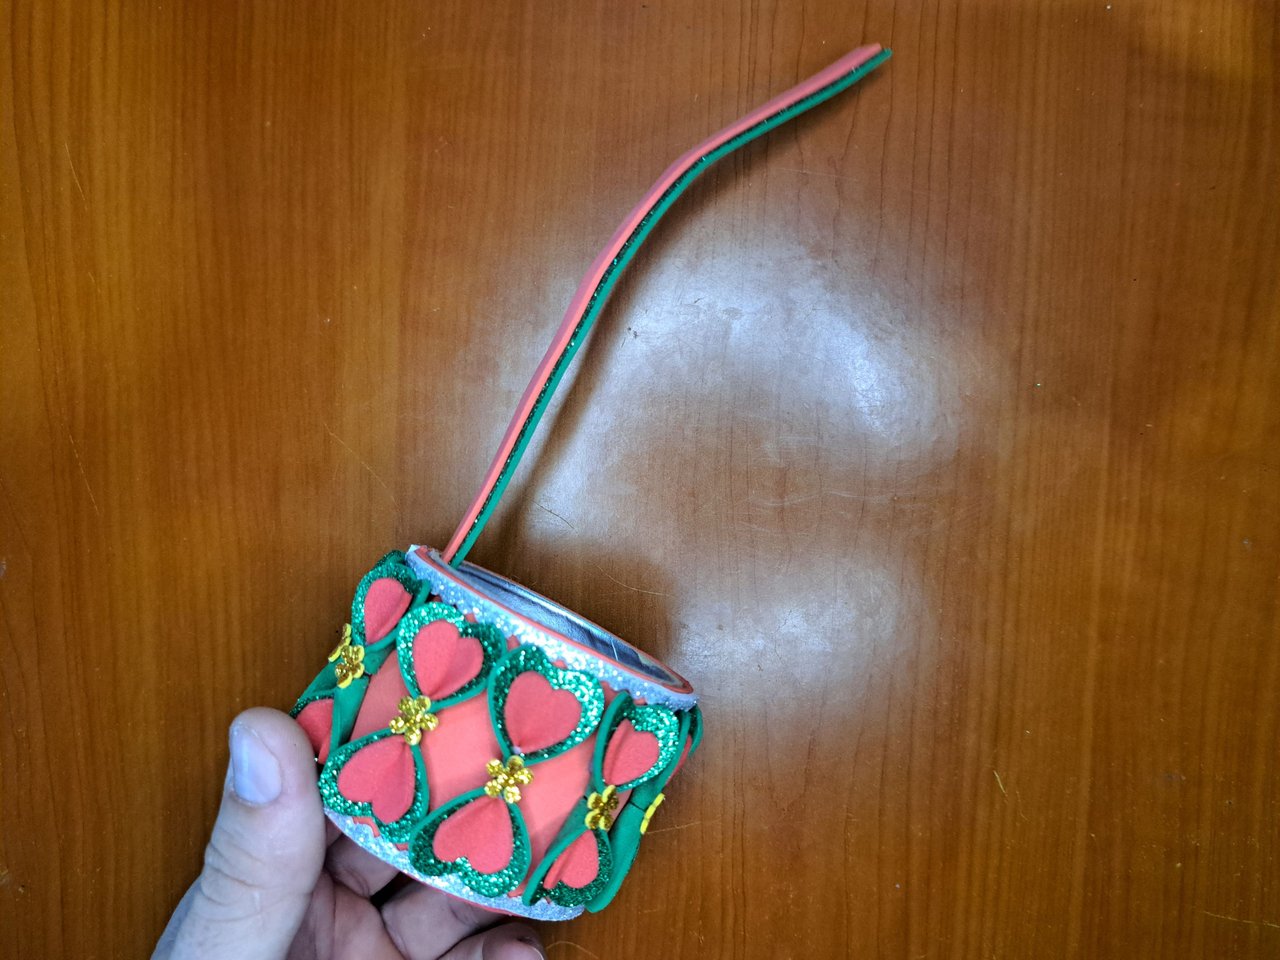
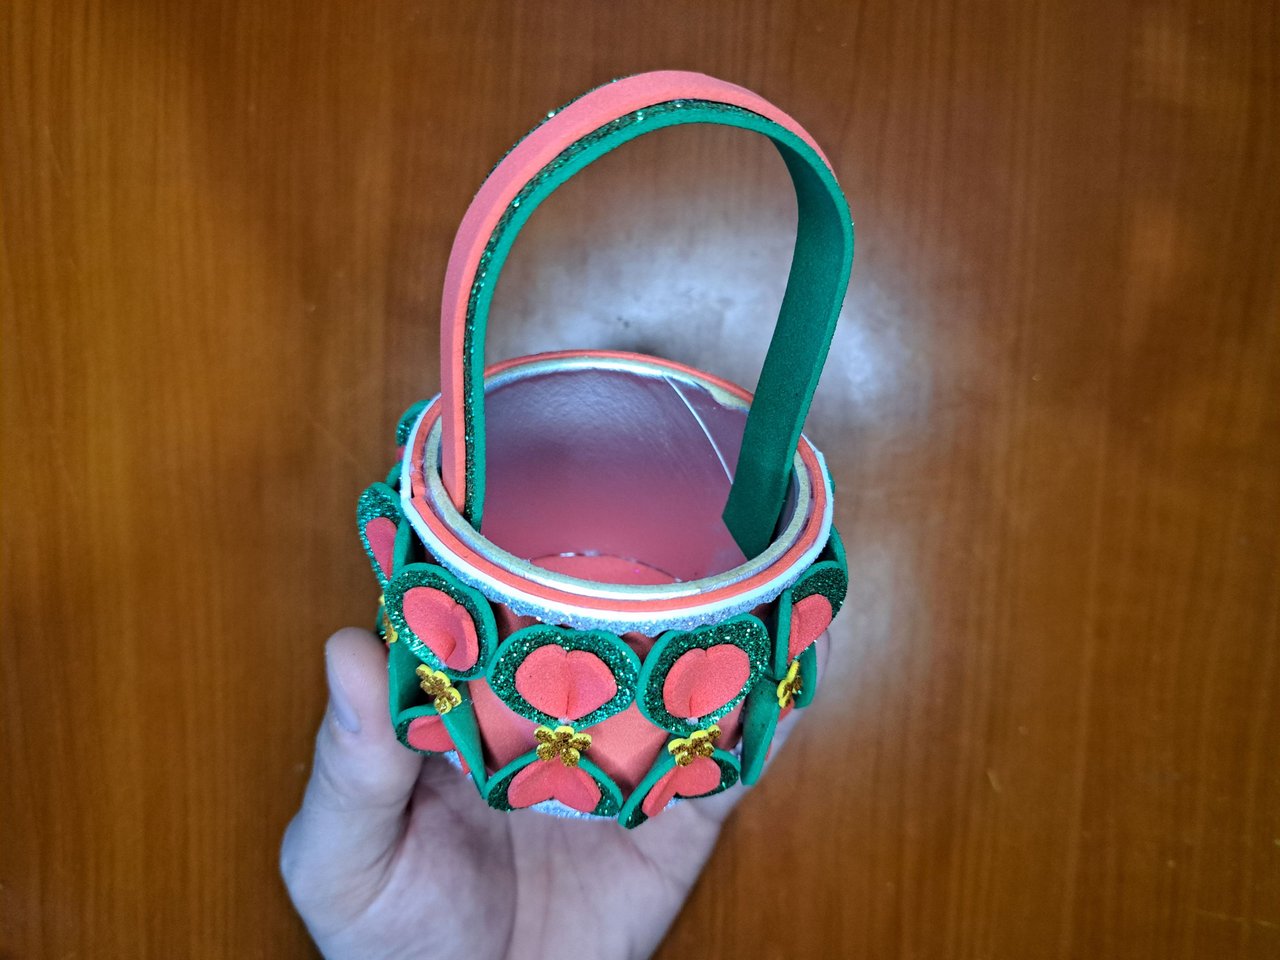
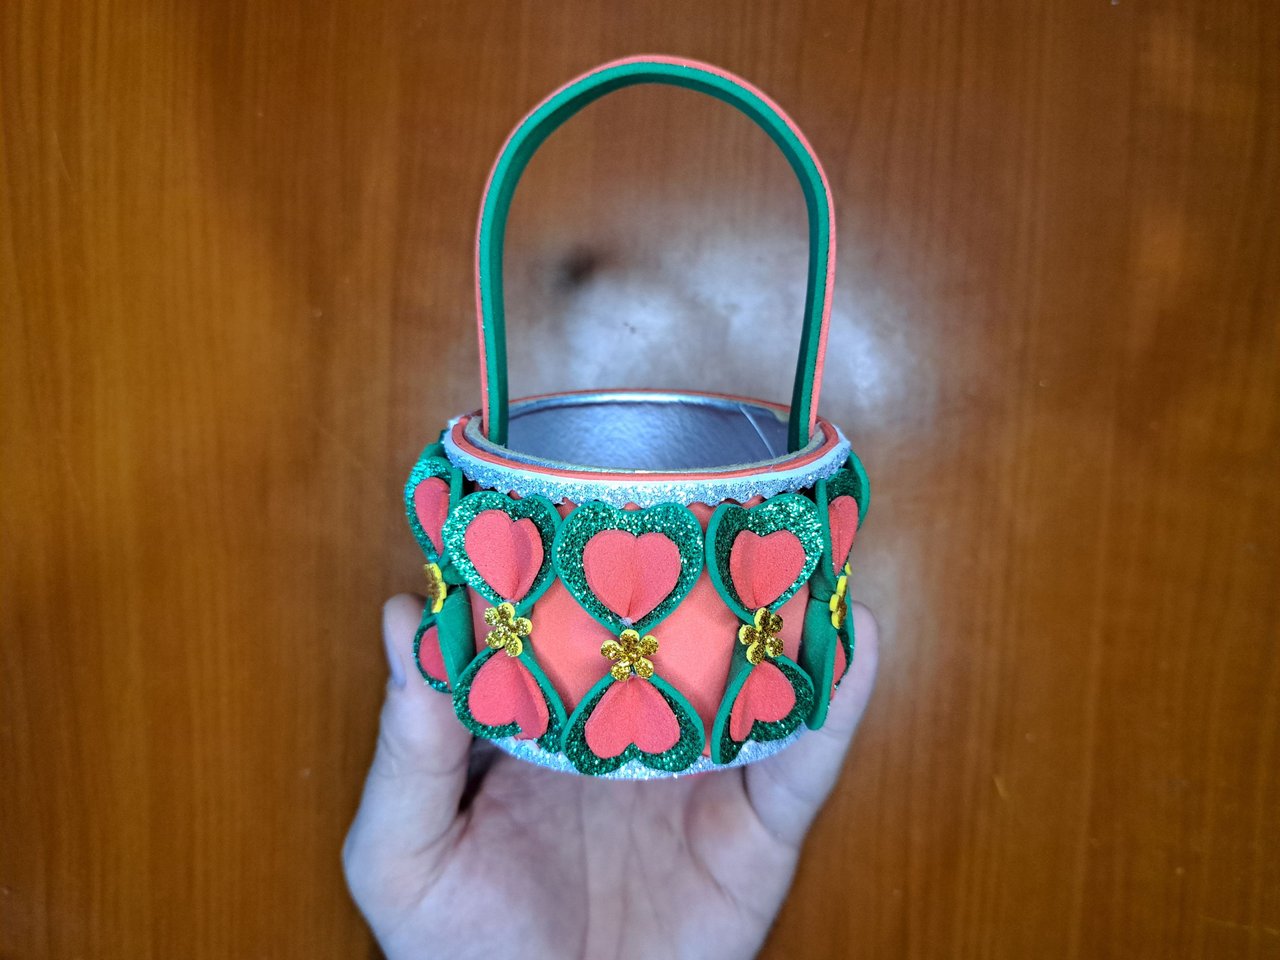
5️⃣ Mark and cut out a strip of frosted green fomi 1.5 cm wide x 18 cm long. Mark and cut out another strip of plain red fomi 0.5 cm wide x 18 cm long. Glue the red strip on top of the green one and glue it to the inside of the basket to form the handle.
Marca y recorta una tira de fomi verde escarchado de 1.5 cm de ancho x 18 cm de largo. Marca y recorta otra tira de fomi rojo liso de 0.5 cm de ancho por 18 cm de largo. Pega la tira roja encima de la verde y pégala por dentro de la cesta para formar el asa.
 |  |
 |  |  |
 |  |
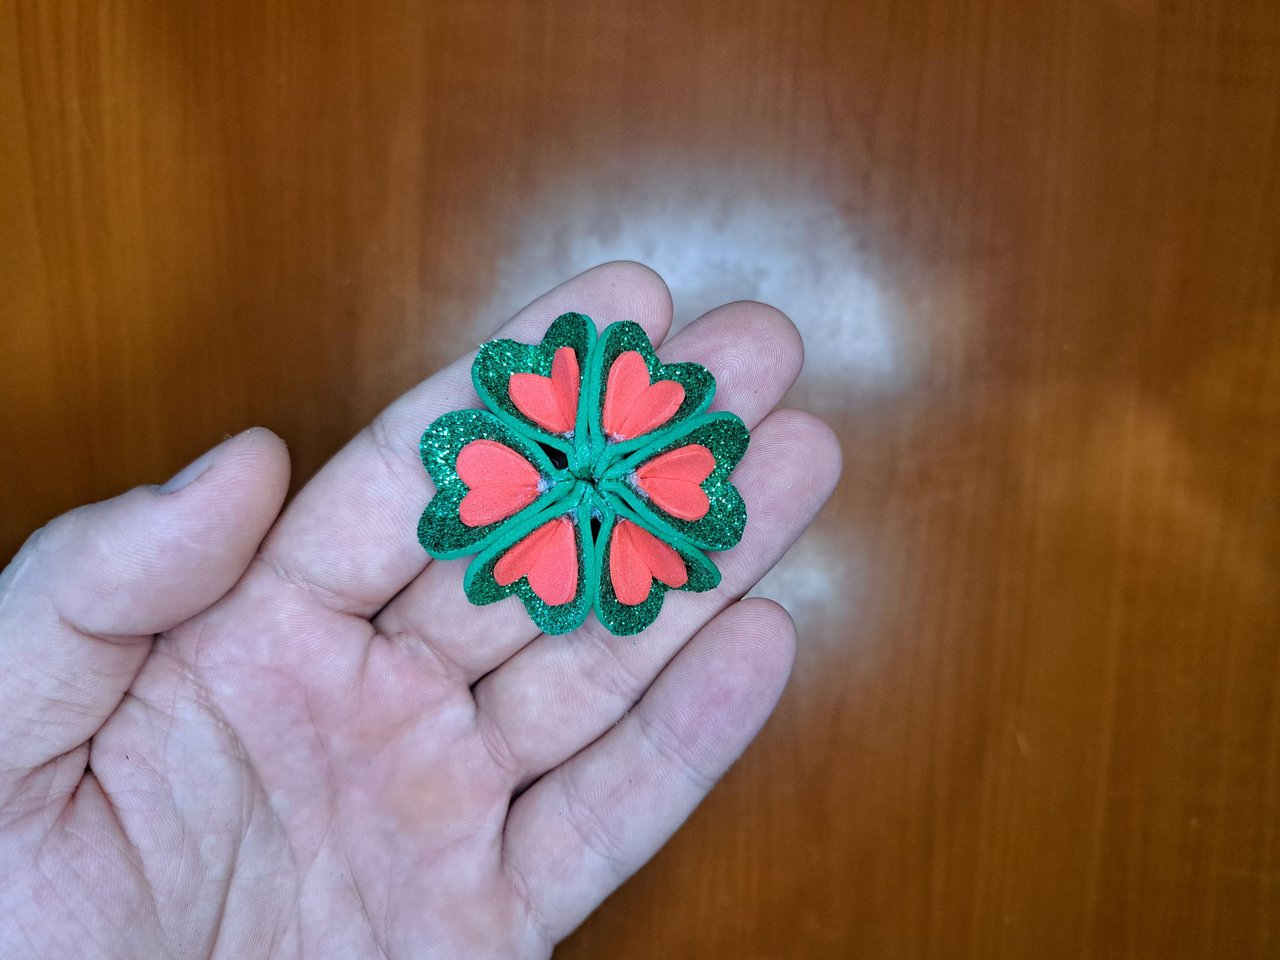
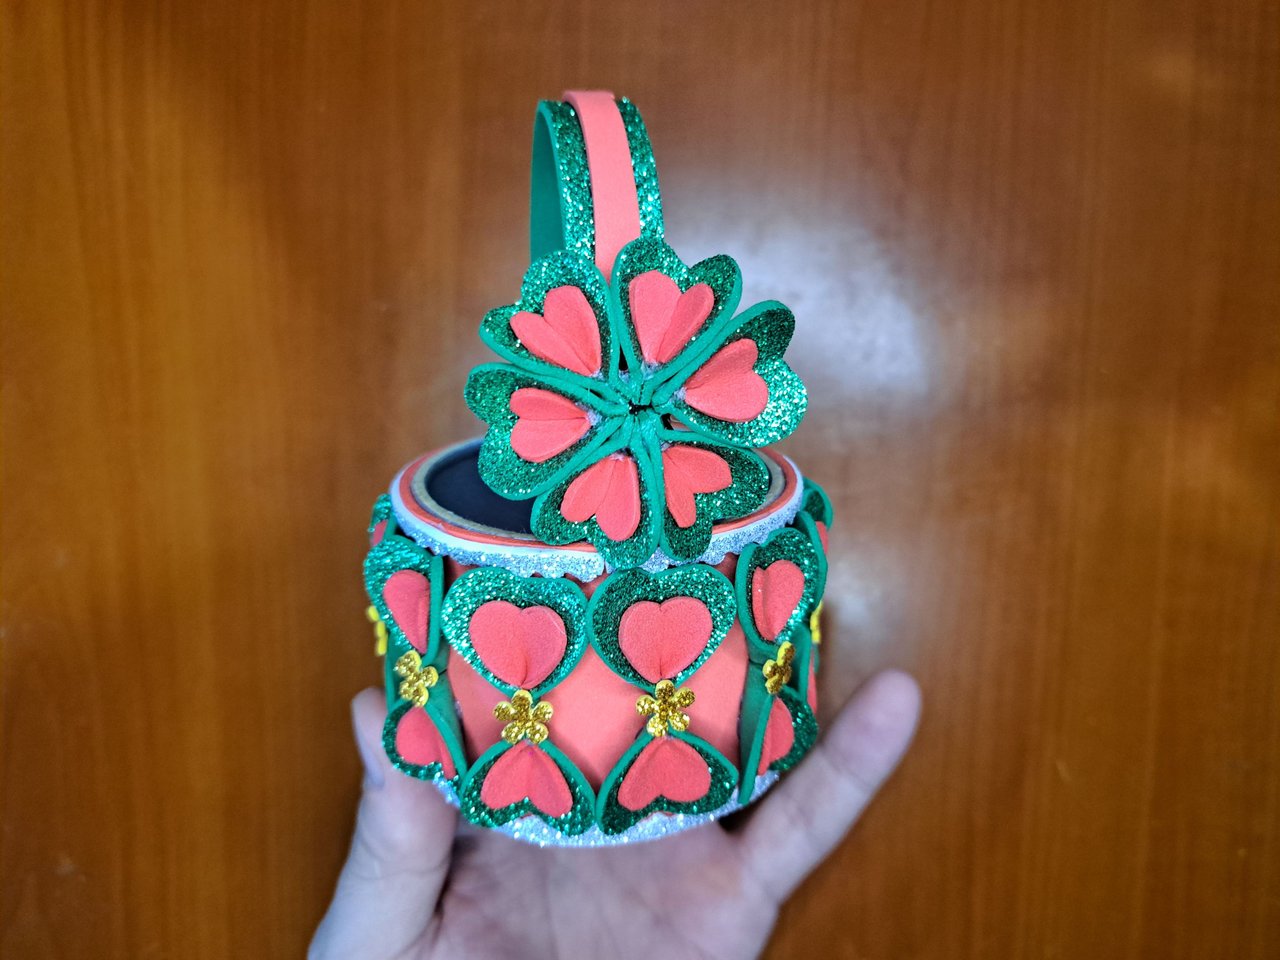
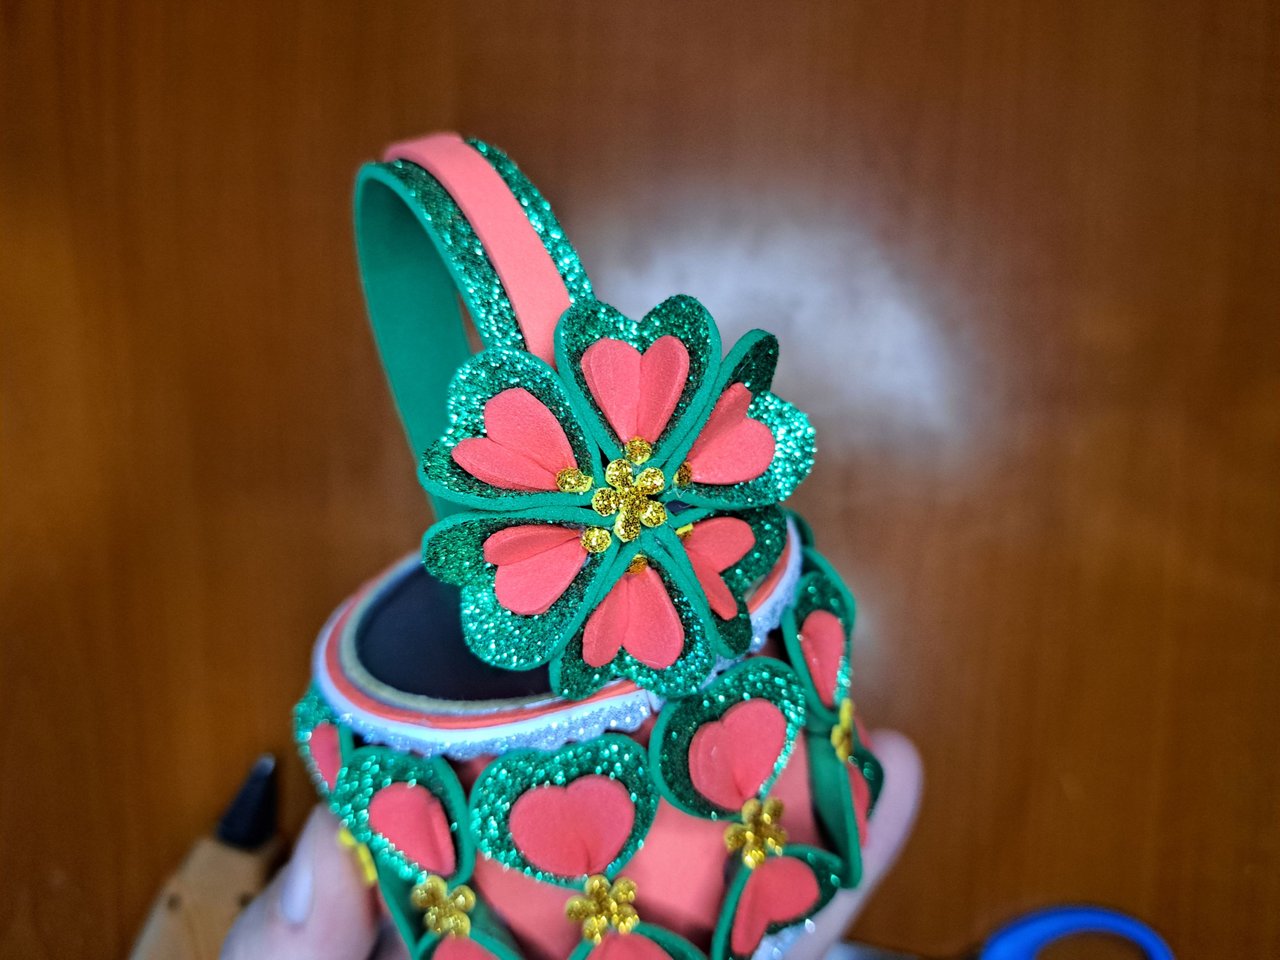
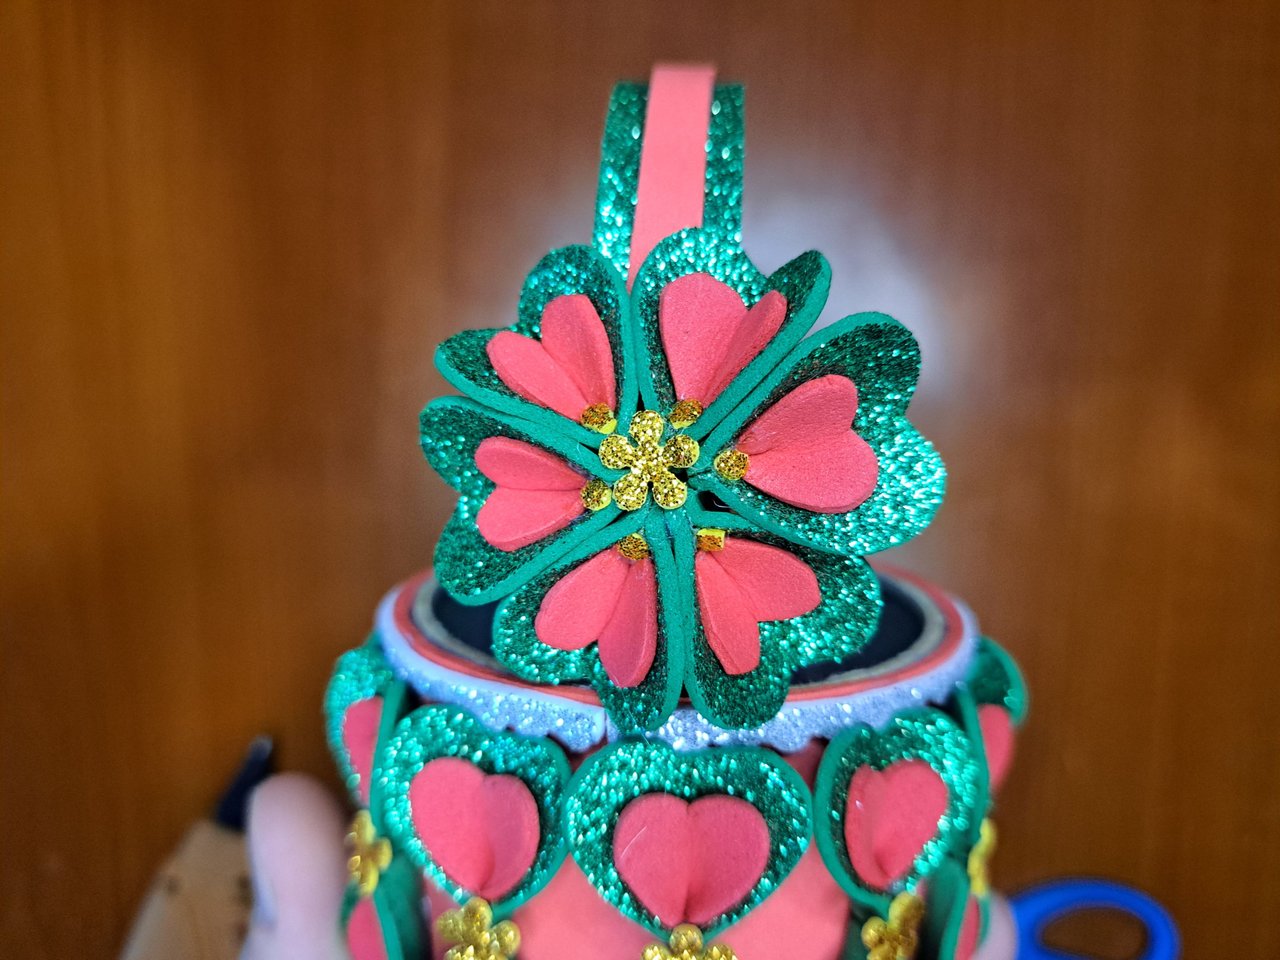
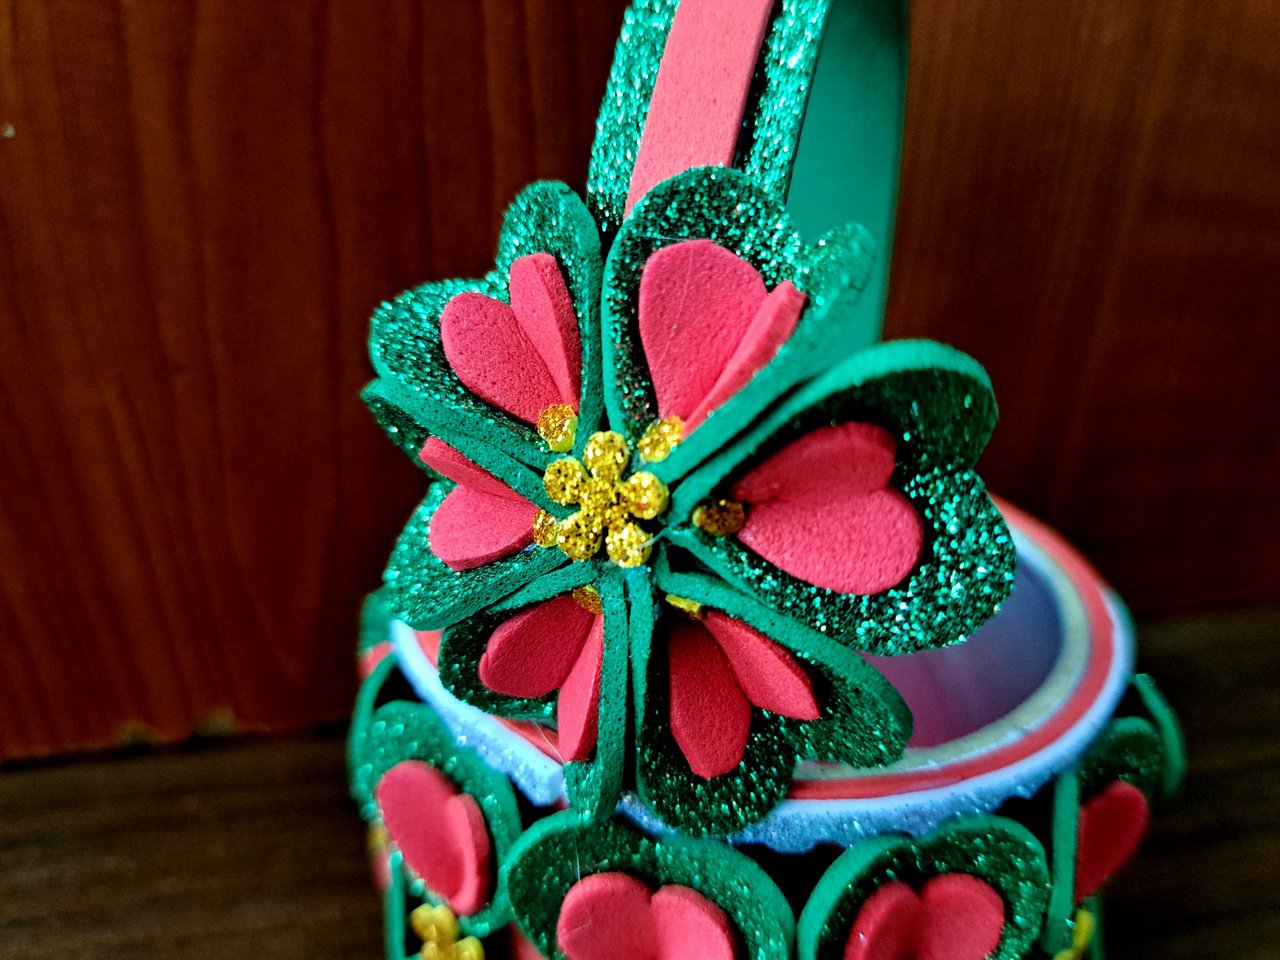
6️⃣ Glue 6 petals by the tips to form a flower and glue it on one of the sides of the handle. To finish, place a gold flower in the center of the large flower and in the corners of the petals add small gold dots to cover imperfections.
Pega 6 pétalos por las puntas para formar una flor y pégala en uno de los costados del asa. Para terminar, coloca una flor dorada en el centro de la flor grande y en las esquinas de los pétalos agrega pequeños puntos dorados para tapar imperfecciones.
 |  |
 |  |
Finished Work // Trabajo Terminado
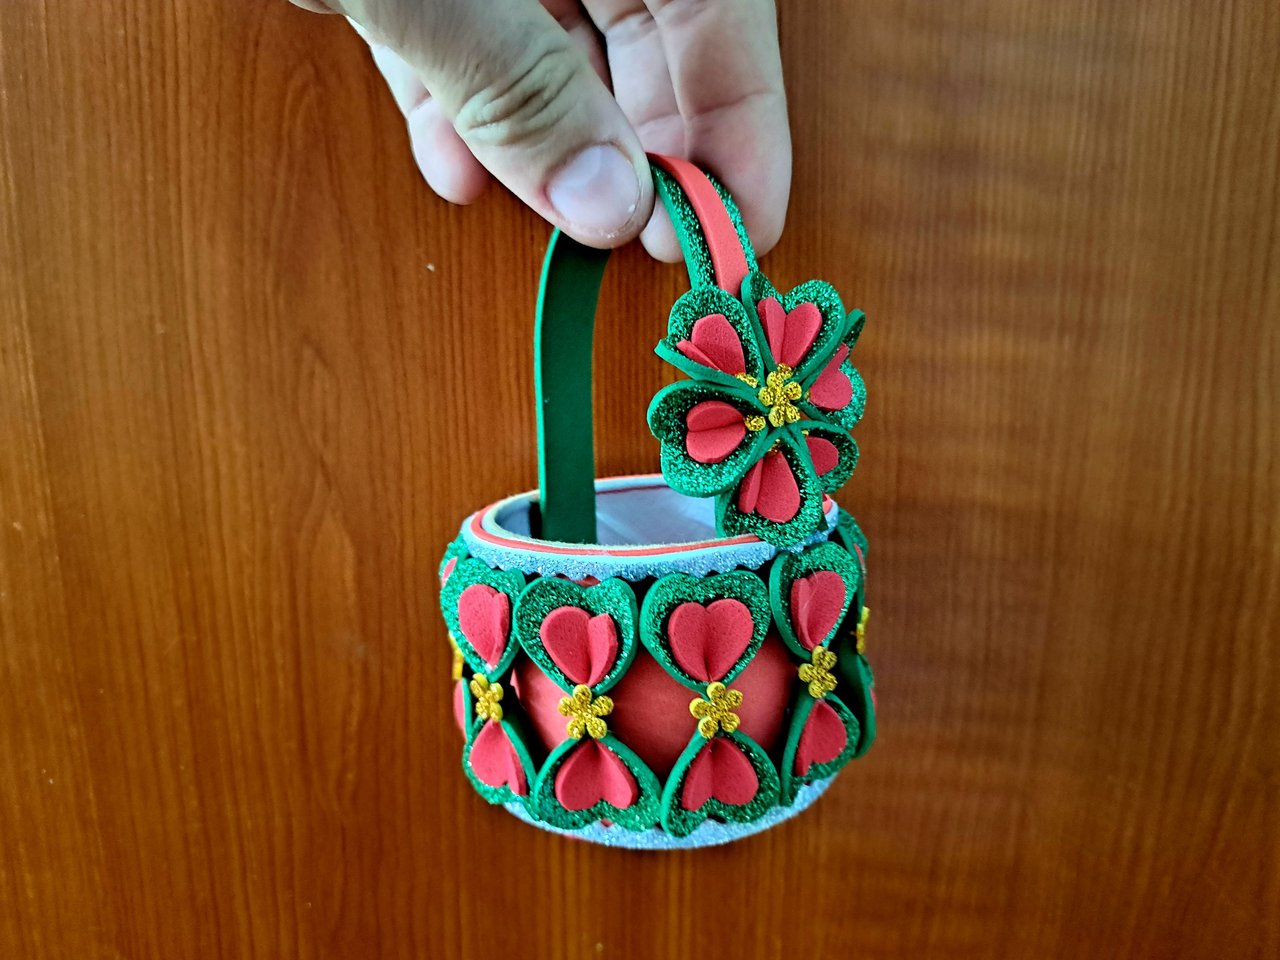
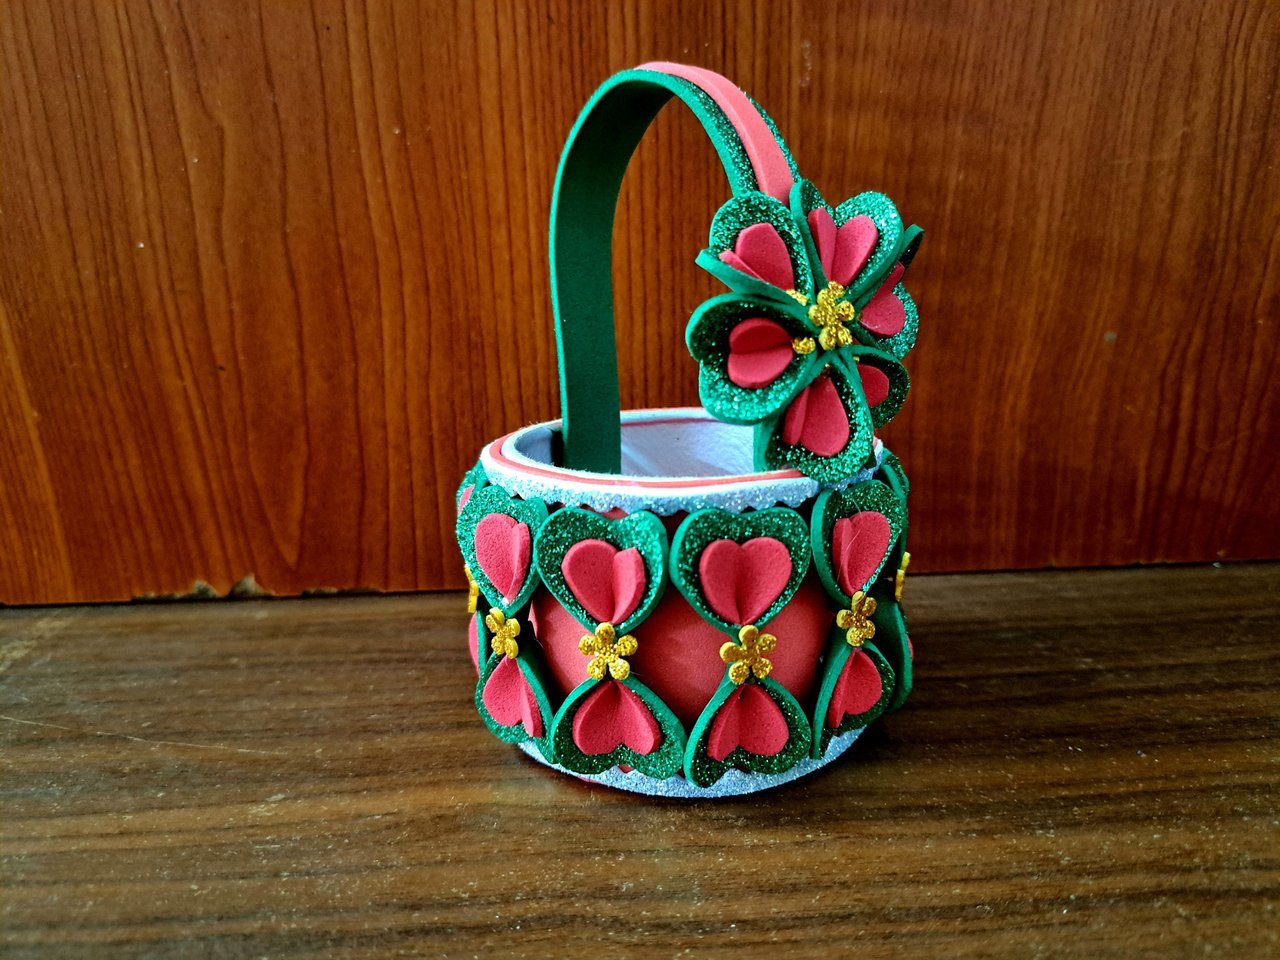
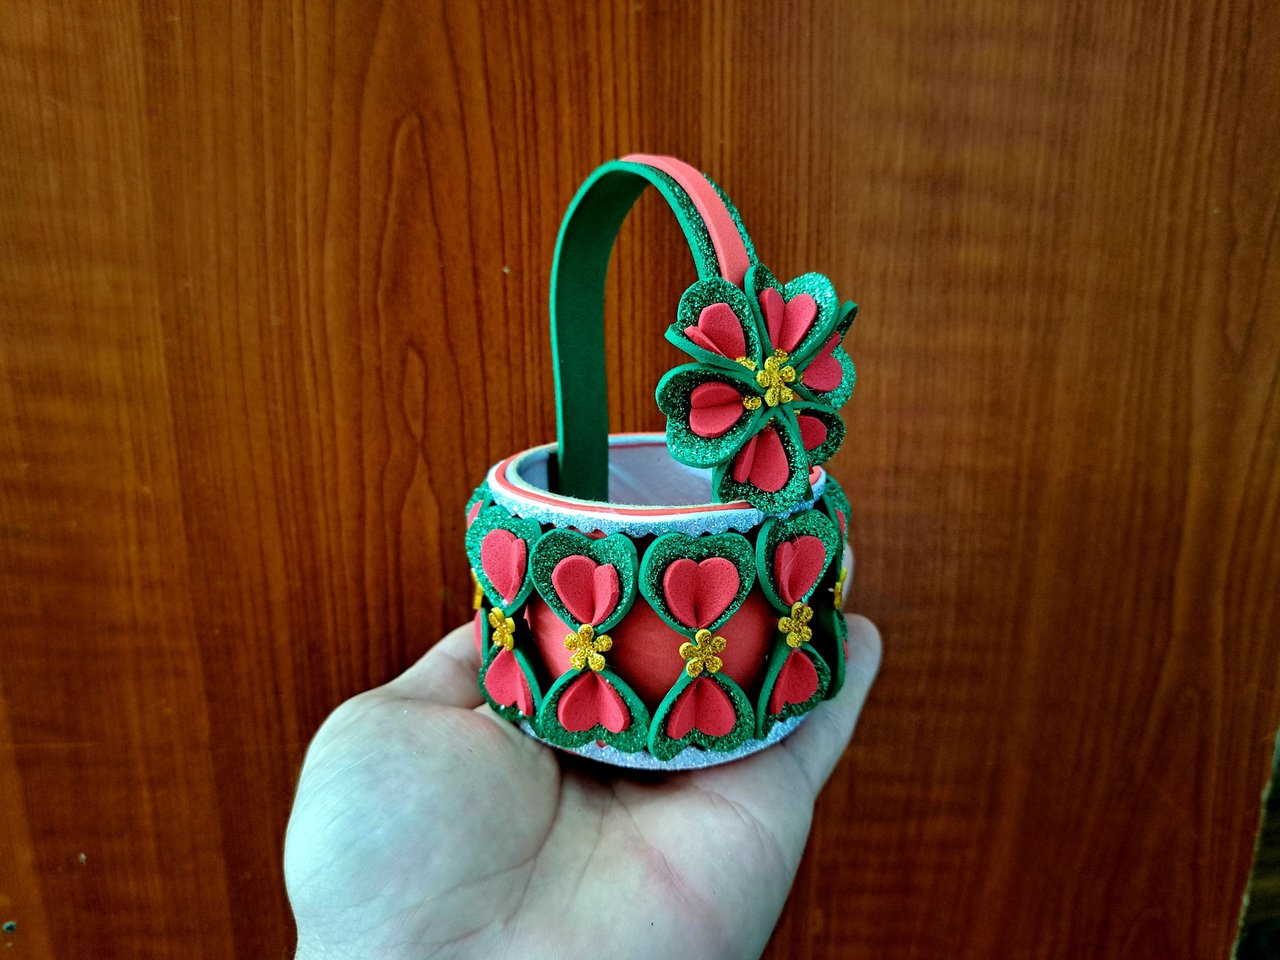
And so we come to the end of this tutorial. I hope you enjoyed the tutorial as much as I did making it. I also hope you are encouraged to create your own decorated basket. Remember that creativity has no limits, so feel free to customize it to your liking. See you in the next tutorial, Happy and prosperous day to all!
Y así llegamos al final de este tutorial. Espero que hayas disfrutado del tutorial tanto como yo al hacerlo. También espero que te animes a crear tu propio cesto decorado. Recuerda que la creatividad no tiene límites, así que siéntete libre de personalizarlo a tu gusto. Nos vemos en el próximo tutorial. ¡Feliz y próspera jornada a todos!
 |  |
 |  |  |
 |  |

Thank you very much for reading my post. If you liked it, please leave a comment and consider following me so you don't miss my next posts. I'd love to know your opinion and your thoughts about the topic I discussed in this post, see you in the next one!

Credits and Resources // Créditos y Recursos
Cover page created in Canva
Translated by DeepL
Images captured with my Samsung Galaxy A53


Posted Using InLeo Alpha
Cover page created in Canva
Translated by DeepL
Images captured with my Samsung Galaxy A53


Posted Using InLeo Alpha
The rewards earned on this comment will go directly to the people( @lileisabel ) sharing the post on Reddit as long as they are registered with @poshtoken. Sign up at https://hiveposh.com. Otherwise, rewards go to the author of the blog post.
Hermoso proyecto Hive Diy @edeyglezsosa, tiene tantas posibilidades de uso, para decorar, para regalar, para vender, etc. está bellísima, como siempre tus proyectos son un espectáculo.
Asi es, un millon de usos. ❤️❤️❤️
Muy navideño ese cesto, me parece hermoso para estas navidades, llenarlos de dulces y golosinas jeje. Los colores hermosos.
Así mismo, muchos dulces dentro. Gracias por comentar.
This mini basket looks so beautiful. It is charming, lovely, and elegant. It is good to see each step of making this. Well done!
Thank you very much for the support and such beautiful words.
¿ᴺᵉᶜᵉˢᶦᵗᵃˢ ᴴᴮᴰ? ᵀᵉ ˡᵒ ᵖʳᵉˢᵗᵃᵐᵒˢ ᶜᵒⁿ @ruta.loans
Thanks for the support 🤗
Que bonita manualidad, me gustó mucho esa cesta 🧺 puede tener muchos usos en estás navidades , un detalle muy bonito ❤️
Así es amiga, se puede usar para guardar muchas cosas pequeñas.
Te quedó muy bonita... Me encanta
Muchísimas gracias 🤗
Hello.
When you do craftwork, could you please mention the original craftsmen whose crafting guide you used to copy the work?
Thanks