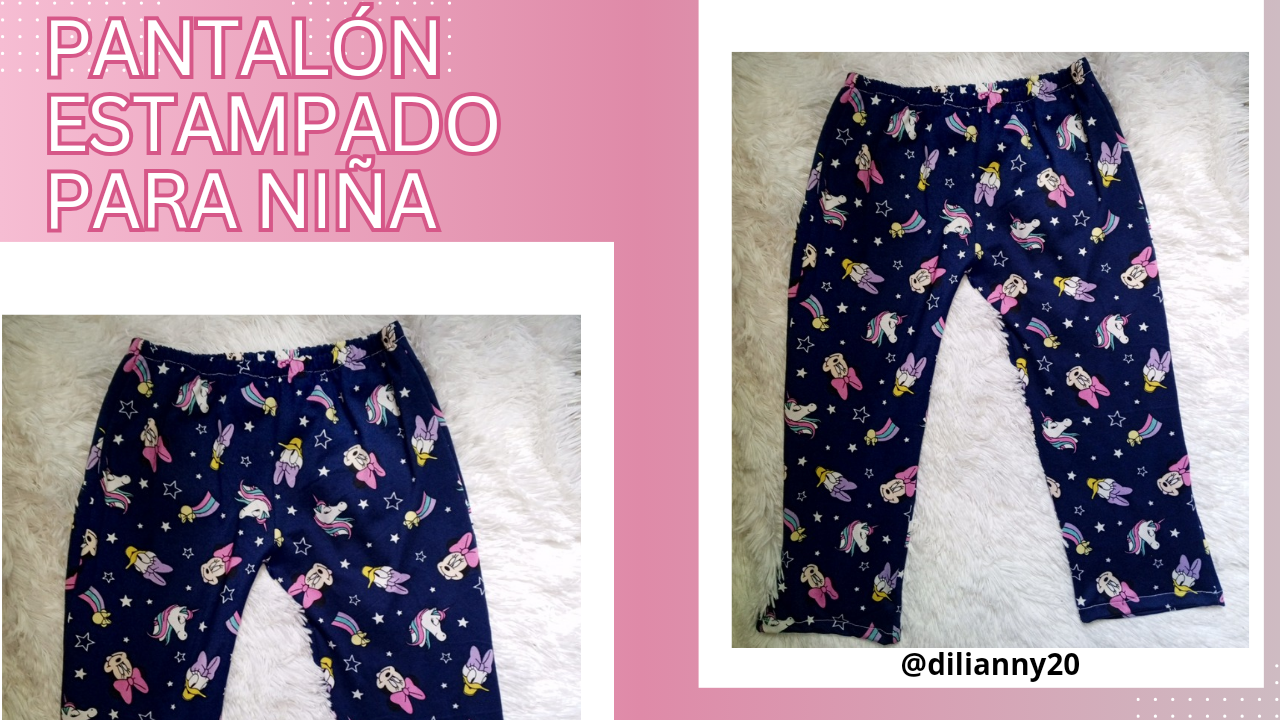

Hola amigos de hive diy, un placer saludarlos, sean bienvenidos a mi blog, vengo con mucha emoción, alegría a mostrarles como elaborar este pantalón para niña talla 6 muy lindo el estampado, espero que les guste
Hello friends of hive diy, a pleasure to greet you, welcome to my blog, I come with much excitement, joy to show you how to make this pants for girl size 6 very nice print, I hope you like it.
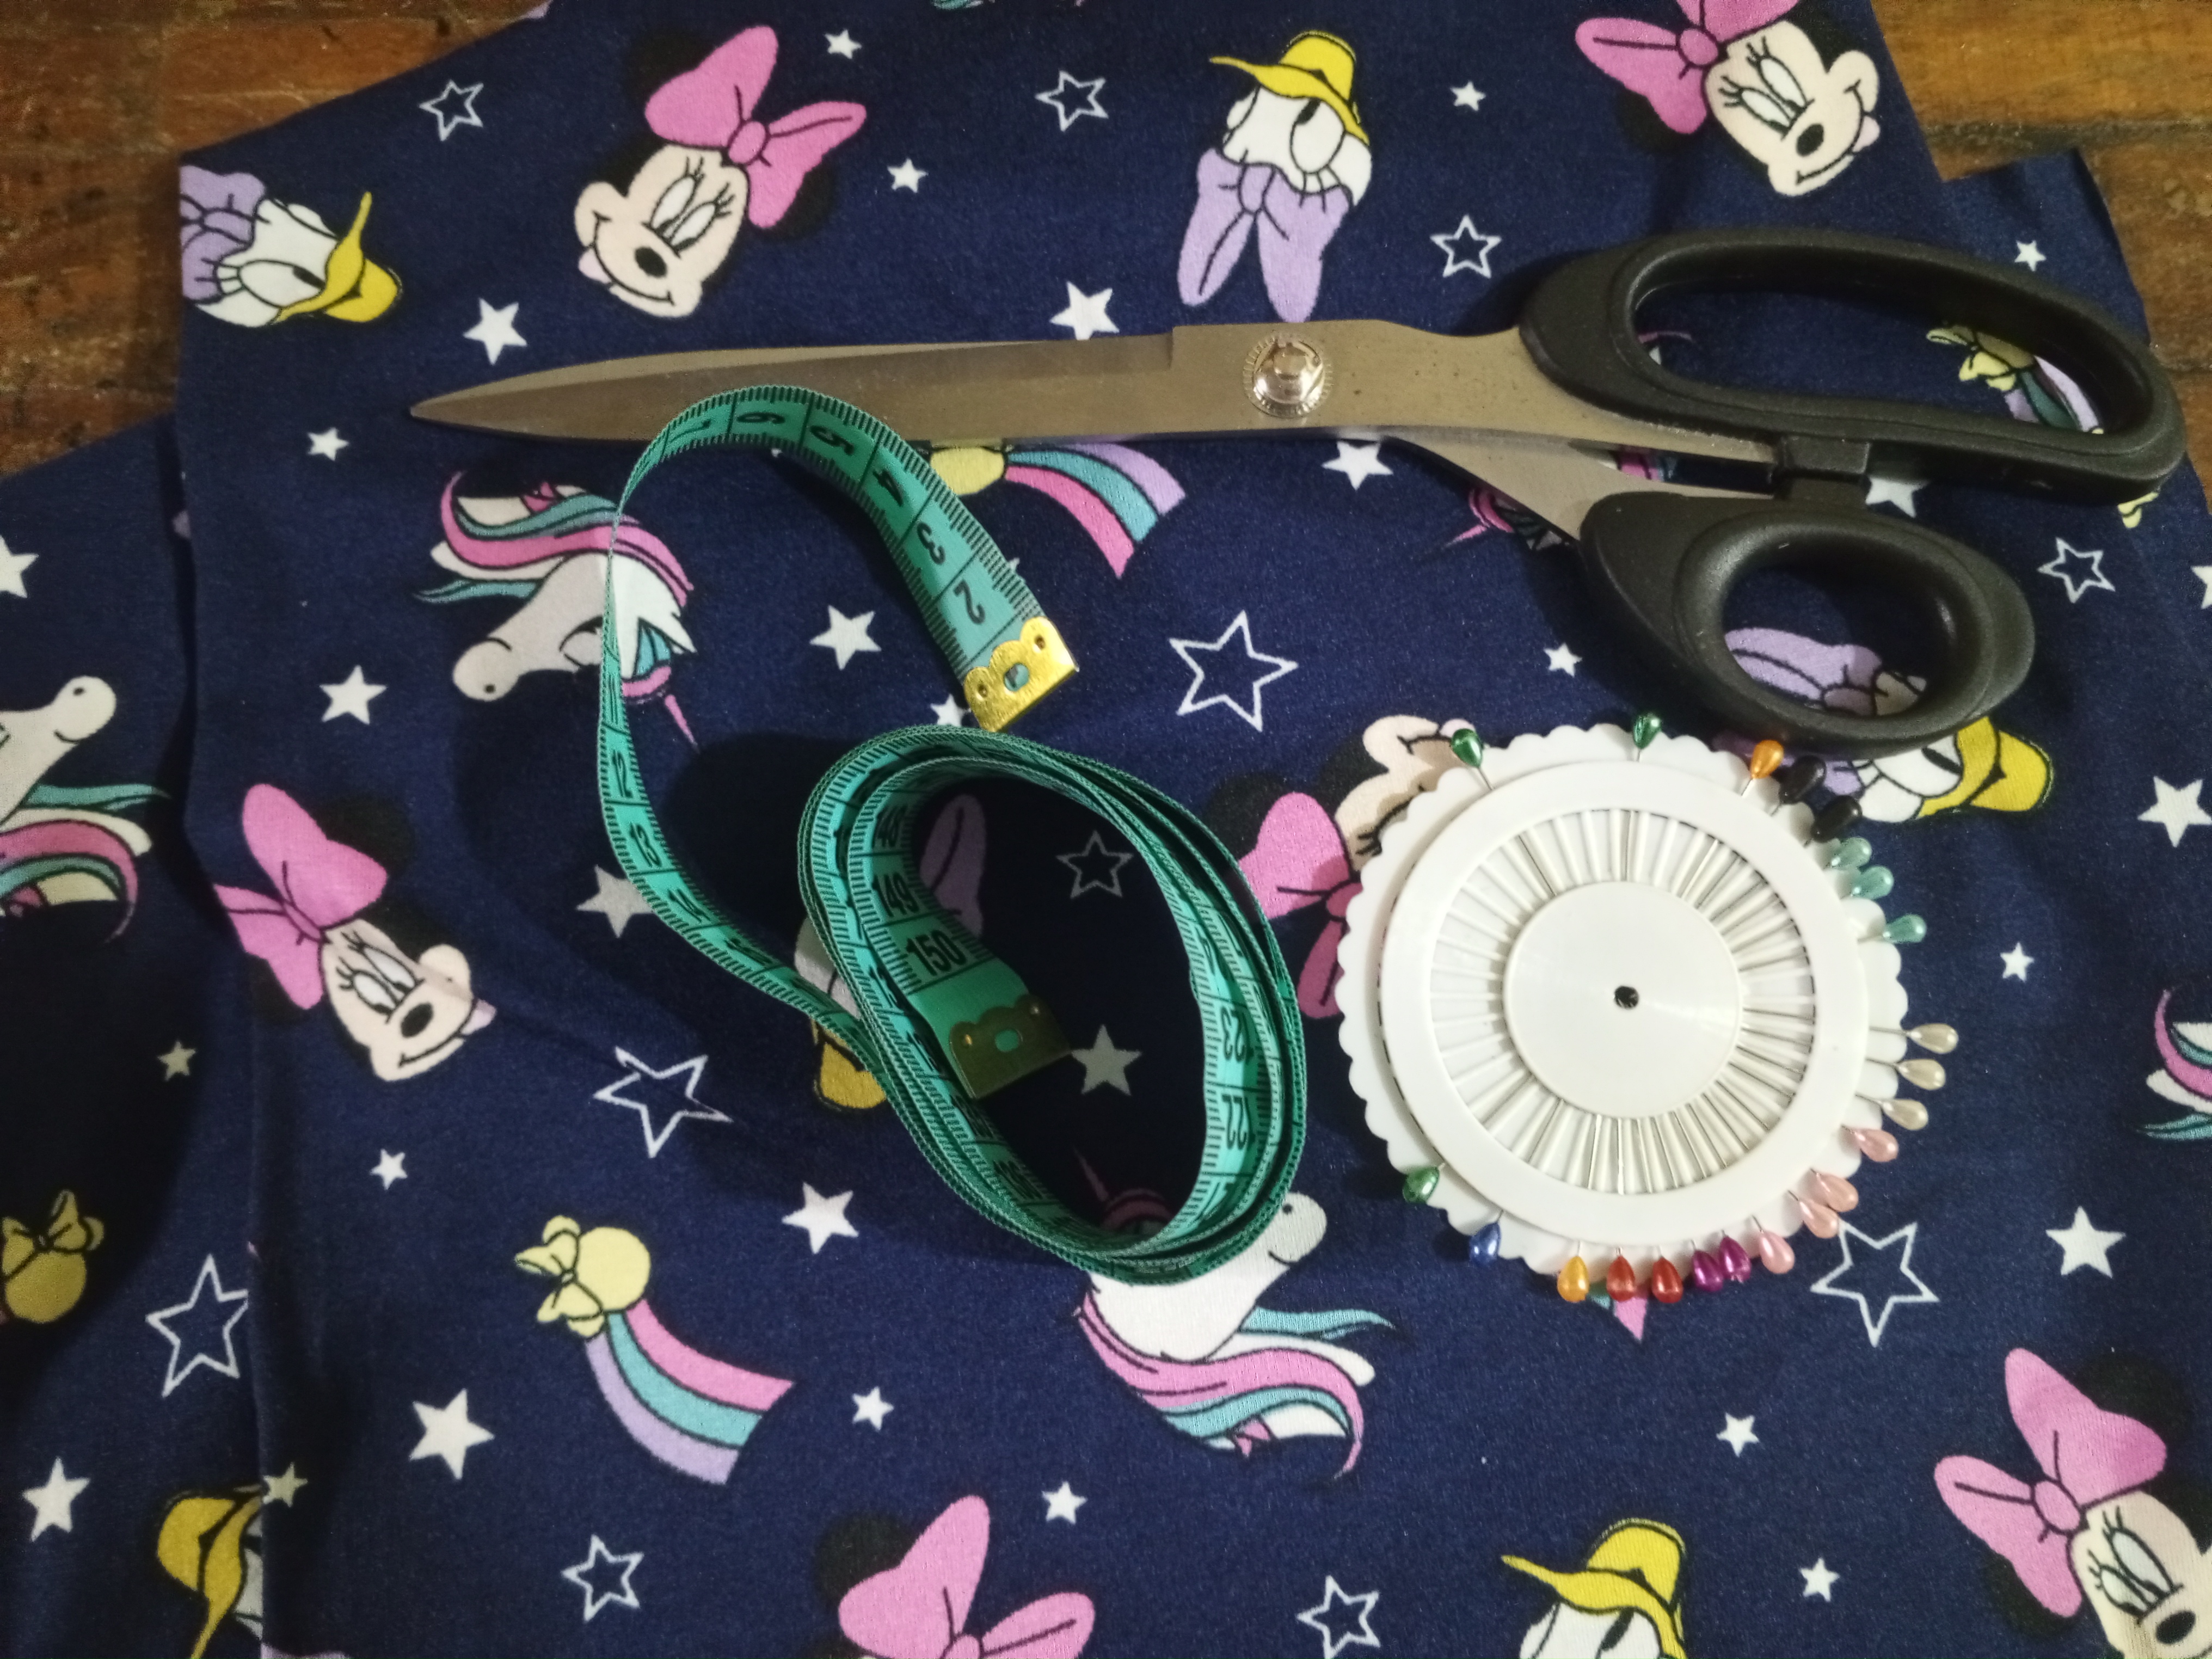
Materials I used/ Materiales que utilicé
Tela micro-durazno estampado.
Cinta elástica.
Cinta métrica.
Hilo.
Máquina de coser.
Patrón de pantalón talla 6
Printed micro-peach fabric.
Elastic tape.
Tape measure.
Thread.
Sewing machine.
Trouser pattern size 6.

paso 1
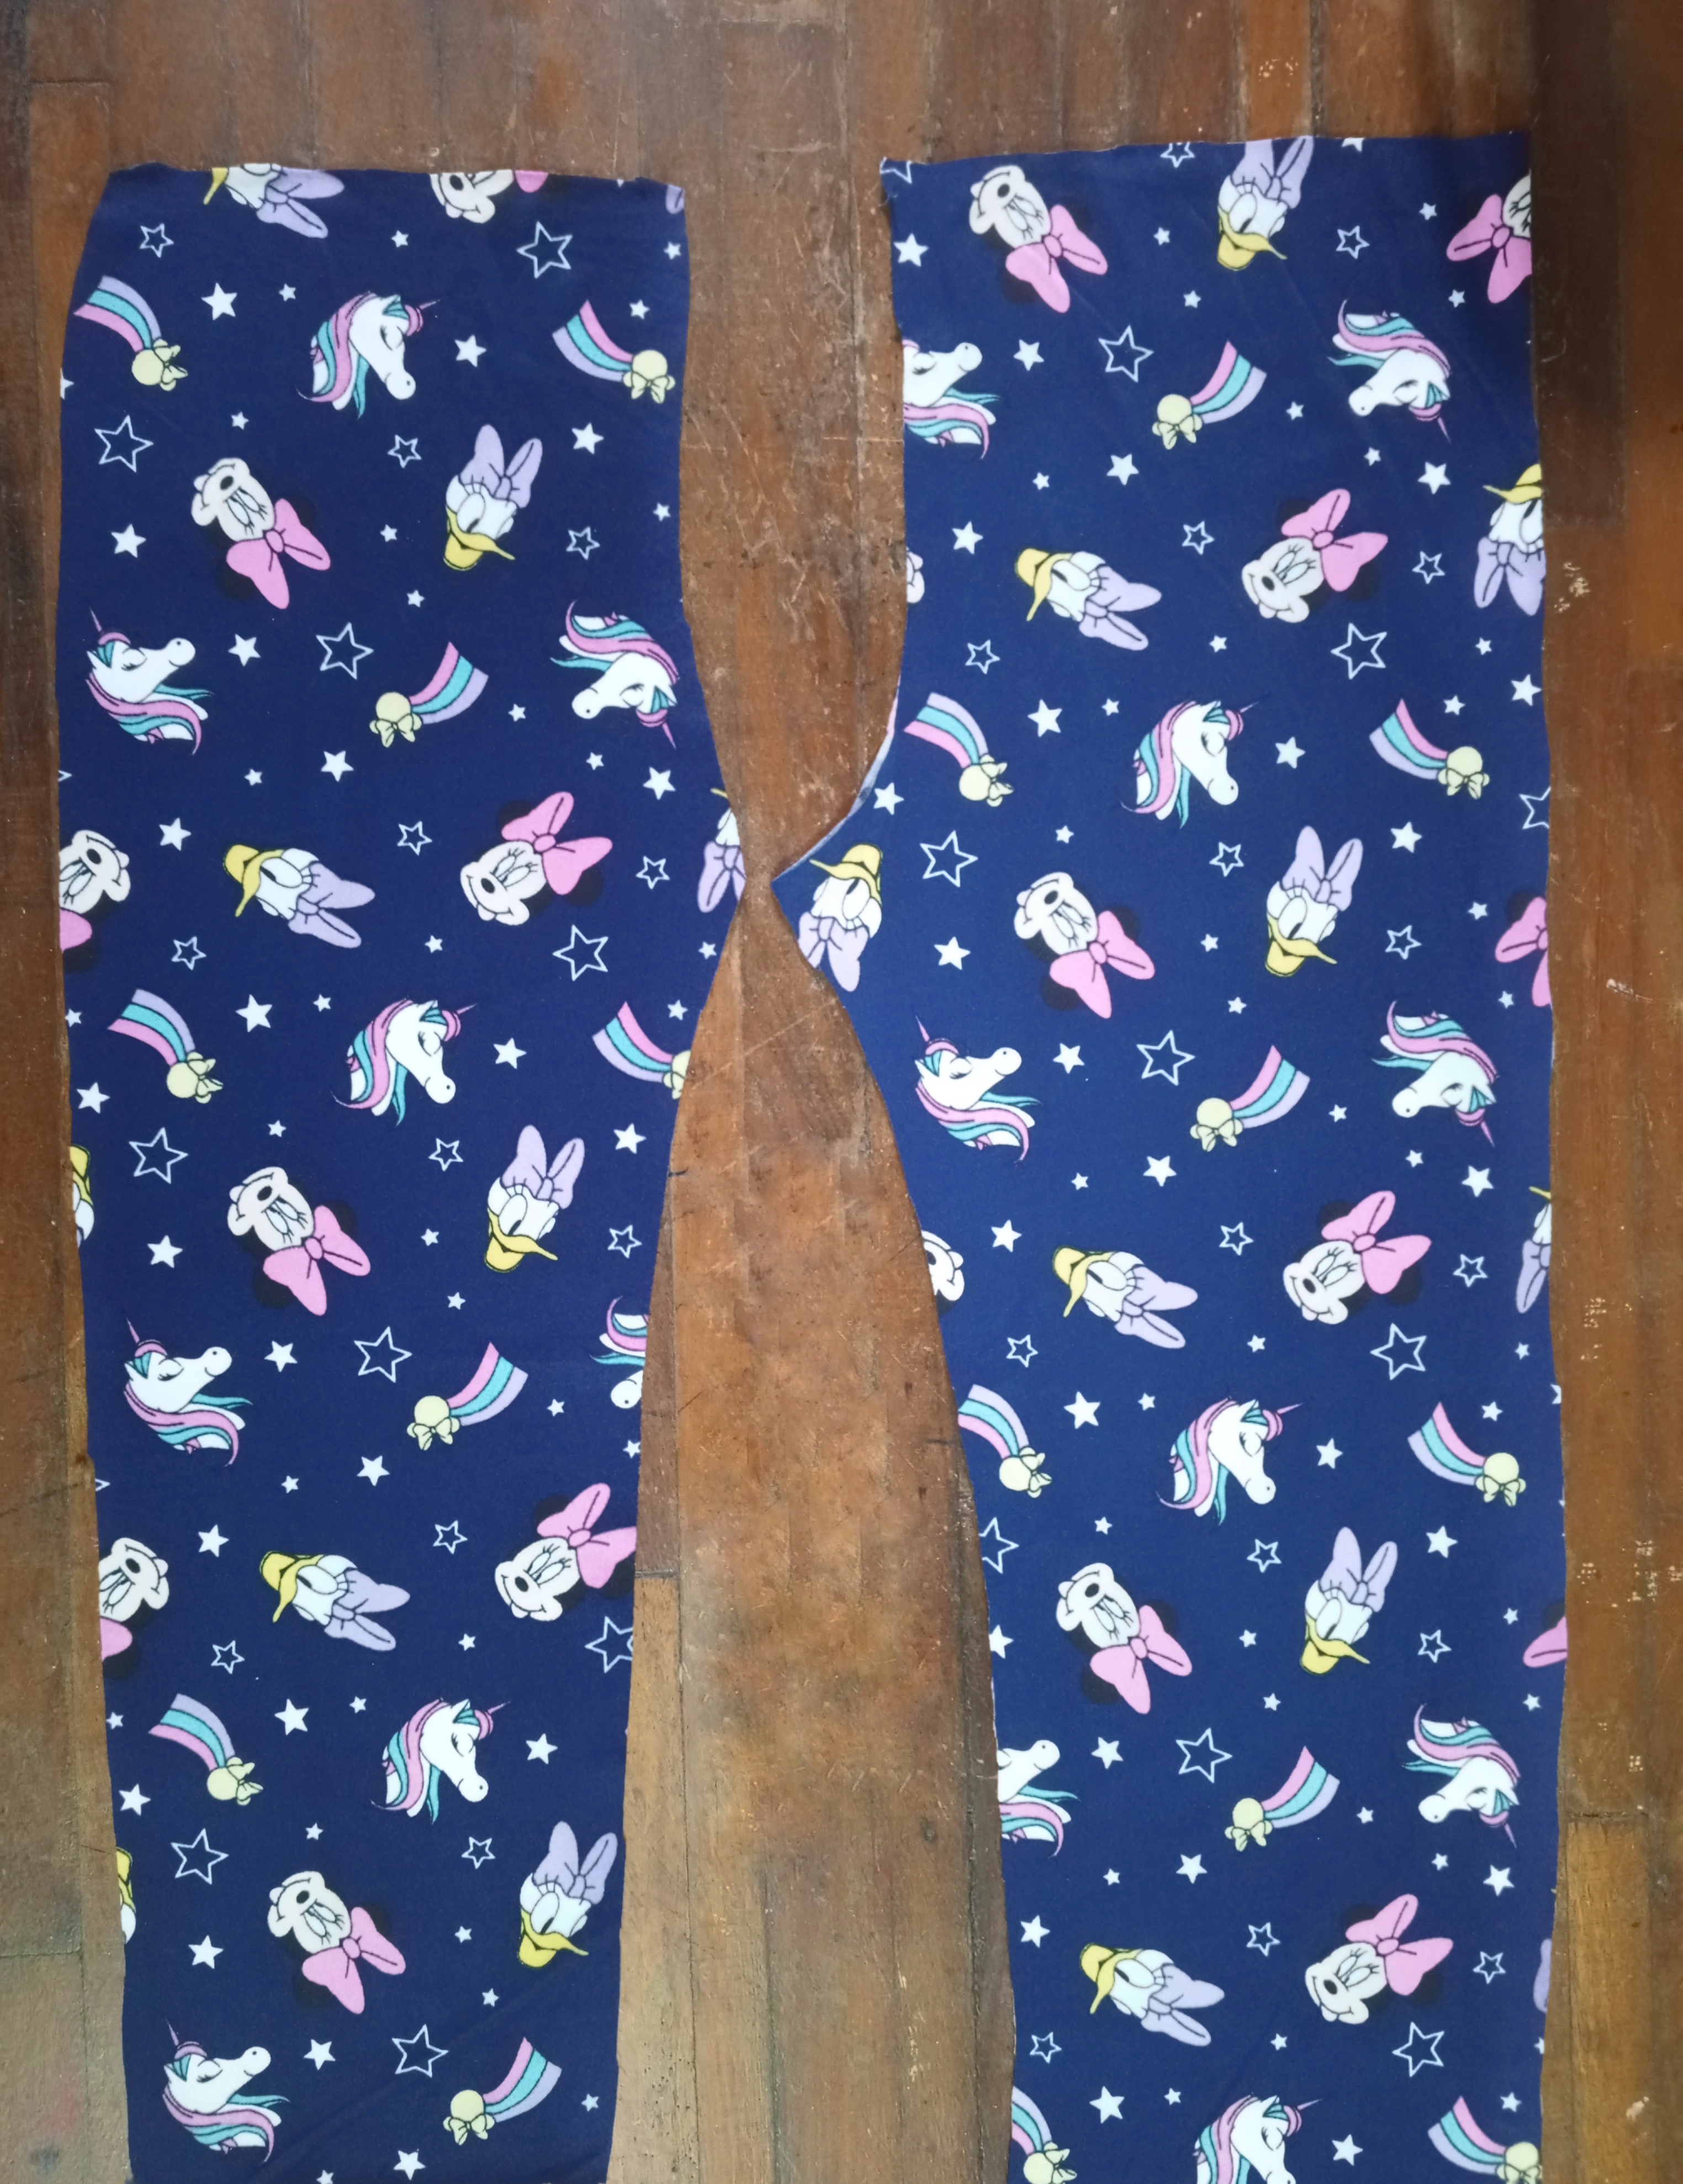
Lo primero que hice fue tomar la tela, luego la doble por la mitad y acomode muy bien la tela en la mesa, después tome el patrón del monito talla 4 y con alfileres lo sujete para poder cortar la primera pieza que será la parte delantera, de estás necesito que salgan dos partes.
Después corte la pieza trasera con mucho cuidado, luego retire los patrones, los coloque a un lado.
step 1
The first thing I did was to take the fabric, then fold it in half and arrange the fabric very well on the table, then take the pattern of the monkey size 4 and with pins I pinned it to cut the first piece that will be the front part, from these I need two parts to come out.
Then cut the back piece very carefully, then remove the patterns, place them aside.
Paso 2
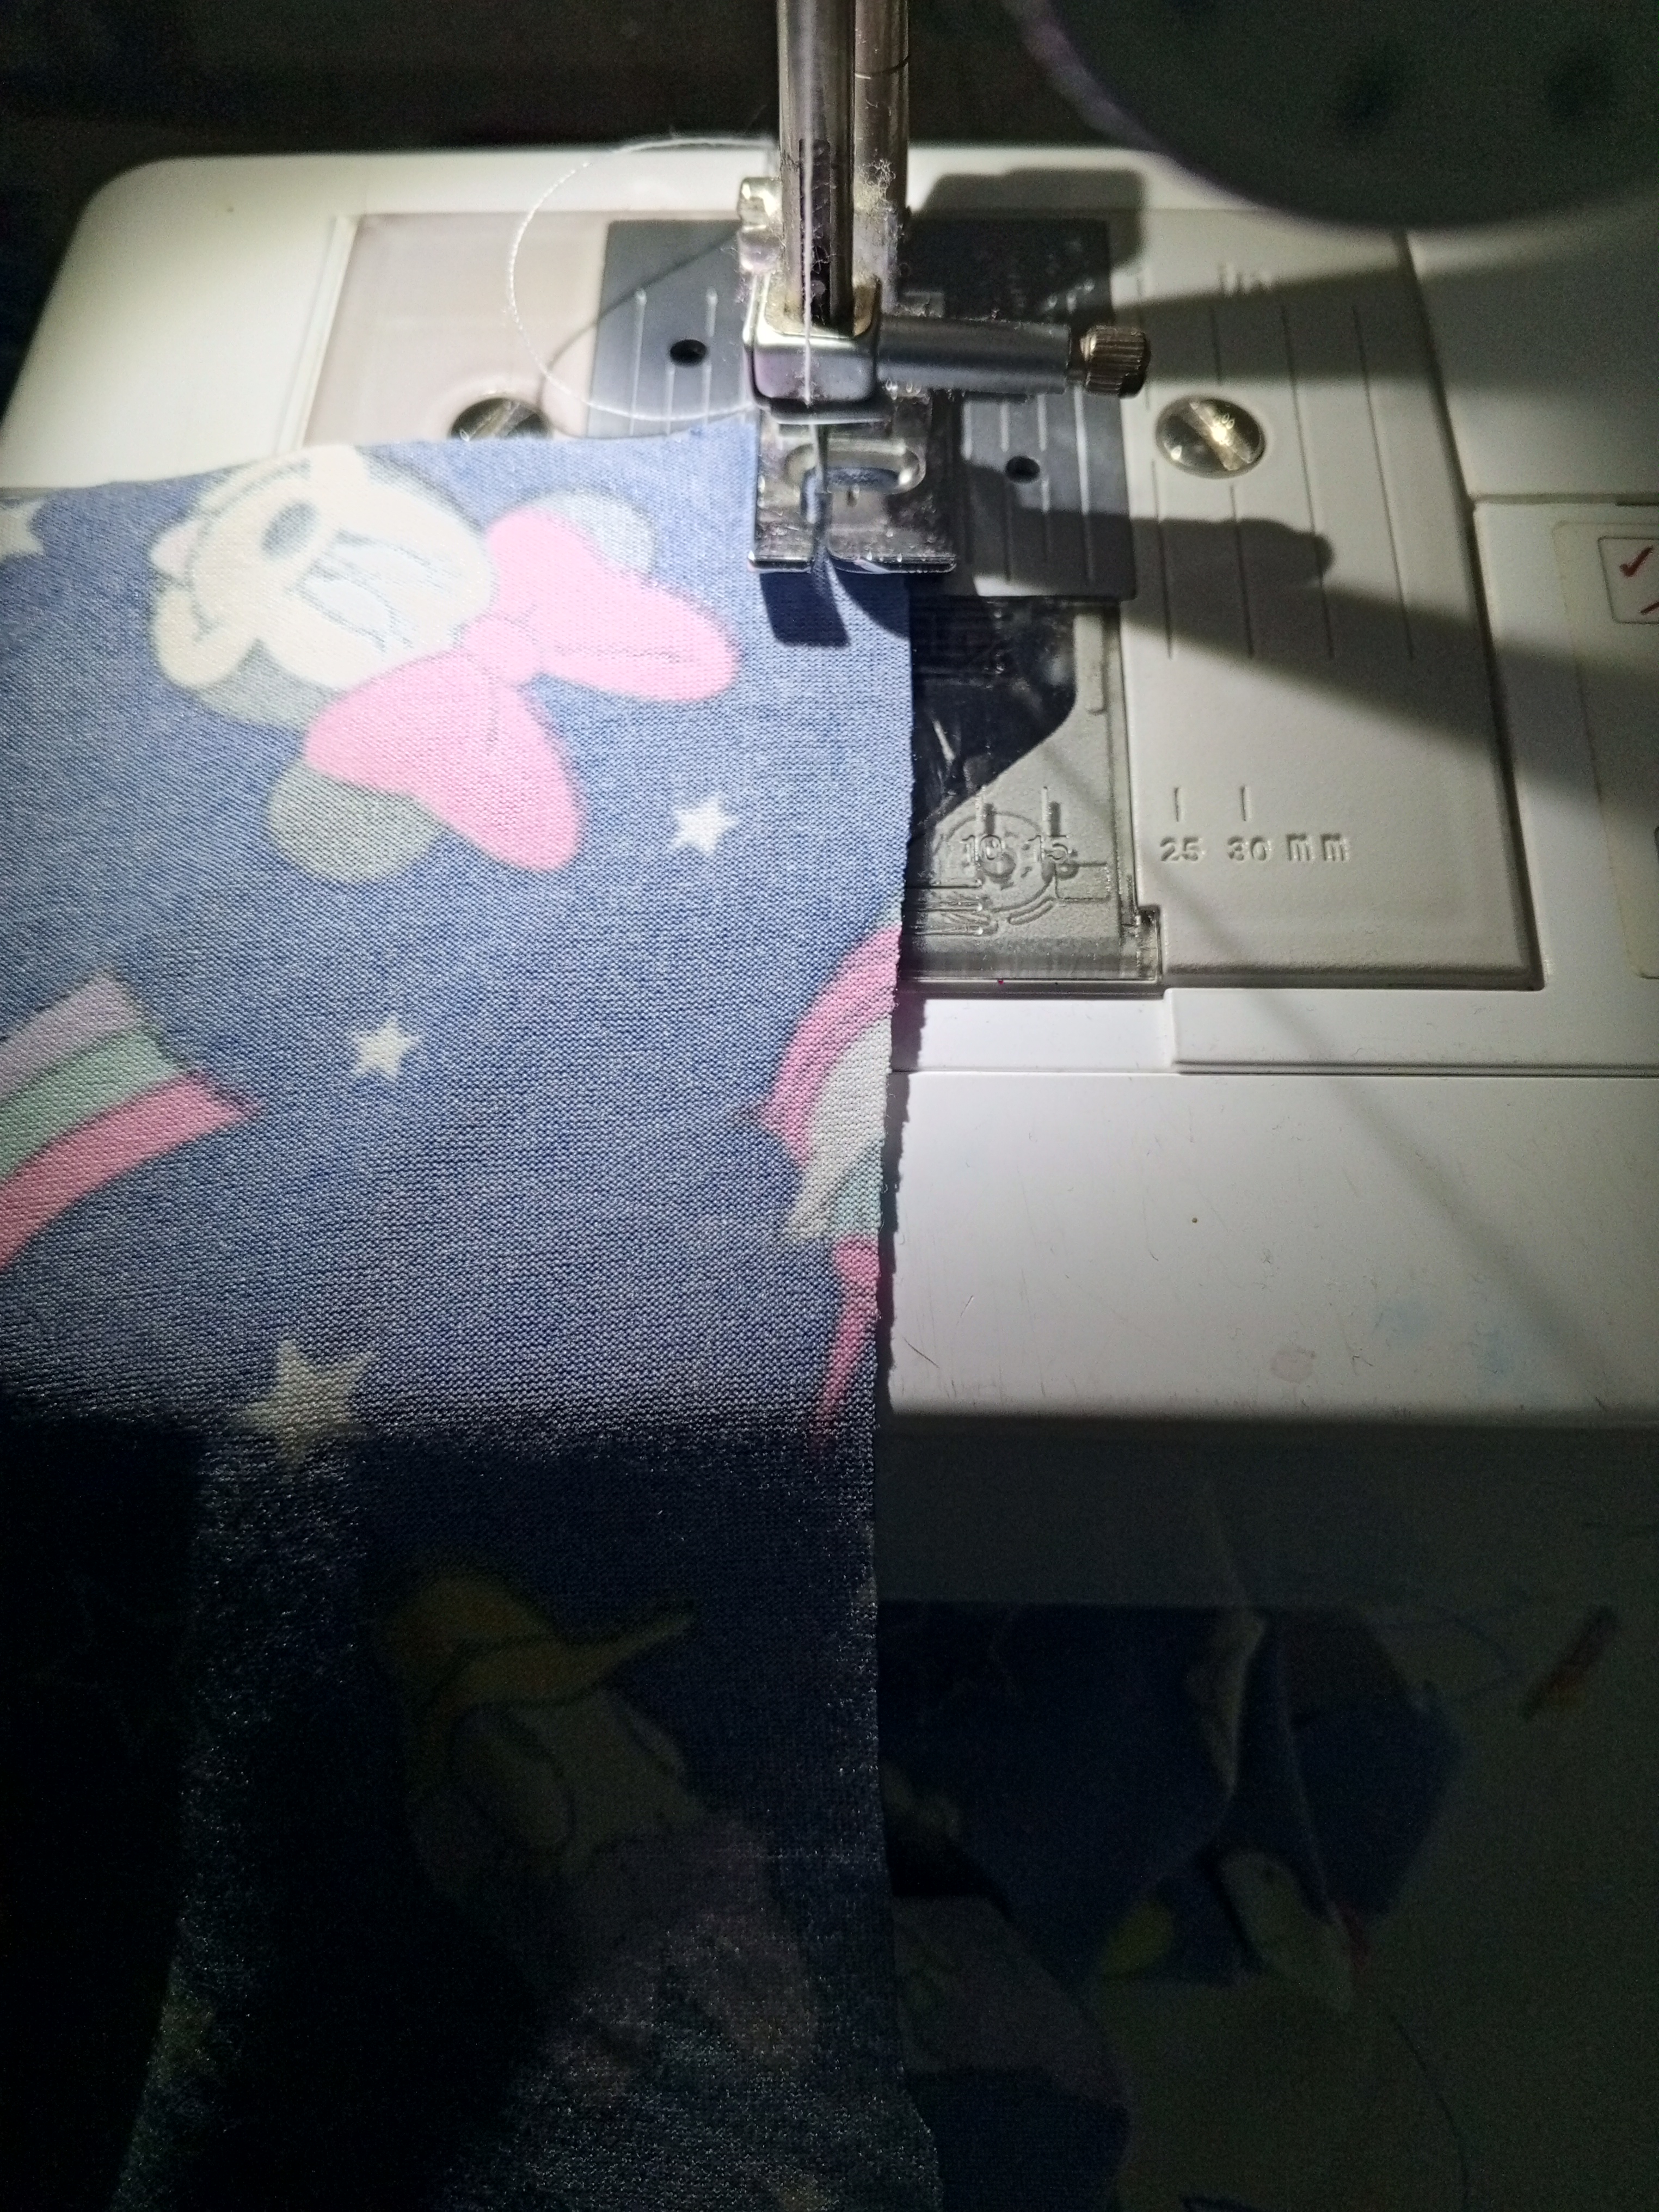
Tomé las partes delanteras y coso por la parte del talle, las uni con una costura recta y luego con costura en forma de zigzag.
después hice lo mismo con la parte trasera.
Step 2
I took the front pieces and sewed them together with a straight seam and then with zigzag stitching.
Then I did the same with the back.
Paso 3
Ahora con estas costuras voy a obtener una parte delantera y 1 parte trasera, tomé la parte derecha de la tela y enfrente cada una para poder pasarle costura recta por los laterales, después pase costura zigzag.
Step 3
Now with these seams I am going to get a front and a back, I took the right side of the fabric and I faced each one in order to sew a straight seam on the sides, then I sewed a zigzag seam.
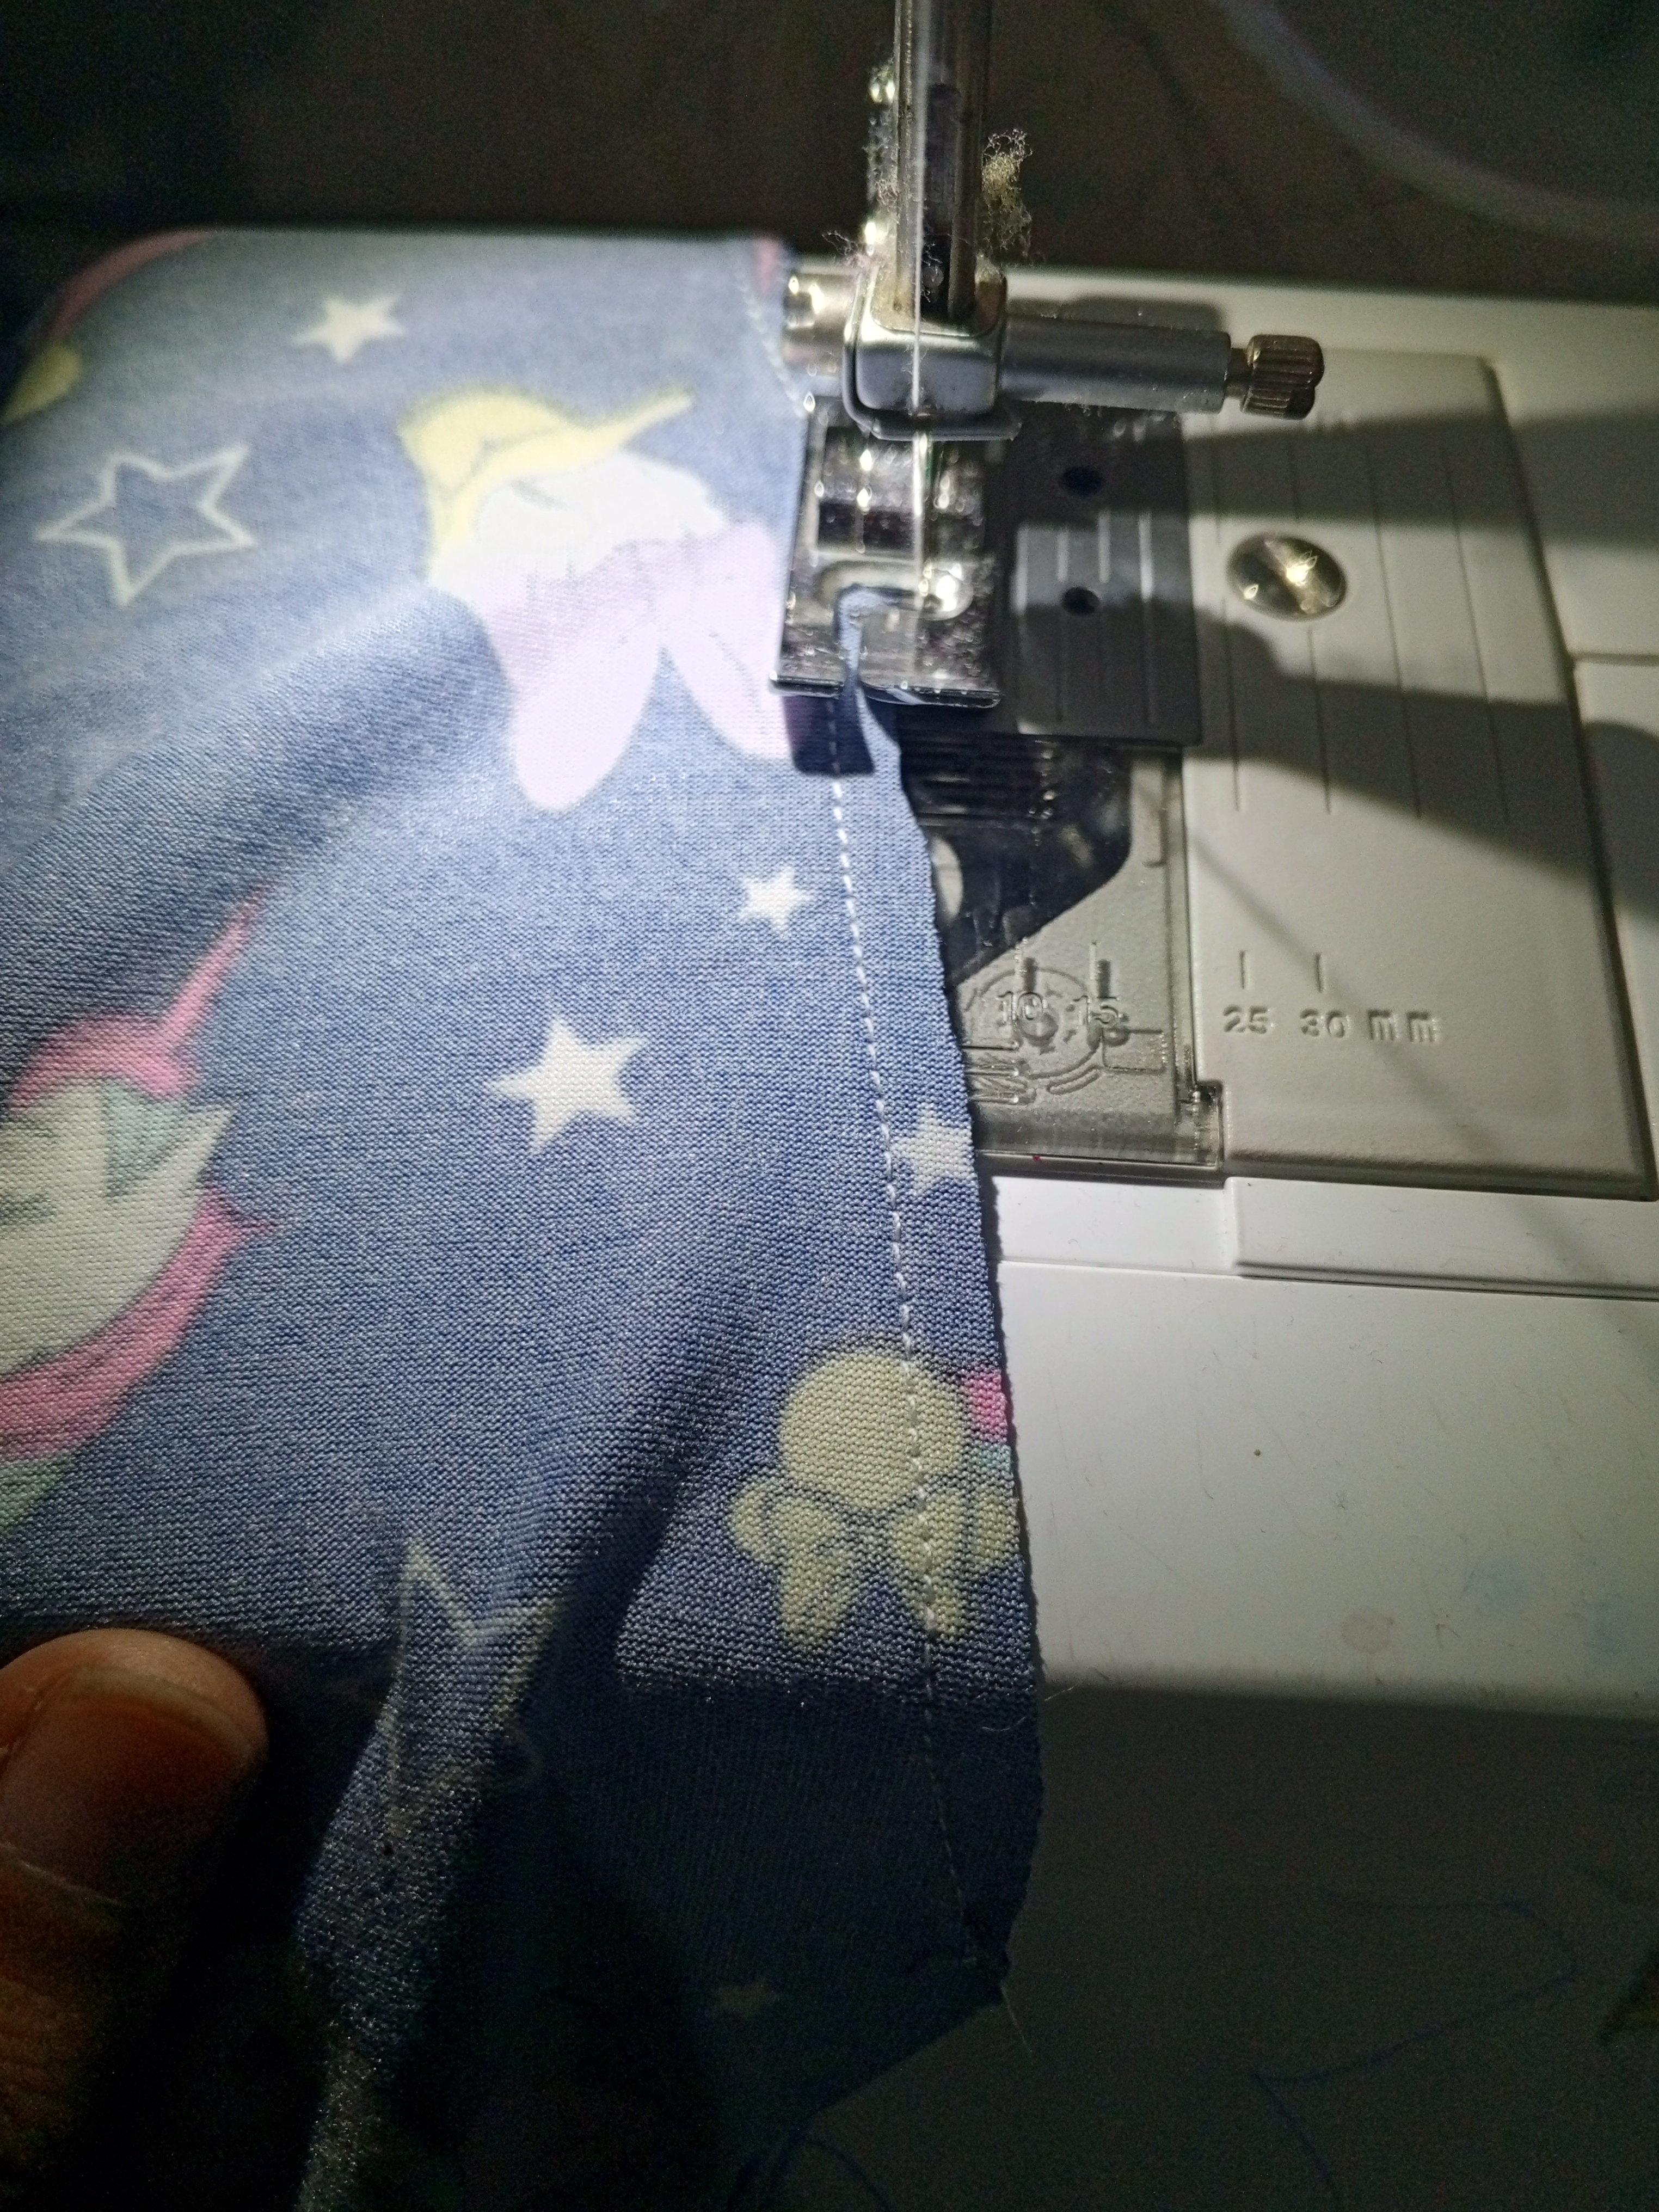
Paso 4.
Ahora doble el ruedo y pase una costura recta con mucho cuidado para que quedará con un bonito acabado.
Step 4.
Now fold the hem and sew a straight seam carefully so that it will have a nice finish.
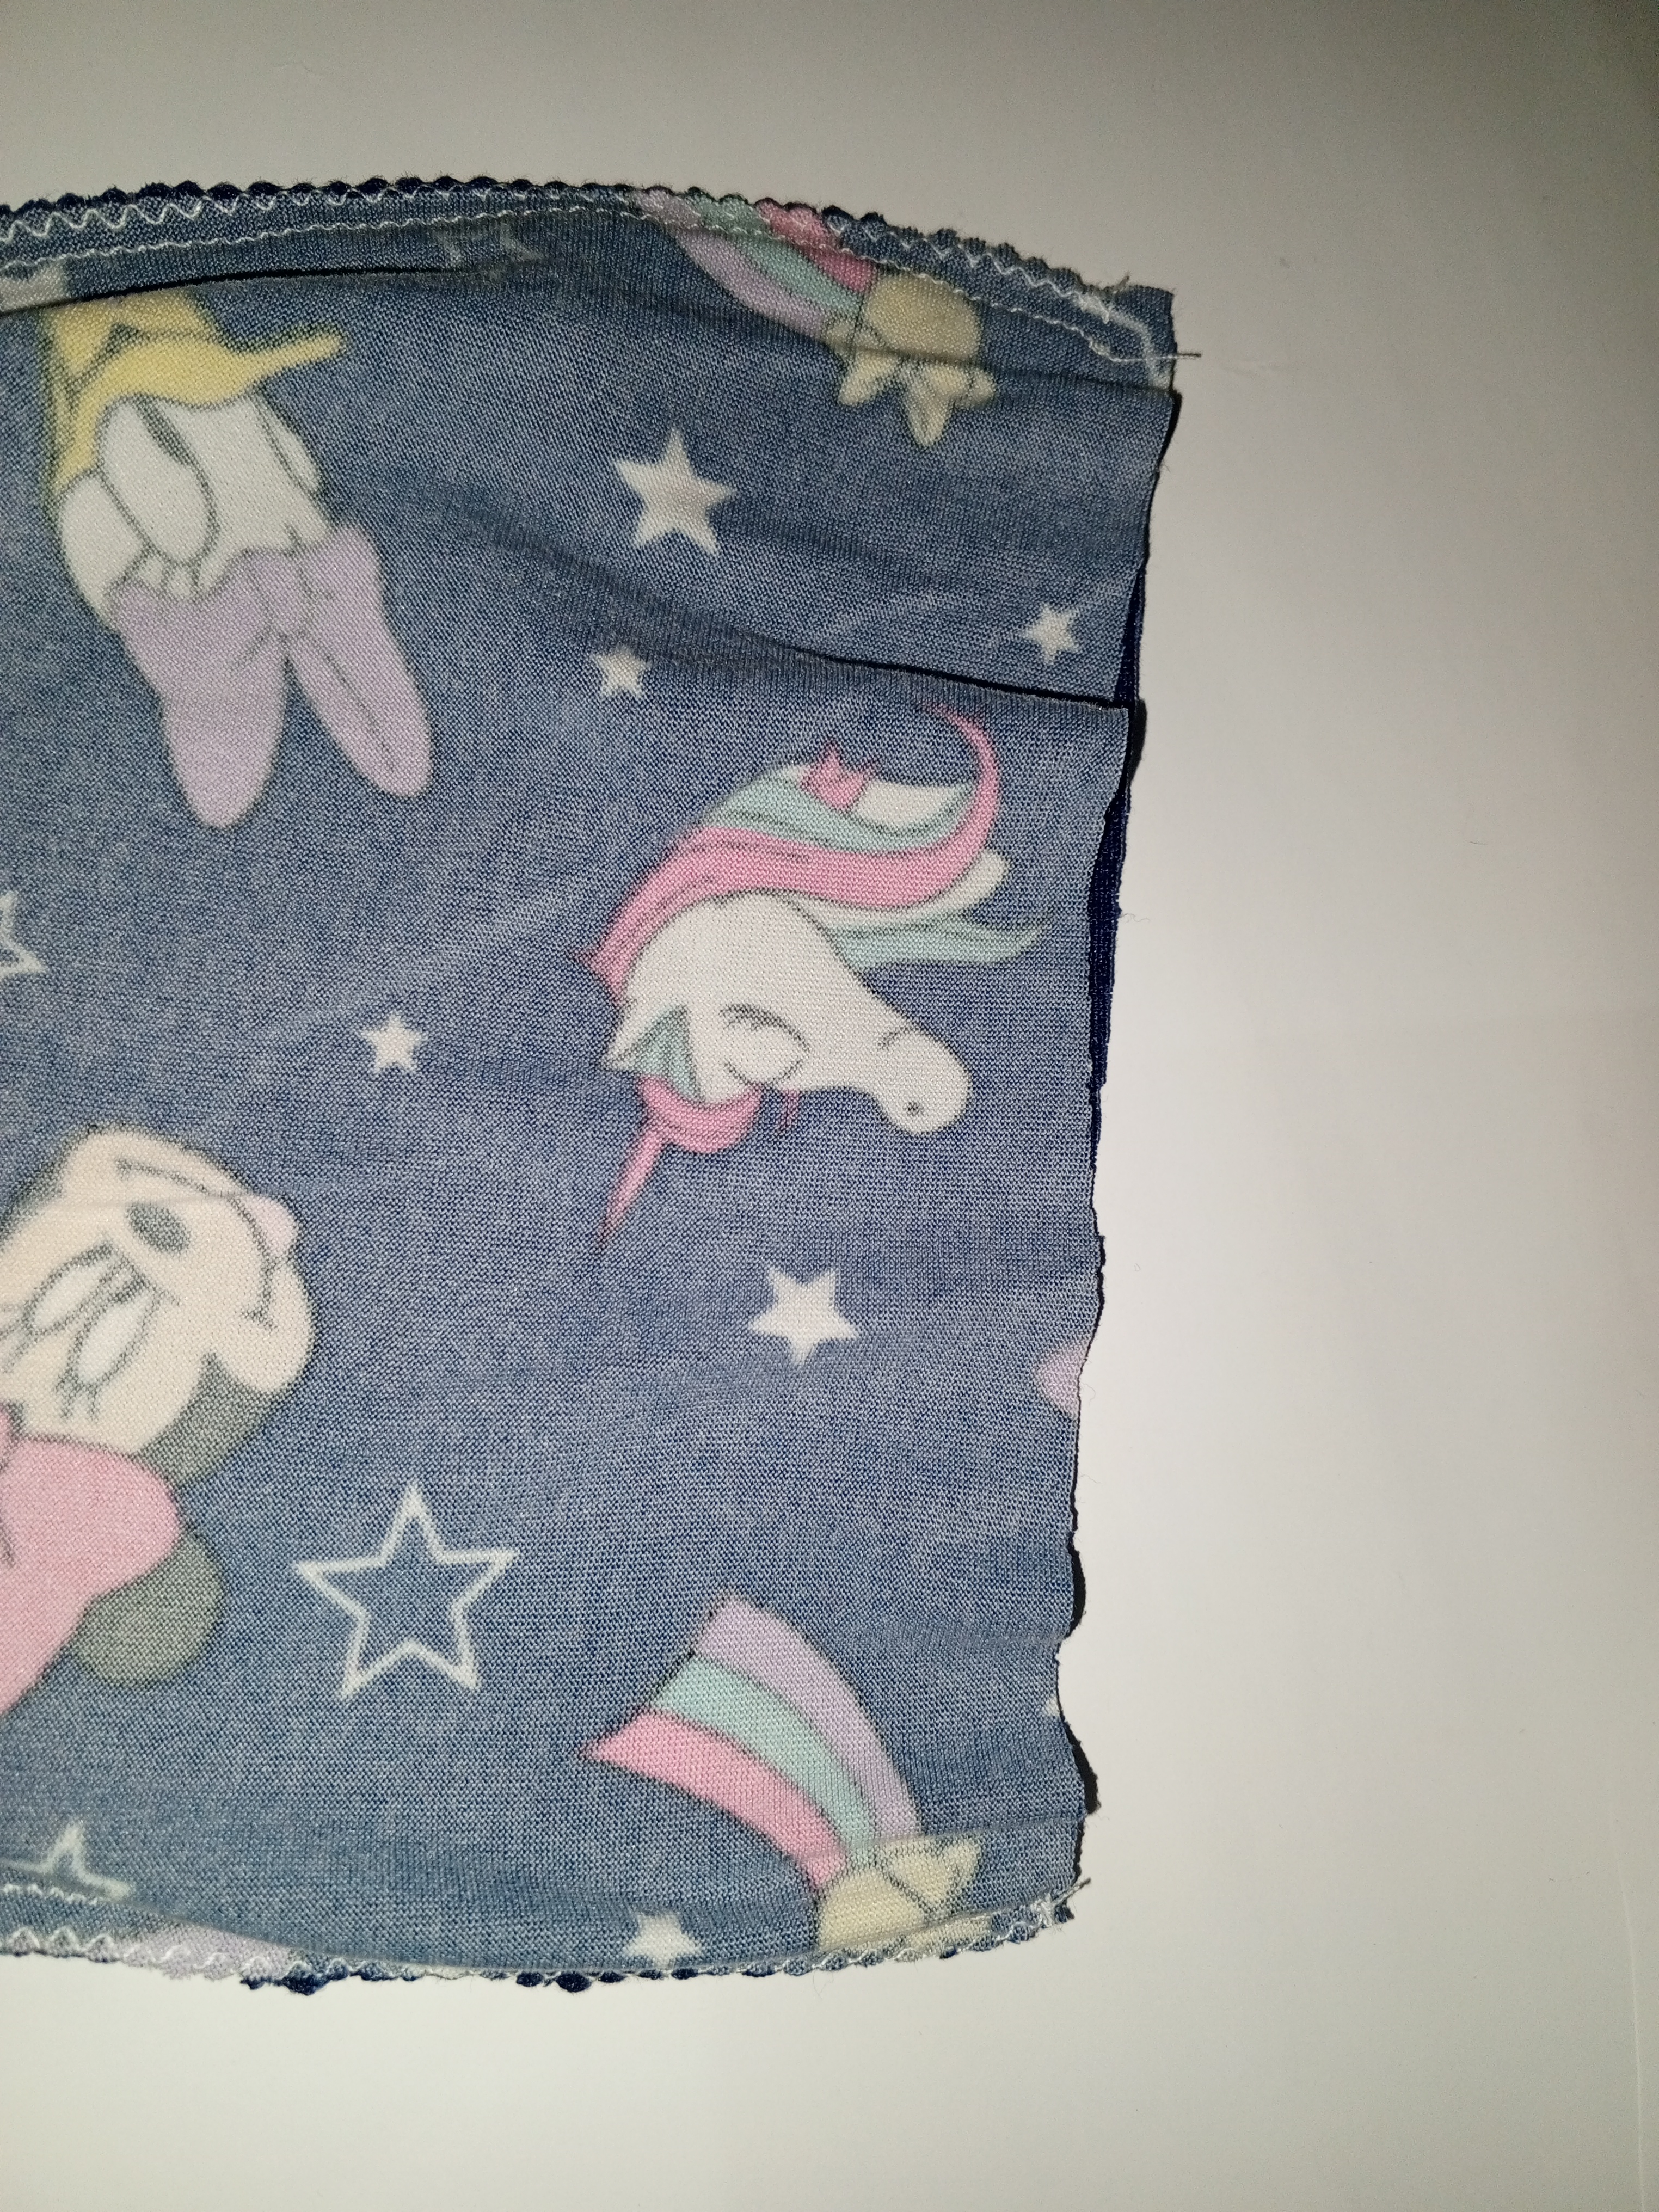
Paso 5.
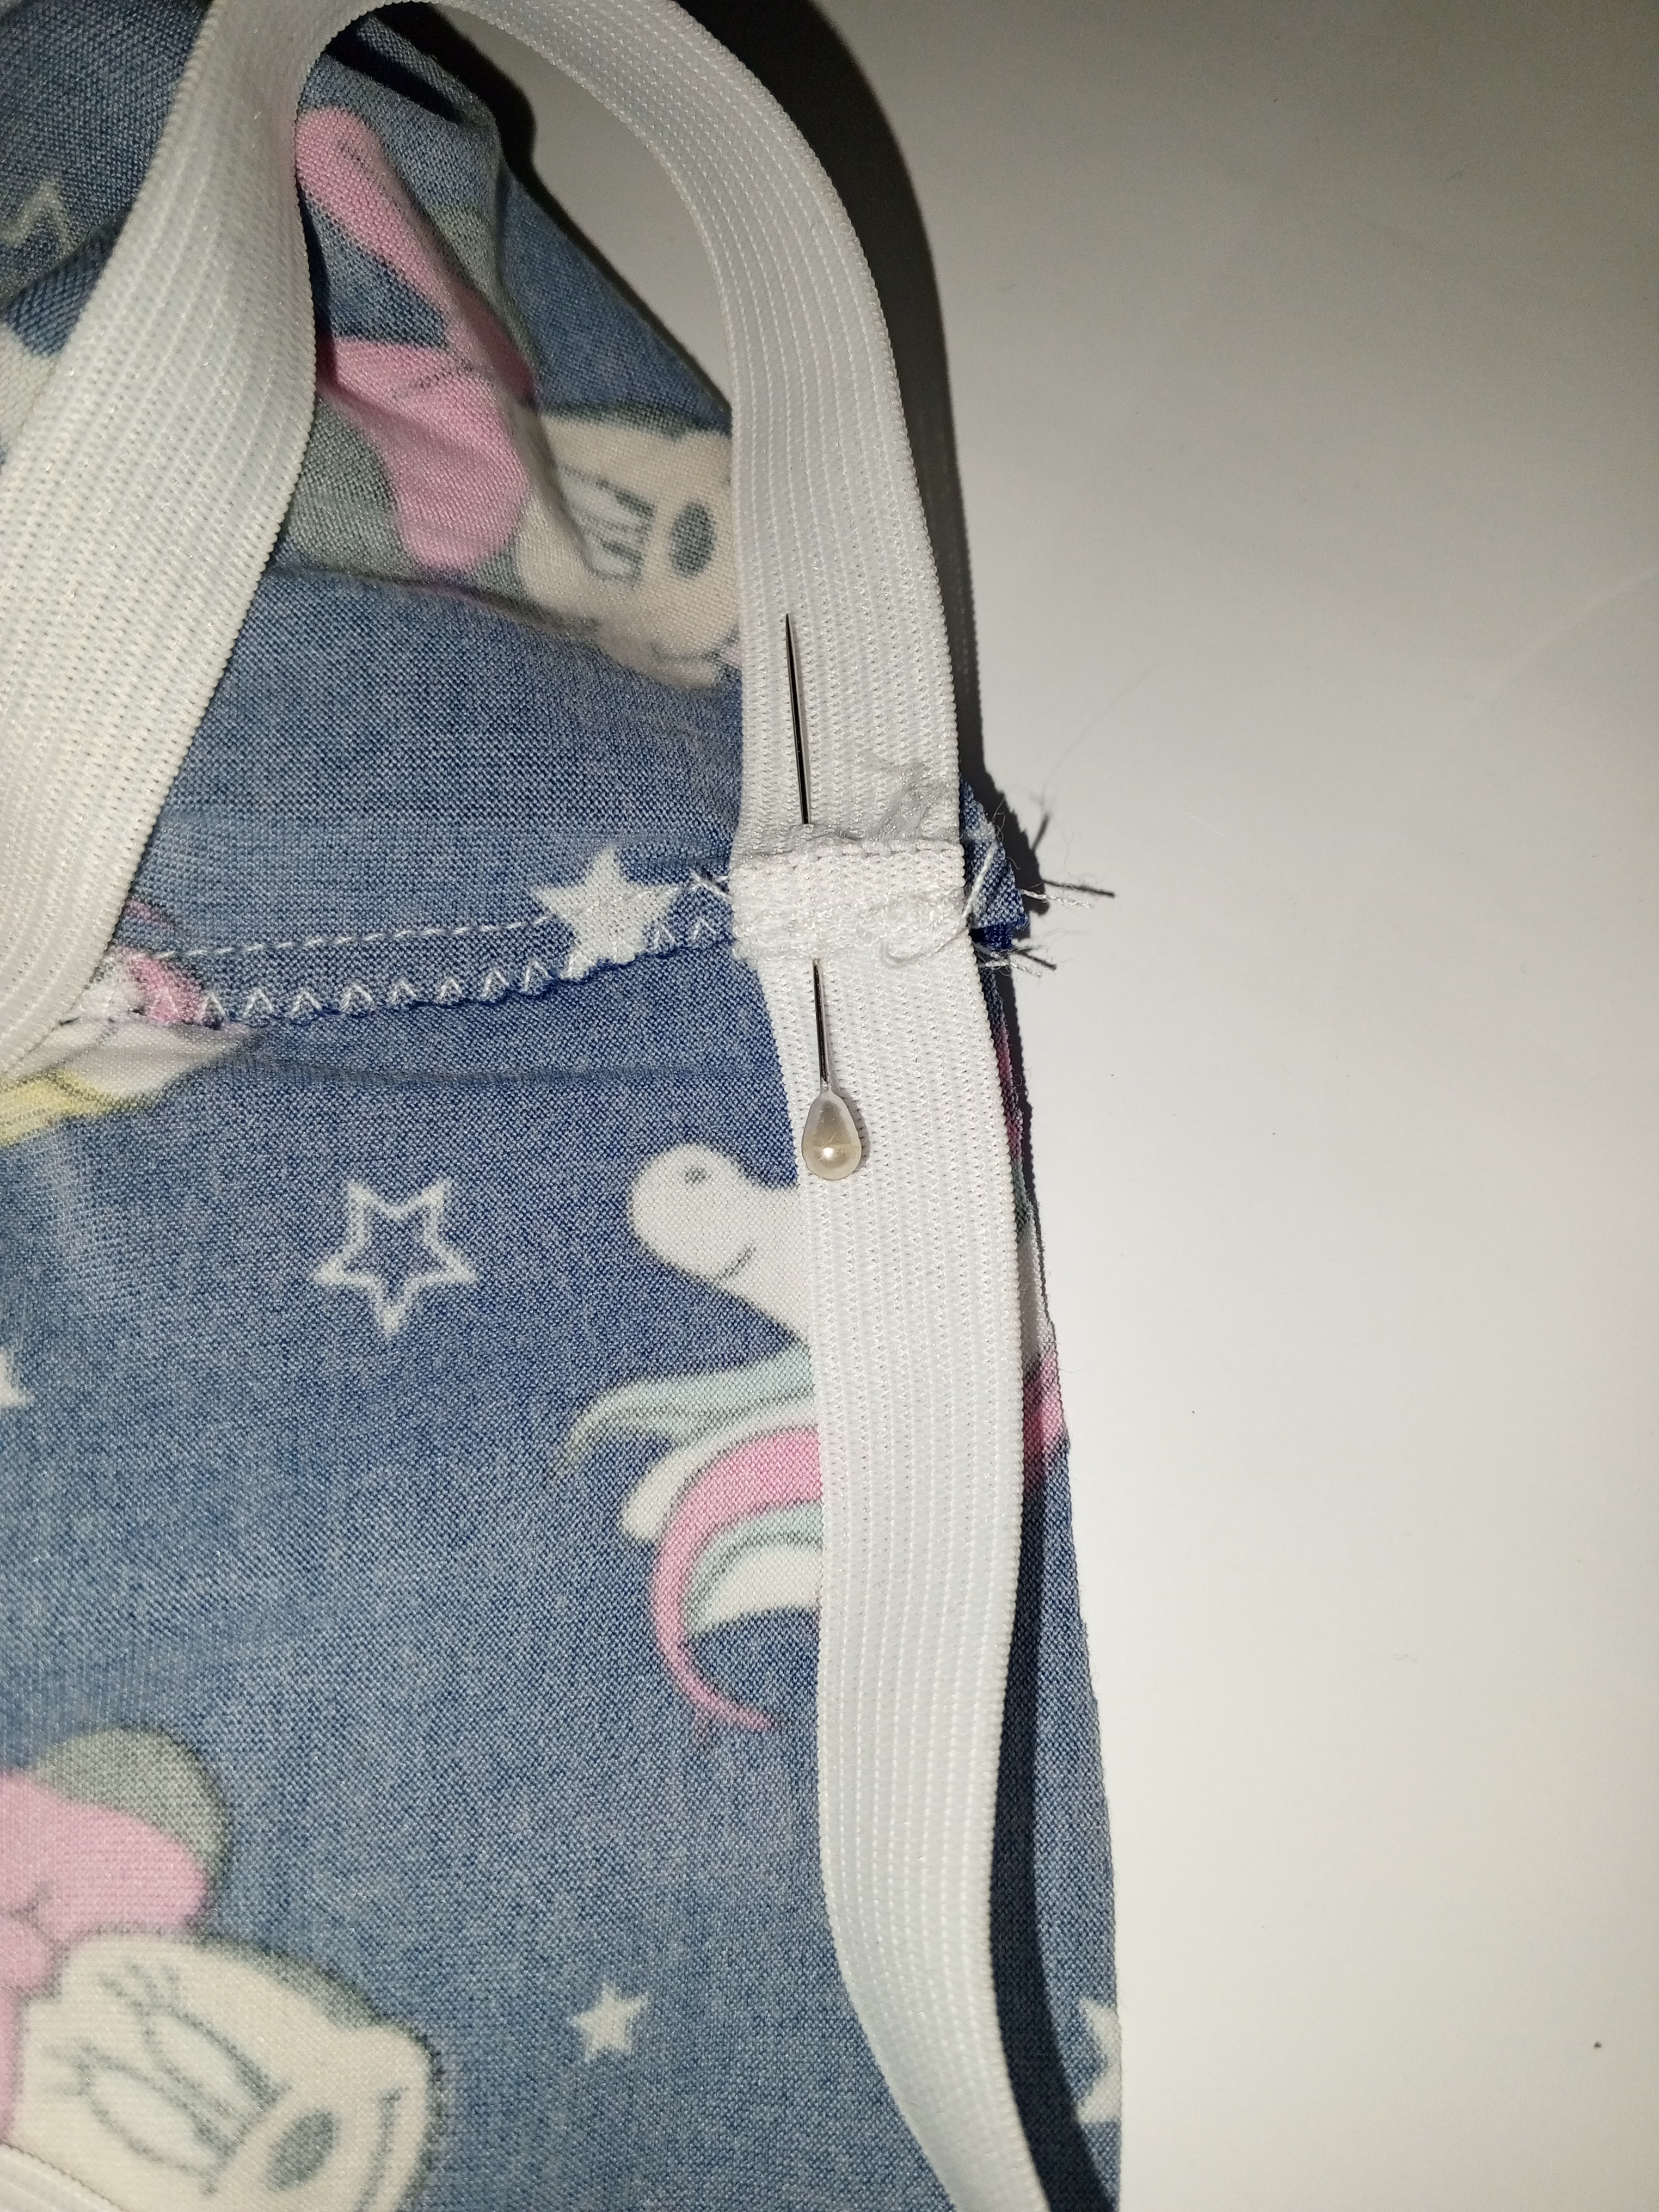
Tomé la cinta elástica y media el contorno de la cintura del pantalón, luego le reste 4 centímetros y cosi para unir la elástica, luego la coloque en el pantalón con una costura en zigzag y luego doble para pasarle costura recta y así culminar esta pieza.
Step 5.
I took the elastic band and measured the contour of the waistband of the pants, then subtract 4 centimeters and sewed to join the elastic, then place it in the pants with a zigzag seam and then fold to pass straight stitching to finish this piece.

Resultado
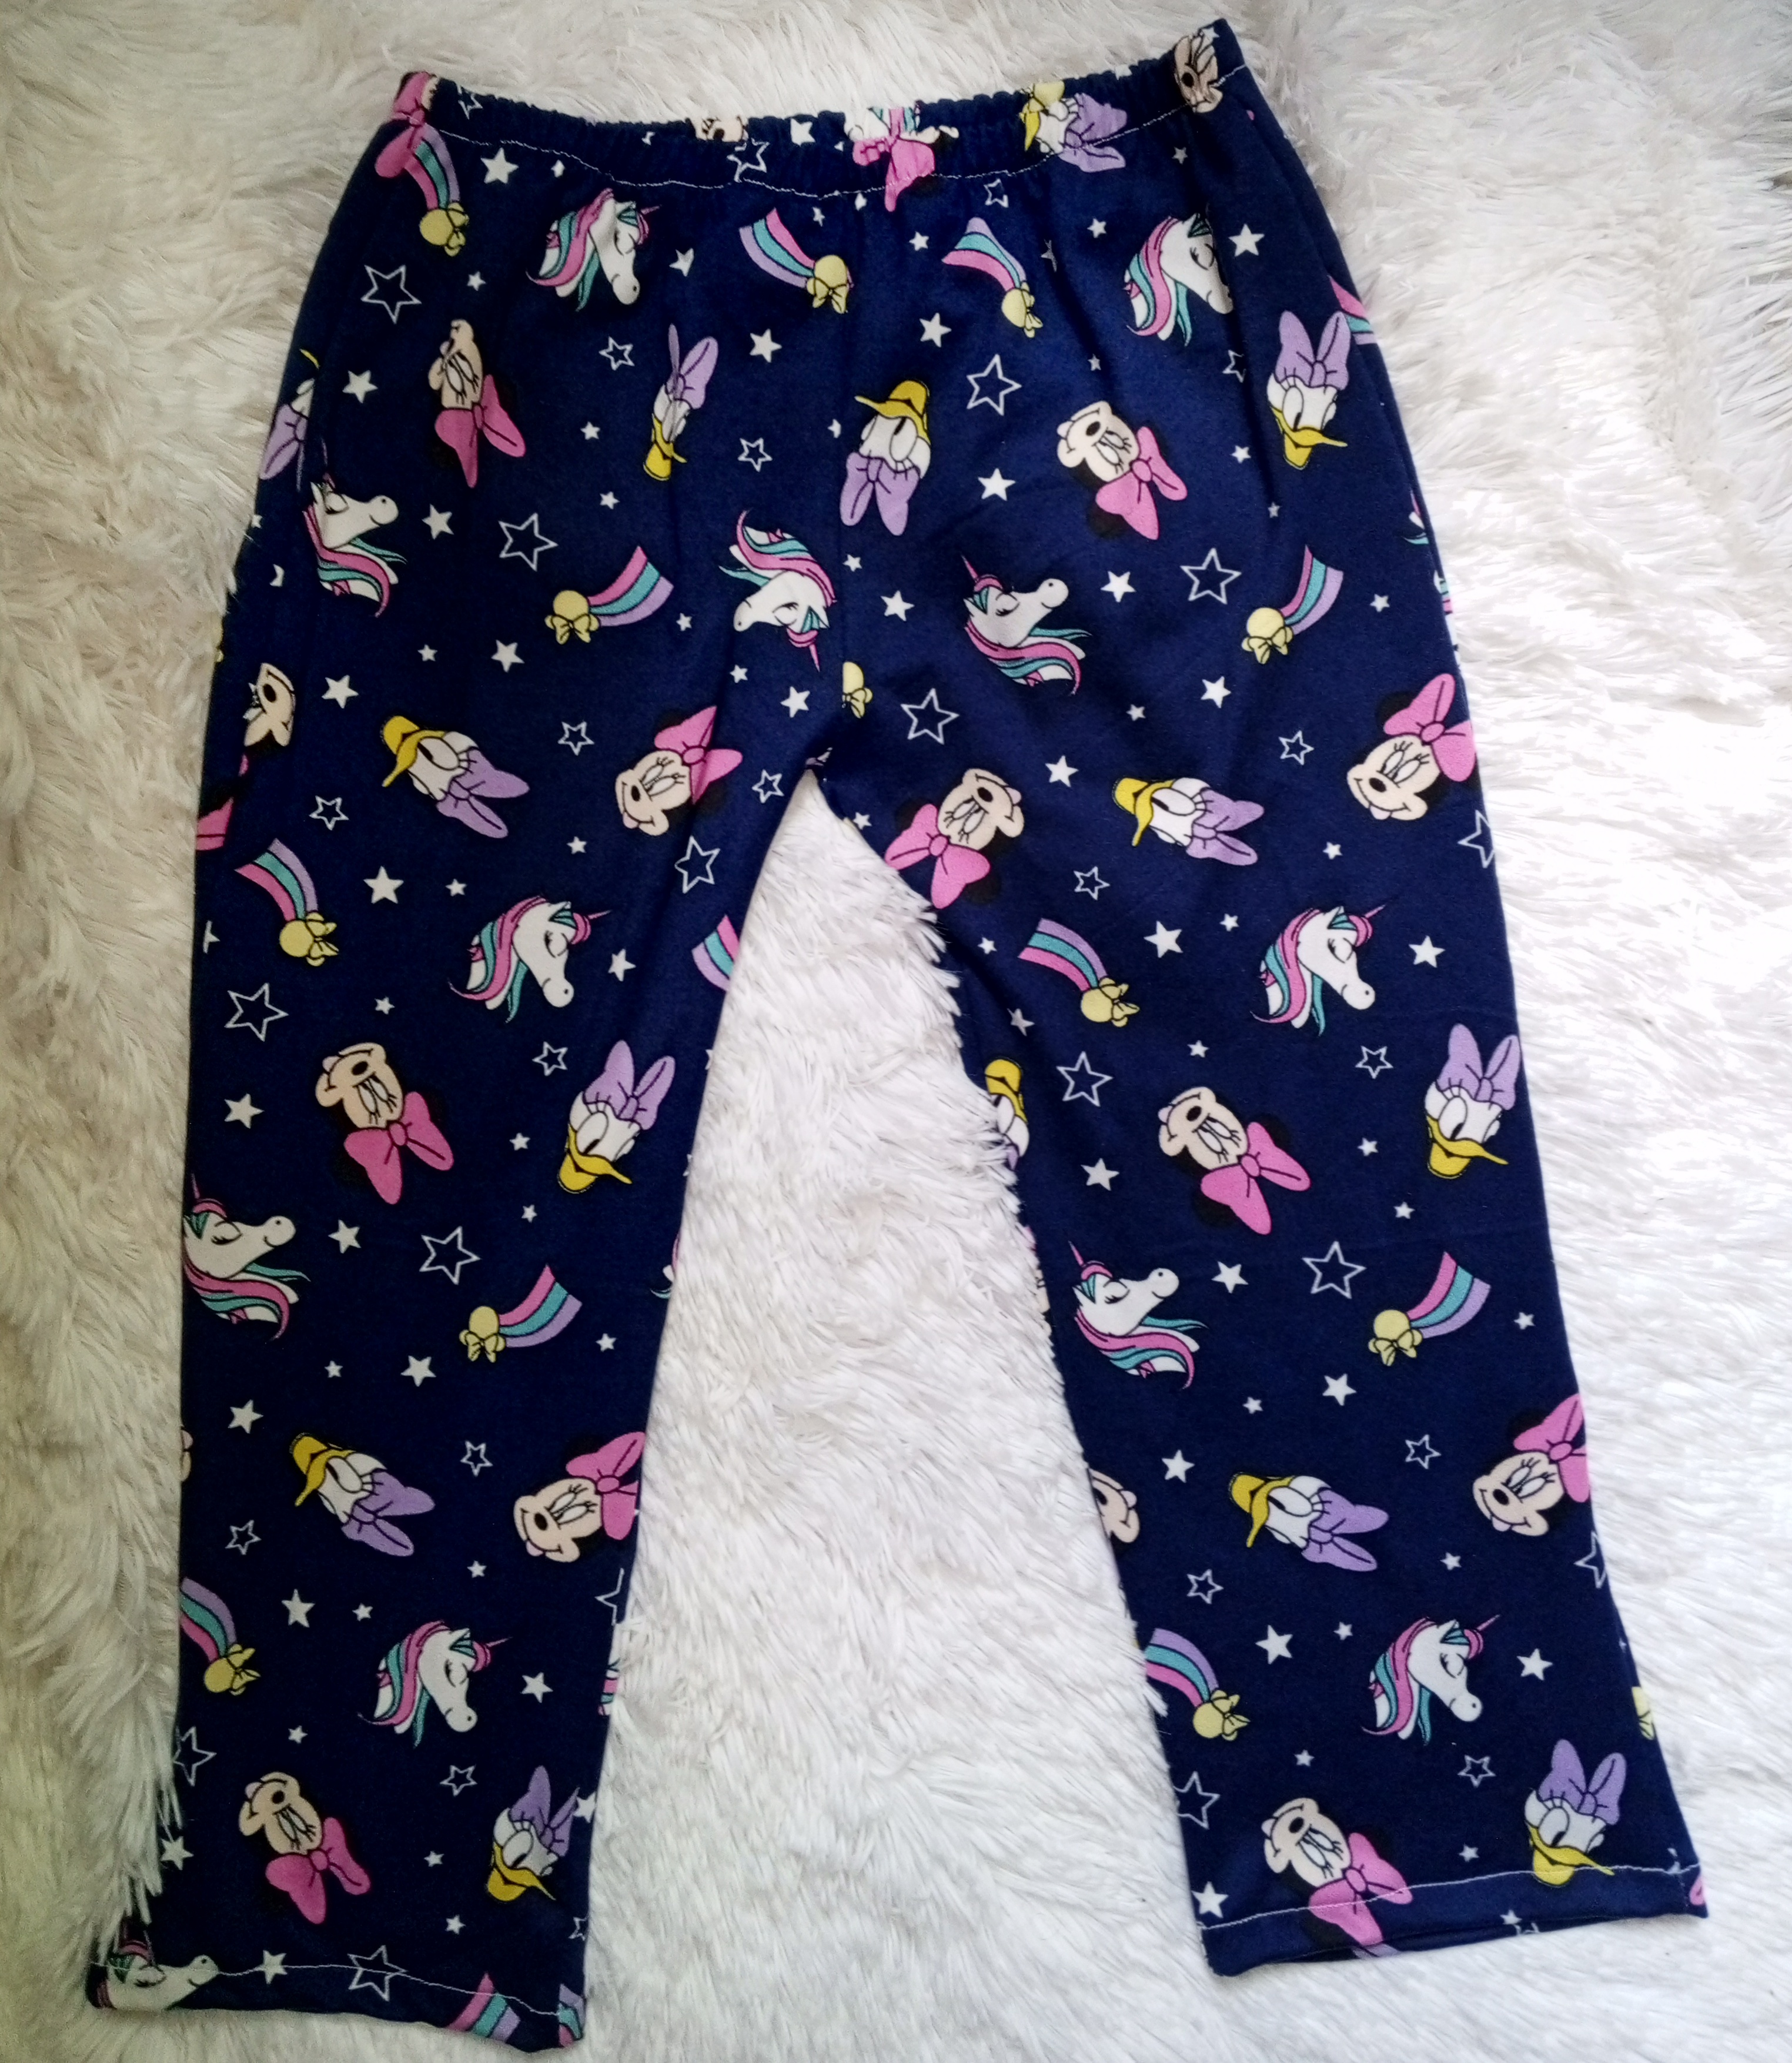
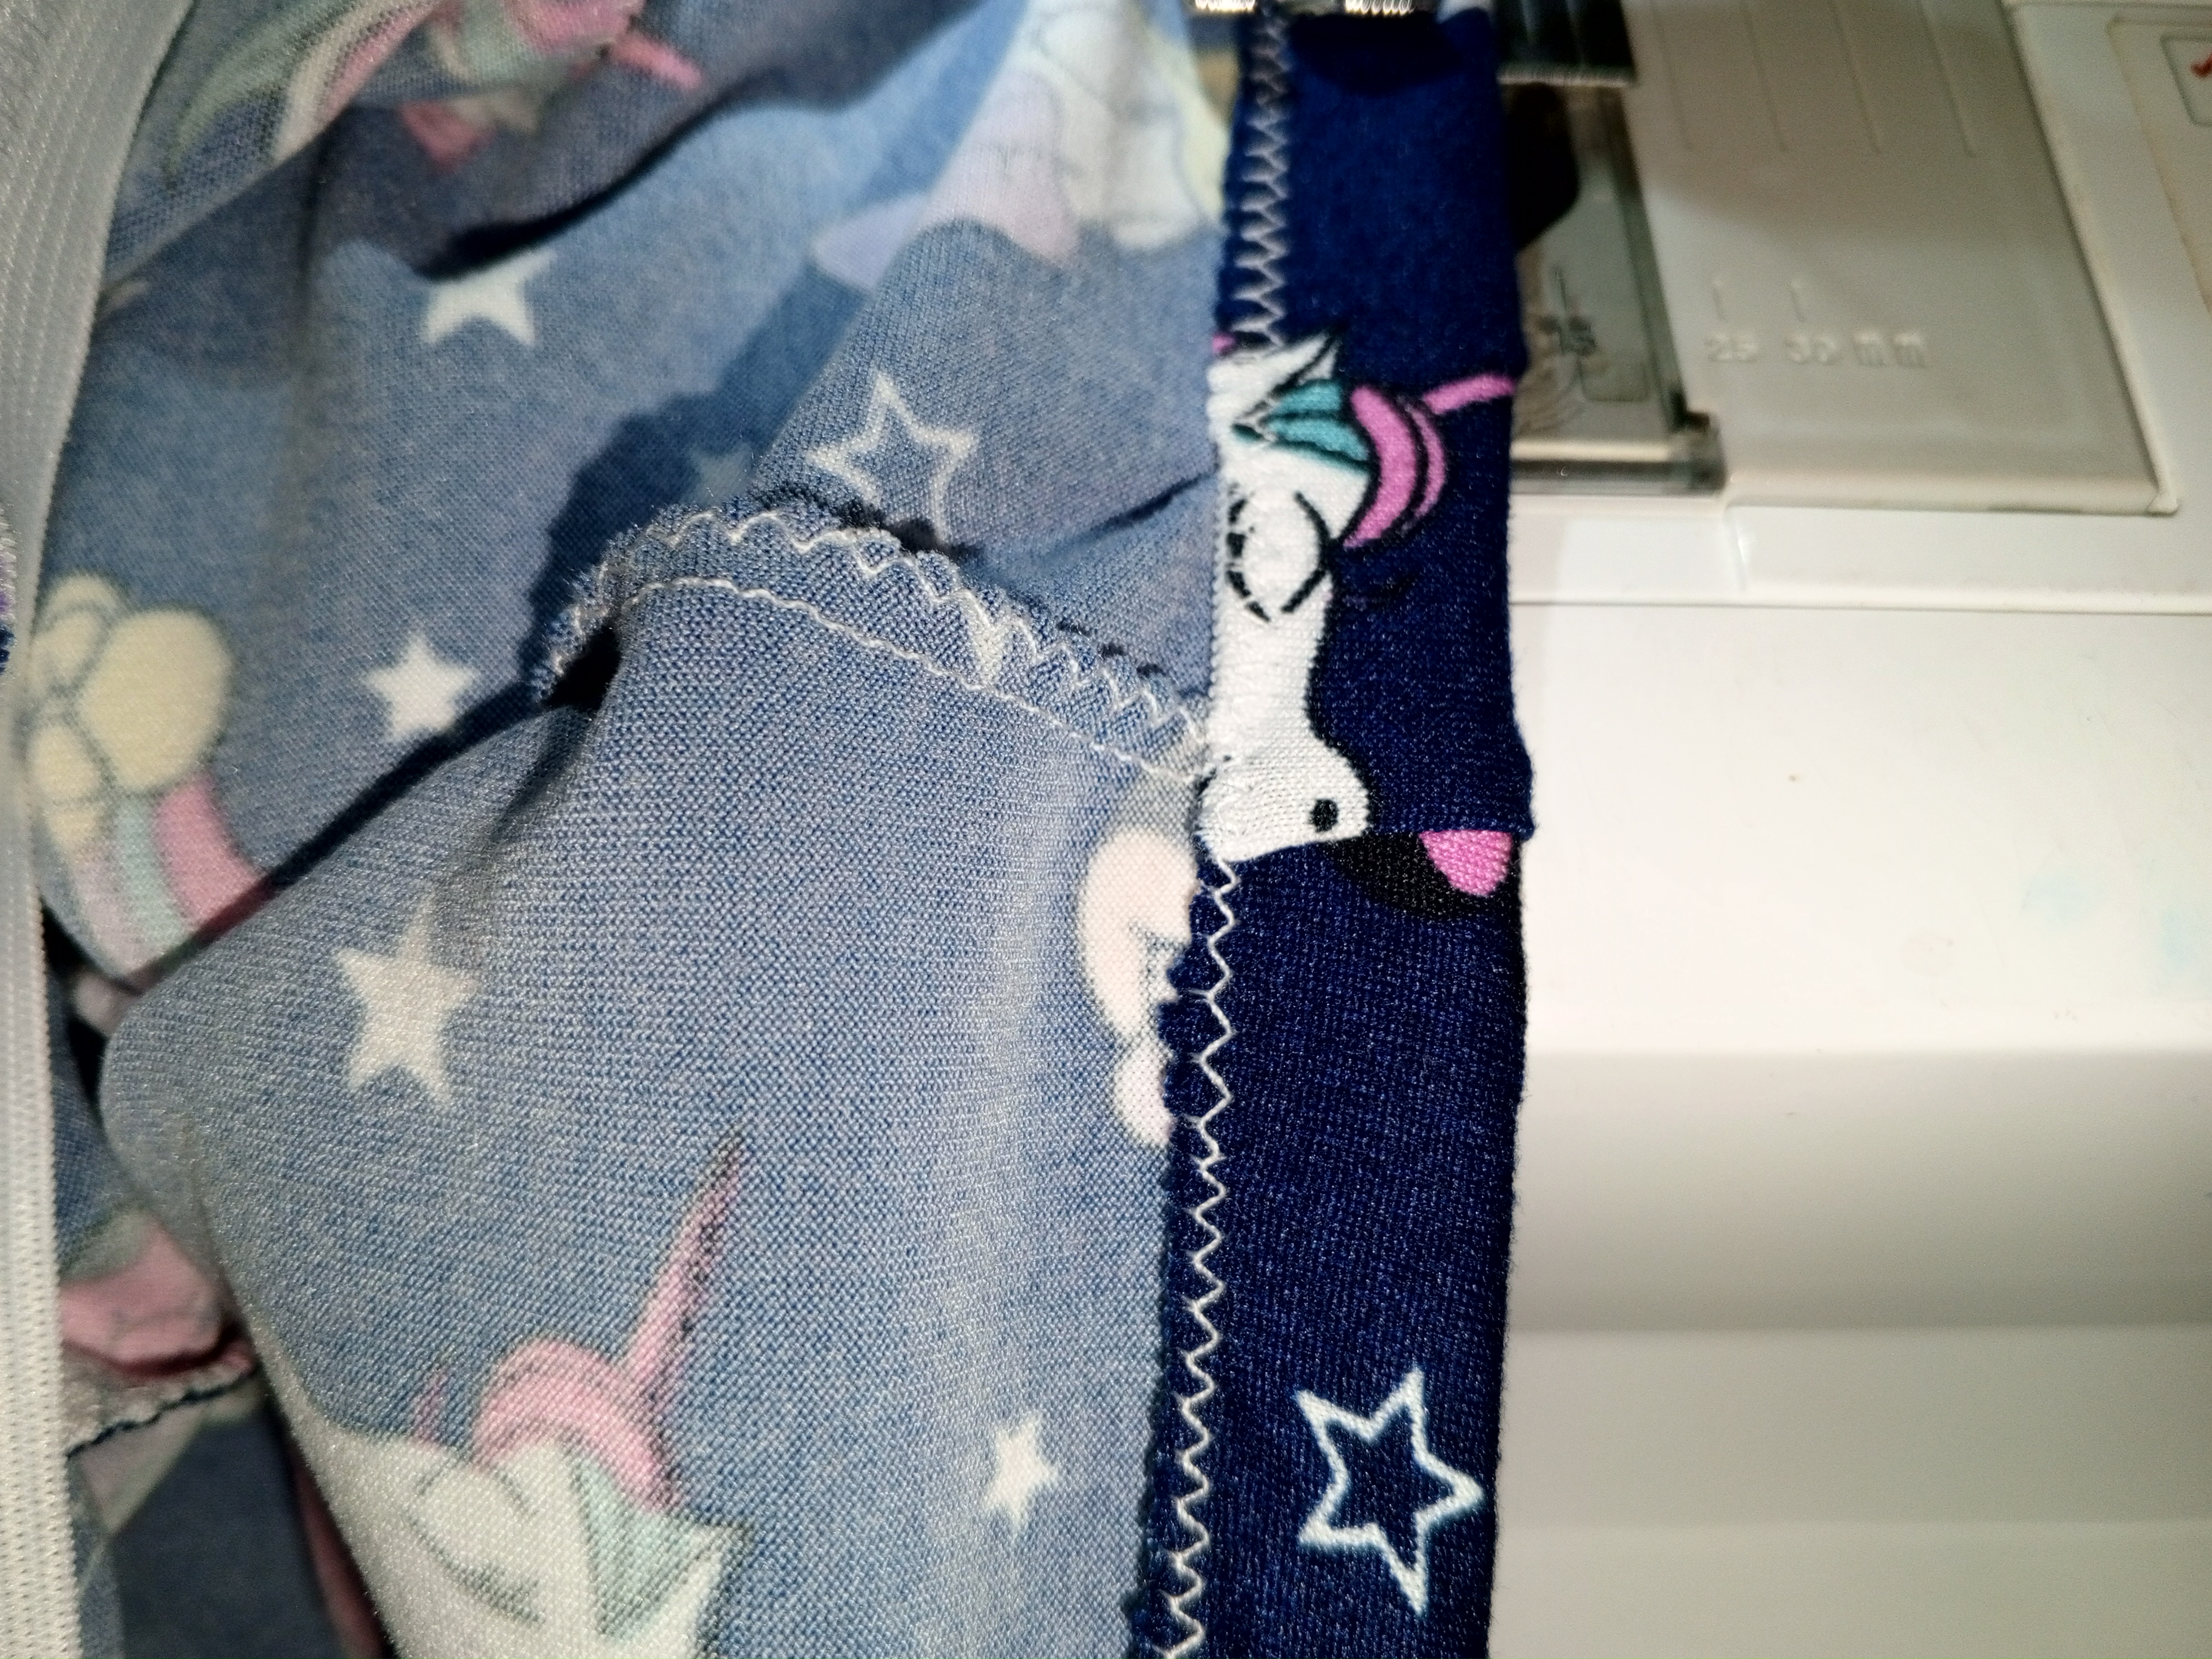
Este ha sido el pantalón de niña talla 6, espero que le sirva de ayuda este tutorial y puedan sacarle provecho, la costura no es fácil Pero con mucha práctica y paciencia podemos realizar grande cosas, nuestra mente es nuestro único límite, mientras tengamos el entusiasmo llegaremos muy lejos.
Bendiciones
This has been the girl's pants size 6, I hope this tutorial will help you and you can take advantage of it, sewing is not easy but with lots of practice and patience we can do great things, our mind is our only limit, as long as we have the enthusiasm we will go far.
Congratulations @dilianny20! You have completed the following achievement on the Hive blockchain And have been rewarded with New badge(s)
Your next target is to reach 7000 upvotes.
You can view your badges on your board and compare yourself to others in the Ranking
If you no longer want to receive notifications, reply to this comment with the word
STOPCheck out our last posts:
The pant looks really great, nice choice of fabric and design. We love your work, well done.