BINVENIDOS/ WELCOME
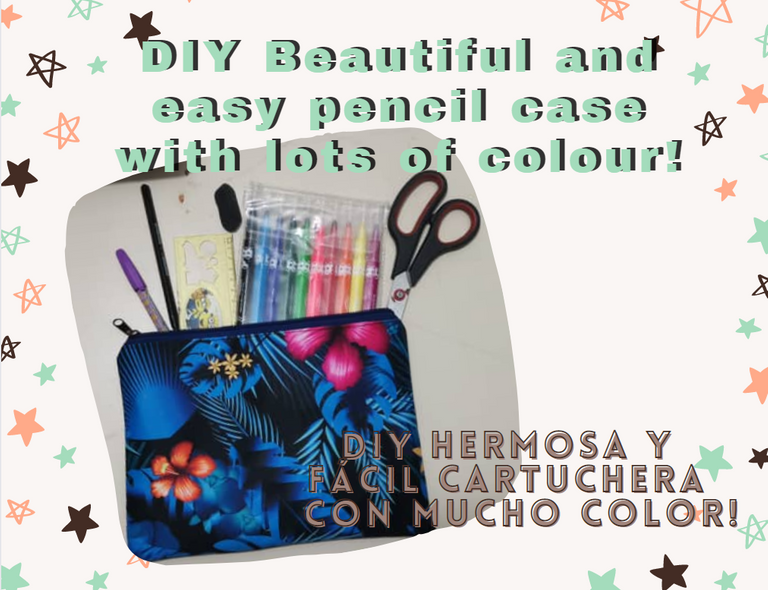
Hola querida comunidad de Hive espero se encuentren muy bien! Para mí es un gusto saludarlos y poder compartir una vez mas un poco con ustedes.
Hoy quiero compartirles el proceso paso a paso para la elaboración de una cartuchera, un proyecto muy sencillo pero también versátil, el que pueden llenar de color tanto como les guste, ya sea que lo quieran para pasar como cartuchera, porta cosméticos o bolso de mano cuando no quieren llevar muchas cosas, para ustedes mismas o como un regalo, perfecto complemento para el bolso de los mas pequeños solo ajustando algunas medidas.
Hello dear Hive community, I hope you are feeling well! It's a pleasure for me to greet you and to be able to share a little bit with you once again.
Today I want to share with you the step by step process for making a pencil case, a very simple but versatile project, which you can fill with colour as much as you like, whether you want to use it as a pencil case, cosmetic bag or handbag when you don't want to carry many things, for yourselves or as a gift, perfect complement for the bag of the little ones just adjusting some measures.

Materiales
👝 2 Rectángulos de tela de 27x20cm
👝 2 Rectángulos de forro de 27x20cm
👝 cierre de 27 o 30cm
🧵 Hilo en combinación con la tela
✂️ Tijera
🎀 Cinta métrica
📍 Alfileres
💥 Máquina de coser.
Materials
👝 2 Rectangles of cloth 27x20cm
👝 2 Rectangles of lining 27x20cm
👝 27cm or 30cm fastener
🧵 Thread in combination with the fabric
✂️ Scissors
🎀 Tape measure
📍 Pins
💥 Sewing machine.

Paso a paso
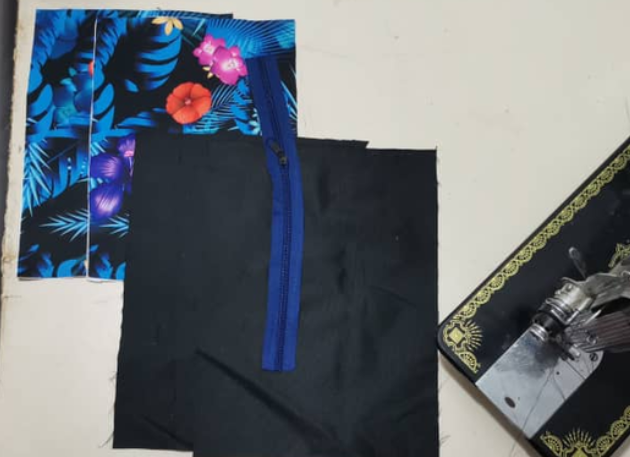
Comenzaremos fijando nuestro cierre, como se los he mostrado en post anteriores enfrentamos derecho de forro con revés de cierre, y a su vez derecho de cierre con derecho de la tela. podemos sujetar con alfileres para evitar que se nos mueva, y cosemos los mas pegadito posible al cierre. Volteamos y pasamos una costura de repise, justo al borde de la tela.
Step by Step
We start by fixing our zip, as I have shown you in previous posts, we face the right side of the lining with the back of the zip, and the right side of the zip with the right side of the fabric. We can pin it to avoid it moving, and we sew as close as possible to the zip. Turn the seam allowance over and stitch a seam allowance, just at the edge of the fabric.
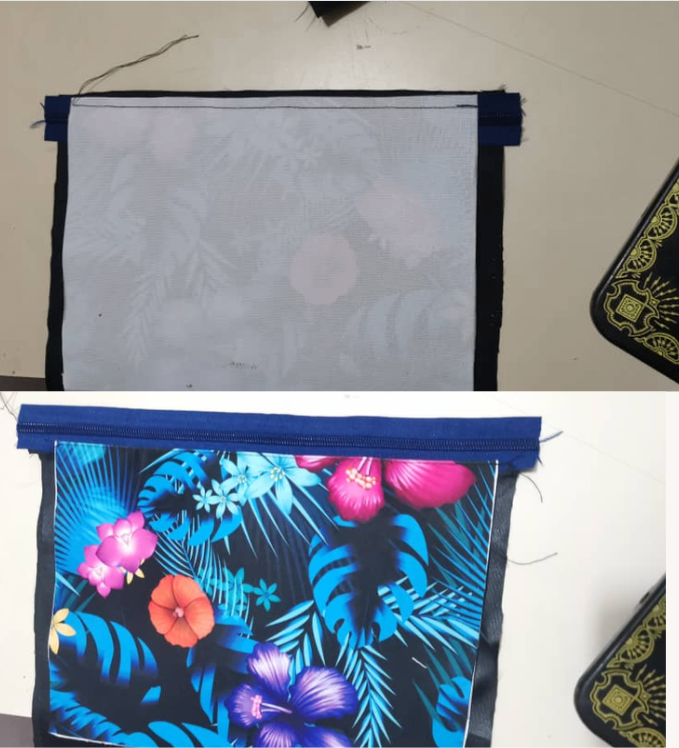
Repetimos la operación del lado contrario.
Repeat the operation on the opposite side.
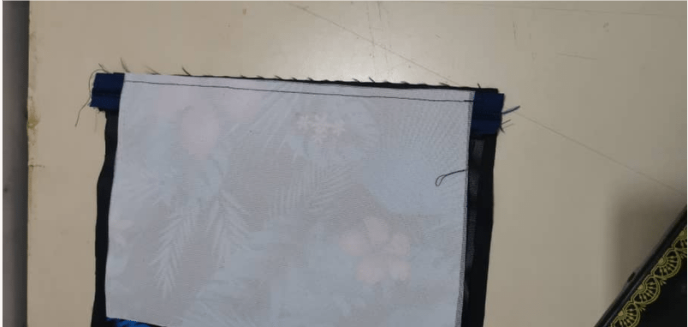
volteemos nuevamente y repisamos para asentar la costura justo al borde de la tela.
turn over again and repeat to seat the seam right at the edge of the fabric.
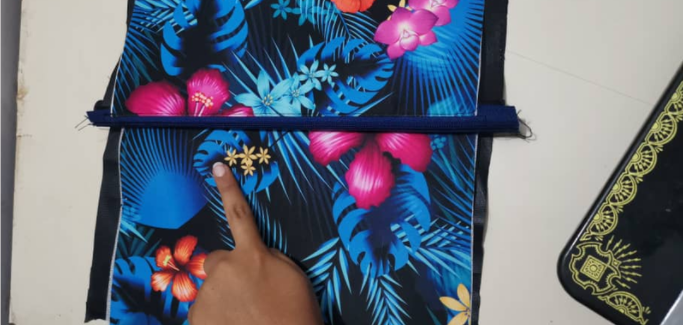
En este caso yo use un cierre por metro y un slaider. de esta forma pude colocar primero en cierre con cada una de las capas de tela y forro. después de haber montado el cierre y repisado cada lado procedemos a introducir el slaider. Que es el tirador de nuestro cierre. Continuamente enfrentamos los derechos de nuestras telas con los derechos de las dos piezas de forro.
In this case I used a zip by the metre and a slaider. this way I could first place the zip with each of the layers of fabric and lining. after having assembled the zip and smoothed each side, we proceed to insert the slaider. This is the handle of our zip. We continuously face the right sides of our fabrics with the right sides of the two pieces of lining.
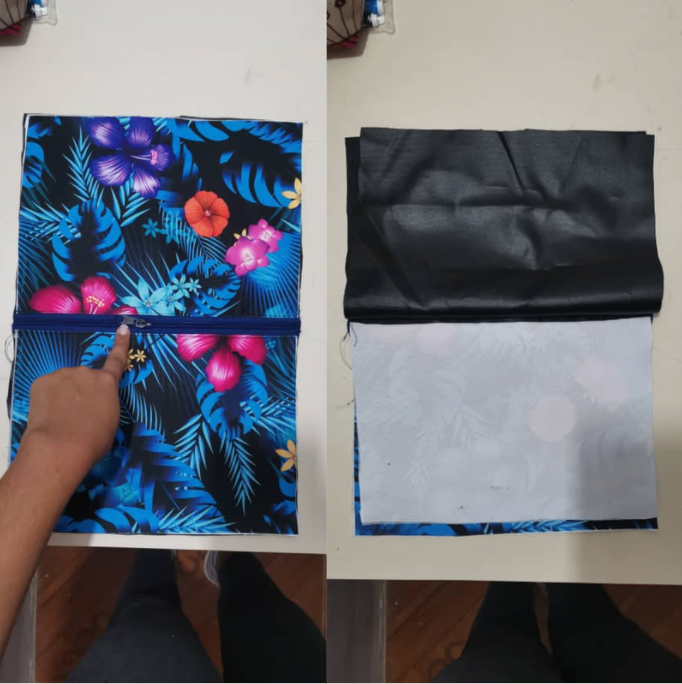
Procedemos a coser a pie de maquina o unos 0,5cm del borde de la tela. por todo el extremos de la tela y el forro, incluyendo las bases de las mismas. debemos tomar en cuenta que en la base del forro debemos dejar un espacio para voltear nuestra cartuchera, así como se lo muestro con mi mano.
We proceed to sew by machine or about 0,5cm from the edge of the fabric, all around the ends of the fabric and the lining, including the bases of the lining. We must take into account that at the base of the lining we must leave a space to turn our pencil case, as I show you with my hand.
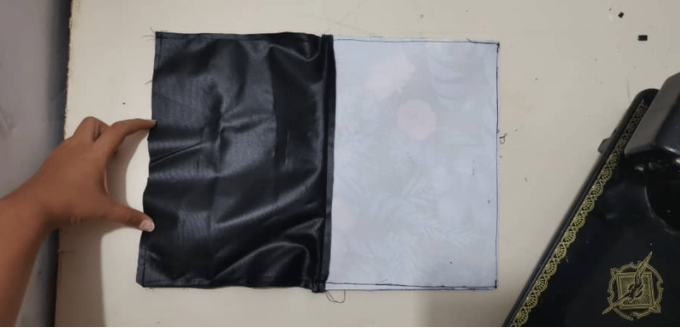
Volteamos nuestra cartuchera por el orificio que habíamos dejado anteriormente. asegurándonos de sacar bien cada esquina. Y procedemos a cerrar el orificio de la base del forro.
We flip our pencil case over through the hole we left previously, making sure to pull out each corner well. Then we proceed to close the hole at the base of the lining.
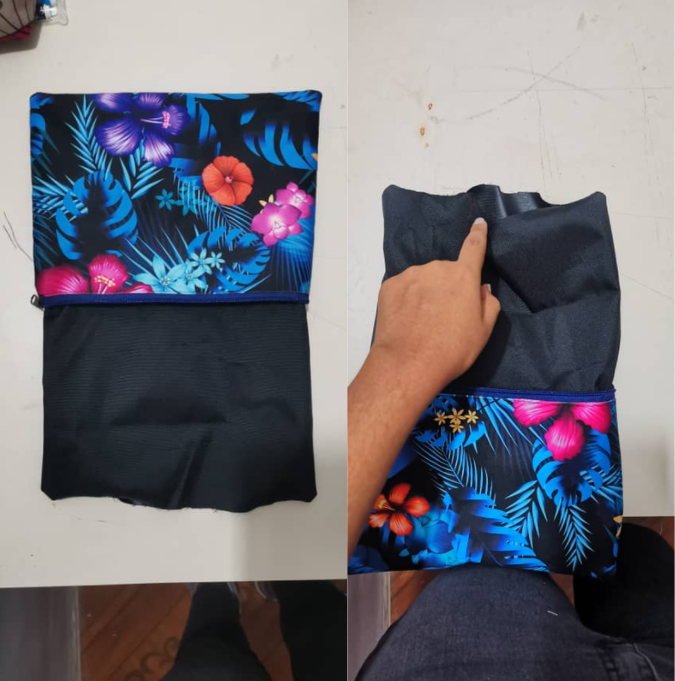
Quedándonos de esta forma, solo resta introducir el forro en nuestra cartuchera 😍
This way, the only thing left to do is to insert the lining in our pencil case 😍.
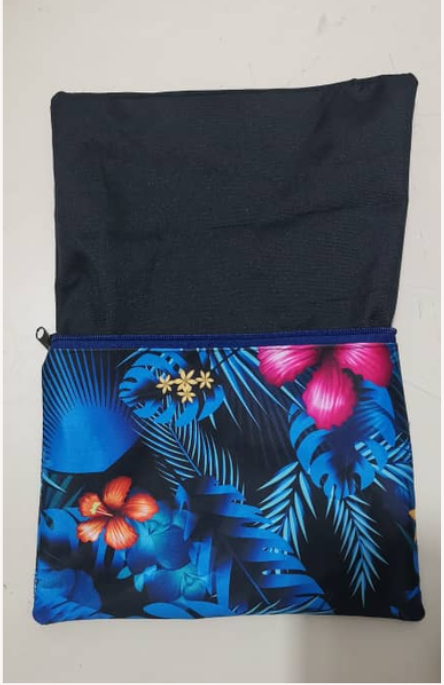
Y así es nuestro resultado una hermosa y espaciosa cartuchera o neceser. 😍 La verdad es super útil, siempre hago de estos proyectos cuando me quedan retazos de tela, ya que no necesitamos muchos materiales para hacerlo. además de que puede ser una perfecta solución para regalas en estas navidades.❤️
And that's our result, a beautiful and spacious pencil case or vanity case. 😍 The truth is super useful, I always make these projects when I have scraps of fabric left, as we don't need many materials to do it, plus it can be a perfect solution for gifts this Christmas.❤️
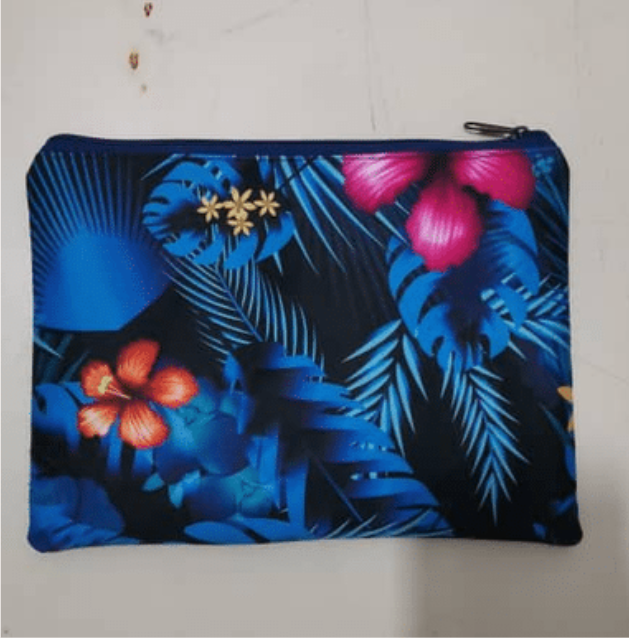

¡¡Gracias por haber llegado hasta aquí !! ¡Espero que este trabajo les entusiasme tanto como a mí me entusiasma compartirlo con ustedes! Si te animas a hacerlo, espero que compartas fotos de tu trabajo, nos vemos en una próxima publicacion.
Thank you for having come this far!! I hope this work excites you as much as I am excited about my sharing with you! If you dare to do it, I hope you share photos of your work, see you in a next post.

Congratulations @dialinao! You have completed the following achievement on the Hive blockchain and have been rewarded with new badge(s):
Your next target is to reach 1250 upvotes.
You can view your badges on your board and compare yourself to others in the Ranking
If you no longer want to receive notifications, reply to this comment with the word
STOPCheck out the last post from @hivebuzz:
Support the HiveBuzz project. Vote for our proposal!
Dear @dialinao,
The previous HiveBuzz proposal expired end of December.
Do you mind supporting our proposal for 2022 so our team can continue its work next year?
You can do it on Peakd, ecency,
https://peakd.com/me/proposals/199
Thank you. We wish you a Happy New Year!