Hello Beautiful Hivers,
I hope you doing well and enjoying full time spring.....
This is my first post in DIY community and I hope not the last one, so please excuse me and mistakes and if you think something can be change/improve, please also let me know.
I needed small table for my home project and wasn't looking to spend a fortune on it....Luckily I got a free one from some nice man I have never met before :) well not entirely free as I exchange it for the box of chocolates...
I don't like to buy brand new thing, I like when something has a history behind it, also I like idea of upcycling :) Table was already dismantled so it was easy to transport it back to the house. It wasn't in usable nick so it needed a full restoration. The day was nice and sunny and I had nothing better to do, it was no brainer...I started to work on it.
My idea was to use Shou Sugi Ban technique on legs and frame part and leave the top nice and bright...
For everyone who doesn't know what Shou Sugi Ban is - it is old Japanese technique to preserve and waterproof the wood - in my case waterproof wasn't really needed as the table will be used inside the house, but i really like Shou Sugi Ban effect, I've done that before with great results.
Back to Shou Sugi Ban its a basically burning the outer layer of the wood to preserve the wood inside, Japanese used it for hundreds of year when they built their temples which they still stand intact to this day(i think the oldest would be nearly 1000 of years now), at first burning the wood might not sound like best idea but trust me it is.
I would encourage everyone to do a bit more research in this subject...its very interesting...
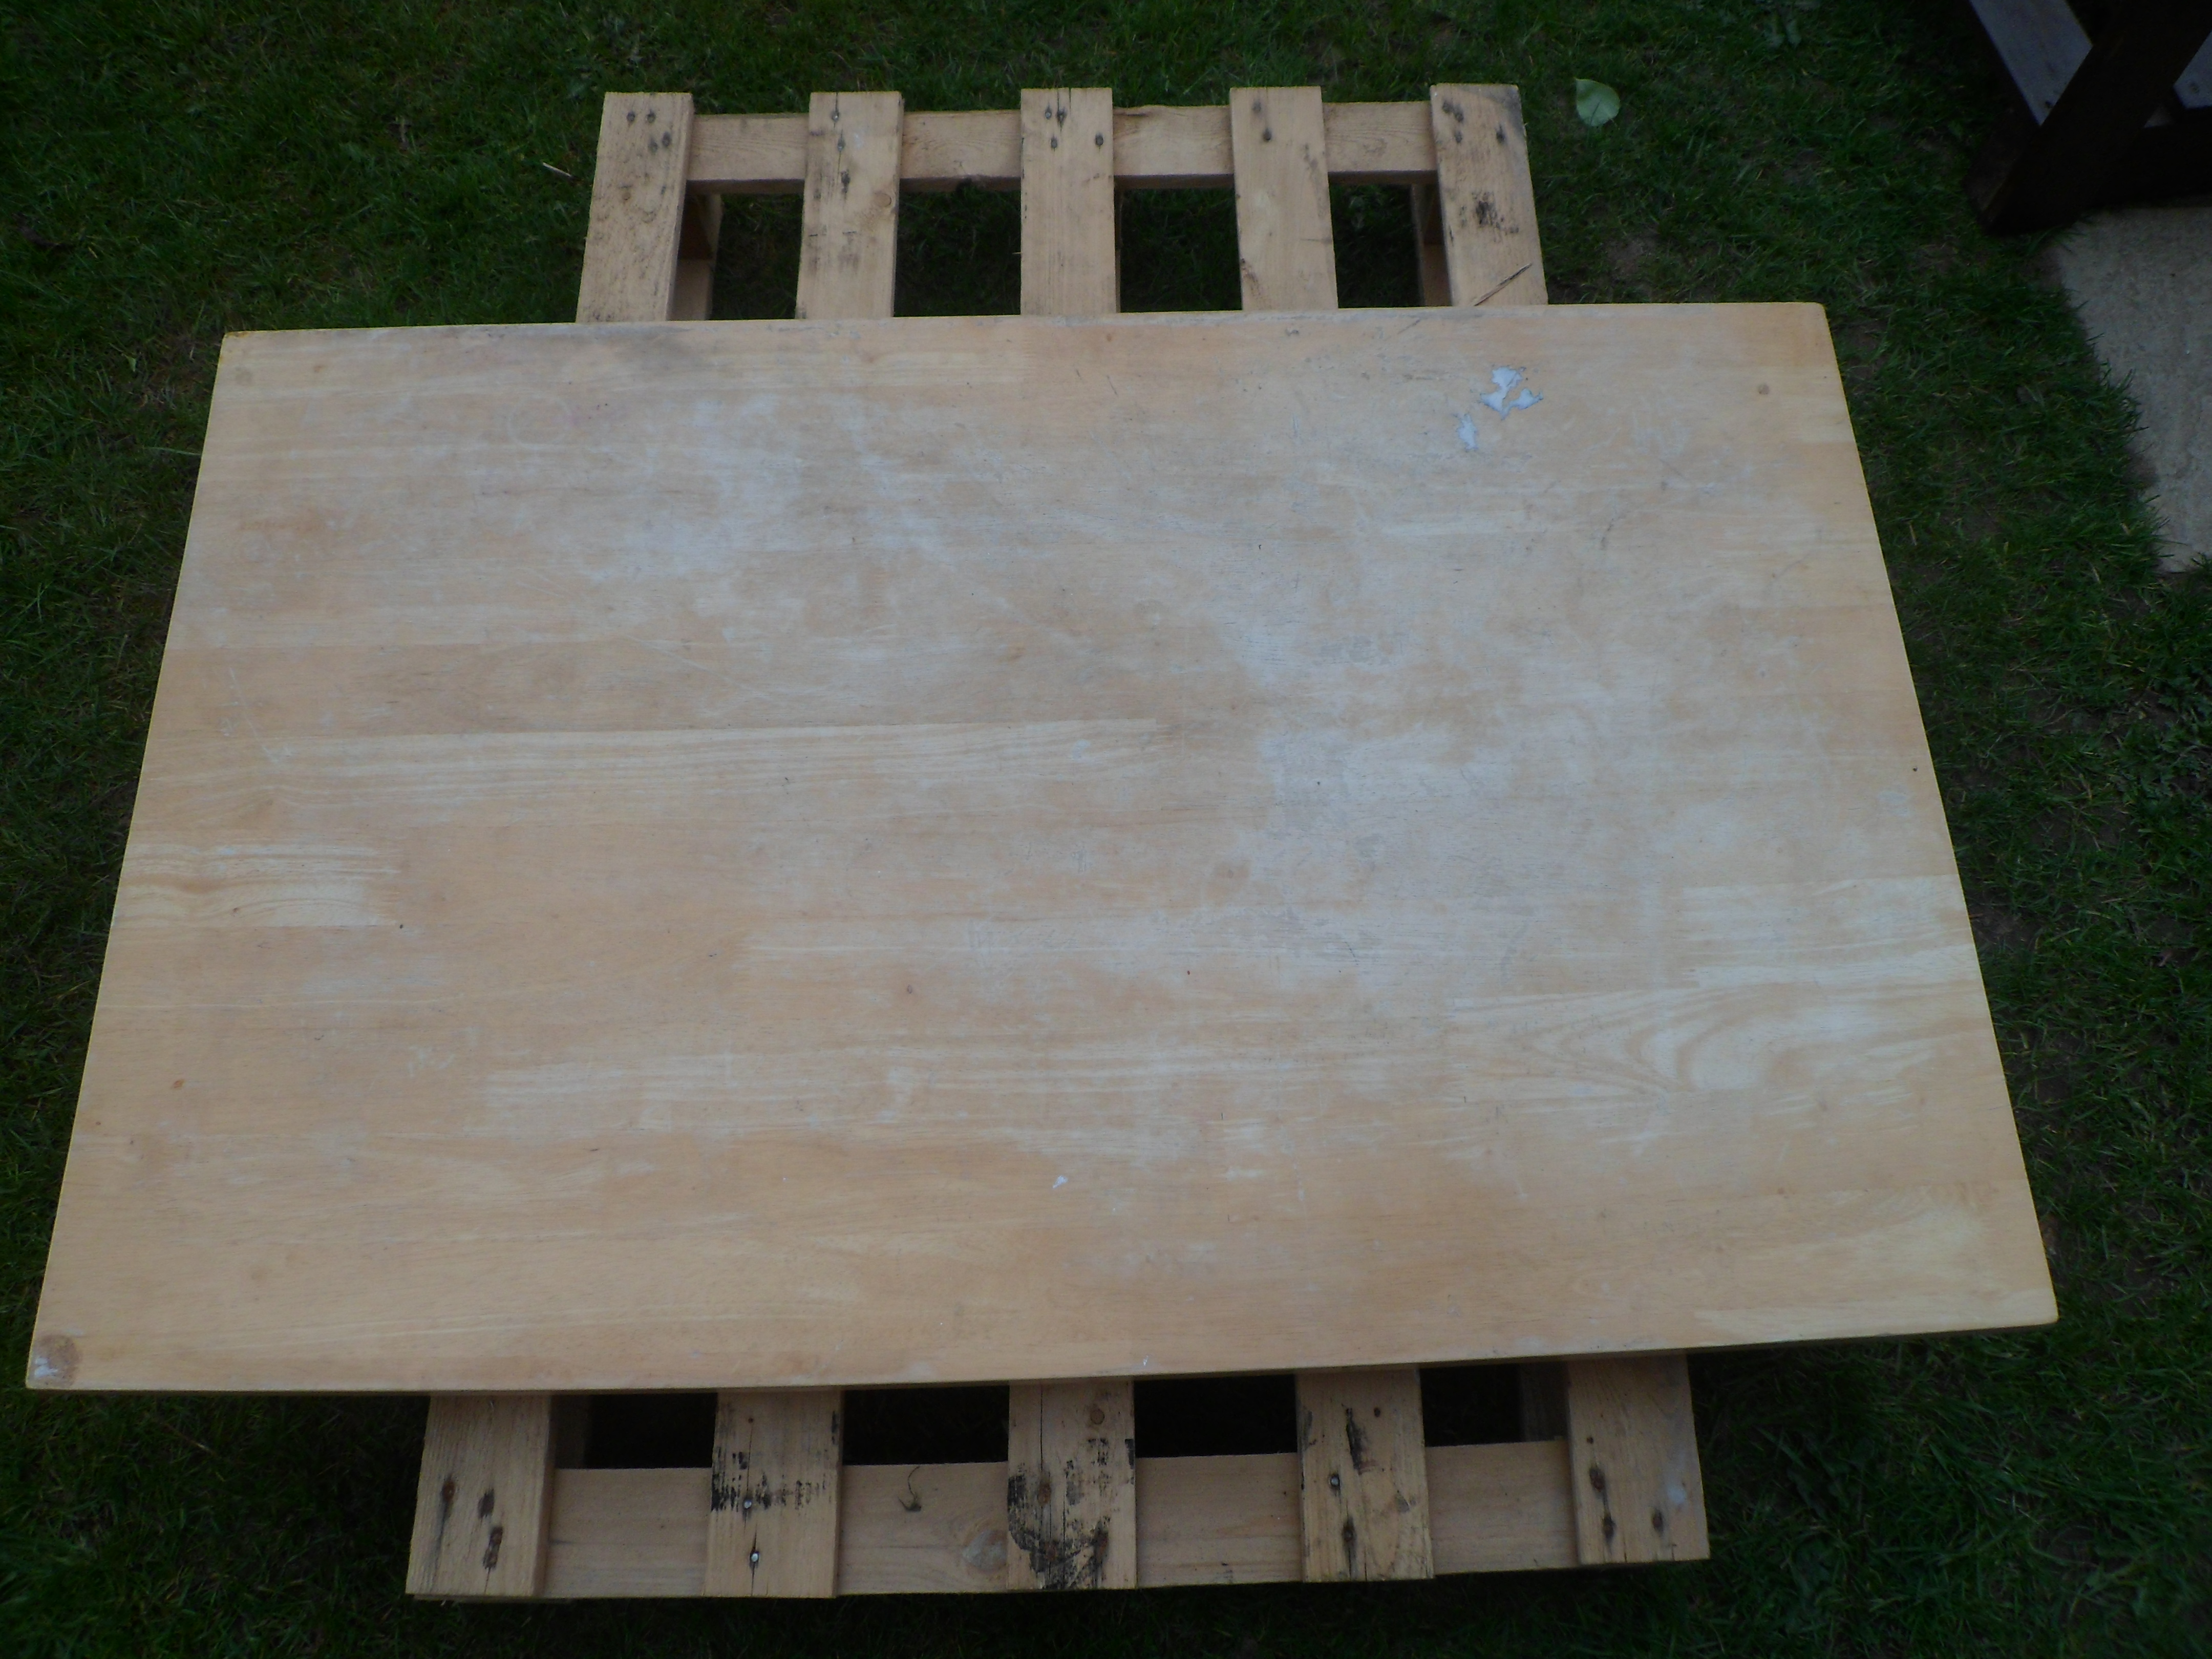
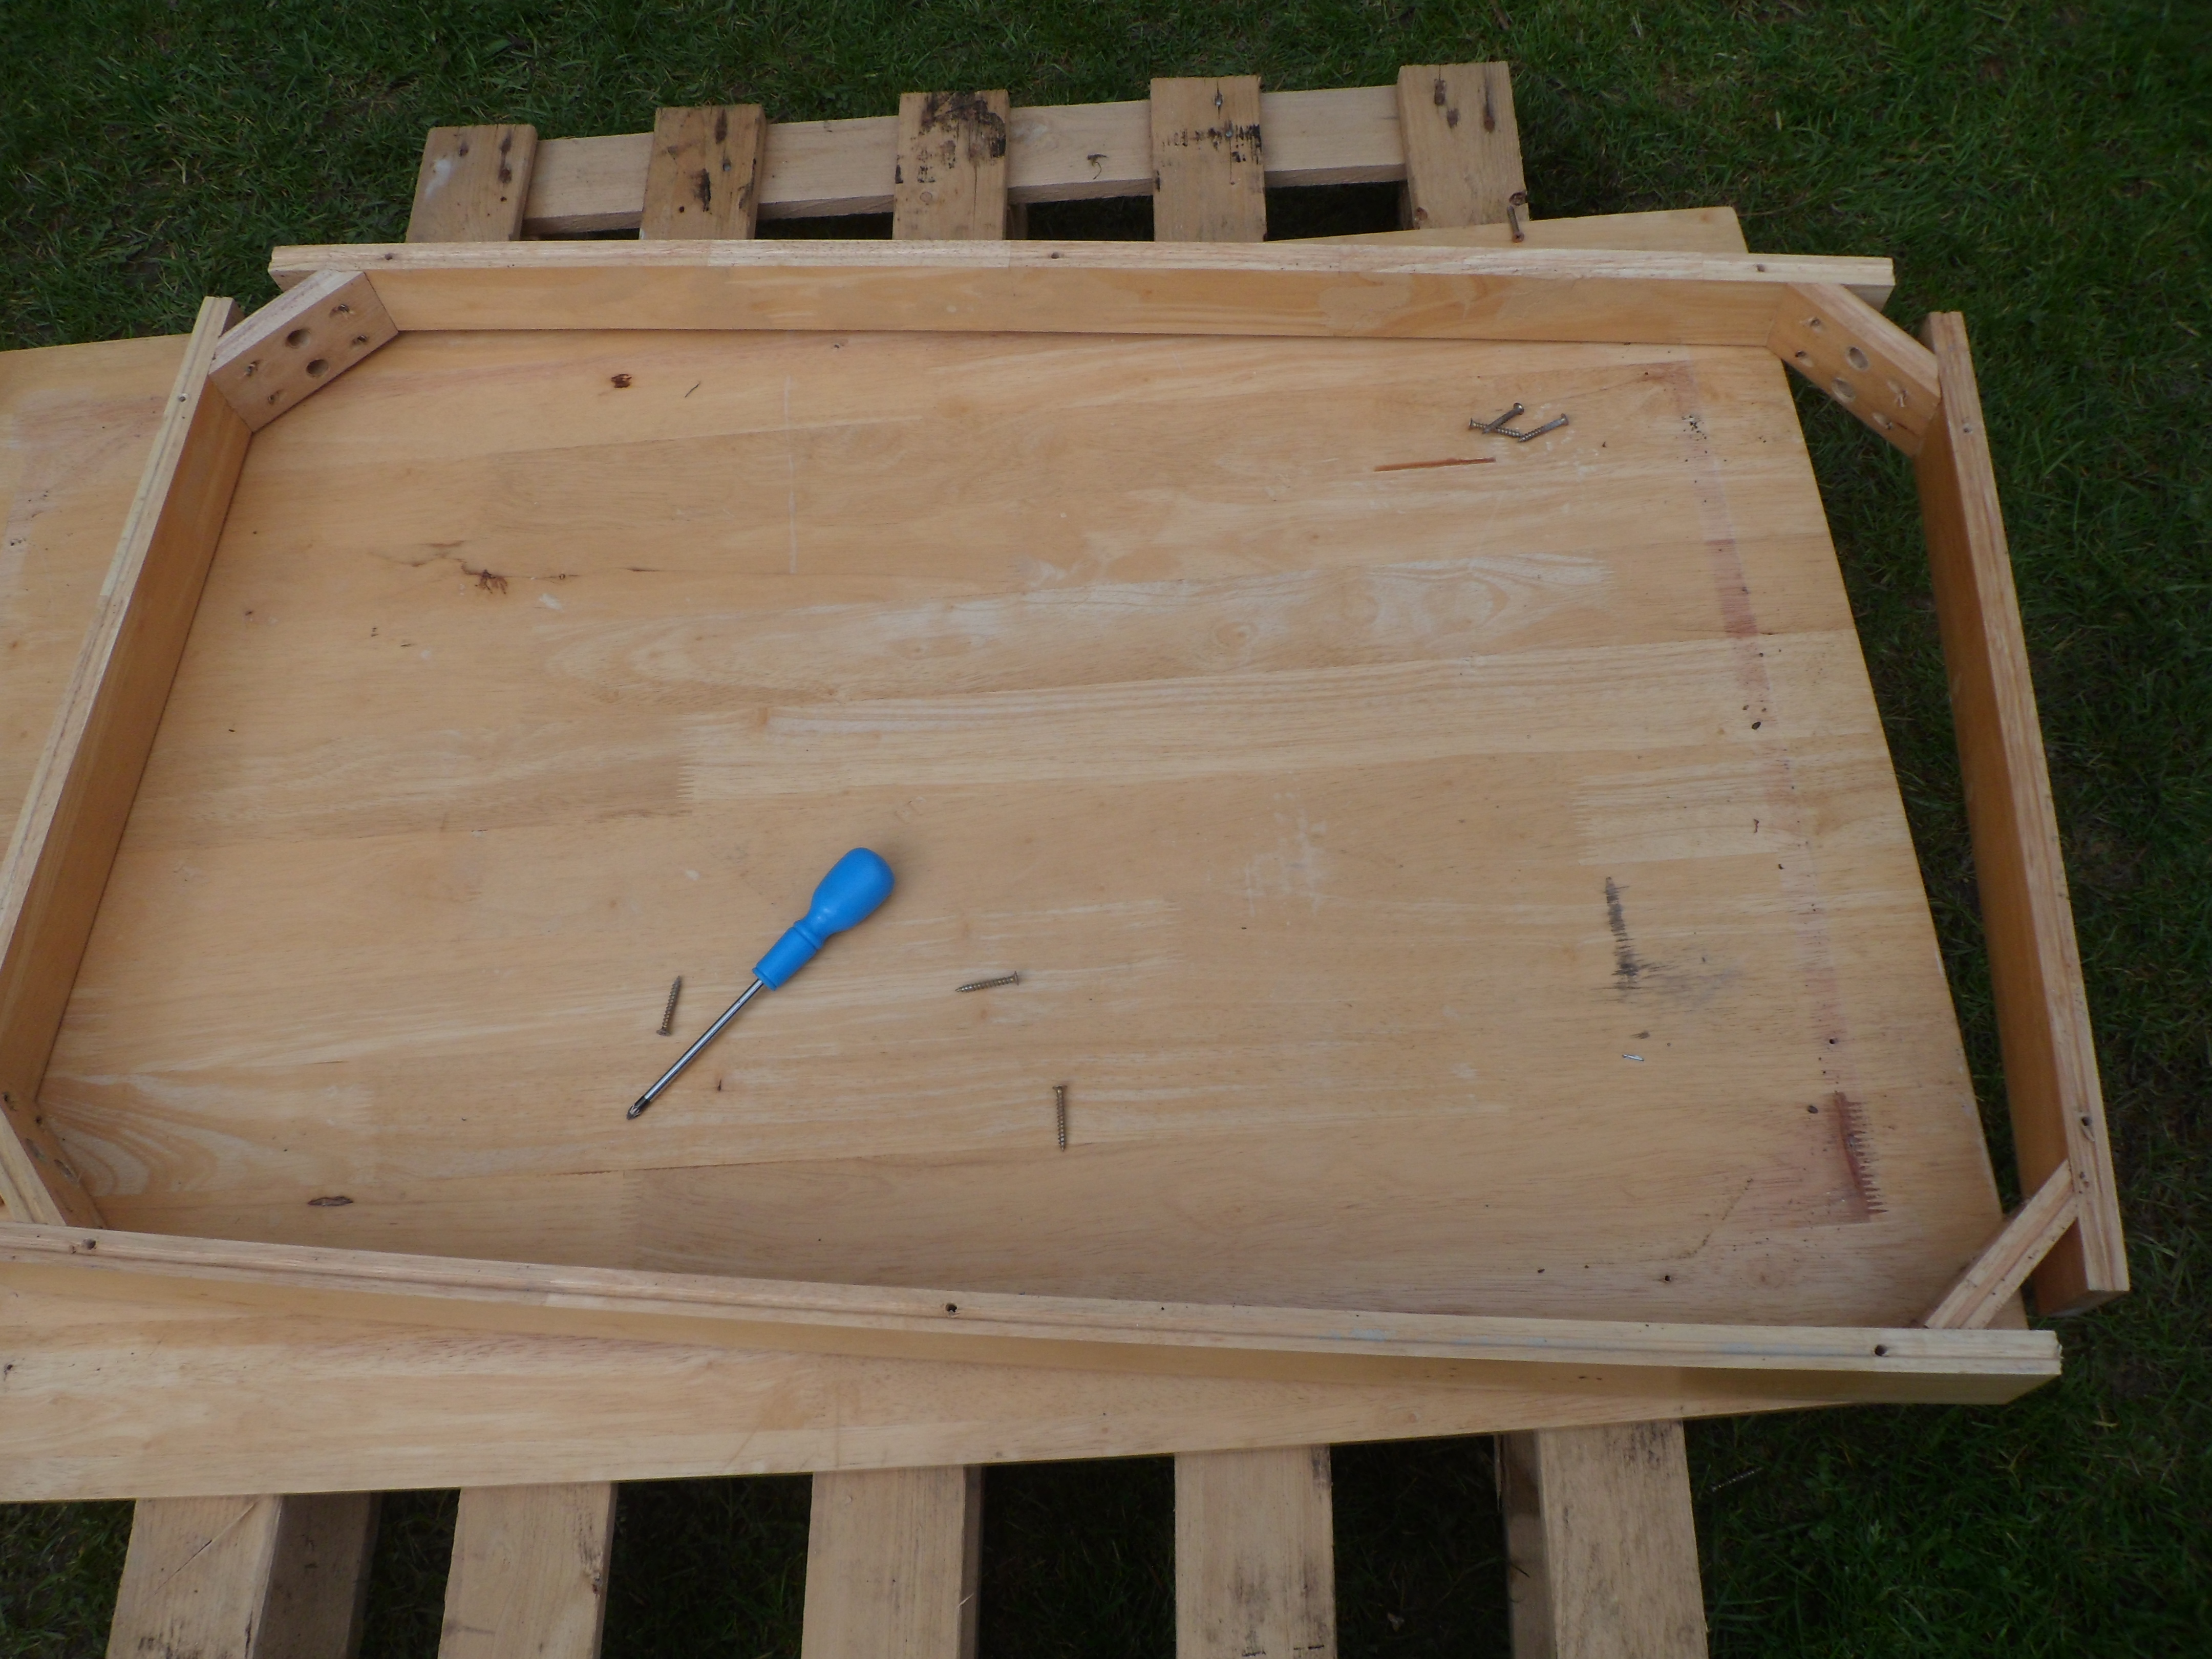
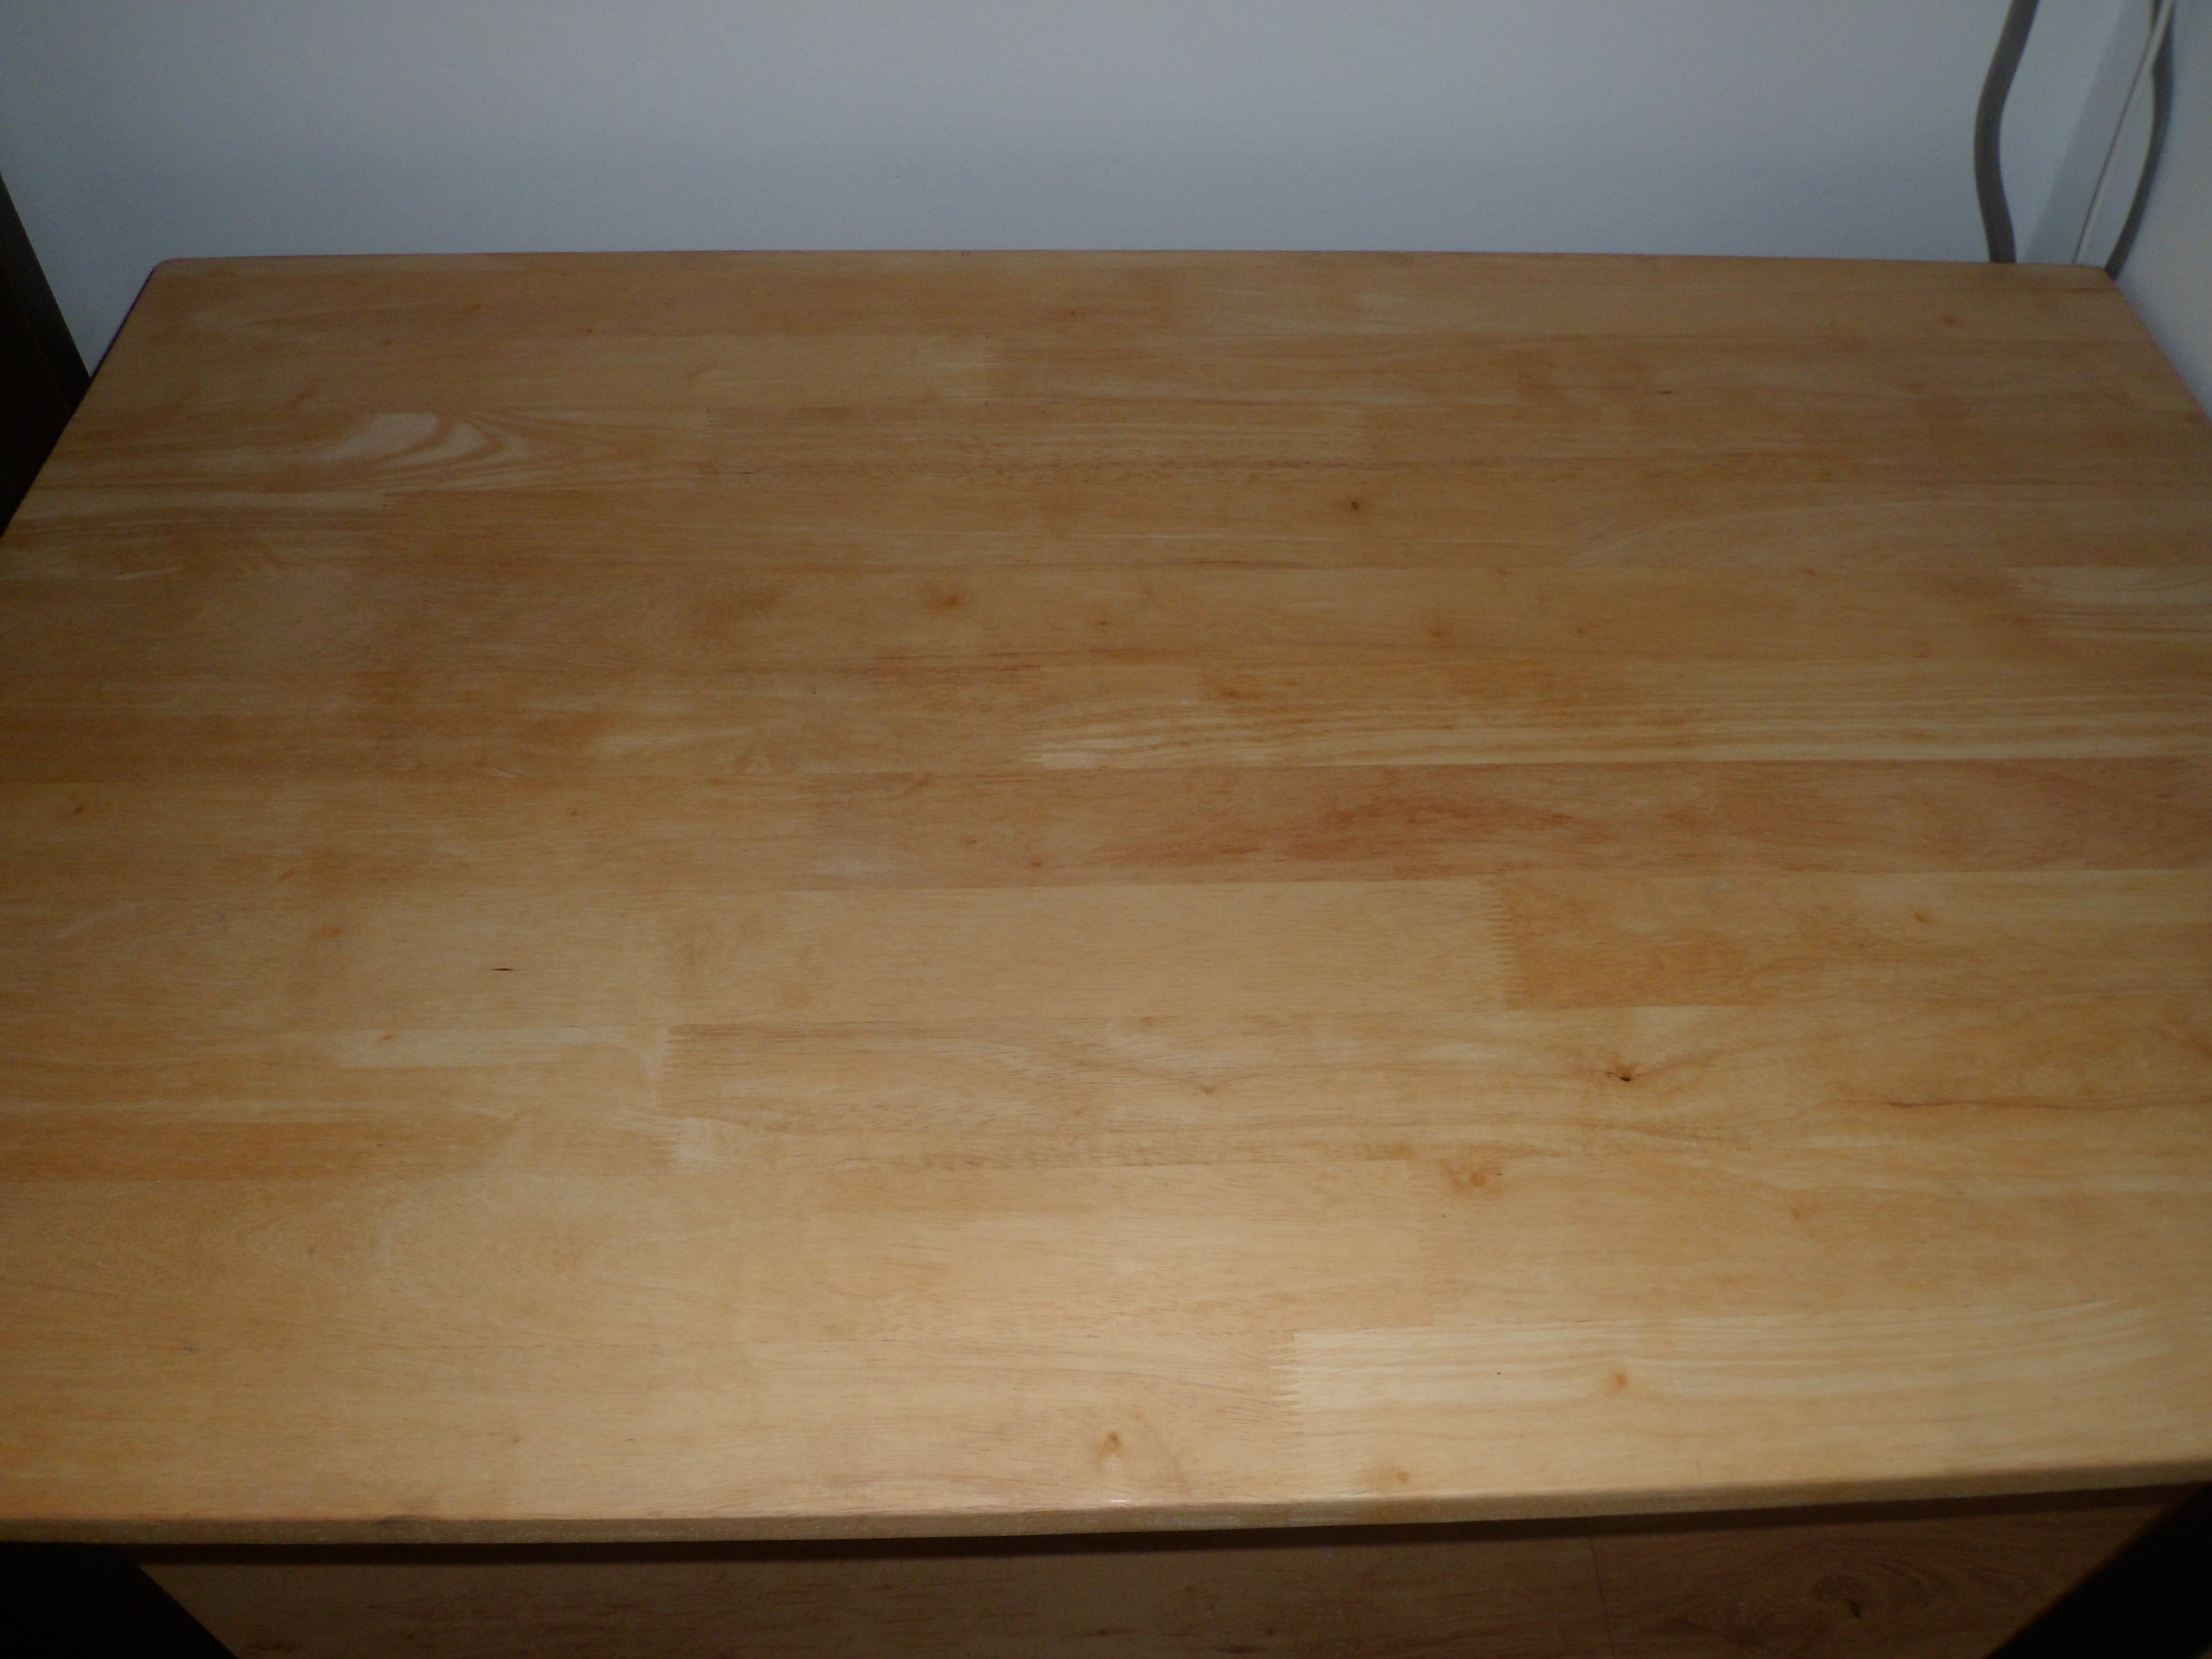
So here the work starts... Here is the photos on the table before i started any work on it.
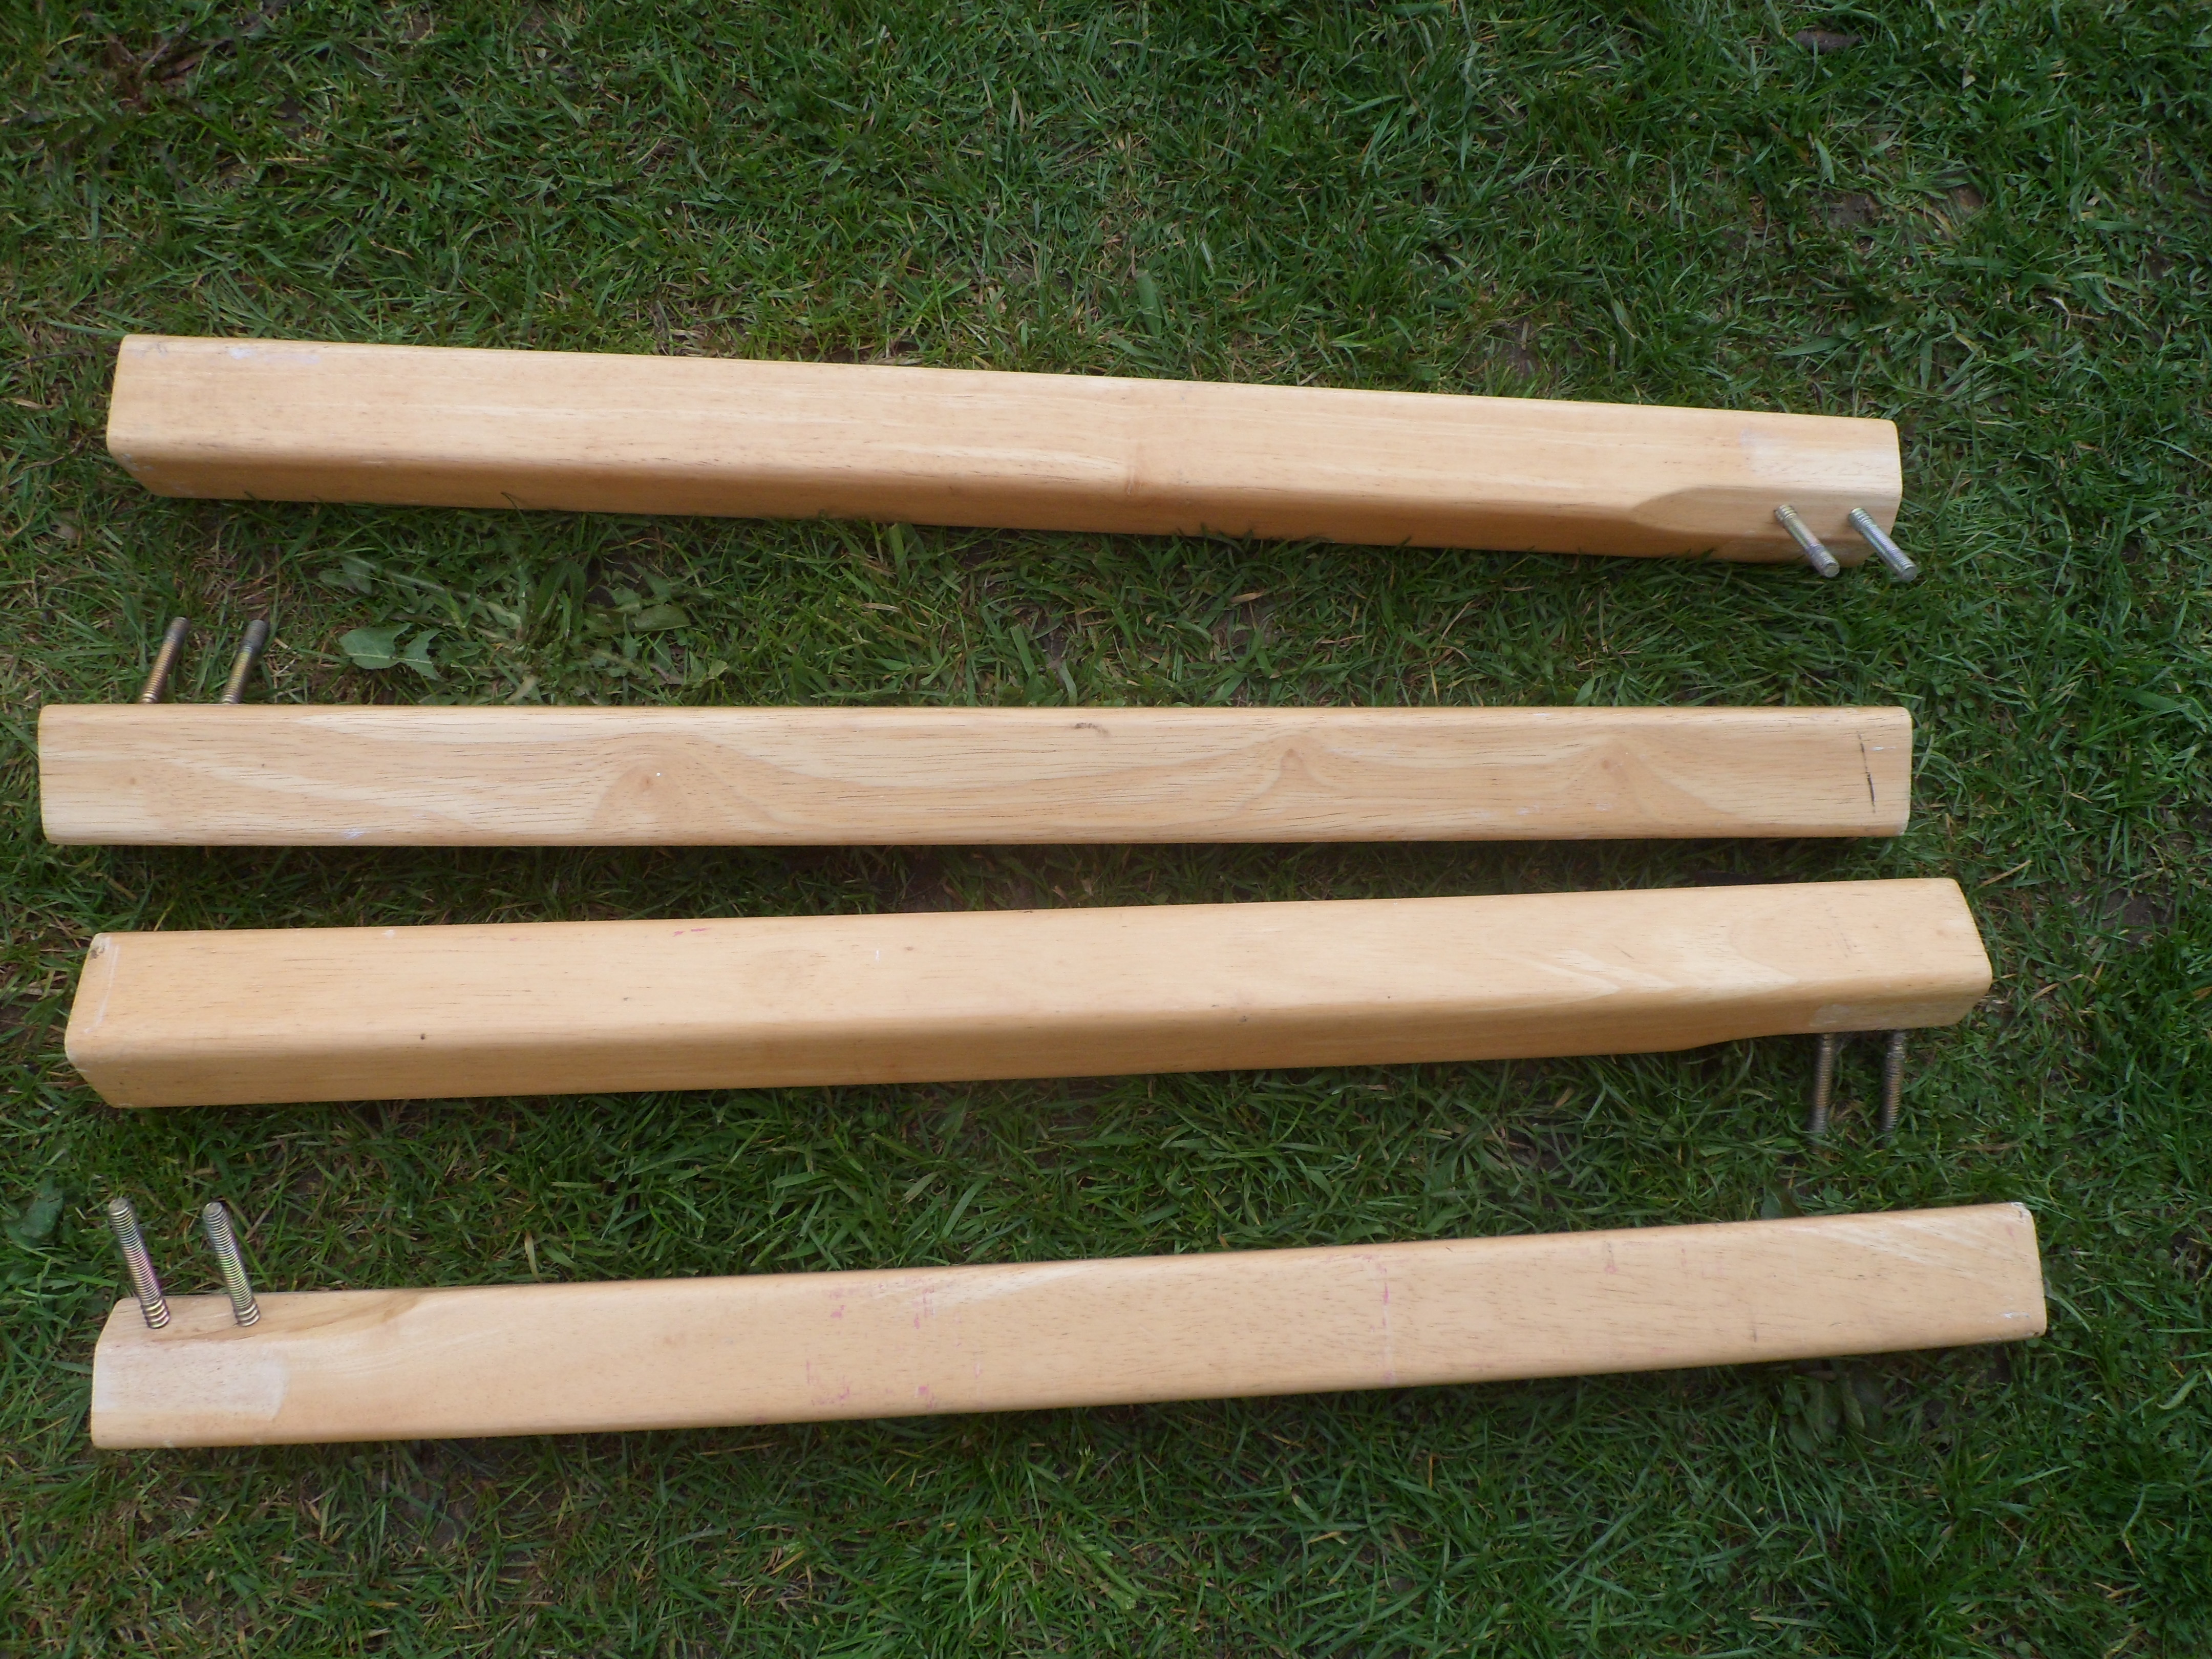
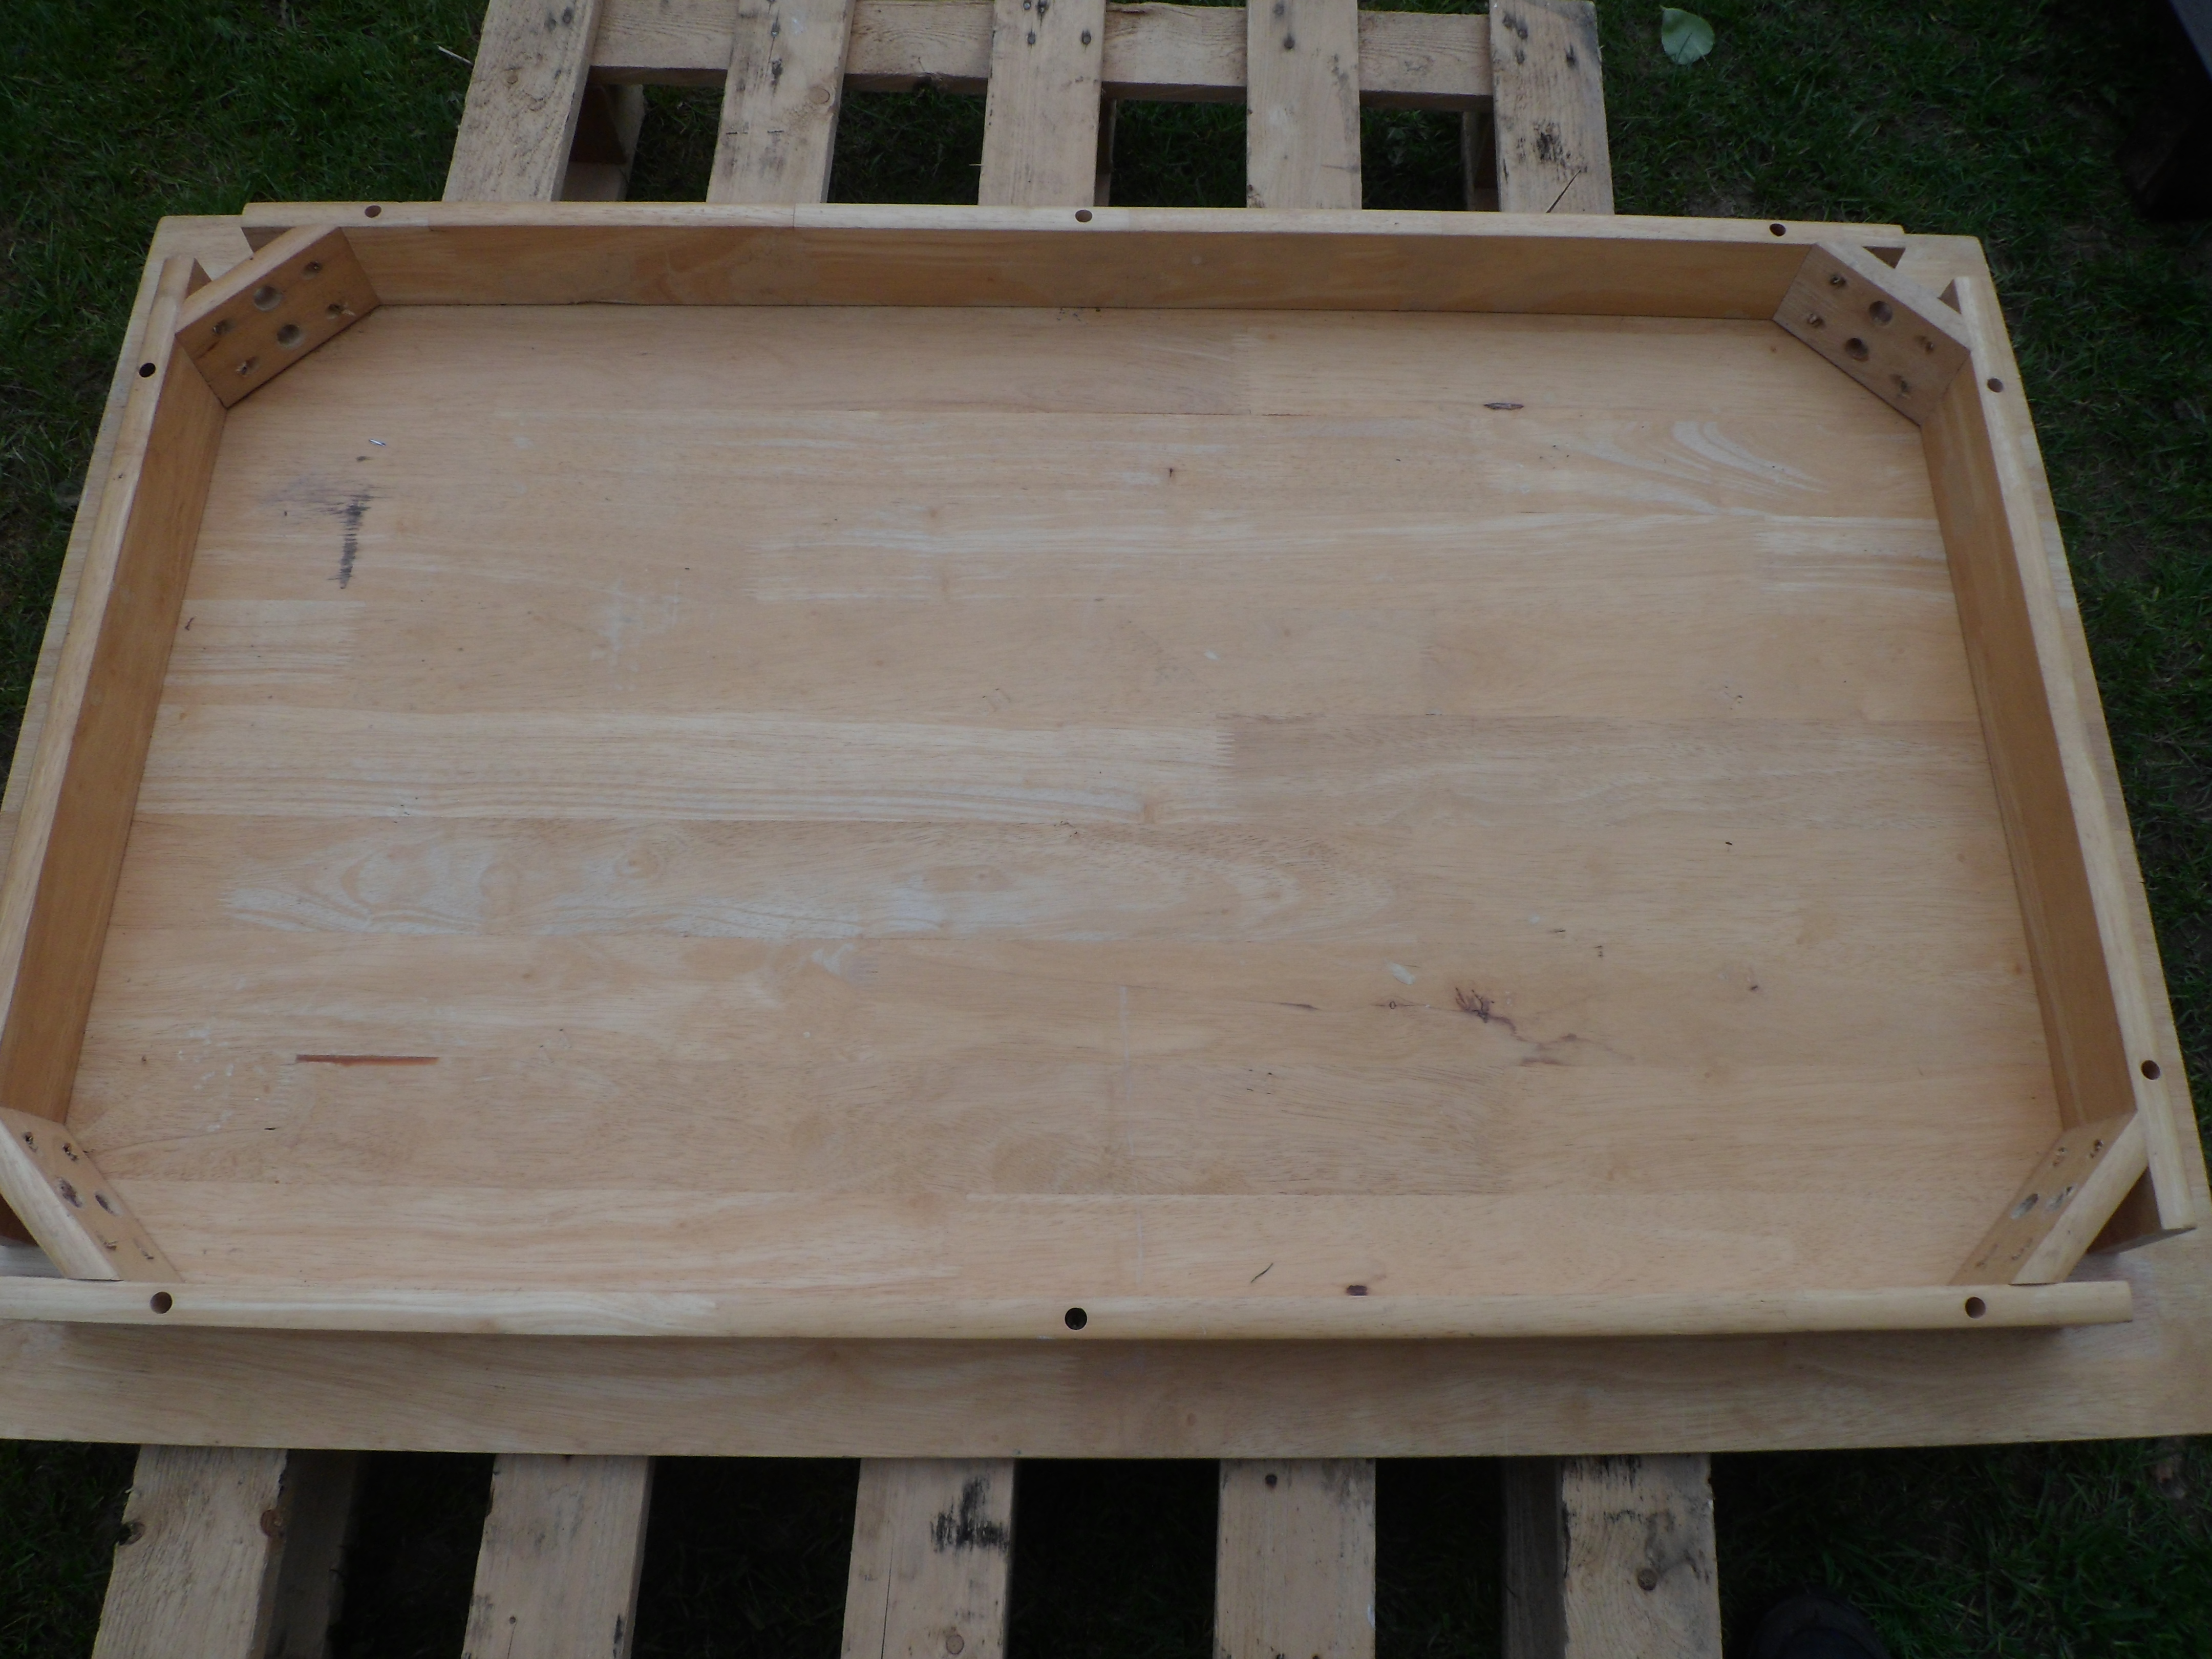
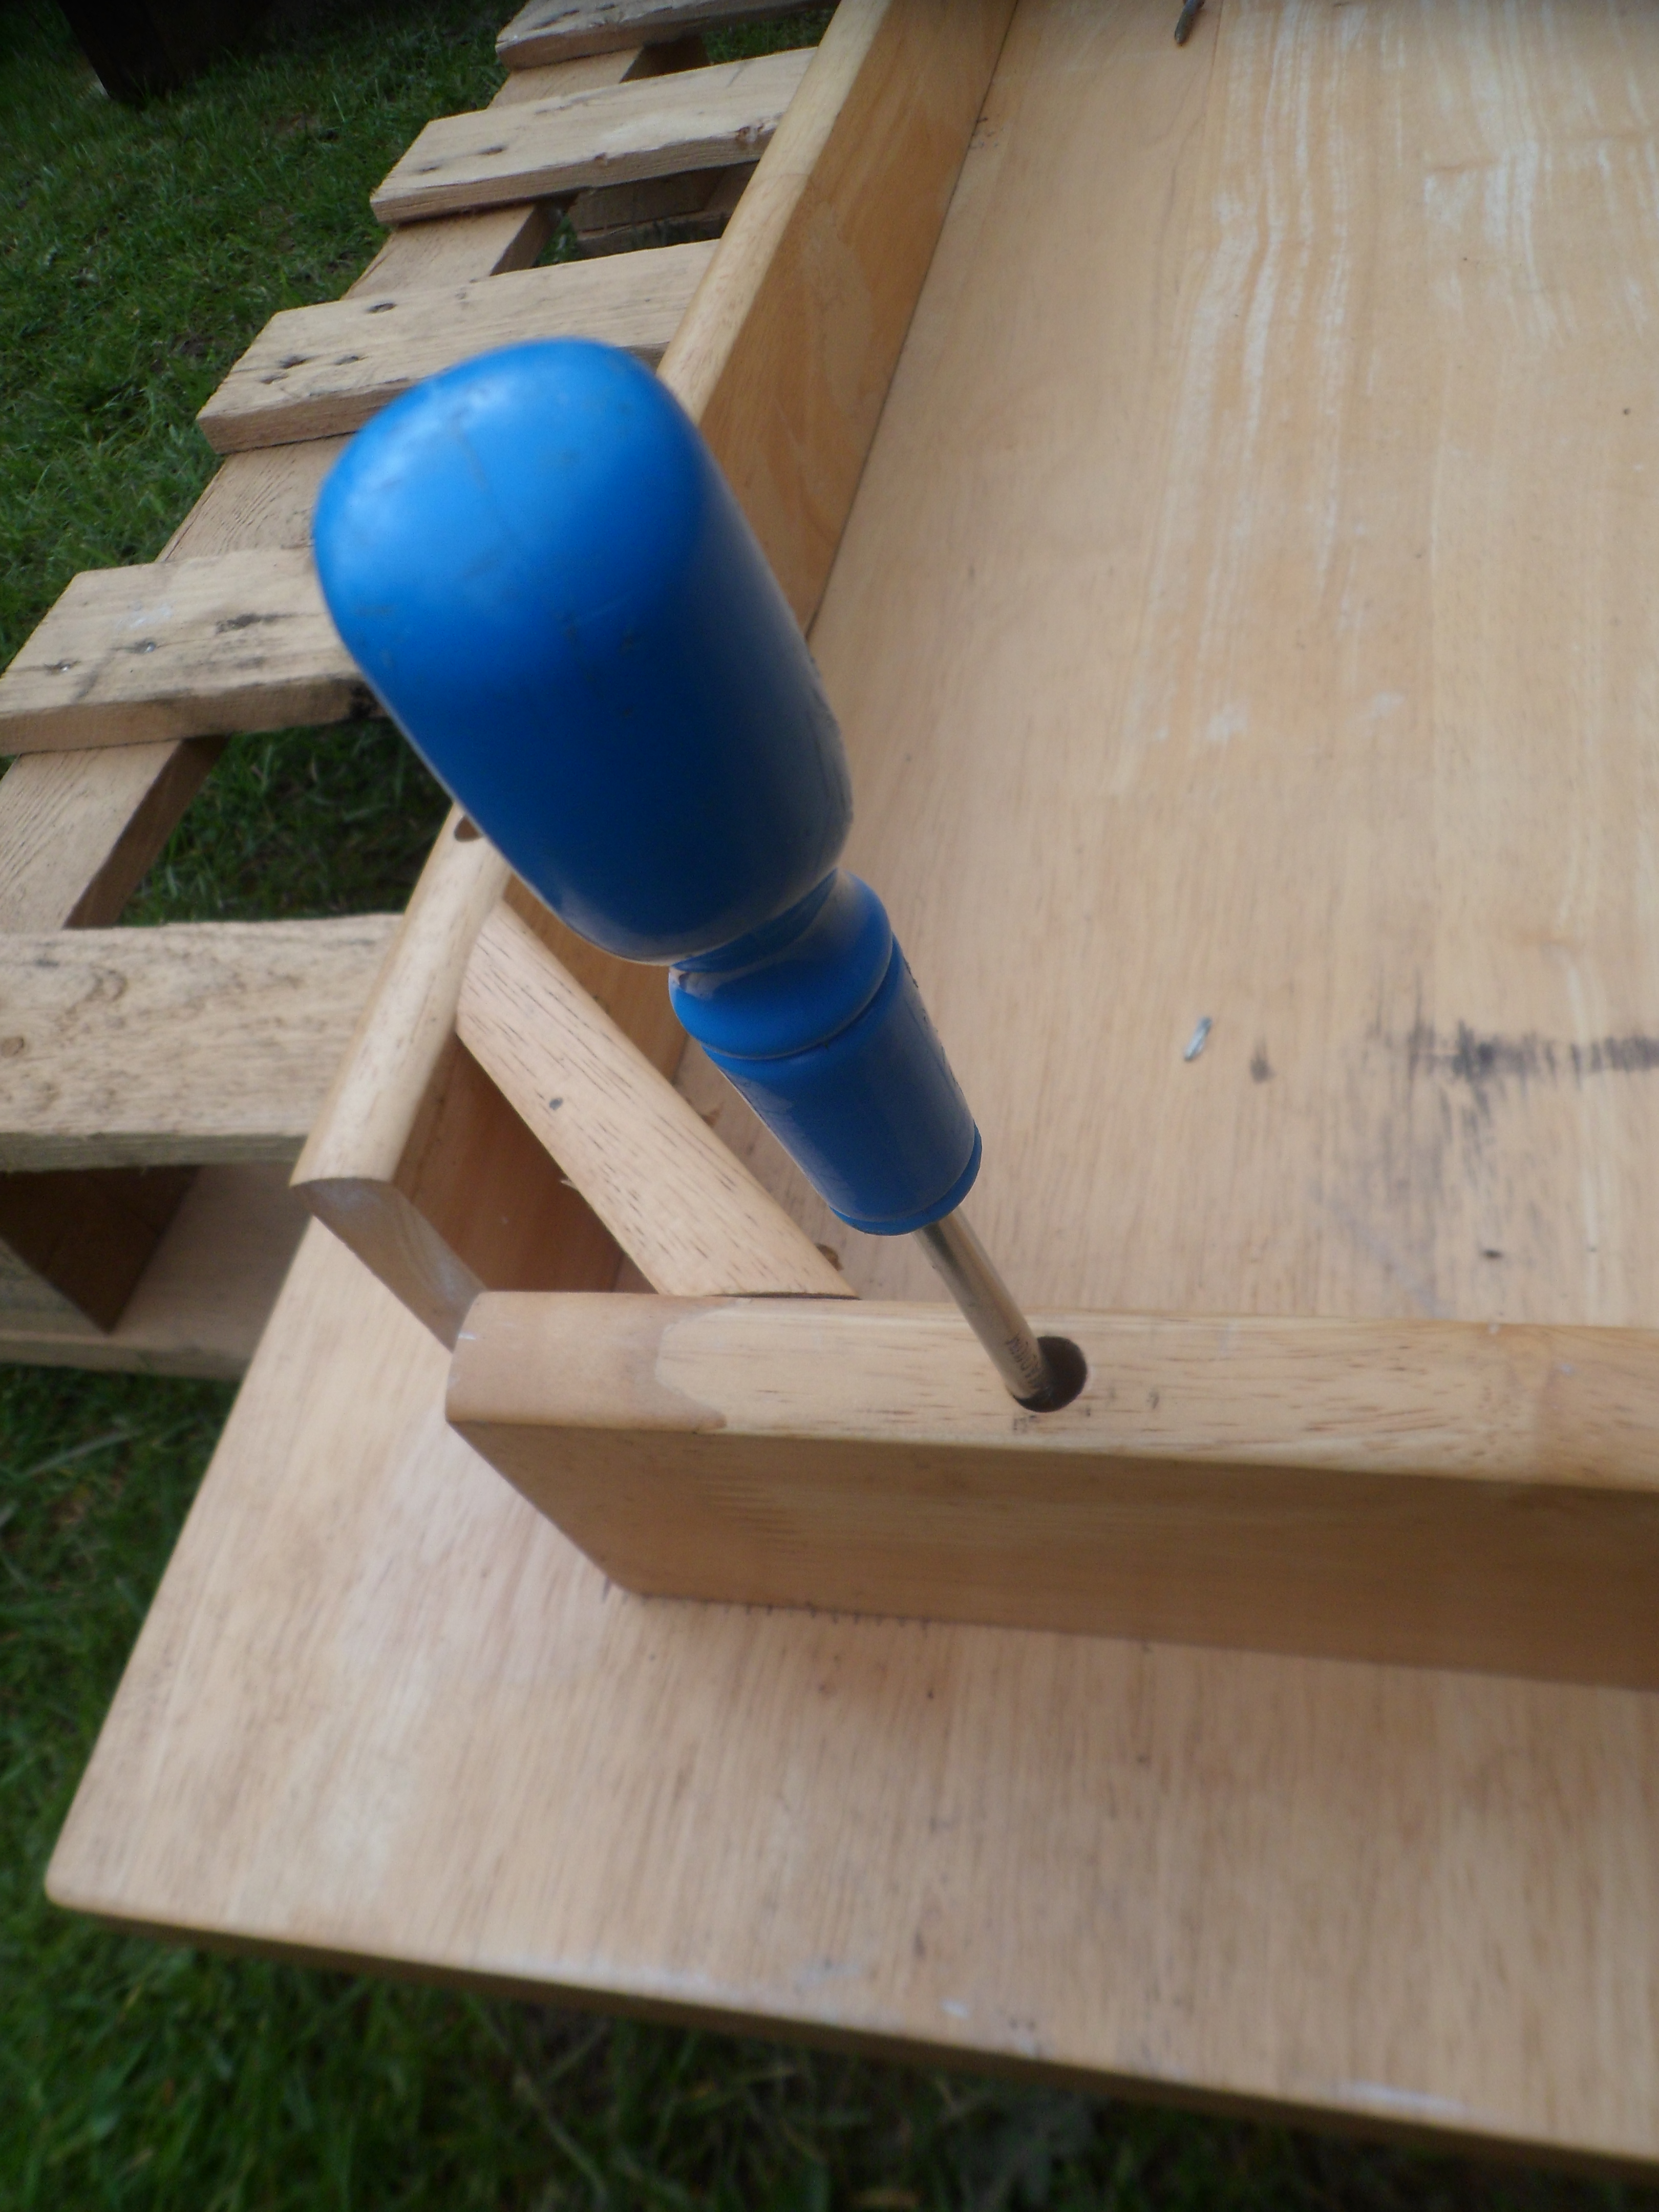
First I had to unscrew rest of the frame from the worktop. It wasn't that hard at all.
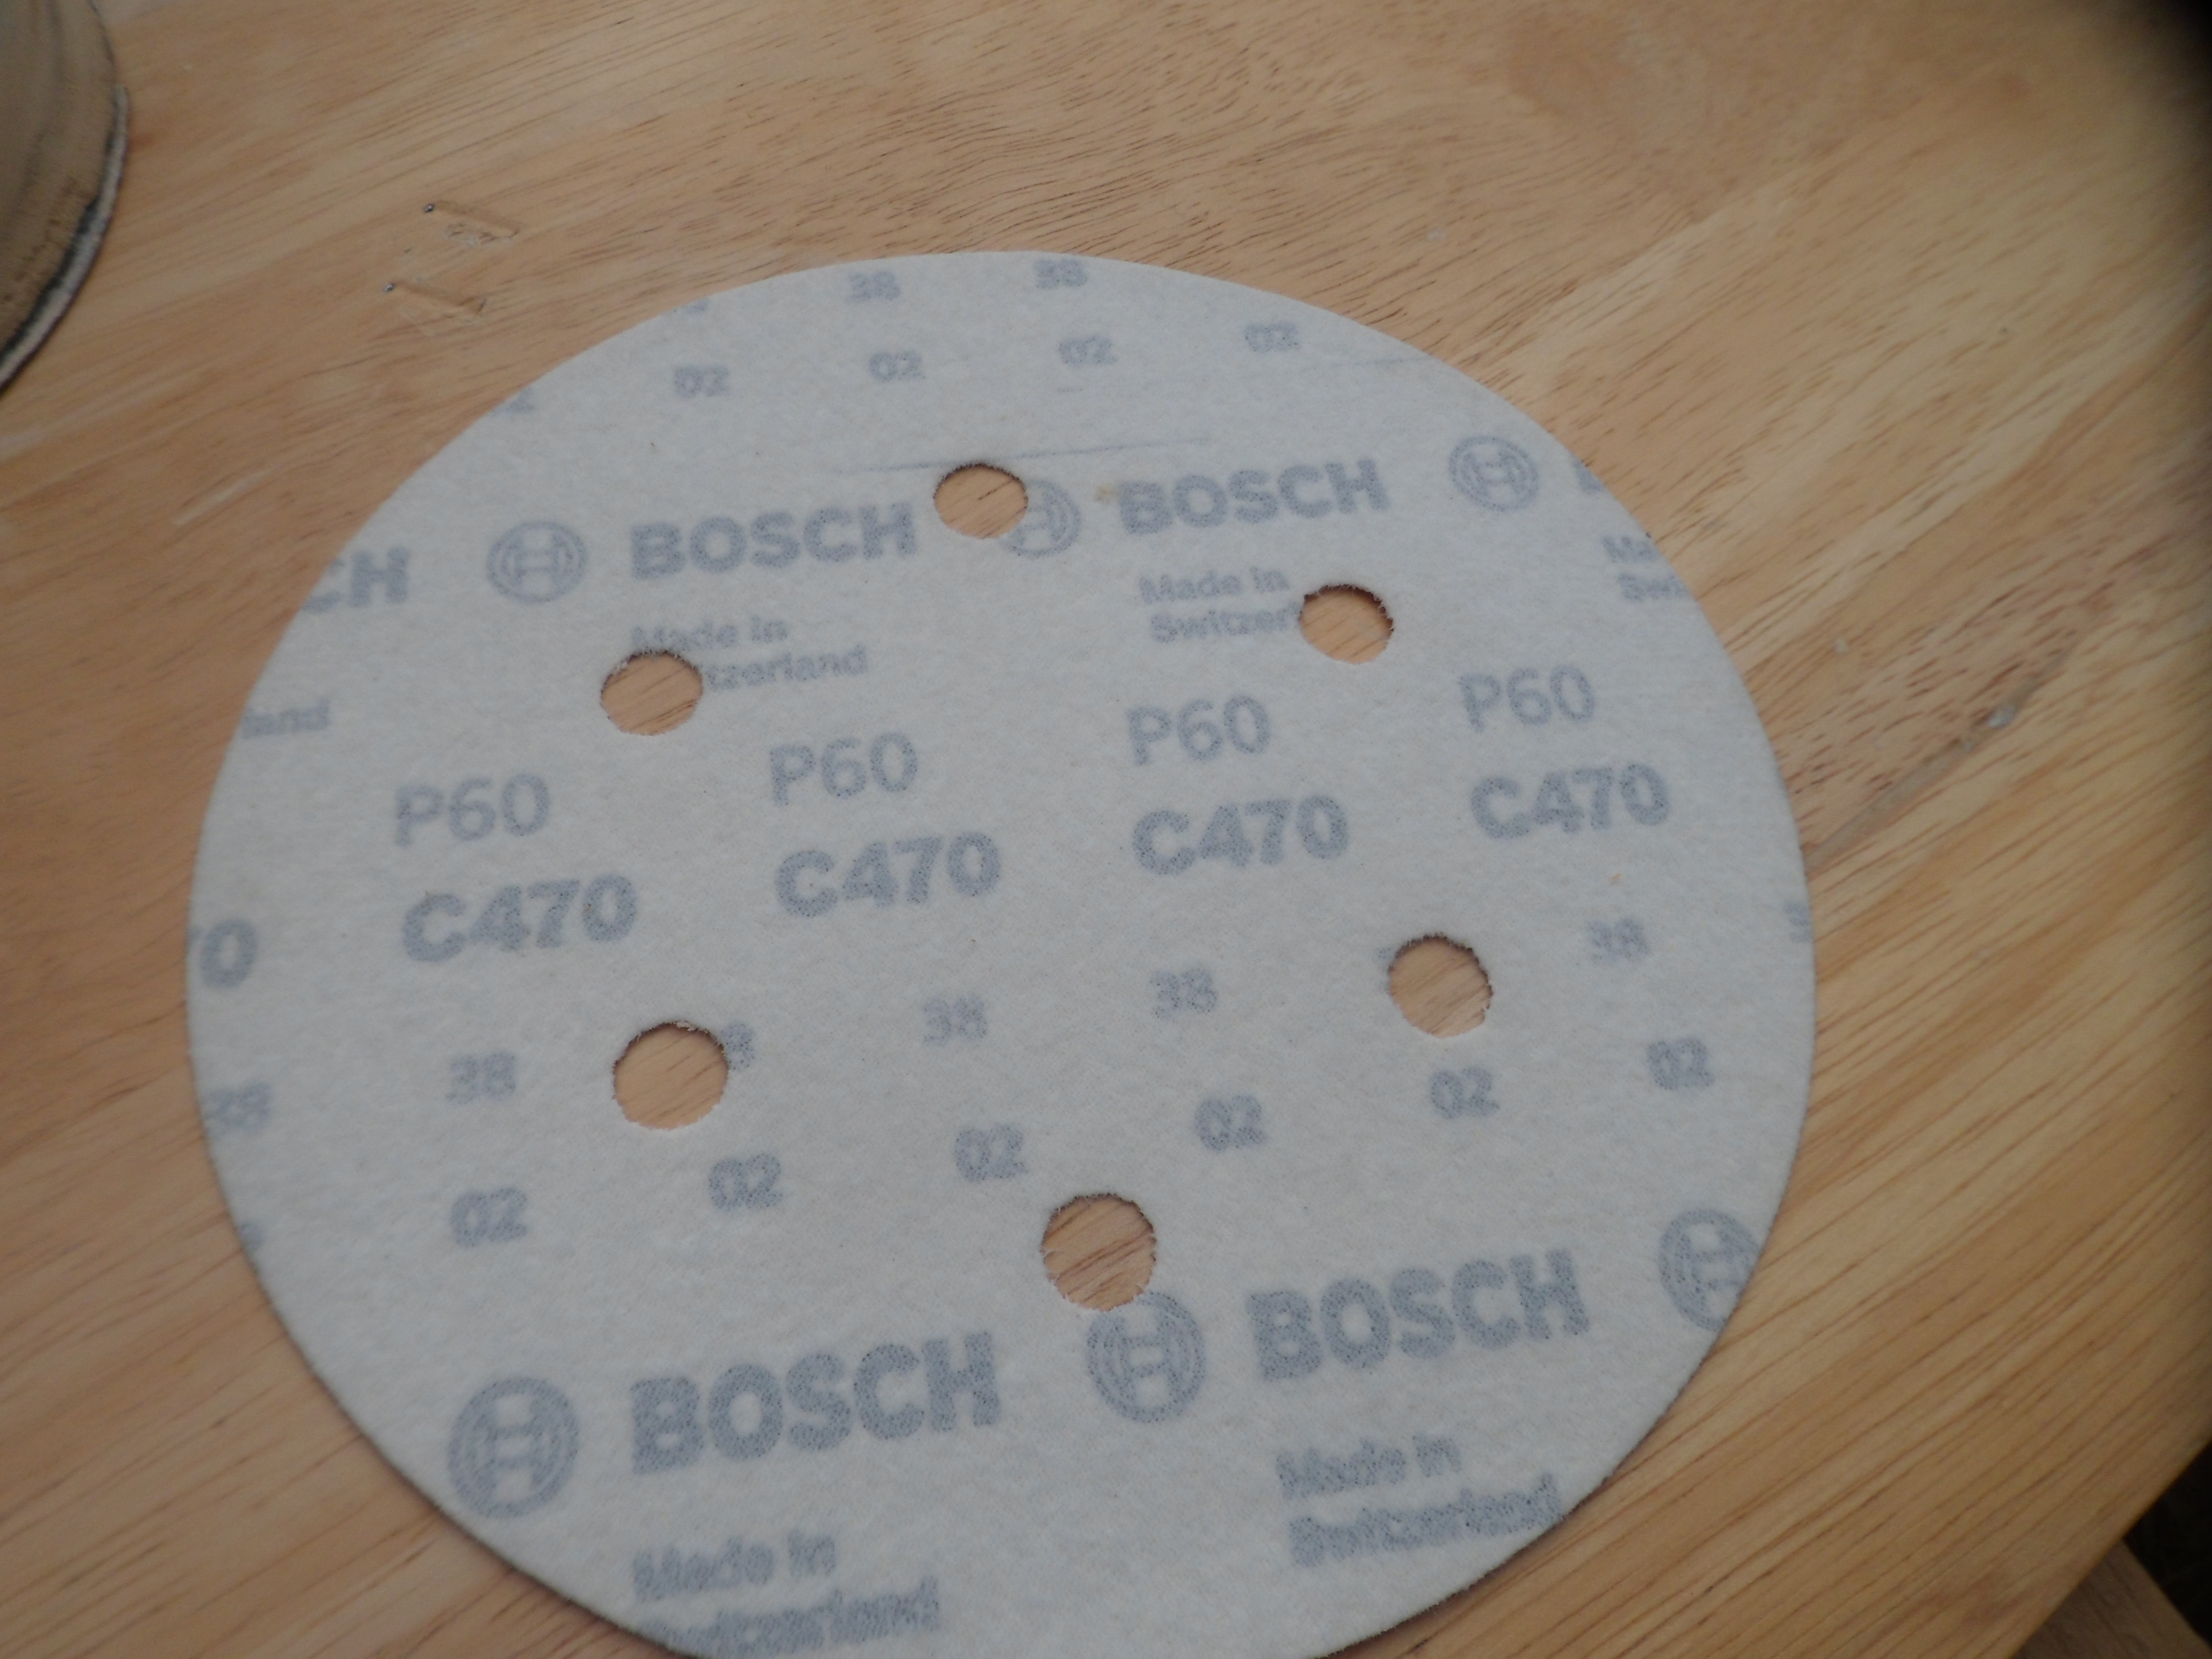
After I had everything apart, sander came out handy(you should not use Shou Sugi Ban on painted surface), please also remember to protect your ears, hearing is very important!
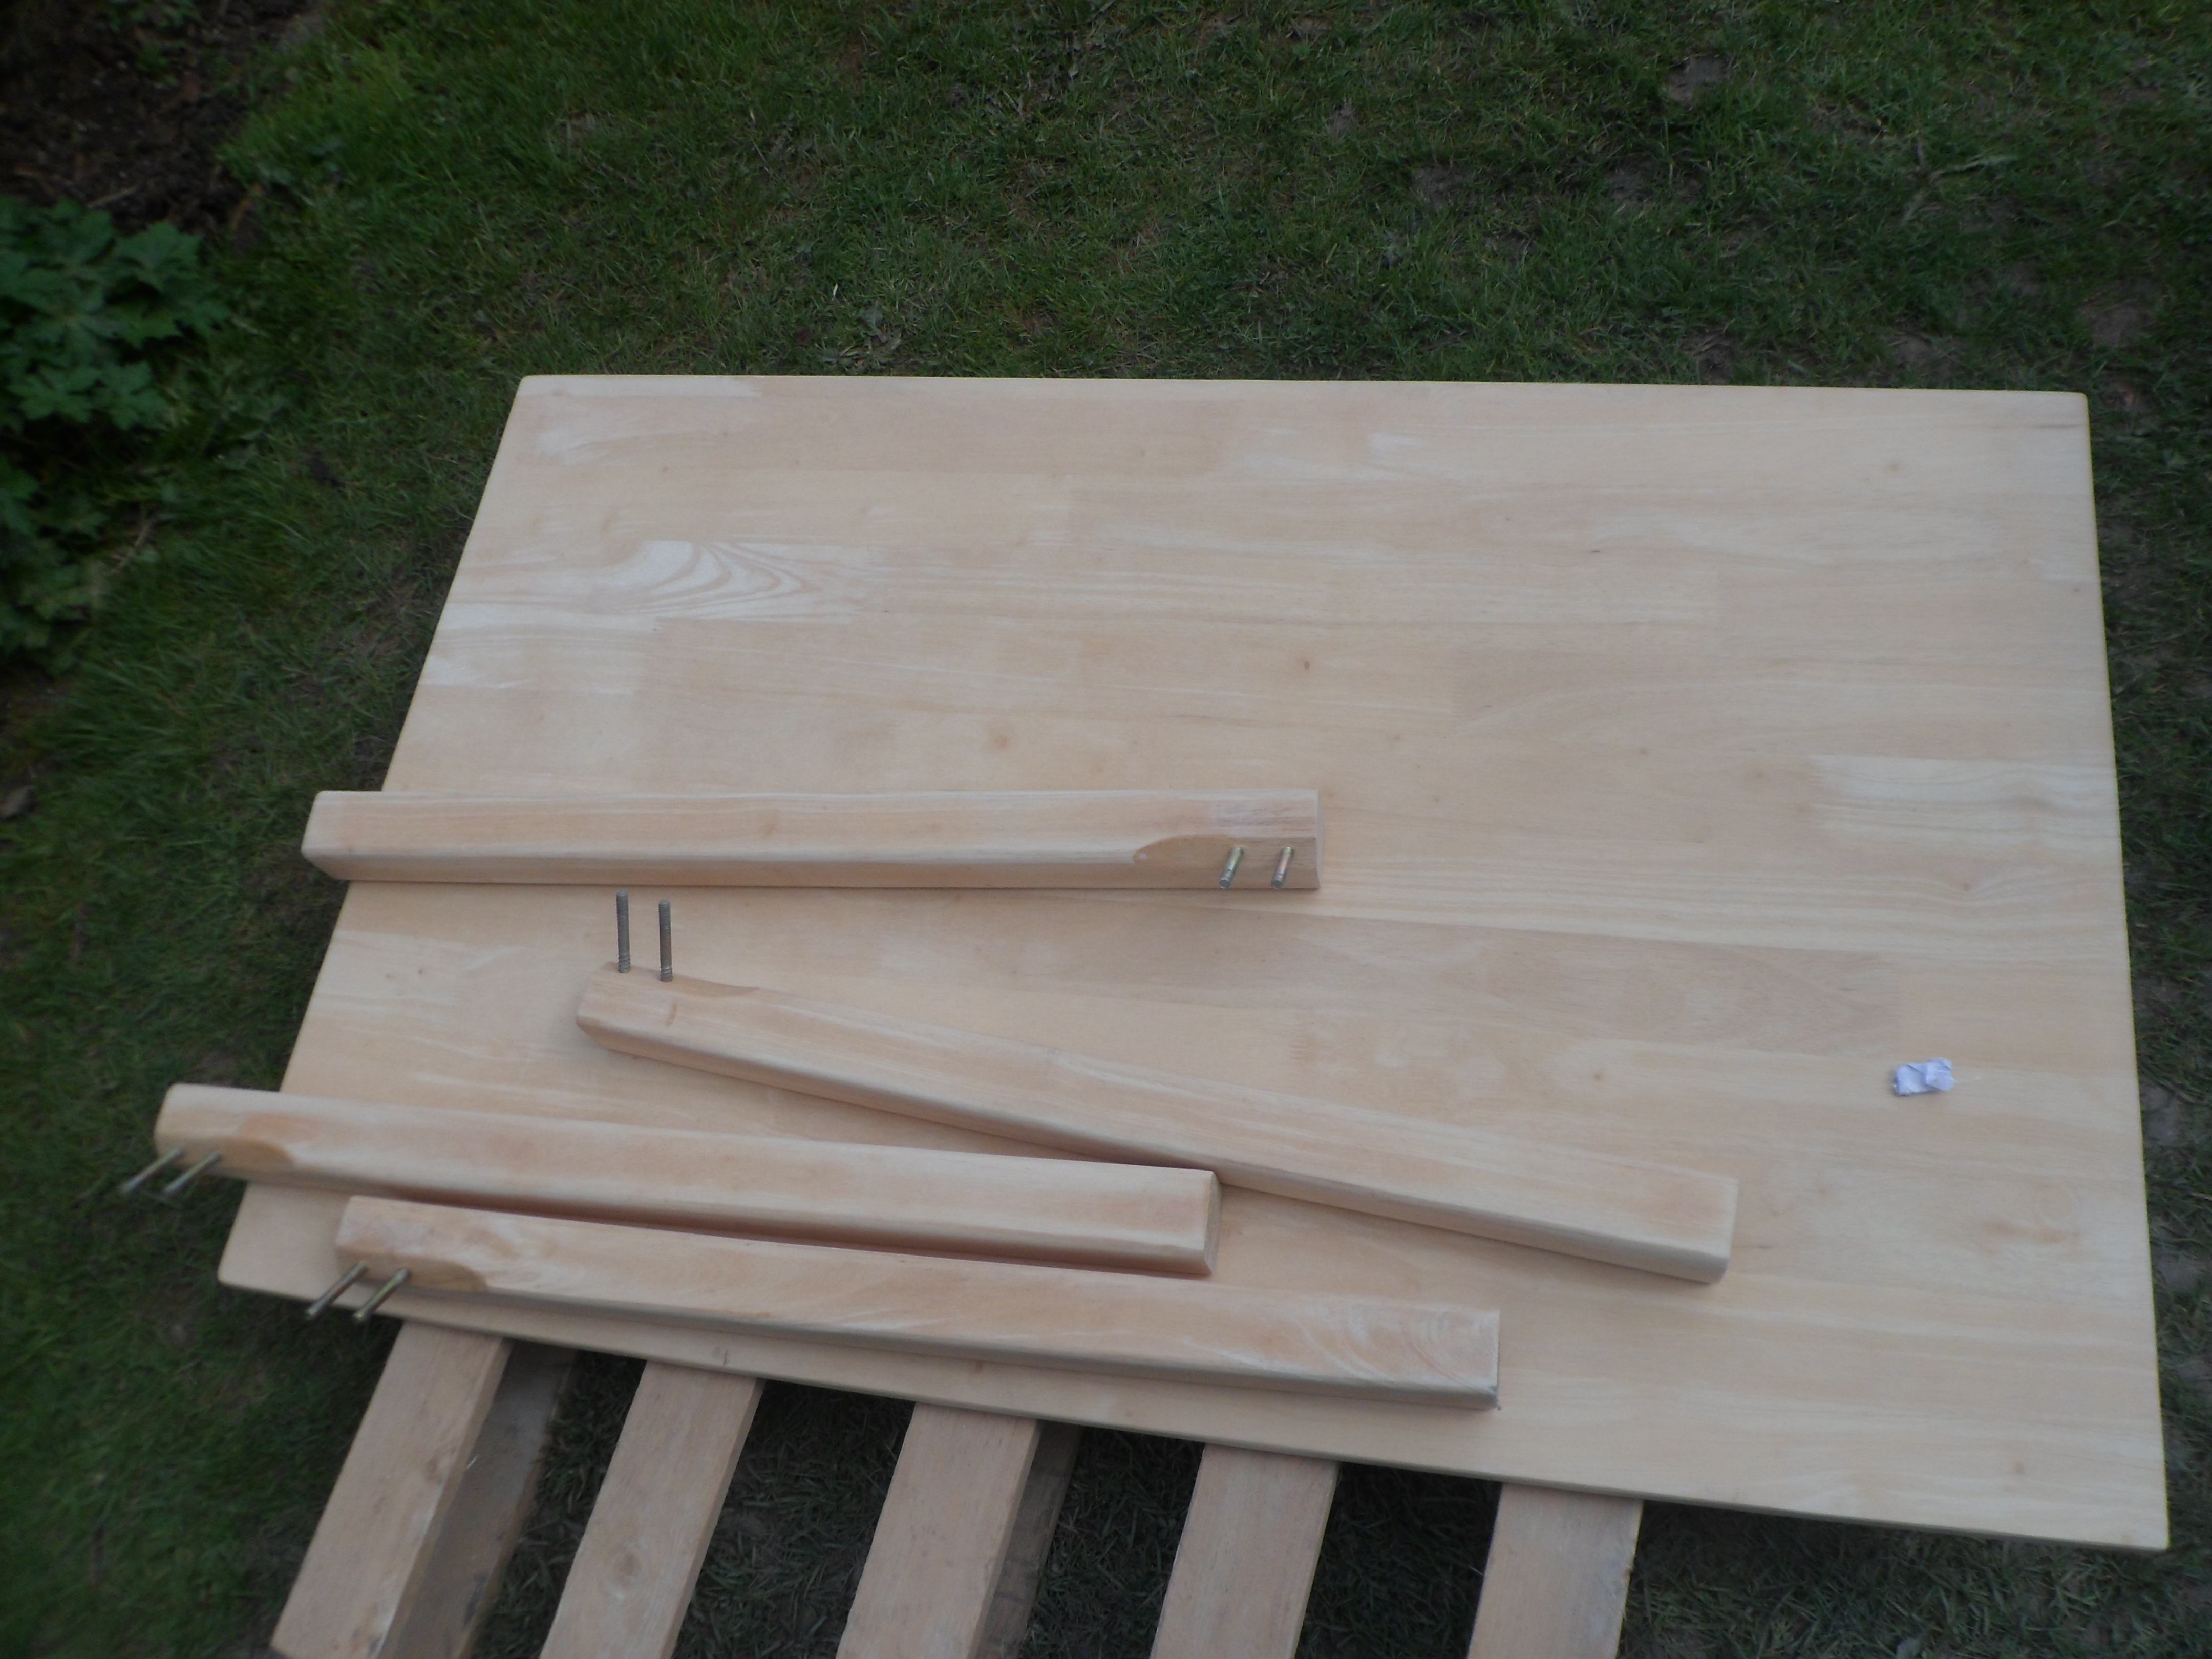
After about 1h I had everything sanded to pure wood, I used grid 60 sand paper and 240 to smooth the top surface, all the legs and frame was only sanded with G60
After all the sanding has been done here is the result......it already looks better than before.....
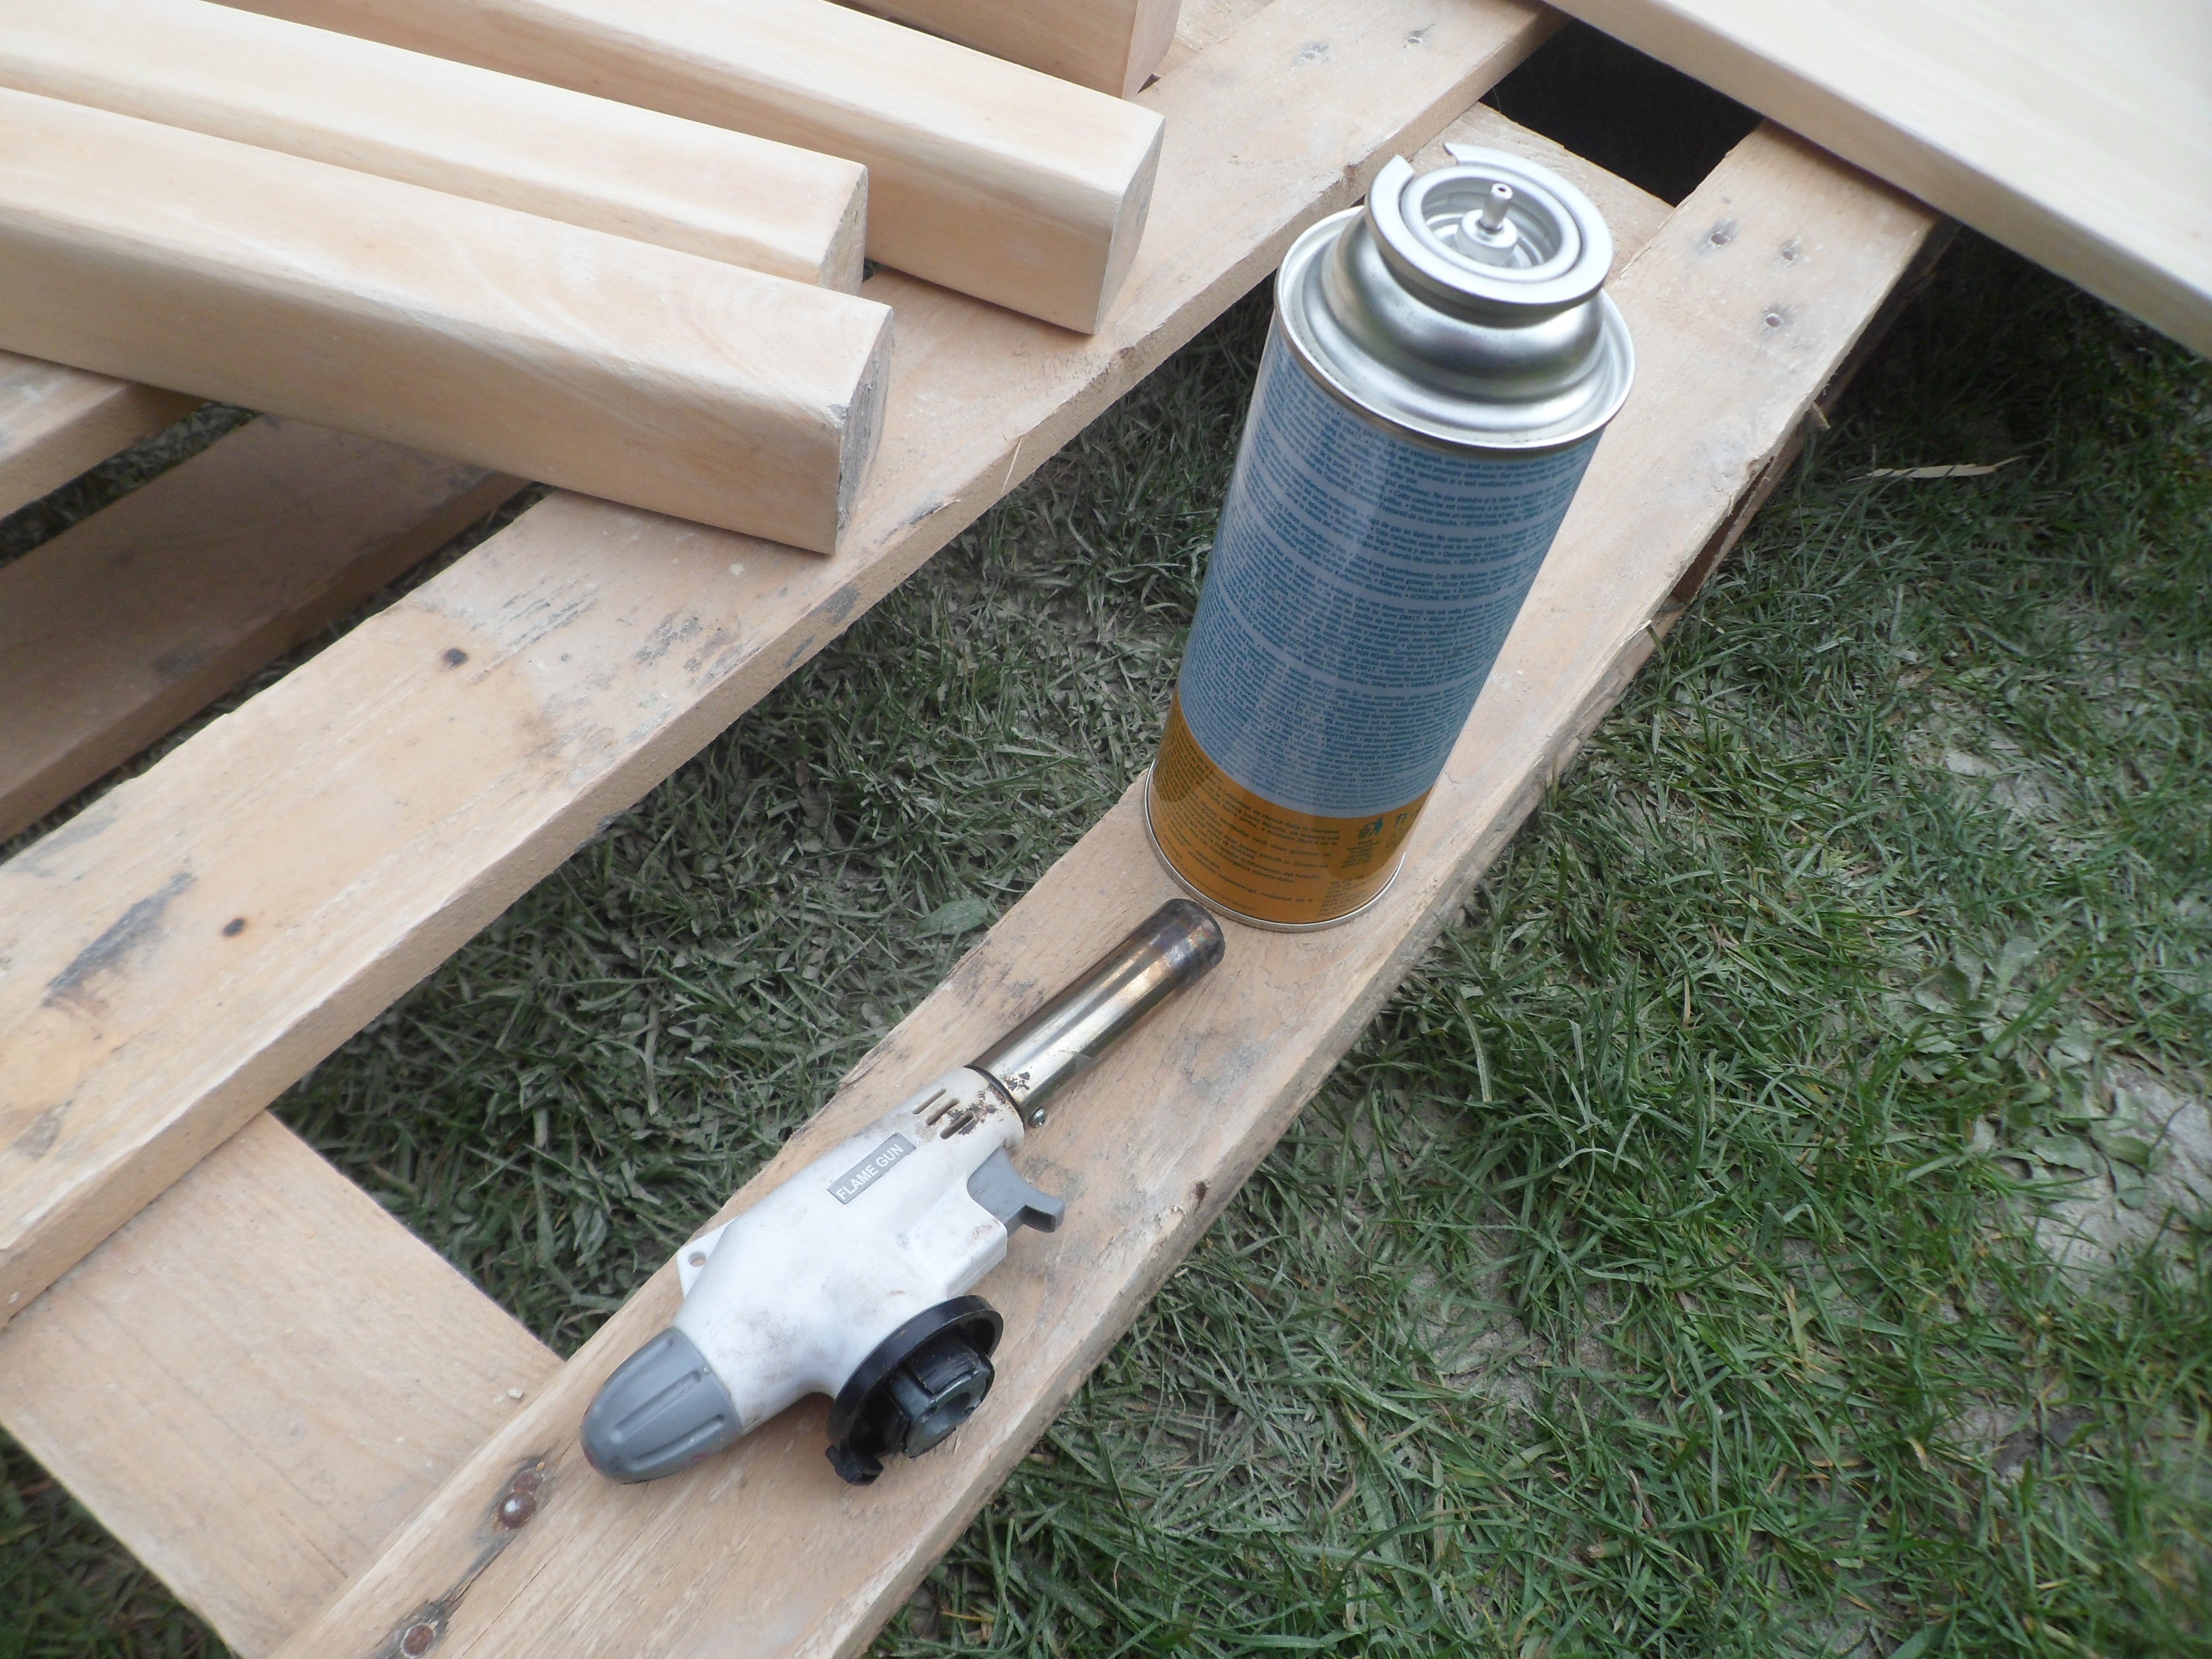
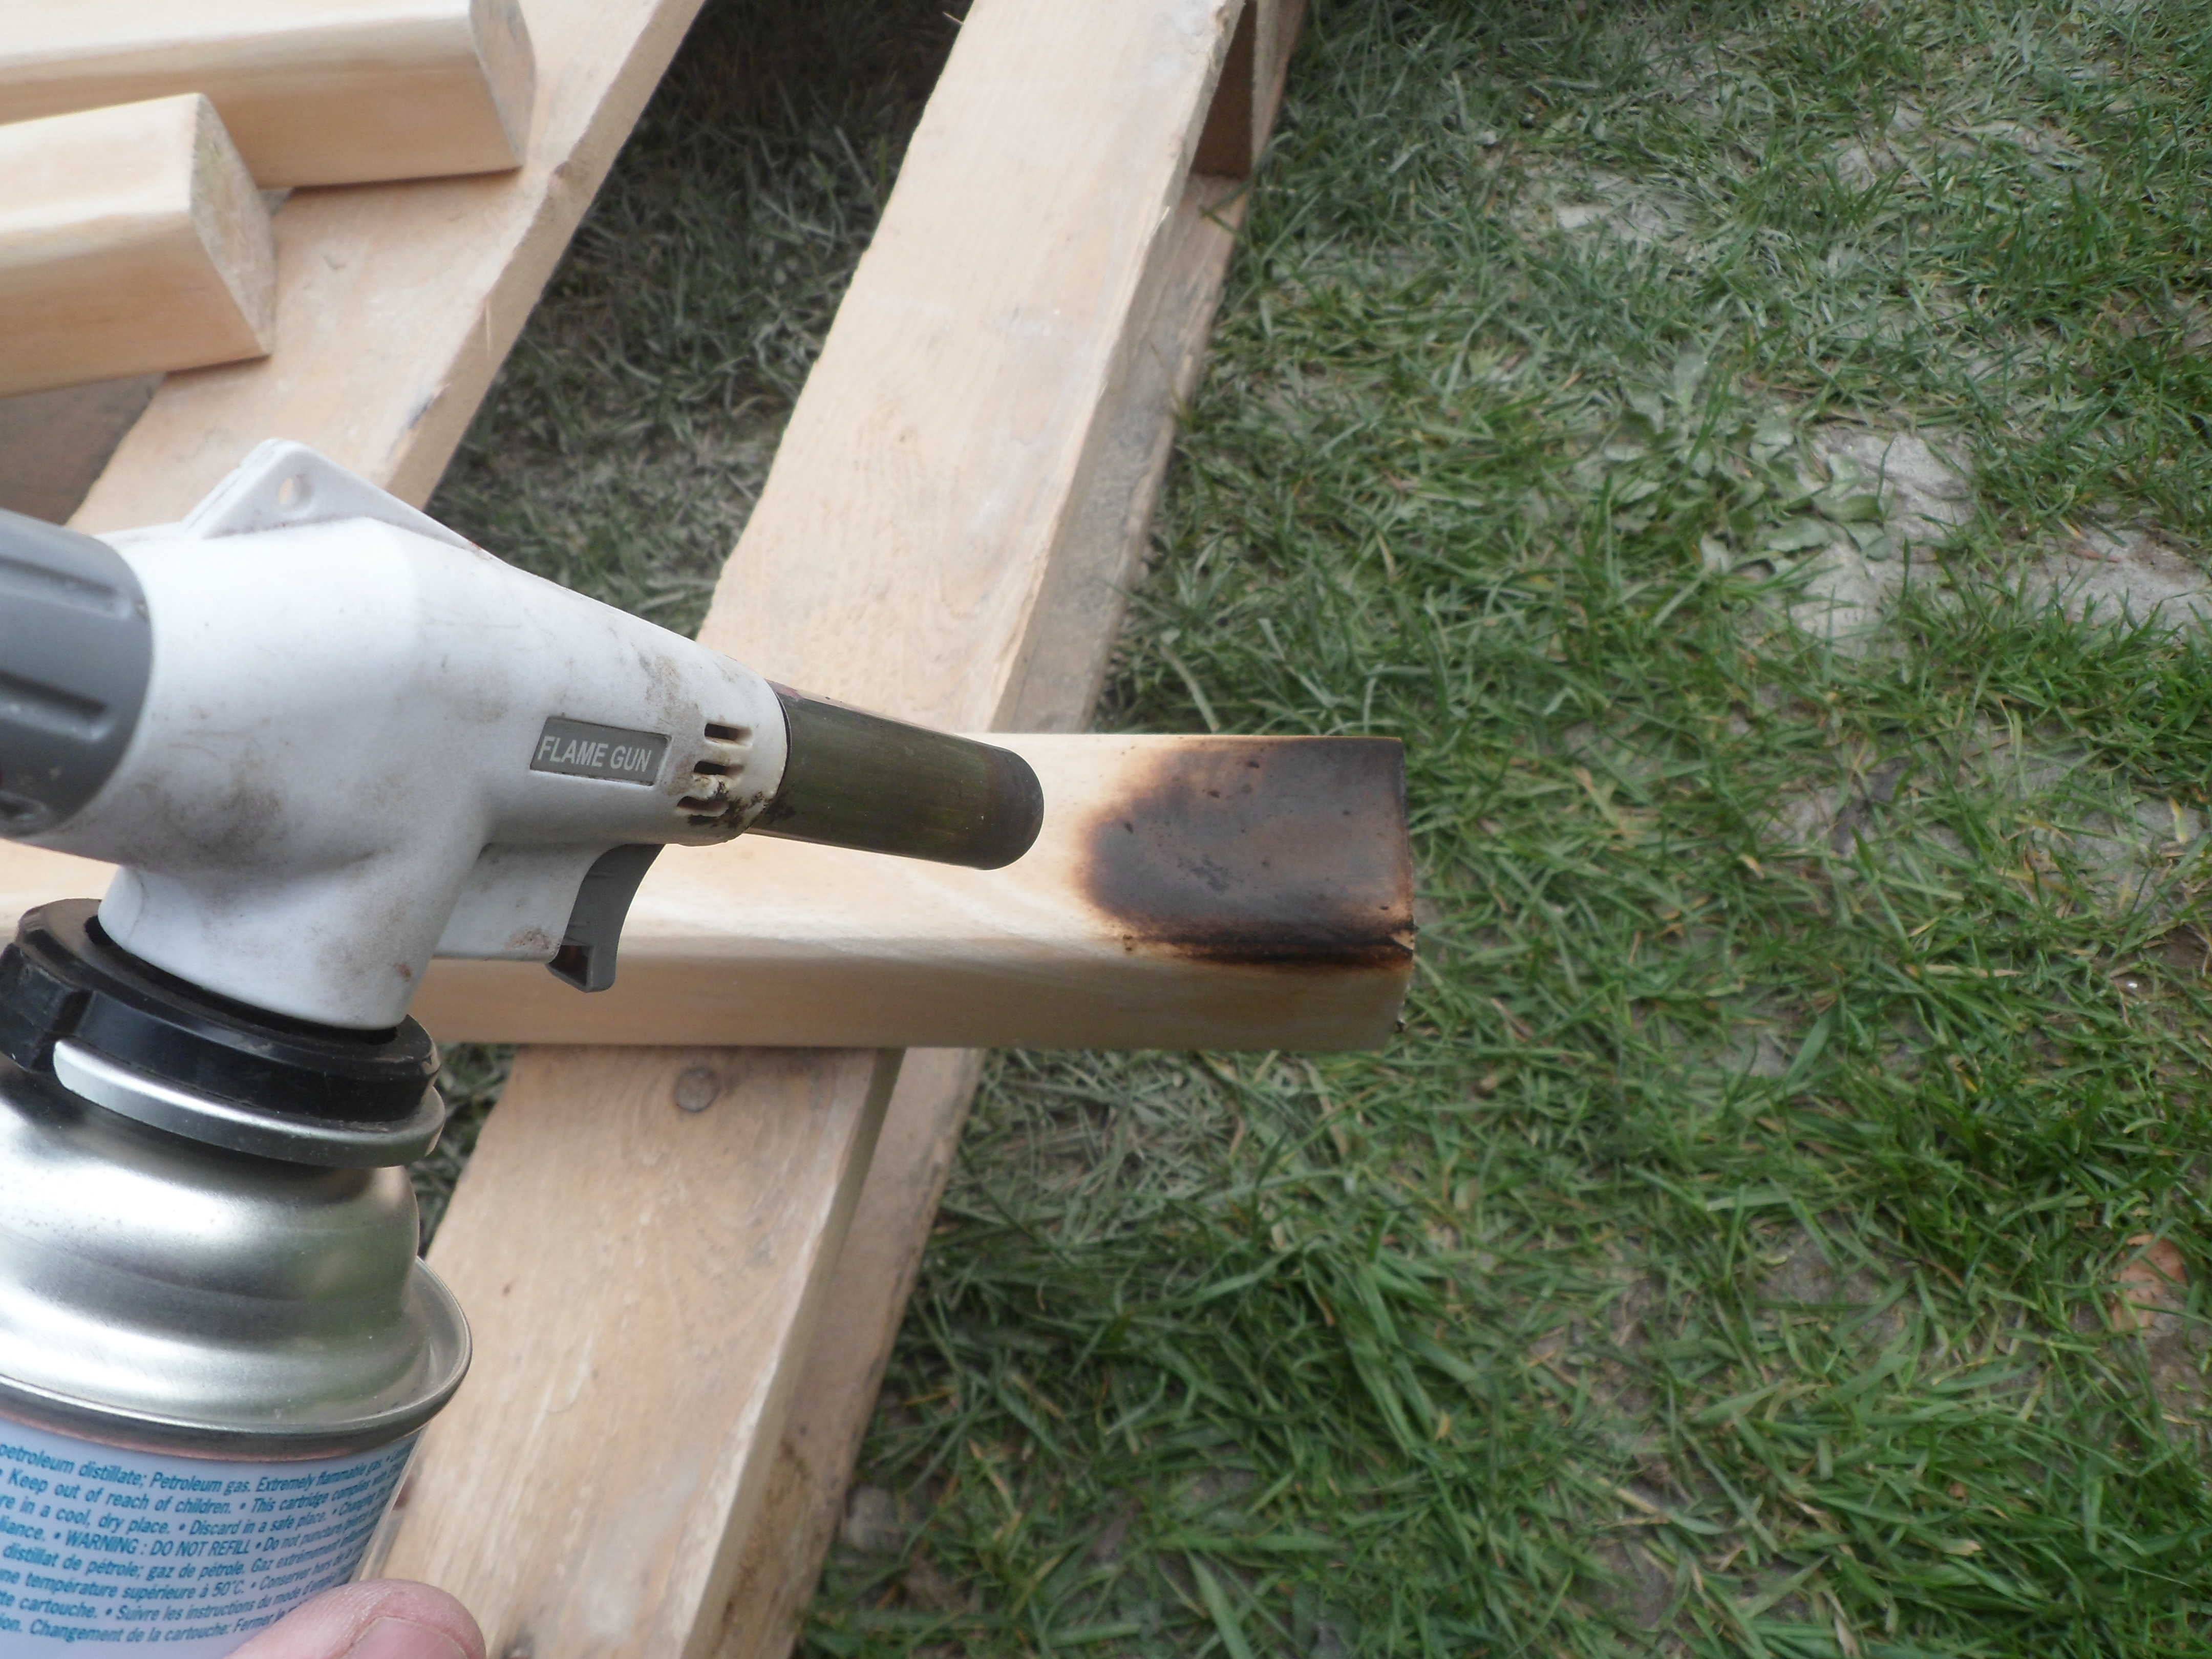
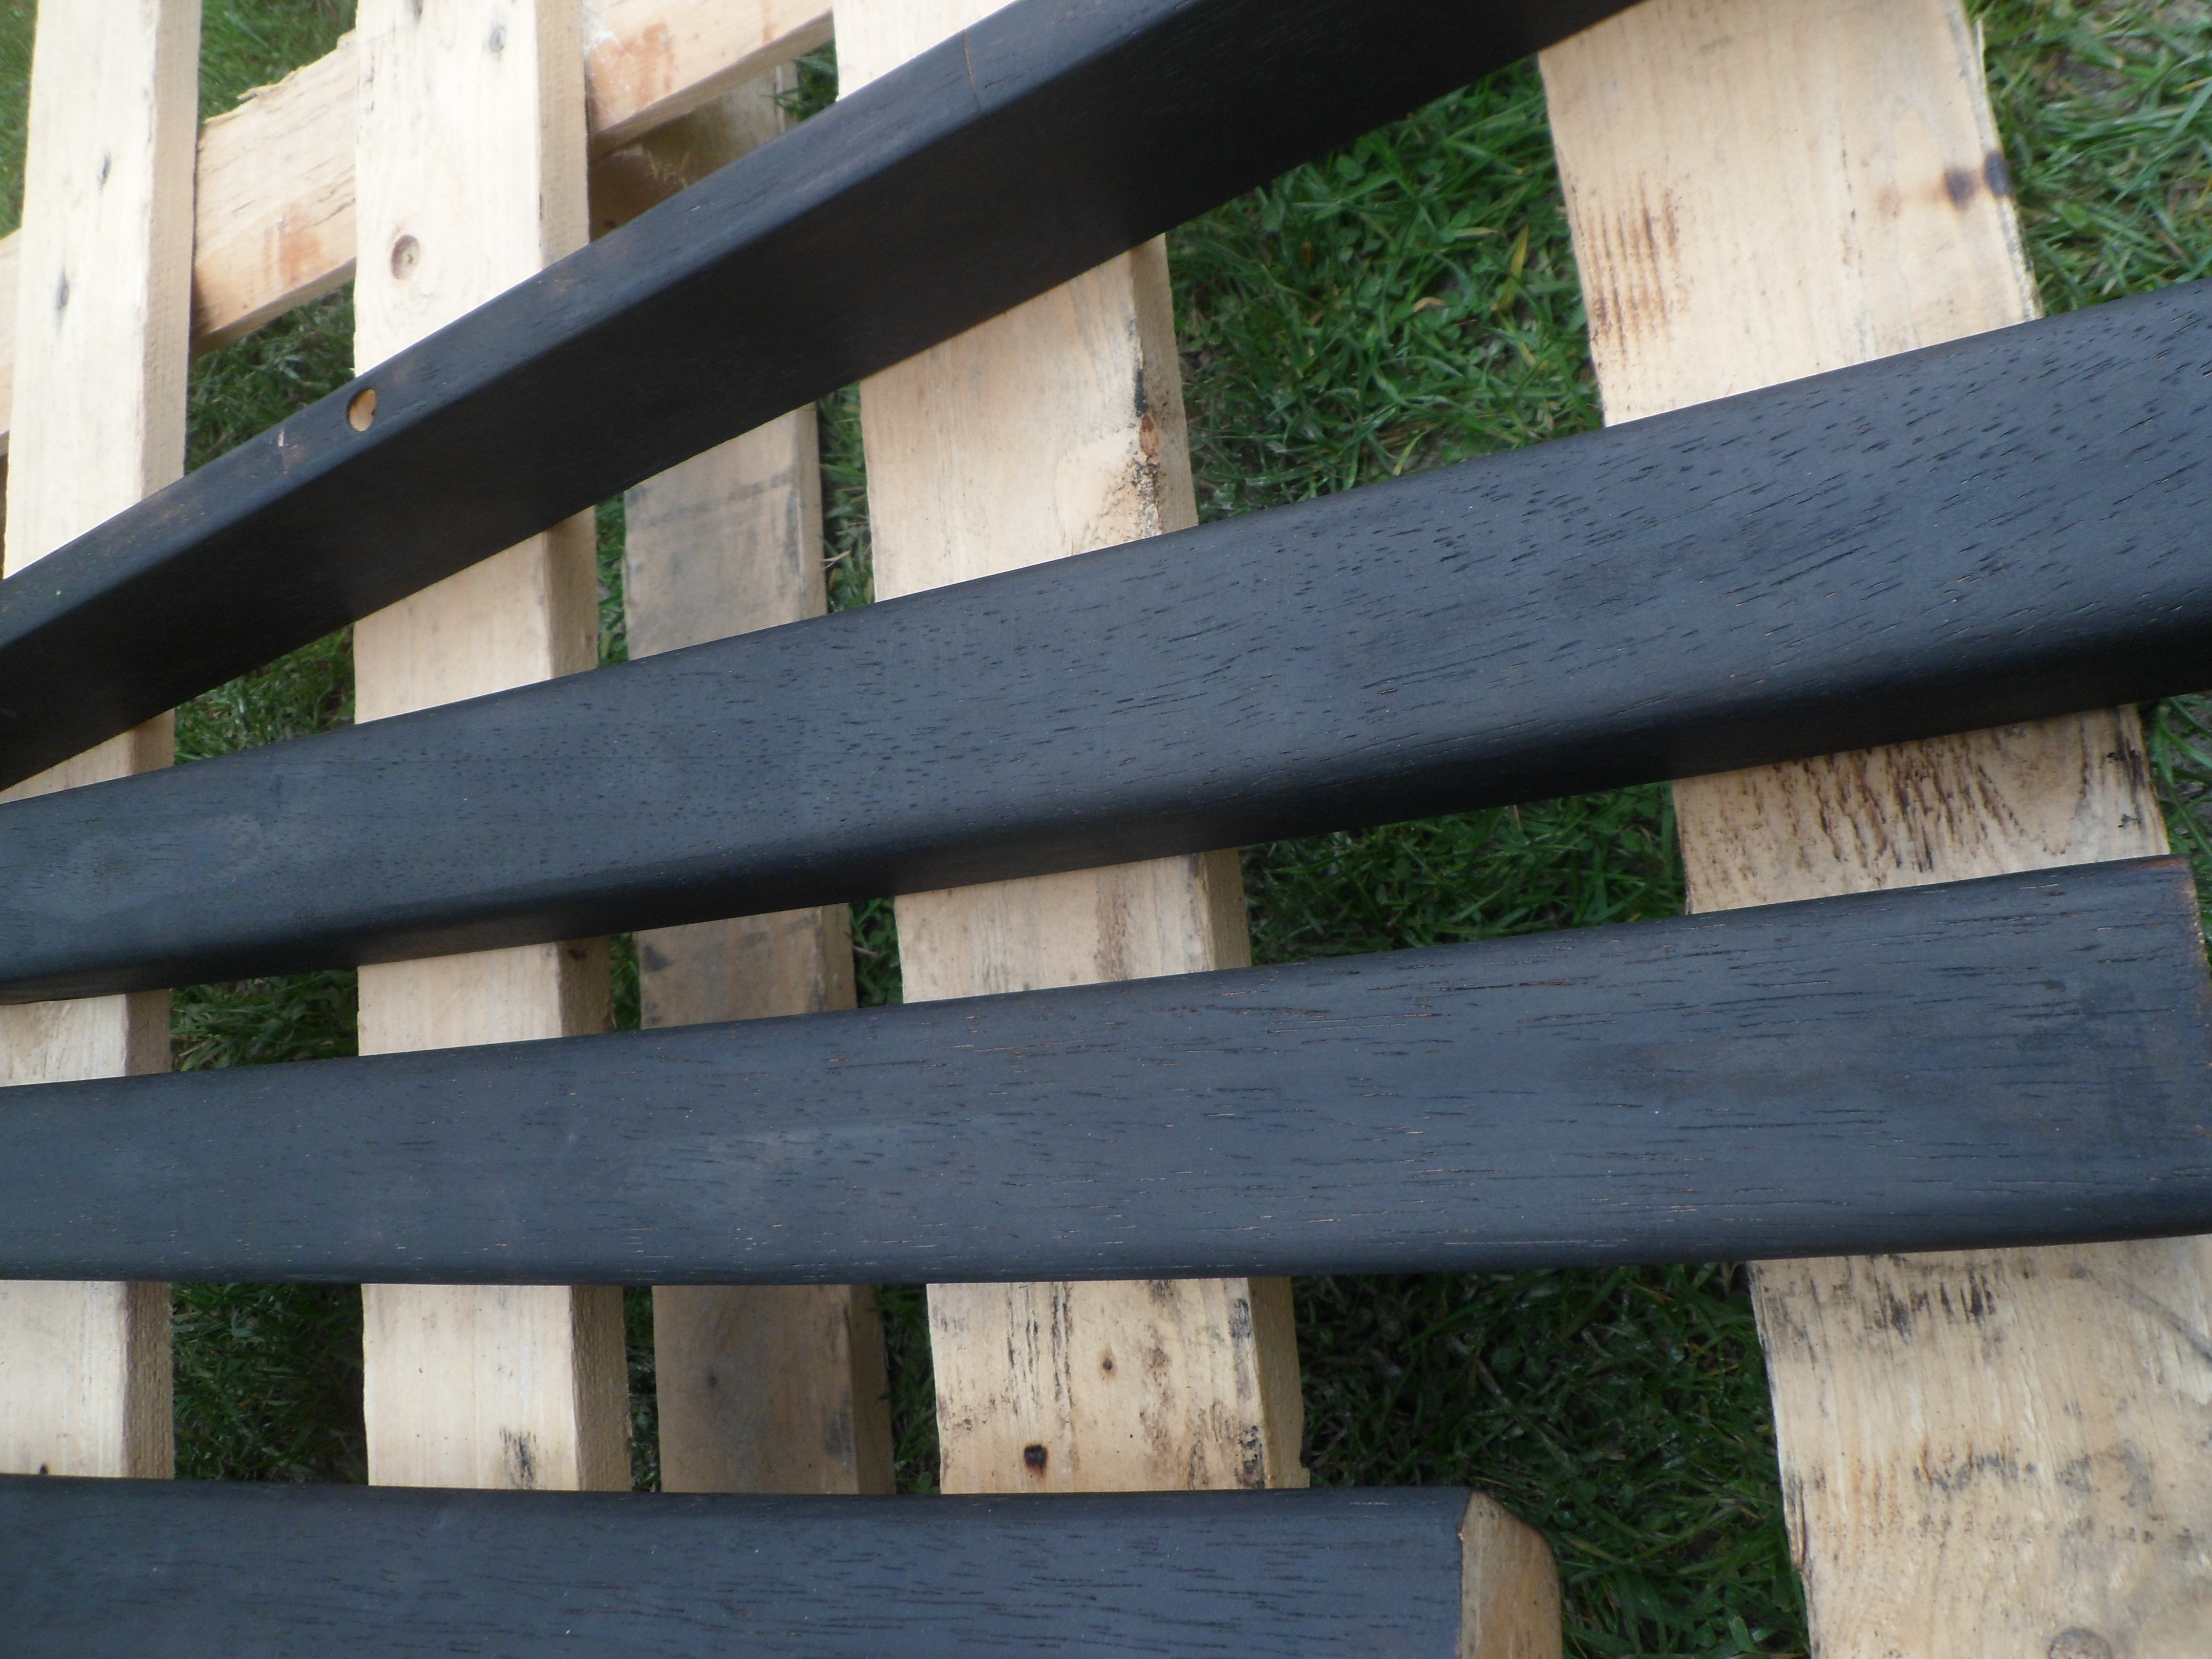
Now the whole fun started.....There is many ways to achieve the burning effect, in my case I used the the blow torch and some camping gas. I really like to do it, its like ASMR very relaxing to do, so about 1h later I had all legs and frame nicely burnt(the wood should be burnt to the moment its getting greyish and starts cracking).
Now there is couple of ways from now on, to get high wood grain effect - it should be scrapped with wire brush(basically you scrape out the burnt soft wood bits) In my case i skipped this step as the wood used for legs wasn't really grainy one so there was no point(however when I've done my garden benches I did scrape all the planks and reburnt it).
I washed everything with garden hose, let it dry.
I was back after a while and everything was dry I used Teak Oil to finish it off, the wood was so dry so it sucked nearly half of the bottle :)
Now I let it dry again, came back later and wiped all the remaining oil out of it and polished it.
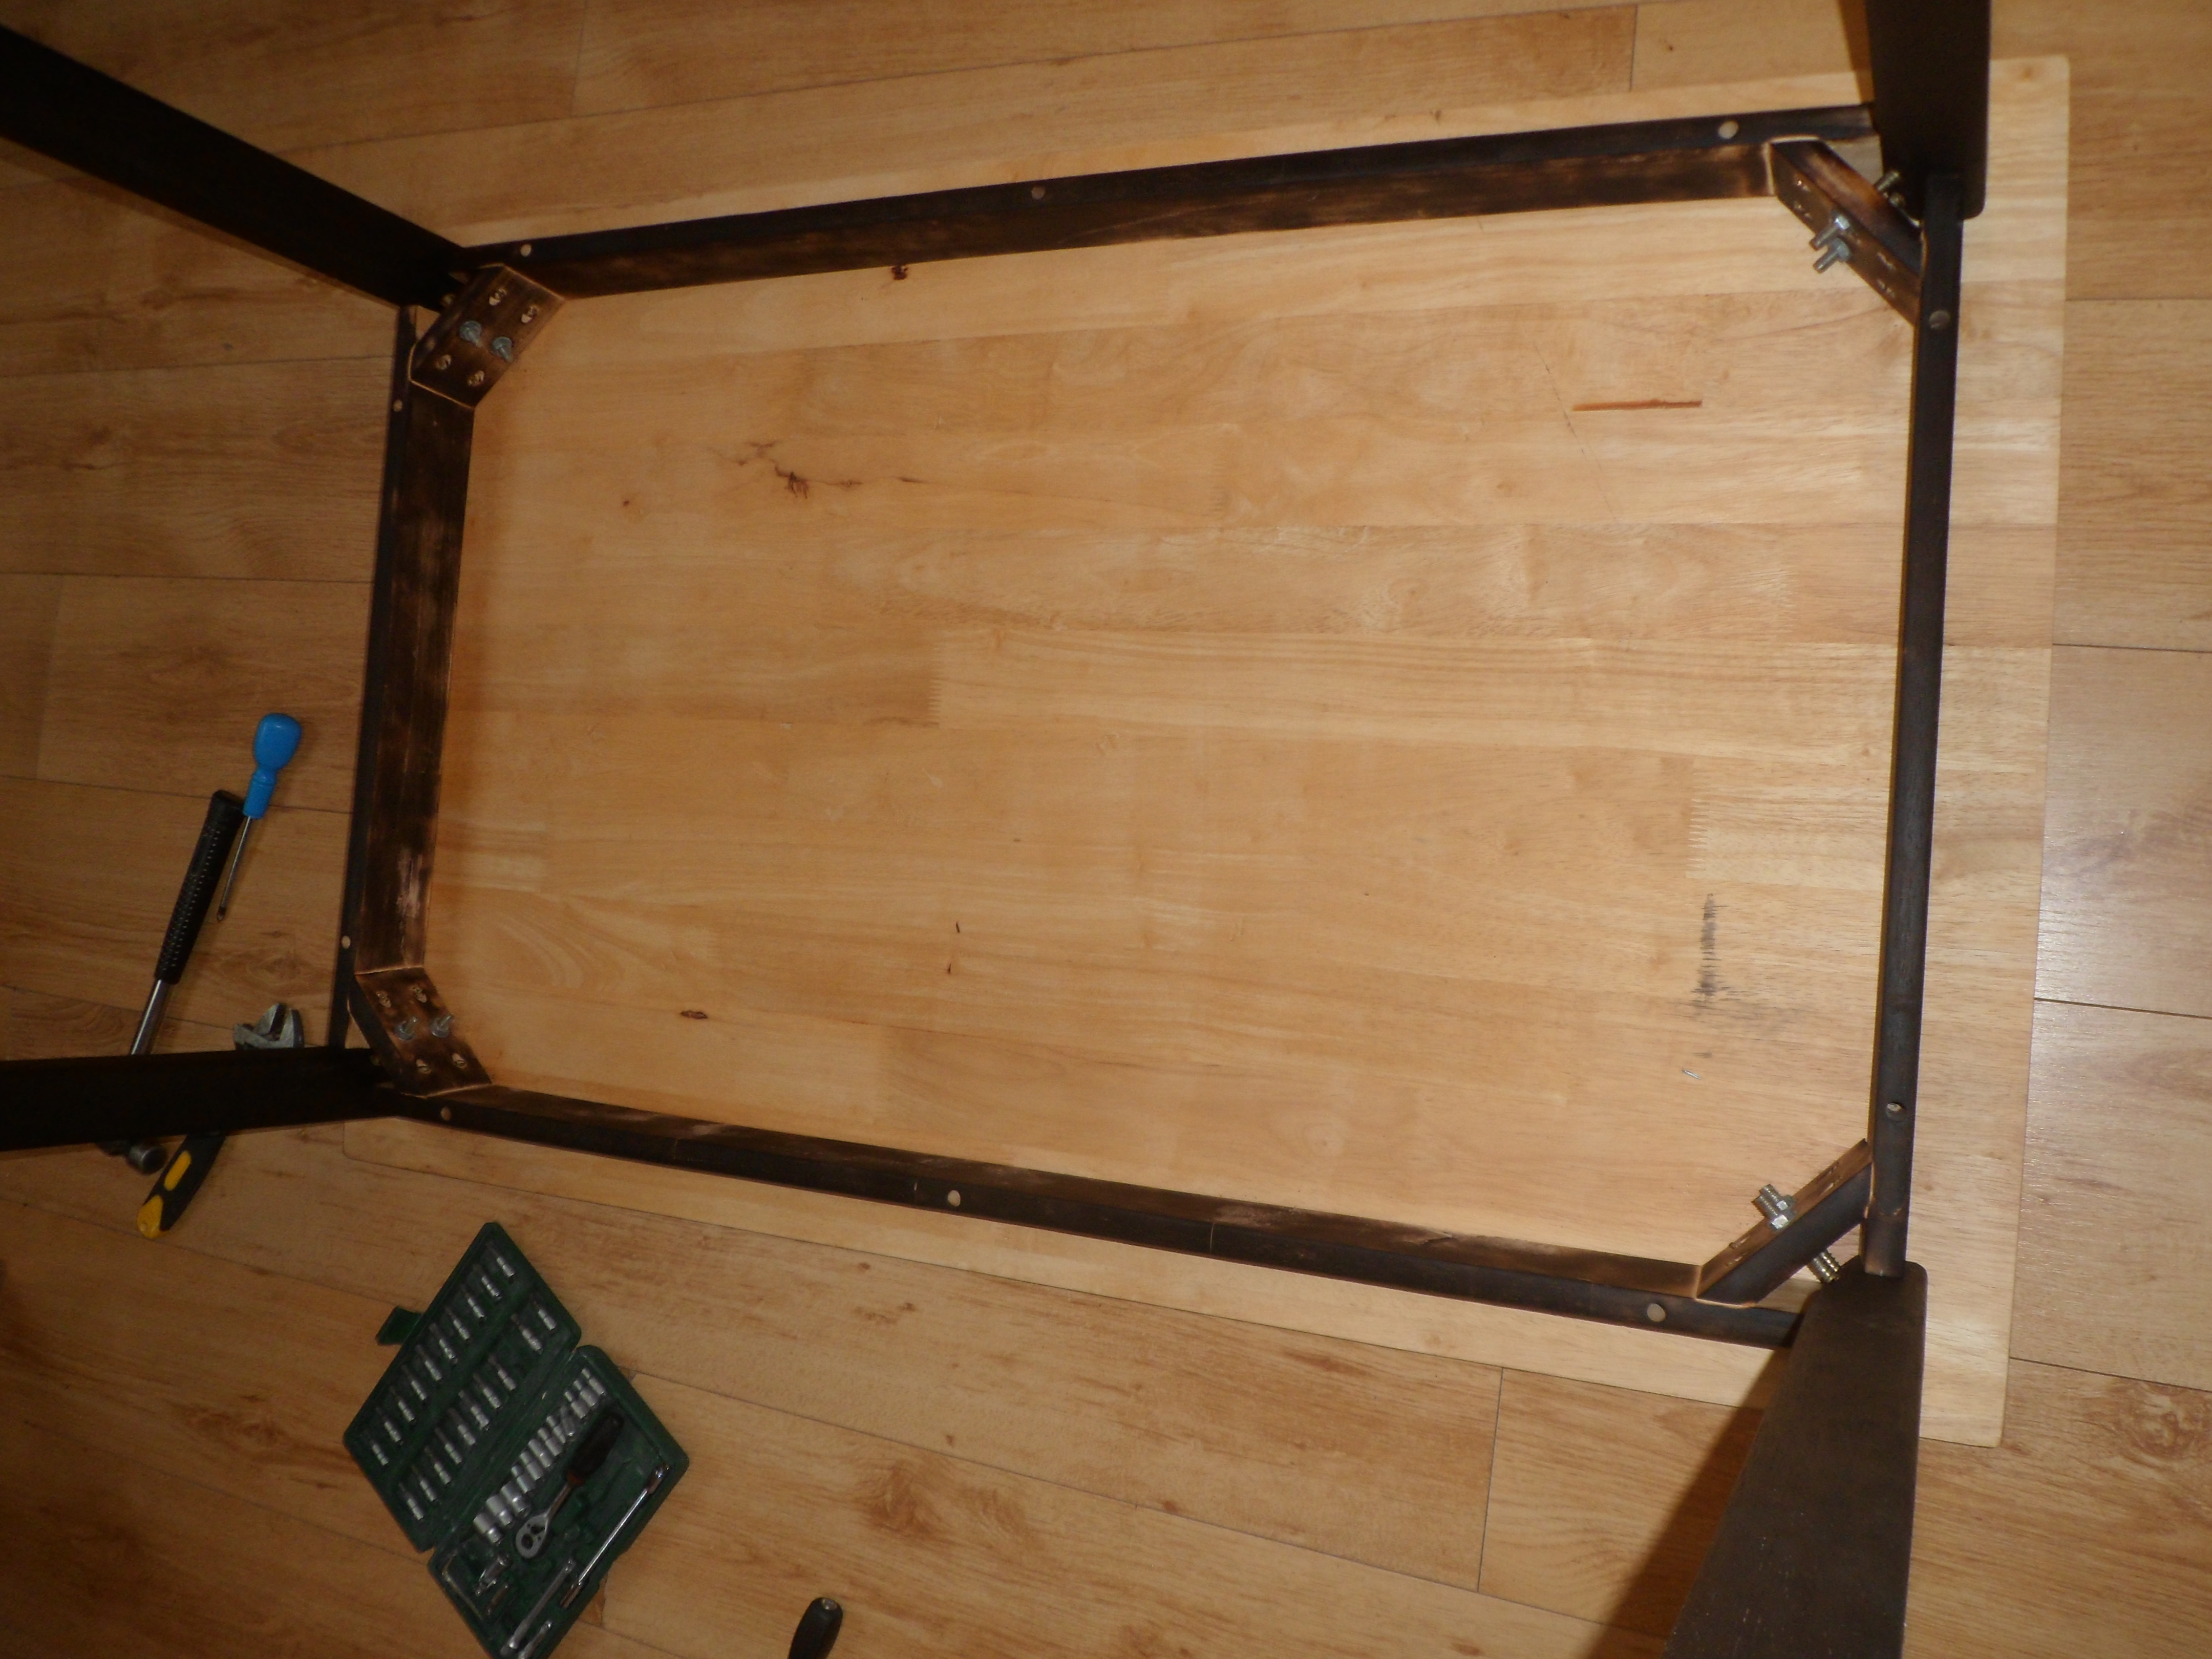
It was time to bring it back home and put everything back together.... after a bit of faffing around I managed to put it back in one piece.
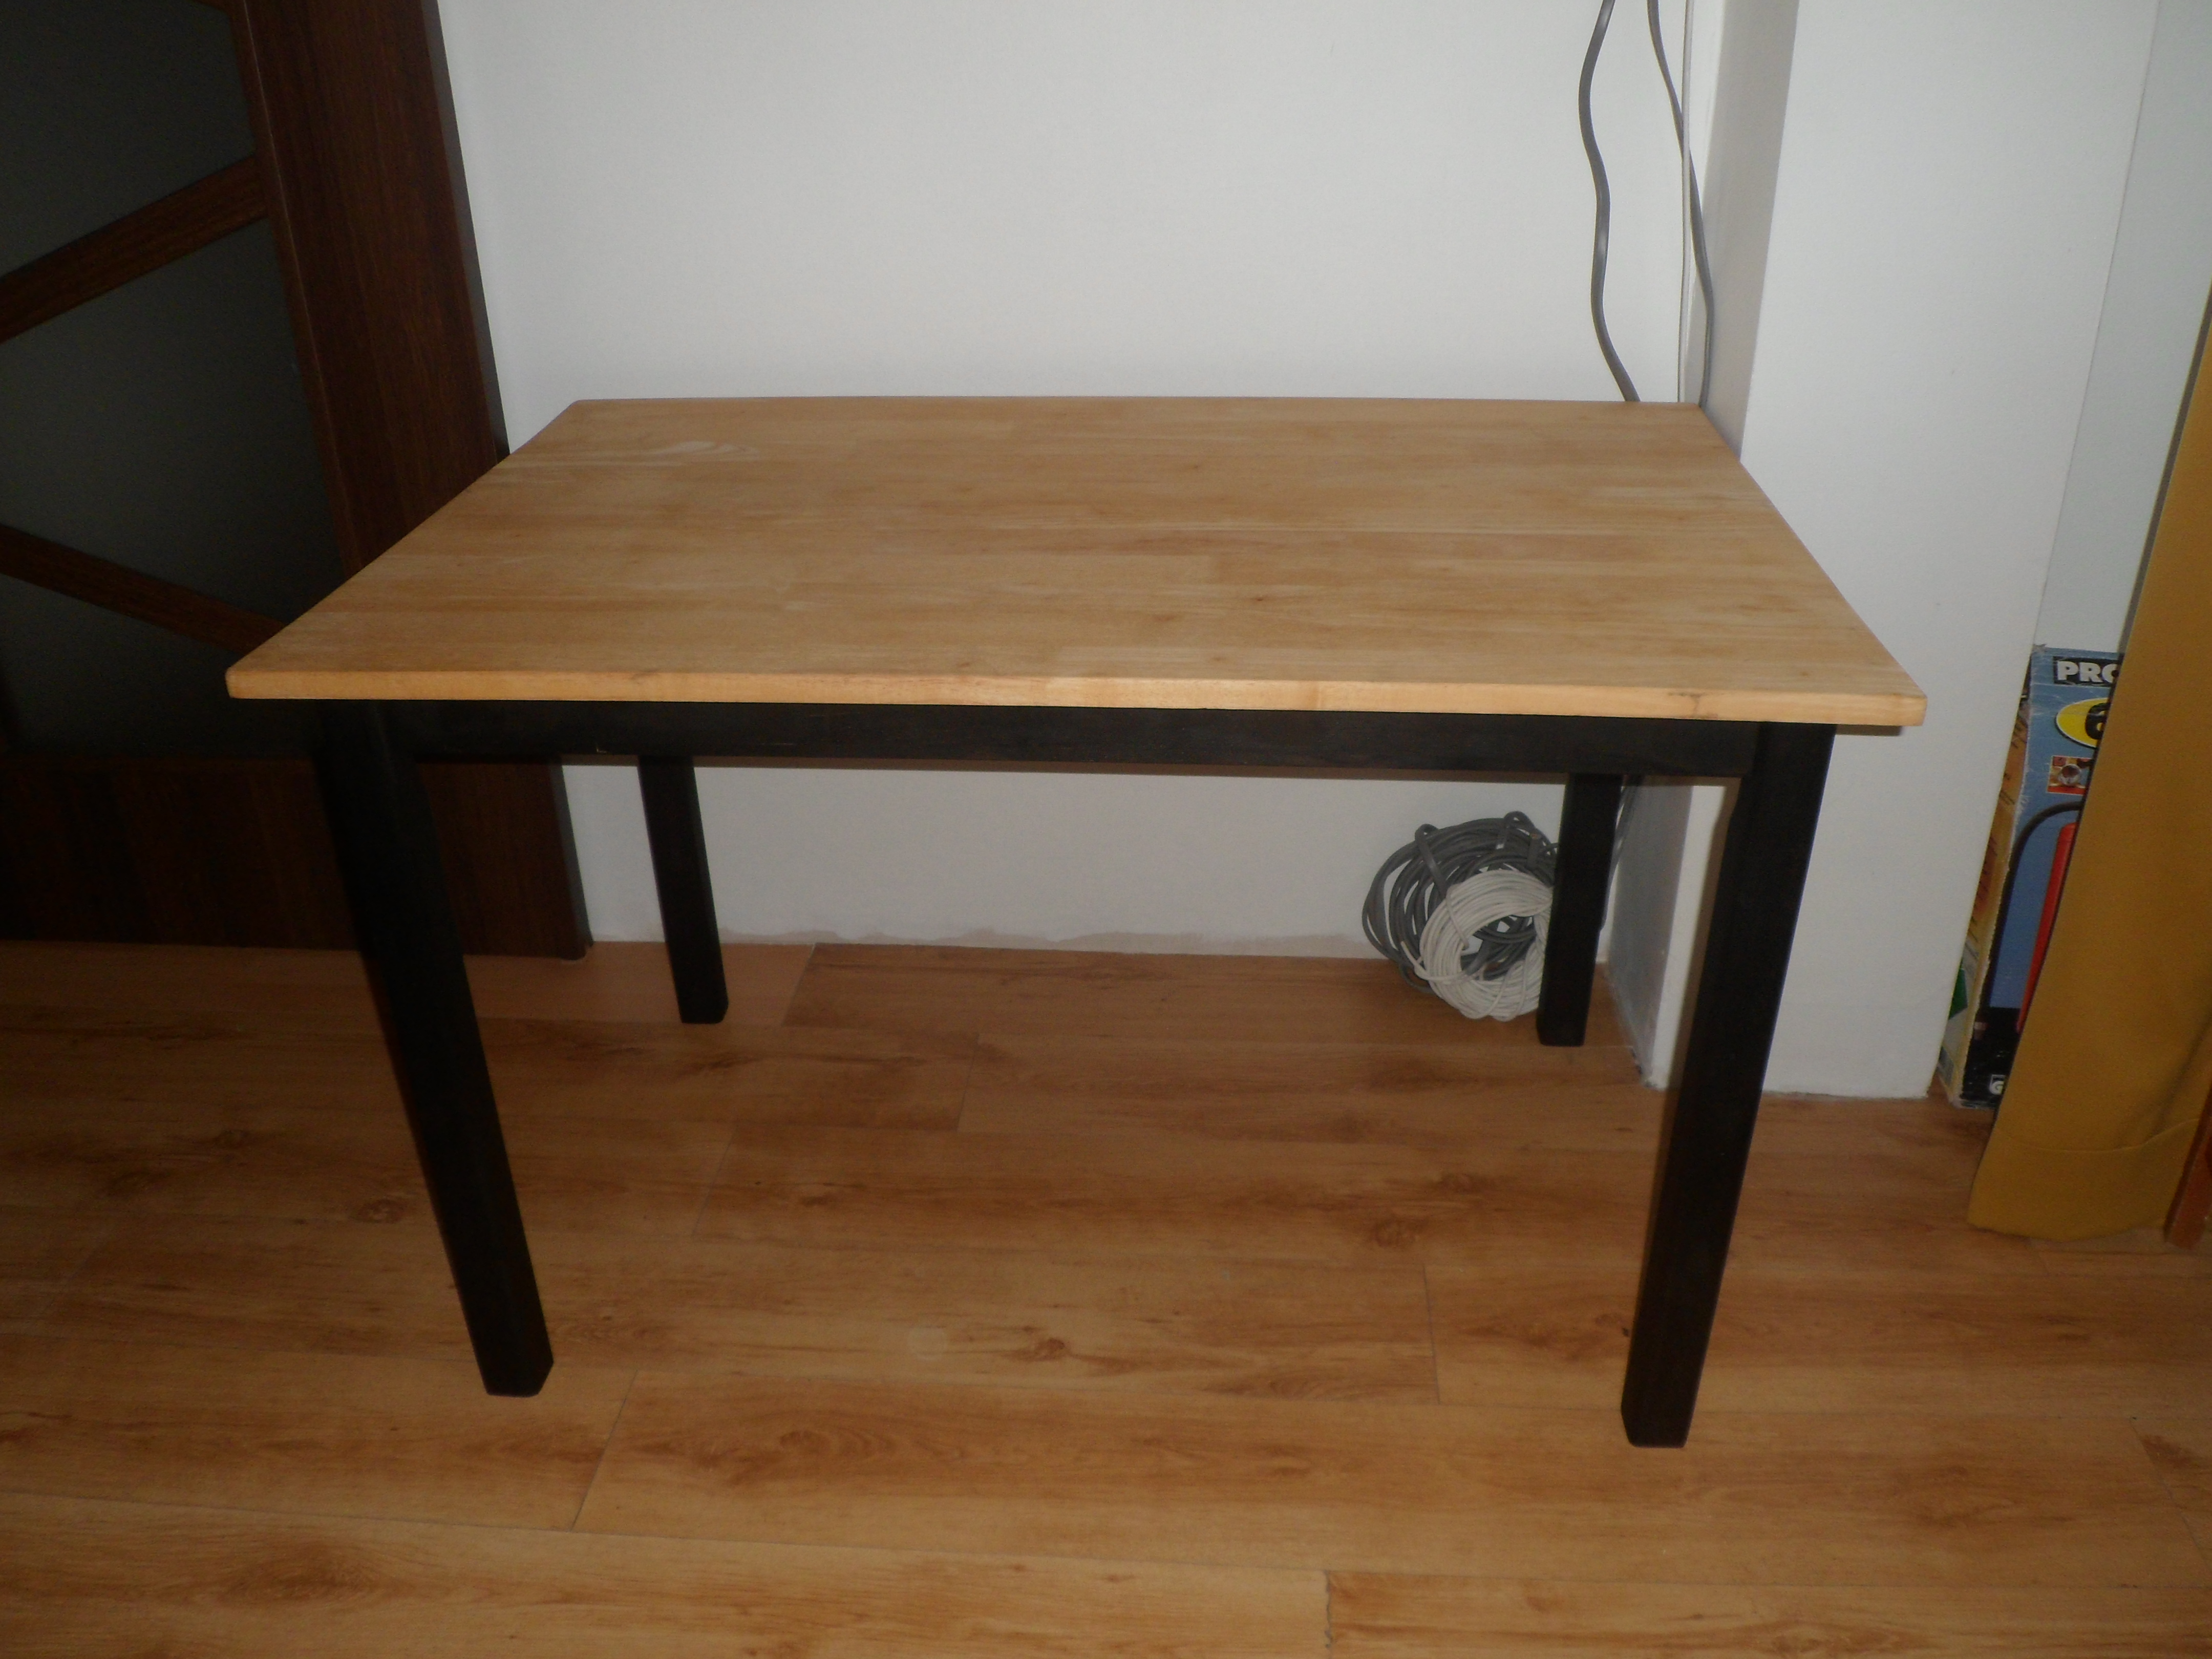
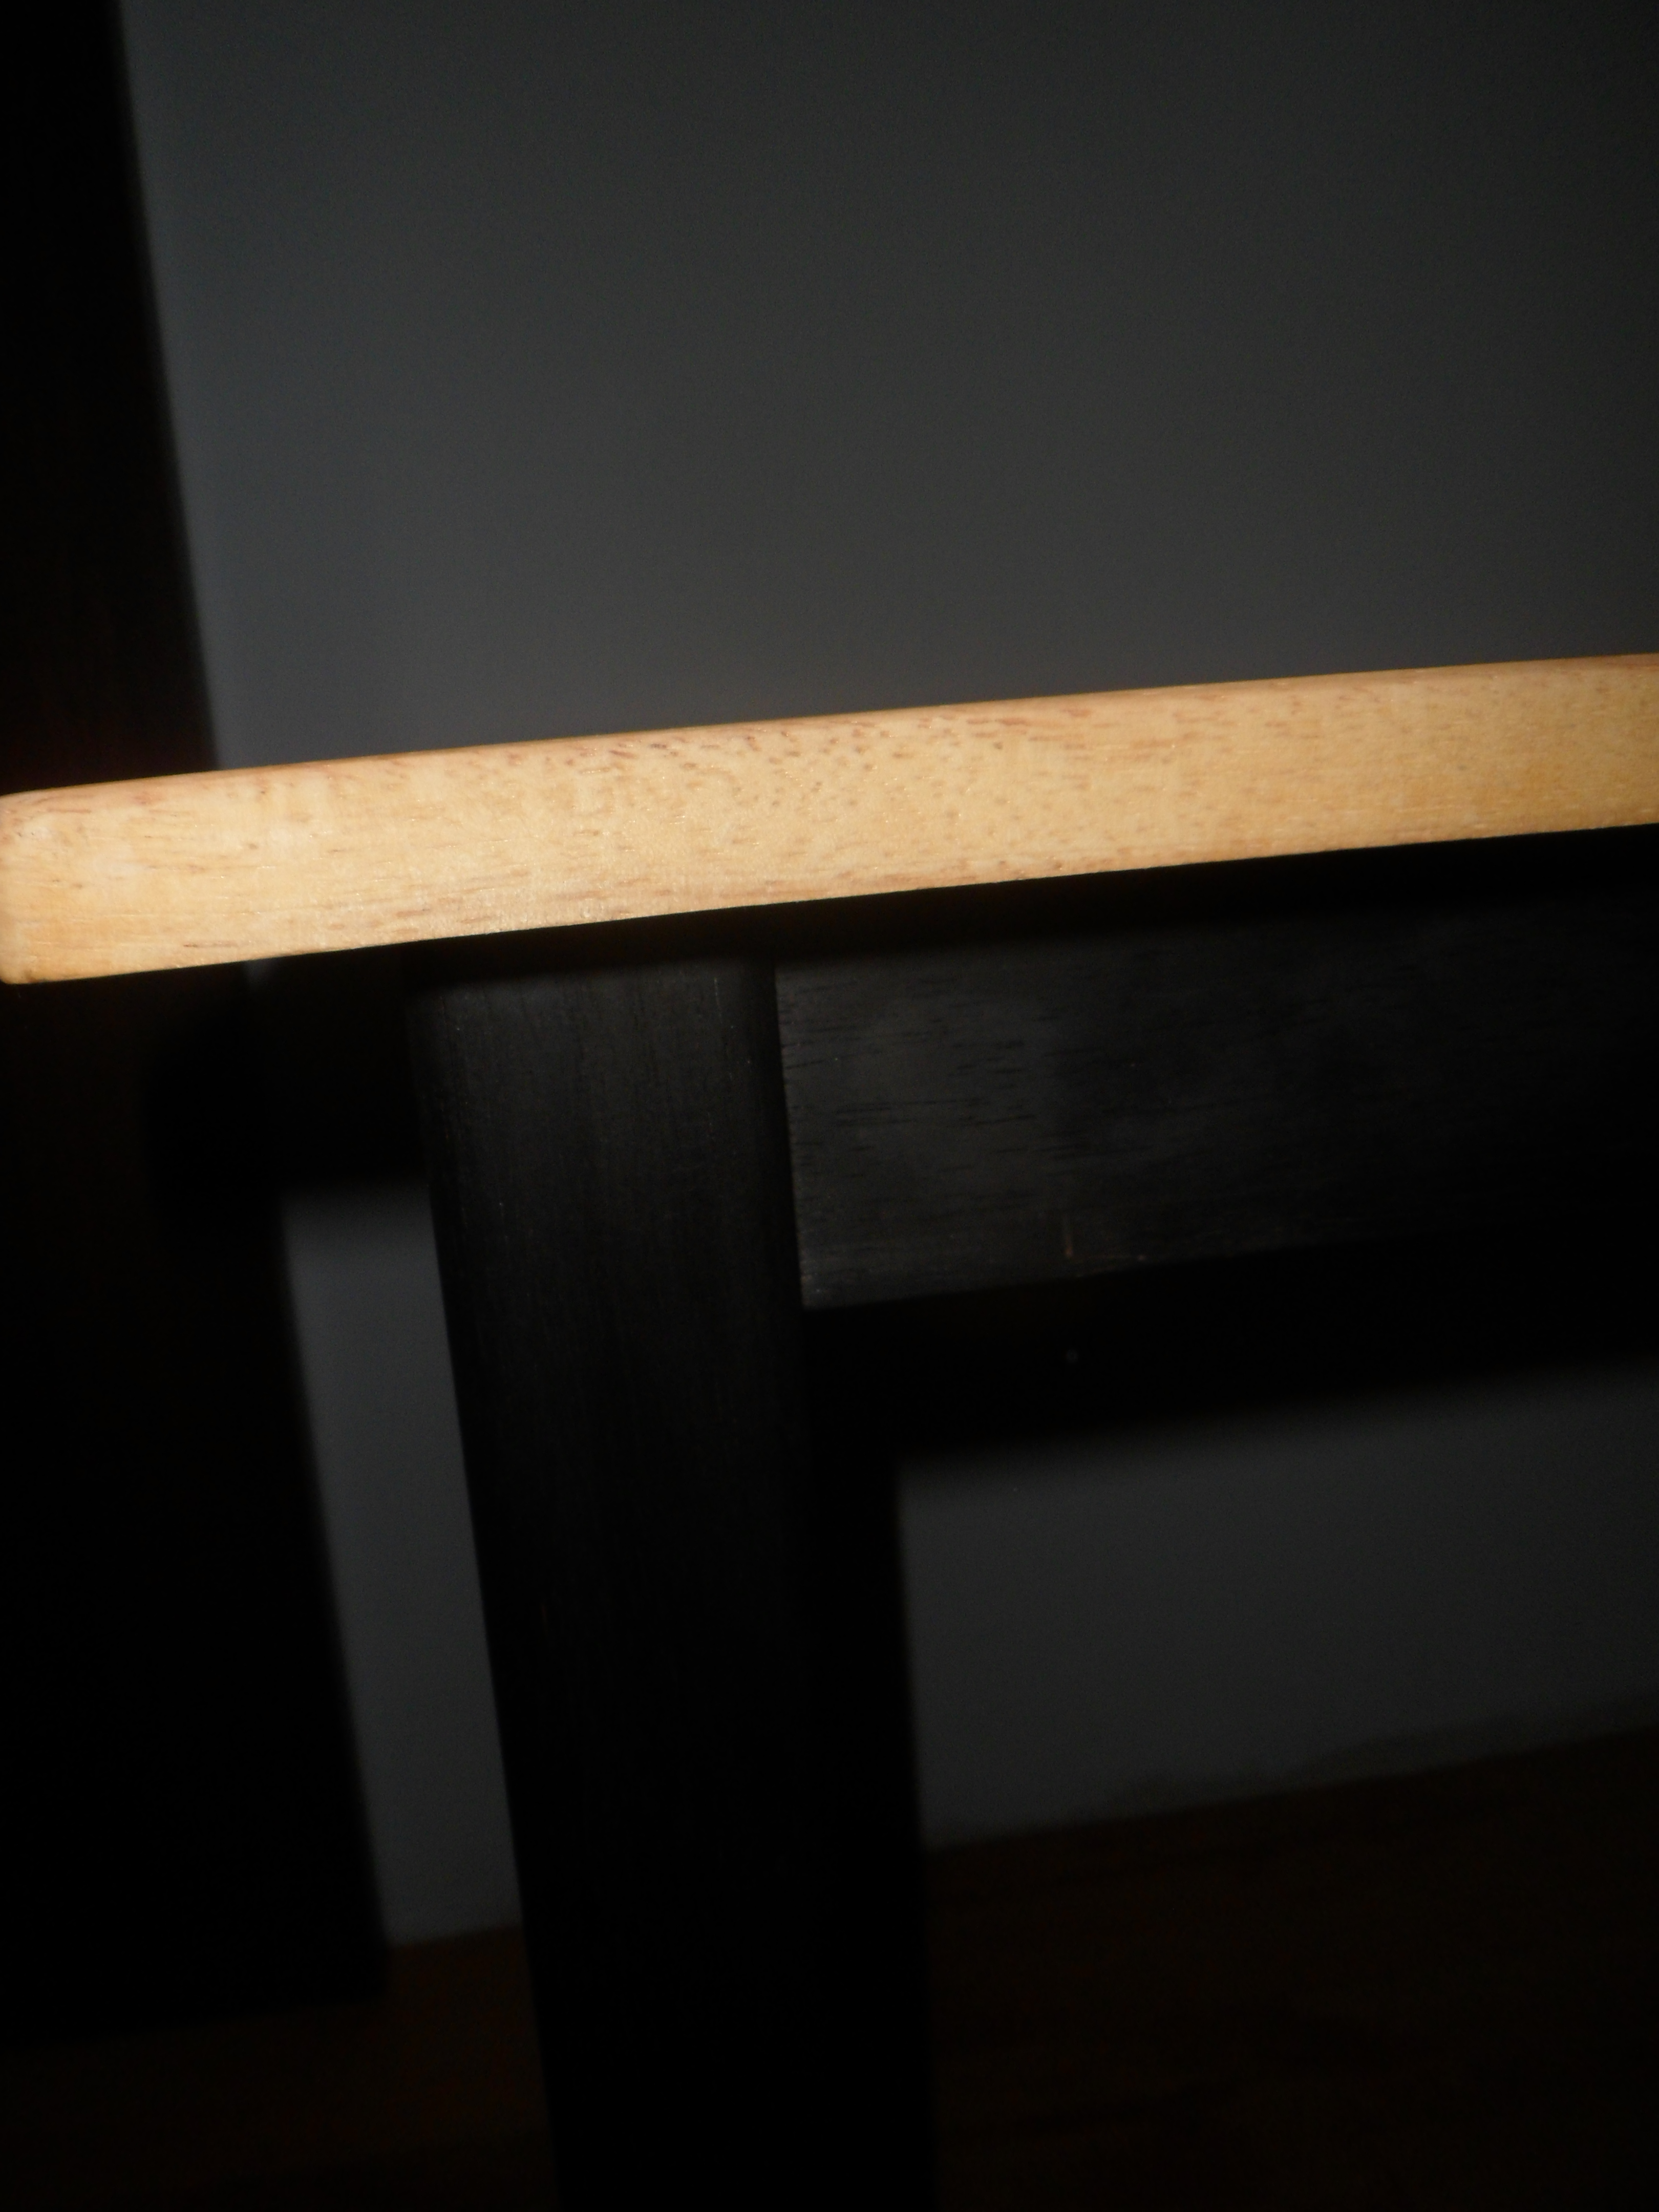
Here is the final look, I'm really happy how it worked out. The total working time was maybe 3h all together(this is not including drying time) which is great!
I hope you enjoyed this little tutorial and also I hope it was some sort of inspiration for you to do something creative.
Please let me know what you thing and if you have any questions please also comment.
Peace and Love!


Congratulations @cryptopaddy801! You have completed the following achievement on the Hive blockchain and have been rewarded with new badge(s):
Your next target is to reach 400 upvotes.
You can view your badges on your board and compare yourself to others in the Ranking
If you no longer want to receive notifications, reply to this comment with the word
STOPTo support your work, I also upvoted your post!
Check out the last post from @hivebuzz:
Support the HiveBuzz project. Vote for our proposal!