Buenos días saludos amigos hive espero estén bien. Bienvenidos a mi blog, hoy les traigo una bonita manualidad fácil y sencilla de hacer es una bonita mariposa hecha con rollo de papel higiénico, espero les guste. Comencemos el paso a paso.
Good morning greetings friends of the hive I hope you are well. Welcome to my blog, today I bring you a nice easy and simple craft to do is a beautiful butterfly made with a roll of toilet paper, I hope you like it. Let's start the step by step.
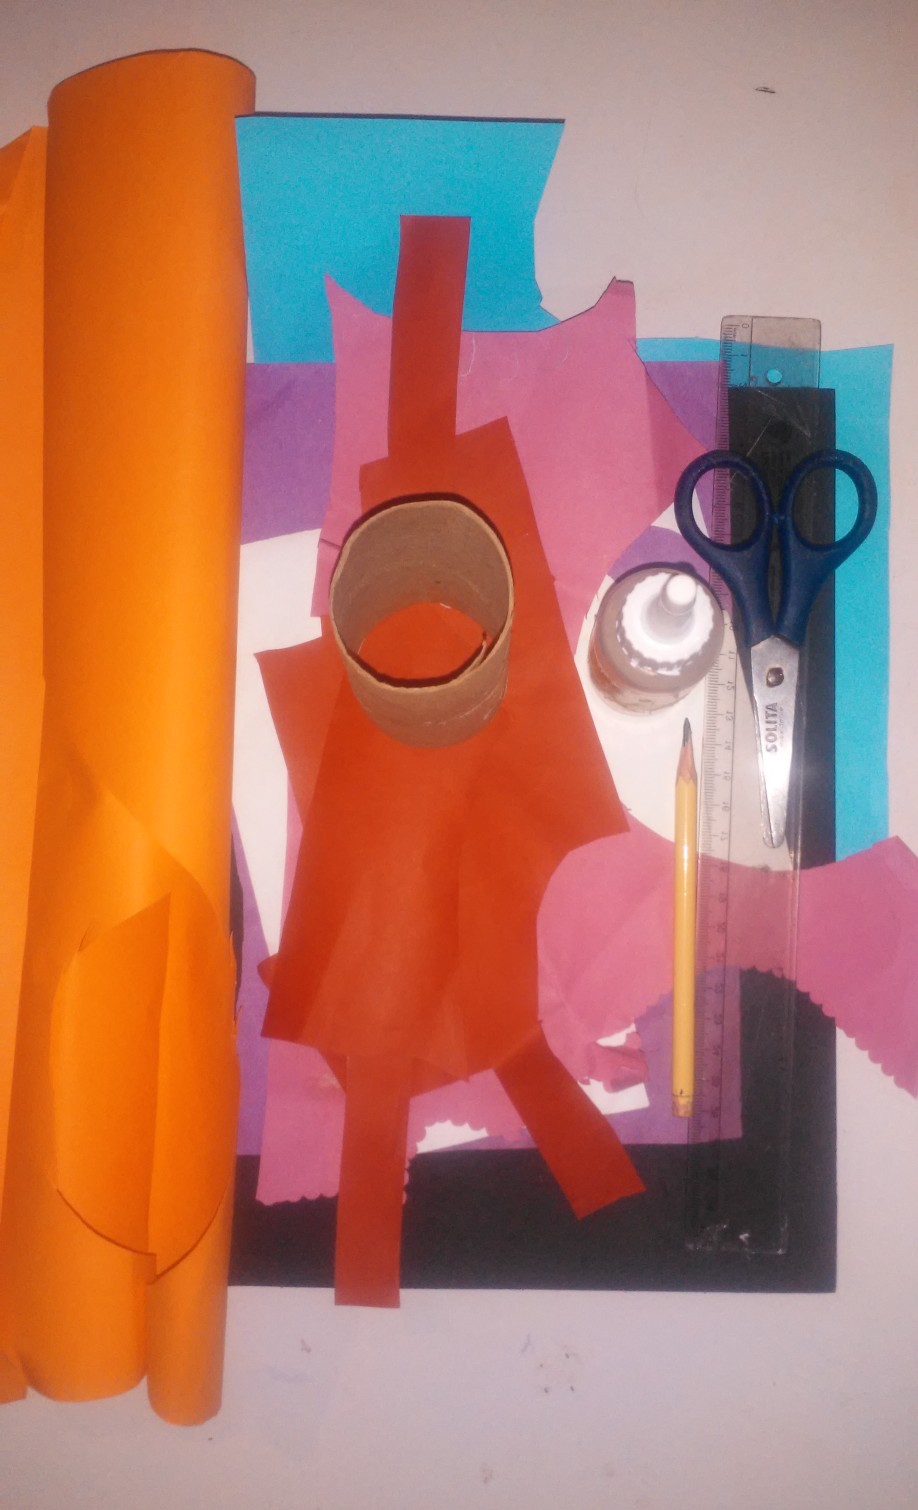
*1 rollo de papel higiénico.
*Cartulina de diferentes colores.
*Silicon Liquido.
*Lápiz y tijera.
*Regla.
* Materials:
- 1 roll of toilet paper.
- Cardboard of different colors.
- Liquid silicone.
- Pencil and scissors.
*Rule.
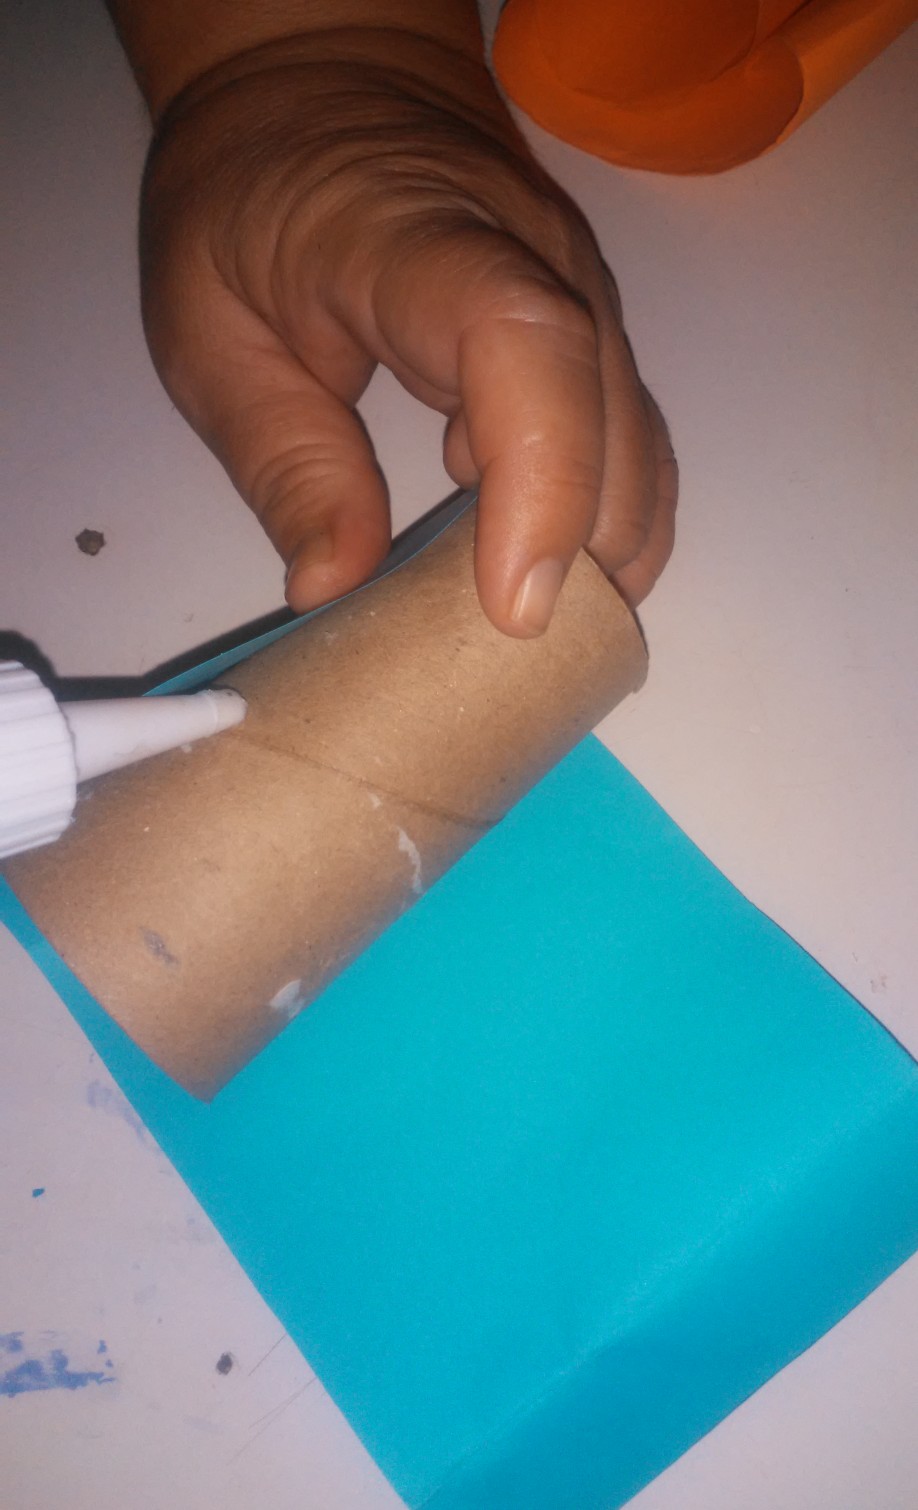
I add silicone and line the toilet paper roll with blue card stock.
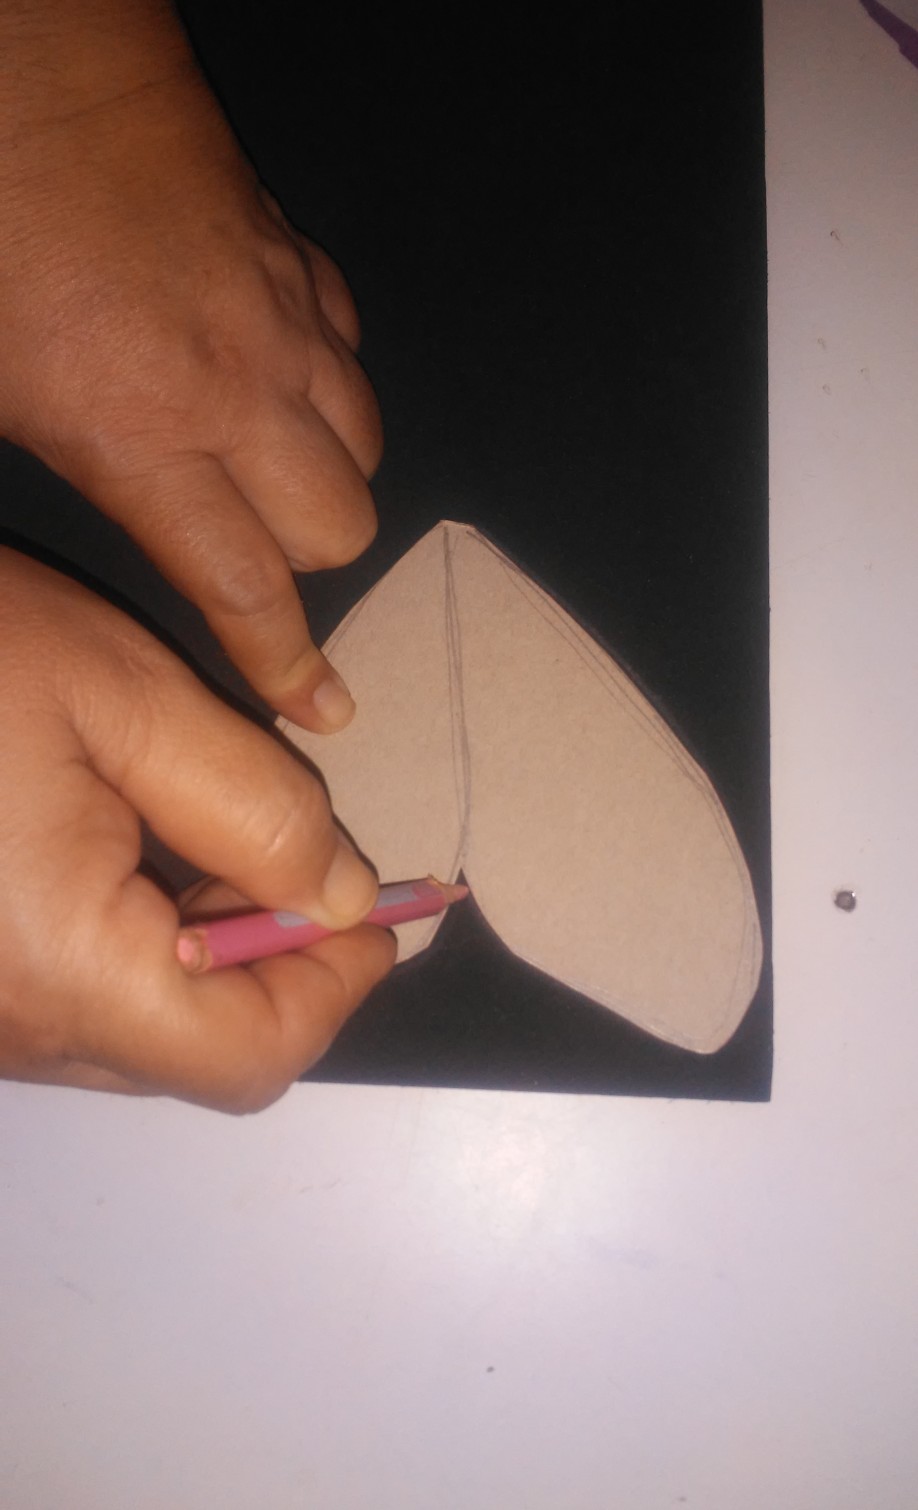
With a template I mark the figure of a butterfly on a black cardboard.
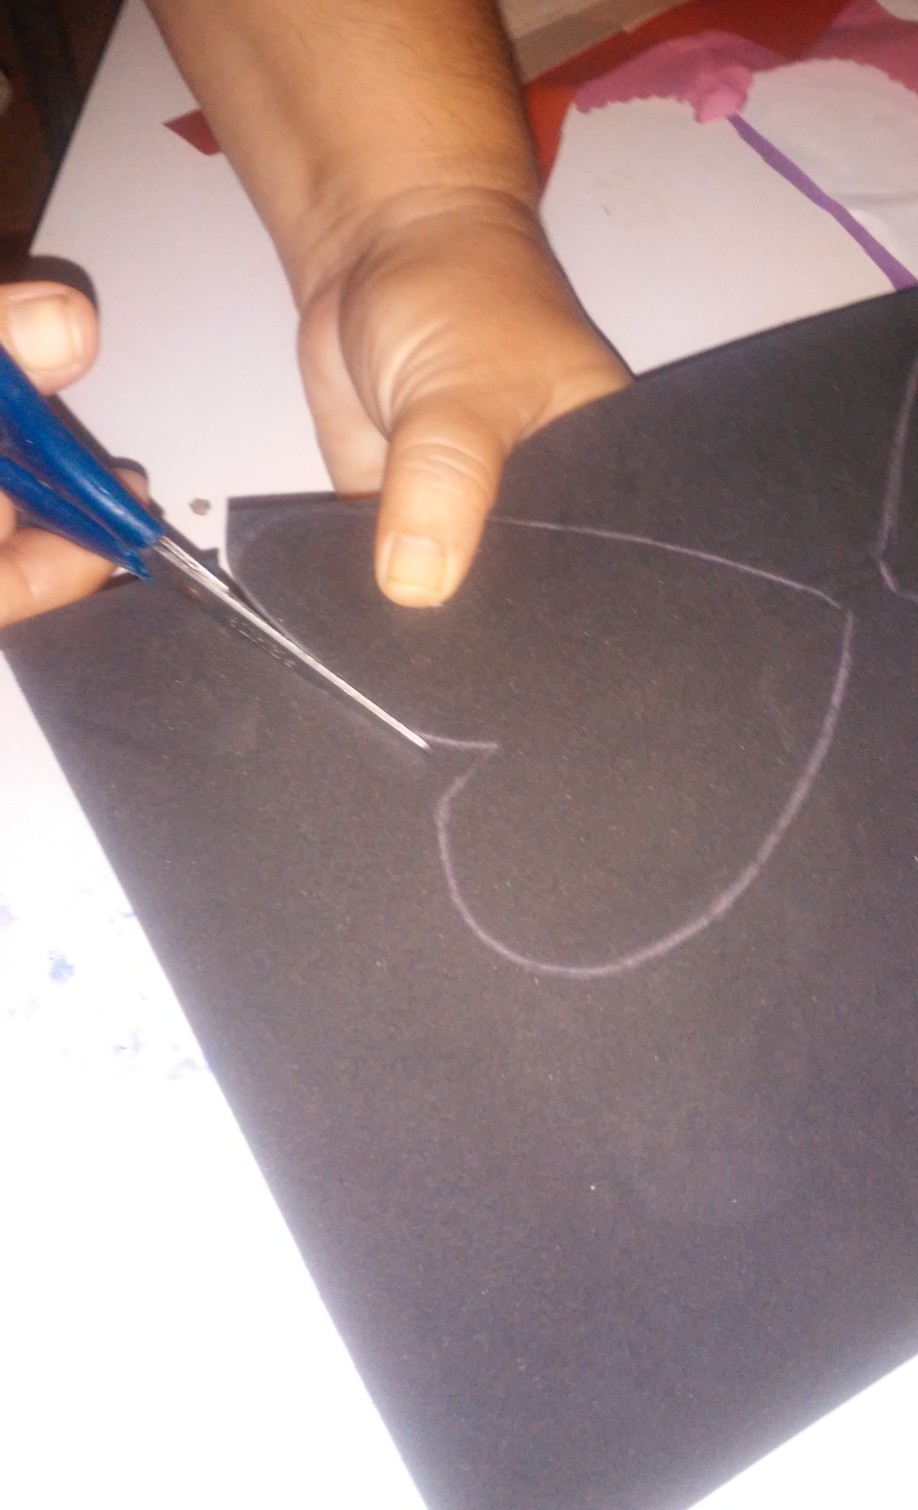
I cut out the butterfly shape.
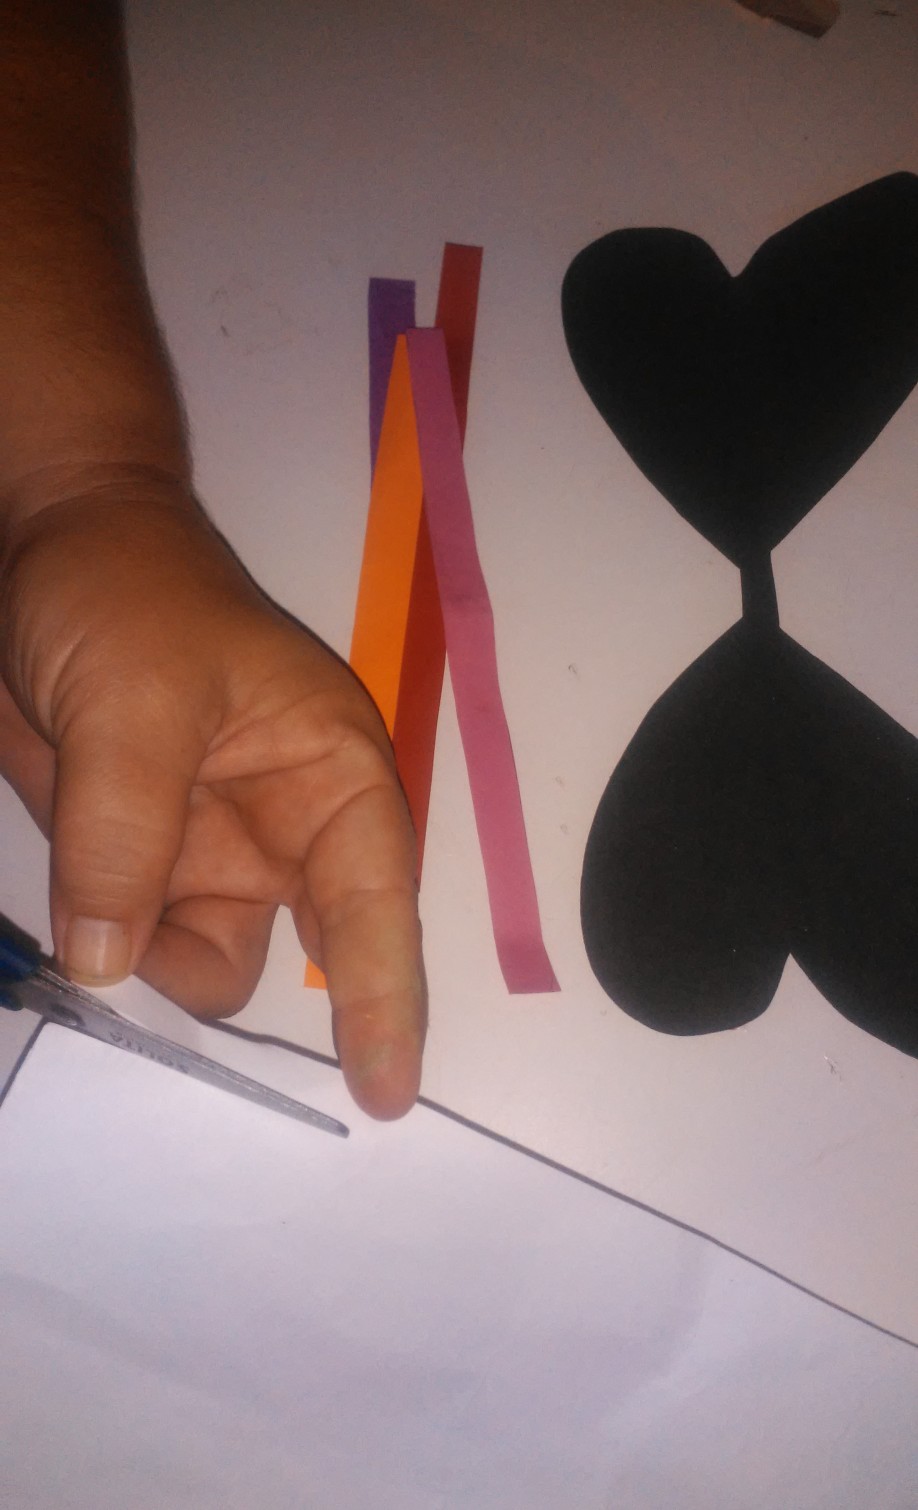
I cut colored strips.
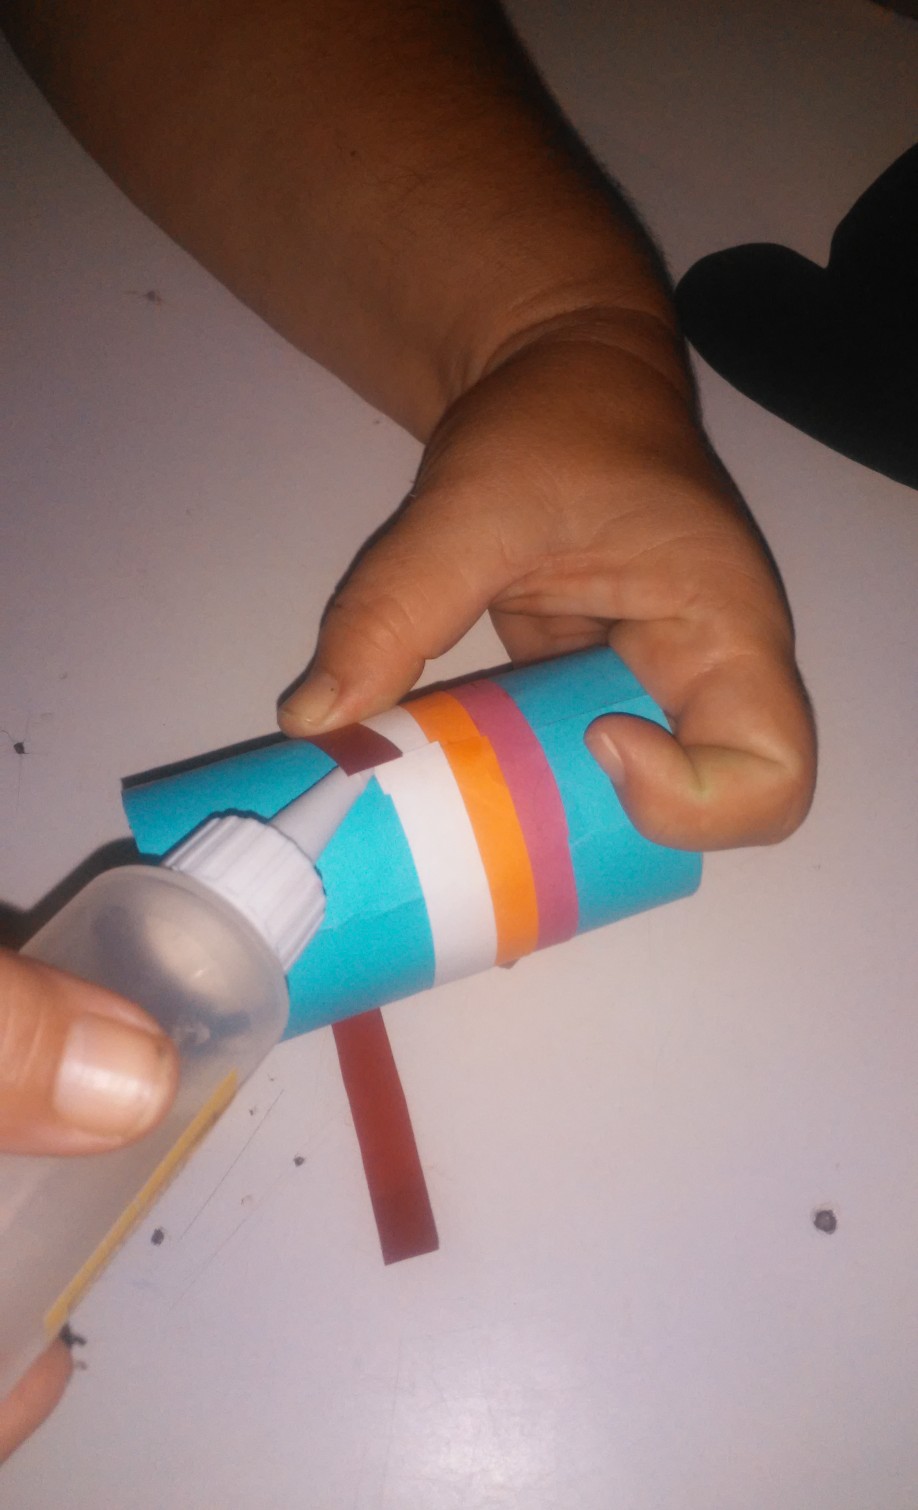
I add silicone and glue the strips to the toilet paper roll that I cover in blue.
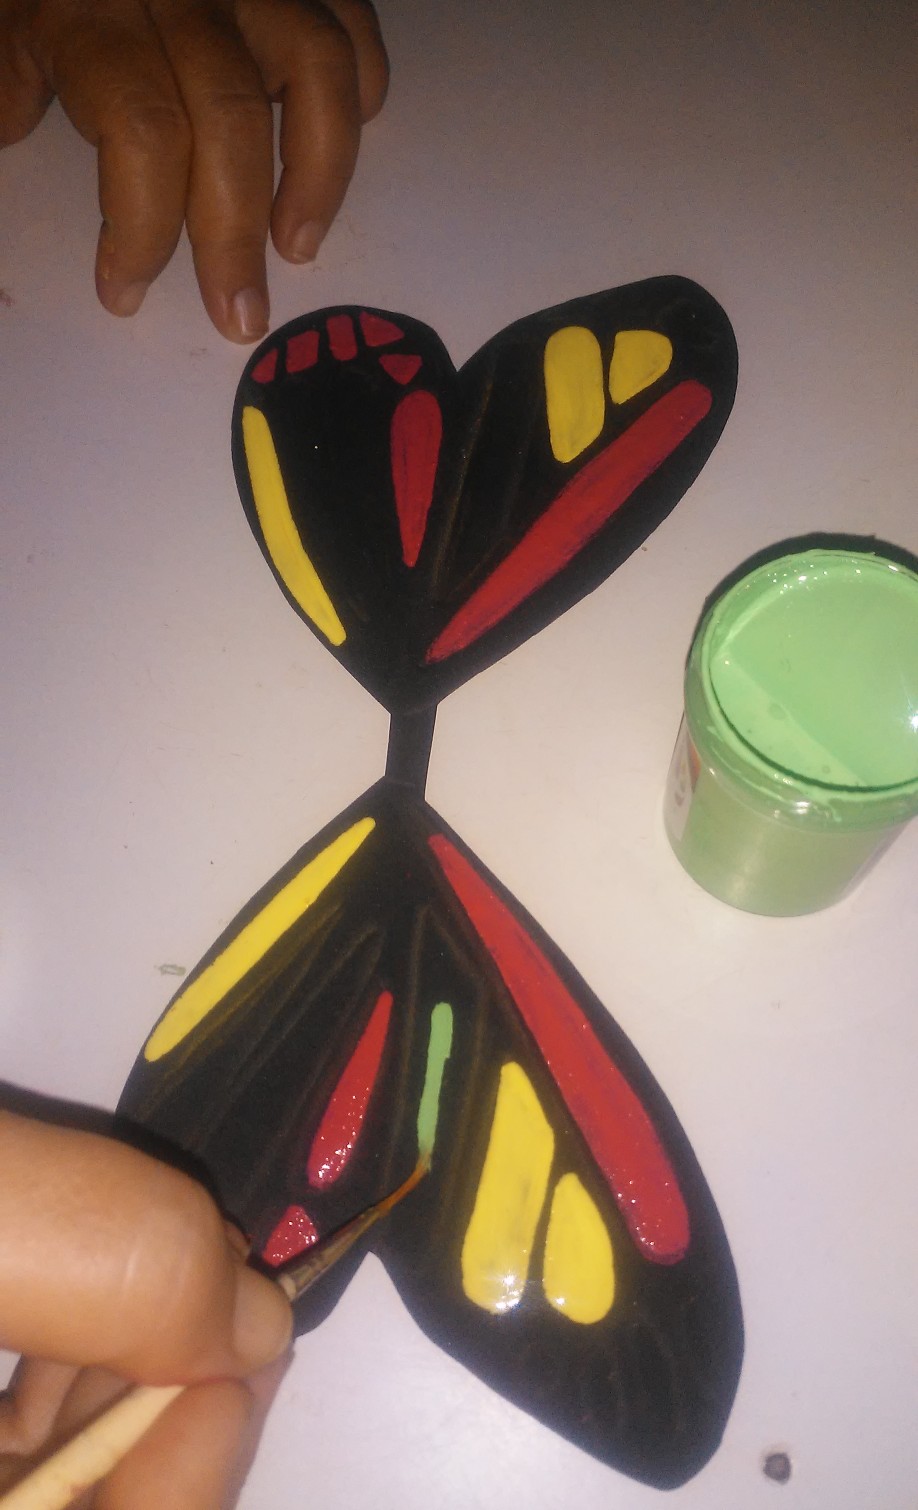
I paint the butterfly with cold paint of different colors.
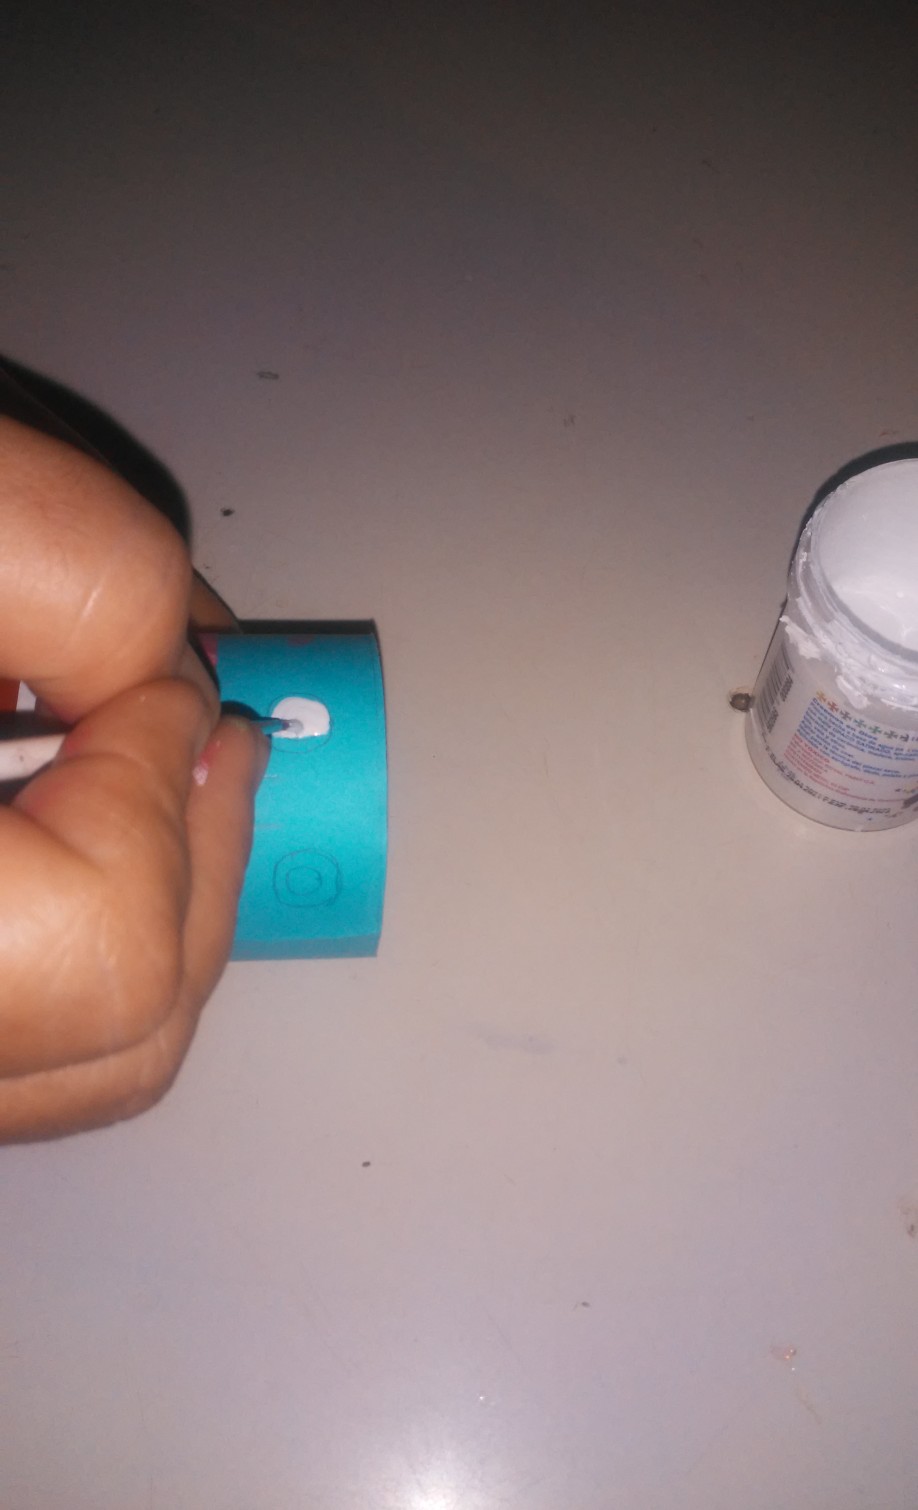
I paint the eyes and the mouth of the butterfly.
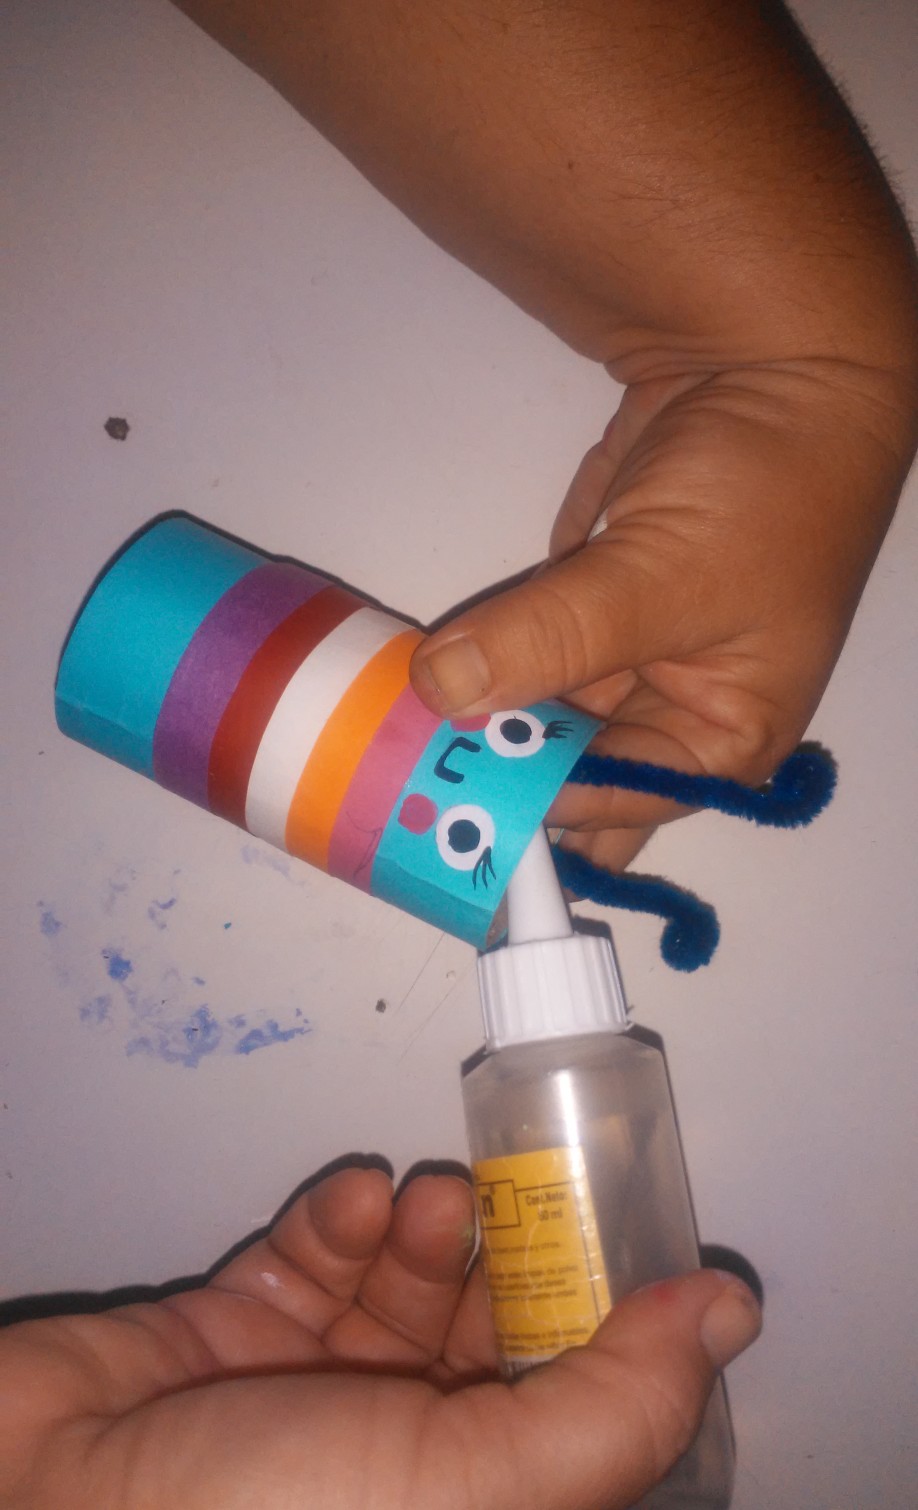
I add silicone and glue the antennae to the butterfly.
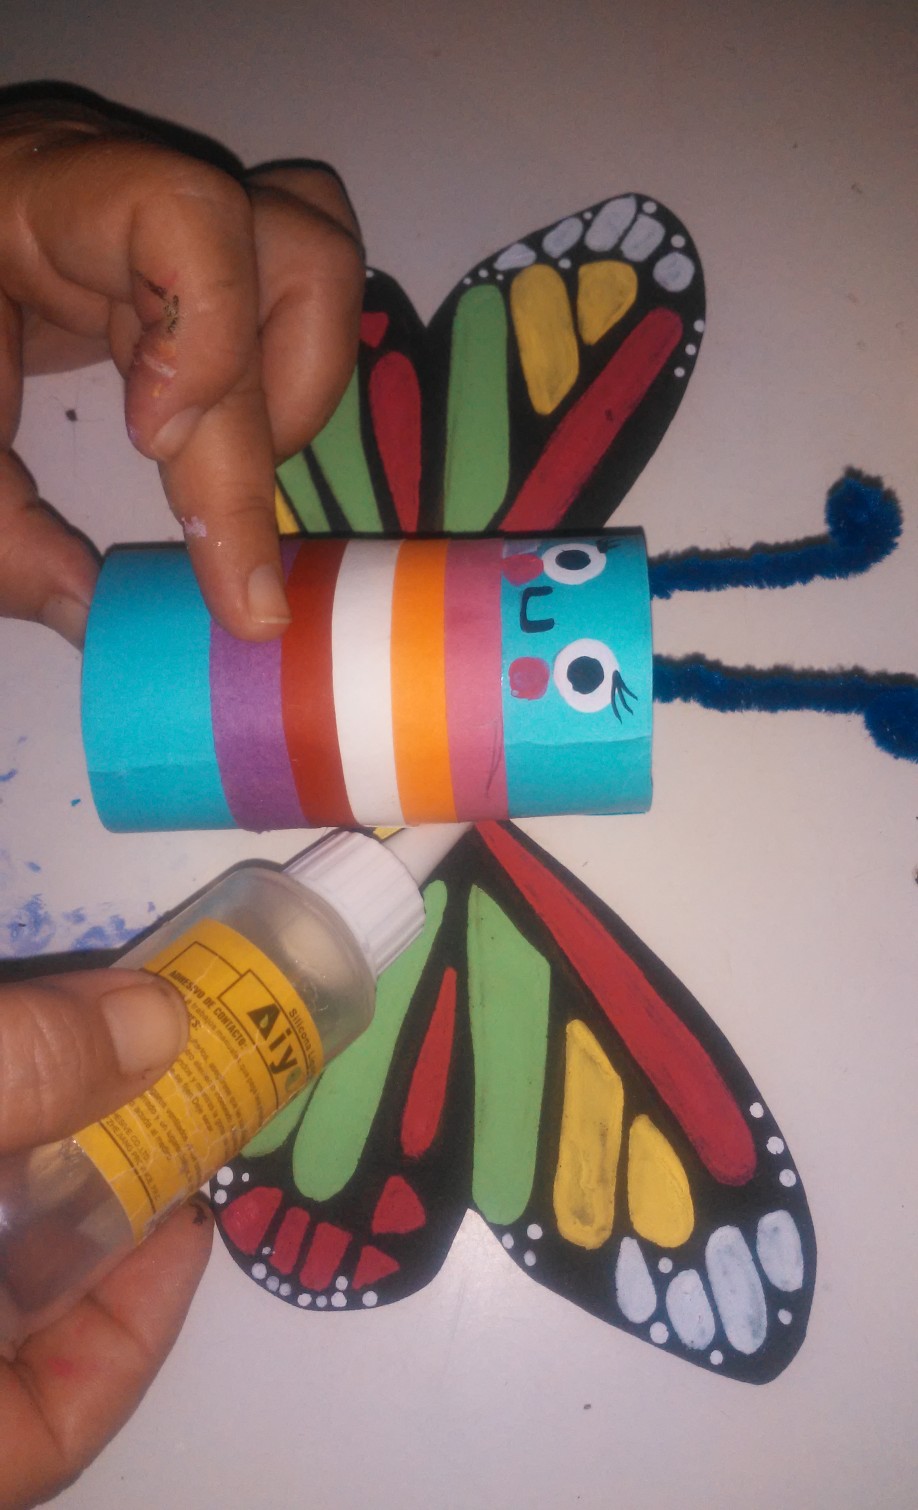
I add silicone and glue the two pieces to the body on the wings of the butterfly.
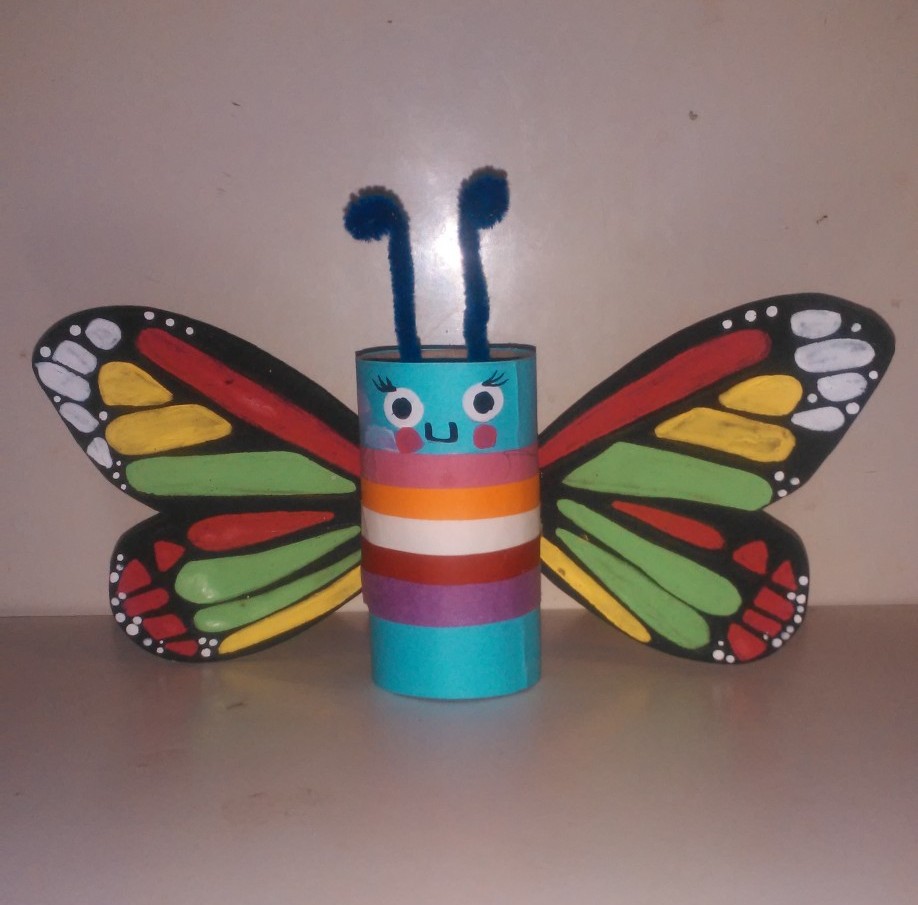
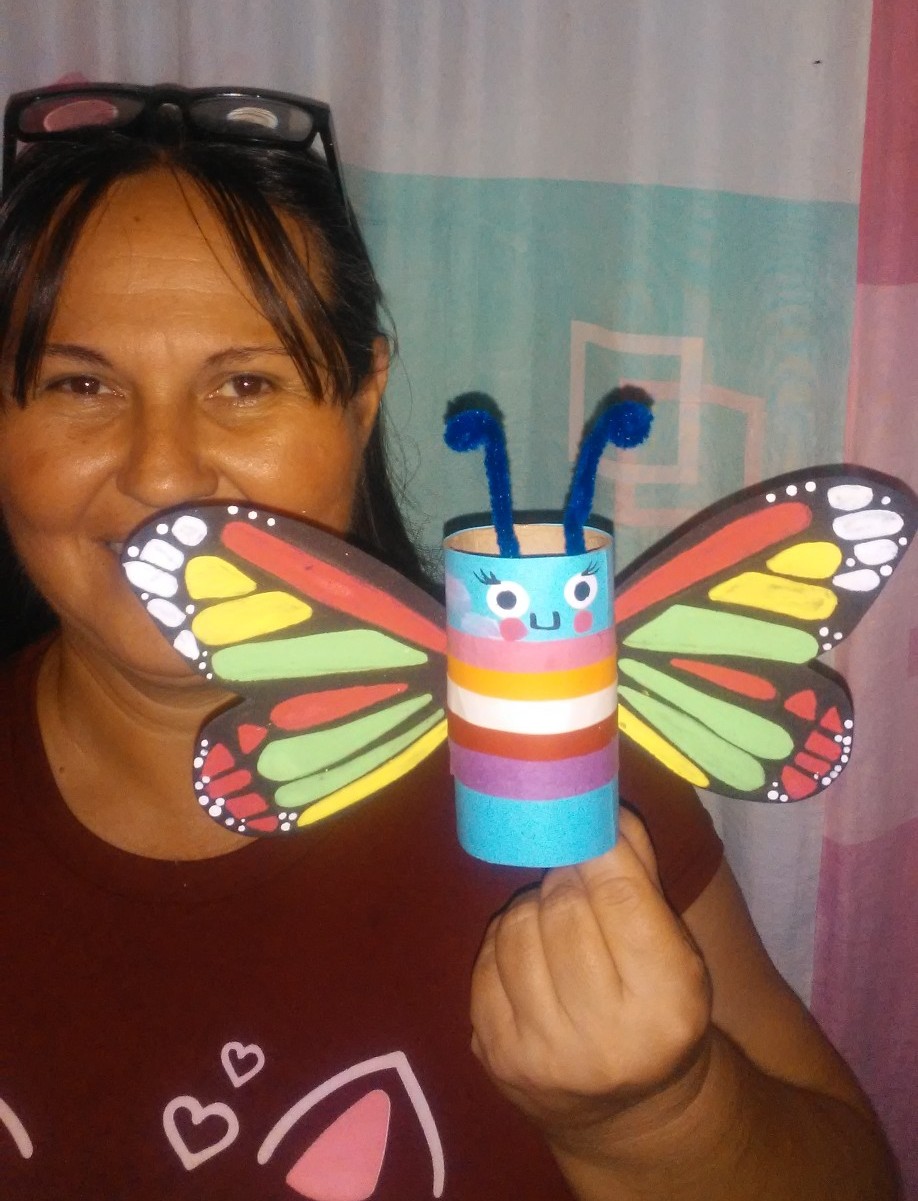
Thank you for watching the steps to the end and the result is a beautiful butterfly made with a roll of toilet paper and cardboard, ideal for decorating any space in your home or in other places and spaces. Thanks for visiting my blog, I hope you liked it. See you very soon on the next creative idea.