Today I will be sharing some party treats that I DIYed during my eldest's 7th birthday. I came up with this idea when I was planning to put a sweet corner for his birthday. The typical sweet corners usually have different trays filled with different sweet treats on the table, in the wide open, attracting flies and insects and anything in the air, especially if the party is being held outdoors.
As a paranoid mother that I am, I don't like my kids or even our visitors to eat anything that was exposed to any germs and flies. So, I thought of something where the sweets would still be very visible on the table, sealed, and the kids would still surely enjoy.
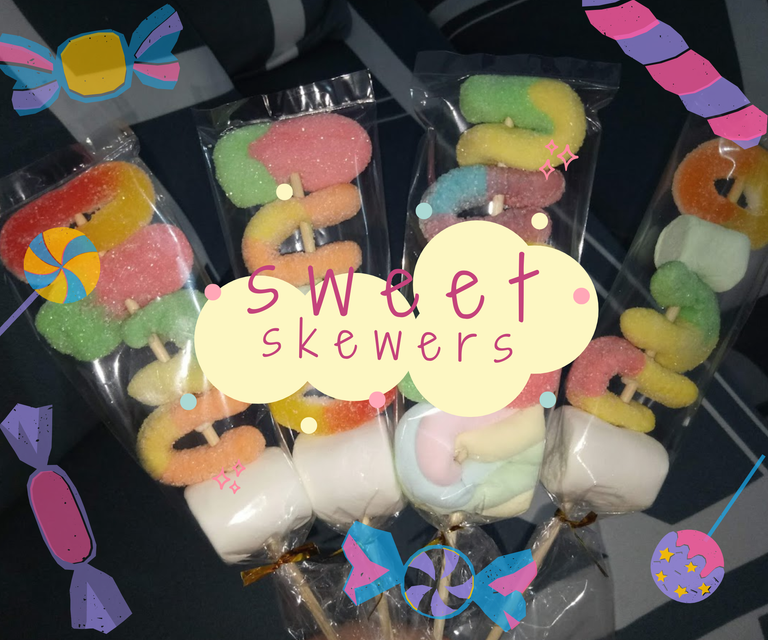
Searching for different ideas online, mostly on Pinterest, a lot of ideas appeared in my feed where they put the treats in colorful cupcake liners, cute piping bags, vibrant cones, and a lot more. However, ordering those would take time to arrive and would also add to the expenses, unlike barbecue sticks, which are much more widely available and also affordable.
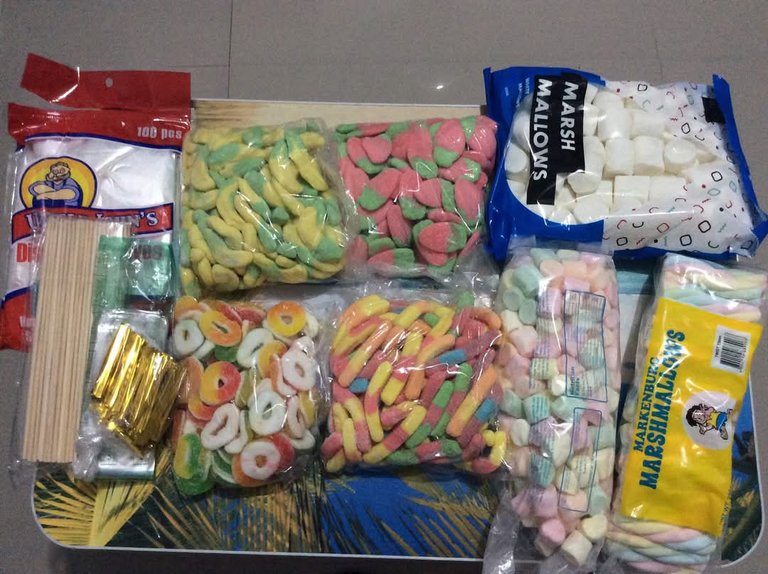
Here are the materials that I used:
- Barbeque sticks
- Clear plastic (size 1 3/4 x 10)
- Twist tie wire
- Assorted sweets (I used different types of marshmallows and gummies)
- Plastic gloves
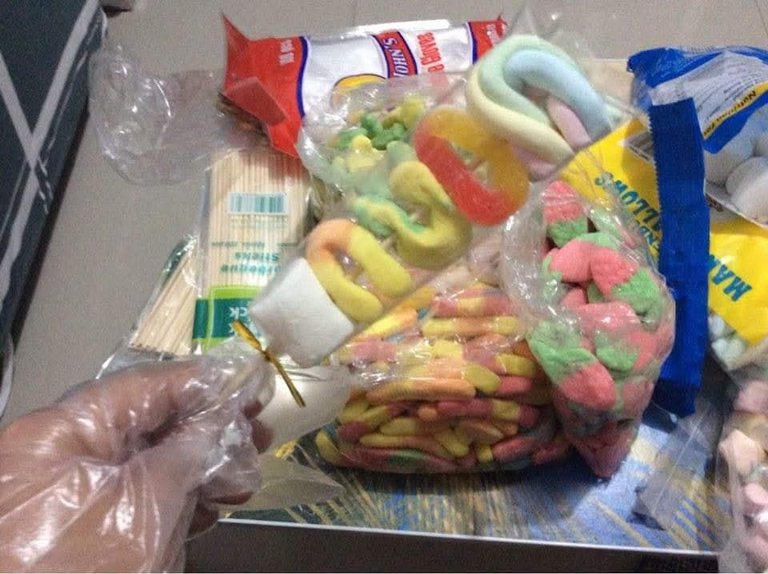
Assembling the sweet skewers is very straightforward and doesn't need much detailed instruction. But first, this is very important: wear gloves! Wear gloves not only because it's hygienic but also because we don't want to ruin or melt the sugar coating of the marshmallows and candies with our bare hands
To begin assembling, just add five to six pieces of assorted sweets to the barbecue stick. Depending on your preference, you can add more sweets, but I used only 3/4 of the barbecue sticks and reserved the lower part so I could stick them into a stand.
Put the assembled sweet skewers in clear plastic and use the twist tie to seal them.
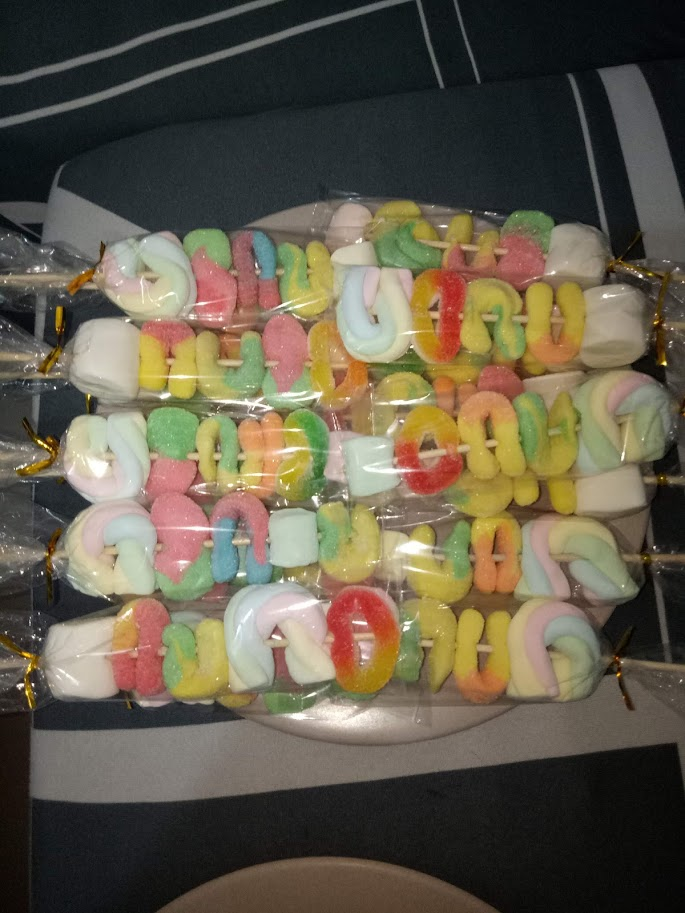
Below are the photos of our finished product.
 | 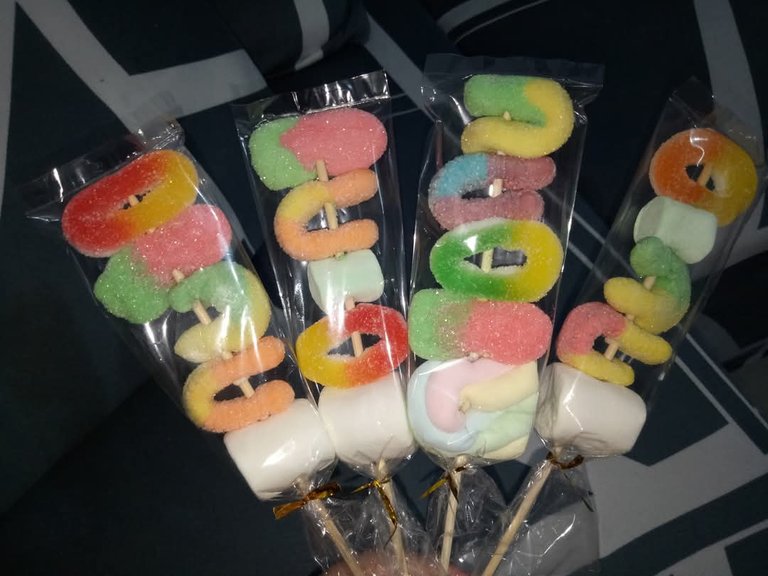 | 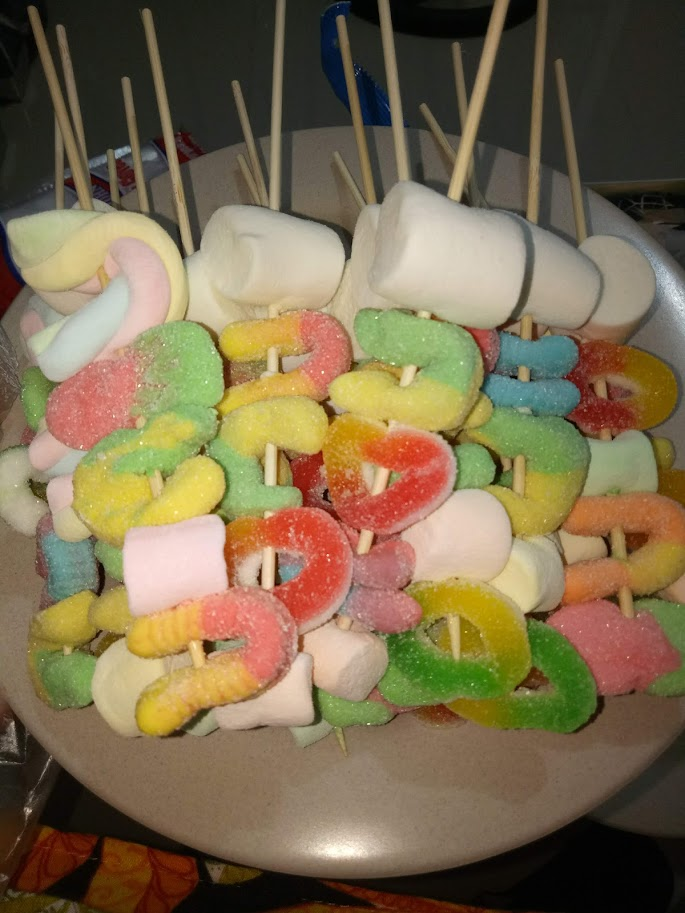 |
|---|
For the stand where I stick the skewers so I could display them on the table, I repurposed an empty milk carton as a base, and covered the carton with white paper. This makeshift stand provided a sturdy base for the sweet skewers.
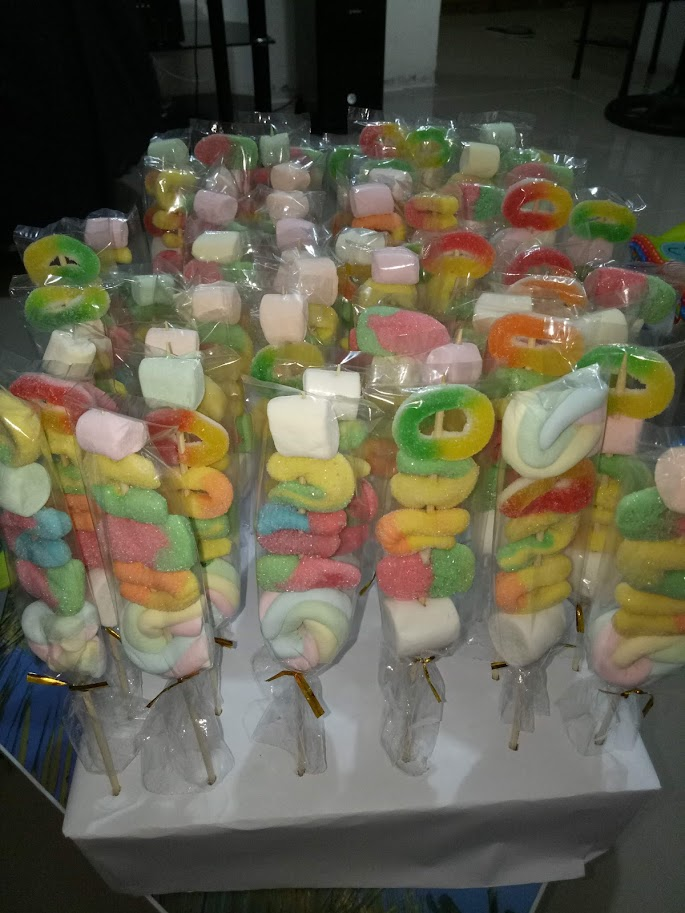
There it is, ready to be displayed. I made a lot of skewers because I was not expecting to personally find it so enjoyable to do. I ended up making more than enough for the makeshift base I made, so the rest of them were also displayed along with the loot bags and give-aways.
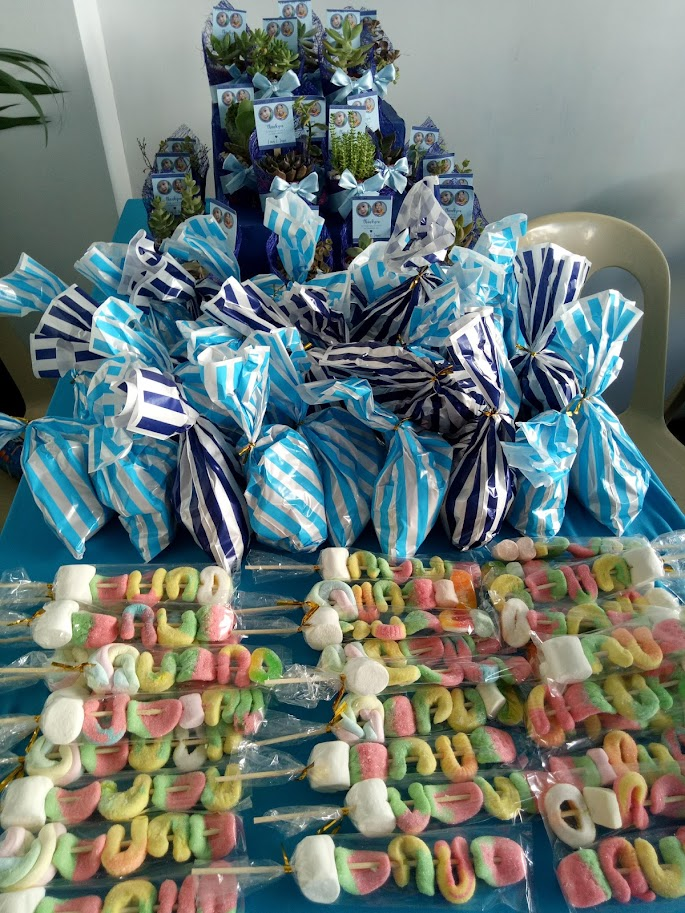
Here's how it looks displayed on the food table next to other sweet treats. It was a kids' favorite during the party.
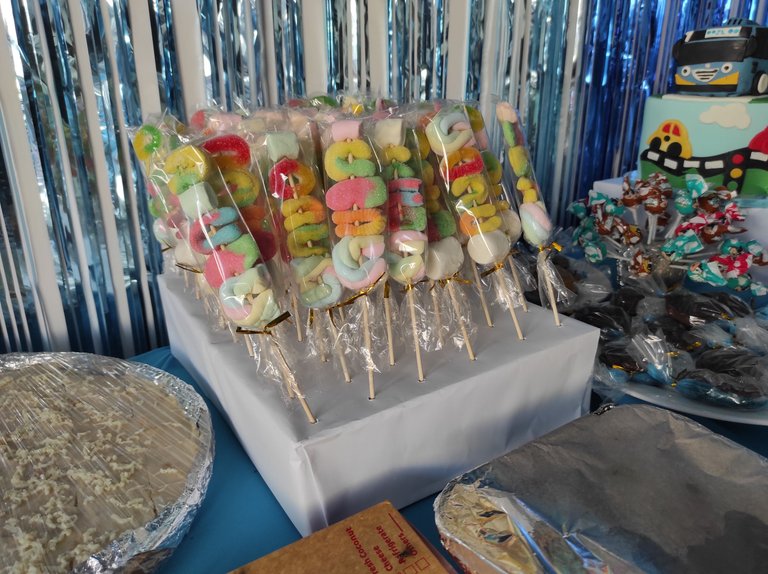
While doing this project, my idea was for the kids to get a variety of sealed candies in one picking. Seeing how the kids run toward it to get a stick and excitedly open them made the time consumed and the effort spent on this DIY worthwhile.
I made multiple DIY projects for this party, putting in a lot of effort and time. I will share them next time.
Thank you for reading, and see you in my next one.

All photos are my own, unless stated otherwise.
The lead image was edited using Canva.
Very well thought out. Plus they look quite colorful and cute, very suitable for a children's party🌻
Glad you liked it! I'll try it with fruits next time for a healthier version. 😆
That's a brilliant way to keep the goodies clean. The sweets in skewers look very appetizing to me as an adult with a sweet tooth so how much more for the kids :)
Happy birthday to your son, by the way 🎂 💗
Oh thank you! I made another batch for my nephew's birthday because my cousin requested some. I didn't know it would be such a hit😄
Awesome! Such a good idea for a business venture hehe