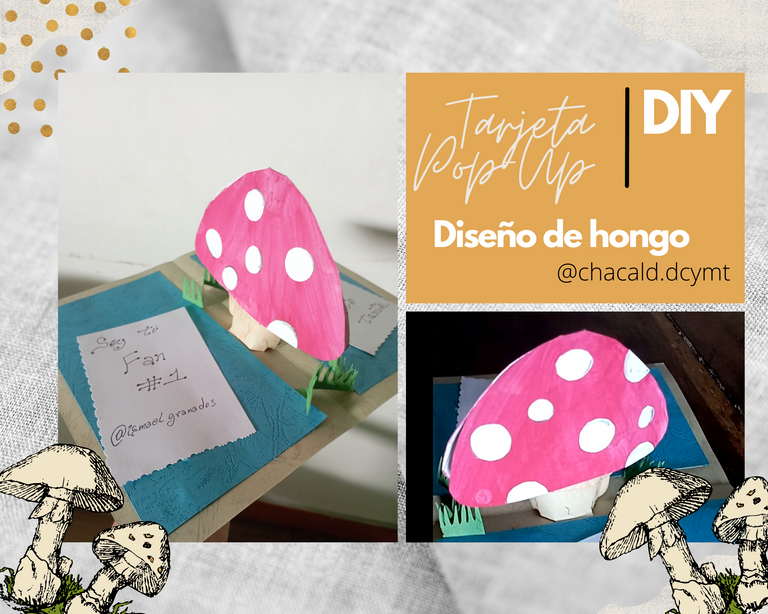
¡Saludos a todos los amantes de las artes manuales! Hoy quiero compartir una técnica para hacer una bella tarjeta Pop-Up con diseño de hongo 🍄, la cuál he querido dedicar a mi querido amigo amigo @ismaelgranados.
Greetings to all craft lovers! Today I want to share a technique to make a beautiful Pop-Up Card with mushroom design 🍄, which I wanted to dedicate to my dear friend @ismaelgranados.
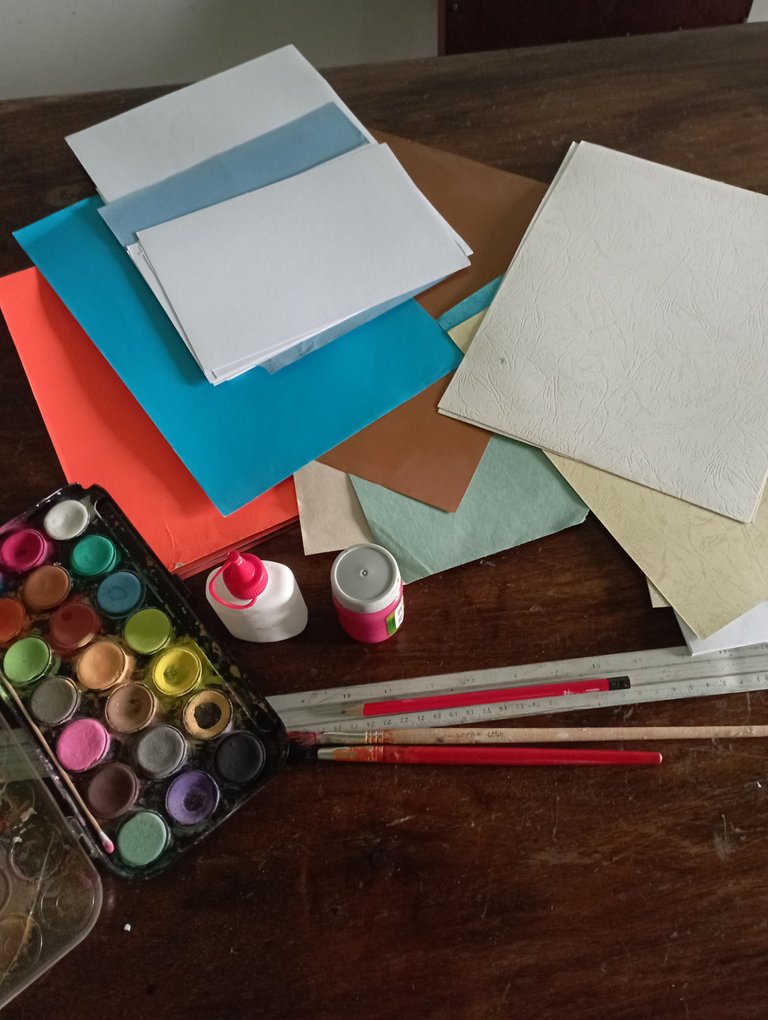
Para la elaboración de una tarjeta Pop-Up necesitamos:
Cartulina opalina
Papel de colores
Cartulina de colores
Lápiz
Regla métrica
Cúter
Pintura color rojo vino
Acuarela
Pincel
Pegamento
Tijera
Crayones de madera
Bolígrafo color negro
To make a Pop-Up card we need:
Opaline card stock
Colored paper
Colored cardboard
Pencil
Metric ruler
Cutter
Wine red paint
Watercolor
Brush
Glue
Scissors
Wooden crayons
Black ballpoint pen
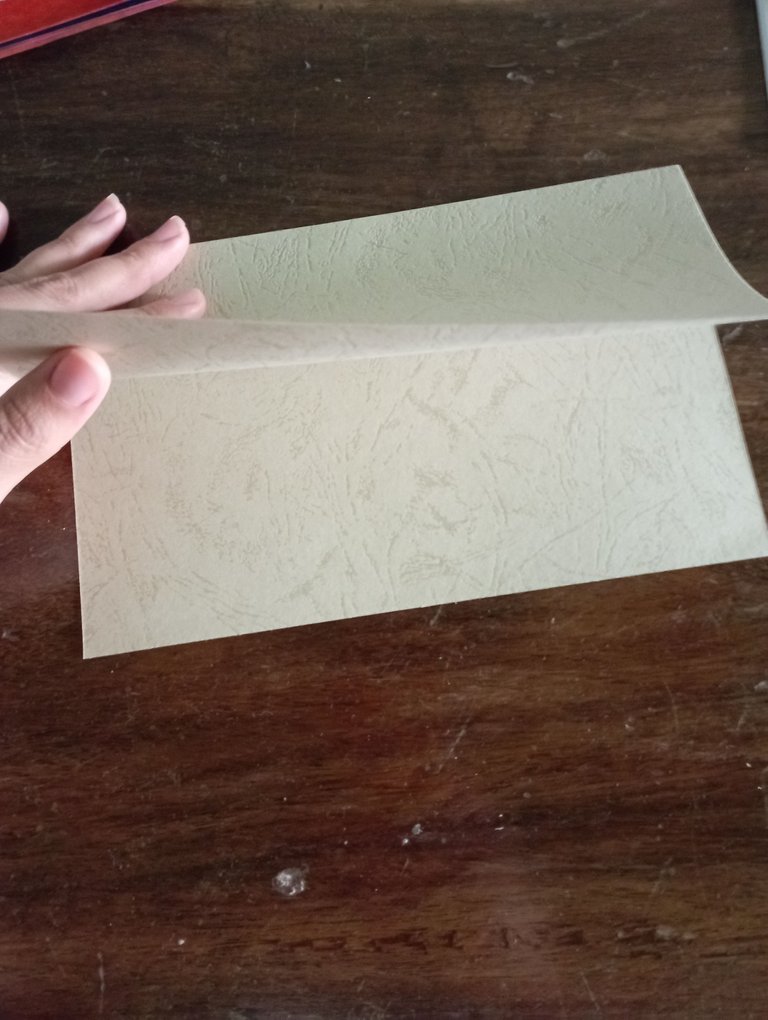
Paso 1: Seleccionamos una cartulina que va a ser la base de la tarjeta. La doblamos a la mitad.
Step 1: Select a piece of cardboard that will be the base of the card. Fold it in half.
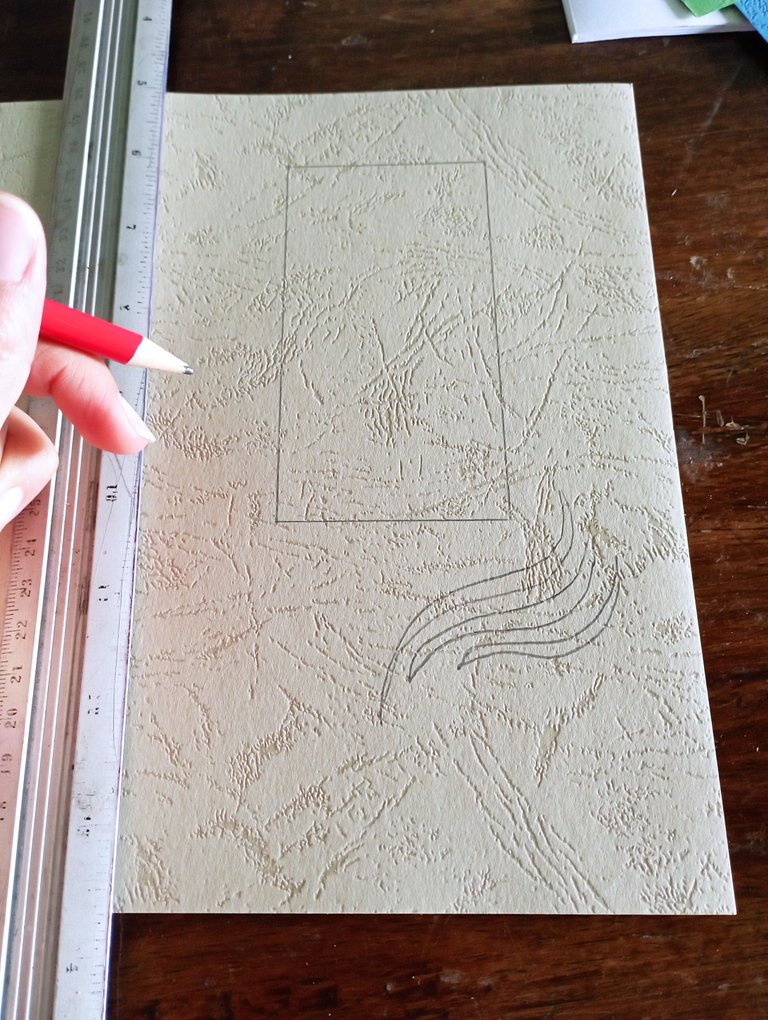
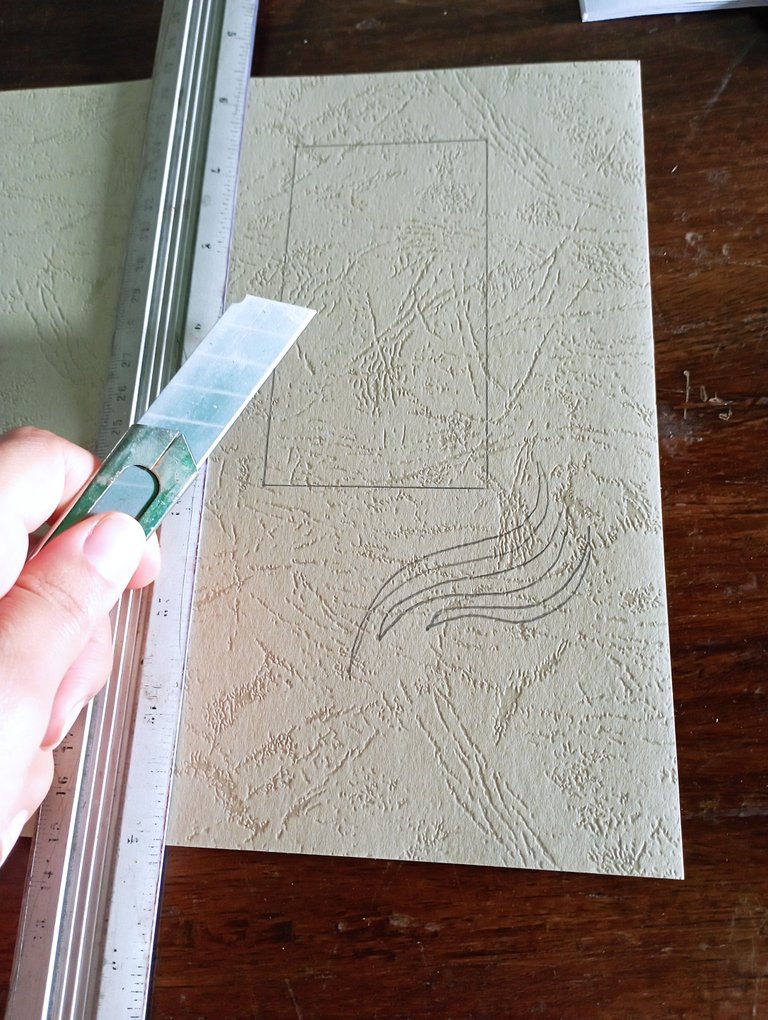
Paso 2: Hacemos unas líneas en la parte frontal de la tarjeta y con ayuda del cúter y la regla métrica vamos a cortar para que quede perforada
Step 2: We make some lines on the front of the card and with the help of the cutter and the metric ruler we are going to cut so that it is perforated.
 |  |
|---|
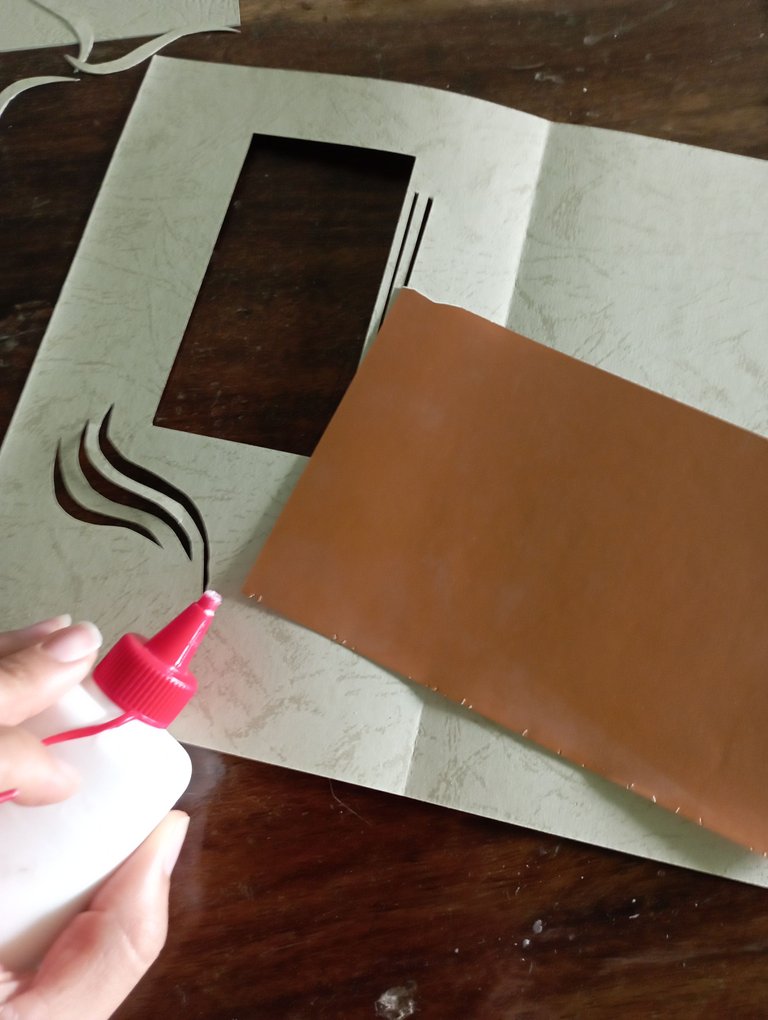
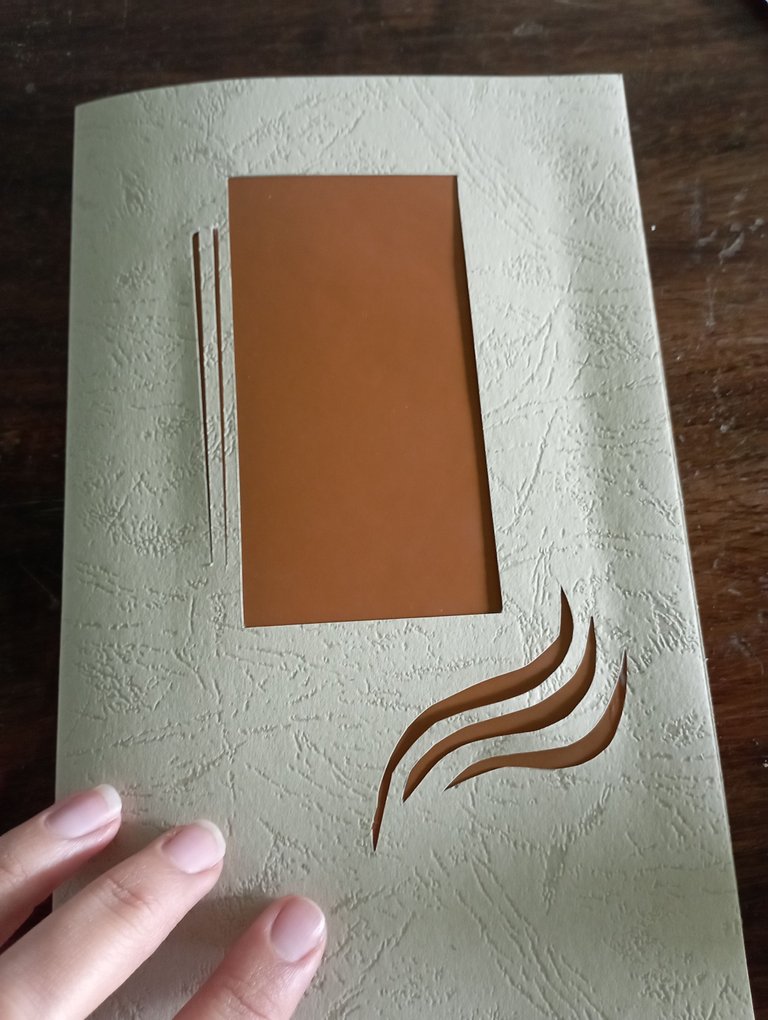
Paso 3: En la parte interior de donde perforamos, vamos a pegar un papel
de color que combine con la base de la tarjeta para que resalte la perforación.
Step 3: On the inside of where we punched, we are going to glue a colored paper that matches the base of the card
colored paper that matches the base of the card to highlight the perforation.
Paso 4: Para hacer la base del hongo 🍄, tomamos un papel color crema y cortamos 3 capas del tallo una más grande que la otra para que queden en alto relieve. Se debe ver de la siguiente manera:
Step 4: To make the base of the mushroom 🍄, we take a cream colored paper and cut 3 layers of the stem one bigger than the other so that they are in high relief. It should look like this:
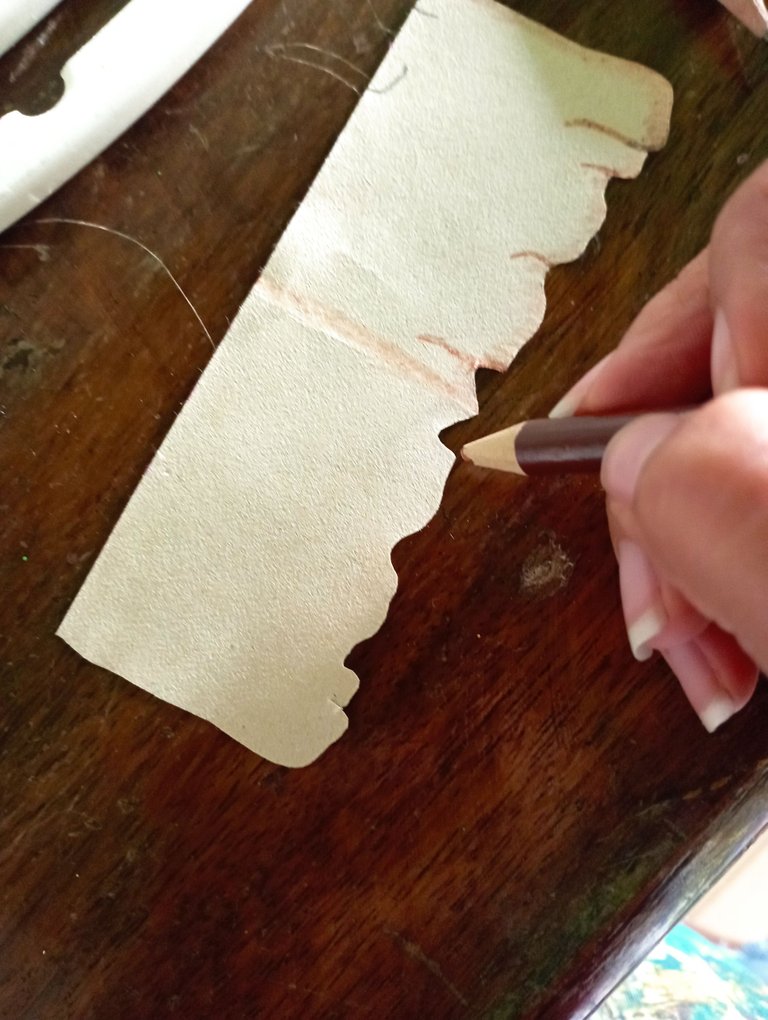
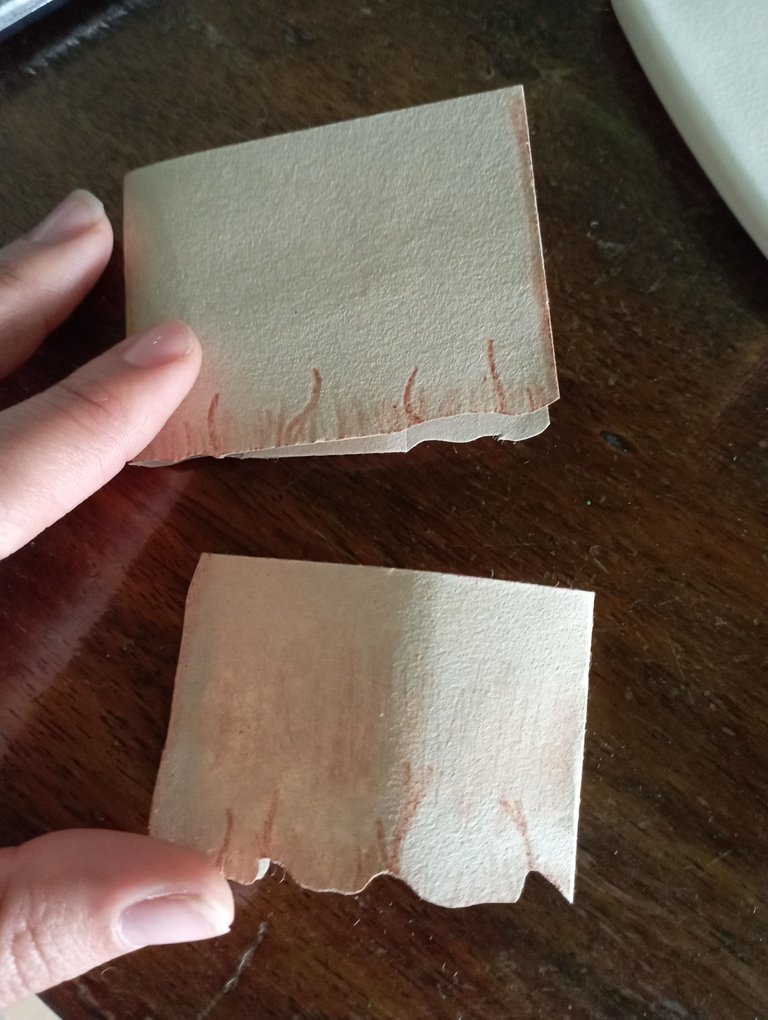
Con ayuda del crayón color marrón, vamos a hacer las sombras del tallo del hongo y pegamos en los bordes con el pegamento.
Dejamos unas pestañas en la parte inferior del tallo para pegar en la tarjeta.
With the help of the brown crayon, we will make the shadows of the mushroom stem and glue the edges with the glue.
We leave some tabs at the bottom of the stem to glue on the card.
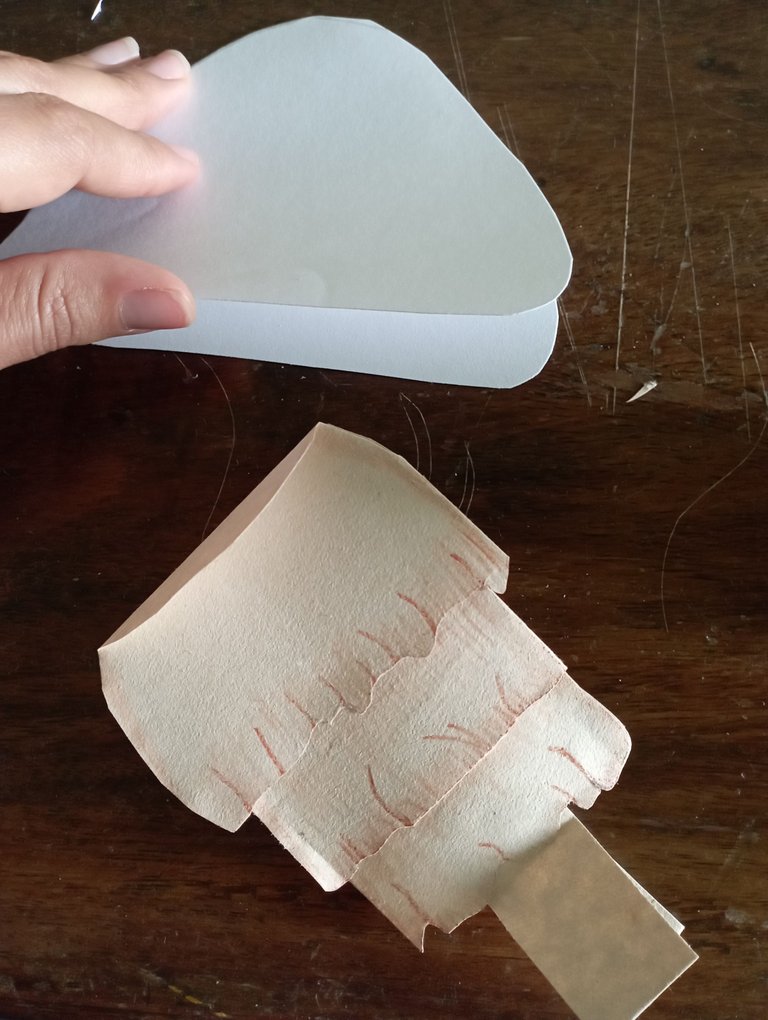
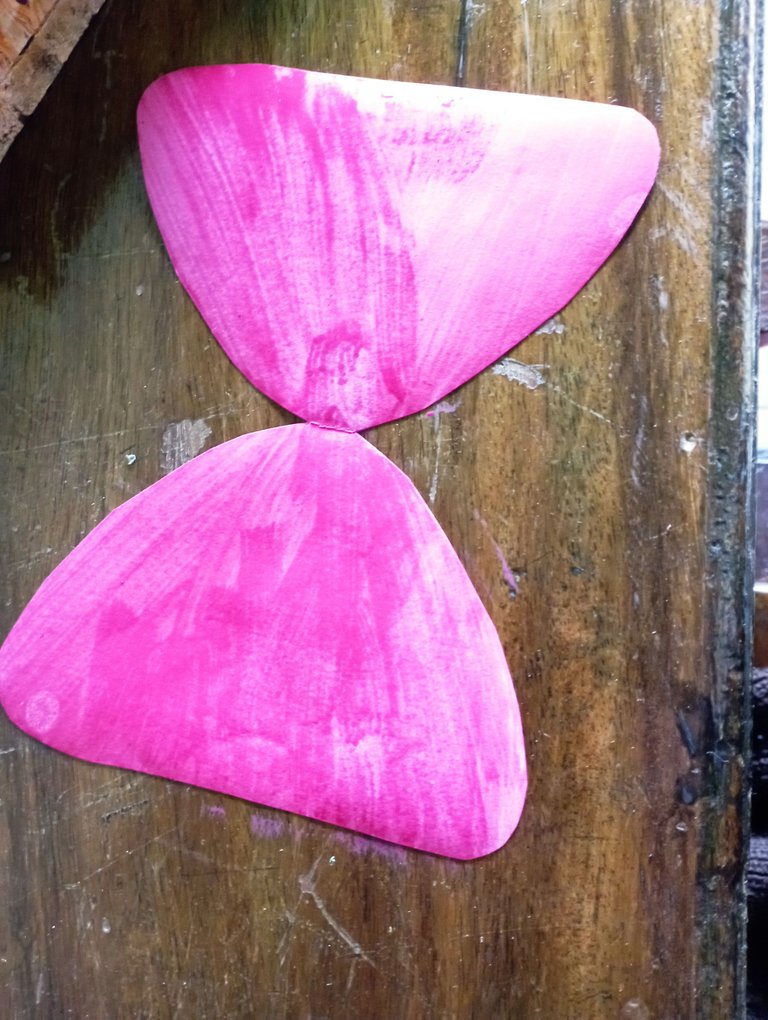
Paso 5: Para el sombrero del hongo 🍄, cortamos un semicírculo en cartulina blanca y pintamos con la pintura rojo vino.
Step 5: For the mushroom hat 🍄, cut a semicircle out of white cardboard and paint with wine red paint.
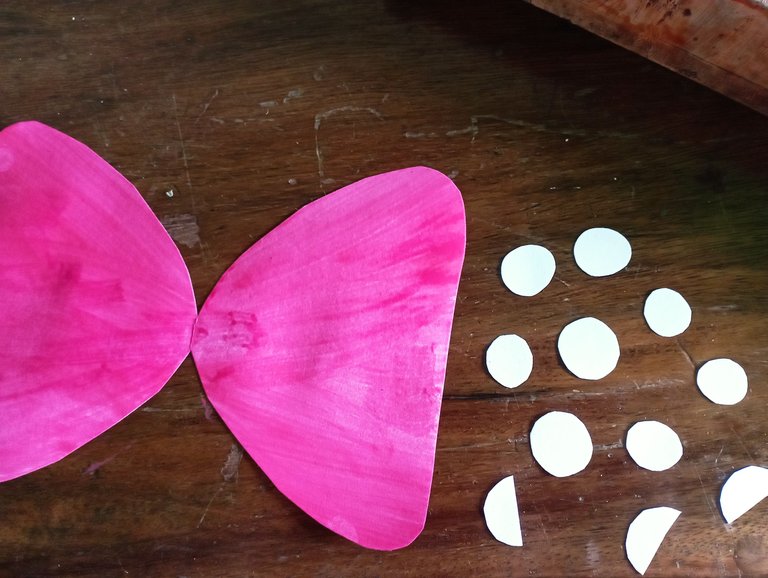
Paso 6: Para las escamas del hongo 🍄, cortamos círculos de diferentes tamaños en cartulina blanca y pegamos en el sombrero. Damos sombra con ayuda de un lápiz y luz con ayuda de un crayón color rojo.
Step 6: For the scales of the mushroom 🍄, cut circles of different sizes in white cardboard and glue them on the hat. We shade with the help of a pencil and light with the help of a red crayon.
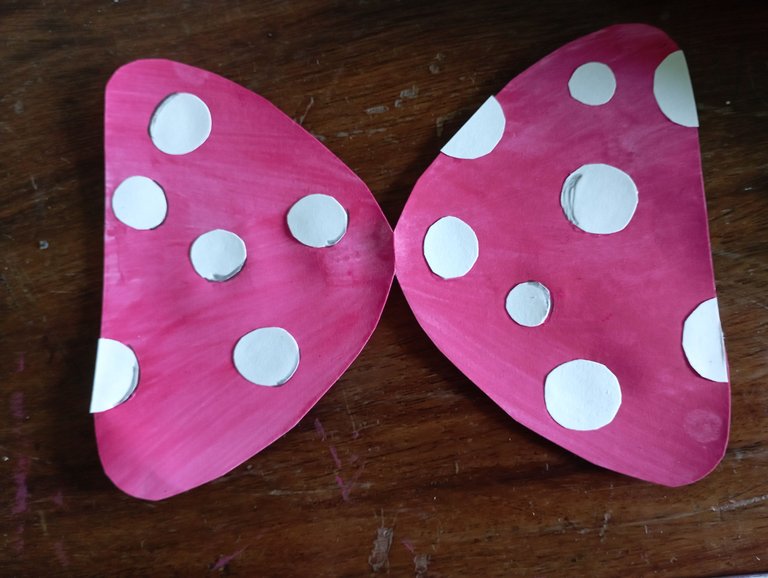
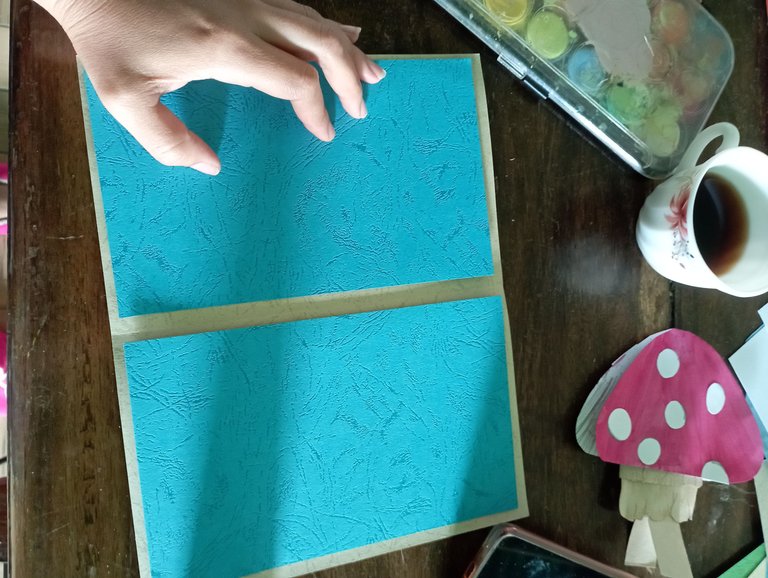
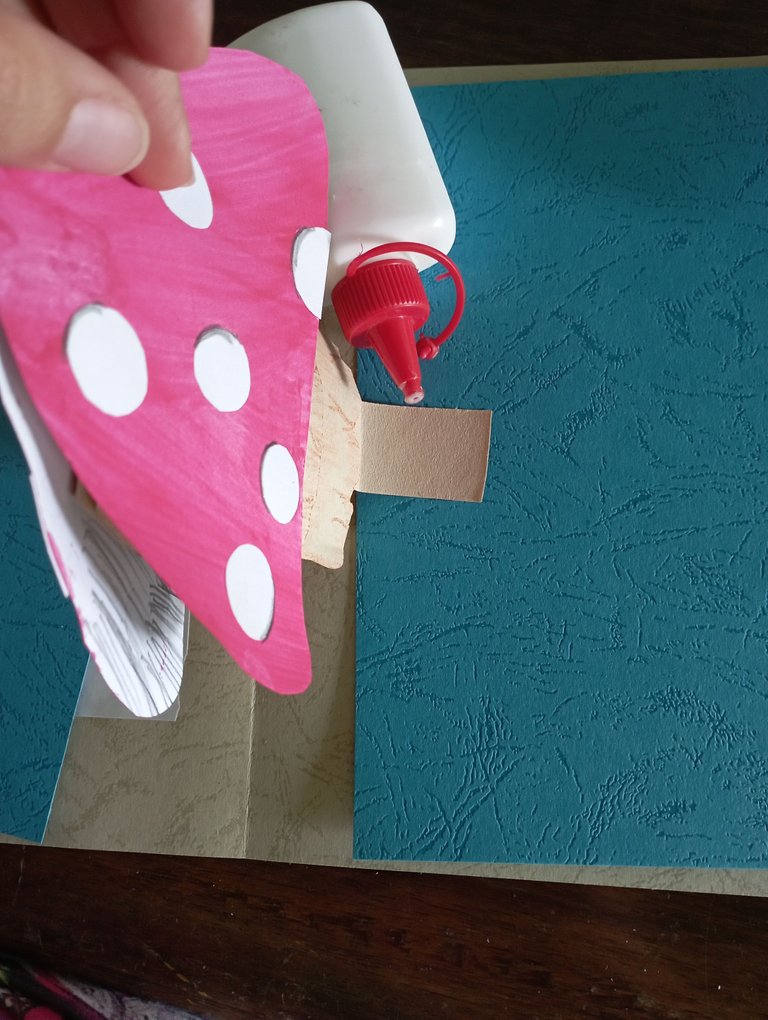
Paso 7: Para armar la tarjeta, vamos a cortar 2 cartulinas más pequeñas que la base de la tarjeta y primero pegamos las pestañas del hongo 🍄 por detrás de las cartulinas y posteriormente pegamos en la base de la tarjeta.
Step 7: To assemble the card, we are going to cut 2 cardboards smaller than the card base and first glue the mushroom tabs 🍄 on the back of the cardboards and then glue on the card base.
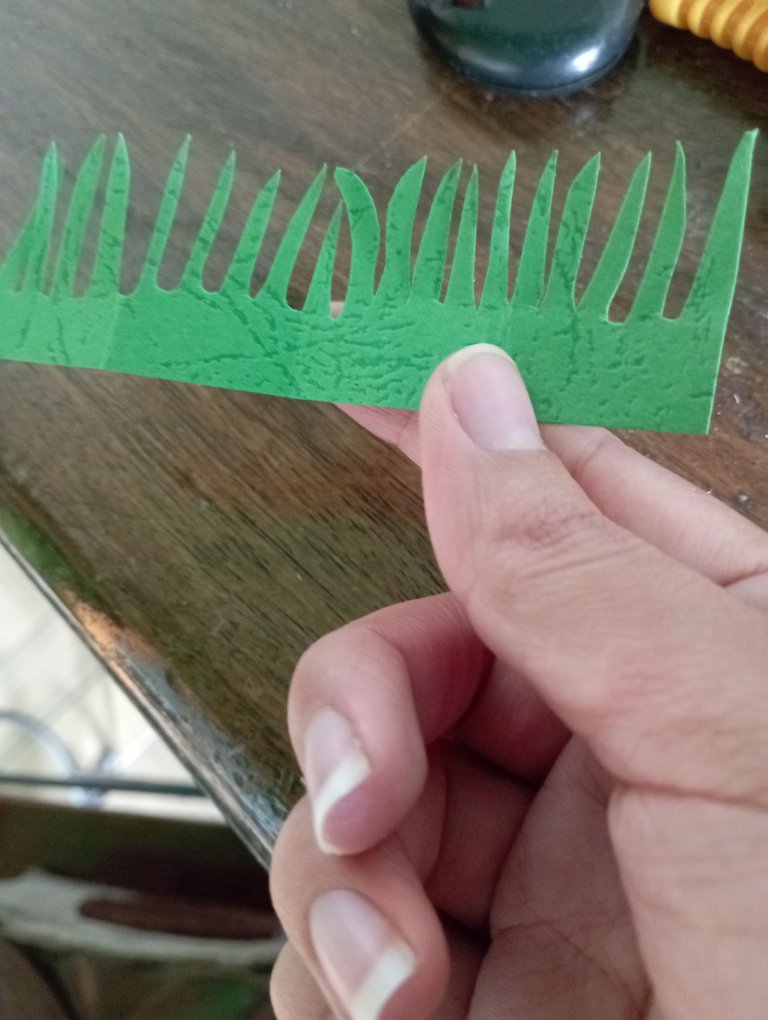
Nota: Hice unos pequeños acordeones de color verde y corté en picos simulando pasto.
Note: I made some small green accordions and cut them into spikes simulating grass.
Paso 8: Pegamos las 2 partes de la tarjeta donde está en el hongo en la base de la tarjeta.
Step 8: Glue the 2 parts of the card where the mushroom is on the card base.
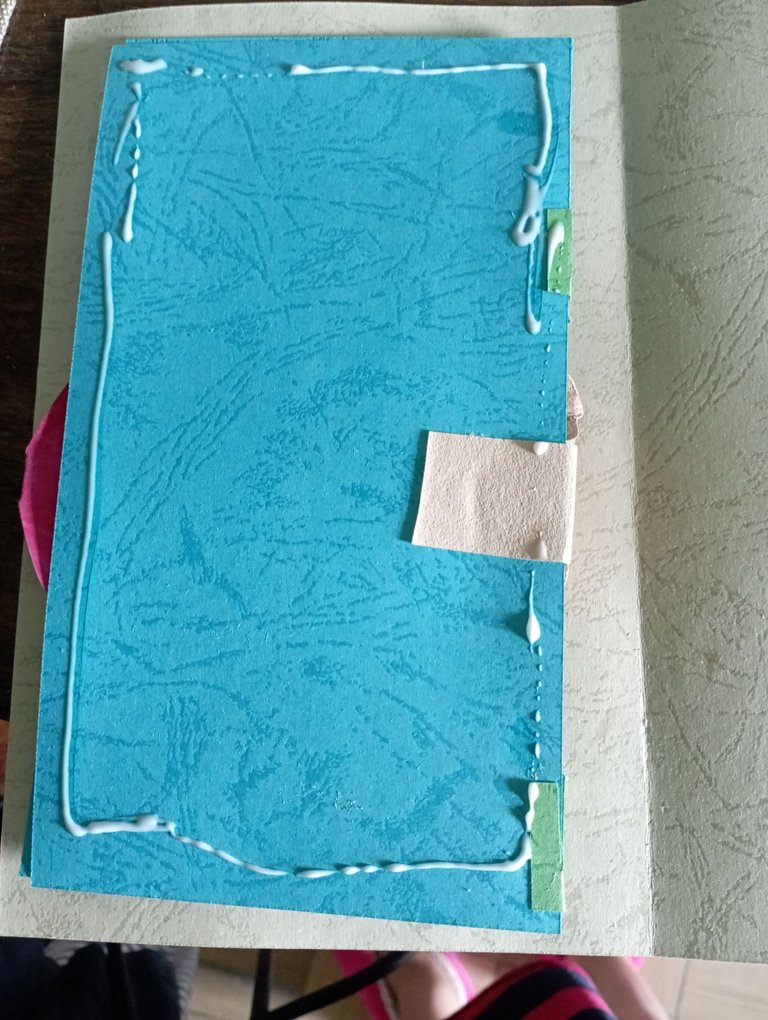
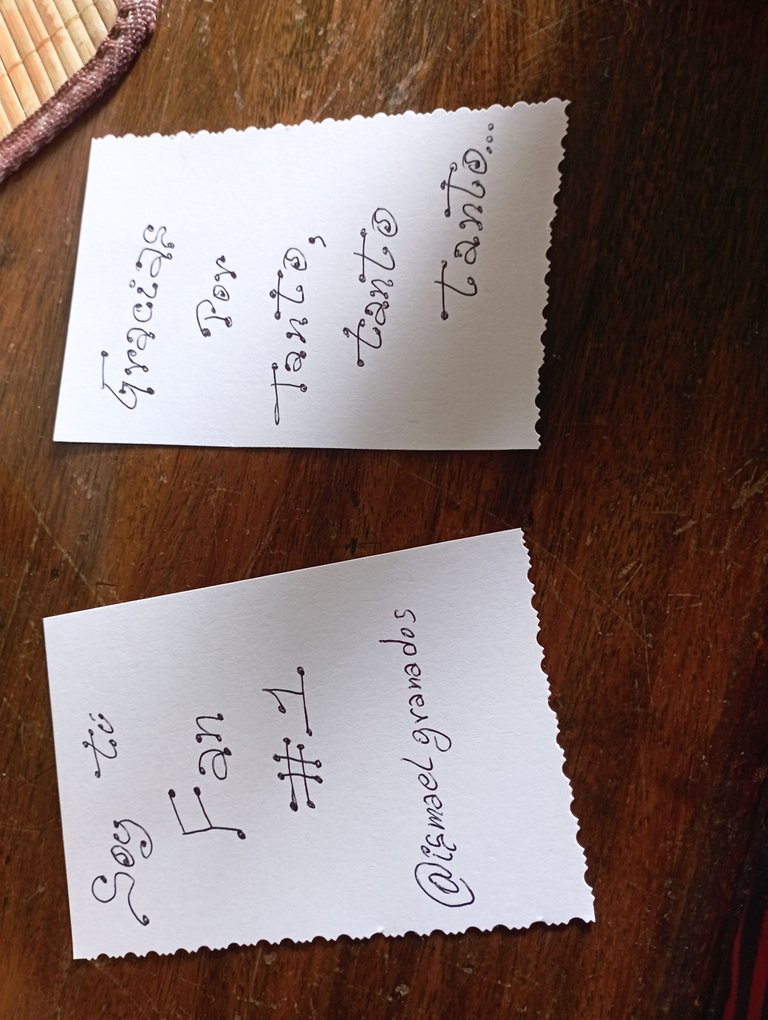
Paso 9: En 2 cuadros de cartulina opalina, vamos a escribir el mensaje que queremos dar en la tarjeta. Yo recorte con tijera de forma de hondas. Pegamos el mensaje a ambos lados del hongo 🍄 y está lista nuestra tarjeta Pop-Up.
Step 9: On 2 squares of opaline cardboard, we will write the message we want to give on the card. I cut out with scissors in the shape of slingshots. We glue the message on both sides of the mushroom 🍄 and our Pop-Up Card is ready.
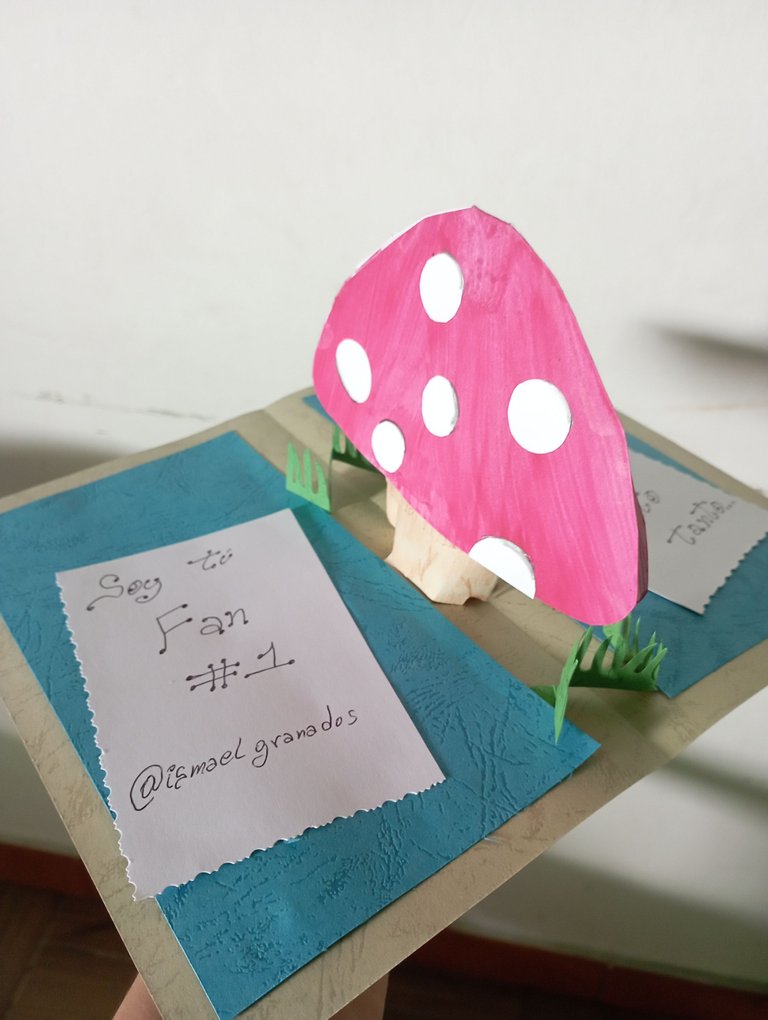
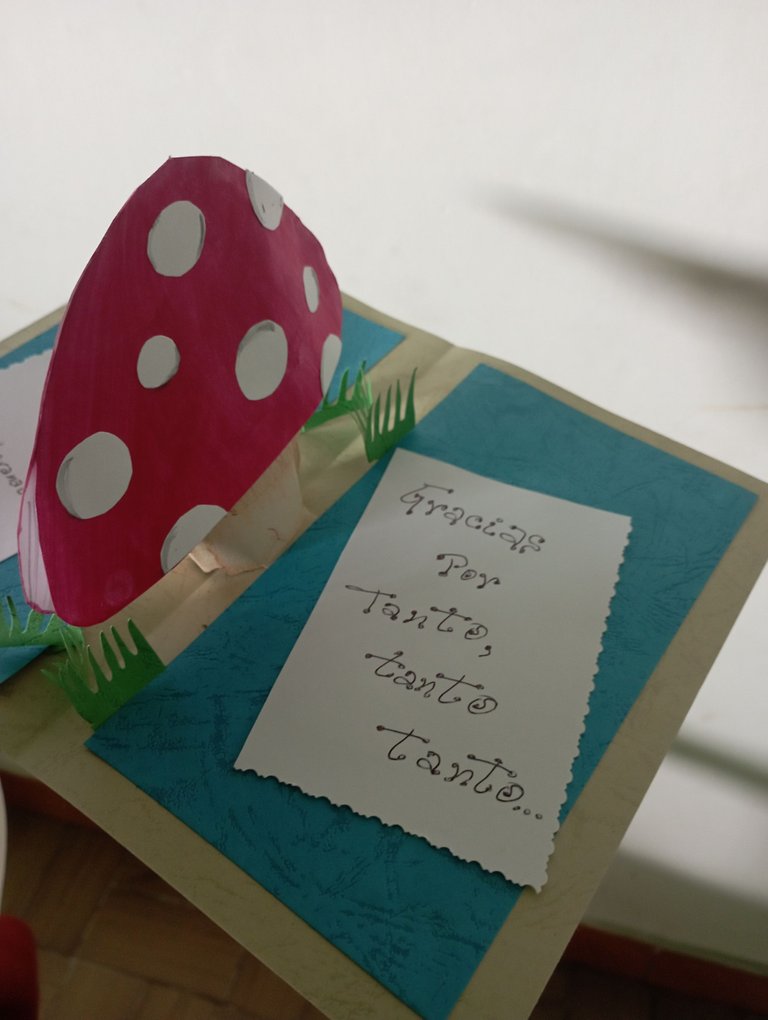
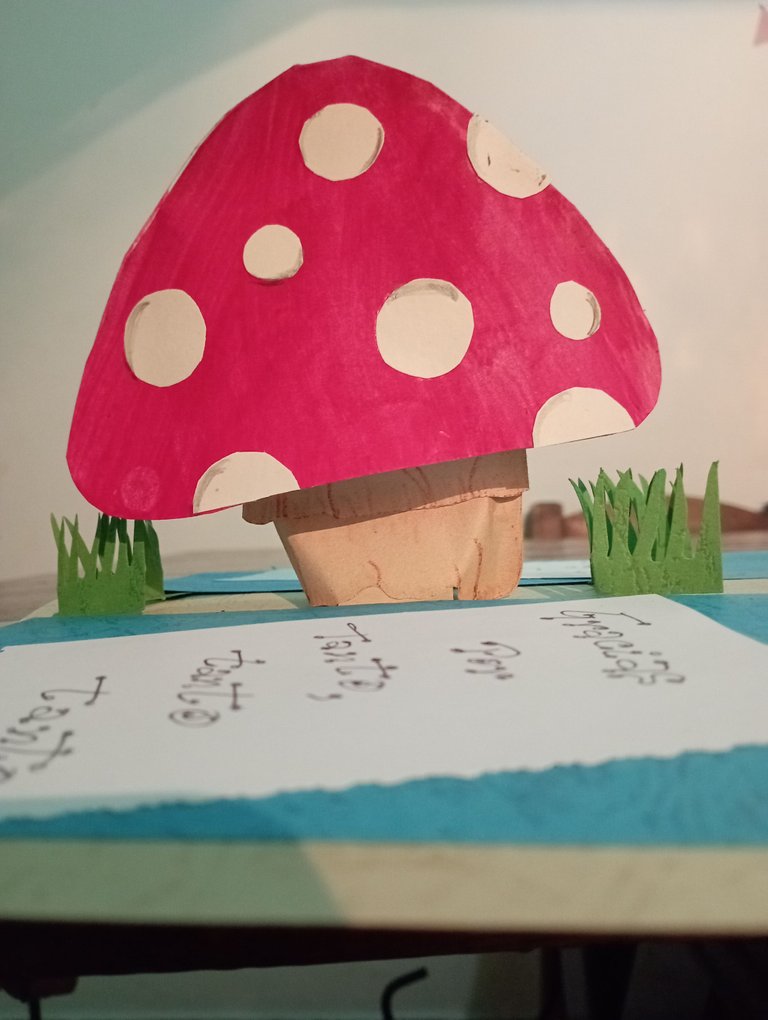
Espero que les guste mi sencillo trabajo que comparto con mucho cariño. Anímense a elaborar una tarjeta para dar un mensaje con mucho estilo y personalizado. Nos vemos en una próxima oportunidad. Saludos!
I hope you like my simple work that I share with much affection. I encourage you to make a card to give a stylish and personalized message. See you next time. Greetings!
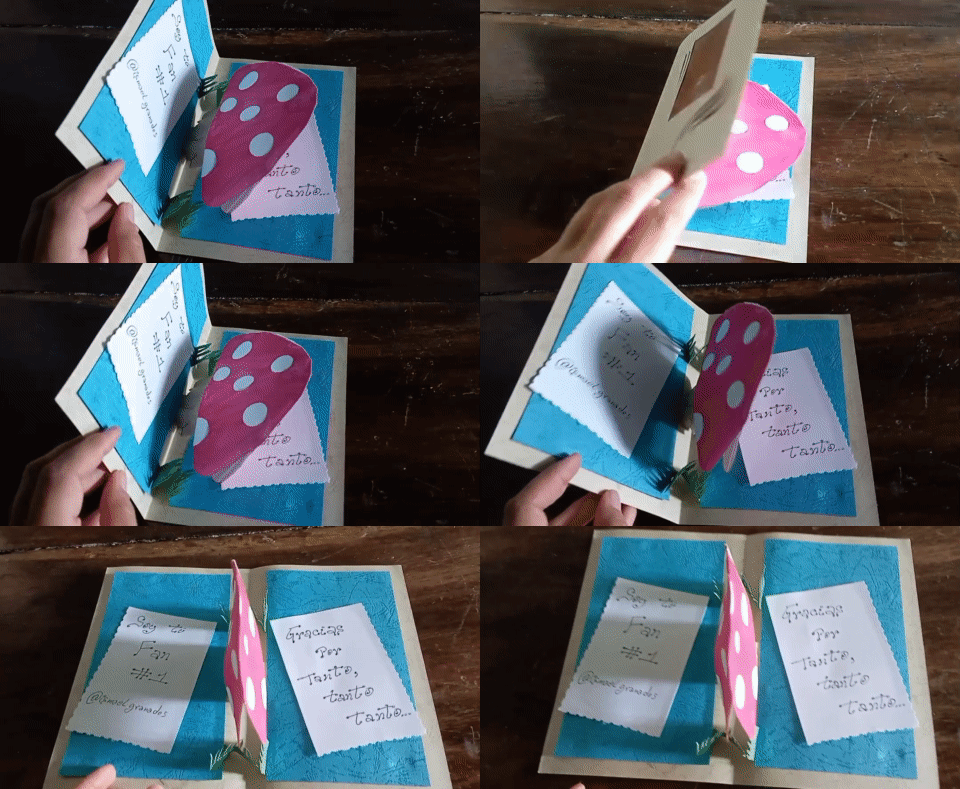

Original content by the author.
Resources: App: Canva / Giphy || 📷 Redmi 10 Smartphone
Translation done with Deepl.com
💌 Discord: chacald.dcymt#3549
_
Contenido original del autor.
Recursos: App: Canva / Giphy || 📷 Redmi 10 Smartphone
Traducido con Deepl.com
💌 Discord: chacald.dcymt#3549
✿ All Rights Reserved || © @chacald.dcymt // 2020-2022 ✿ ✿ Todos los Derechos Reservados || © @chacald.dcymt // 2020-2022 ✿
Ay que bonito trabajo, me encanta 💖
💜🍄
Un hongo para un hongo...
☺️ Gracias por la visita.
woooow que bonita tarjetaaa muchas graaaacias Diana, me encanta, gracias por dedicarme este excelente trabajo de manualidad. Ehmm si alguien se pregunta por qué uno Hongo, es por que en una epoca me gustaba dormir hasta bien tarde, y me gané el apodo de cariño Honguito jajaj. Un abrazo gigante amiga. <3
🤗🍄
Con mucho cariño 😘.
La guardo para dártela en el próximo encuentro.😉
Supeeeer.
Congratulations @chacald.dcymt! You have completed the following achievement on the Hive blockchain and have been rewarded with new badge(s):
Your next target is to reach 3500 replies.
You can view your badges on your board and compare yourself to others in the Ranking
If you no longer want to receive notifications, reply to this comment with the word
STOPCheck out the last post from @hivebuzz: