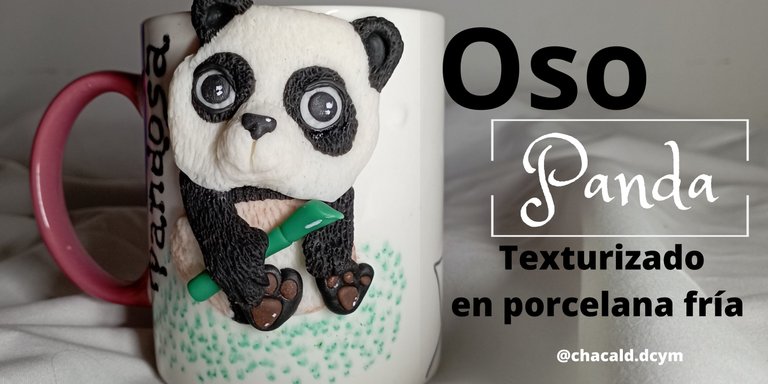
¡Saludos amigos amantes de las artes manuales! Sean bienvenidos a mi taller Bricolaje DC. En esta oportunidad haremos un oso panda en porcelana fría con textura, para decorar una taza de café. Acompáñenme en este tutorial.
Greetings friends who love handicrafts! Welcome to my workshop Bricolaje DC. This time we will be making a panda bear in textured cold porcelain to decorate a coffee cup. Join me in this tutorial.
Materiales
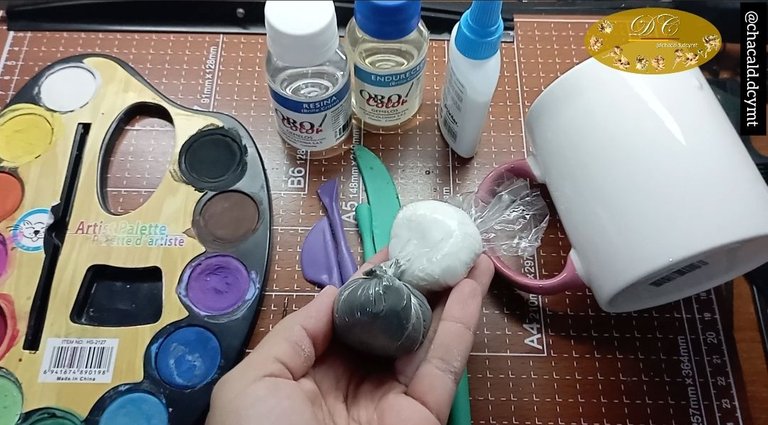
Taza para café
Masa de porcelana fría en colores blanco, marrón, negro
Pegamento blanco
Alfiler
Acuarela
Estecas de moldear
Pincel
Papel plástico
Resina
Hoja blanca
Lápiz
Materials
Coffee cup
Cold porcelain dough in white, brown, black colors
White glue
Pin
Watercolor
Molding cups
Brush
Plastic paper
Resin
White sheet
Pencil
Proceso de elaboración
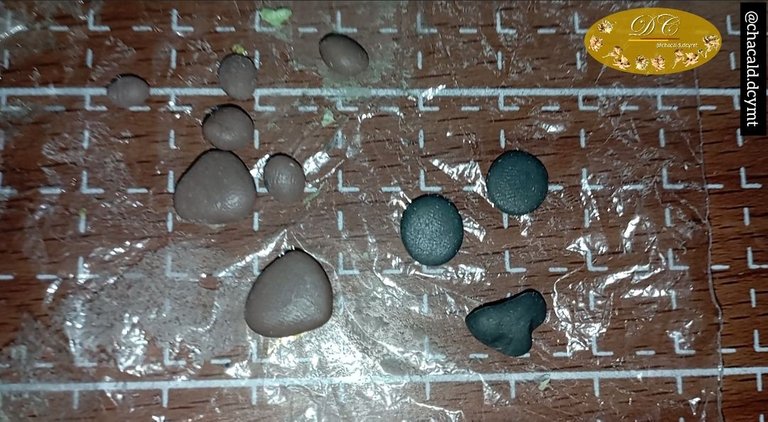
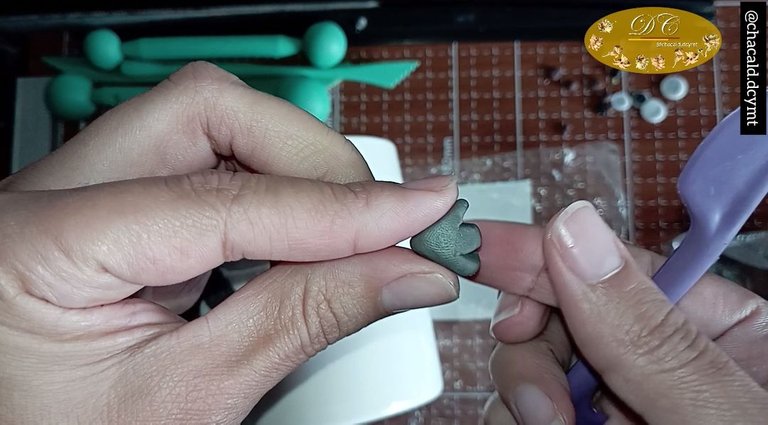
Lo primero que haremos será la nariz, las almohadillas de las patas y los ojos, necesitamos dejarlos secar para poder trabajar mejor las piezas. Para la nariz, haremos un corazón de color negro y con una esteca marcamos los orificios nasales. Tomamos un par de bolitas de masa se color negro, las aplastamos para hacer el centro de los ojos.
Con masa de color marrón, haremos un corazón y 3 bolitas. Como nuestro oso está de frente se le ven ambas patas traceras así que necesitamos 2 juegos de almohadillas.
Dejamos secar hasta que se endurezca la masa, aproximadamente 1 hora con estas piezas pequeñas.
Process of elaboration.
The first thing we will do will be the nose, the paw pads and the eyes, we need to let them dry to be able to work the pieces better. For the nose, we will make a black heart and with a stake we mark the nostrils. We take a couple of small balls of black dough and flatten them to make the center of the eyes.
With brown dough, we will make a heart and 3 little balls. As our bear is facing the front, both back legs can be seen, so we need 2 sets of pads.
Let dry until the dough hardens, about 1 hour with these small pieces.
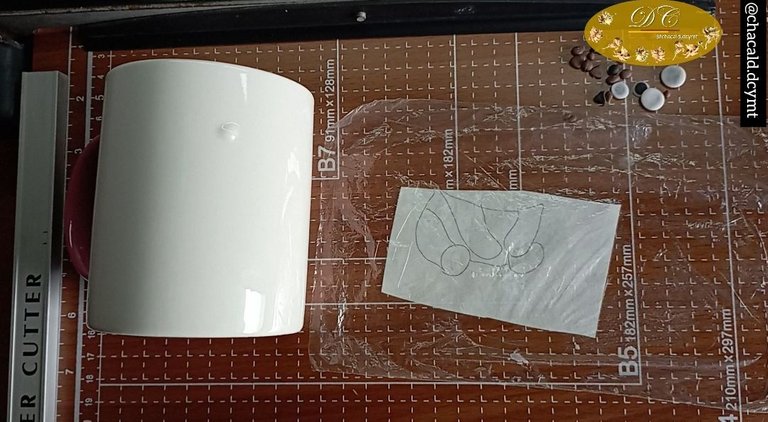
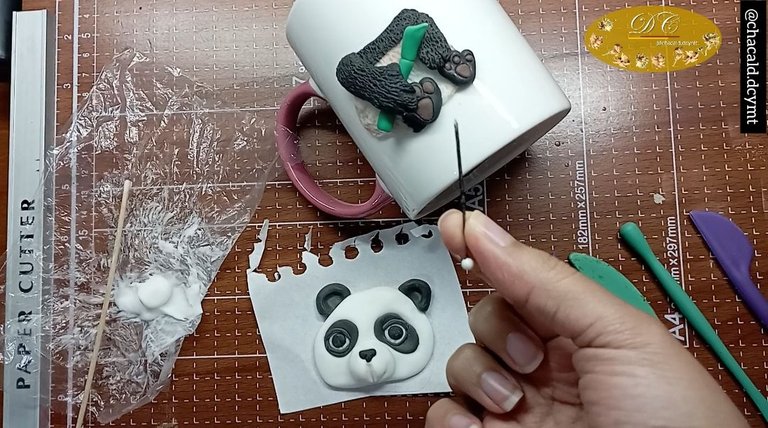
Haremos el molde del oso panda en papel, tratamos de que el diseño se ajuste al tamaño de la taza.
We will make the mold of the panda bear in paper, we try to make the design fit the size of the cup.
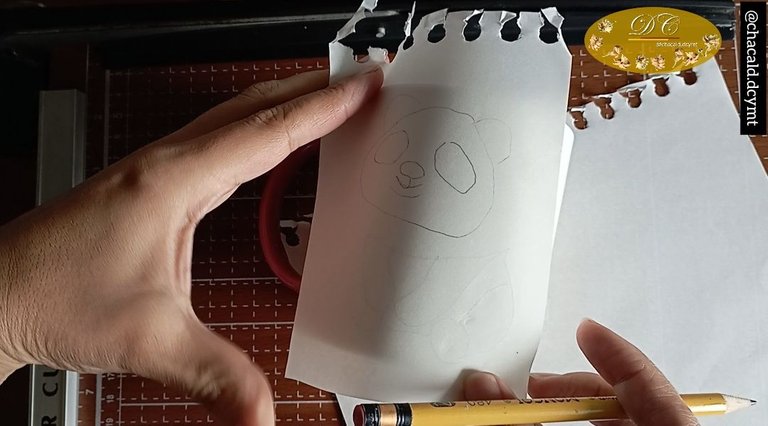
Cubrimos el dibujo con papel plástico transparente, así podemos guiarnos al momento de hacer cada pieza.
Con masa de color blanco, vamos a comenzar a moldear el cuerpo.
We cover the drawing with transparent plastic paper, so we can guide us when making each piece.
With white dough, we are going to start molding the body.
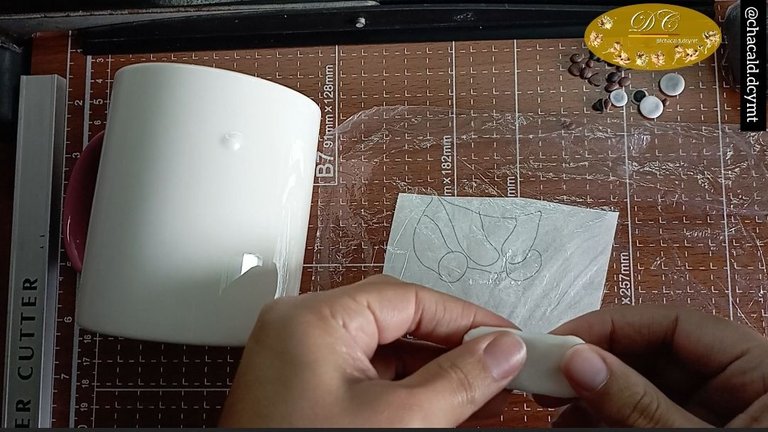
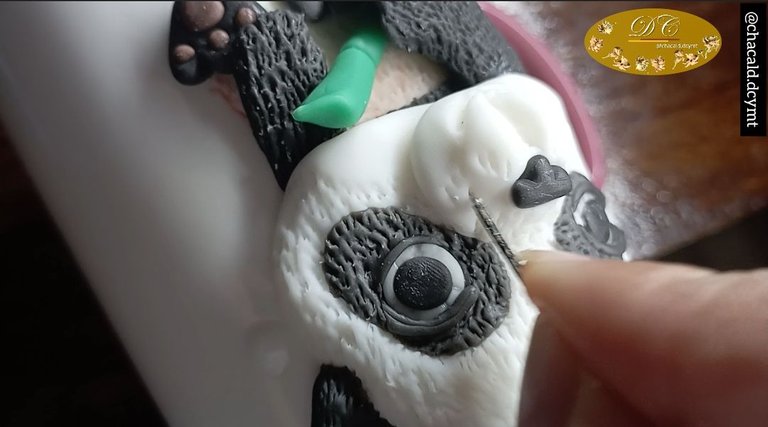
Tomamos el alfiler y vamos a dar la textura peluda al oso, así que hacemos pequeñas marcas en el sentido que queremos marcar el pelaje. Repetimos por toda la pieza.
We take the pin and let's give the furry texture to the bear, so we make small marks in the sense that we want to mark the fur. We repeat all over the piece.

Aplicamos un poco de pegamento en la taza y en la pieza del cuerpo que acabamos de texturizar, luego pegamos y hacemos presión con los dedos para que se fije. Tratamos de no dañar la textura.
We apply a little glue on the cup and on the body piece that we have just textured, then we glue and apply pressure with our fingers to fix it. Try not to damage the texture.
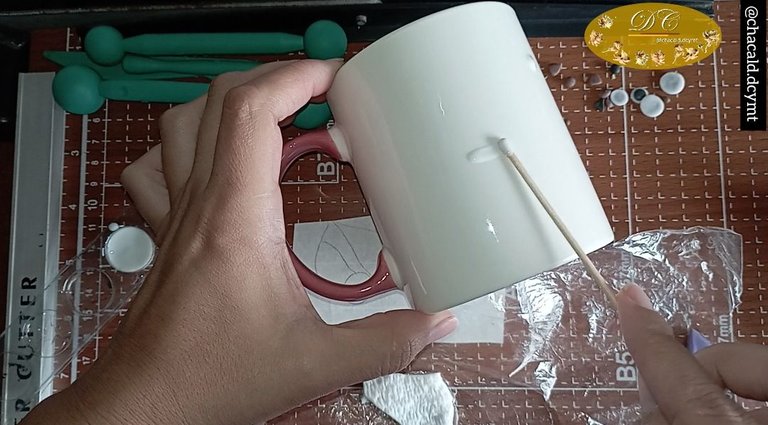
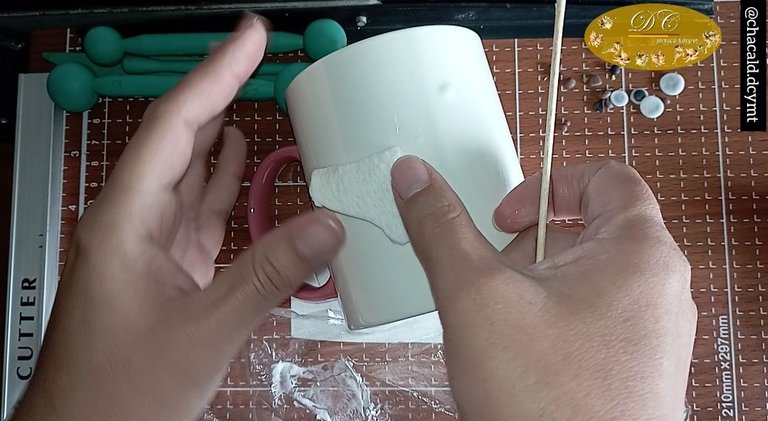
Ahora vamos a montar las patas y los brazos del oso, siempre dando textura con el alfiler y aplicando pegamento a cada pieza para que quede resistente.
Hice una rama de bambú, que se puede sustituir por cualquier accesorio, y la puse entre sus brazos.
Now we are going to assemble the legs and arms of the bear, always giving texture with the pin and applying glue to each piece to make it resistant.
I made a bamboo branch, which can be substituted for any accessory, and put it between his arms.
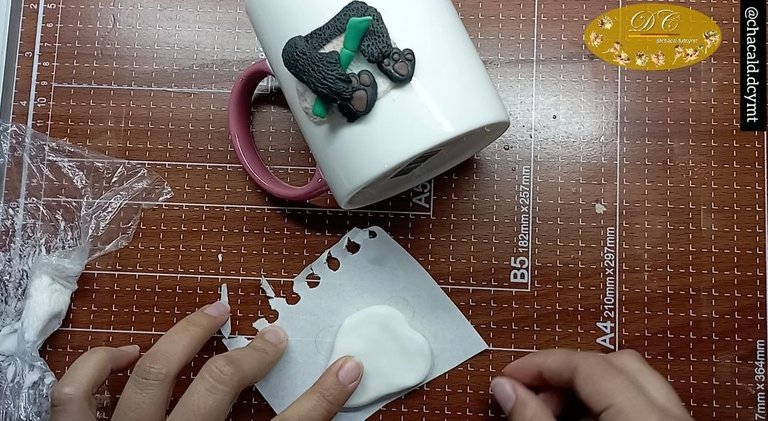
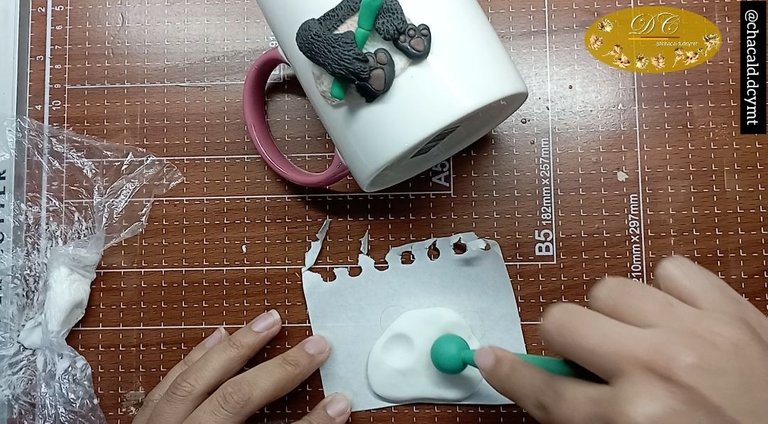
Una vez que tenemos todo el cuerpo del oso, comenzamos con la cabeza. Tomamos una bola de masa blanca y vamos a seguir la guía para que nos quede forma de pera. Luego tomamos una esteca de bola grande y vamos a hacer las cavidades oculares. Rellenamos con una bolita de masa de color negro y vamos a incrustar los ojos que ya deben estar secos.
Once we have the whole body of the bear, we start with the head. We take a ball of white dough and we are going to follow the guide so that we get a pear shape. Then we take a large ball of dough and we will make the eye sockets. Fill with a small ball of black dough and we will embed the eyes that should already be dry.
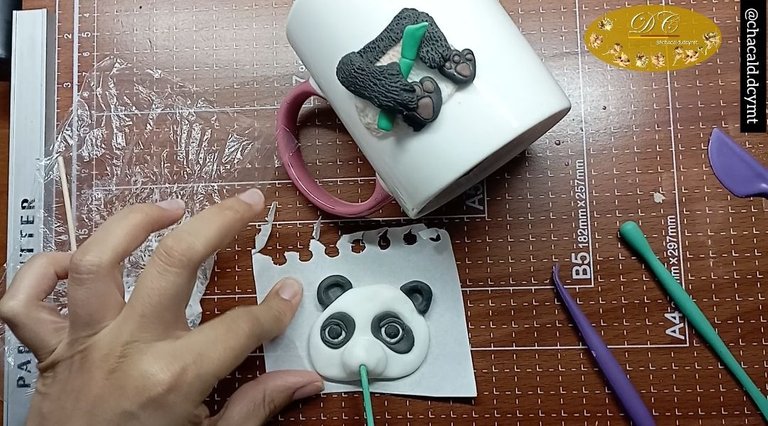
Finalmente, para terminas con la cabeza, tomamos una bola pequeña de masa y haremos el hocico. Tomamos una esteca tipo cuchillo para hacer las marcas de la boca y podemos incrustar la nariz.
Finally, to finish with the head, we take a small ball of dough and make the snout. We take a knife type stake to make the marks for the mouth and we can embed the nose.
Pegamos la cabeza sobre la taza y procedemos a texturizar.
We glue the head on the cup and proceed to texturize.
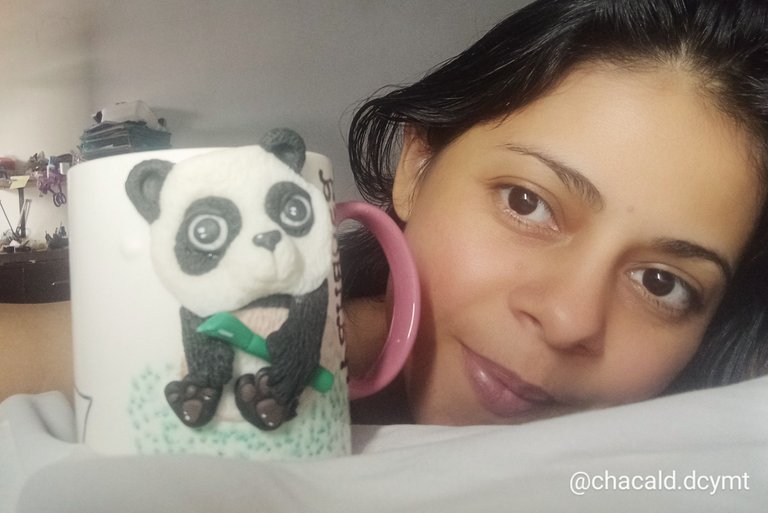
Podemos aplicar la capa de resina para que quede impermeabilizada la figura. Así es como queda.
We can apply the resin layer to waterproof the figure. This is how it looks like.
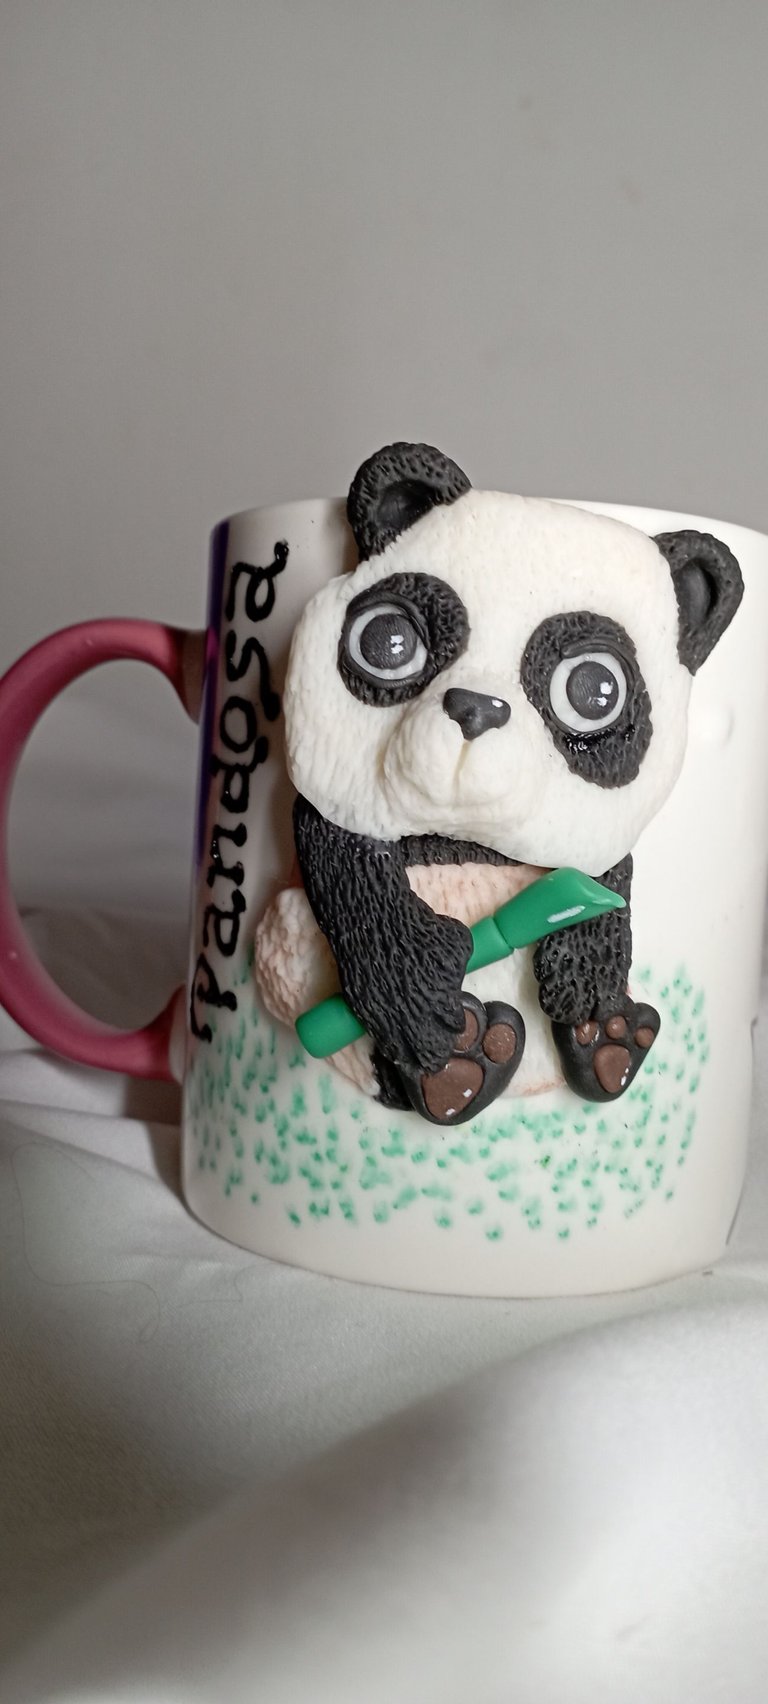
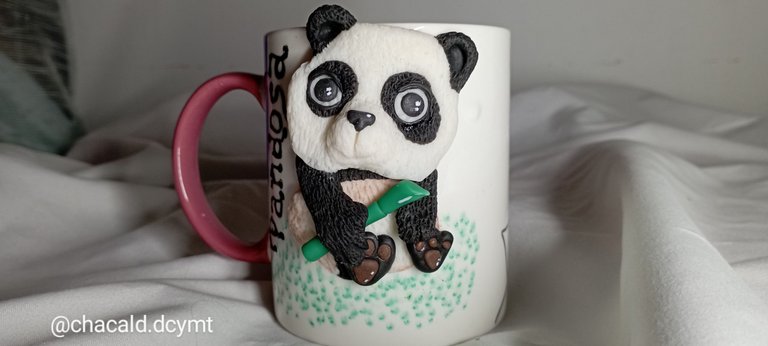
Podemos darle un toque especial y personalizado a nuestra taza favorita. Les invito a ver el vídeo para no perder detalle del paso a paso. Un gusto compartir con ustedes, gracias por visitar mi publicación y nos vemos en una próxima oportunidad. Chao!
We can give a special and personalized touch to our favorite mug. I invite you to watch the video to not lose detail of the step by step. A pleasure to share with you, thanks for visiting my publication and see you next time. Bye!

Original content by the author.
Resources: App: Canva / Giphy / Inshot
The music used in the video is free to use, available in the InShot App.
Music: Wanna
📷 Redmi 10 Smartphone
Translation done with Deepl.com
💌 Discord: chacald.dcymt#3549
Twitter @chacald1
_
Contenido original del autor.
Recursos: App: Canva / Giphy / Inshot
La música utilizada en el vídeo es de libre uso, disponible en la App InShot
Música: Wanna
📷 Redmi 10 Smartphone
Traducido con Deepl.com
💌 Discord: chacald.dcymt#3549
Twitter @chacald1
Musician: @iksonmusic ✿ All Rights Reserved || © @chacald.dcymt 2023 ✿ Músico: @iksonmusic ✿ Todos los Derechos Reservados || © @chacald.dcymt 2023 ✿
Bellísimo trabajo en porcelana fría, me encantó.
!discovery 35
Muchas gracias por tu valoración. Maestro del modelado de figuritas me alegra que te gustara.
Un abrazo 😘
This post was shared and voted inside the discord by the curators team of discovery-it
Join our Community and follow our Curation Trail
Discovery-it is also a Witness, vote for us here
Delegate to us for passive income. Check our 80% fee-back Program
Gracias por el apoyo
Ohhh por Dios esta es una hermosurita, la ame, osito panda precioso. Amo tu trabajo con porcelana fría, espero seguir viendo muchas mas de estas hermosuras. Abrazos bella @chacald.dcymt 💕
!DIY
!HUB
!MEME
!LADY
!LOLZ
lolztoken.com
It's riveting
Credit: reddit
$LOLZ on behalf of dayadam
(1/1)
PLAY & EARN $DOOM
@chacald.dcymt, I sent you anCredit: pepetoken
Earn Crypto for your Memes @ HiveMe.me!
Gracias hermosa... Que bueno que te gustó. Un abrazo infinito para ti.
View or trade
LOHtokens.@dayadam, you successfully shared 0.1000 LOH with @chacald.dcymt and you earned 0.1000 LOH as tips. (1/2 calls)
Use !LADY command to share LOH! More details available in this post.
The rewards earned on this comment will go directly to the people ( chacald.dcymt ) sharing the post on LeoThreads,LikeTu,dBuzz.https://leofinance.io/threads/chacald.dcymt/re-leothreads-dlcsbtdj
Muy lindo el osito para decorar la taza, se ve muy original, me encantan esos trabajos, saludos!
Muchas gracias por su apoyo y valoración. Un abrazo 😘
Me encantó tu trabajo!!!😍😍
Es parecido a hacer figuras con fondant para decorar las tortas!
Gracias por compartir tu arte y por este tutorial que me es de mucha utilidad para personalizar mis tazas 🥰
Saludos!
Si, es parecido 😊. Me alegra que te gustó mi trabajo. Un abrazo y Muchas gracias por la visita y valoración.
Discord Server.This post has been manually curated by @steemflow from Indiaunited community. Join us on our
Do you know that you can earn a passive income by delegating to @indiaunited. We share more than 100 % of the curation rewards with the delegators in the form of IUC tokens. HP delegators and IUC token holders also get upto 20% additional vote weight.
Here are some handy links for delegations: 100HP, 250HP, 500HP, 1000HP.
100% of the rewards from this comment goes to the curator for their manual curation efforts. Please encourage the curator @steemflow by upvoting this comment and support the community by voting the posts made by @indiaunited.
Thank you for your support 😊👍🏻
!diyQue trabajo más bonito amiga @chacald.dcymt , eres una gran artista 😘❤️
Gracias mi bella... Un honor recibir tu apreciación...un abrazo infinito 😘💜
!HUG
I sent 1.0 HUG
(1/3)Dear @lileisabel, you just got hugged. on behalf of @chacald.dcymt.
@tipu curate
Upvoted 👌 (Mana: 0/64) Liquid rewards.
Muchas gracias por el apoyo ☺️👍🏼
Bella bella la taza con ese hermoso Panda. Me encantó 😍 gracias por explicar tan bien el paso a paso. Cuando tenga la porcelana este será uno de los que haré 🙋☑️👆😄
Me alegra que le gustara y espero que sea de utilidad...por cuestiones de conexión a internet no he podido subir el vídeo del paso a paso, pero pronto estará disponible. Gracias por el apoyo ☺️ un abrazo infinito 😘💜
I have a lot of basic mugs that needed some improvements. You just gave me a brilliant idea :D
Great!!! I hope they look amazing and you can enjoy a good coffee.
You can query your personal balance by
@dayadam just sent you a DIY token as a little appreciation for your post dear @chacald.dcymt! Feel free to multiply it by sending someone else !DIY in a comment :) You can do that x times a day depending on your balance so:!DIYSTATSYou can query your personal balance by
@lileisabel just sent you a DIY token as a little appreciation for your post dear @chacald.dcymt! Feel free to multiply it by sending someone else !DIY in a comment :) You can do that x times a day depending on your balance so:!DIYSTATSMuchas gracias @diyhub y @lileisabel 💜