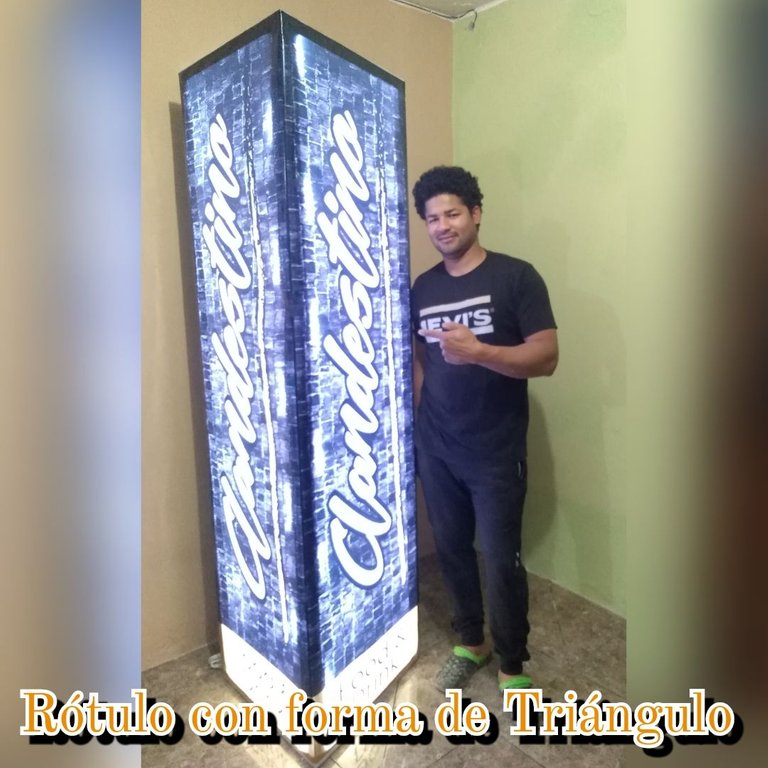
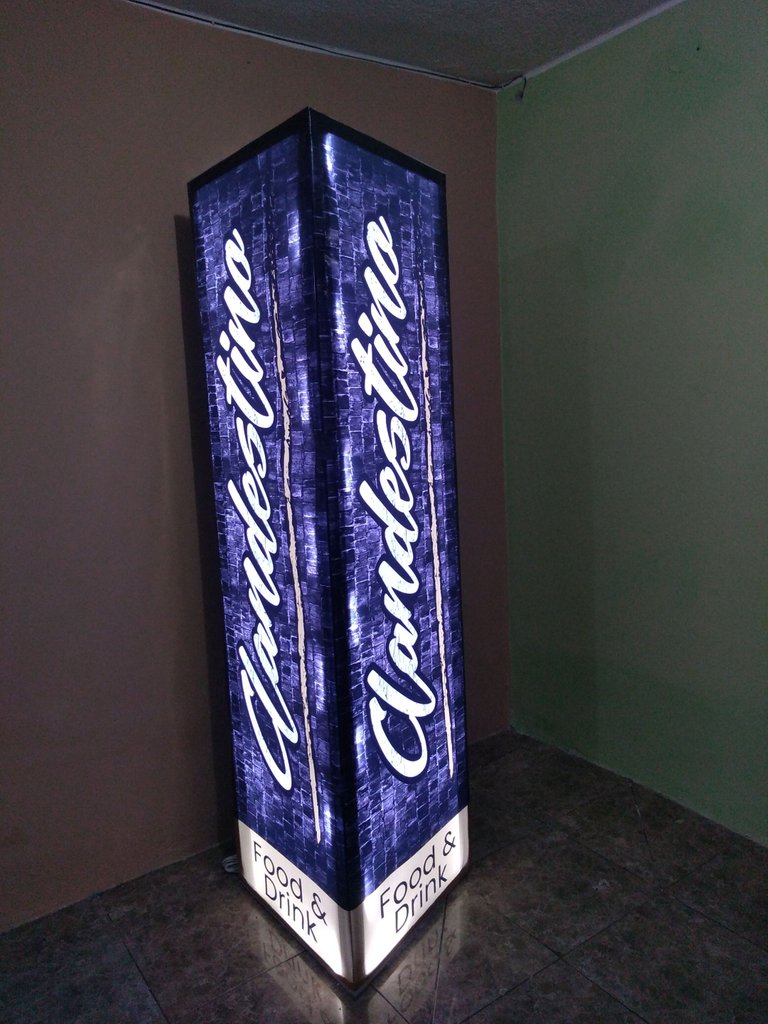
Hola mis queridos amigos hivers ¿como están? Espero que excelentes y con mucha salud en en nombre de Dios, en esta oportunidad les quiero compartir el segundo Rótulo que elabore esta vez en forma de triángulo.
Hello my dear friends hivers, how are you? I hope you are excellent and in good health in the name of God, in this opportunity I want to share with you the second sign that I made this time in the shape of a triangle.
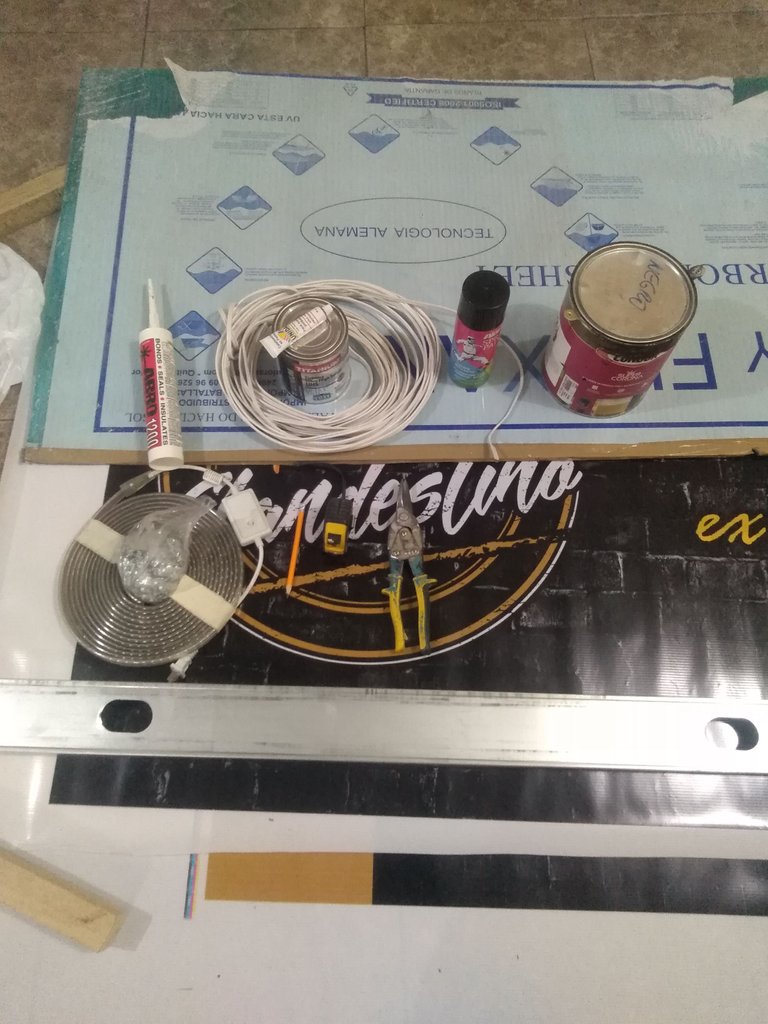
Herramientas
. Tijera para metal
. Flexometro
. Cables de electricidad
. Luces Led
. Alicate
. Stud
. Policarbonato
. Tornillos
. Destornillador
. Pintura de color negro
. Cemento de contacto ó pega de zapato
. Lápiz
Tools
. Metal shears
. Flexometer
. Electrical wires
. Led lights
. Pliers
. Stud
. Polycarbonate
. Screws
. Screwdriver
. Black paint
. Contact cement or shoe glue
. Pencil
Procedimiento
Procedure
Paso 1
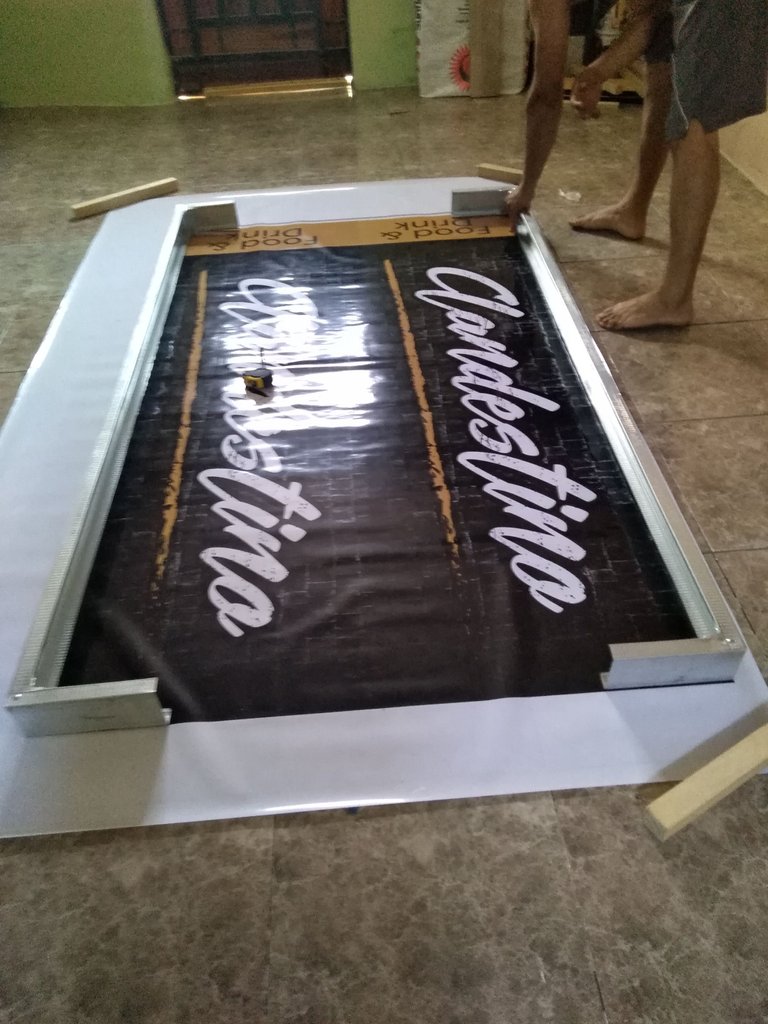
Primero colocamos la lona en el piso para tomar las medidas de ancho y largo.
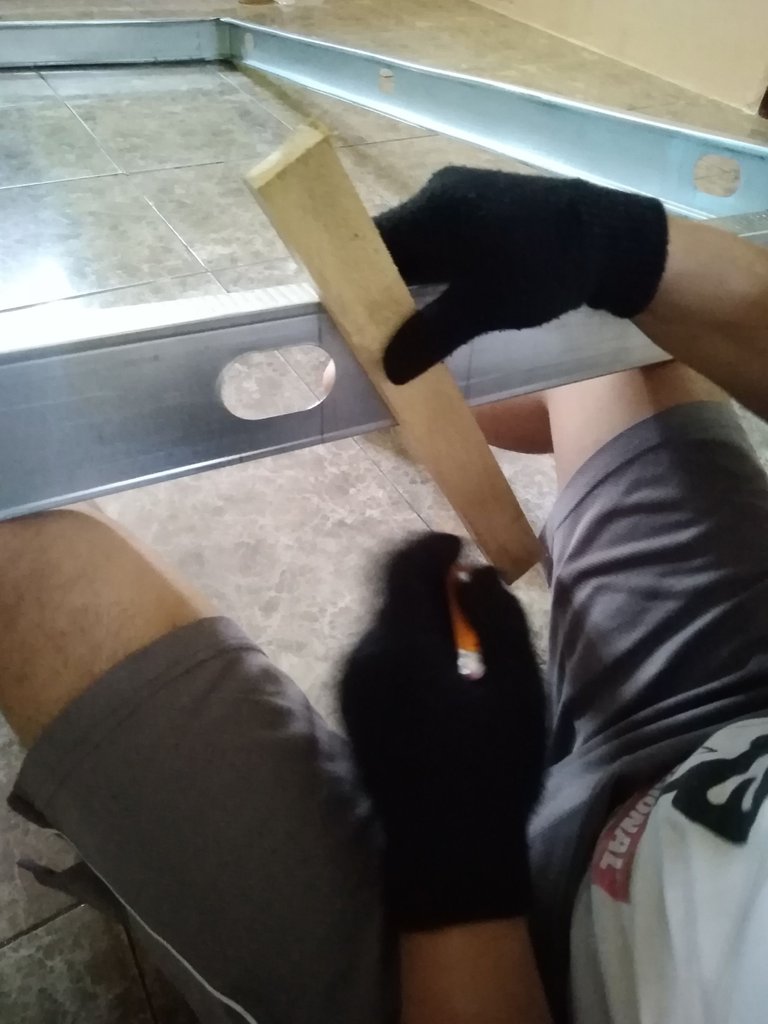
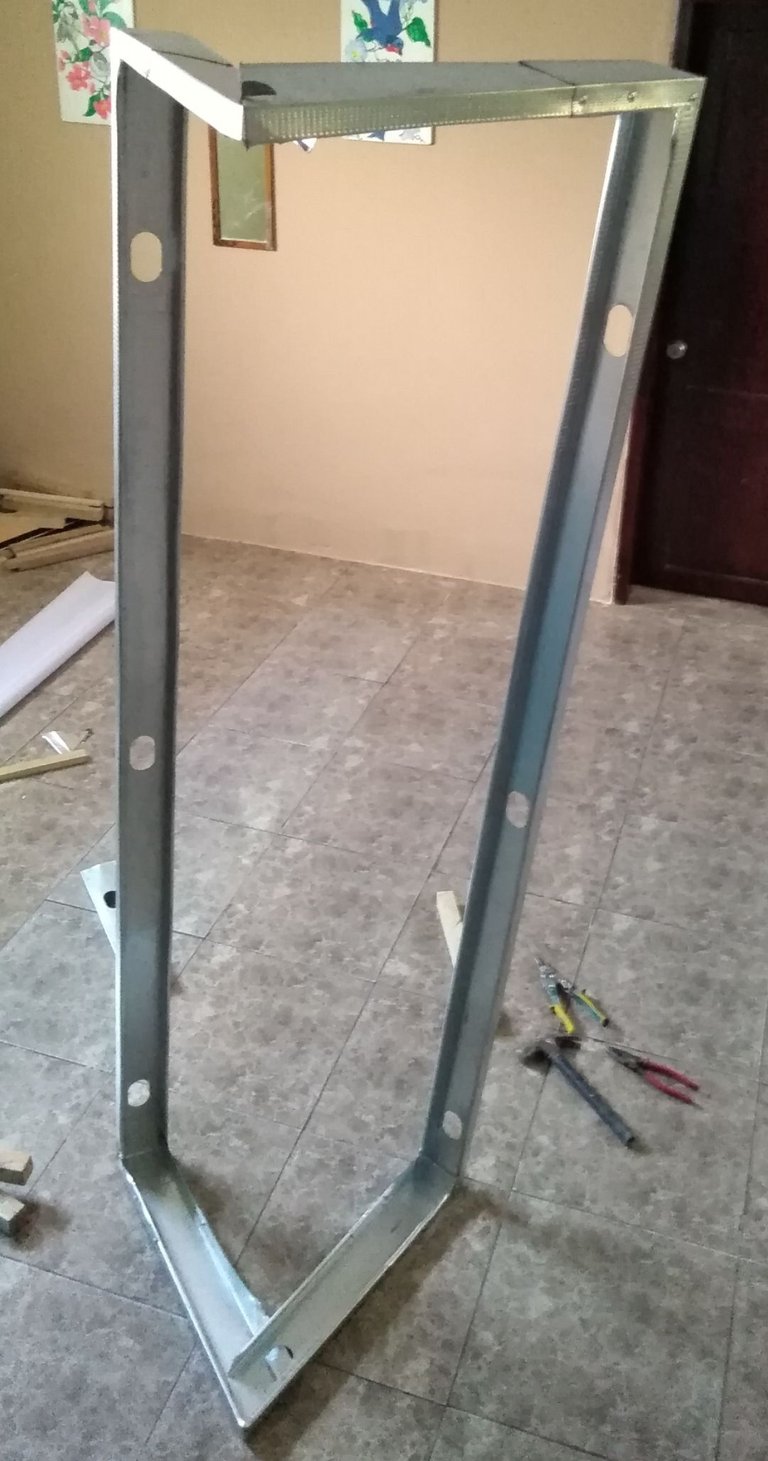
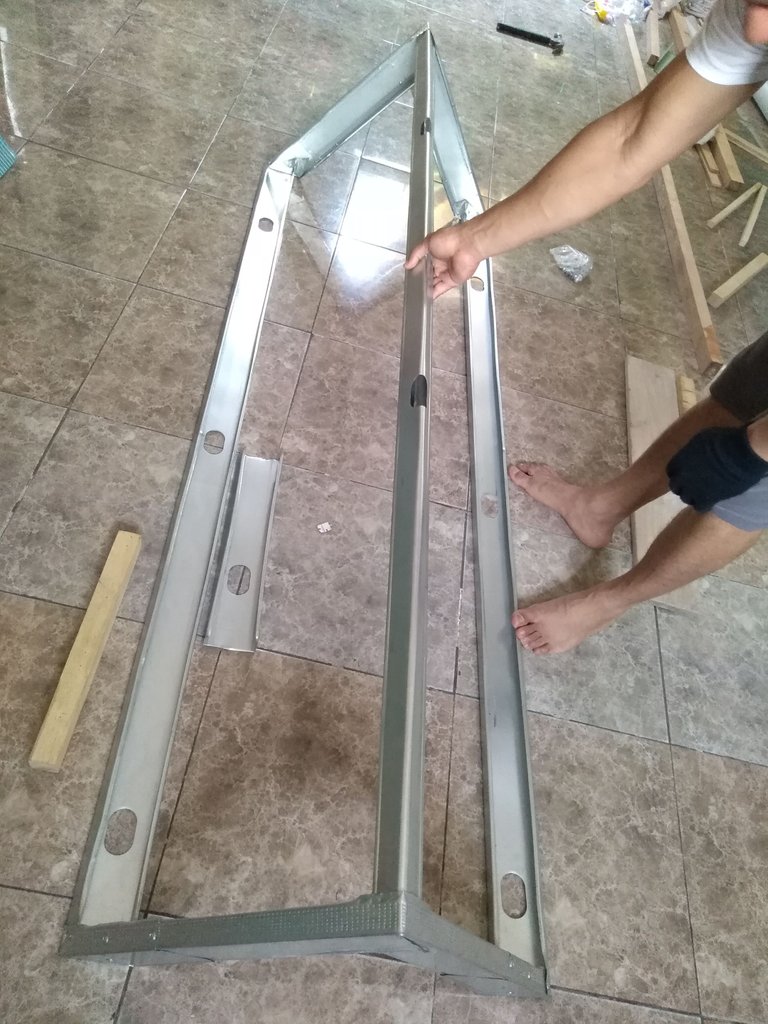
Ya teniendo las medidas procedemos a marcar y picar el estud para formar el rectangulo de estructura metálica.
Paso 1
First we place the canvas on the floor to take the width and length measurements.
Once we have the measurements, we proceed to mark and cut the study to form the rectangle metal structure.
Paso 2
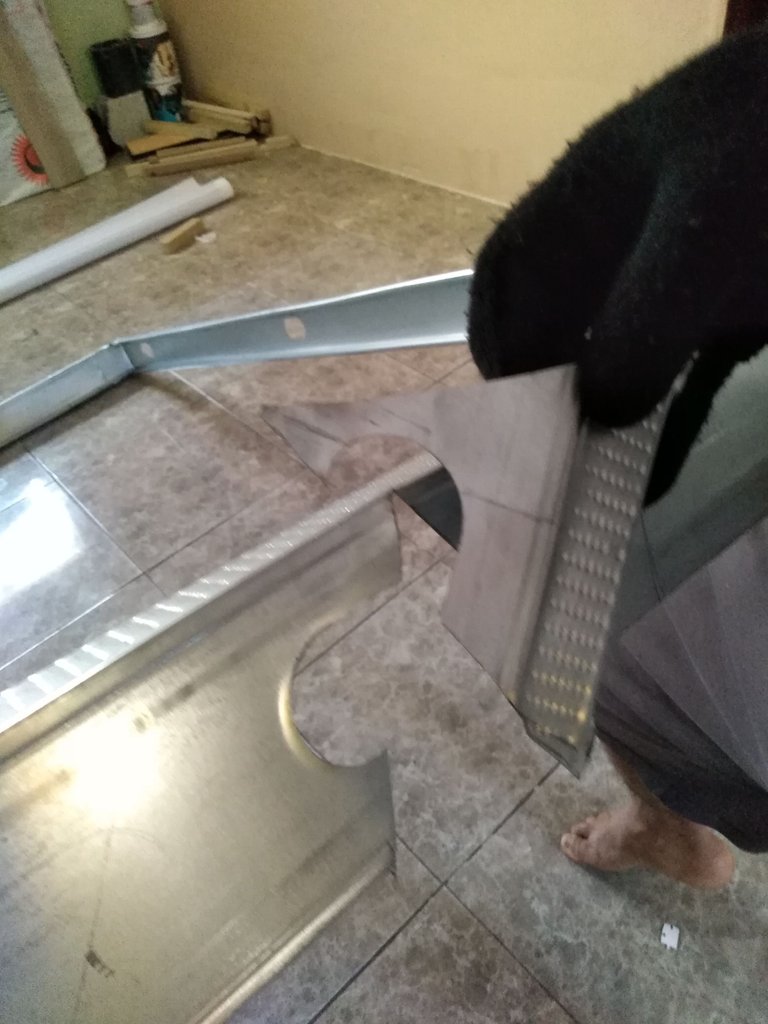
Procedemos medir para obtener la mitad del rectangulo en los 2 lados más cortos, marcamos y cortamos ambos lados y doblamos formando un triangulo.
Step 2
We proceed to measure to obtain half of the rectangle on the 2 shorter sides, mark and cut both sides and fold forming a triangle.
Paso 3
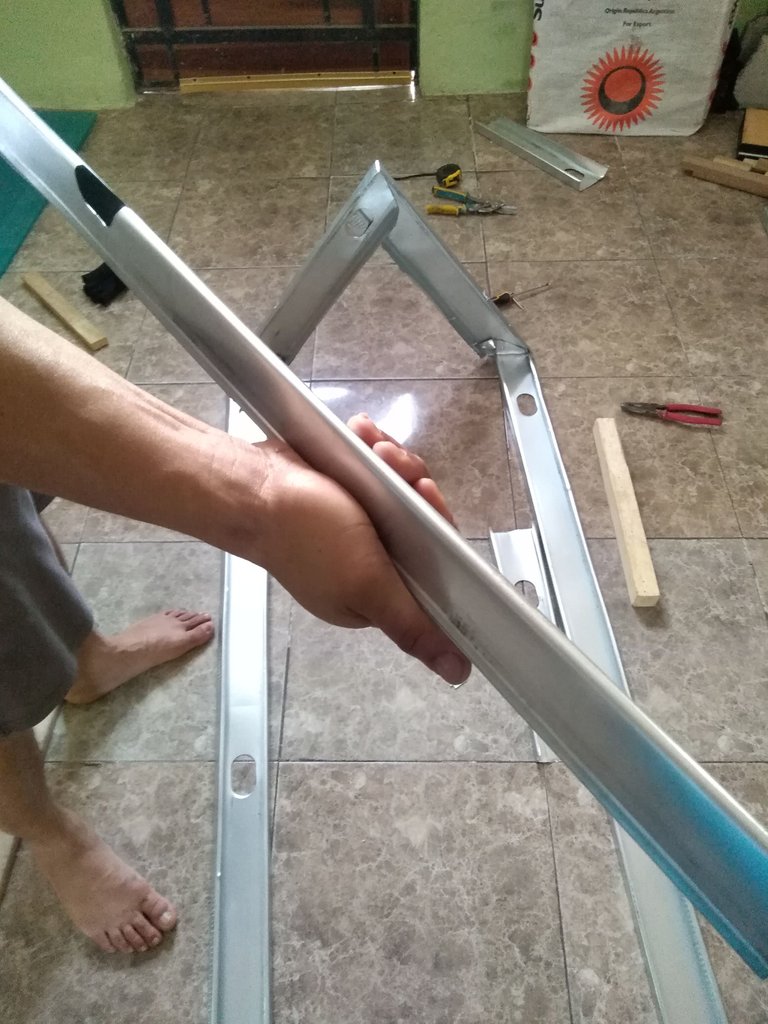
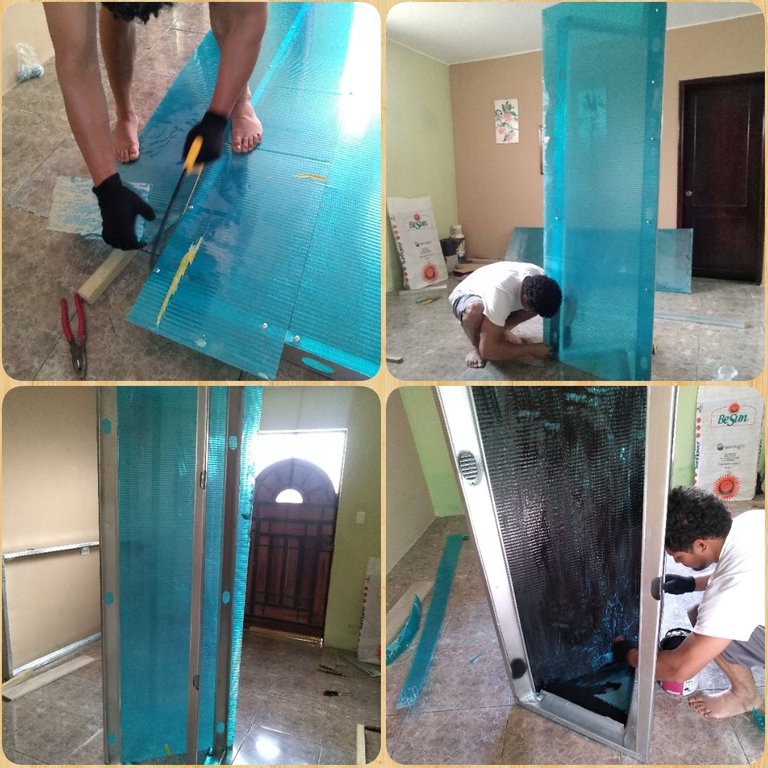
Doblamos un stud a la midad para darle más fuerza a la estructura y lo antornillamos, luego pasamos a picar el policarbonato y aseguramos con los tornillos a la estructura, cortamos el sobrante y pintamos.
Step 3
We folded a stud to the midad to give more strength to the structure and screwed it, then we went to chop the polycarbonate and secured with screws to the structure, cut the excess and painted.
Paso 4
Una vez el policarbinato pintado y secado se procede a pegar tiras de lona con la pega de zapato en los filos del policarbonato para evitar daños en la lona
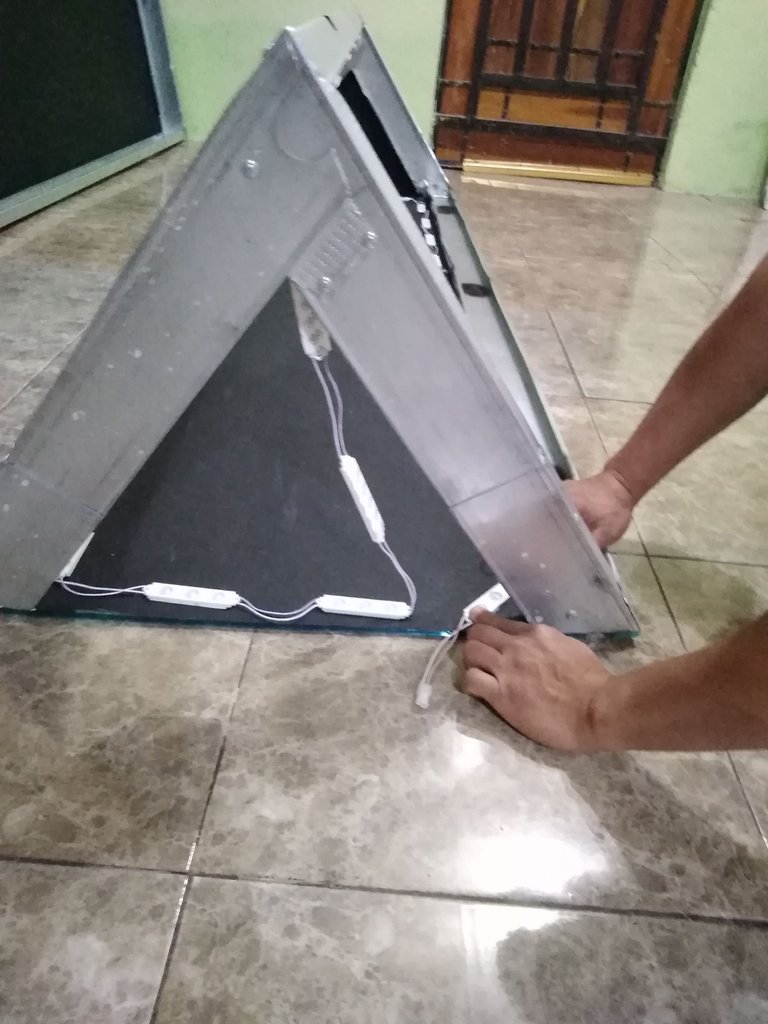
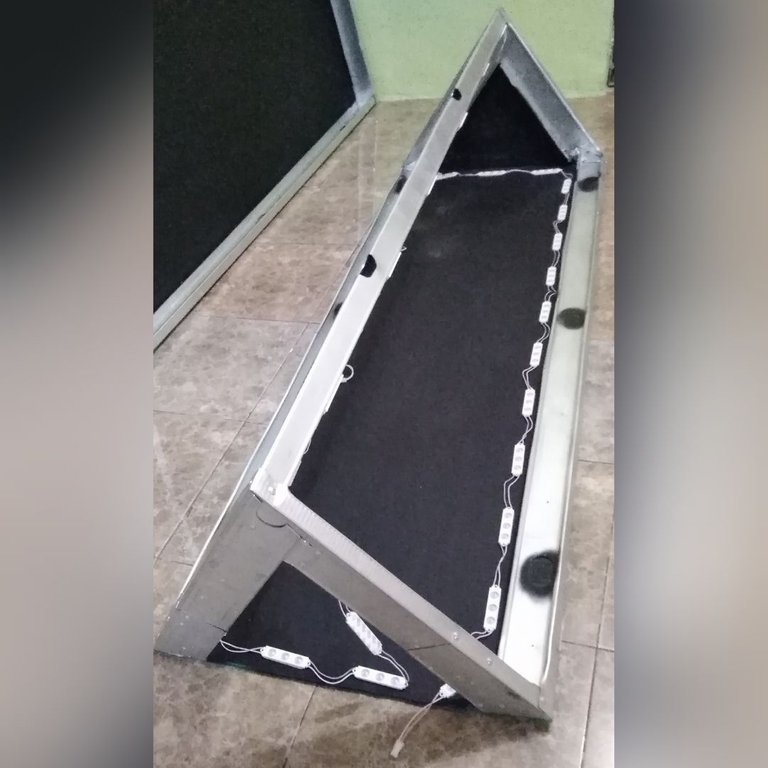
Terminada la pieza procedemos a colocar la luz Led al rededor del triangulo, las luces ya tienen su pegamento.
Step 4
Once the polycarbinate is painted and dried, proceed to glue strips of canvas with the shoe glue on the edges of the polycarbonate to prevent damage to the canvas.
Once the piece is finished, we proceed to place the LED light around the triangle, the lights already have their glue.
Paso 5
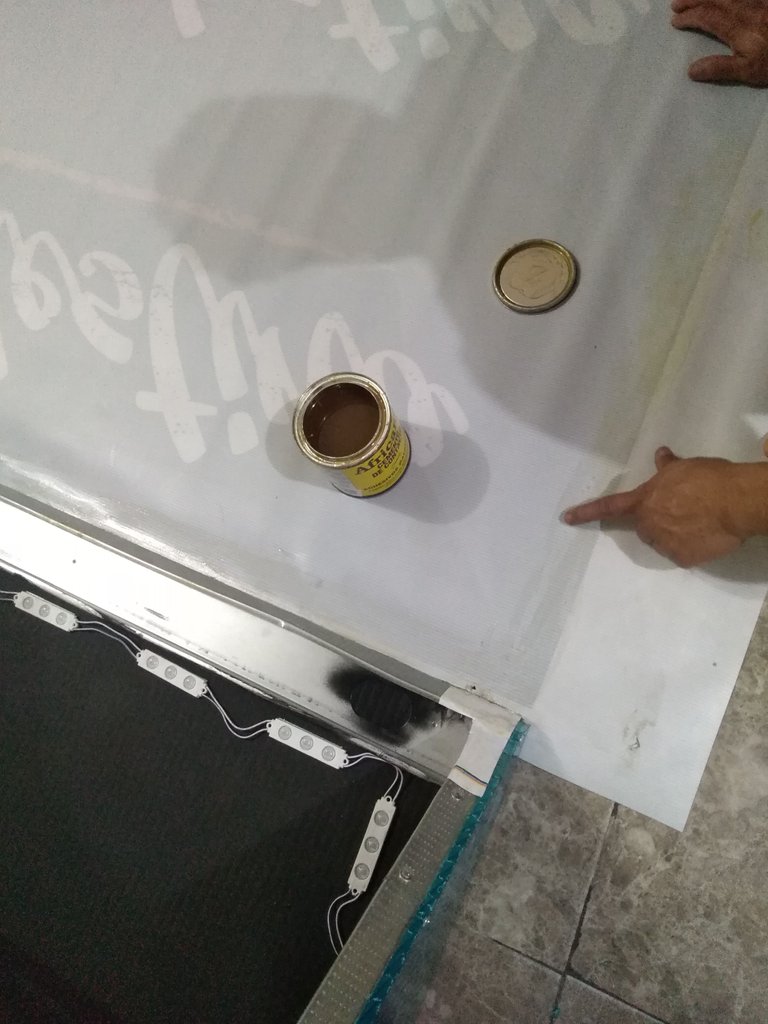
Luego es hora de colocar la lona en la estructura, colocamos pegamento sobre el metal y la lona, esperamos unos minutos y comenzamos a pegar, estirando la lona para que quede bien templada, Cubrimos todo el metal con lana para un mejor acabado.
Step 5
Then it's time to place the canvas on the structure, put glue on the metal and canvas, wait a few minutes and begin to glue, stretching the canvas so that it is well tempered, we cover all the metal with wool for a better finish.
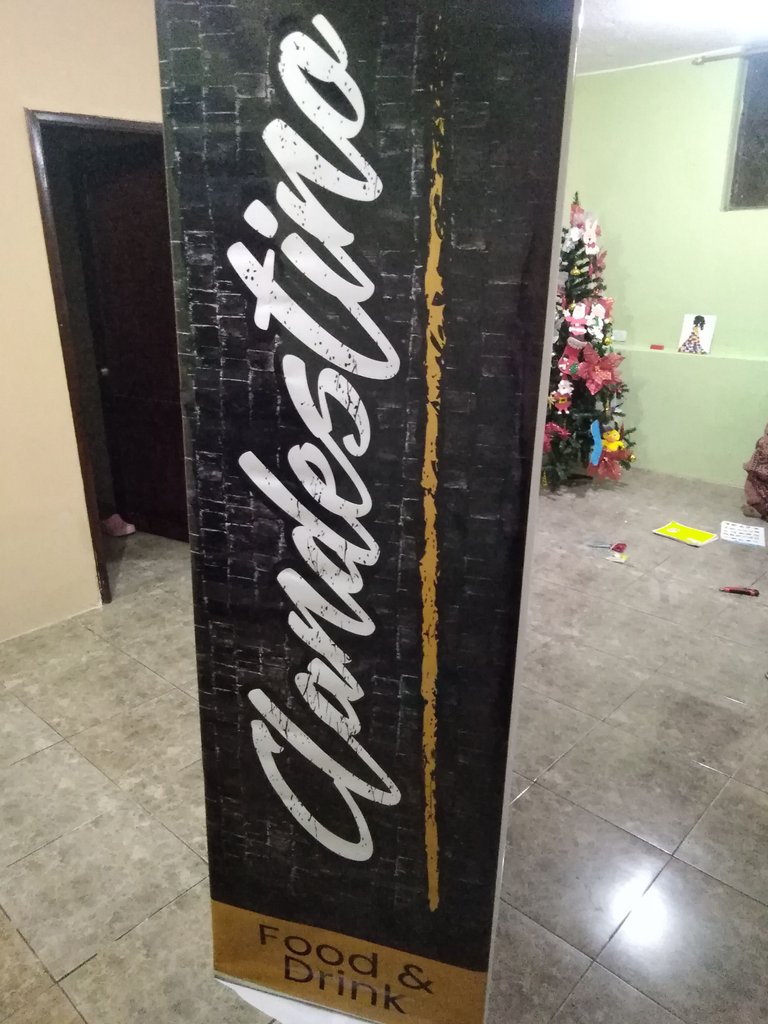
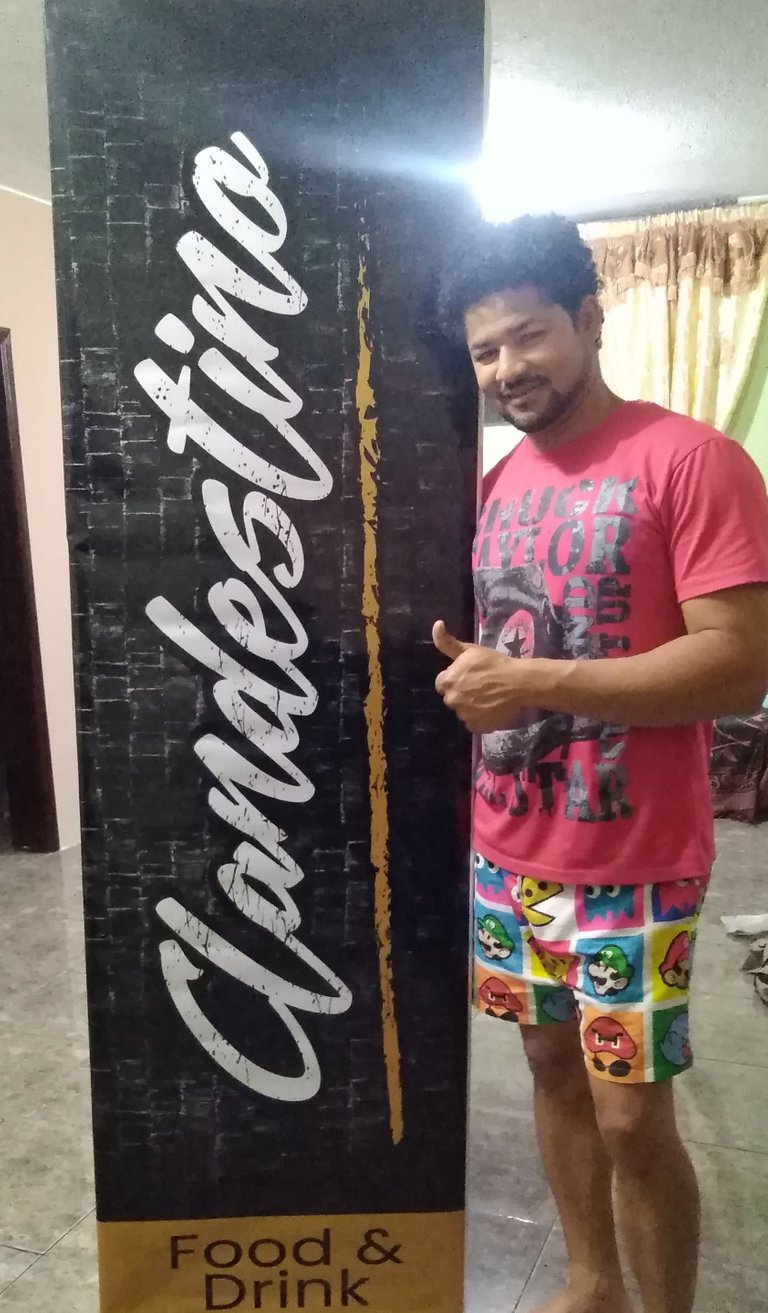
Trabajo terminado
De ante mano GRACIAS por el apoyo y por leer mis publicaciones me despido hasta otra oportunidad les deseo éxito en su vida y la bendición del todo poderoso
Thank you in advance for your support and for reading my publications, I bid you farewell until another opportunity, I wish you success in your life and the blessing of the Almighty
Las fotos fueron tomadas por mi teléfono Huawei Y6 y fueron editadas en la aplicación Incollage

Traductor www.DeepL.com/Translator (free version)


The photos were taken by my Huawei Y6 phone and were edited in the Incollage application.

Translator www.DeepL.com/Translator (free version)
Congratulations @cesar32! You have completed the following achievement on the Hive blockchain and have been rewarded with new badge(s):
Your next target is to reach 500 upvotes.
You can view your badges on your board and compare yourself to others in the Ranking
If you no longer want to receive notifications, reply to this comment with the word
STOPCheck out the last post from @hivebuzz:
Support the HiveBuzz project. Vote for our proposal!