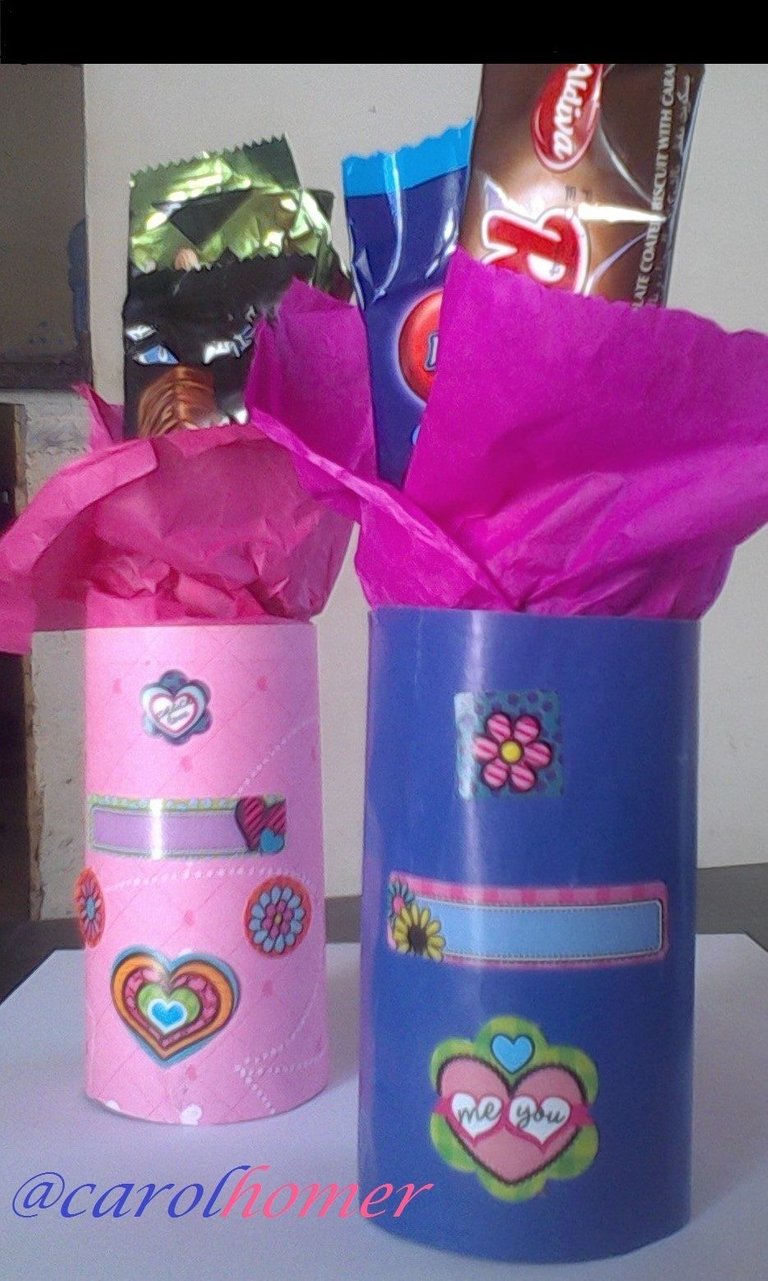
Bendiciones para todos bella colmena @hivediy, hoy les voy a mostrar una manera de hacer tu detalle mas especial con un lindo estuche que puedes personalizar como prefieras, este estuche es a base de rollos de papel, es decir que tambien estamos reciclando al realizarlo.
Estos estuches los utilicé para regalar unos detalles en el dia del amor y la amistad, son distintos al tradicional envoltorio quedan muy coquetos.
Es fácil de hacer y requiere de pocos materiales, asi que comencemos.
Blessings to all beautiful hive @hivediy, today I'm going to show you a way to make your detail more special with a nice case that you can customize as you prefer, this case is based on paper rolls, ie we are also recycling to make it.
I used these boxes to give a gift for the day of love and friendship, they are different from the traditional wrapping, they are very cute.
They are easy to make and require few materials, so let's get started.
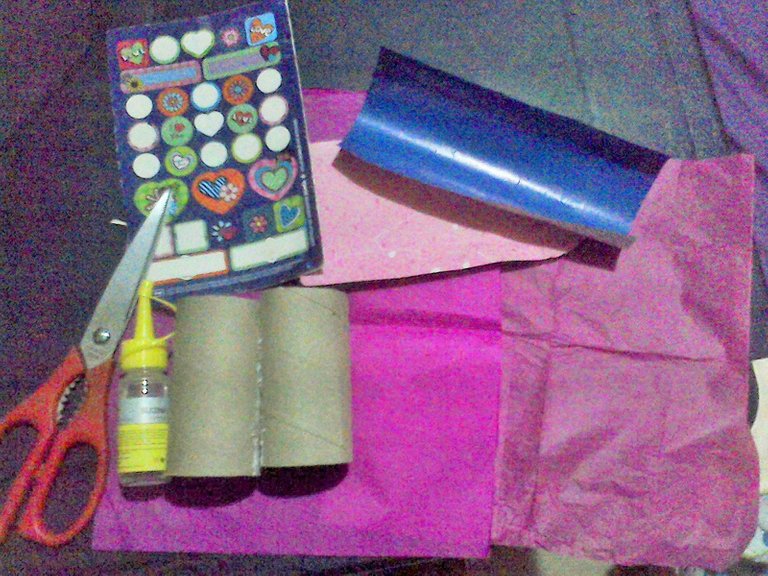
Necesitamos los siguientes materiales:
We need the following materials:
1 Rollo de carton (del papel de baño puede servir)
Papel con el diseño o color que prefieras 25x25 cm
Papel de ceda del color que quieras para onbinarlo con el papel de afuera 30x30 cm
calomanias
silicona
1 roll of cardboard (toilet paper will do).
Paper with the design or color of your choice, 25x25 cm.
Yield paper of the color you want to combine with the >outside paper 30x30 cm (12 "x12")
stickers
silicone
Paso a paso:
Step by step
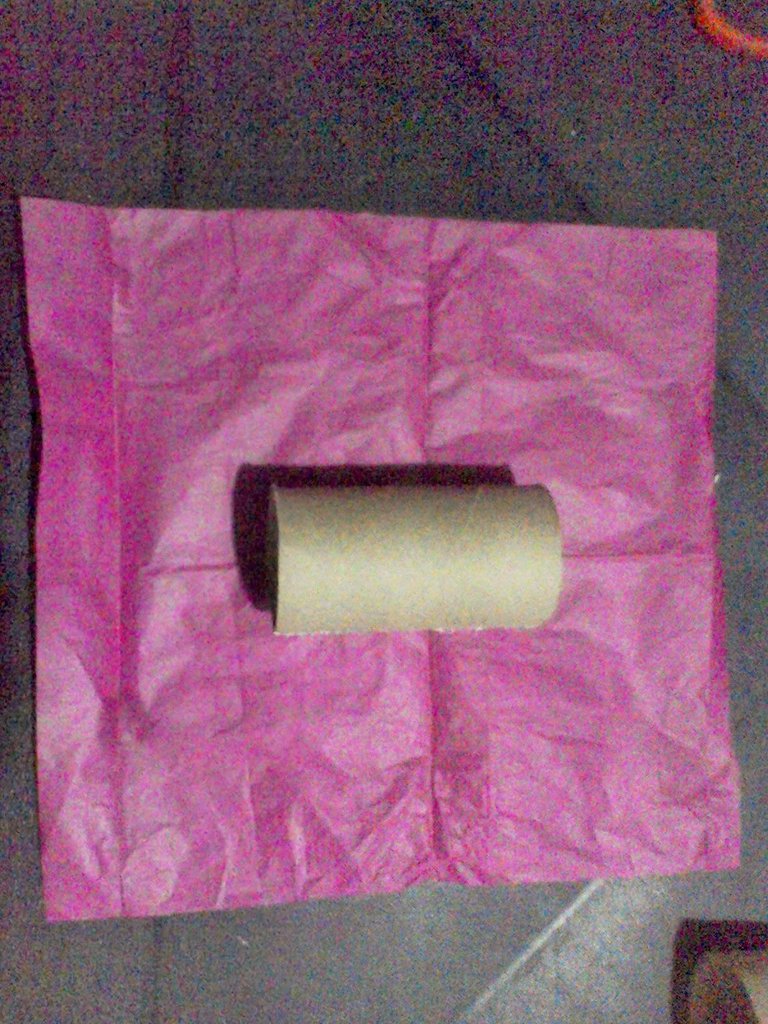
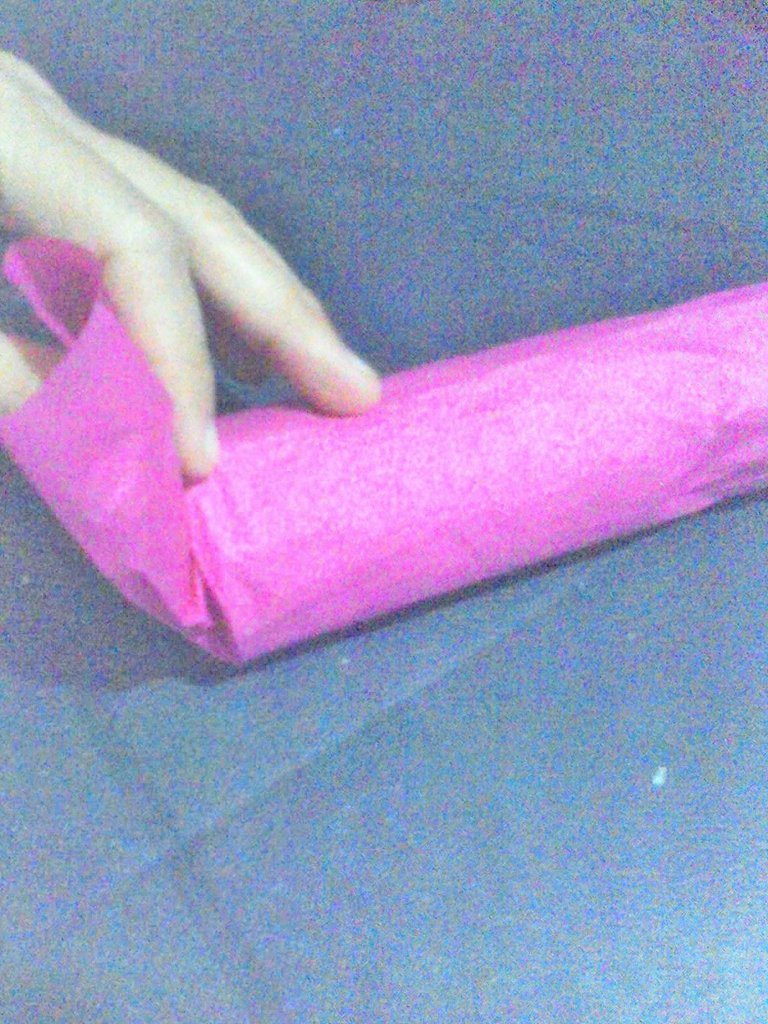
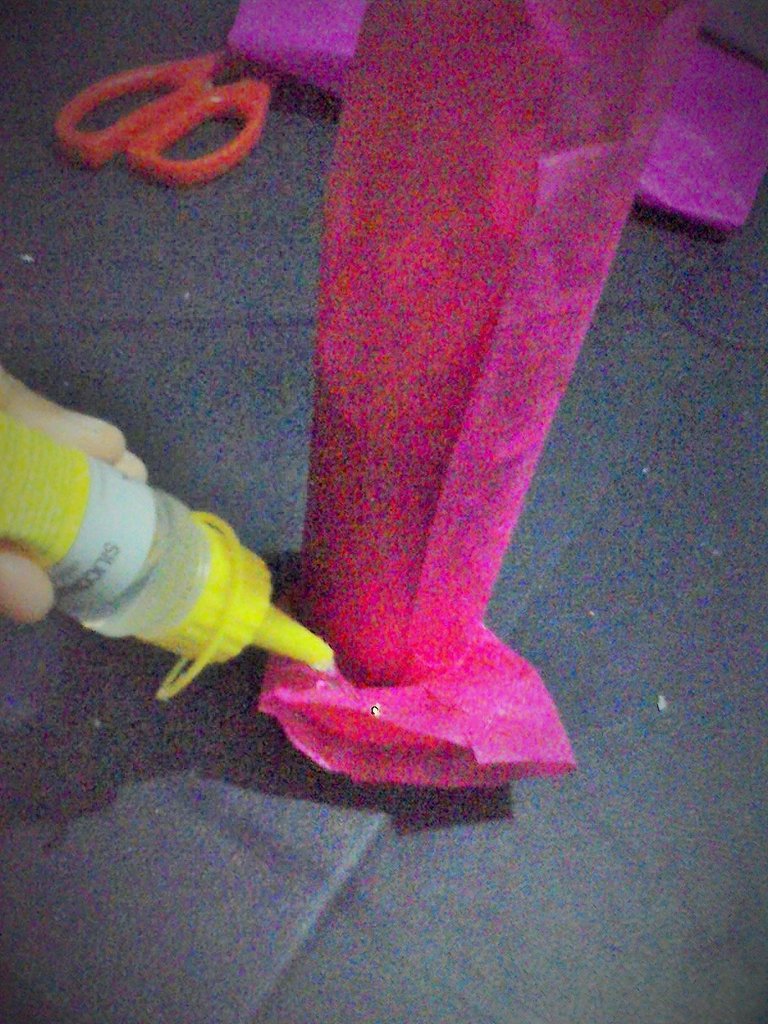
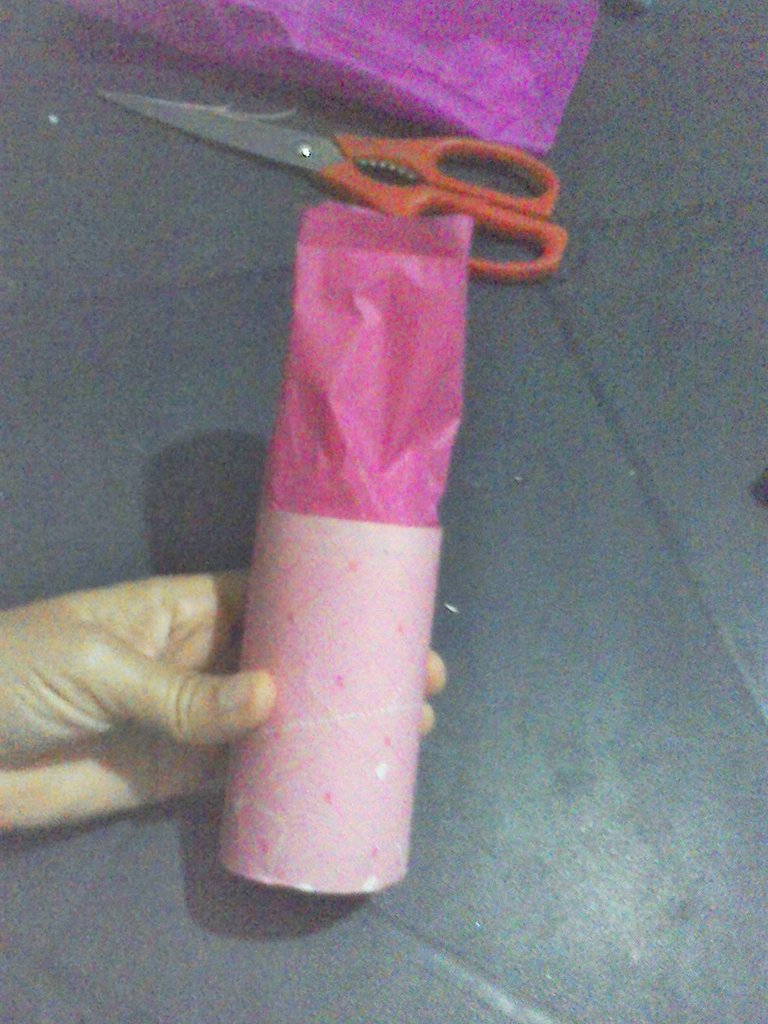
Extendemos el papel de seda, colocamos el rollo de cartón en en centro de este y comenzamos a envolverlo a lo largo pegándolo y doblamos en uno de los extremos hacia arriba pegandolo tambien en el tubo con la silicona.
Spread the tissue paper, place the cardboard roll in the center of it and start wrapping it lengthwise sticking it and fold one of the ends upwards sticking it also on the tube with the silicone.
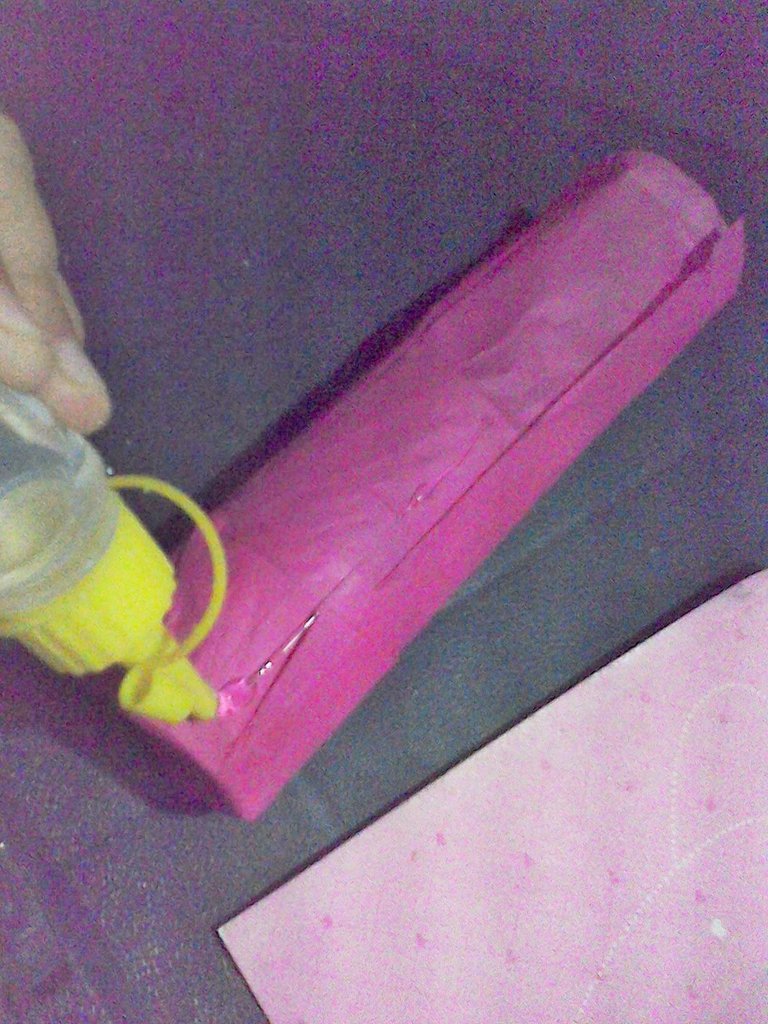
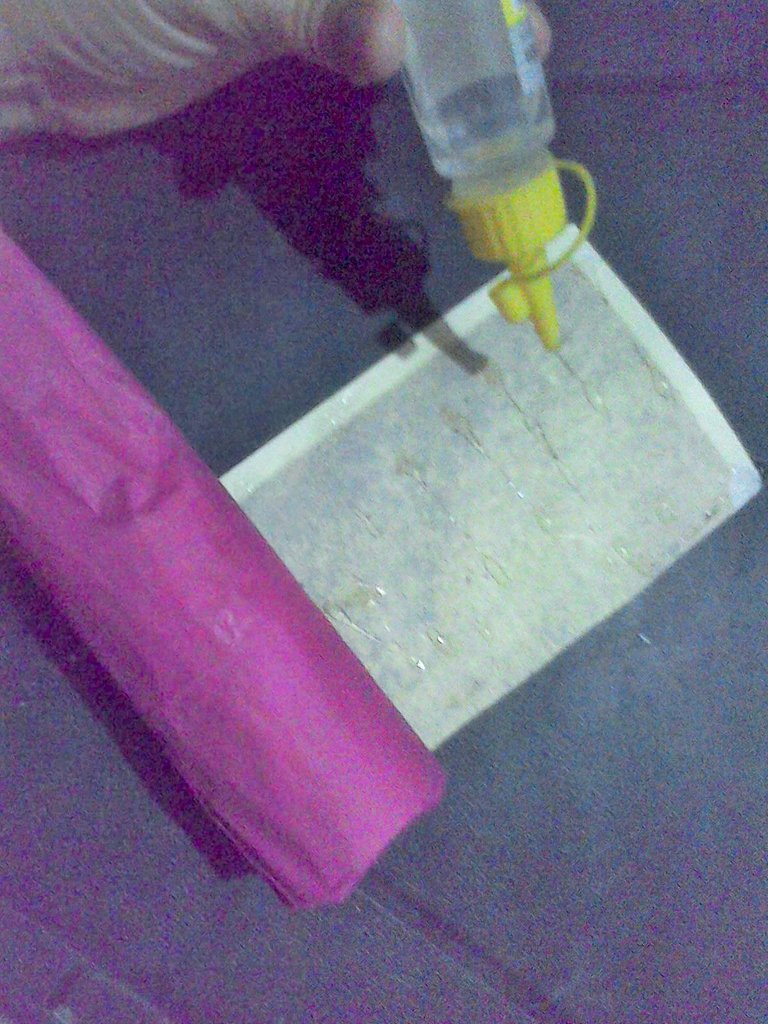
Con la cartulina o papel lustrillo del color o estampado de tu preferencia forramos el tubo por alrededor pegando con la silicona
With the cardboard or glossy paper in the color or pattern of your choice, we cover the tube all around, gluing it with the silicone.
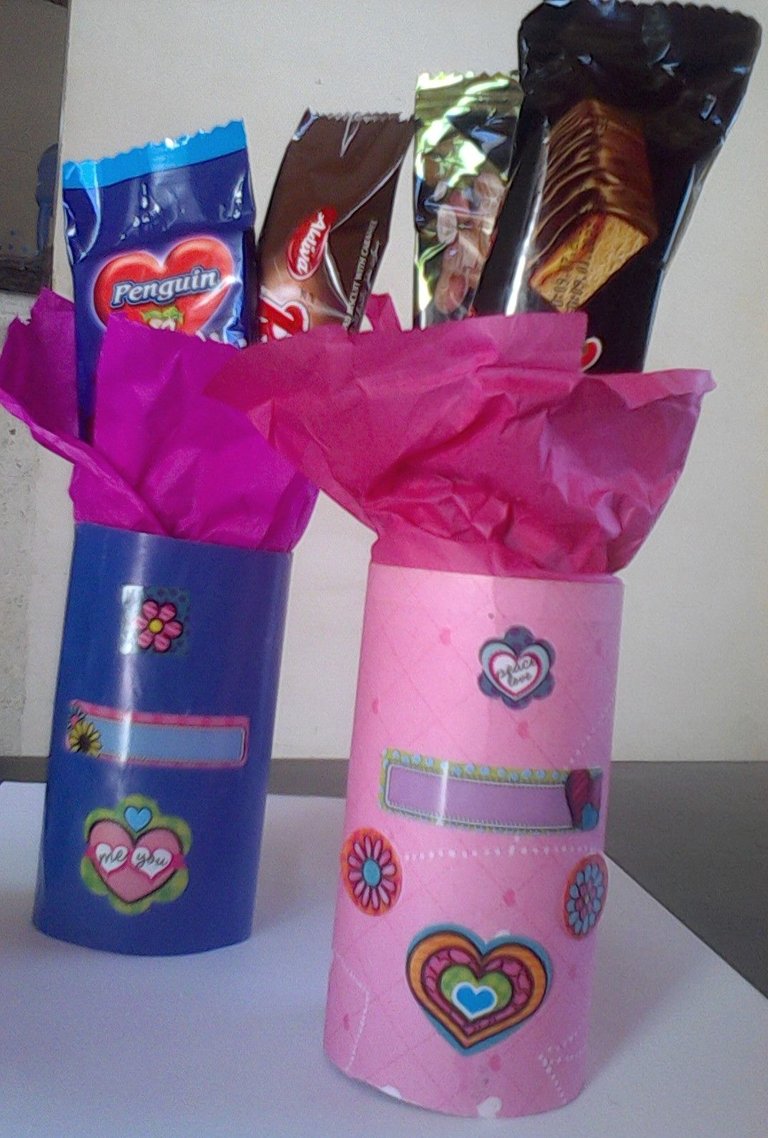
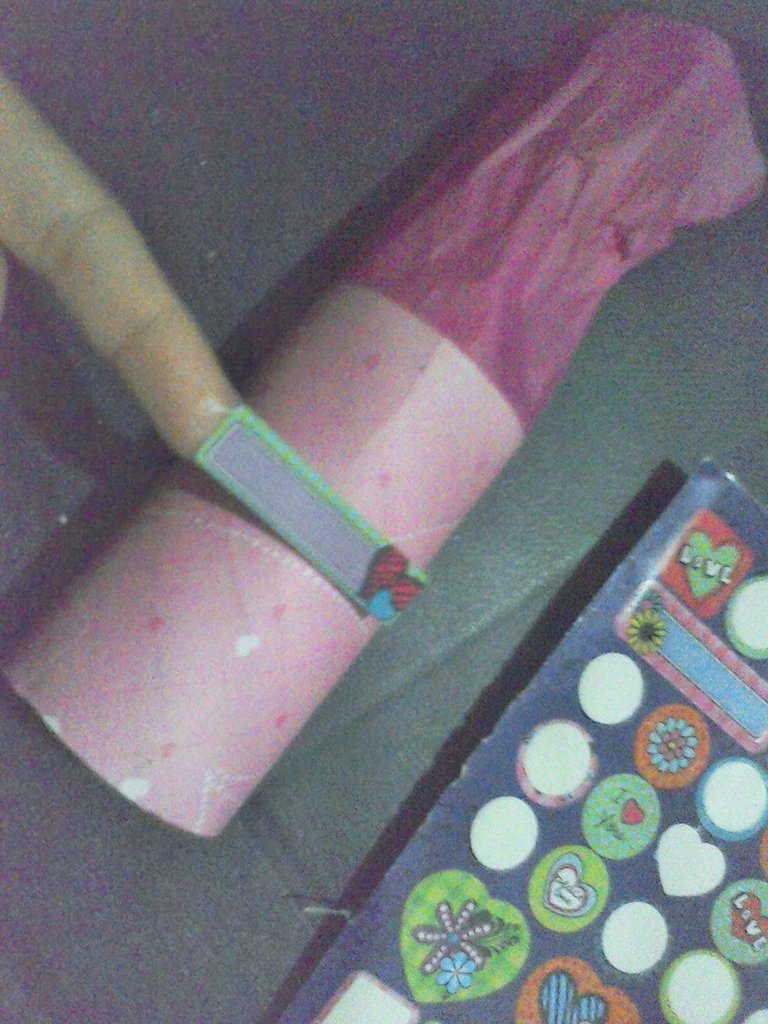
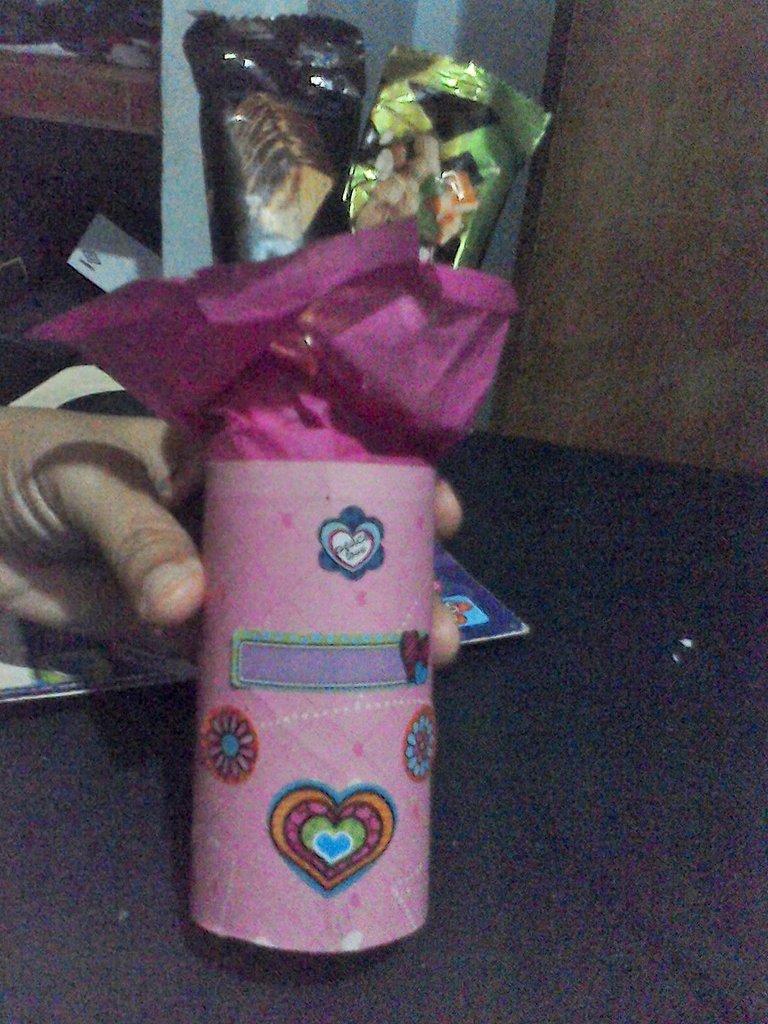
Ya tenemos nuestro estuche listo, ahora lo decoramos a nuestro gusto, yo le coloqué unas calcomanías que le quedaron muy lindas.
Now we have our case ready, now we decorate it as we like, I put some decals that were very nice.
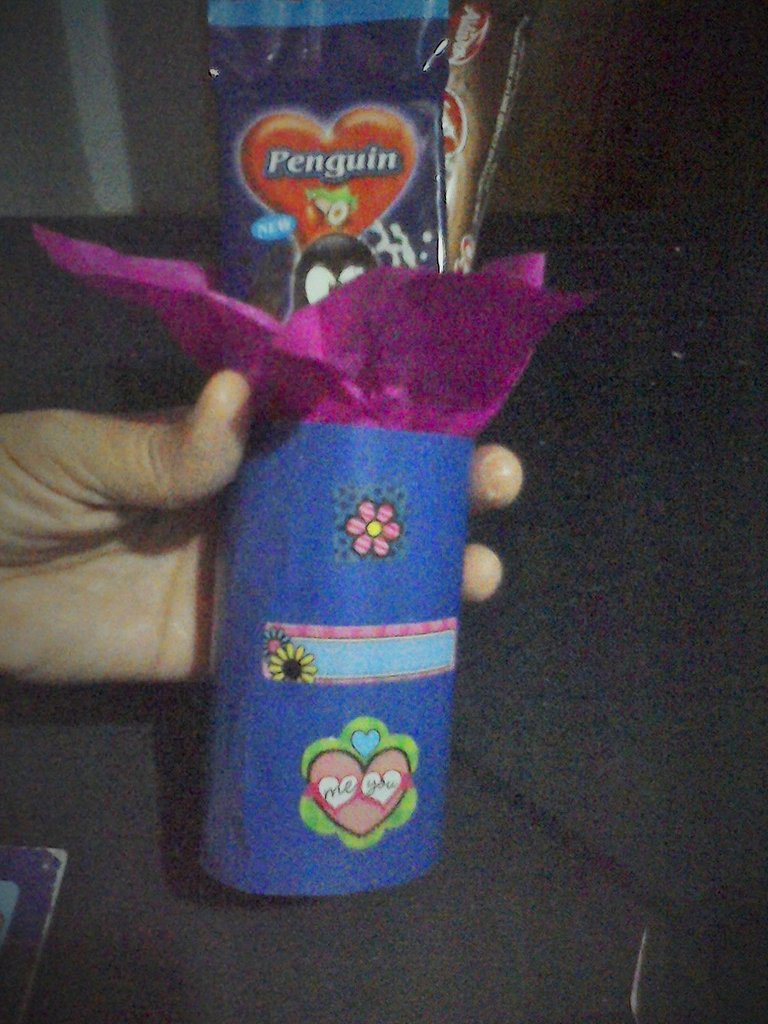
Realice el mismo procedimiento para otro estuche con diferentes colores de papel y así quedaron estos lindos estuchitos para presentar cualquier detalle a regalar.
I did the same procedure for another box with different colors of paper and this is how we got these cute little boxes to present any detail to give as a gift.
Espero les haya gustado ste blog, les sea útil y uedan realizarlo en casa. Mil bendiciones para tos comunidad hermosa.
Las fotos en este blog son de mi autoría, tradución al ingles hecha con DeepL translate.
I hope you liked this blog, I hope you find it useful and that you can make it at home. A thousand blessings to you beautiful community.
The photos in this blog are of my authorship, translation to English made with DeepL translate.
