Hola amigos, me complace saludarles nuevamente, deseando de todo corazón que la paz de Dios llene sus vidas en estos tiempos tan turbulentos. El día de hoy quiero compartir co ustedes la Técnica del Drapeado, en esta oportunidad les enseñaré a realizar el Punto “Flor Thailandia”
Hello friends, I am pleased to greet you again, wishing with all my heart that the peace of God fill your lives in these turbulent times. Today I want to share with you the Draping Technique, this time I will teach you how to make the “Thailand Flower” Stitch.
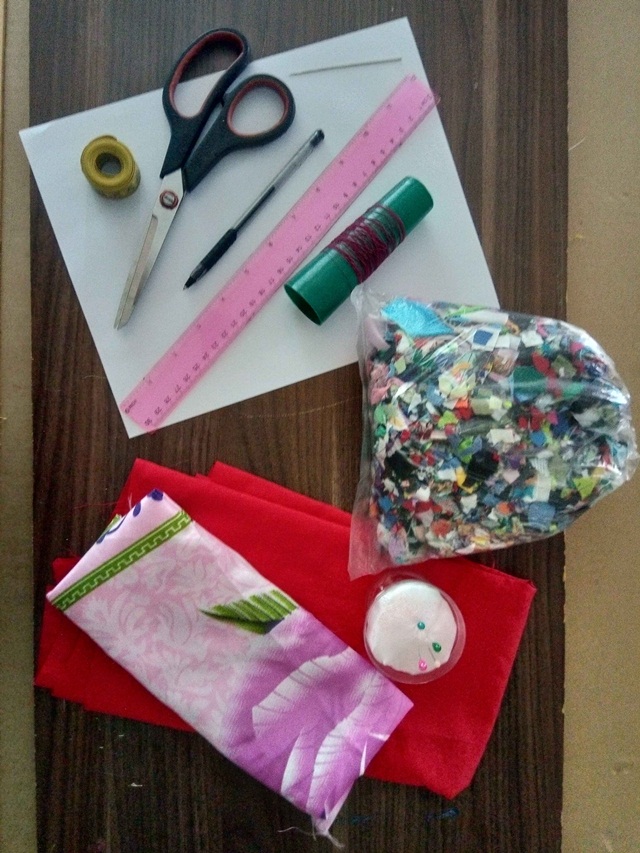
Materiales - Materials
- Tela
- Papel (patrones)
- Tijera, Hilo
- Agujas, Alfileres
- Regla o escuadra
- Lápiz, tiza o marcador
- Relleno
- Cloth
- Paper (patterns)
- Scissors, Thread
- Needles, Pins
- Ruler or square
- Pencil, chalk or marker
- Stuffed
Elaboración:
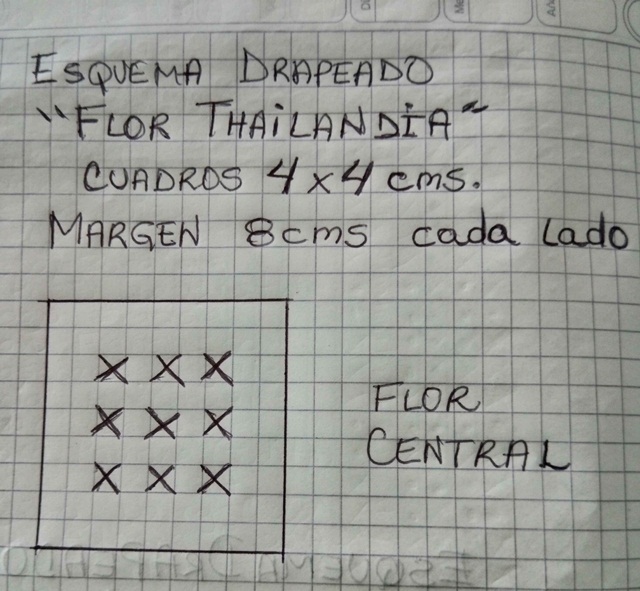
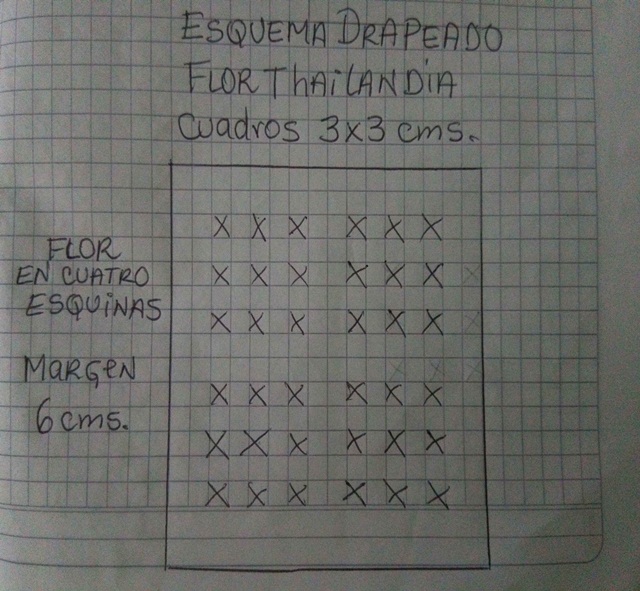
Paso 1. Como paso inicial, es importante elaborar el esquema del punto en una hoja de cuaderno, preferiblemente cuadriculado. El realizar nuestro esquema a escala nos facilita grandemente el trabajo, ya que nos permite que esbocemos nuestro proyecto y considerar la cantidad de tela que necesitaremos en nuestro drapeado.
Step 1. As an initial step, it is important to draw up the outline of the point on a sheet of notebook paper, preferably on a grid. Making our scheme to scale greatly facilitates our work, since it allows us to outline our project and consider the amount of fabric that we will need in our draping
La Flor Thailandia consta de nueve (9) cuadros a drapear, los cuales podemos realizarlos en el centro de la tela o en sus esquinas, todo depende de la pieza a realizar, pero siempre se drapean nueve (9) cuadros, si son menos no nos va a salir el efecto de la flor. El esquema lo vamos a trasladar a la tela en tamaño real, bien sea directamente sobre ella o elaborando nuestra plantilla en papel. En la foto les muestro los dos esquemas, uno de la flor central y otro con la flor en las esquinas.
The Thailand Flower consists of nine (9) squares to drape, which we can make in the center of the fabric or in its corners, everything depends on the piece to be made, but nine (9) squares are always draped, if they are less, no we will get the effect of the flower. We are going to transfer the scheme to the fabric in real size, either directly on it or by making our template on paper. In the photo I show you the two schemes, one with the central flower and the other with the flower in the corners.
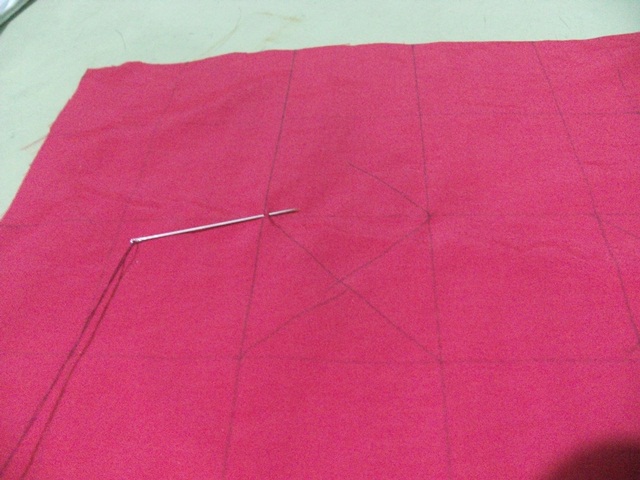
Paso 2. Para esta muestra que yo estoy realizando, ocupé 36 x 36 cms. de tela. Marcamos sobre la tela nuestro esquema.
Step 2. For this sample that I am making, I occupied 36 x 36 cms. of cloth We mark our scheme on the fabric.
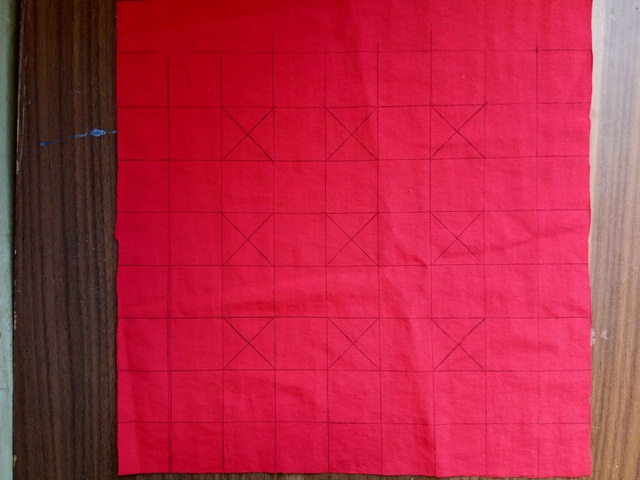
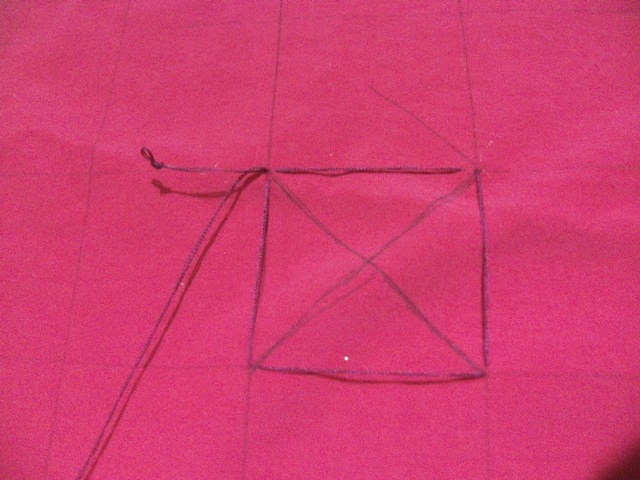
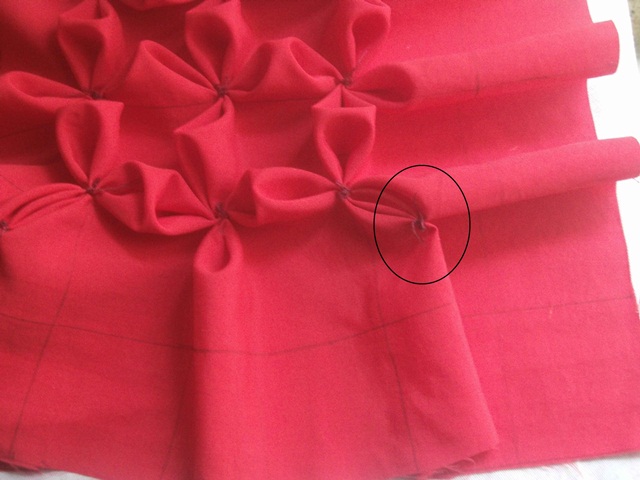
Paso 3. Iniciamos el drapeado cosiendo las cuatro esquina de los cuadros marcados con las “X” haciendo como un “pellizco”, halamos el hilo para unir estas cuatro esquinas en el centro, se formará como especie de una flor de cuatro pétalos, rematamos bien para asegurar la puntada y repetimos este paso hasta completar todo el drapeado.
Step 3. We start the draping by sewing the four corners of the squares marked with the “X” making a “pinch”, we pull the thread to join these four corners in the center, it will form a kind of a flower with four petals, we finish off well to secure the stitch and repeat this step until the entire drape is completed.
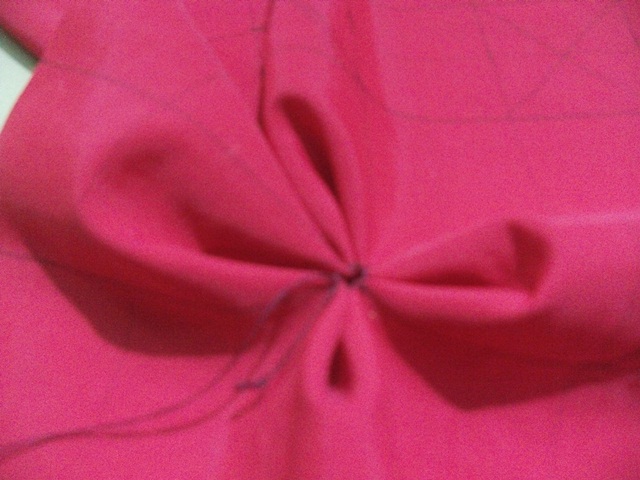
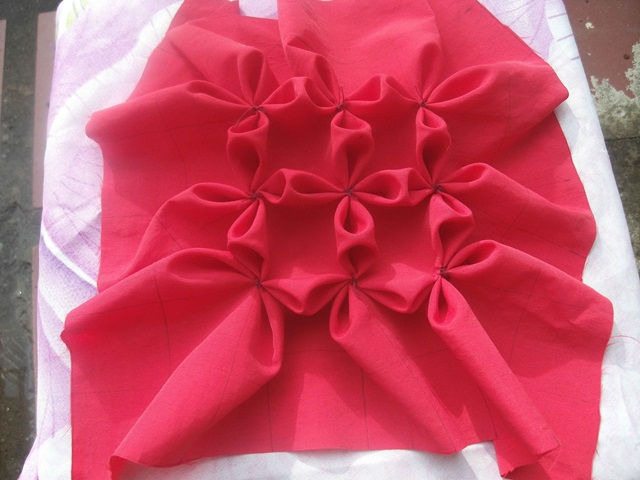
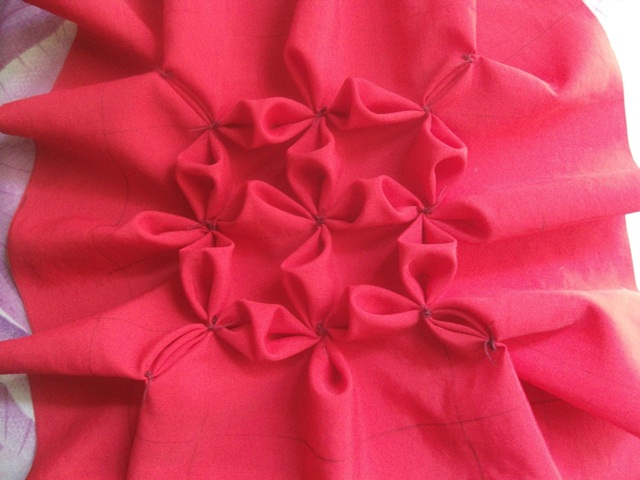
Paso 4. Por el revés del drapeado, coseremos las cuatro esquinas sujetando los dos “pétalos” que se encuentran en ellas. De igual manera cosemos los pétalos laterales entre sí.
Step 4. On the wrong side of the drape, we will sew the four corners holding the two “petals” that are in them. In the same way we sew the side petals together.
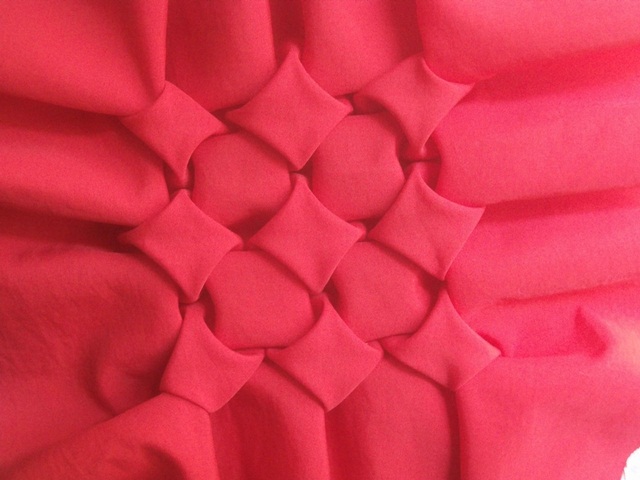
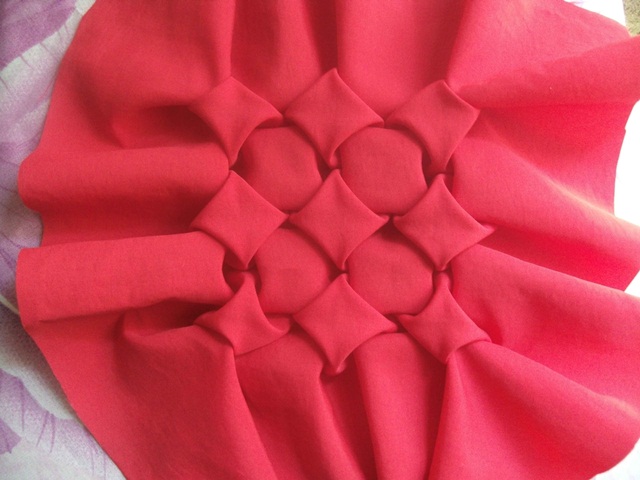
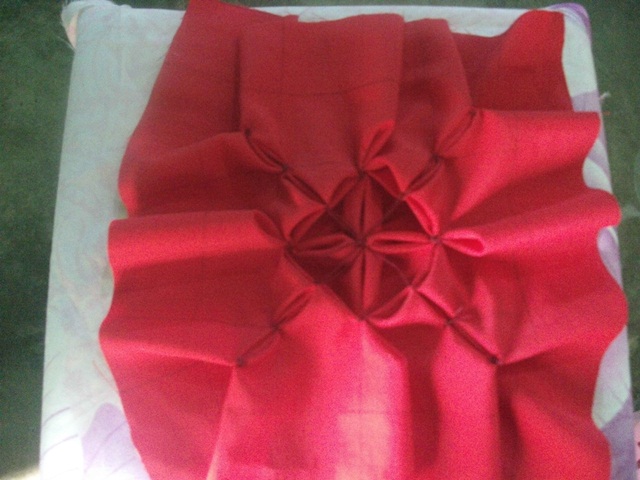
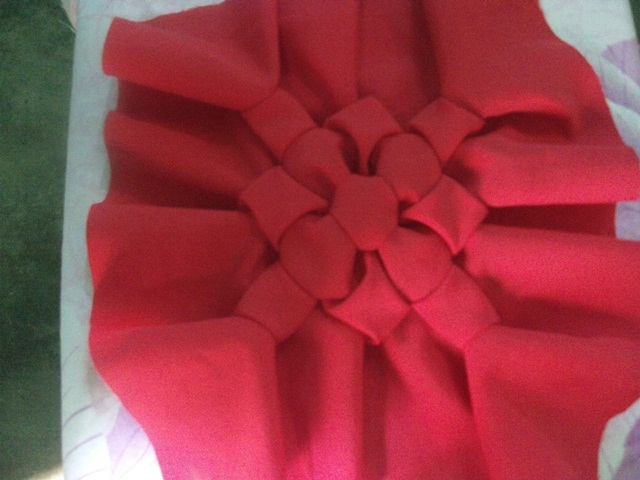
Paso 5.También uniremos a través de unas puntadas los pétalos que están en la parte central del drapeado, así obtenemos nuestra Flor Thailandia. Este drapeado será la parte frontal de nuestro cojín.
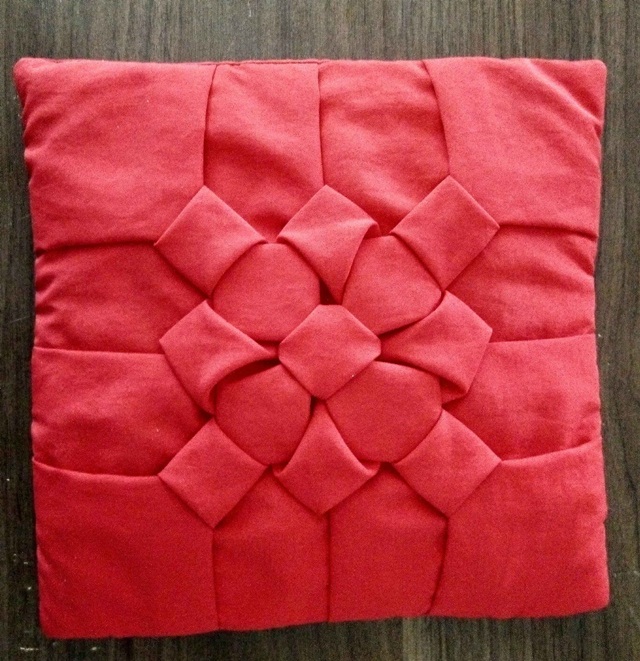
Step 5.We will also join the petals that are in the central part of the drape with some stitches, thus obtaining our Thailand Flower. This drape will be the front of our cushion.
Paso 6. Para que las puntadas de toda el área drapeada no queden a la vista, vamos a “ocultarlas” colocándoles un forro. Por ultimo elaboramos la parte posterior del cojín siguiendo las instrucciones básicas para su confección
Step 6. So that the stitches of the entire draped area are not visible, we are going to “hide” them by placing a lining on them. Finally we make the back of the cushion following the basic instructions for its preparation
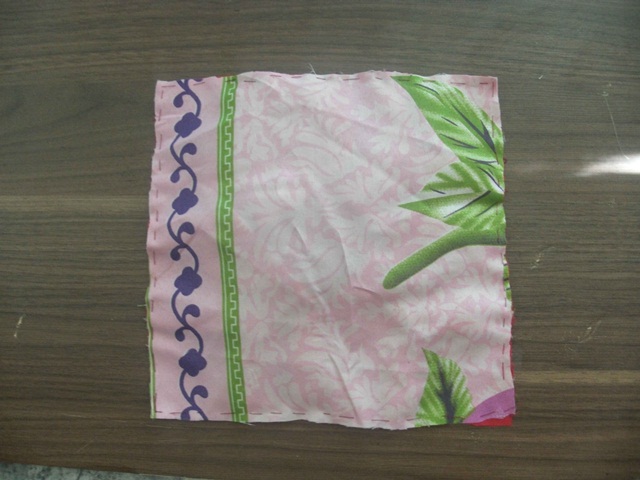
And this is the result obtained, I hope you liked my proposal and dare to put it into practice!! 
Muchas gracias por tomarte el tiempo de ver mi publicación, hasta una nueva oportunidad!!
Thank you very much for taking the time to see my publication, until another opportunity!Todas las fotos publicadas en esta presentación son de mí pertenencia, para la traducción utilice el Traductor de Google y las fotos fueron editadas con PhotoScape.All the photos published in this presentation belong to me, for the translation use Google Translate and the photos were edited with PhotoScape.
Very good work. @tipu curate
Upvoted 👌 (Mana: 0/43) Liquid rewards.
Muchas gracias! 🌺
Fantastico trabajo...me gustó el paso a paso... gracias por compartir.
🎆🎇🎉🎊🌧️💐✨🌾🌱🌹🌙🌿🍃🥀⚡🌺☘️🍀🌈🌷⭐🪴🌵🌸🌟💮🌴🌳💫☀️💮☔🌲🌳🌍🌌🌠☄️🏵️🐝🌻🌼🍄🐞🦋💙☕💜🍍🎆🎇🎉🎊
Muchas gracias amiga! que bueno que te haya gustado🥳🤗
Nunca había visto el paso a paso de este tipo de diseño, gracias por compartir. Saludos.
Vaya enserio? Pues has descubierto un hermoso mundo, 😀Te invito a seguir viendo amiga hay muchos modelos hermosos y todos se hacen a mano!
Gracias por tu visita, saludos!🤗🥀
Muchas gracias por su apoyo! 🥳
Congratulations @carmenserrano! You have completed the following achievement on the Hive blockchain and have been rewarded with new badge(s):
Your next target is to reach 3500 upvotes.
You can view your badges on your board and compare yourself to others in the Ranking
If you no longer want to receive notifications, reply to this comment with the word
STOPCheck out the last post from @hivebuzz:
Support the HiveBuzz project. Vote for our proposal!