Hola amigos , es un gusto saludarles y compartirles mis conocimientos de costura. Primeramente le doy gracias a Dios por este nuevo día de vida y por la oportunidad que me da de interactuar con ustedes a través de este prestigioso medio.
Hello friends, it is a pleasure to greet you and share my sewing knowledge. First of all, I thank God for this new day of life and for the opportunity he gives me to interact with you through this prestigious medium.
En esta ocasión les enseñaré una hermosa técnica de costura como lo es el drapeado, la cual consiste en coser pliegues o fruncidos en la superficie de una tela (generalmente unicolor) para darle un efecto totalmente diferente. Esta técnica la podemos aplicar al hacer nuestros cojines, almohadones, sábanas, juegos de baño, bolsos, incluso en prendas de vestir, etc.
> On this occasion I will teach you a beautiful sewing technique such as draping, which consists of sewing folds or gathers on the surface of a fabric (usually plain) to give it a totally different effect. We can apply this technique when making our cushions, pillows, sheets, bathroom sets, bags, even clothing, etc.
Hay mucha variedad de puntos para drapear, es por ello que me propongo enseñarles a realizar los más utilizados en la lencería del hogar, específicamente para realizar cojines o almohadones. Iniciaremos con el Punto “Diamante” o “Fofoca”, el cual es uno de los más fáciles de hacer y el resultado obtenido es verdaderamente muy hermoso. En cuanto a la forma de trasladar el esquema del drapeado a la tela, hay varias, una de ellas es hacerlo directamente sobre la tela y otra es hacer una plantilla en papel a tamaño real y luego copiarlo poniéndolo sobre la tela, el método a utilizar queda a elección personal.
>There is a wide variety of draping stitches, which is why I propose to teach you how to make the most used in home linen, specifically to make cushions or pillows. We will start with the “Diamond” or “Fofoca” Point, which is one of the easiest to do and the result obtained is truly very beautiful. As for the way to translate the draping scheme to the fabric, there are several, one of them is to do it directly on the fabric and another is to make a real size paper template and then copy it by putting it on the fabric, the method to use It is up to personal choice.
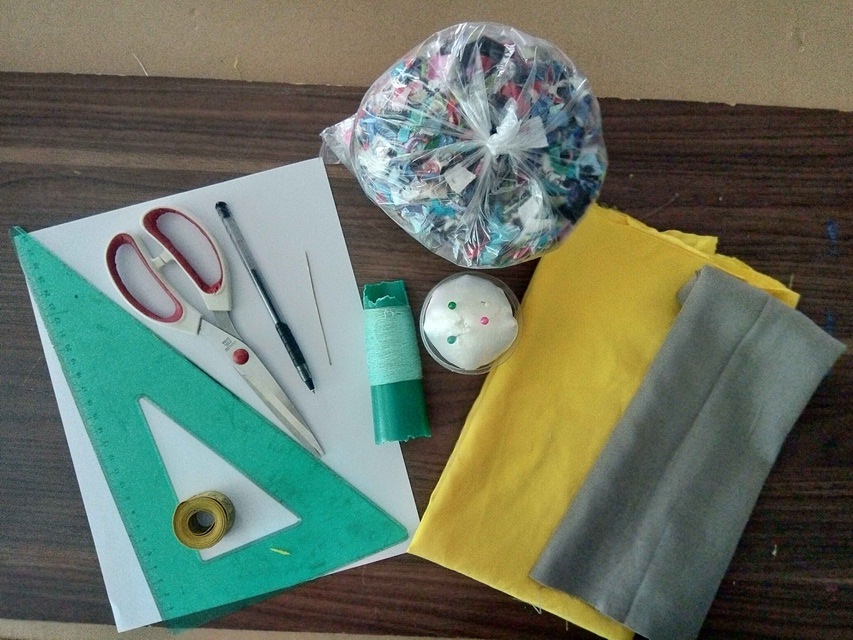
Materiales - Materials
- Tela, preferiblemente unicolor
- Papel (patrones)
- Tijera, Hilo
- Agujas, Alfileres
- Hilos de coser
- Regla o escuadra
- Lápiz, tiza o marcador
- Fabric, preferably unicolor
- Paper (patterns)
- Scissors, Thread
- Needles, Pins
- Sewing threads
- Ruler or square
- Pencil, chalk or marker
ELABORACIÓN - ELABORATION
Paso 1. Lo primero que haremos es elaborar el esquema del punto en una hoja de cuaderno cuadriculado, con el objeto de plantearnos el drapeado que vamos a construir y la cantidad de tela a ocupar. Una vez esbozado el esquema a escala, lo vamos a marcar en la tela a tamaño real, en esta entrada voy a enseñarles cómo hacer la plantilla sobre el papel.
Step 1. The first thing we will do is make the outline of the point on a squared notebook sheet, in order to consider the drape that we are going to build and the amount of fabric to occupy. Once the scale outline is outlined, we are going to mark it on the canvas in real size, in this post I am going to show you how to make the template on paper
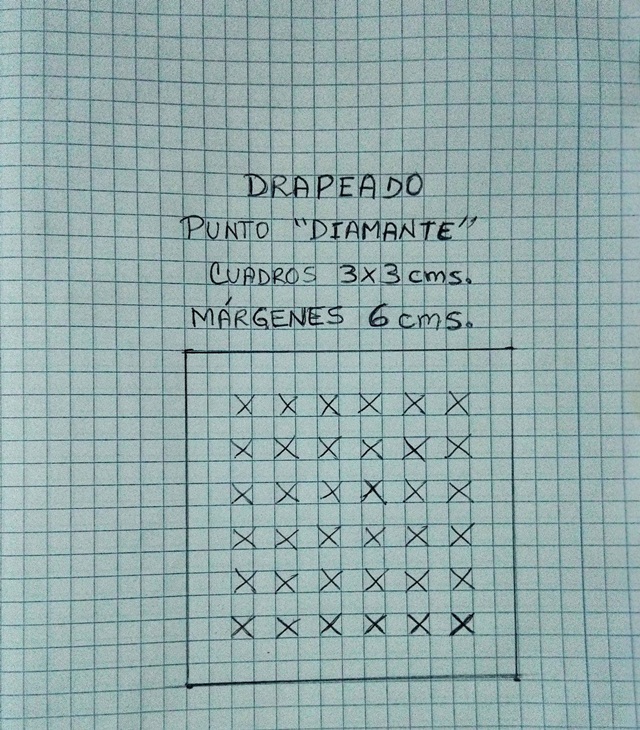
Paso 2. . Para hacer la plantilla, vamos a trazar en el papel líneas verticales y horizontales que tengan un tamaño de 3 cms. cada una. Seguidamente vamos a marcar la zona a drapear, la cual está representada por las “X”. Retiramos el excedente de papel de ser necesario
Step 2. . To make the template, we are going to draw vertical and horizontal lines on the paper that are 3 cm in size. each. Next we are going to mark the area to drape, which is represented by the “X”. We remove the excess paper if necessary
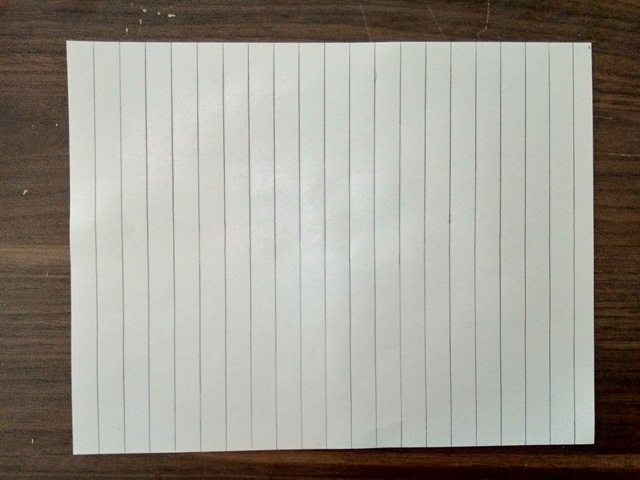
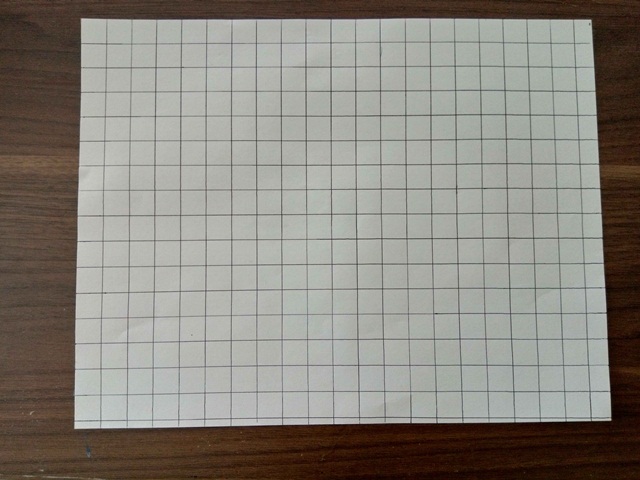
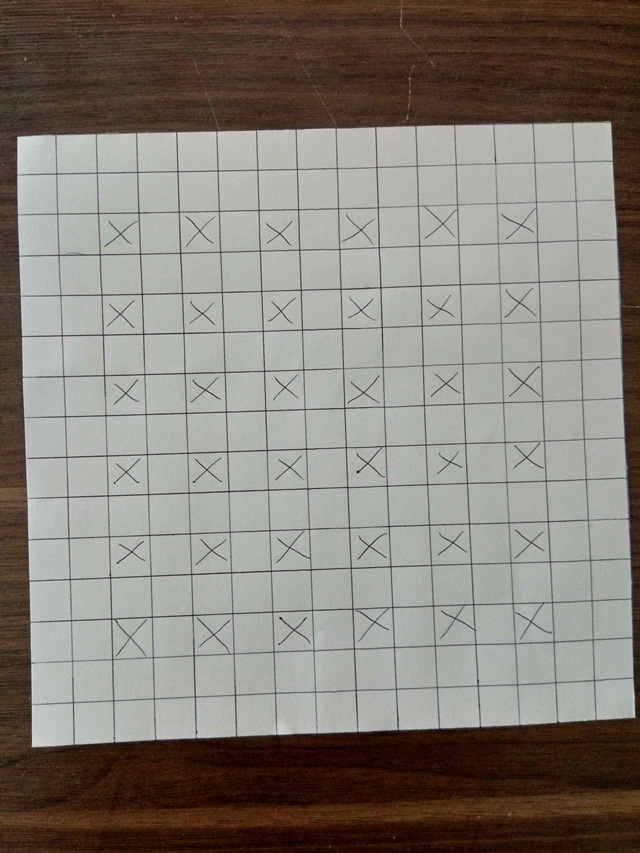
Paso 3. Las áreas marcadas con las “X”, las vamos a cortar, de tal manera que esta área quede despejada de papel
<Step 3. The areas marked with the “X”, we are going to cut them, in such a way that this area is clear of paper
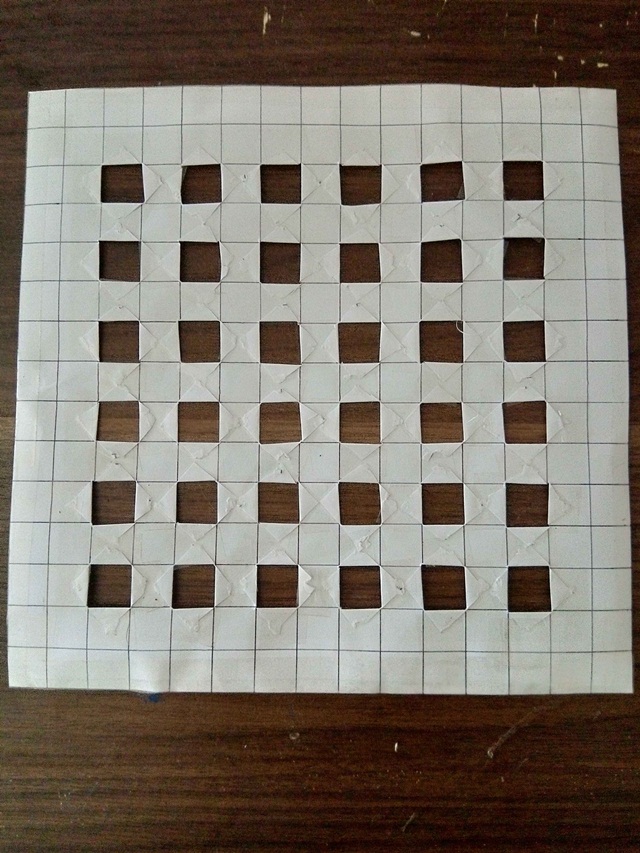
Paso 4. Para esta muestra que yo estoy realizando, ocupé 45 x 45 cms. de tela. Colocamos la plantilla sobre la tela y transferimos a ella, marcando todo el contorno y cuadro por cuadro. Cortamos el excedente de tela de ser necesario
Step 4. For this sample that I am making, I occupied 45 x 45 cms. of cloth We place the template on the fabric and transfer to it, marking the entire contour and frame by frame. We cut the excess fabric if necessary
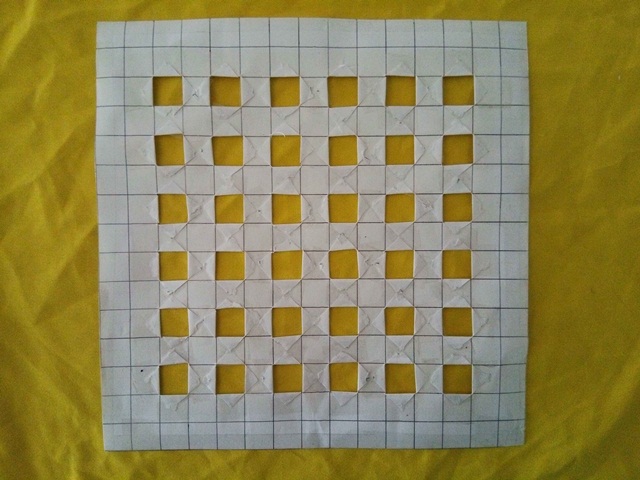
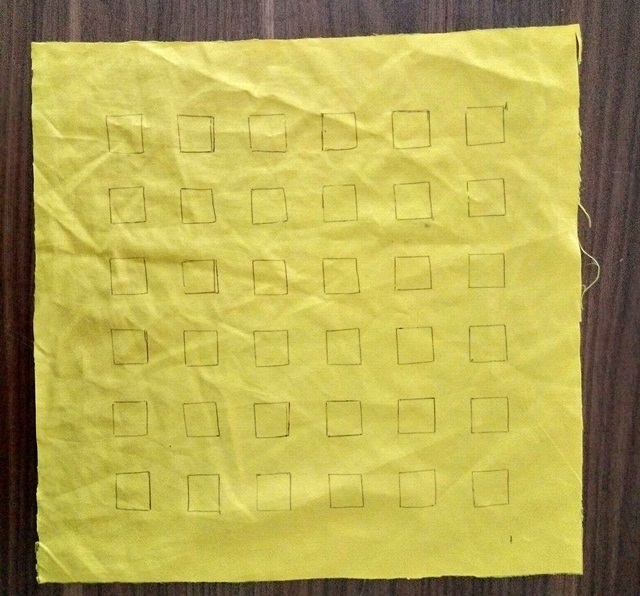
Paso 5.Ahora empezamos a drapear!! Vamos a coser las cuatros esquinas de todos los cuadros, haciendo como un “pellizco”. Luego vamos a halar el hilo para unir estas cuatro esquinas en el centro y se formará como especie de una flor de cuatro pétalos, rematamos bien para asegurar la puntada y repetimos este paso hasta completar todo el drapeado
Step 5.Now we start to drape!! We are going to sew the four corners of all the squares, making a "pinch". Then we are going to pull the thread to join these four corners in the center and it will form a kind of flower with four petals, we finish off well to secure the stitch and repeat this step until the entire drape is completed
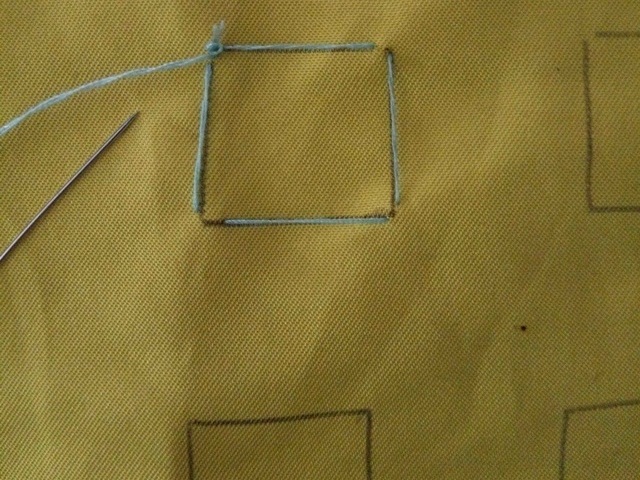
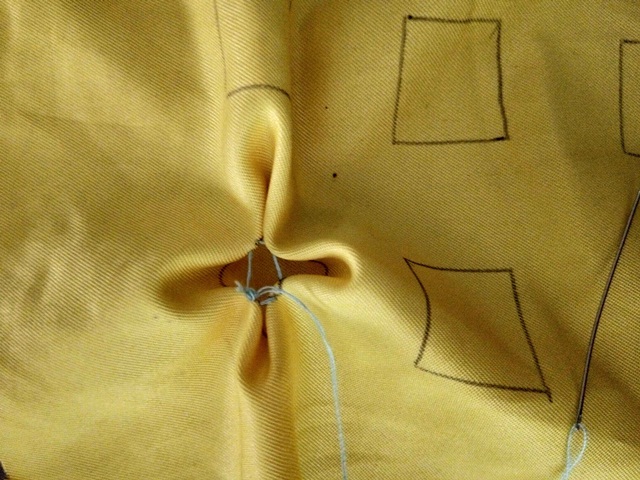
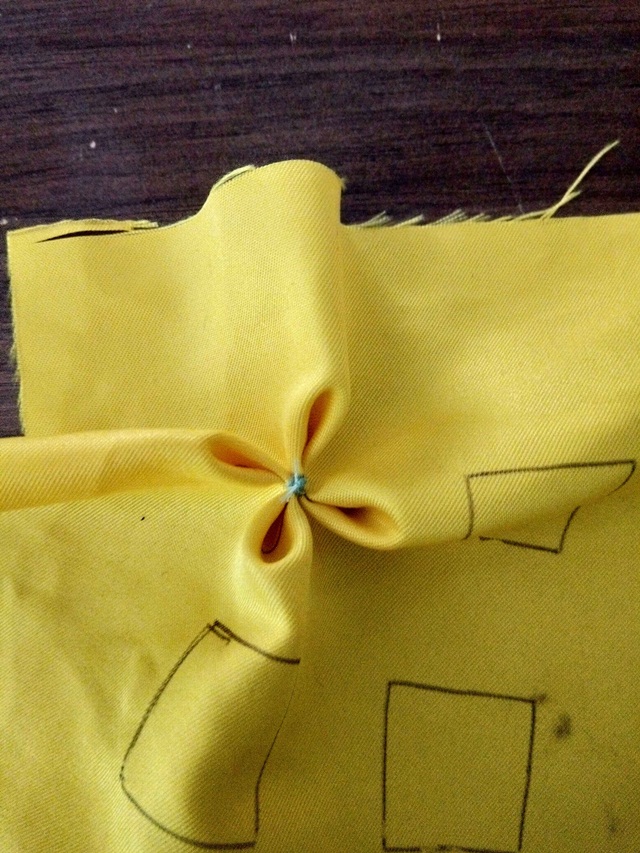
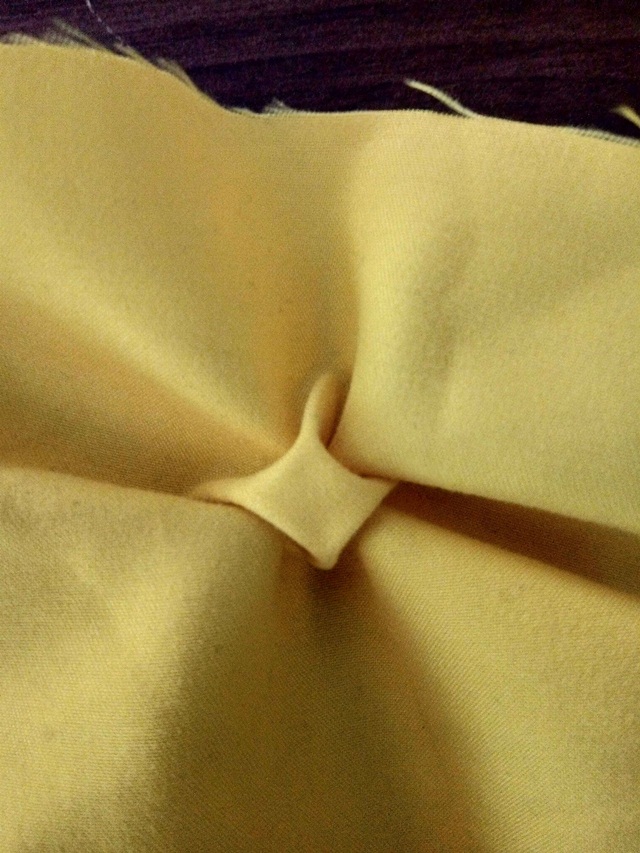
Paso 6. Por el revés del drapeado, coseremos las cuatro esquinas sujetando los dos “pétalos” que se encuentran en ellas. De igual manera cosemos los pétalos laterales entre si
Step 6. On the wrong side of the drape, we will sew the four corners holding the two “petals” that are in them. In the same way we sew the lateral petals together
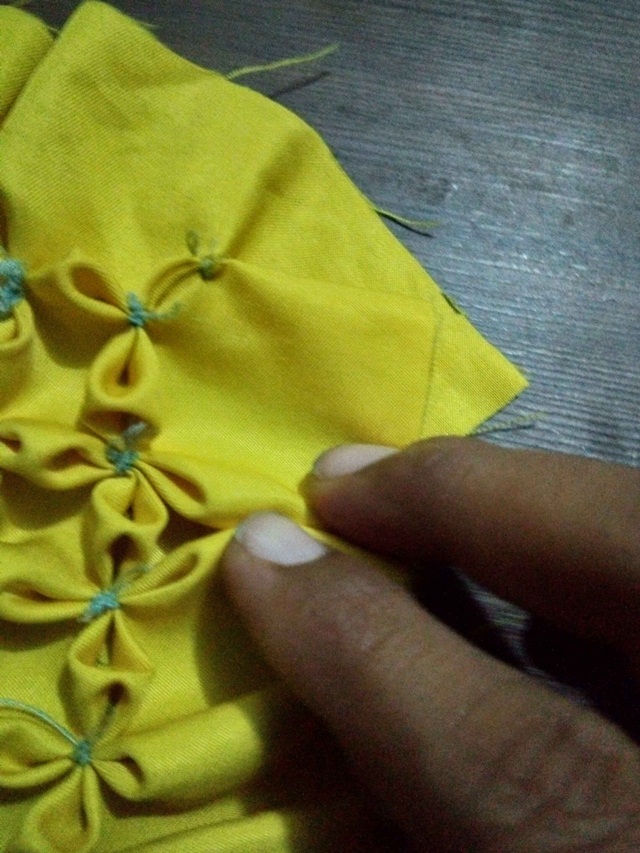
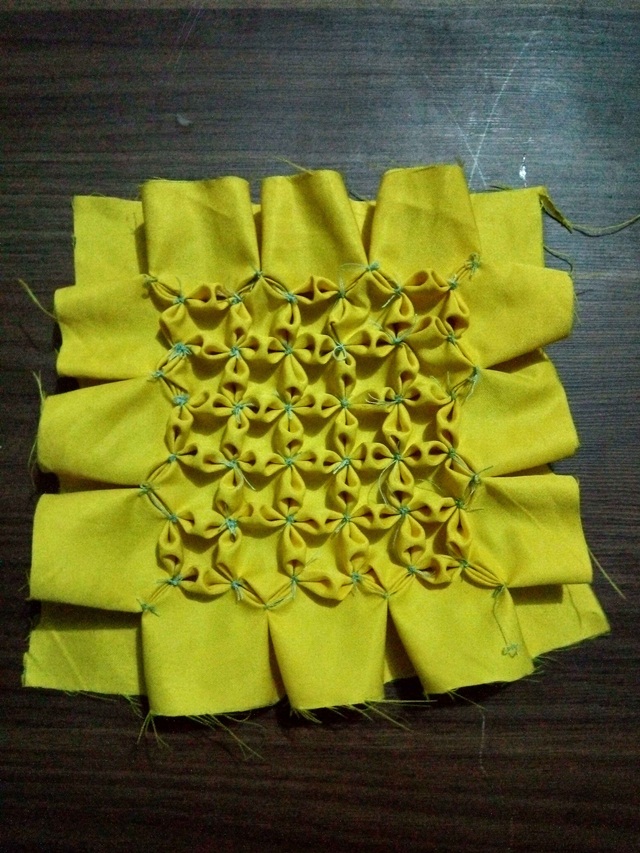
Paso 7. . Luego vamos a “asentar” los bordes realizando unas puntadas de sujeción
Step 7. . Then we are going to “settle” the edges by making some fastening stitches
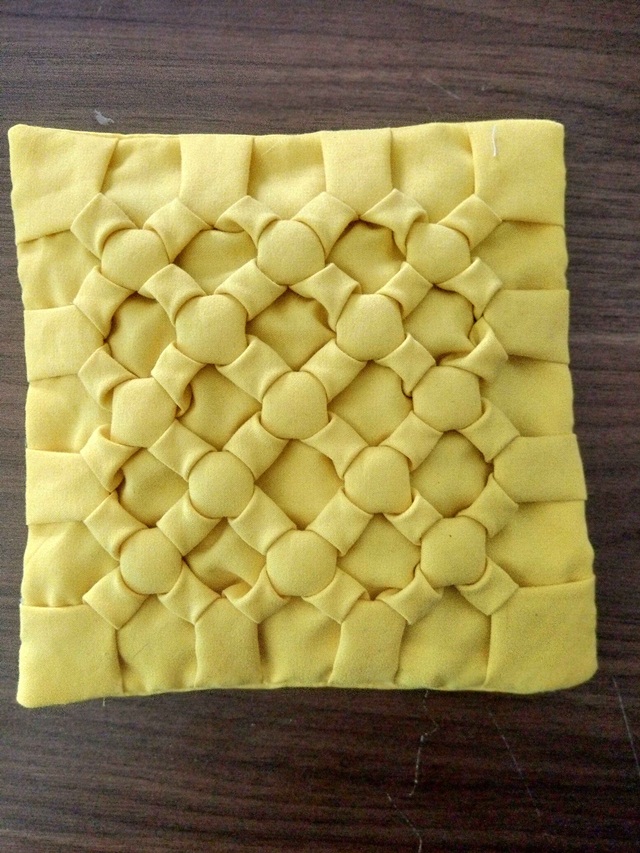
Ya obtenido el drapeado en nuestro tejido, elaboramos el accesorio seleccionado, en mi caso yo realice un cojín siguiendo las instrucciones básicas para su confección… Y este es el resultado obtenido:

Once the draping has been obtained in our fabric, we make the selected accessory, in my case I made a cushion following the basic instructions for its preparation... And this is the result obtained
Espero que les haya gustado, muchas gracias por tomarte el tiempo de ver mi publicación, besos y abrazos en la distancia!!
I hope you liked it, thank you very much for taking the time to see my publication, kisses and hugs in the distance!!
Todas las fotos publicadas en esta presentación son de mí pertenencia, para la traducción utilice el Traductor de Google y las fotos fueron editadas con PhotoScape.
All the photos published in this presentation belong to me, for the translation I used Google Translate and the photos were edited with PhotoScape.
Es hermosa esta técnica, gracias por mostrarnos cómo se hace, la voy a guardar, quedará hermosa en unos cojines.
Que lindo felicidades me encantó ☺️😚
Congratulations @carmenserrano! You have completed the following achievement on the Hive blockchain and have been rewarded with new badge(s):
Your next target is to reach 40 posts.
You can view your badges on your board and compare yourself to others in the Ranking
If you no longer want to receive notifications, reply to this comment with the word
STOPTo support your work, I also upvoted your post!
Support the HiveBuzz project. Vote for our proposal!
Wow this is so beautiful. You have make it amazing. Your steps are very simple to understand. With this I can produce that. Thanks for sharing