Feliz inicio de semana para todos los amigos de Hive.Blog!! Me gusta aprovechar cada retazo de tela que me va quedando de otras labores, ya que con estos se pueden realizar bellas creaciones sin gastar mucho en materiales.
Happy start of the week to all the friends of Hive.Blog!! I like to take advantage of every piece of fabric that I have left from other tasks, since with these you can make beautiful creations without spending much on materials.
En esta oportunidad les traigo una idea muy oportuna para obsequiar en el día del amor y la amistad, pues los días están pasando cada vez más rápido, así que desde ya debemos ir pensando con que detalle sorprenderemos a ese ser tan especial en esa memorable fecha.
This time I bring you a very timely idea to give away on the day of love and friendship, because the days are passing faster and faster, so from now on we must start thinking with what detail we will surprise that special being on that memorable date.
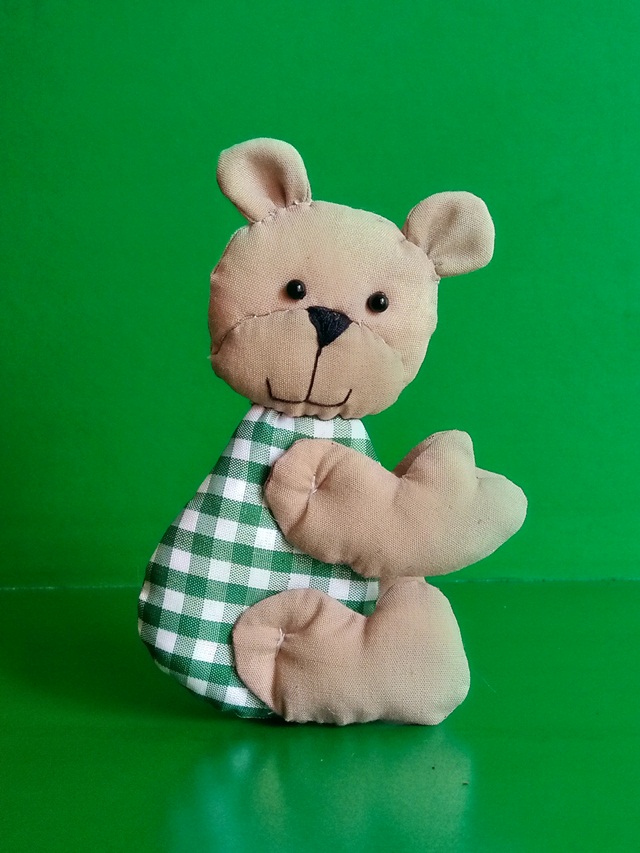
Como alternativa hoy les traigo este simpático osito, su elaboración es bastante sencilla, yo particularmente lo realicé con costura a mano, pero también podemos utilizar la máquina de coser.
As an alternative today I bring you this nice little bear, its preparation is quite simple, I particularly did it with hand sewing, but we can also use the sewing machine
Materials
- Retazos de tela color piel
- Retazos de tela colores a gusto
- Papel, para los patrones
- Tijera
- Marcador o lápiz
- Hilo de coser
- Aguja de mano
- Alfileres
- Retazos de relleno
- Scraps of skin-colored fabric
- Scraps of fabric colors to taste
- Paper, for patterns
- Scissor
- Marker or pencil
- Sewing thread
- hand needle
- Pins
- Pieces of stuffing
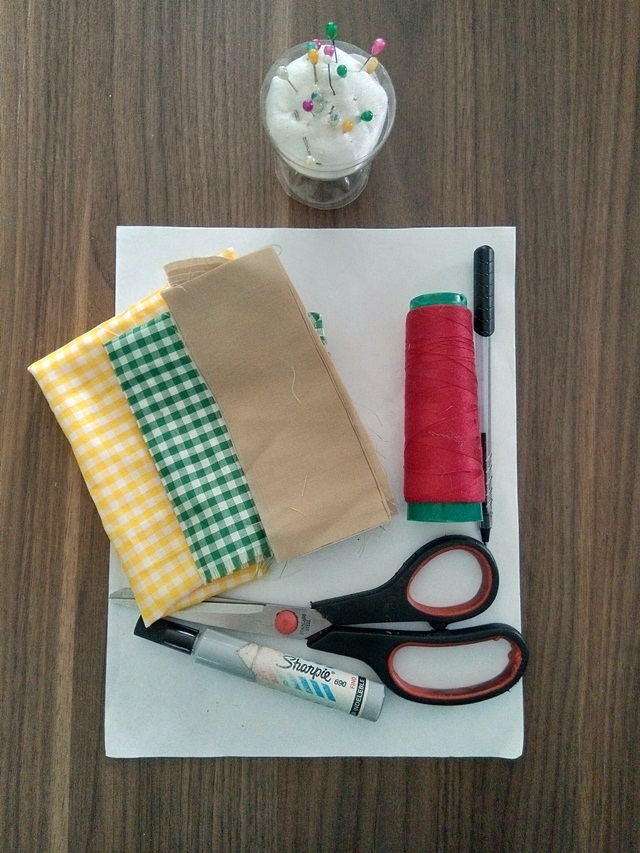
Paso 1. Realicé los patrones del osito en una hoja de papel bond, luego transferí a la tela cada una de las piezas de los patrones. Todas las piezas del osito se marcaran en tela doble.
Step 1. I made the teddy bear patterns on a sheet of bond paper, then transferred each of the pattern pieces to the fabric. All pieces of the bear will be marked on double fabric.
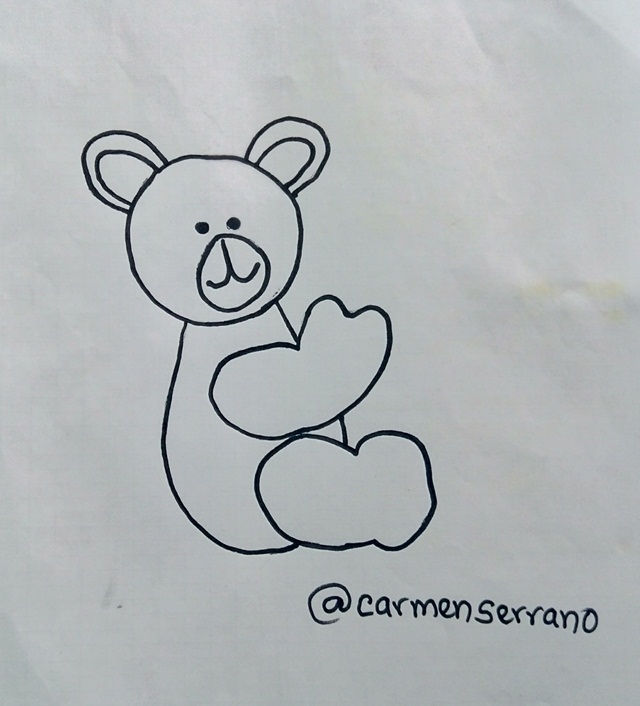
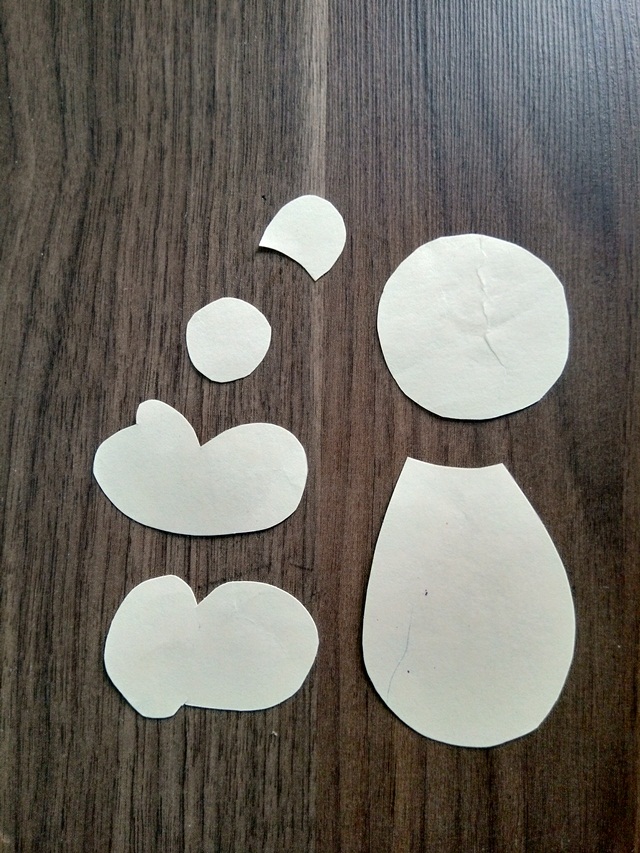
Paso 2. Seguidamente cosí cada pieza, dejando una abertura para poder voltearla. Luego de coser, corté el excedente de tela y voltee la pieza hacia su derecho.
Step 2. Next I sewed each piece, leaving an opening so I could turn it over. After sewing, I cut off the excess fabric and turn the piece right side out.
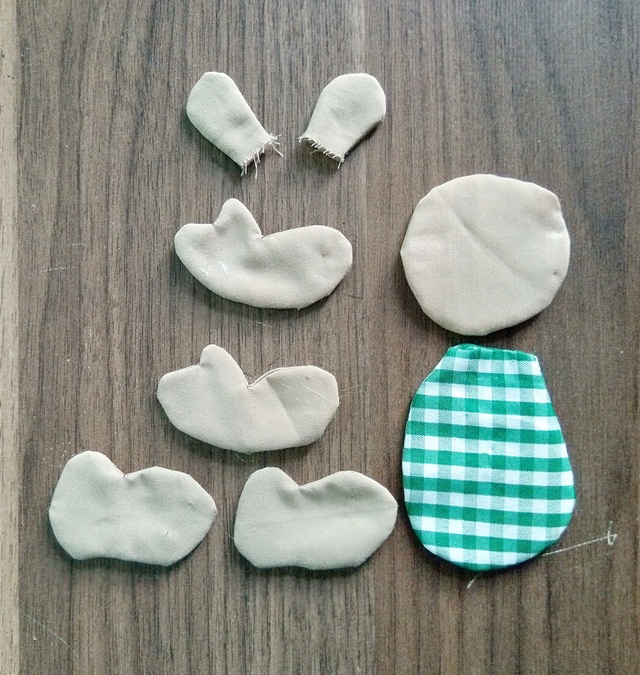
Paso 3. Una vez volteadas todas las piezas que conforman a nuestro osito, procedí a rellenarlas. Luego cerré la abertura de relleno y procedí a ensamblarlo. Para finalizar le realice los detalles de la cara como la trompa, los ojos y la nariz.
Step 3. Once all the pieces that make up our bear have been turned over, I proceeded to fill them. I then closed the filler opening and proceeded to assemble it. To finish, I made the details of the face such as the trunk, the eyes and the nose.
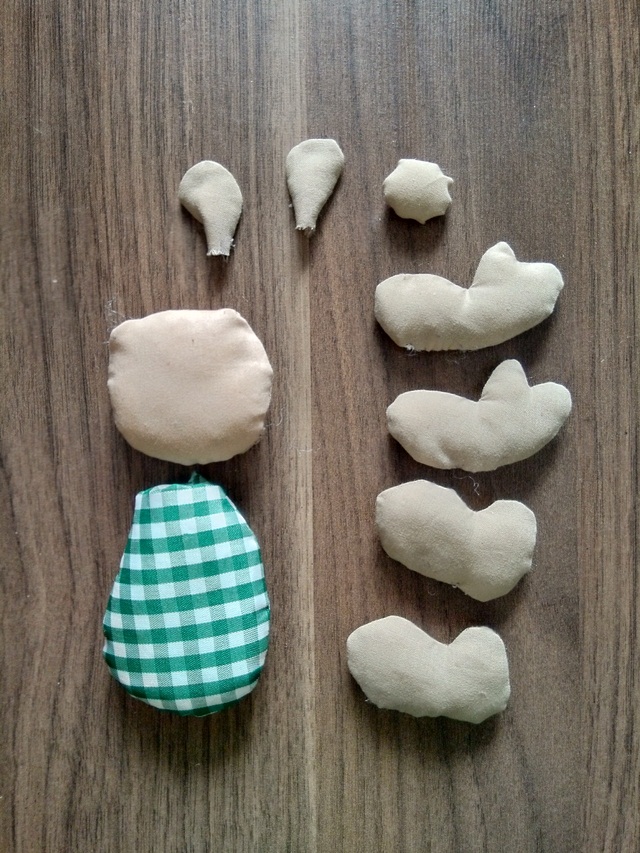
And that's how my cute little bear was left!!

Gracias a todos por apoyar mi publicación, Dios me los bendiga!!
All the photos published in this presentation belong to me. For translation use Google Translate
Your content has been voted as a part of Encouragement program. Keep up the good work!
Use Ecency daily to boost your growth on platform!
Support Ecency
Vote for new Proposal
Delegate HP and earn more
Congratulations @carmenserrano! You have completed the following achievement on the Hive blockchain and have been rewarded with new badge(s):
Your next target is to reach 30 posts.
Your next target is to reach 3000 upvotes.
You can view your badges on your board and compare yourself to others in the Ranking
If you no longer want to receive notifications, reply to this comment with the word
STOPTo support your work, I also upvoted your post!
Check out the last post from @hivebuzz:
Support the HiveBuzz project. Vote for our proposal!
Que buena manera de aprovechar los retazos y poder crear este osito.
Gracias por compartir.