Hola Hive.Blog!! Es muy grato conectarme nuevamente con ustedes después un tiempo ausente por motivos totalmente ajenos a mi voluntad. Le doy gracias a Dios por la vida, la salud, por mi familia y por esta oportunidad que me da de compartir una vez más mis conocimientos de corte y costura a través de este medio.
Hello Hive.Blog!! It is very pleasant to connect with you again after a time away for reasons totally beyond my control. I thank God for life, health, my family and for this opportunity to share once again my knowledge of cutting and sewing through this medium.
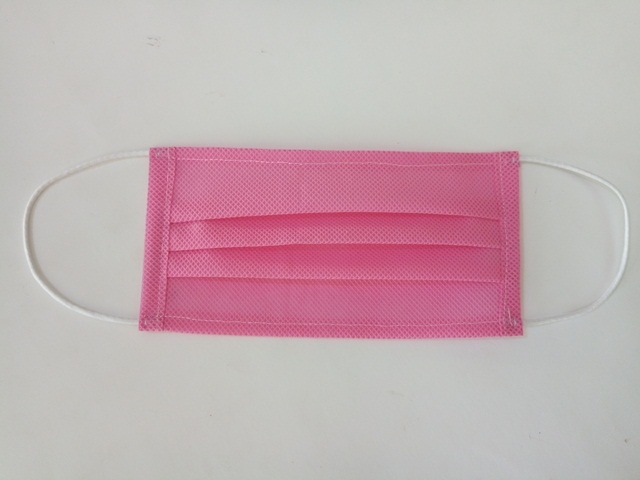
En esta ocasión les preparé con mucho amor y cariño el paso a paso para elaborar tapabocas. Como es sabido por todos, a raíz de la pandemia del Covid-19, los tapabocas se han convertido en un artículo de primera necesidad. El uso del tapabocas es una de las principales medidas de bioseguridad, ya que con ellos se puede evitar el contagio de este virus. A continuación les explico el paso a paso que seguí para realizar este trabajo:
On this occasion I prepared with a lot of love and affection the step by step to make face masks. As everyone knows, as a result of the Covid-19 pandemic, face masks have become an essential item. The use of face masks is one of the main biosecurity measures, since with them you can avoid the spread of this virus. Here I explain the step by step I followed to do this job:
MATERIALES - MATERIALS
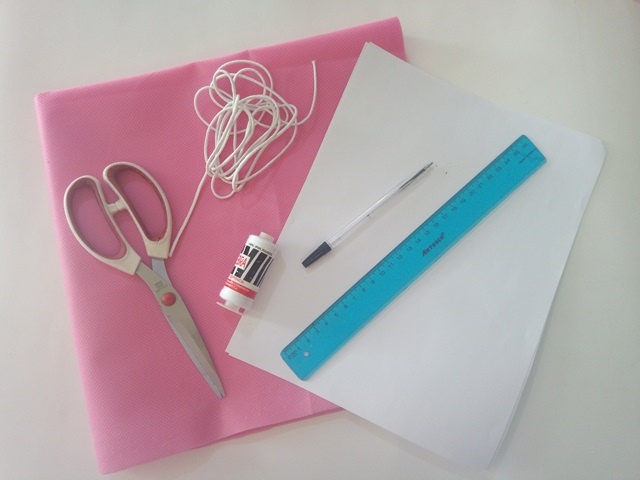
- Tela quirúrgica
- Hoja de papel
- Elástica fina de 0,50 cms.
- Lápiz o bolígrafo
- Regla
- Aguja
- Tijera
- Hilo de coser
- Surgical cloth
- Paper sheet
- Fine elastic of 0.50 cm.
- Pencil or pen
- Ruler
- Needle
- Scissors
- Sewing thread
ELABORACIÓN - ELABORATION
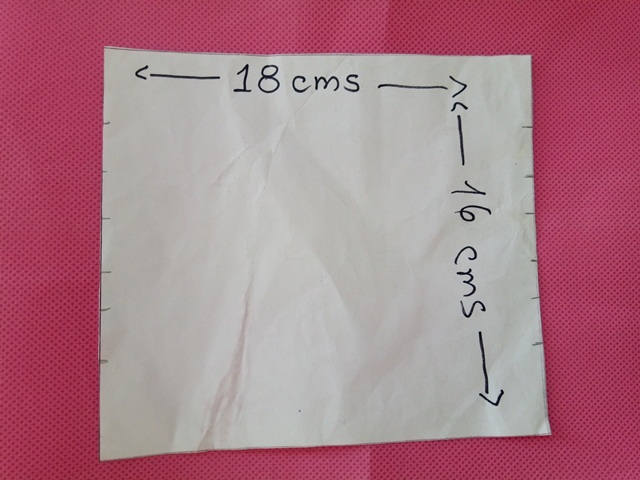
1. El tapabocas que les enseñaré a realizar es el más básico de todos, especial para las personas que se están iniciando en este maravilloso oficio de la costura, incluso si no cuentan con máquina de coser lo pueden realizar aplicando la costura a mano. Lo primero que hice fue el patrón del tapabocas, el cual consta de un rectángulo de 18 cms. de ancho por 16 cms. de alto. Para indicar los pliegues del tapabocas, haremos unas marcas por la parte alta del patrón.
1. The mask that I will teach you to make is the most basic of all, especially for people who are starting out in this wonderful sewing trade, even if they do not have a sewing machine they can make it by applying the seam by hand. The first thing I did was the mask pattern, which consists of an 18 cm rectangle. wide by 16 cm. High. To indicate the folds of the mask, we will make some marks on the top of the pattern.
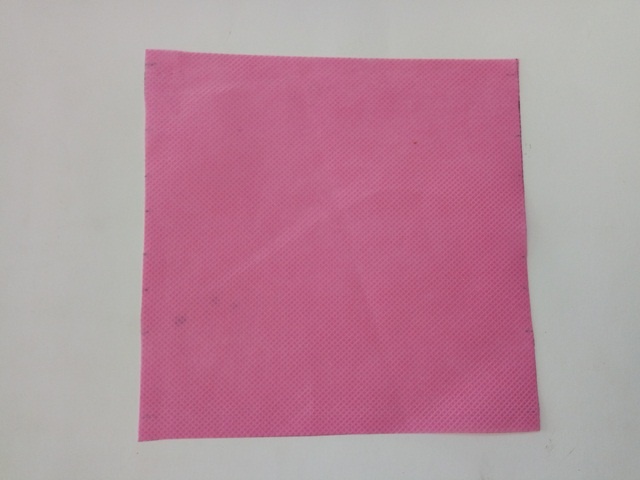
2. El patrón realizado en papel lo marqué y corté en la tela quirúrgica. Esta es la tela especial para realizar los tapabocas, es antialérgica y viene en diversos colores. En la ciudad donde vivo hay una tienda especializada en la venta materiales y equipos médicos. También se puede sustituir por otro tipo de tejido siempre y cuando no sea sintético, ya que este material suele ocasionar irritación y alergias en algunas personas.
The pattern made on paper was marked and cut on the surgical fabric. This is the special fabric to make face masks, it is anti-allergic and comes in different colors. In the city where I live there is a store specializing in the sale of medical materials and equipment. It can also be replaced by another type of fabric as long as it is not synthetic, since this material usually causes irritation and allergies in some people.
3. Una vez cortado el patrón en la tela, realicé las marcas para formar los pliegues. Sujeté con alfileres cada uno de los dobleces para que se mantuvieran fijos antes de pasar a la máquina de coser.
3. Once the pattern was cut on the fabric, I made the marks to form the folds. I pinned each of the folds to hold them in place before going through the sewing machine.
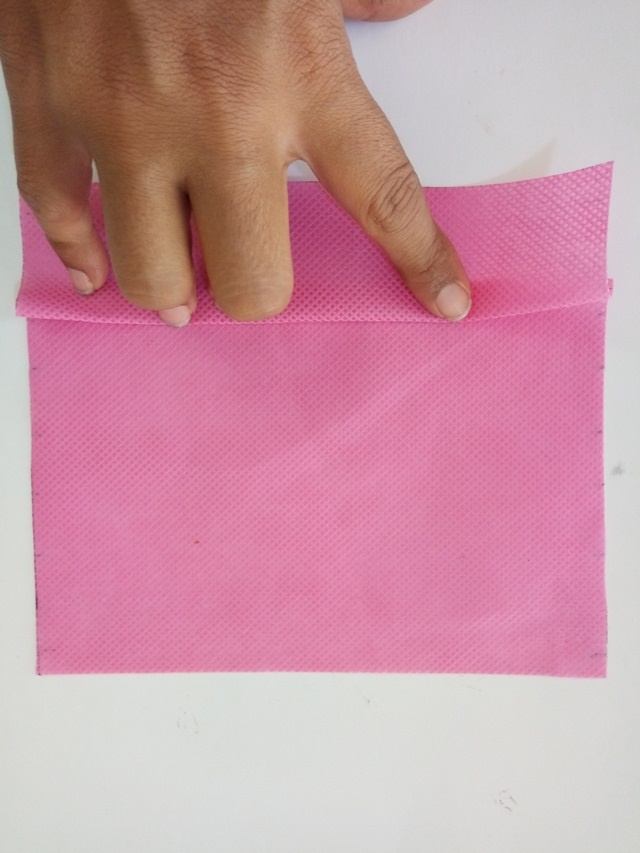
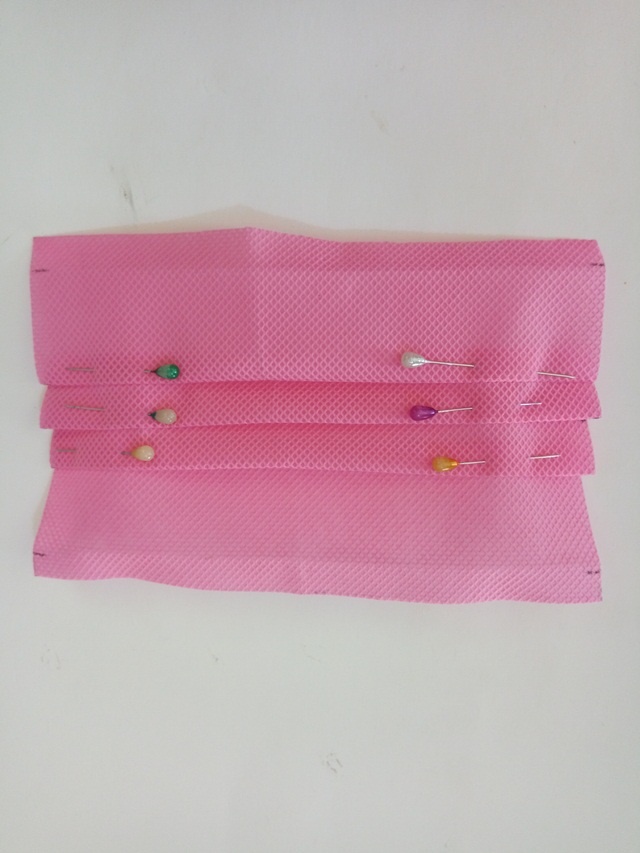
4. Una vez realizado los pliegues, medí la nueva altura del tapabocas y con esa medida corté dos tiras para tapar las costuras de los bordes laterales.
4. Once the folds were made, I measured the new height of the mask and with that measurement I cut two strips to cover the seams of the side edges
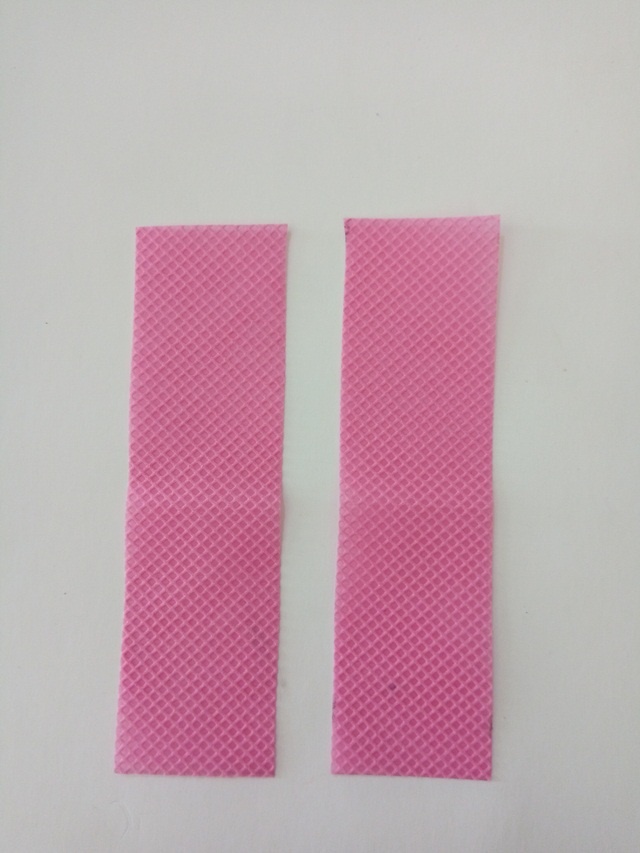
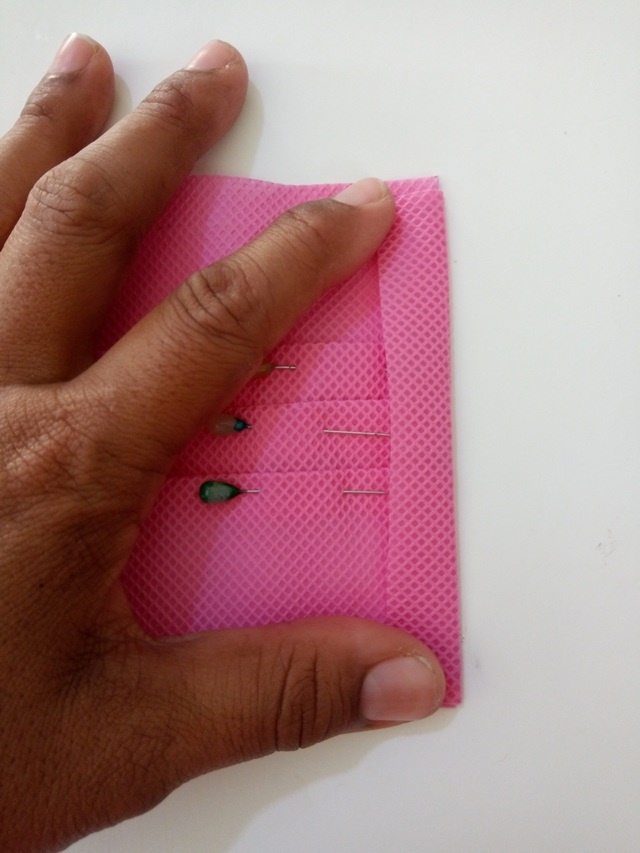
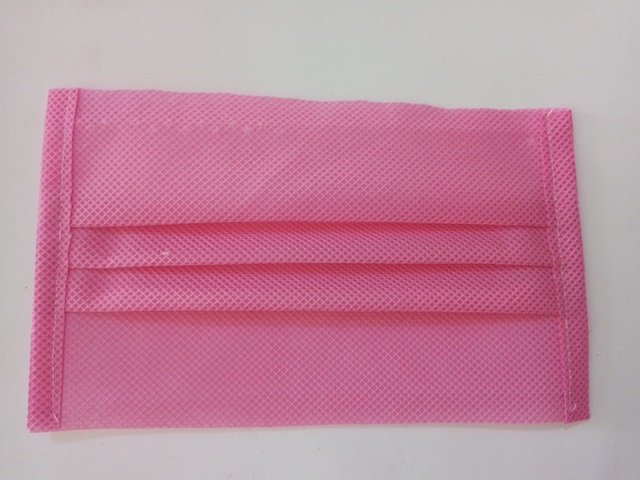
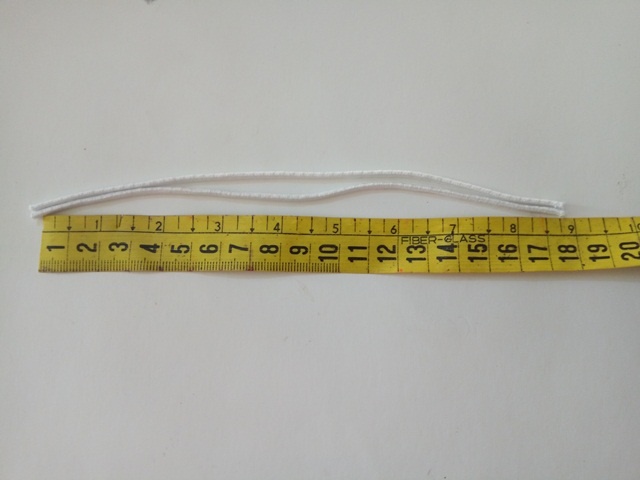
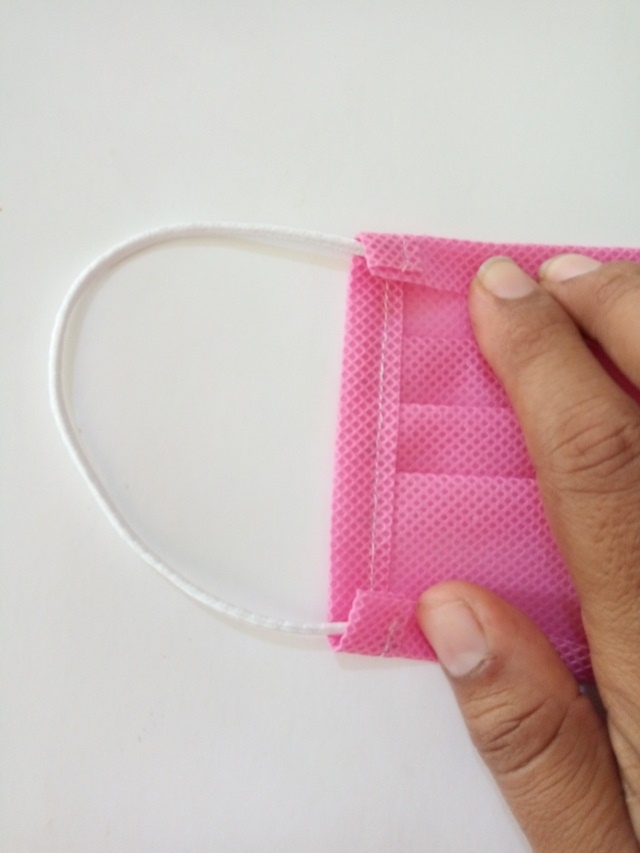
5. Seguidamente, corté dos elásticas de 18 cms. de largo y las ubiqué en los laterales del tapabocas: una punta de la elástica la situé en el lateral superior izquierdo y la otra punta en el lateral inferior izquierdo, repetí este proceso en el lateral derecho con la otra elástica, sujeté cada punta con un pequeño hilván. Para finalizar la confección del tapabocas, doble los bordes superior e inferior y pase una costura recta.
Next, I cut two elastic bands of 18 cms. long and I placed them on the sides of the face mask: I placed one end of the elastic on the upper left side and the other end on the lower left side, I repeated this process on the right side with the other elastic, I held each end with a little baste. To finish making the mask, fold the top and bottom edges and sew a straight seam.

Gracias a todos por visitar mi publicación, recuerden que la prevención del Covid-19 está en nuestras manos, es nuestra responsabilidad cumplir con las medidas de bioseguridad y cuidarnos!
Thank you all for visiting my publication, remember that the prevention of Covid-19 is in our hands, it is our responsibility to comply with biosecurity measures and take care of ourselves!
Todas las fotos publicadas en esta presentación son de mí pertenencia. Para la traducción utilice el Traductor de Google. Las fotos las edité con PhotoScape.
All the photos published in this presentation belong to me. For translation use Google Translate. I edited the photos with PhotoScape.