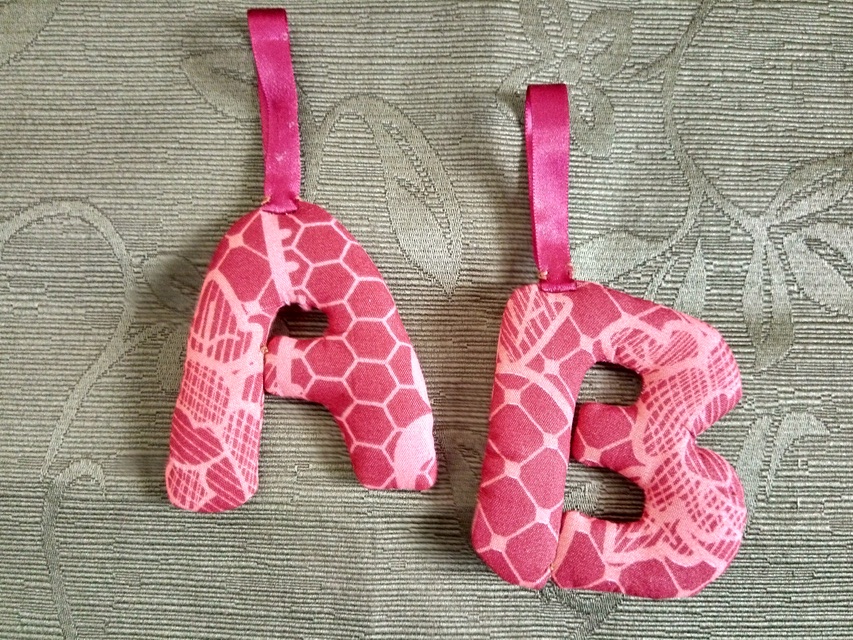
¡Muy buenos días tengan todos los amigos usuarios de Hive.Blog!
Good morning to all Hive.Blog user friends!
Hoy te enseño a realizar un llavero personalizado, su elaboración es muy fácil, queda muy bonito y es súper coqueto. ¡Anímate a realizarlo! Los materiales para su confección son realmente muy económicos, aparte de que se pueden ocupar los retazos de tela que nos quedan de otras labores. A continuación te explico los detalles:
Today I teach you how to make a personalized keychain, its elaboration is very easy, it is very beautiful and it is super cute. Go ahead and do it! The materials for its preparation are really very cheap, apart from the fact that we can take care of the scraps of fabric that we have left from other tasks. Here are the details:
- Tela algodón
- Patrón
- Entretela (opcional)
- Tijera
- Hilo de coser
- Agujas, Alfileres
- Relleno
- Lápiz, tiza o bolígrafo
- Cotton fabric
- Pattern
- Interlining (optional)
- Scissor
- Sewing thread
- Needles, Pins
- Filling
- Pencil, chalk or pen
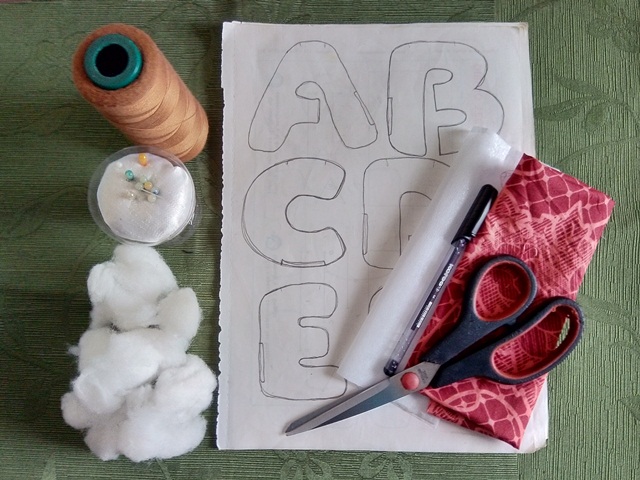
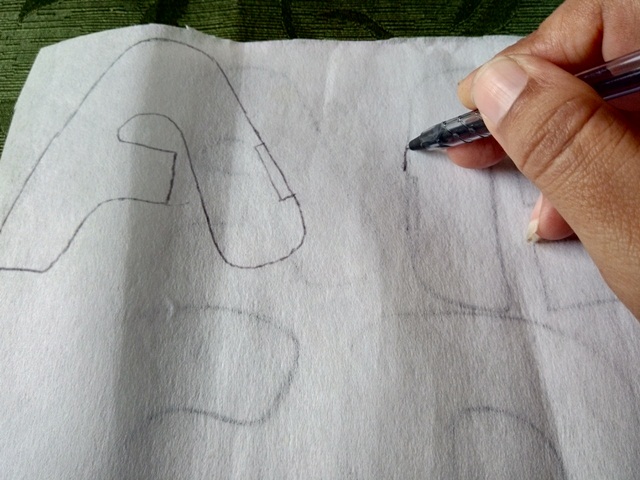
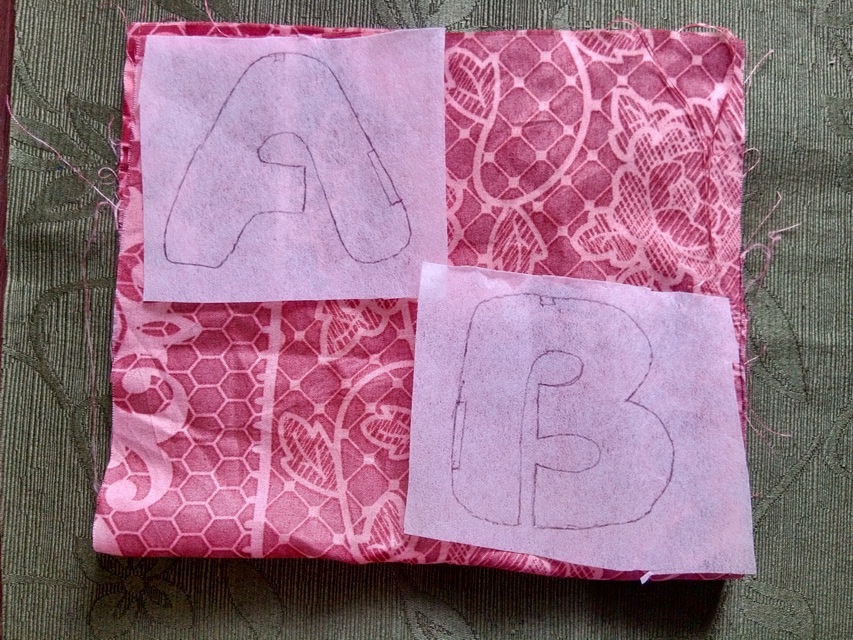
1.- Una vez que elegí la letra para mi llavero, marqué el patrón en la entretela. Me gusta trabajar con la entretela porque le aporta más firmeza al tejido, sin embargo, puede omitirse y no se altera el resultado final.
1.- Once I chose the letter for my keychain, I marked the pattern on the interfacing. I like to work with the interlining because it makes the fabric firmer, however it can be omitted and the final result is not altered.
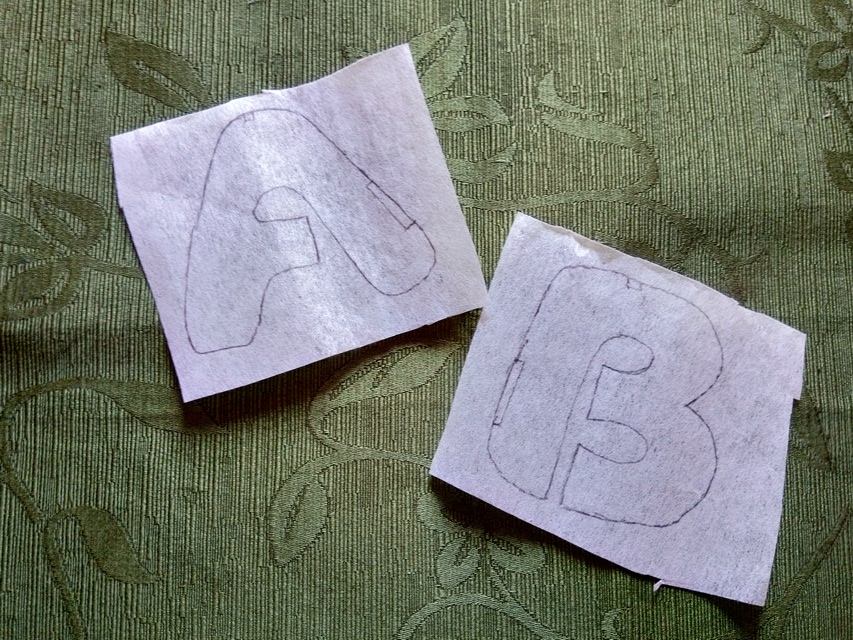
2.- Doblé la tela derecho con derecho y sobre ésta coloqué la entretela con la letra marcada. Cosí por todo su contorno con costura recta, dejando una abertura que me permitiera voltear la pieza hacia su lado derecho. Luego de coser, corté el excedente de tela.
2.- I folded the fabric right with right and on this I placed the interlining with the marked letter. I sewed all the way around with a straight seam, leaving an opening that would allow me to turn the piece to its right side. After sewing, I cut off the excess fabric.
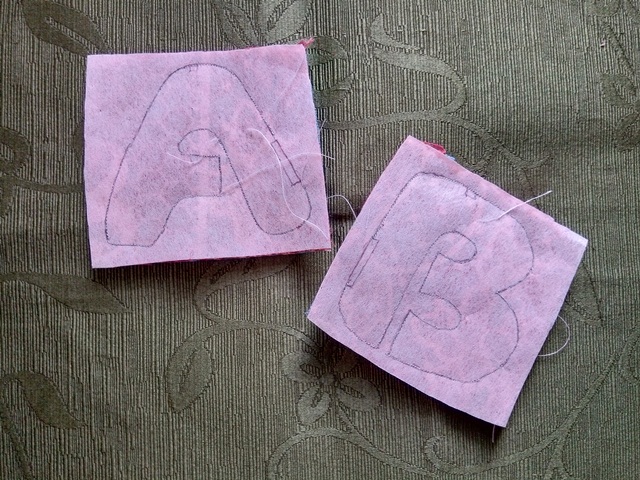
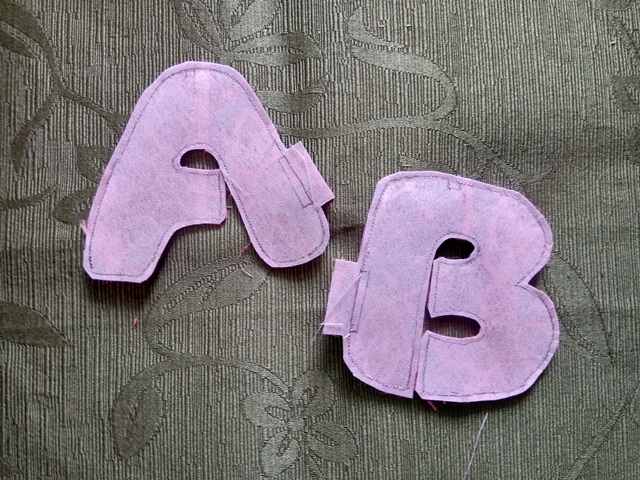
3.- Seguidamente, gire la pieza hacia su lado derecho, rellene y luego cerré la abertura con punto escondido.
3.- Next, turn the piece to its right side, fill it in and then close the opening with a hidden stitch.
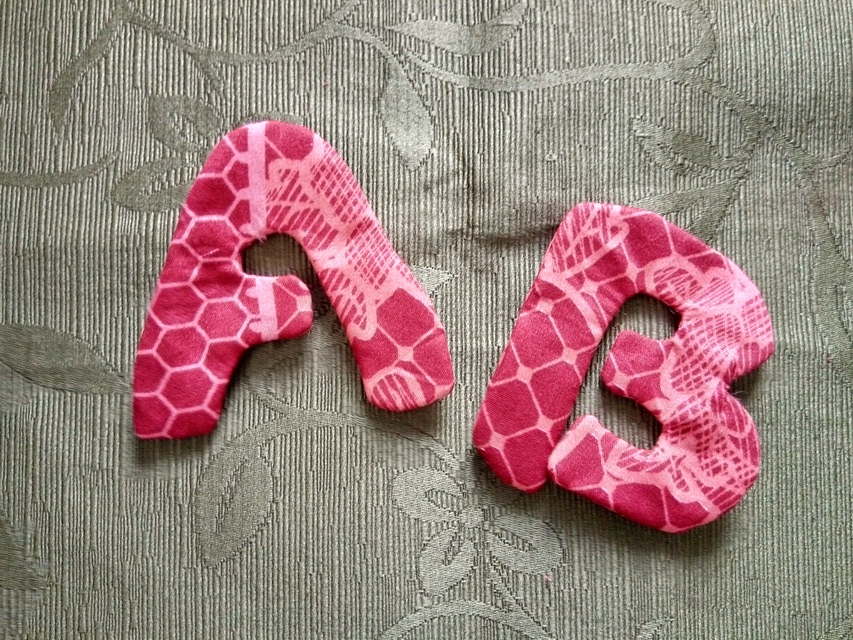
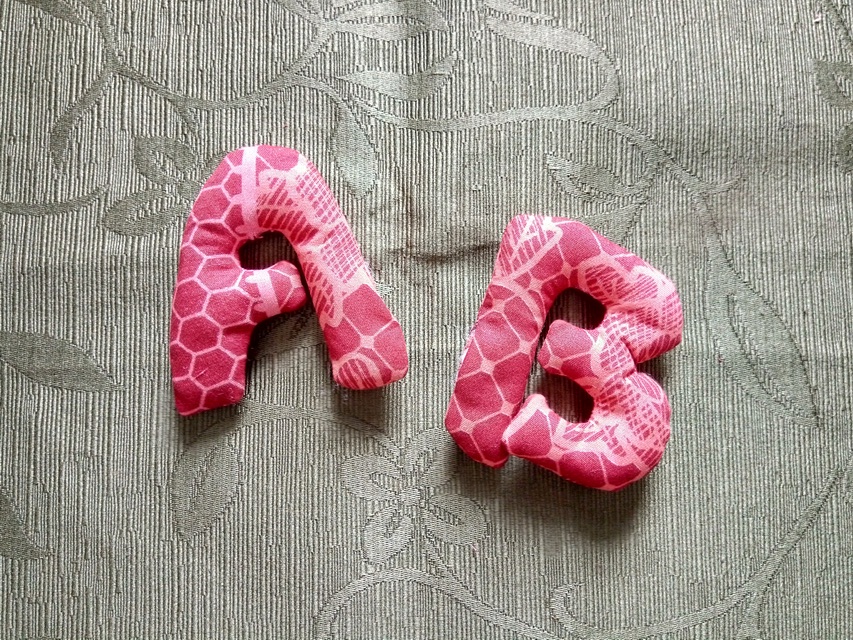
This is the final result. Thank you very much for taking the time to see my publication, until a new opportunity !!

Que bonitas letras!, es una buena idea para hacer llaveros