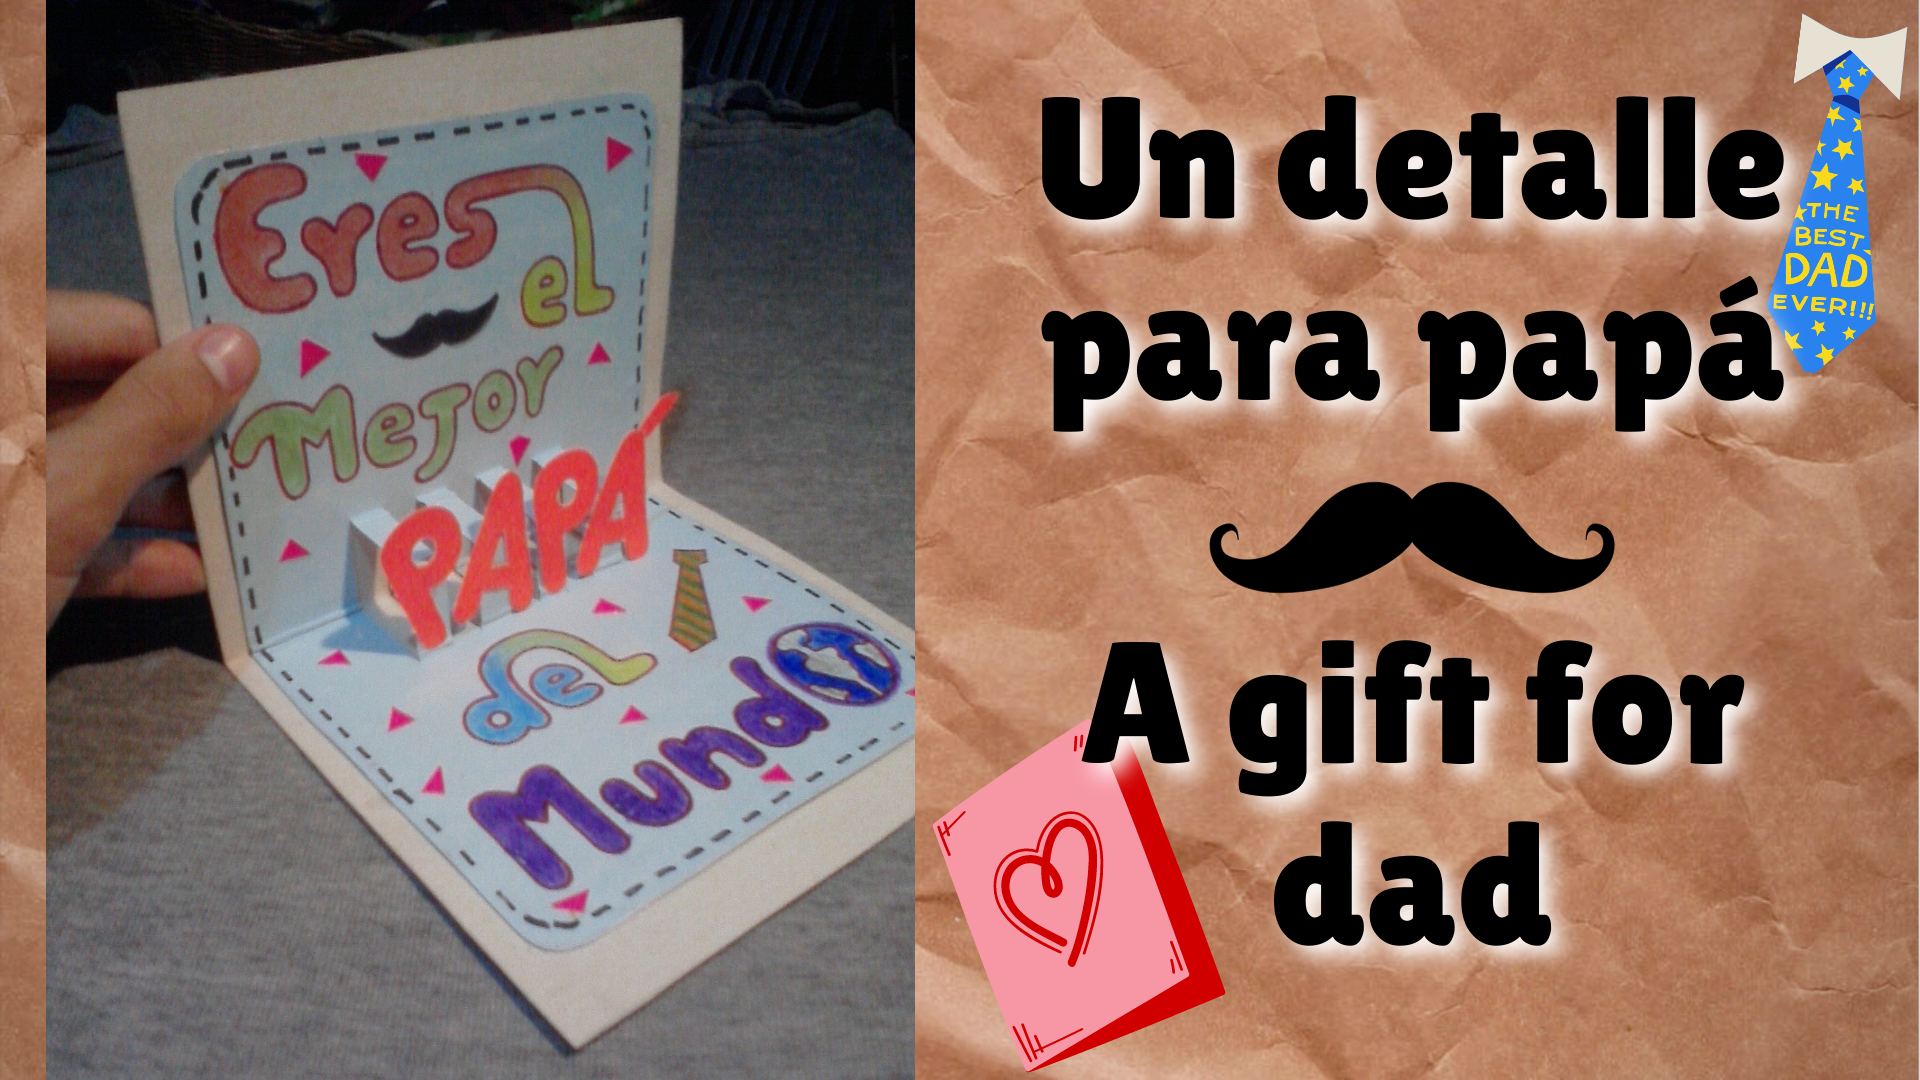
Hello friends happy and blessed day, grateful to share with you in this beautiful community, today I will teach you how to make a card, easy and quick to do to give dad on his day, a small detail made by ourselves. Let's get to work.
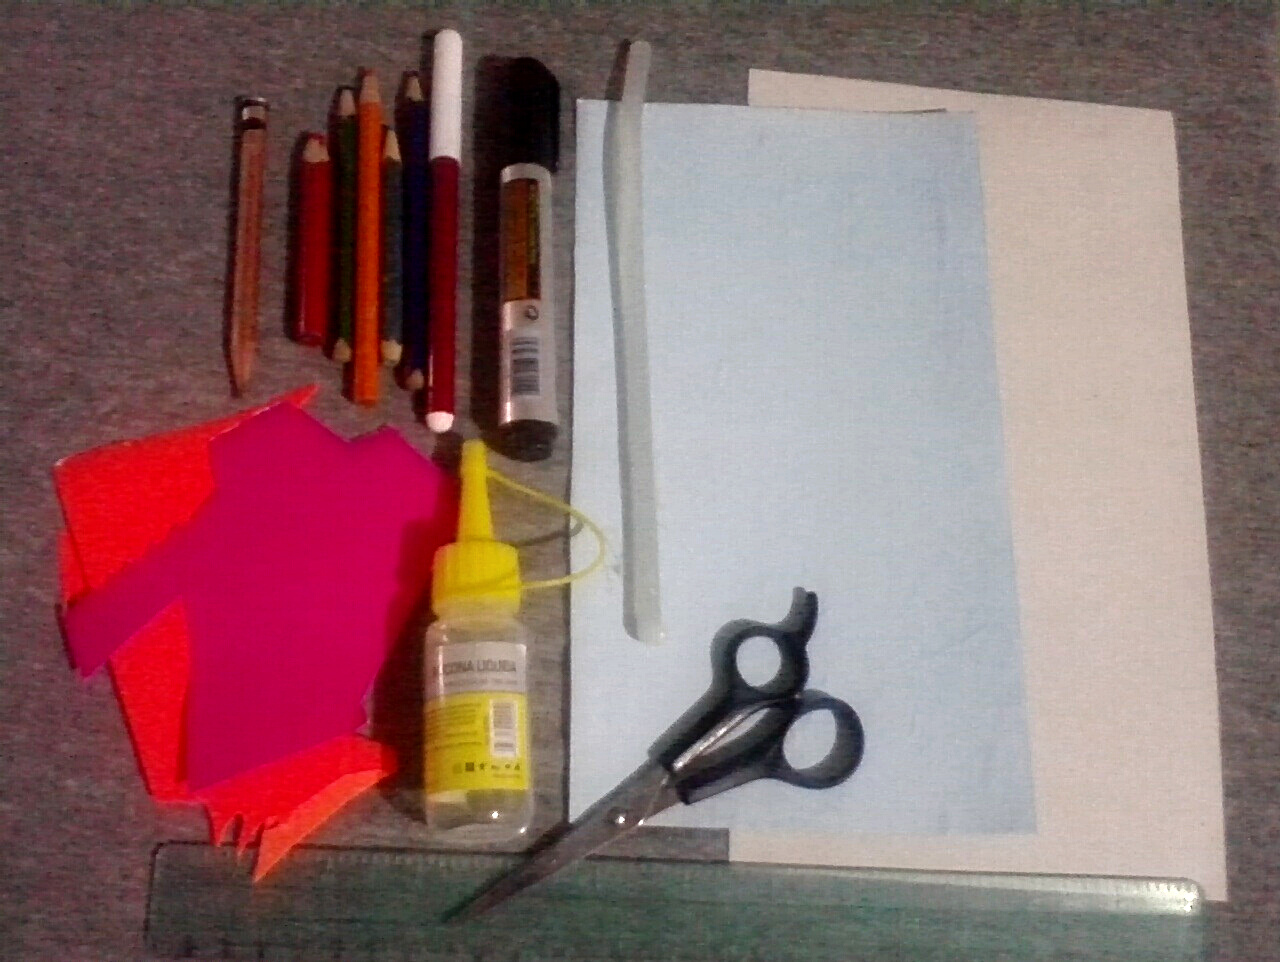
Español:
Materiales:
- Cartulina de diferentes color.
- Marcadores, y lapices de colores.
- Silicon liquido y en barra.
- Lápiz.
- Tijera.
- Regla.
English:
Materials:
- Cardboard of different colors.
- Markers and colored pencils.
- Liquid and stick silicon.
- Pencil.
- Scissors.
- Ruler.


Español:
Paso 1:
- Tomamos 2 cartulina una blanca y azul celeste, la blanca con una medida de 27 x 16 cm, y la azul de 24 x 14 cm, luego le realizamos un pequeño corte en forma ondulada a las puntas de la cartulina azul, después la doblamos a la mitad y con el lápiz marcamos 8 líneas de 5 cm de largo, con 1 cm de ancho a la distancia de cada una, la recortamos con la tijera, para cuando la tarjeta se abra doble hacia afuera las líneas recortadas.
English:
Step 1:
- We take 2 cardboard, white and light blue, the white one with a measure of 27 x 16 cm, and the blue one of 24 x 14 cm, then we make a small wavy cut at the ends of the blue cardboard, then we fold it in half and with the pencil we mark 8 lines of 5 cm long, with 1 cm wide at the distance of each one, we cut it with the scissors, so when the card is opened we fold out the cut lines.


Español:
Paso 2:
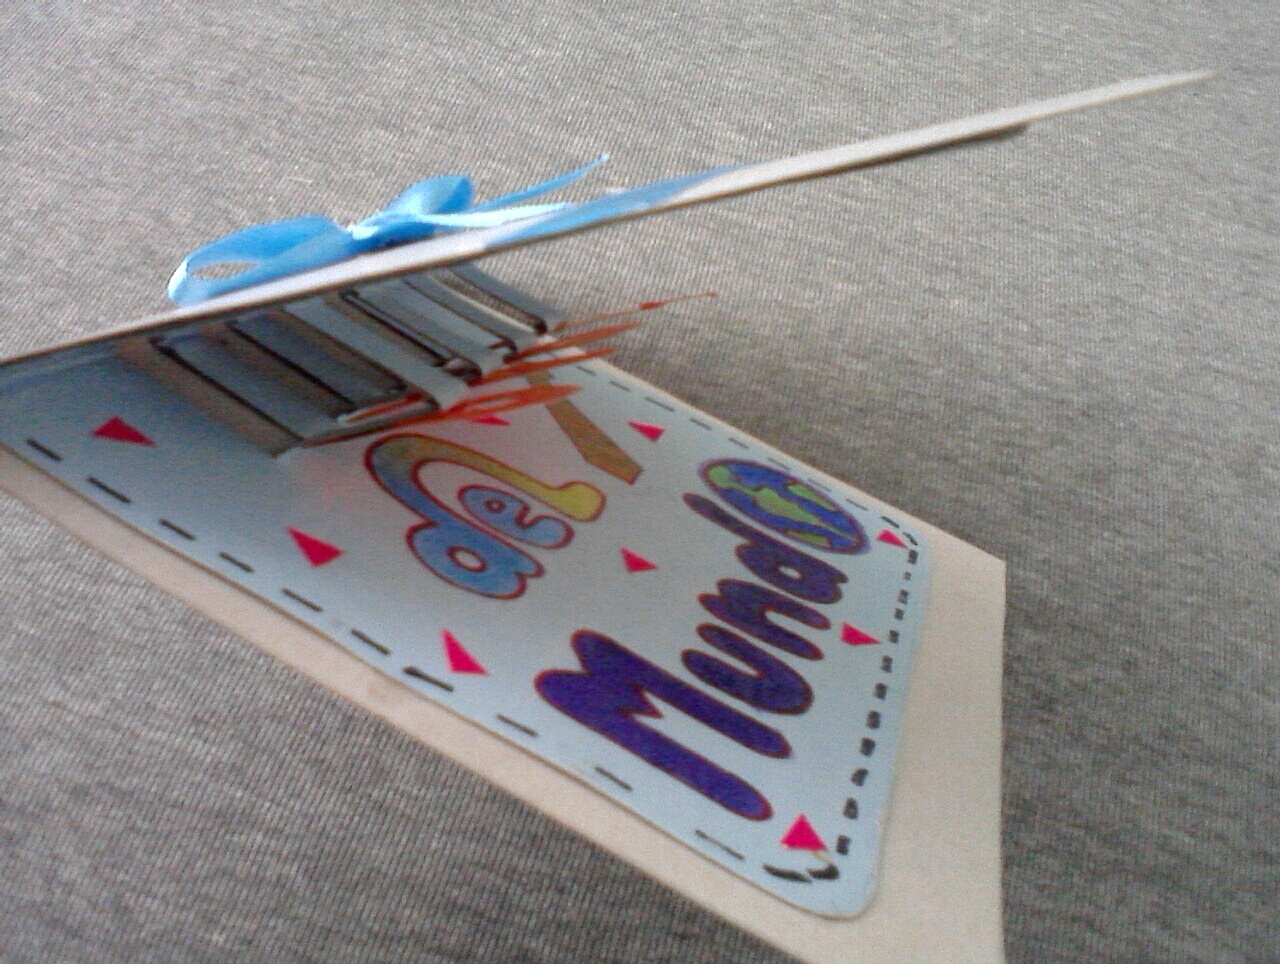
- Ya con la cartulina azul recortada, procedemos a pagarla con el silicon líquido a la cartulina blanca, centrándola a la otra cartulina tomando en cuenta de pegar una línea y la otra no, así como se muestra en la foto, luego dibujamos y recortamos la palabra papá en la cartulina color naranja, después con el silicon caliente pegamos las letras una a una en cada tira de cartulina que esta levantada.
English:
Step 2:
- Once the blue cardboard is cut out, we proceed to pay it with the liquid silicon to the white cardboard, centering it to the other cardboard taking into account to glue one line and not the other, as shown in the photo, then we draw and cut out the word dad on the orange cardboard, then with the hot silicon we glue the letters one by one on each strip of cardboard that is raised.


Español:
Paso 3:
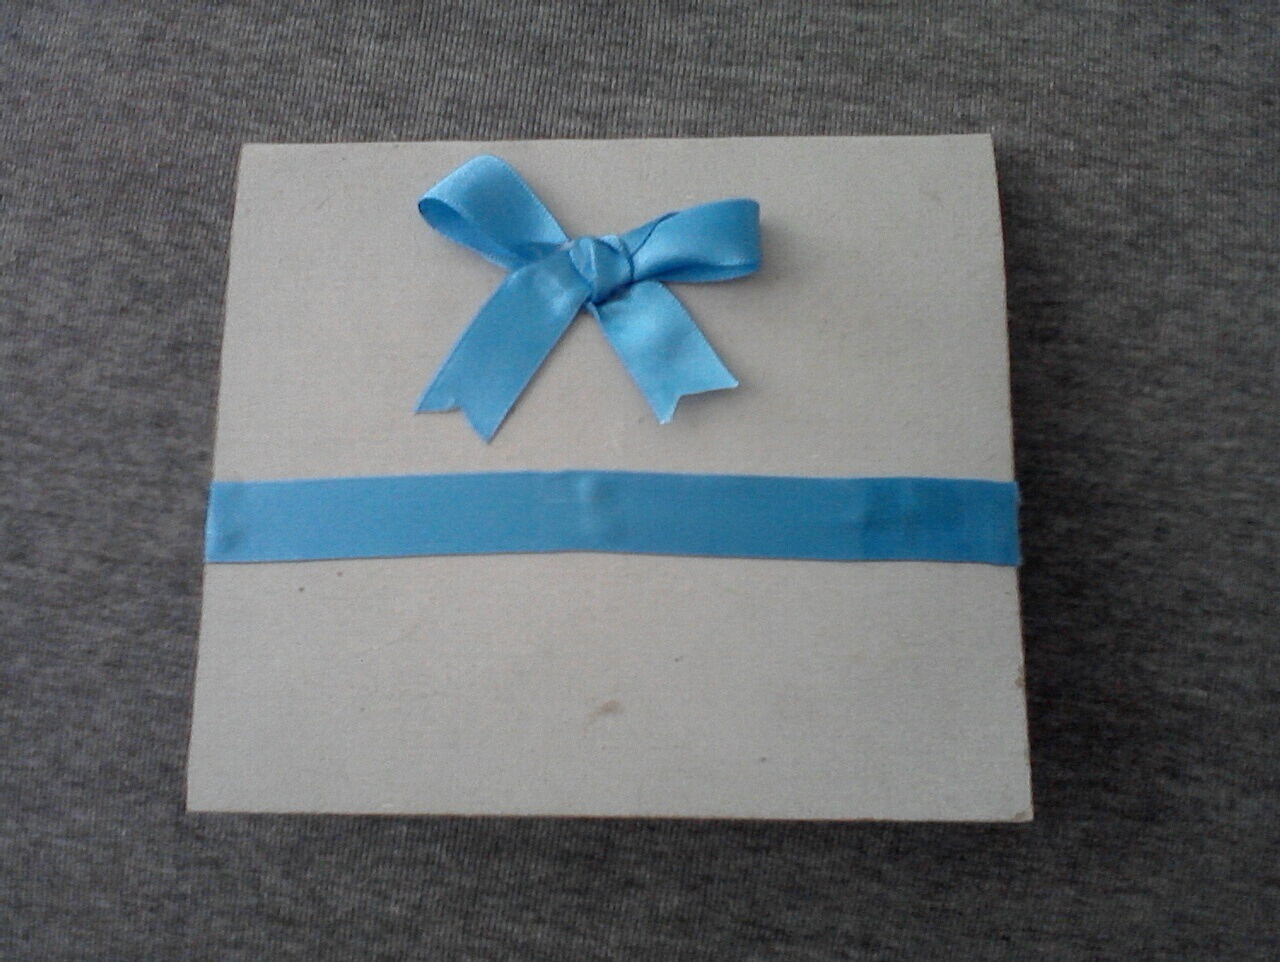
- Ahora con la ayuda de los marcadores y los lapices de colores, marcamos y coloreamos la frase relacionada con la palabra papá, los demás detalles de dibujos quedan a tu elección, luego cortamos varios triángulos pequeños de cartulina fucsia y lo pegamos en diferentes partes de la tarjeta. Para terminar con nuestra tarjeta pegamos una cinta y un lazo en la parte frontal de la tarjeta.
English:
Step 3:
- Now with the help of markers and colored pencils, we mark and color the phrase related to the word dad, the other details of drawings are left to your choice, then we cut several small triangles of fuchsia cardboard and paste it in different parts of the card. To finish our card we glue a ribbon and a bow on the front of the card.

Este es el resultado final, muchos saludos, gracias por leer mi blog.
This is the final result, many greetings, thanks for reading my blog.
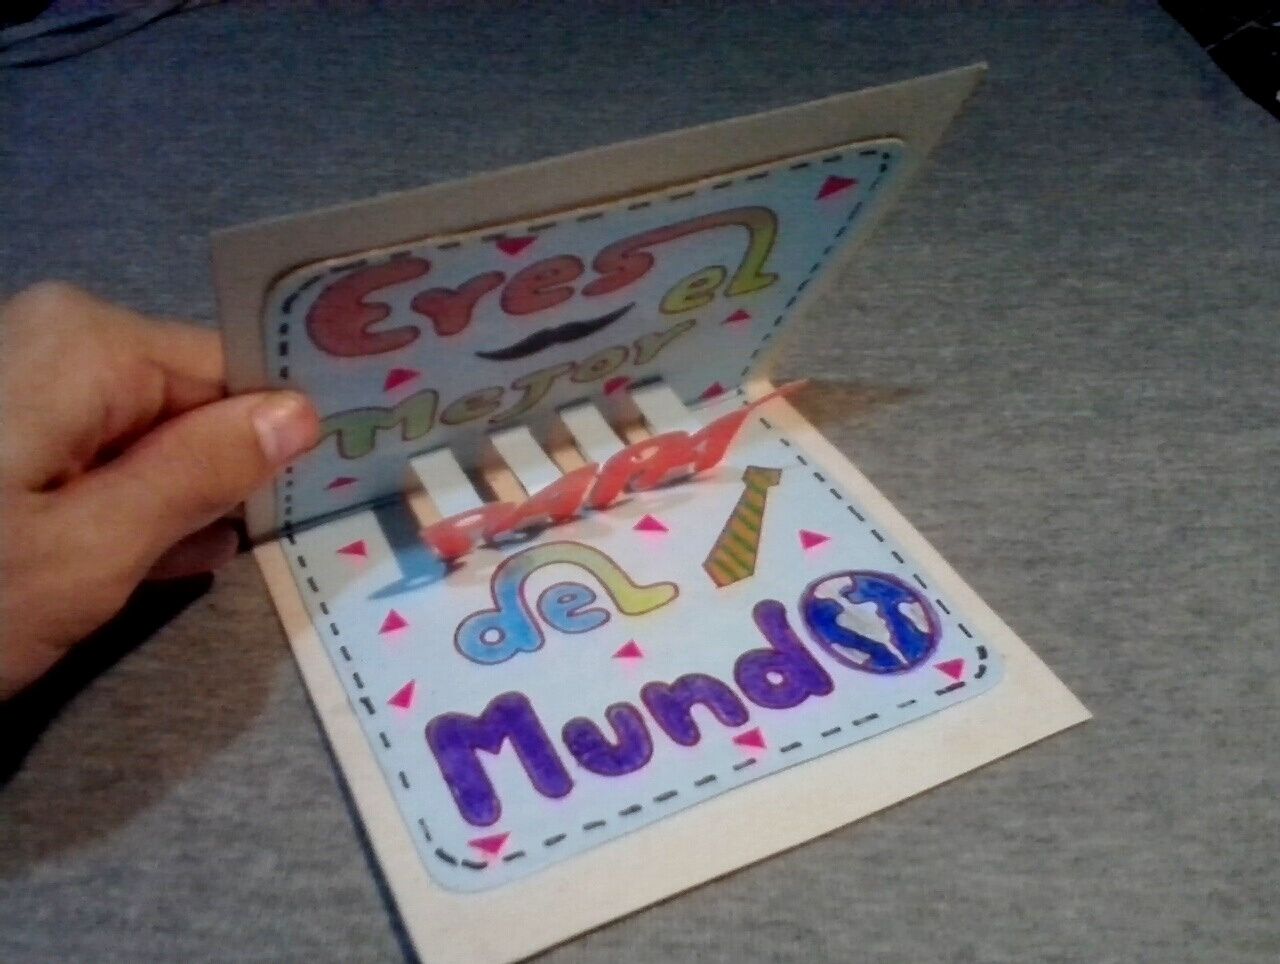
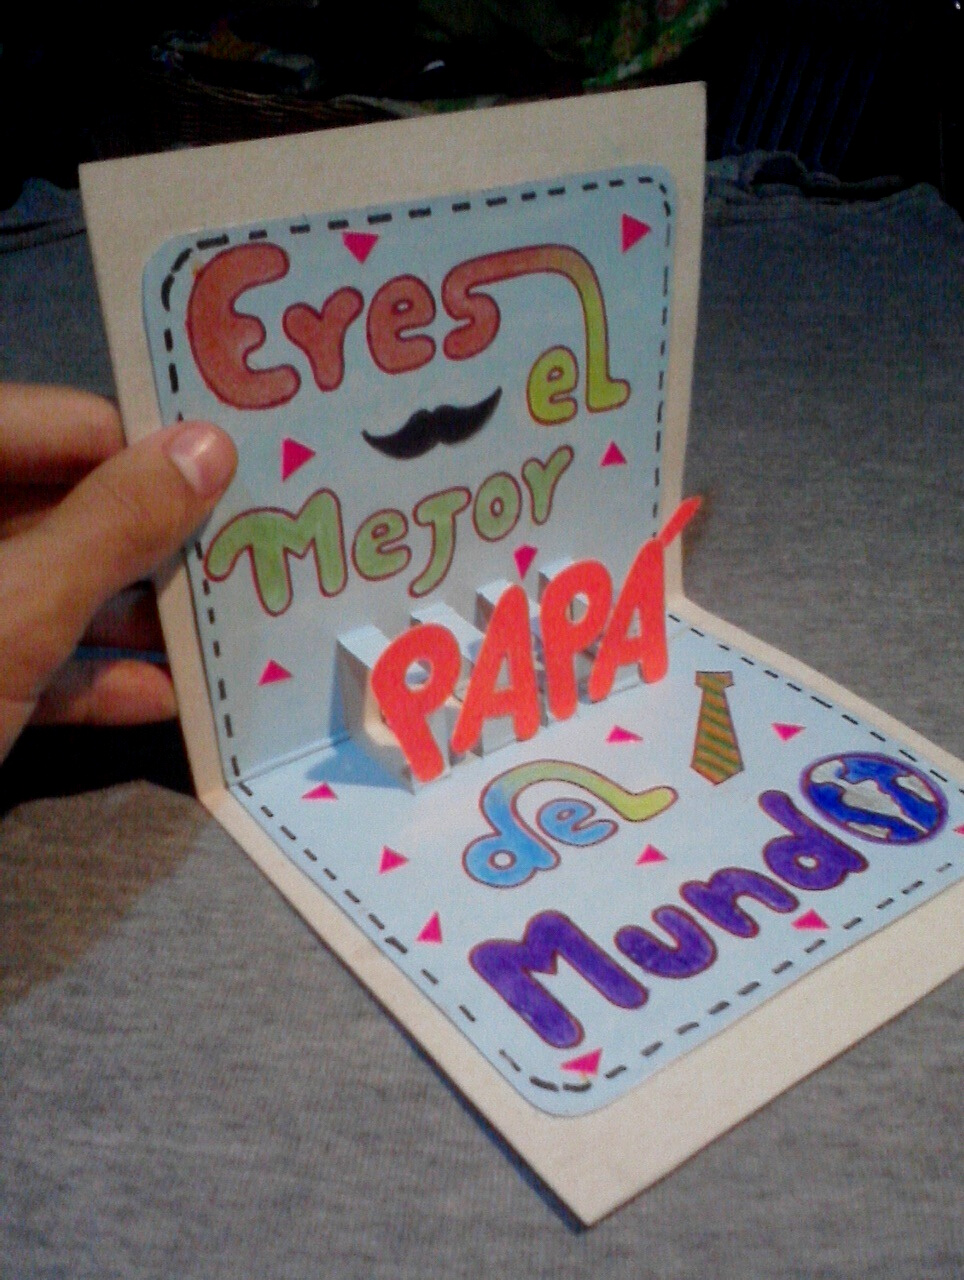
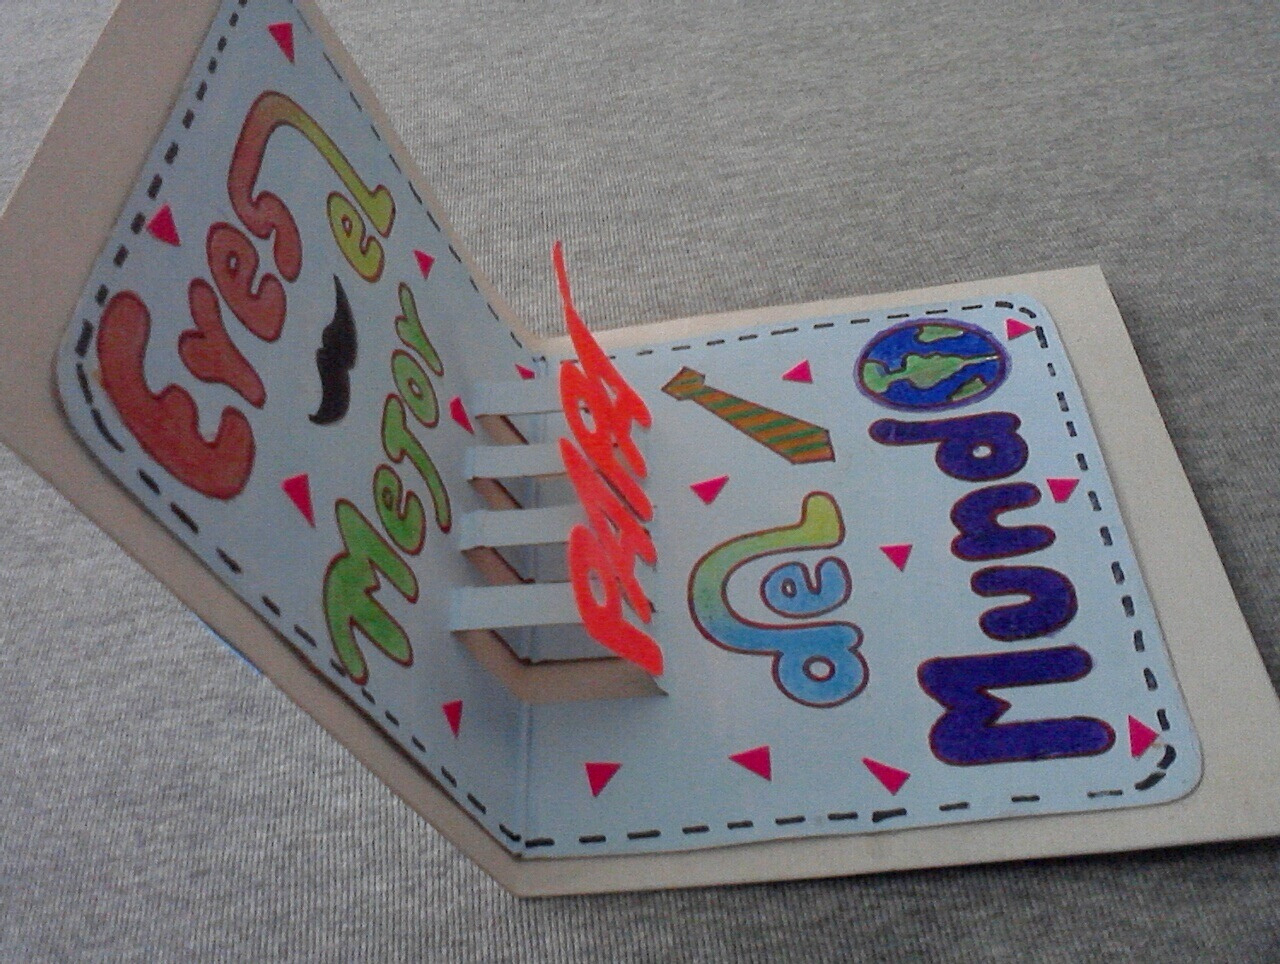
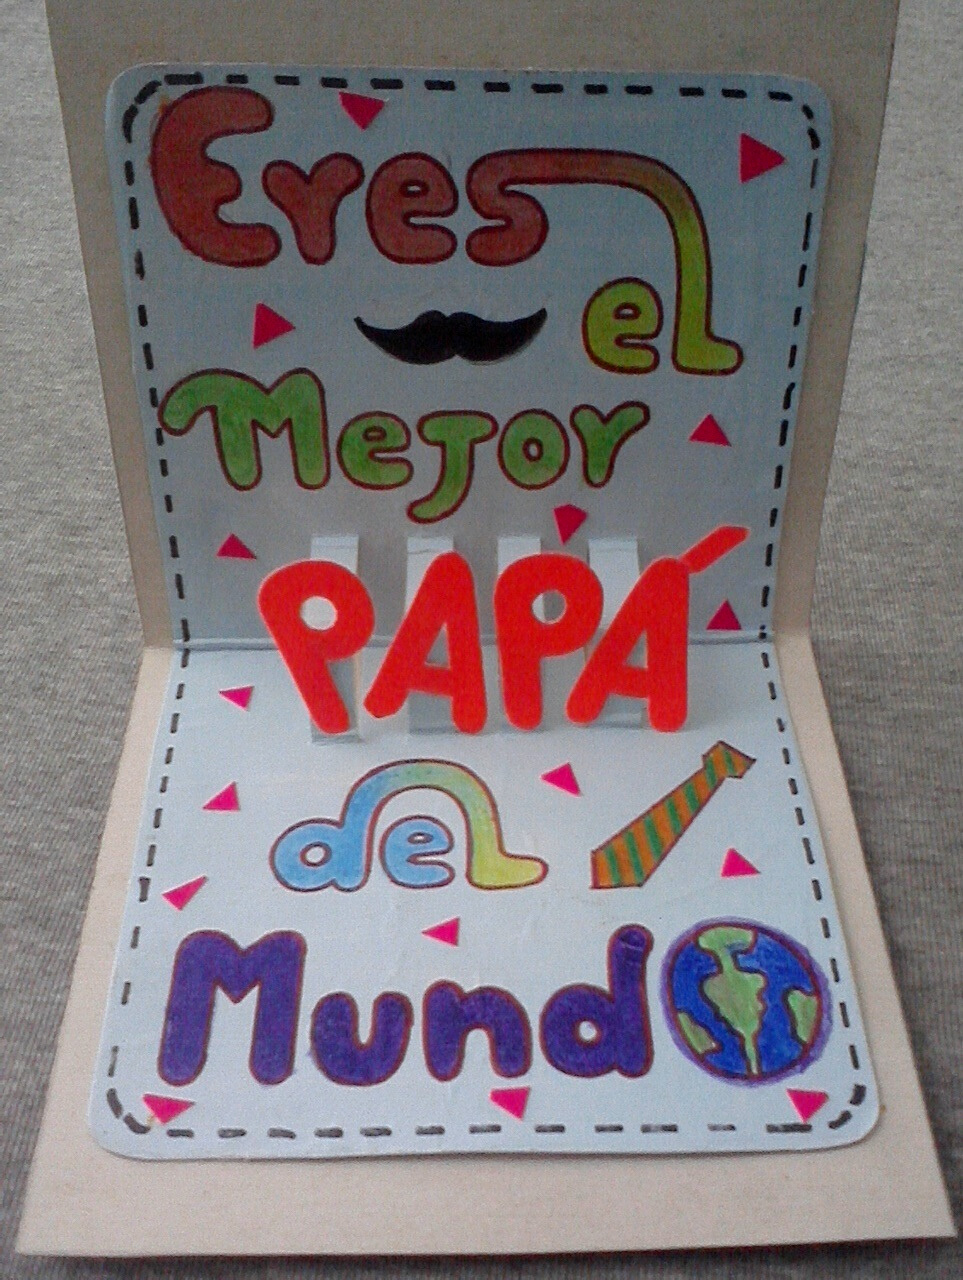

Todas las fotos son de mi autoria y editadas con Canva.
Traductor: DeepL Traslate.
All photos are my own and edited with Canva. Translator: DeepL Traslate.


Traductor: DeepL Traslate.
All photos are my own and edited with Canva. Translator: DeepL Traslate.


Esta bastante bonita la tarjeta, te quedo muy genial y es un buen detalle para el día del padre muchas gracias por compartir esta publicación.
Gracias, que bueno que te haya gustado, es fácil de hacer. saludo.
Dear @brahiam15, we need your help!
The Hivebuzz proposal already got important support from the community. However, it lost its funding a few days ago when the HBD stabilizer proposal rose above it.
May we ask you to support it so our team can continue its work?
You can do it on Peakd, Ecency,
https://peakd.com/me/proposals/199
All votes are helpful and yours will be much appreciated.
Thank you!