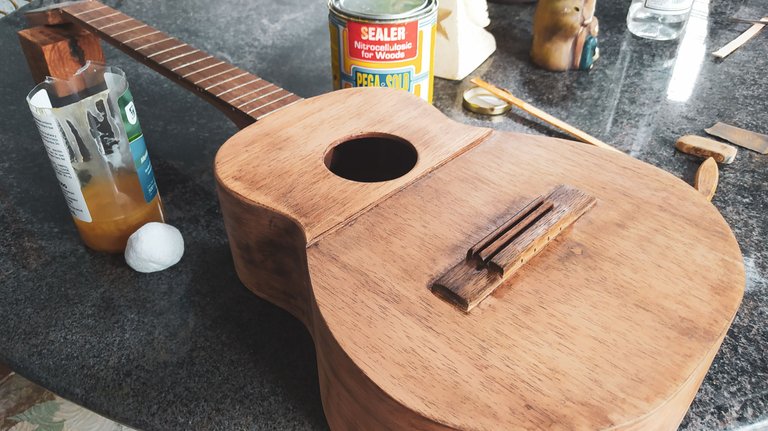


What's up around here? In case you're wondering what has been of this instrument, well, it's been a lot of work and now came the whole scrapping and remaking of the first layer of finish.
Resealing
Since the colour wasn't of the liking of the client, there was the need to get all that ink off the instrument. This is a boring process and it makes quite a mess. I have to confess I didn't take a lot of photos of the scraping process since I had my hands full of dust and dried ink.
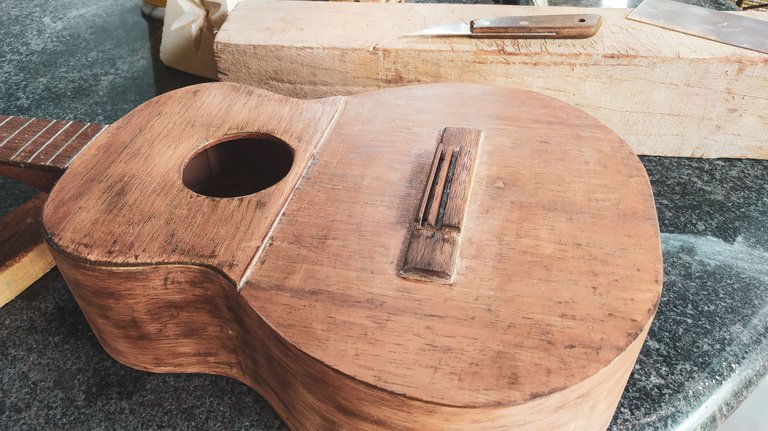
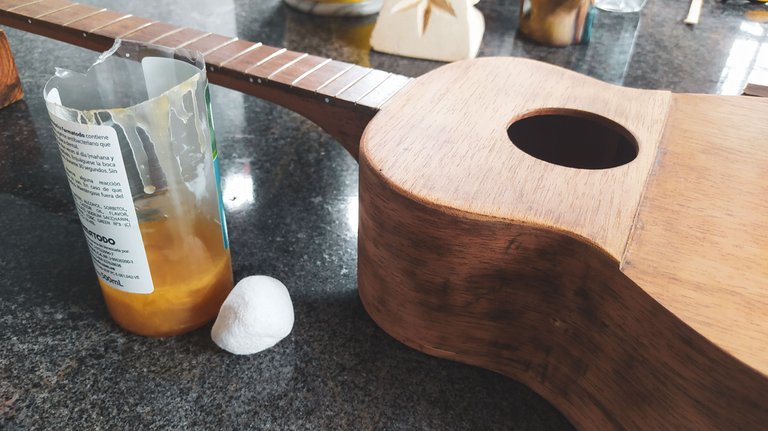
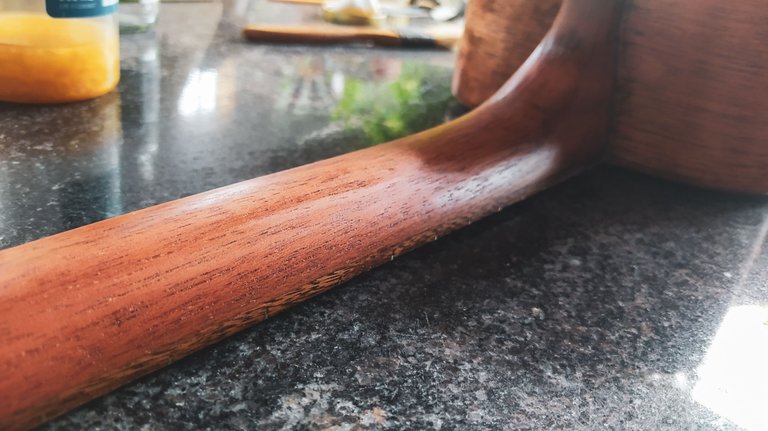
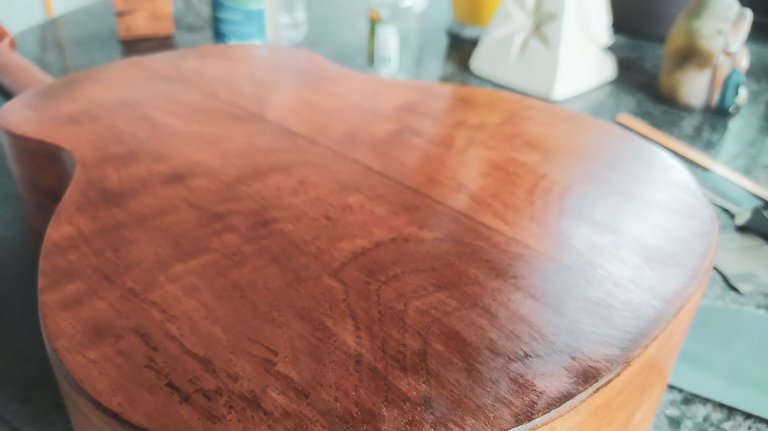
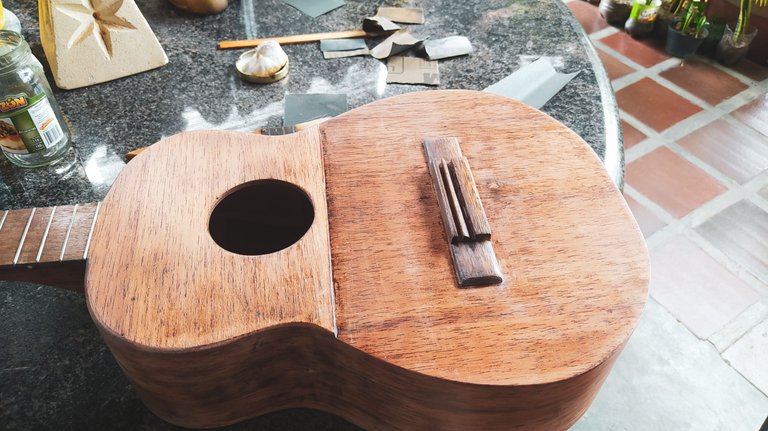
So, I just took some photos of the instrument after I removed as much of the ink as I needed. After this part was done, a whole sanding process took place in different grits. Some of this work was to remove more ink. However, some of the sealant is still inside the grain of the wood and the sealing process was easier.
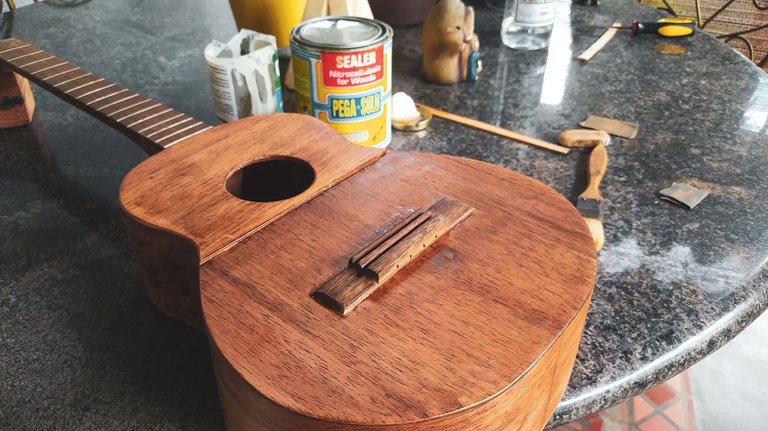
Having prepared the sealant with solvent in a 1:1 ratio, we started to apply it with some cotton around the whole instrument. After this happens, it's just a thing of letting it dry and sand between coats of sealant. At this ratio, it takes around 30min for each coat.
And also, the whole sanding goes on different grits. It goes up from 240, then 400, and 600 to finish. This ensures the coats keep a smooth surface and the grain gets filled faster. It sounds vexing but such are the mysteries of woodworking.
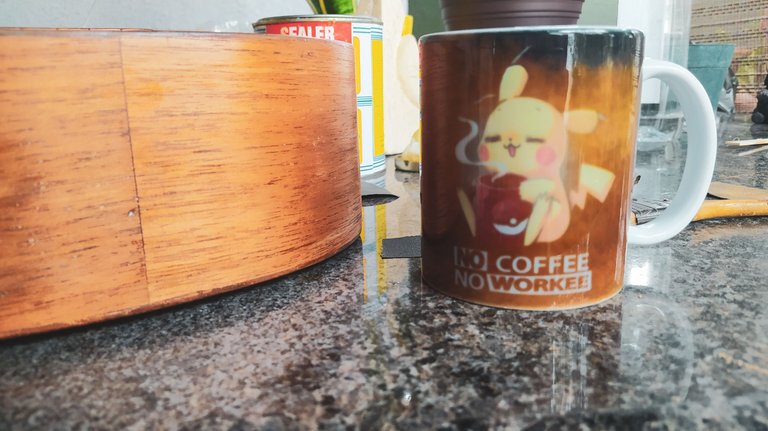
And what could be better to keep the workflow than having some coffee while I wait for the sealant to dry?
No coffee, no workee.
As we keep these coats and sanding the whole appearance of the instrument changes drastically. However, the ink stains are still visible in the colour of the wood. So that means the last coat of the finish, the lacquer will need some ink to get an even colour. And this time, it won't be too dark as it became the complain for this work. Hopefully. now the work will be done and this one will be making music.
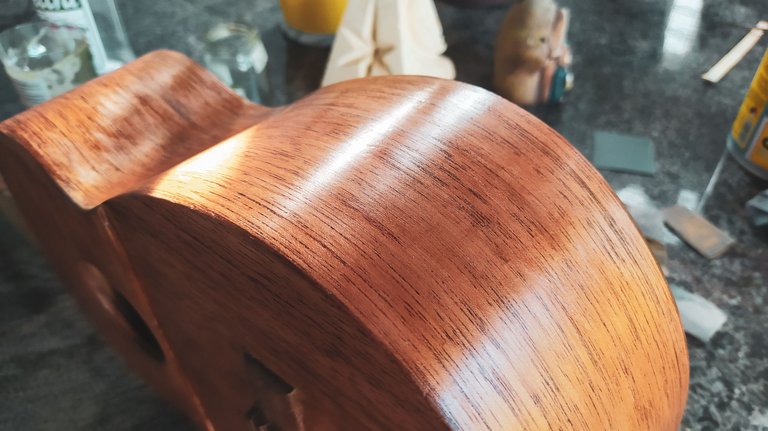
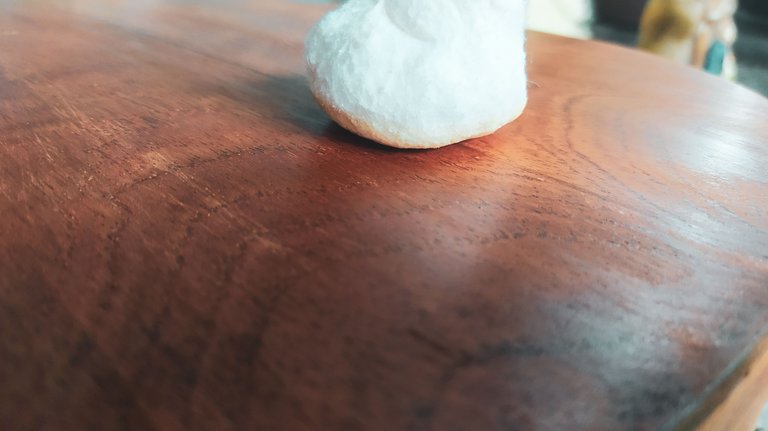
Of course, this work wouldn't be complete if I didn't show some of the results. You can see some of the ink the dark lines of the grain, that's one of the reasons of applying same lacquer with ink to even everything out. But that will be a job that requires some precision and finesse. So, it will be time to revisit my teacher and have some help with this.

Cuatro Desgastado III


Espero que todos estén bien. En caso de que se pregunten qué pasó con este instrumento, bueno, necesitamos hacer varias cosas para empezar a hacer todo el proceso de sellado otra vez. En primer lugar, hay que quitar todo el color que había colocado.
Resellando
Como el color no fue del agrado del cliente, había que remover todo y volver a empezar el acabado. Ese proceso es muy aburrido y genera mucha basura. Tengo que confesar que no tomé fotos mientras lo hacía porque siempre tenía las manos sucias de sellador y tinta seca.
Así que tomé estas donde ya había removido la mayor cantidad de tinta. Después, es todo un proceso de lijado en diferentes granos para poder remover la capa que todavía está pegada a la madera. Aunque, todavía queda algo de sellador y puedo aprovechar eso para facilitar el proceso de sellado.
Aquí preparamos sellador a relación de 1:1 con el solvente. Para aplicarlo, utilicé una bola de algodón. Aplicarlo es fácil porque pasamos por todas las zonas que raspamos antes y dejamos que se seque. Con esta mezcla, toma aproximadamente 30min en cada capa.
Además, aproveché de hacer un proceso de lijado similar al de preparar la madera. Esto va desde el grano 240, después 400 y finalizamos en el 600. Esto permite preparar las capas de sellador para recibir la siguiente y que los poros de la madera se llenen más rápido. Esto quizá no tenga mucho sentido, pero es uno de los misterios de la carpintería.
¿Qué mejorar manera de mantener el flujo de trabajo que tomando café mientras esperamos que las manos de sellador se sequen?
No coffee, no workee. (sin café, no hay trabajo)
Mientras seguimos aplicando capas y lijando, la apariencia del instrument va cambiando poco a poco. Sin embargo, todavía se pueden notar residuos de tinta en los poros de la madera. Esto sigfinica que para lograr un acabado parejo, hay que aplicar algo de tinta a la laca. En esta ocasión, será solo un poco para lograr un tono parejo y evitar cualquier queja por un color "muy oscuro". Con suerte, este pequeño estará sonando dentro de poco.

Y por supuest, esta entrada no estaría completa sin una foto para resumir todo el trabajo. Aquí pueden ver como todavía hay tinta en los poros de la madera. Son esas líneas más oscuras que pueden ver. Esta es la razón para aplicar un poco más en el laqueado. Así todo quedará más parejo. No obstante, como es un proceso que requiere un trabajo más fino y preciso, requerirá una visita al taller de mi porfesor.

Fotos/Photos and Video 📹 📷: taken by me (Redmi Note 8)
Portada/Thumbnail 🖼️: by me, created with Canva.
Edición/Editing 🎬: by me, made with Capcut.


Follow me on Instagram for enquires and commission.
If you'd like to help the workshop grow, you can make a donation here. You can find me at discord as bertrayo#1763
Discord Server.This post has been manually curated by @bhattg from Indiaunited community. Join us on our
Do you know that you can earn a passive income by delegating to @indiaunited. We share more than 100 % of the curation rewards with the delegators in the form of IUC tokens. HP delegators and IUC token holders also get upto 20% additional vote weight.
Here are some handy links for delegations: 100HP, 250HP, 500HP, 1000HP.
100% of the rewards from this comment goes to the curator for their manual curation efforts. Please encourage the curator @bhattg by upvoting this comment and support the community by voting the posts made by @indiaunited.
Que genial como quedan los lados, que brillo, me encanta! la última fotografía es genial. Muy buen trabajo Andrés!😀
Todo un trabajo y todavia le falta otro poco.
Te surgieron otros trabajos? Como va eso?
No, no hay trabajos nuevos. Solo el trabajo que falta con este instrumento.
Ya saldrán nuevos, tené confianza.
Good, you later gave the client the color he desired. Honestly when painting one needs to be careful as your hand will be full of ink.
Yup. Fortunately, this kind of ink is removable with solvents.
Una verdadera obra maestra, el cuatro un instrumento floklorico de nuestra raíces.. excelente!!
Gracias
Tanto trabajo por el capricho de un chamaco, si tampoco así le gusta aviéntale la lata de sellador por la cabeza, para ver si así se le quita lo... Indeciso.
Besos, muchachito bonito 😘❤️
Ja, ja, ja, ja, ja. Será.
Suele pasar el hecho de olvidase de sacar fotos en los procesos a veces por estar apurado, otras porque es un trabajo donde terminas teniendo las manos sucias todo el tiempo y a veces simplemente porque uno se olvida jajaja pero de todas formas lograste juntar buena información y material para contar el trabajo que realizaste. Muy buen acabado pero seguramente queda más trabajo por delante.
Si, ahora me dieron unos clavijas. Me toca hacer otro trabajo porque necesito unos agujeros más grandes y tengo que rellenar los viejos. Todo un asunto.