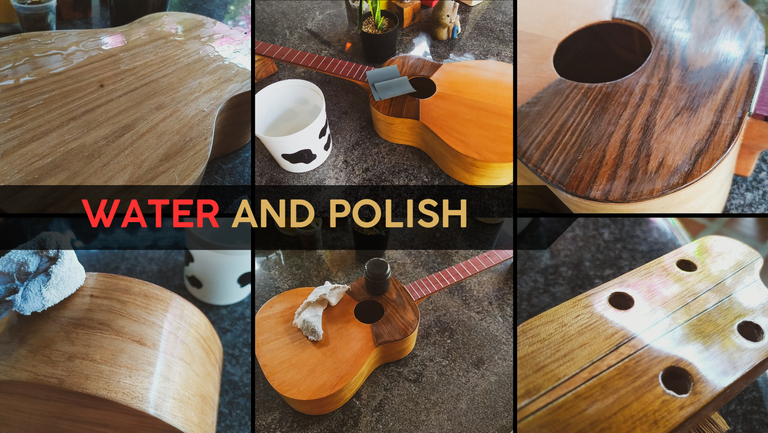

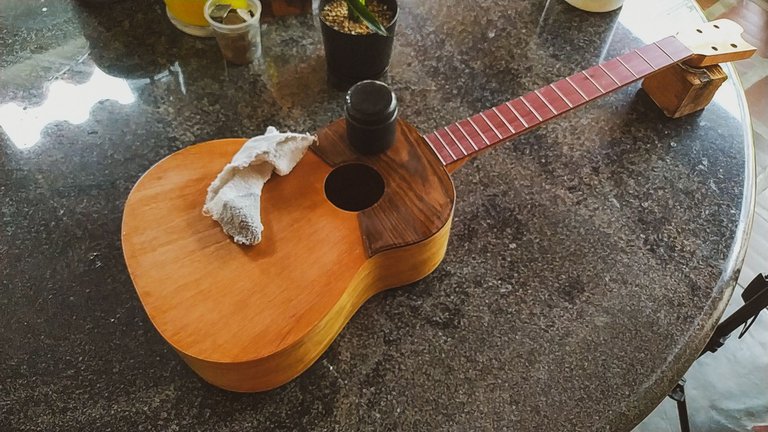
We're back to show more progress on this build. I had to make a stop on all the process to show the results of the finish made all by hand. I didn't believe sealant could look so good, but here it is.
Let's jump right to it!
Yes, more sanding
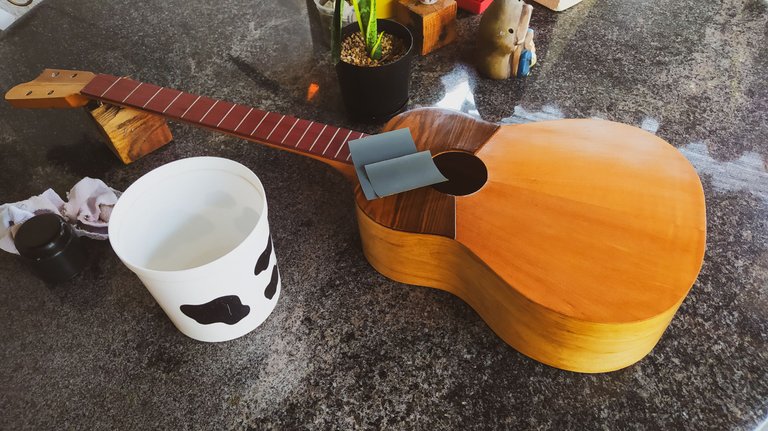
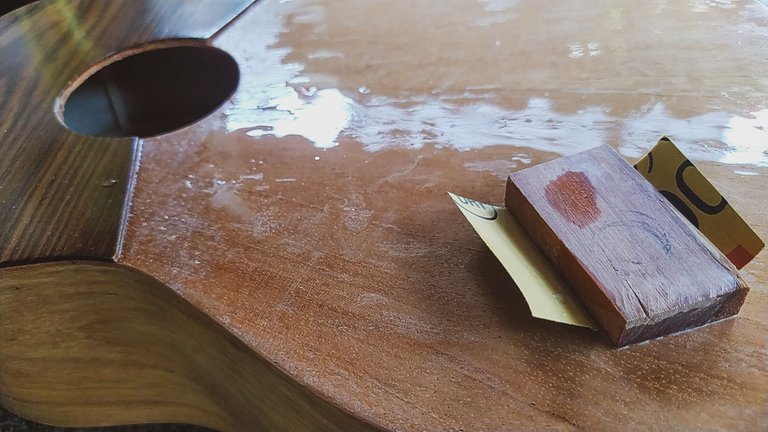
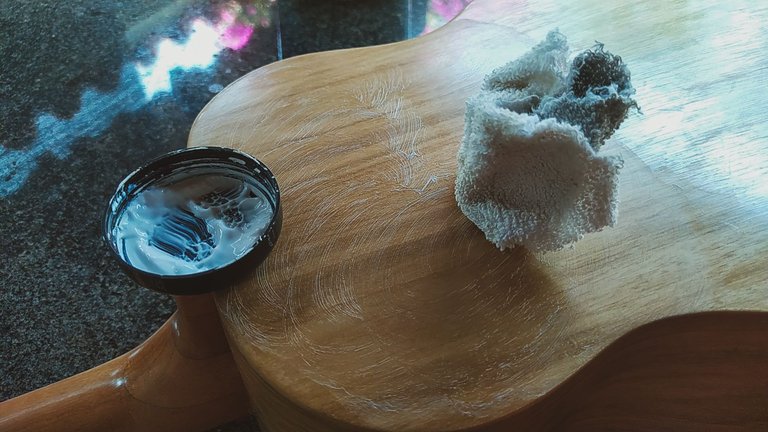
To start the last bit of sanding we go over to a 1500-grit sandpaper and use water to make this a different kind of sanding. This technique helps eliminate anything that might have attached to the finish while it was drying.
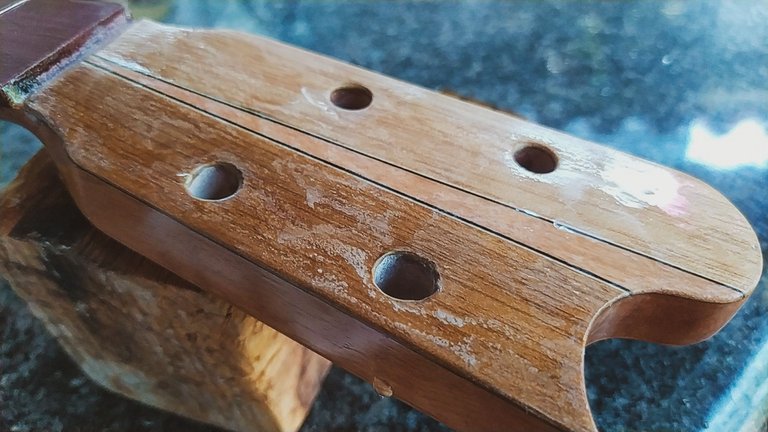
We need to go about in circular motion and apply almost no pressure while we sand. Water gives us the cue to stop sanding on a stop since it will start filling up with this white dust that comes off from the finish coat. We repeat this process all over the instrument.
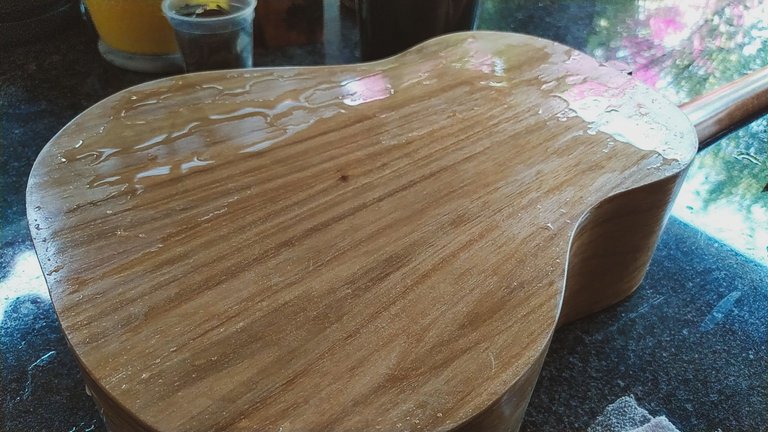
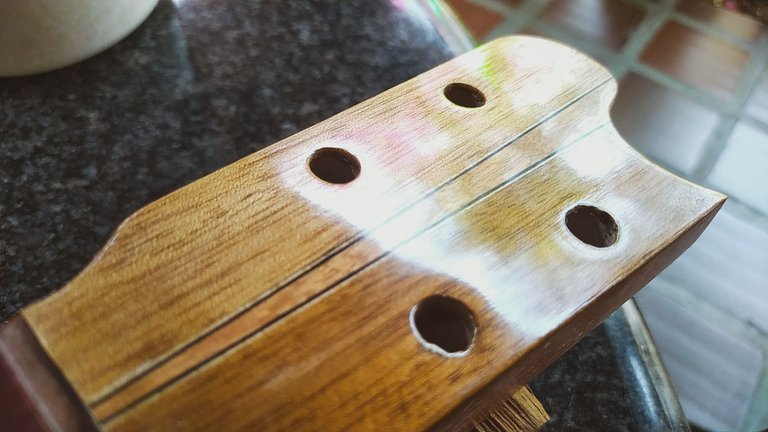
The results don't look good. The instrument will look as if we had smeared something white on it. It will lose any shine it had before. But in this process we need to remove any shining parts before the instrument can have anything resembling a mirror finish. Once all the sanding is complete, we need to use a piece of clothe to remove the water and dust from the instrument.
Here we can tell if the instrument is sealed. Any amount of water on the wood would make the are get swollen and give us trouble since the glue we use is soluble in water.
Polish
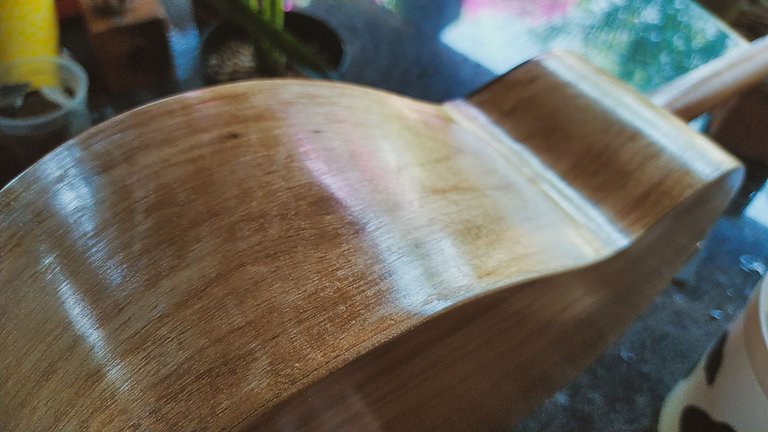
Now comes the fun part, that is to make it shine.
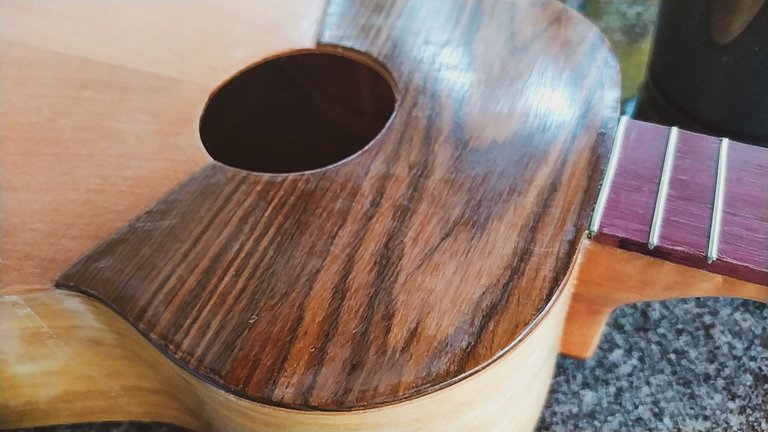
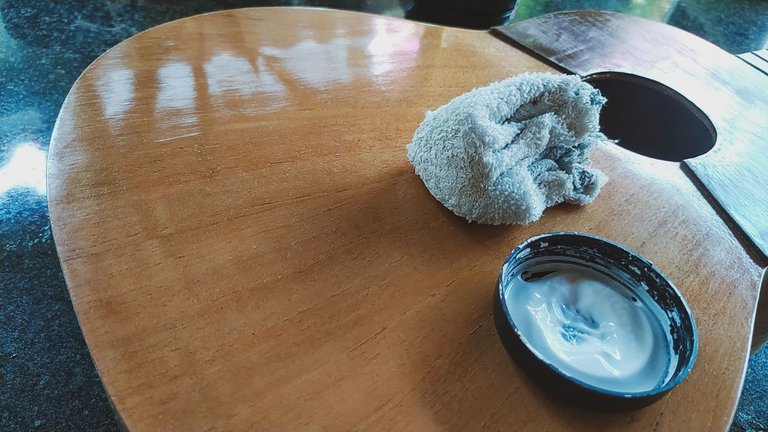
We use some car polish to start making the whole thing shine. The process is exactly the same as if you were training in Karate Kid. Wax on, wax off. Well, not quite. We need to apply the polish in circular motion over an area. It will give us some opaque spots. But this will be shiny once we remove the polish with a clean cloth. And we need to repeat this process all over the instrument.
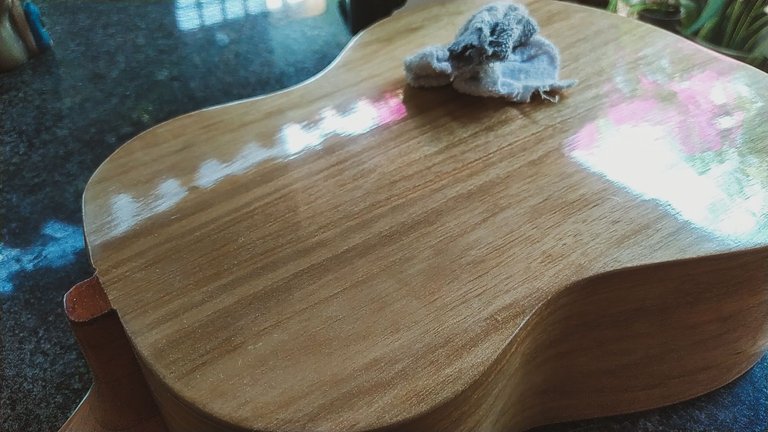
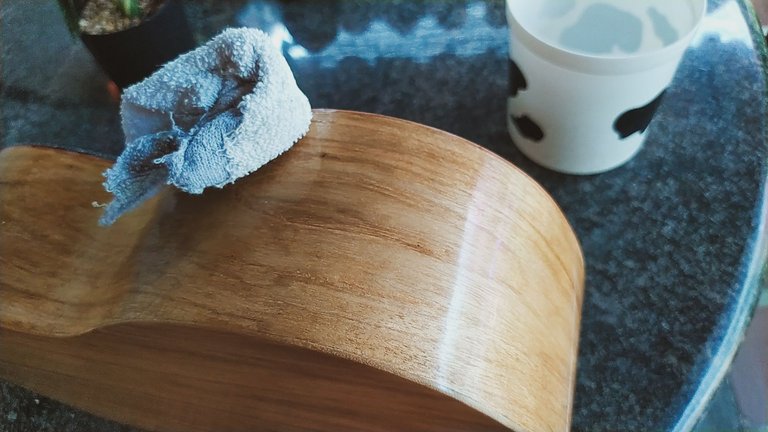
Once we have done a first polish, we can decide whether we want to apply more or not. In this case, I went ahead and did a second round of polishing since I knew the instrument could be even more shiny. And you can see the results.
With this in mind, I think the whole idea of using a paint gun will stay in hold for a long time. Yes, that is cool an all, but it requires having a space to do those paint jobs and loads of thinner to clean afterwards. Making this finishes by hand gives you the chance of learning an interesting skill and will pay off. For example, French Polish, which is the peak of luthierie finishes is made by hand with shellac. So by doing this, that skill is building up even if I'm not using the same materials.
But this has been all for now, next time, we'll start on the last pieces for the instrument: bridge, nut and saddle. Once those are done and in place, it'll be ready for tuners and strings. Then, fine tuning will be the last bit of work on the instrument so it is ready to make music.
Thanks for reading!

Photos 📷: taken by me (Redmi Note 8)
Thumbnail 🖼️: by me, created with Canva.
Editing 🎬: by me, made with Adobe Photoshop Lightroom.


Follow me on Instagram for enquires and commission.
If you'd like to help the workshop grow, you can make a donation here. You can find me at discord as bertrayo#1763


https://inleo.io/threads/bertrayo/re-bertrayo-dnlc3pzz
The rewards earned on this comment will go directly to the people ( bertrayo ) sharing the post on LeoThreads,LikeTu,dBuzz.
Te está quedando muy bueno Andrés, mucho trabajo y esfuerzo, pero es un trabajo genial!!😃
Ya casi estamos listos 😁
👍👍👍
I love it it looks so great and it's not finished yet
Yup, and it will be ready soon enough.