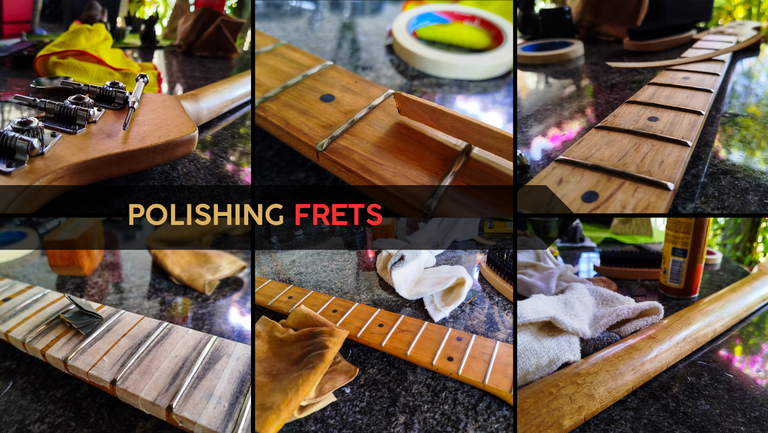

Welcome back to this series on the maintenance of this Bass. Last time we checked out the process of disassembling the instrument and learning how to put it back together. Today, we're all about the cleaning process. There's a lot to clean and we need time to get those frets shiny and that fretboard hydrated.
Let's get to it!
Dusting off
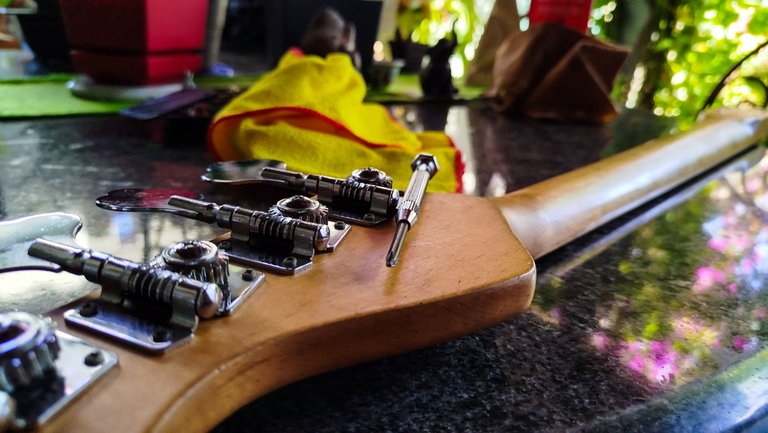
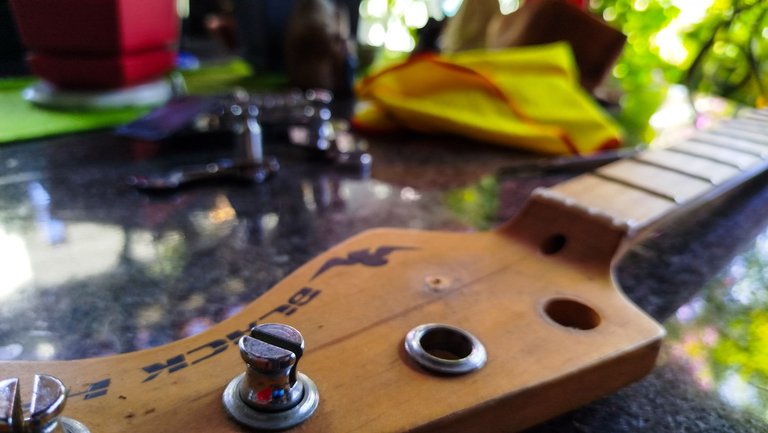
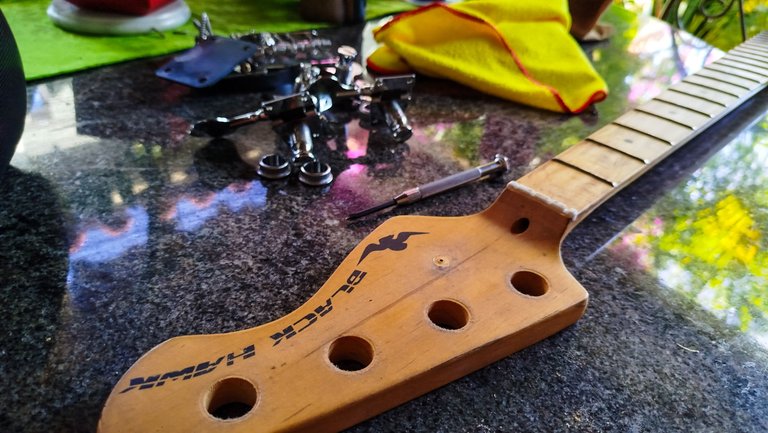
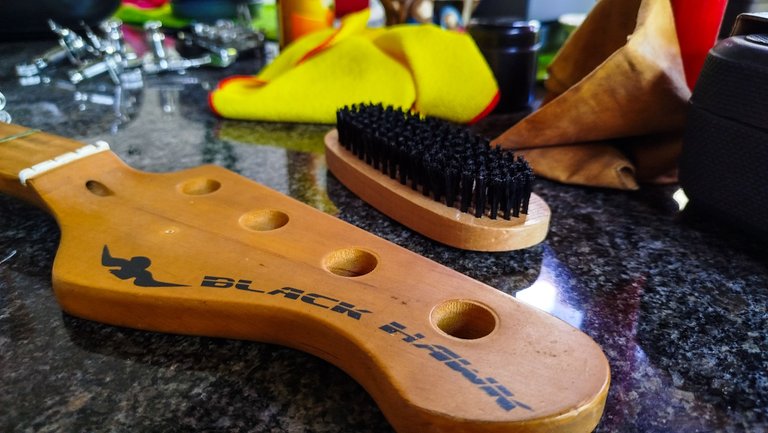
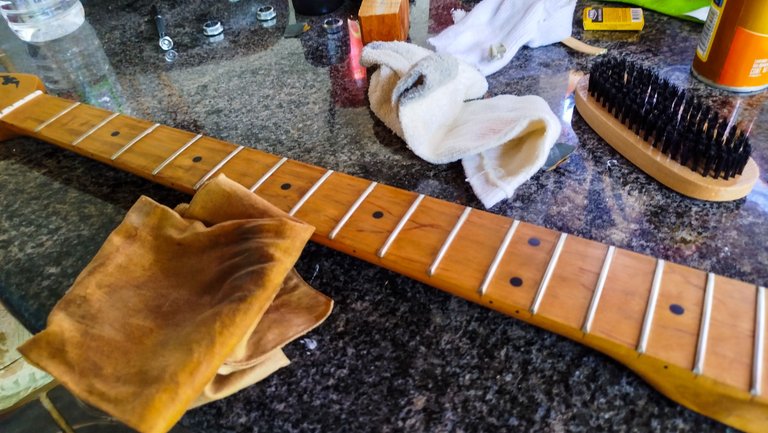
Dust can collect easily on any instrument that is just laying in the open. It gathers more quickly if you don't move your instrument often. So, to start cleaning this fretboard, we star by removing the tuners and using a brush to sweep it off.
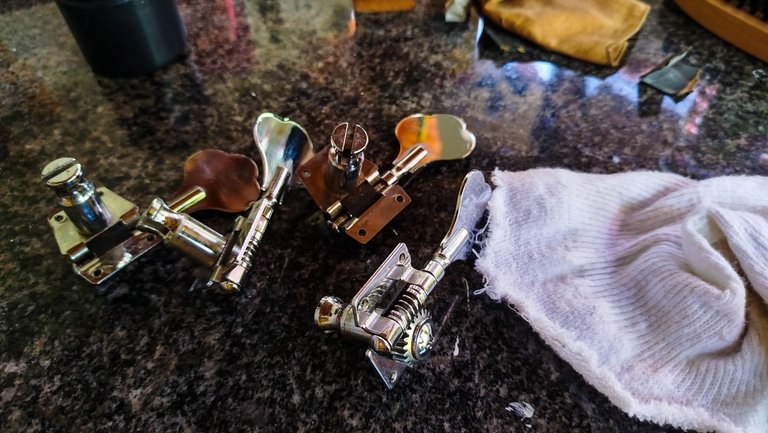
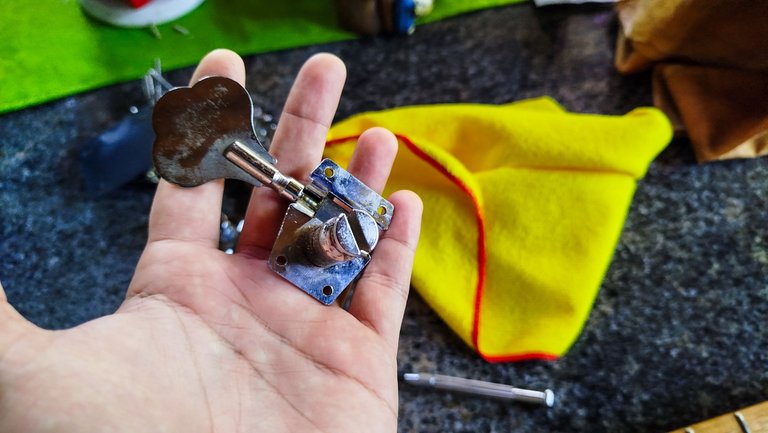
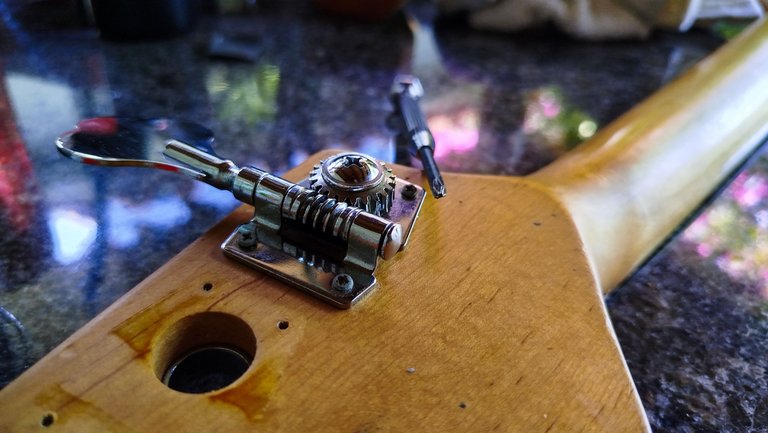
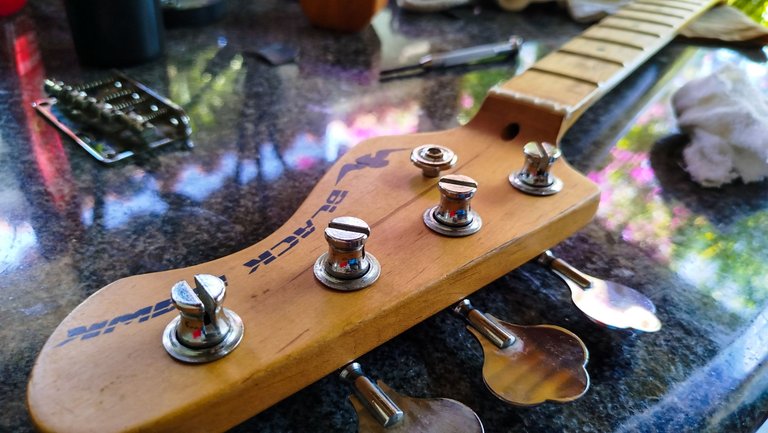
These tuners are a little bit problematic to remove as we need to take off screws and also remove the rings that are placed in the holes to cover them up. Removing them requires a bit of finesse and the right amount of strength. Taking all these pieces off gives us enough room to use a brush to get off all the dust. Now, we can move to the next step.
Removing the cheese
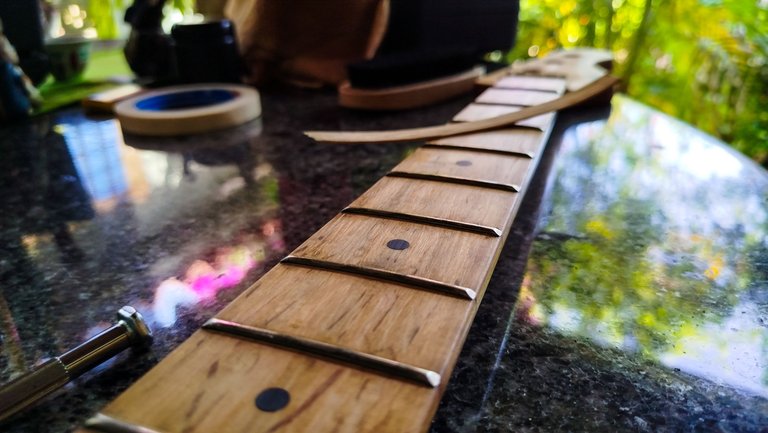
On the last part, I mentioned that cheese is the common term to refer to all the dirt that accumulates on the frets and fretboard. It is the result of our own greasy fingers in action. That's why we need to wipe the instrument after we use it and remember to wash our hands before playing.
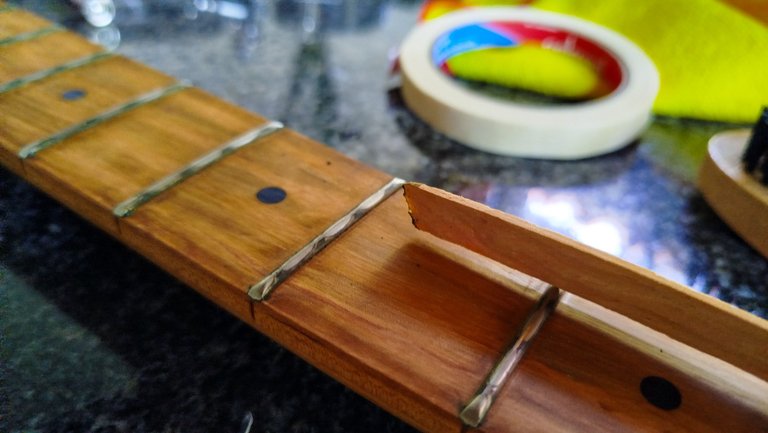
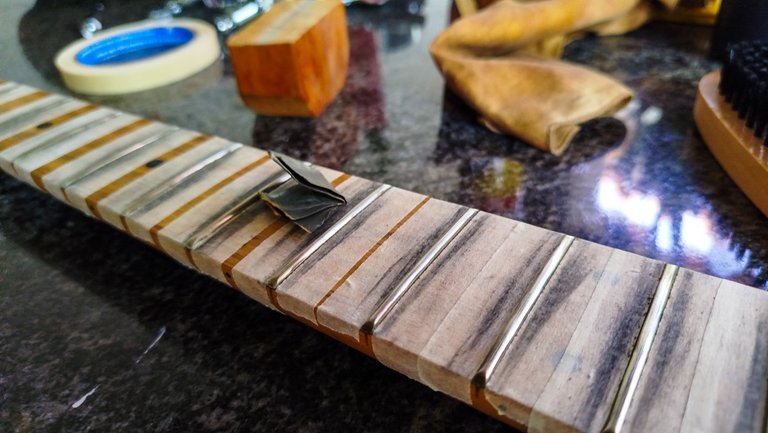
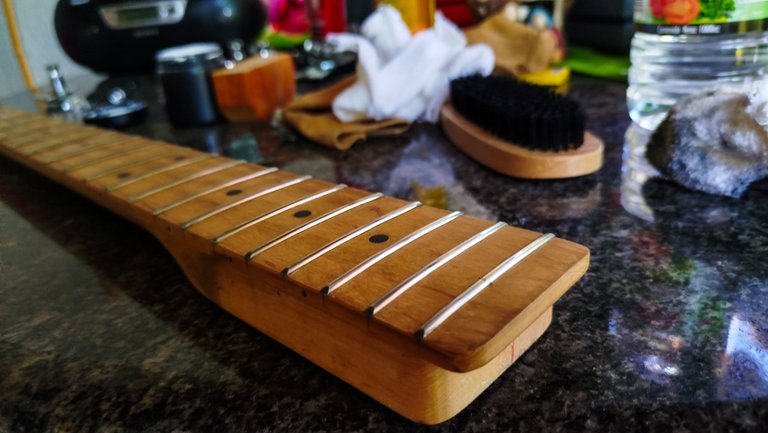
Taking this off requires a lot of work. We have already taken care of the gunk in the fretboard. However, some of it was still attached to the frets. This is more difficult since we cannot use the same method with the razor. So, using a piece of wood seems logical as we can remove the superficial dirt without damaging anything.
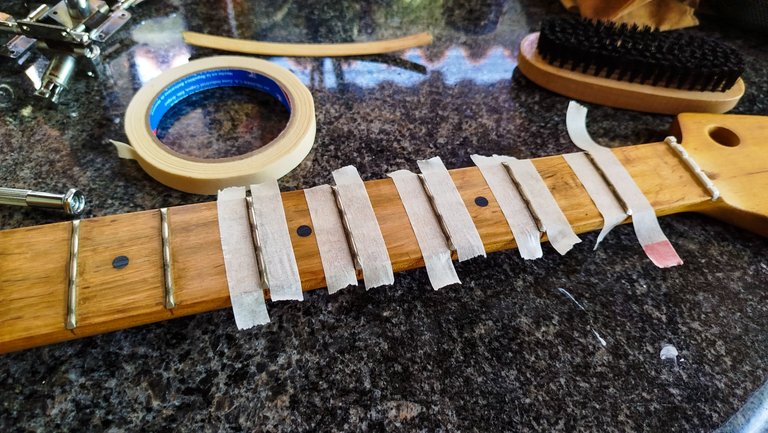
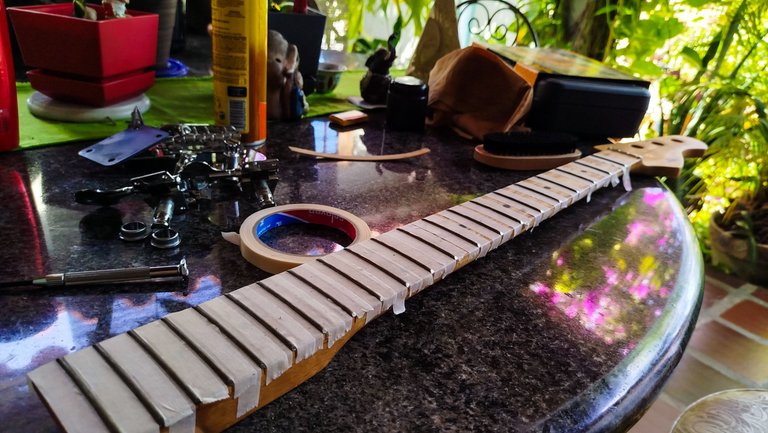
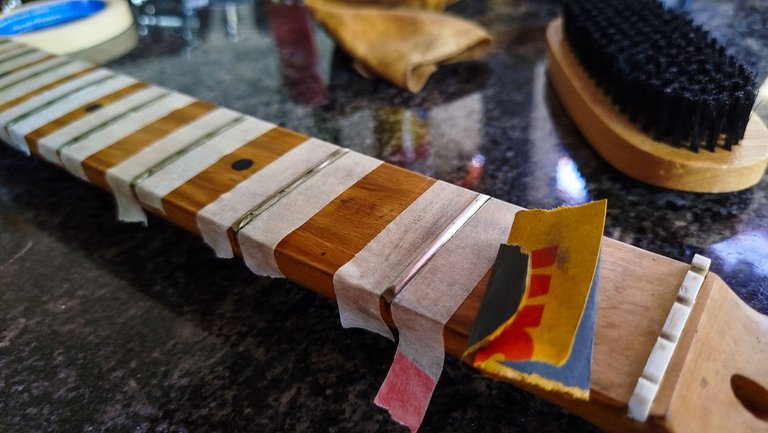
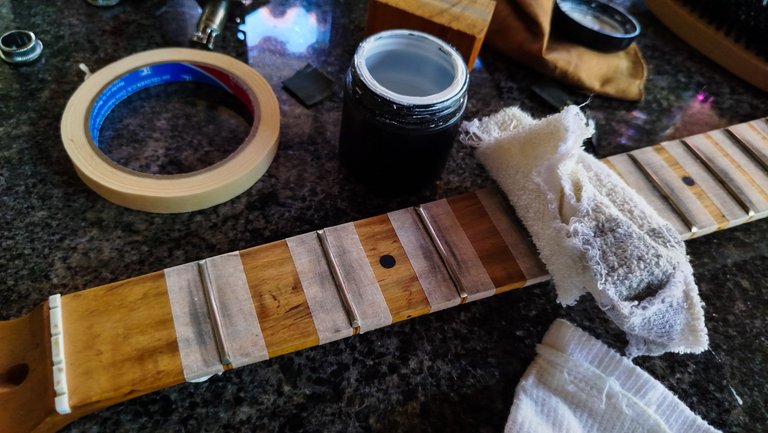
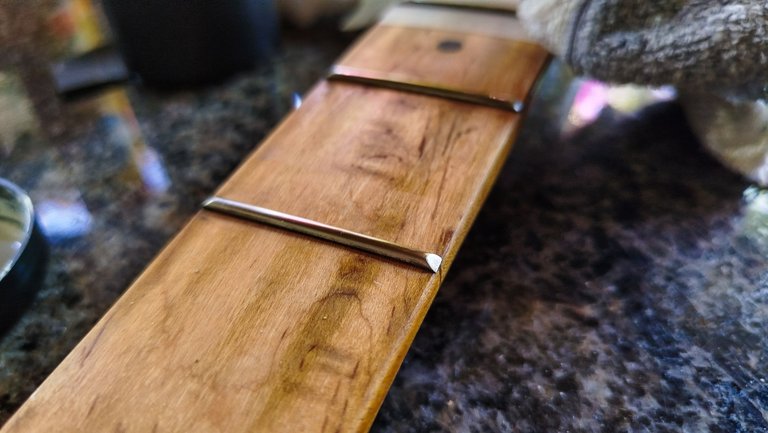
This isn't enough, though. We need to polish the frets. To do this, we have to place masking tape all over the fretboard and near the frets to make sure we don't touch the wood. Once we have masked all the wood, we can start using a fine-grit sand paper (1500-grit is ok). The idea is to remove the dirt from the frets without damaging the crown (the rounded portion at the top). The tape also helps us avoid putting polishing wax on the wood of the fretboard. That is the last step in this cleaning of this section of the instrument. Giving the frets a nice polished finish.
Something extra
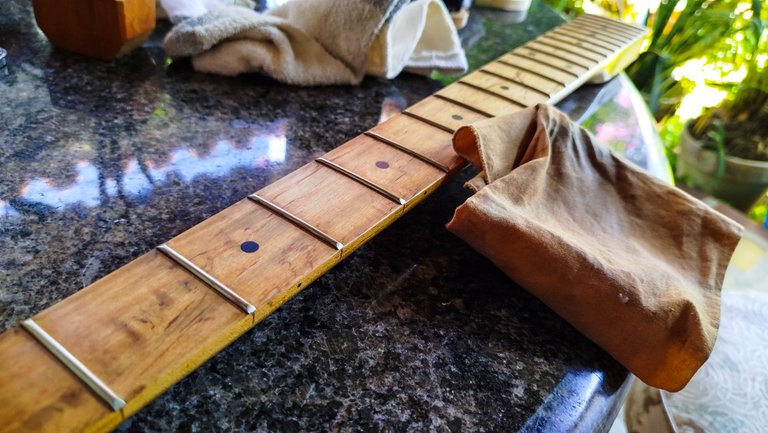
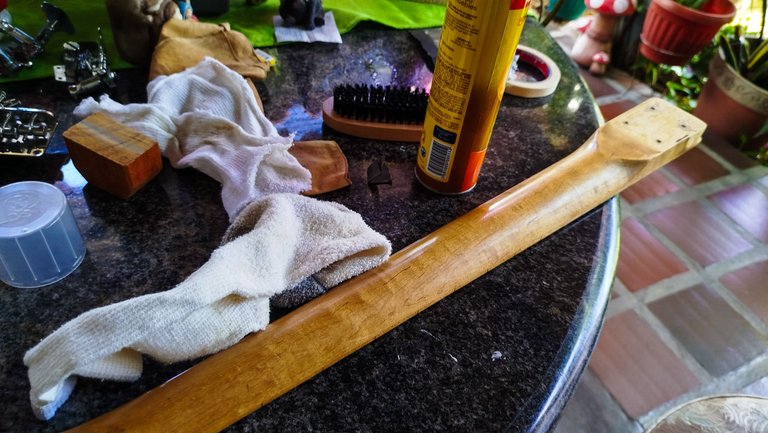
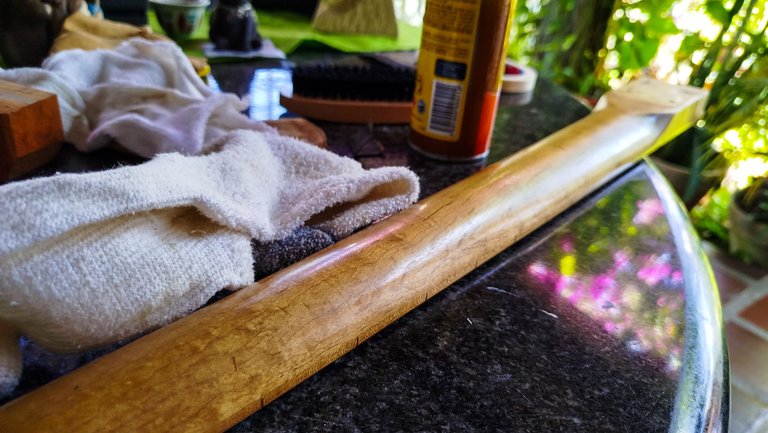
Our last bits of work on the neck of this bass is to polish the tuners to remove any kind of dirt that has accumulated on them over the time. Once this is done, we can move to fretboard hydration. With a bit of teak oil we apply a coat to prevent moisture from getting in this portion of the neck. But we are not done, to finish treating this neck we need something else to clean the rest of the area. For that, we use a furniture polish. This cleans, protects and doesn't harm the finish. It is also nice that is has a nice orange scent.
Then, the rest is getting the tuner back on. First, attaching the rings to conceal the holes and them putting the screws in their respective place. And voilá, we have a neck put back together.
On the next entry, we get into the bits regarding the cleaning of the bridge and the electronics. We'll also get to address the issue with the buzzing E string.
Thanks a lot for reading. See you next time!

| Part | Name |
|---|---|
| 1 | Cleaning Bass |

Photos 📷: Redmi Note 13
Thumbnail 🖼️: Canva.
Editing 🎬:Adobe Photoshop Lightroom.


Follow me on Instagram for enquires and commission.
If you'd like to help the workshop grow, you can make a donation here. You can find me at discord as bertrayo#1763
A great job of restoration and repair, best regards Andres!😃
Yup, it has been quite an experience
🤗🤗🤗