
Happy New Year to all DIYers in Hive. I hope this 2025 brings lots of new ideas, projects, toys and more to the hands of all the awesome people makes handcrafted goods and more things.
We are here to keep on with the process of maintenance of this instrument. Last time, we finished shaping the bridge. Now, we are going to address some extra things to get the instrument ready for the finish.
Let's get to it!
Bridge finish and extra
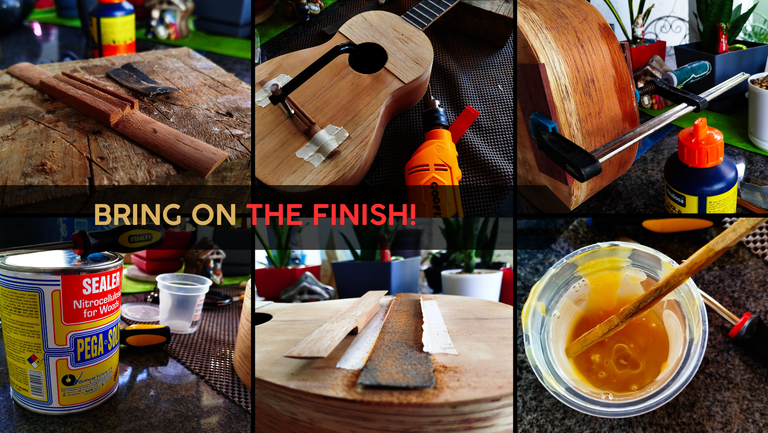
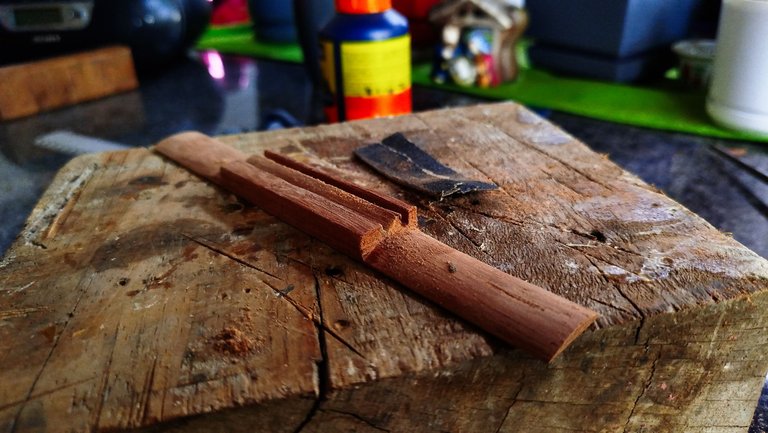
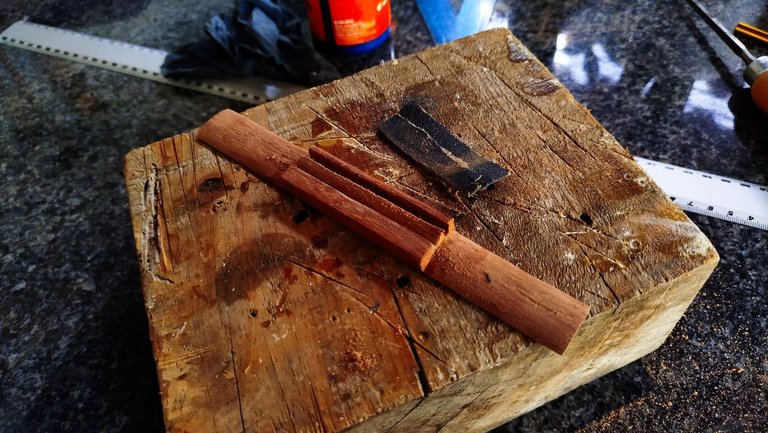
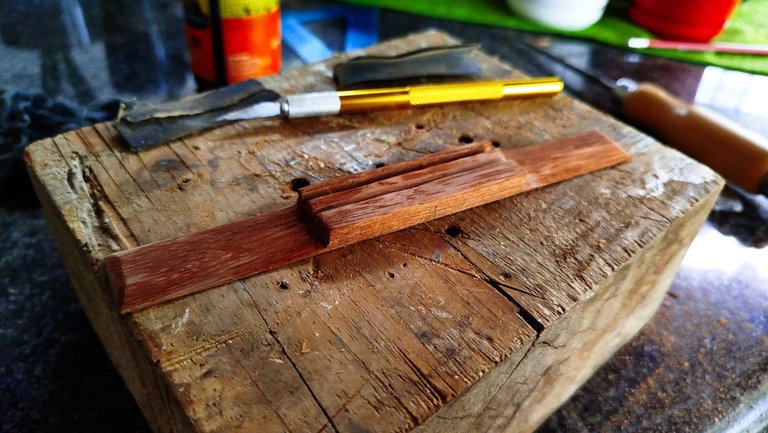
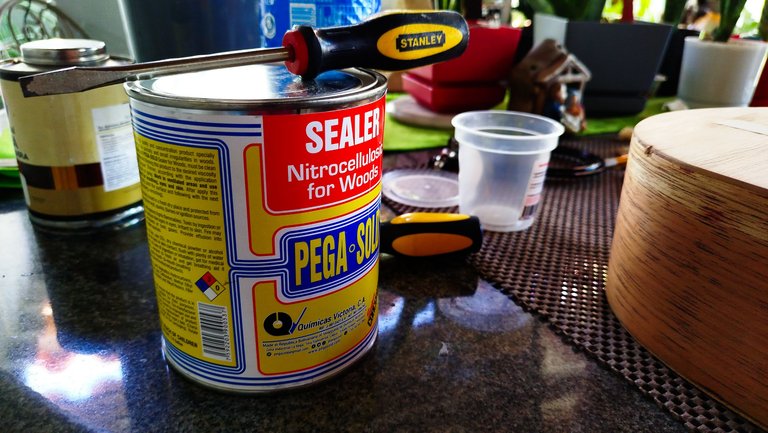
The last bits of work on the bridge are its finish and the holes for the strings. We are doing the sanding in this part. We need to mark the position on the sound board and open the holes for the anchors so we can glue it in place later. The usual sanding takes place here, i.e., going from a 80-grit grain up to 220-grit. That way we smooth the surfaces of the bridge and have it ready to apply some light coats of sealer.
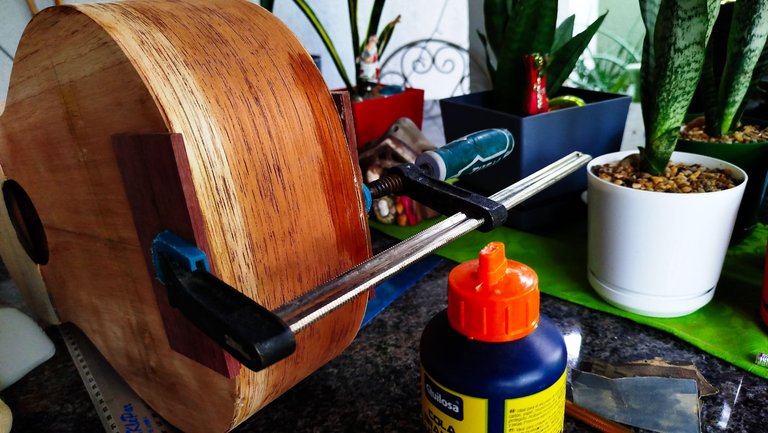
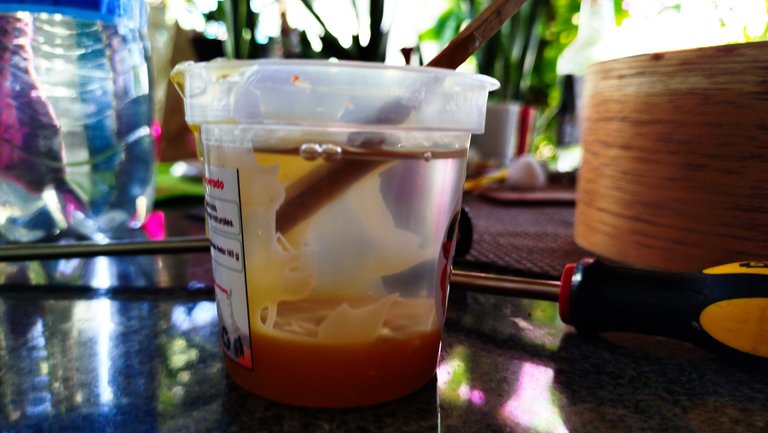
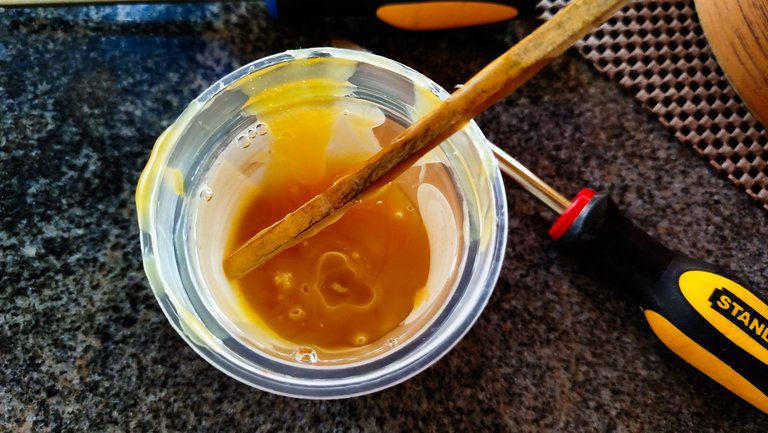
Also, something we had not done yet was gluing this part of the back that was open. It is just a matter of applying glue and using the clamps to hold it together. We had done all the preparation to do this step, but had forgotten about it.
It is just a matter of leaving glue work its magic and not the instrument only has one opening, the sound hole.
Bridge position
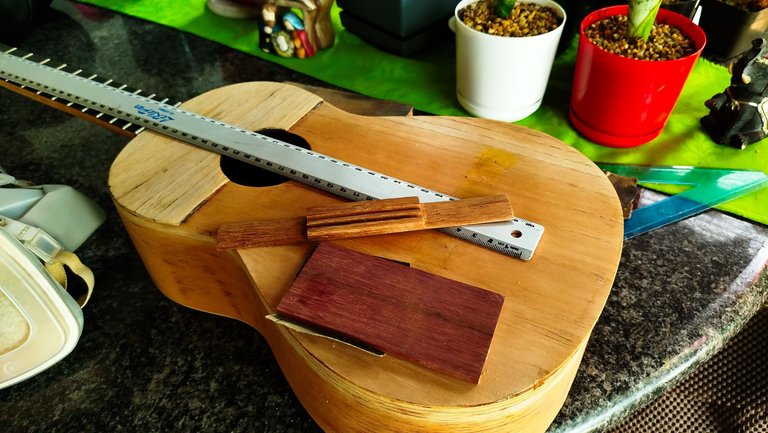
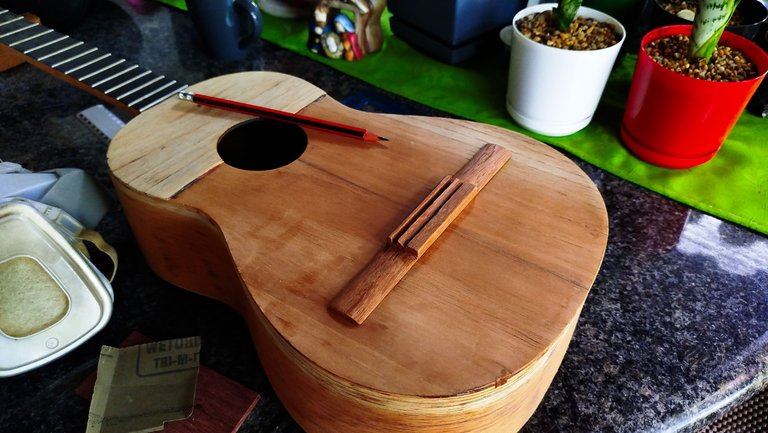
Remember all the measuring we did beginning this job? No? Fret not! (a bit of silly luthier humor). So, the idea was keeping track of how the instrument was made. We had already determined that the saddle has to go at 56cm from the nut. That is the same as saying it goes 28cm from the 12th fret. That gives us the first hint to place the bridge. So we can draw a line right there. To make it easier, we draw an extra line to mark the center of the sound board and then make a perpendicular line to this following the abovementioned measures.
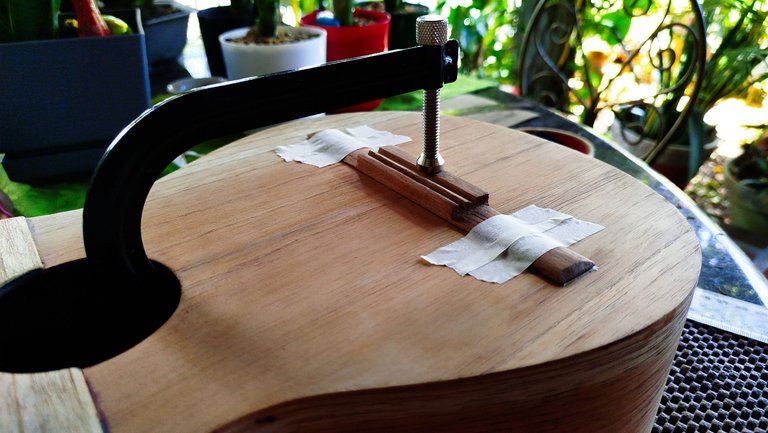
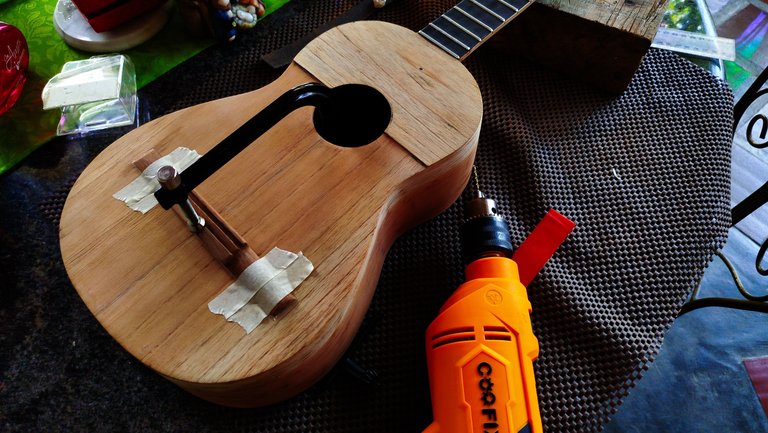
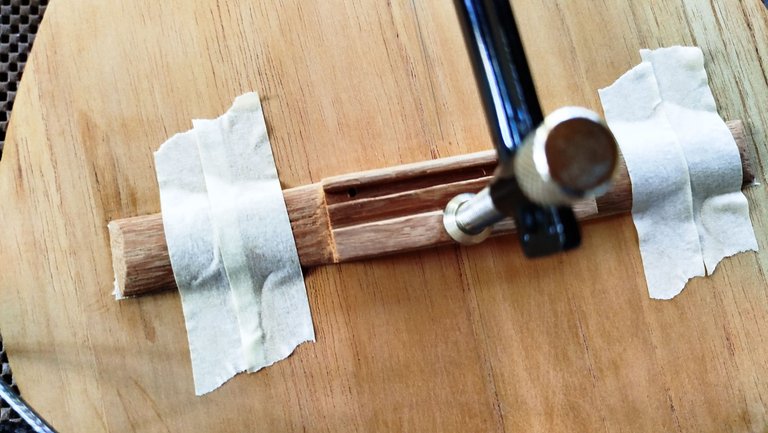
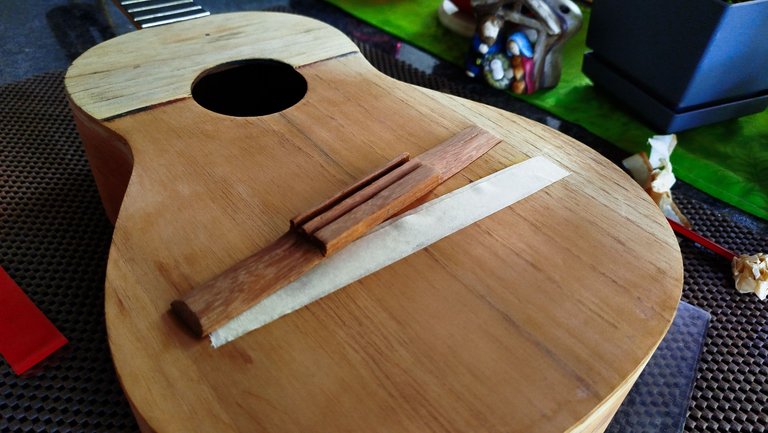
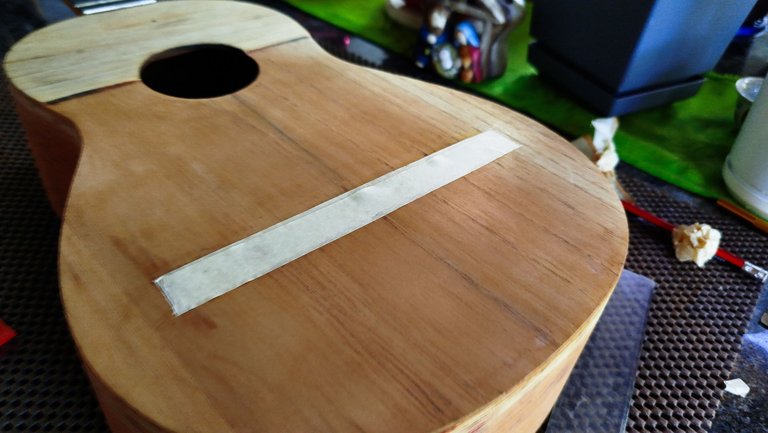
With this in mind, we can make up how to place the bridge while leaving enough space in the saddle slot. This means we place the bridge to leave the saddle line in the middle of the slot. This gives us enough room for compensation if needed (adjustments to correct the tuning). Having these marks on place gives us the opportunity to hold the bridge with some masking tape.
We are also adding the bridge clamp to hold it tight to the sound board. This gives us the safety to drill two holes in the saddle slot. These holes are for anchors we will make from a toothpick to make gluing the bridge easier.
Before finish
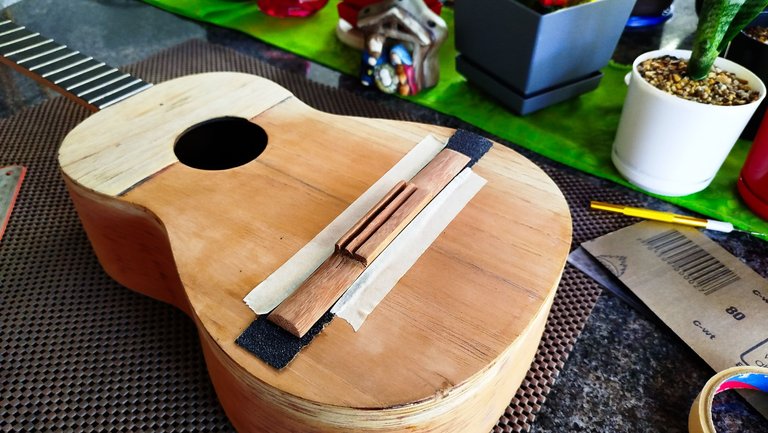
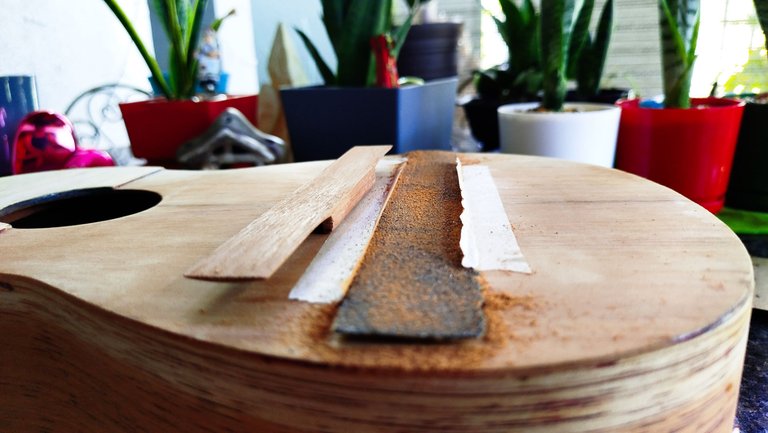
Before applying the finish, there are some pending tasks to address. We are leaving the rest of the bridge work for next entry except for one part. We need to flatten the back of the bridge to match the sound board. How are we doing this? Easy. We are taping a piece of 80-grit sandpaper to the place where the bridge is supposed to be.
After doing this, we are using the sound board as our sanding block. We keep the motion until the back of the bridge can sit flush with the sound board. this way we can make sure the glue will do its work properly.
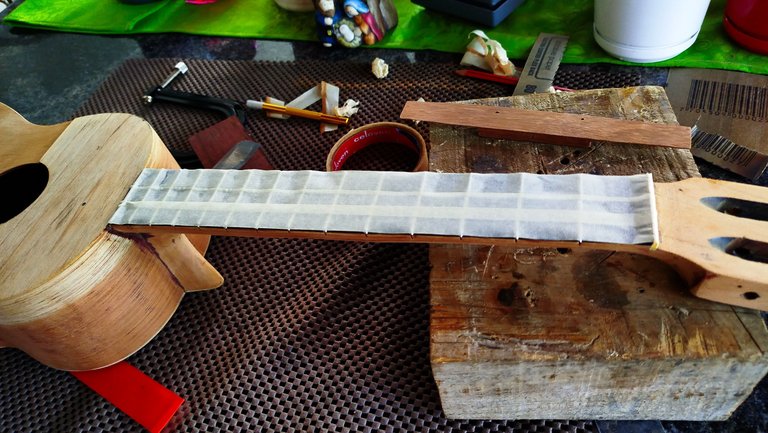
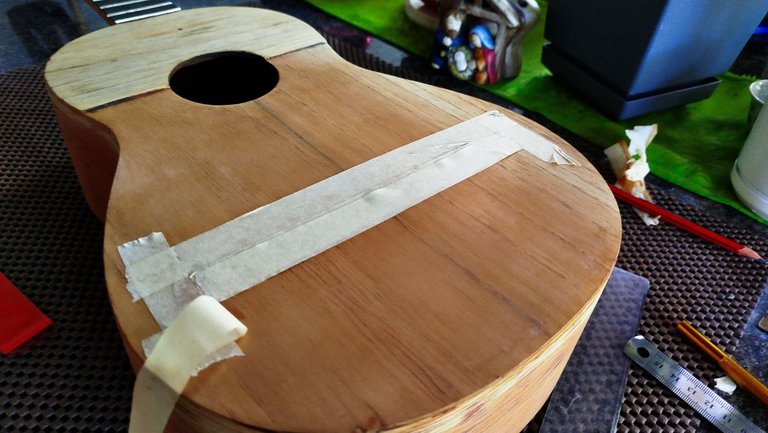
To make some extra prep work before the finish, we are adding some masking tape to the fretboard. That to avoid putting some finish on it. And we are applying the same to the sound board on the area of the bridge. This will be explained later, but it's just to make some work easier.
And just like this, we have a lot of work done and another entry completed. On the next post, we will dive into the steps required for the finish of the instrument and also do the final tasks on the bridge.
You'll be surprised of the results!
Thanks for reading. Until next time!

| Part | Title |
|---|---|
| 1 | Repair Job |
| 2 | Out with the Old |
| 3 | Fixing a Crack |
| 4 | A New Bridge |

Photos 📷: Redmi Note 13
Thumbnail 🖼️: Canva.
Editing 🎬:Adobe Photoshop Lightroom.


Follow me on Instagram for enquires and commission.
If you'd like to help the workshop grow, you can make a donation here. You can find me at discord as bertrayo#1763

Happy new year to you too 🎉 your work is very impressive
Thanks a lot ✨
Without a doubt, those who work with wood and talented carpenters are true magicians.
Thanks a lot!