
Today, it's time to finish the project of the Break Sticks. In the previous entry, I mentioned how the prototype led me to create a different model by virtue of creativity. And that's exactly what I did.
The idea was making a Break Stick similar to some I had seen. A lot of these things look like knife made of plastic or wood or some other material. So I decided to make something that was more or less on the same line but in my styke.
Let's jump to it!
Materials
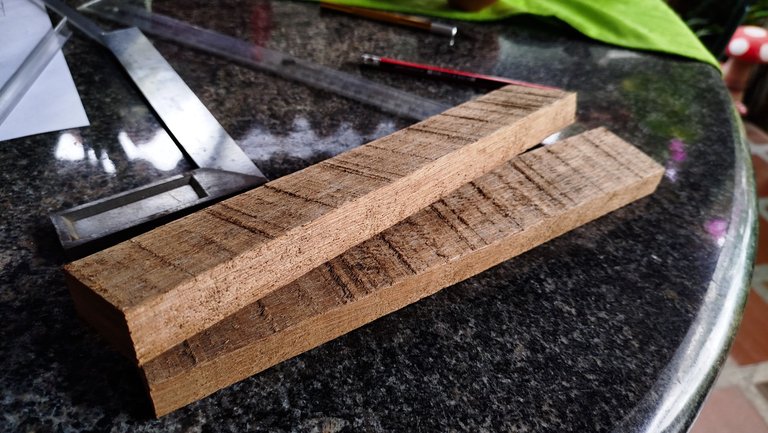
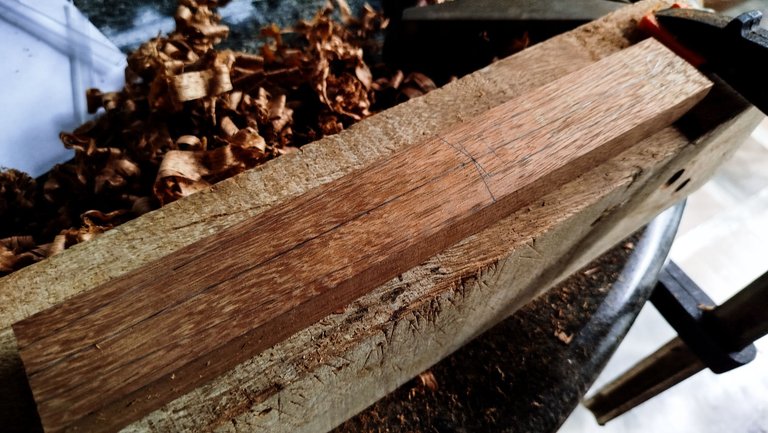
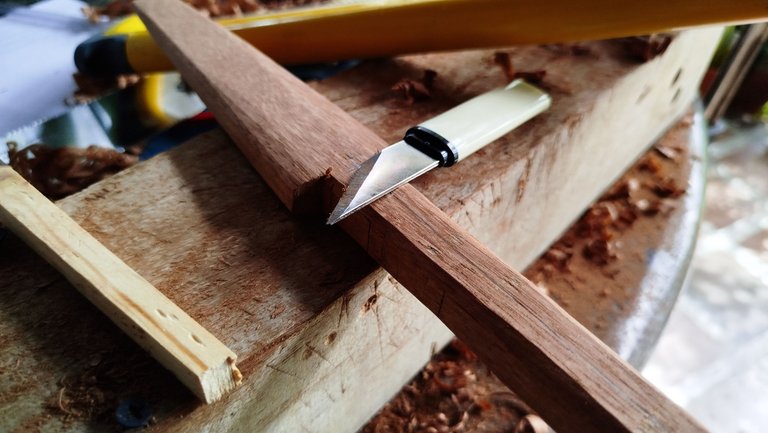
Every project starts with rough materials. This isn't the exception. There's still plenty from the piece of wood I bought to make the first break stick. So, time to cut another piece to start the project. This time, it went a little bit more in length. Figuring out that making a knife-looking stick needed a bit more on this side to create a better division between the safe space and the active part of it.
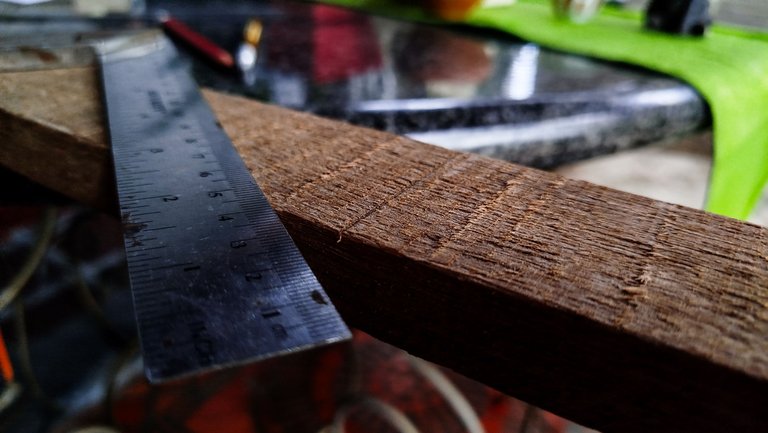
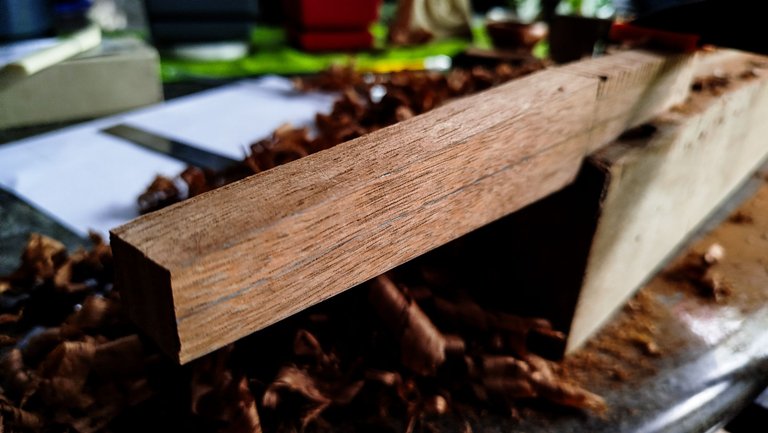
30cm of length on this one. Then, the steps repeat themselves. First, we clean the each face of the piece of wood to have a surface to draw and actually be able to see the lines. After that, we make the outline that will guide the rest of the steps and get to do the whole job.
Shaping
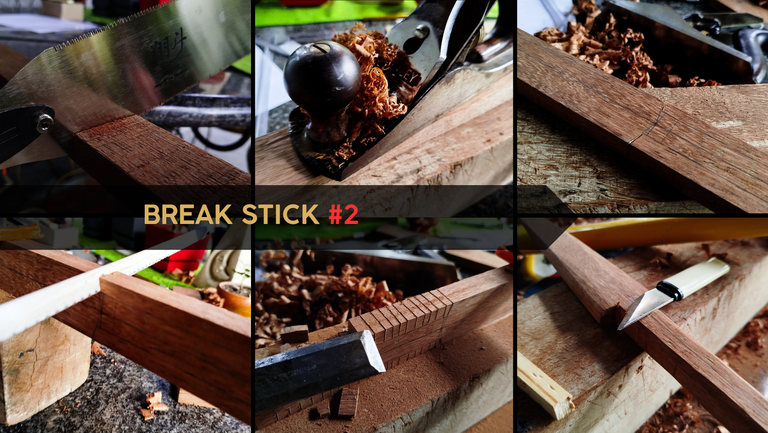
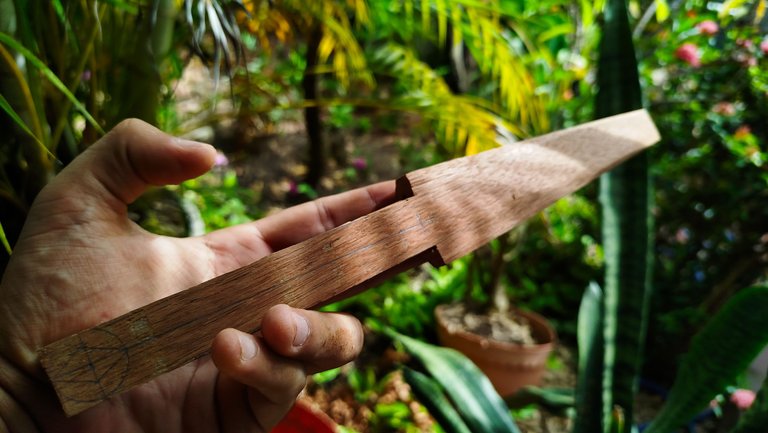
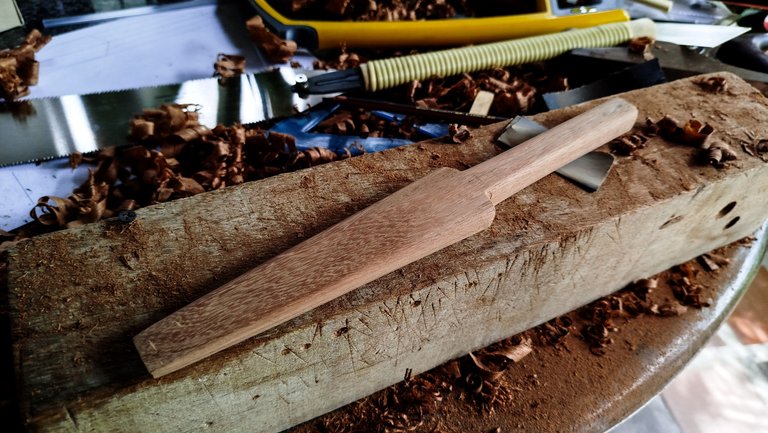
The main idea was making something like a kunai. These ninja tools are smaller but the idea of having a blade that gives your hands a lot of space to keep it out of reach from the dog was the main target. Just before the handle, there's an area that will protect the hand just like the guard of a sword. Even looking at that part after the work is done gives you the idea of how to hold it and use.
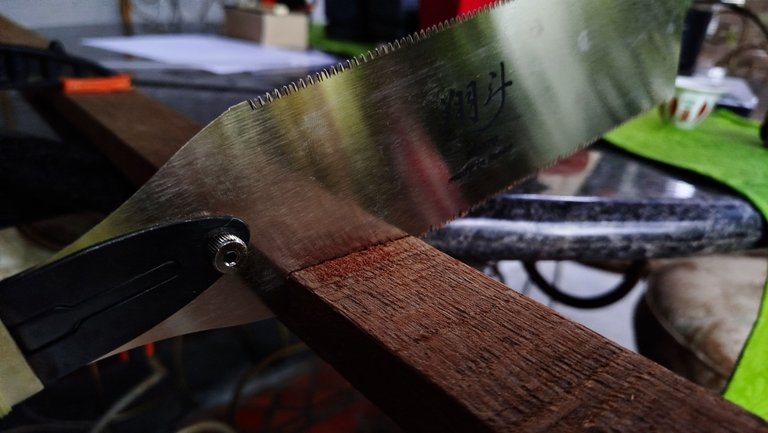
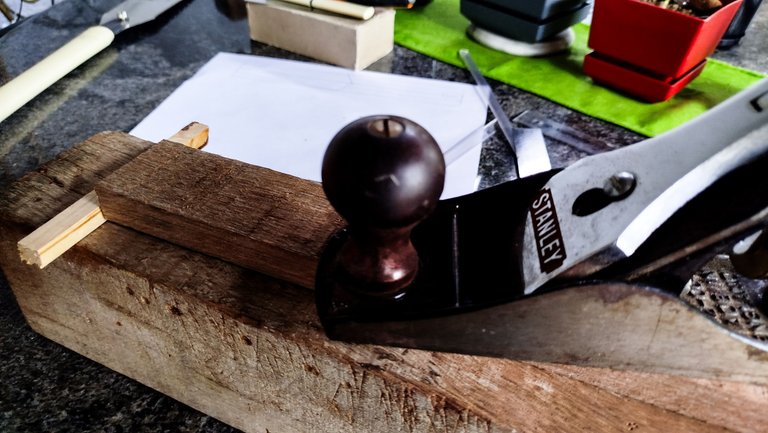
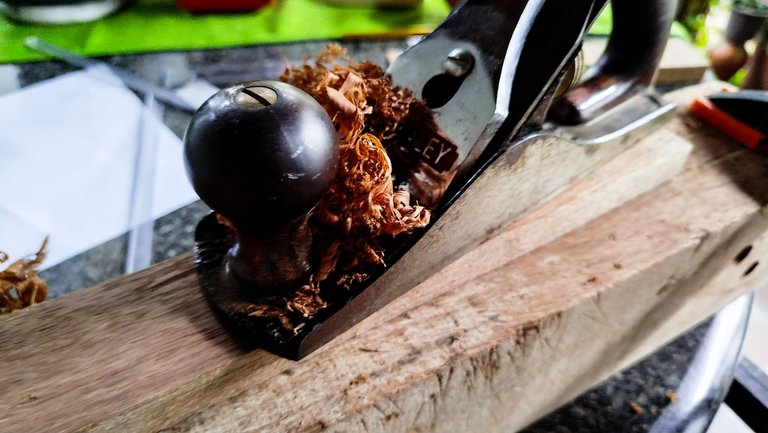
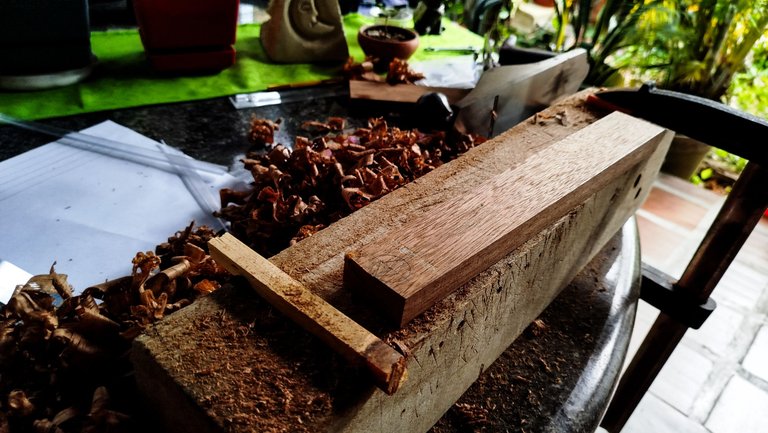
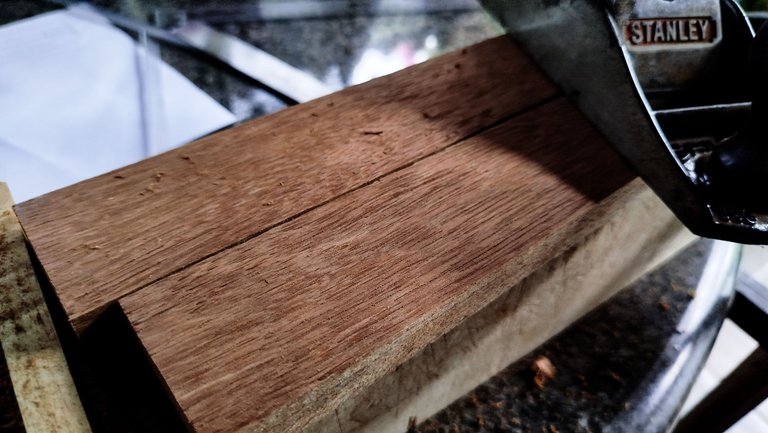
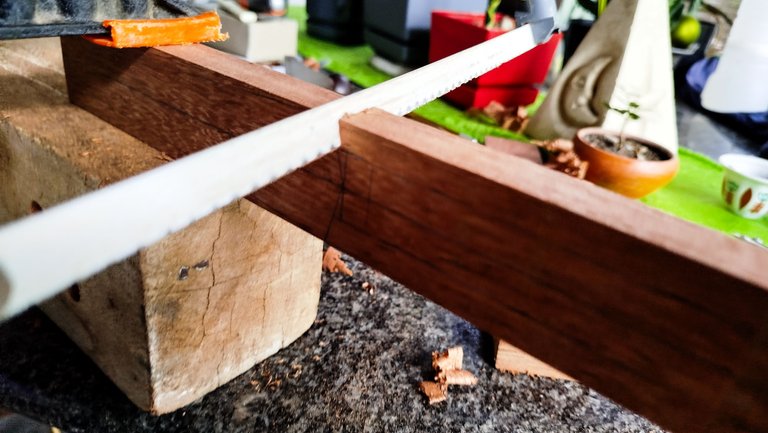
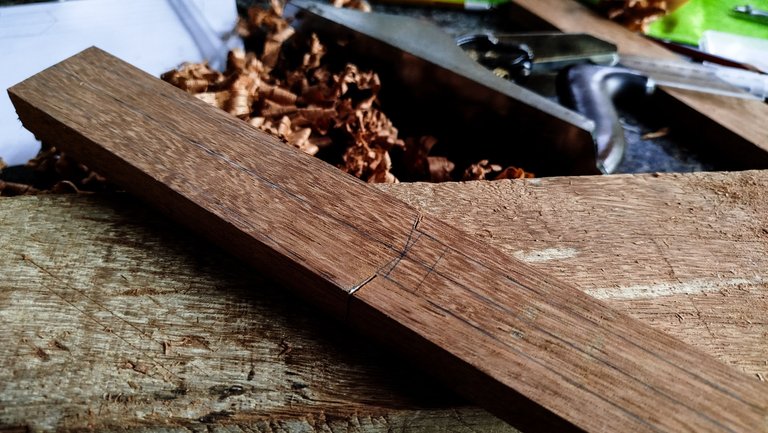
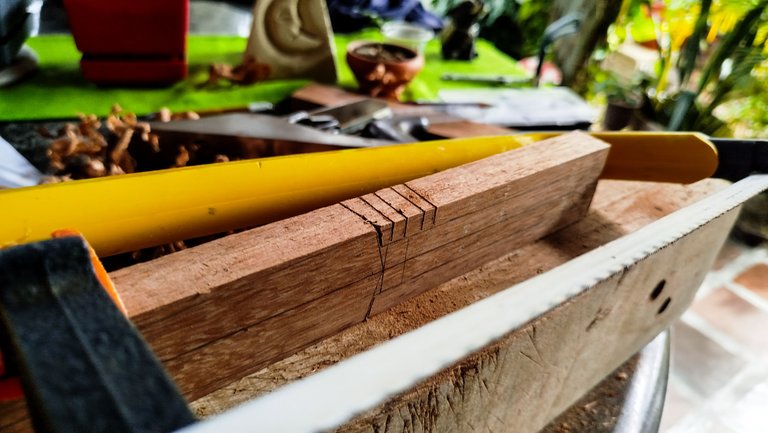
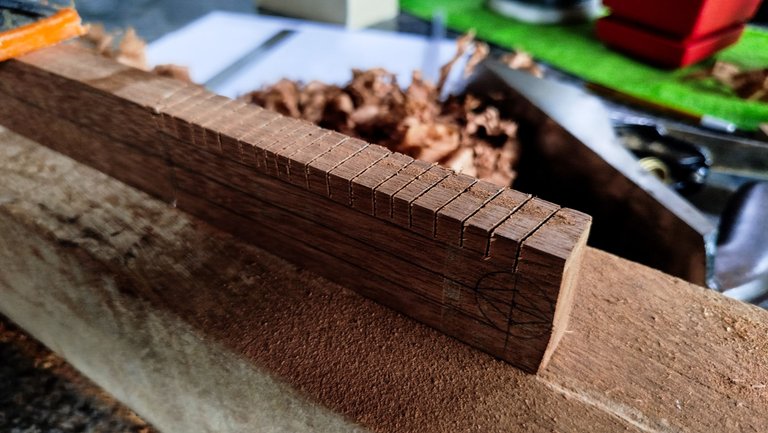
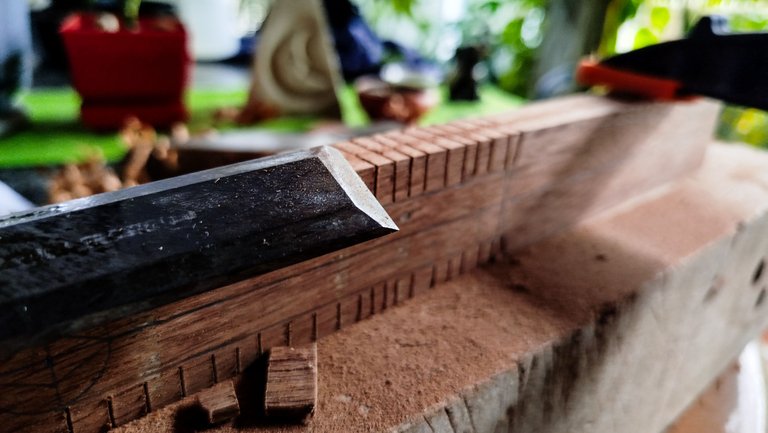
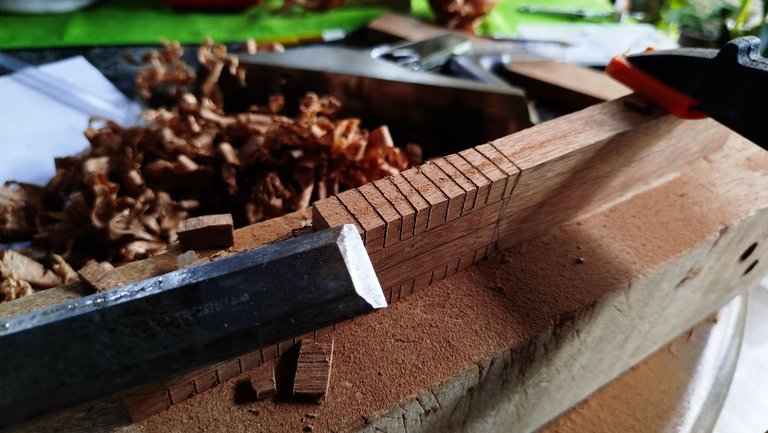
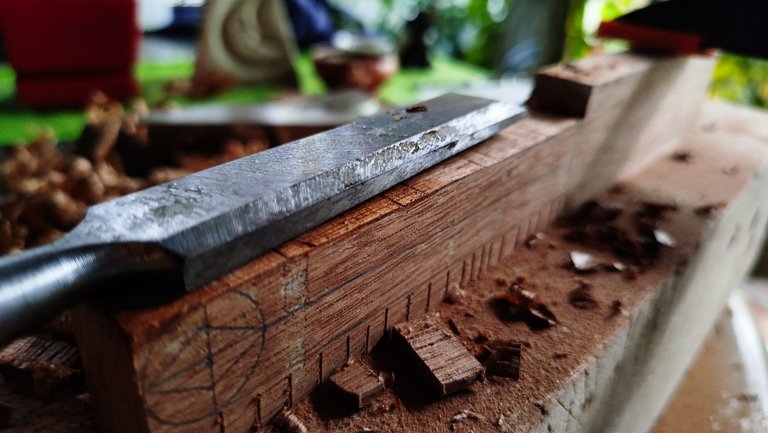
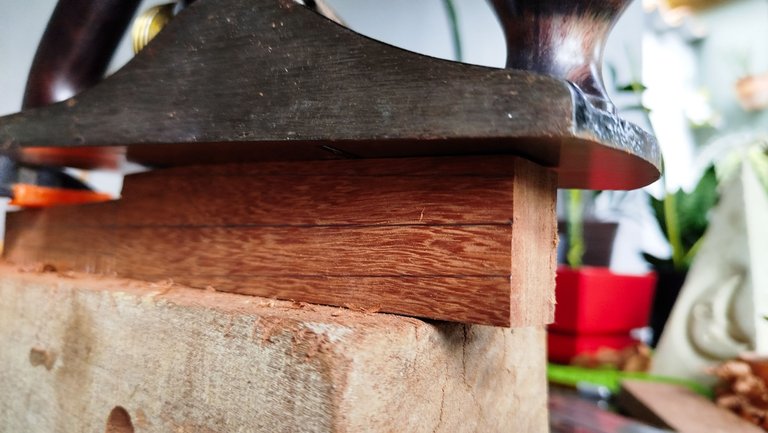
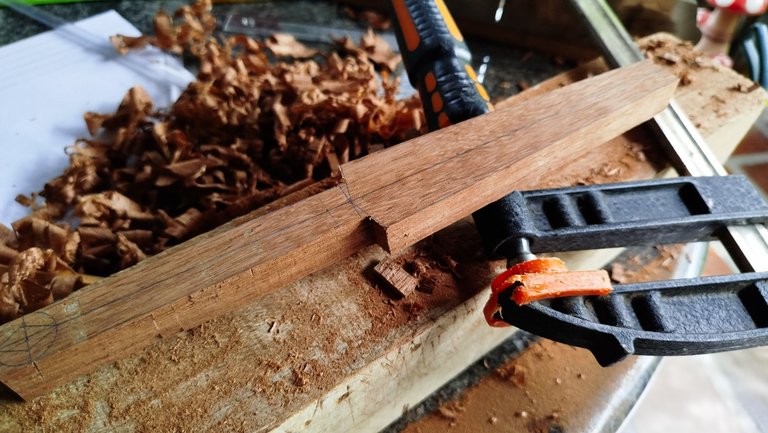
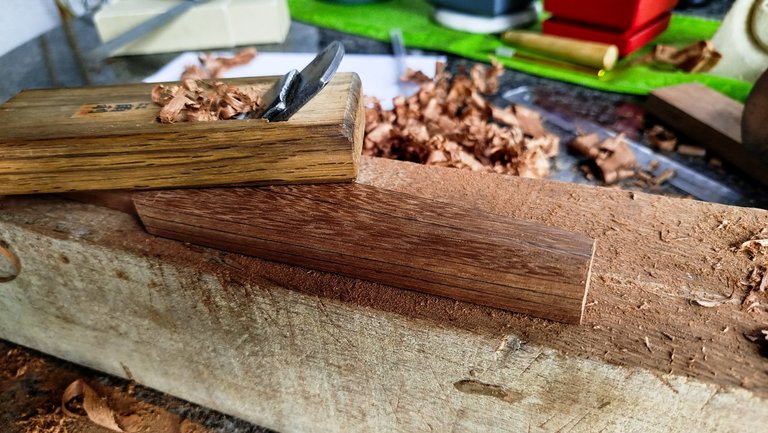
We begin with cuts that then will be removed with a chisel and make the handle and separate it from the rest of the stick. Once we remove one of these sides, we'll need to move onto the creation of the edge. This one is made with a hand plane and removing material until we get to the lines drawn on the wood. This edge goes in a slope and it's wider part is the one that connects with the handle of the stick.
With the slope ready, we can remove the rest of the excess material from the handle and have the rough shape of the break stick done.
Finish
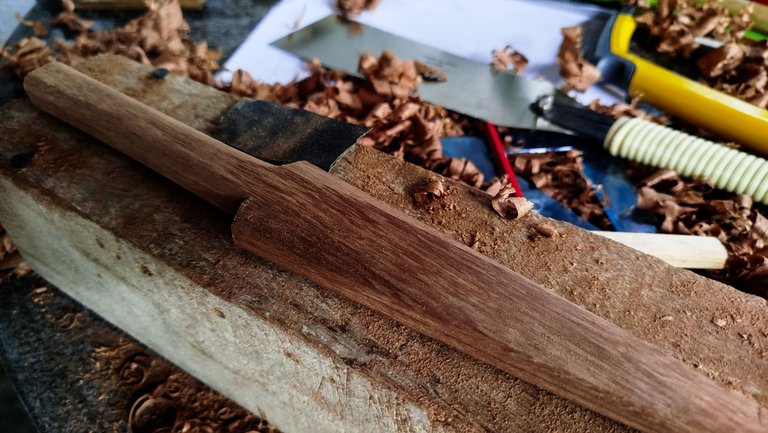
The last parts of the job are making the handle a bit more round so it fits nicely in the hand of the dog breeder. Then, we need to make the blade part a little bit thinner. Just the same fashion a kunai goes from thicker to thinner towards the tip. And as you can see, the tip of this stick is flat because we don't want to stab anything with it.
To create this effect we need to measure how much material we're going to remove and then use a hand plane on both sides of the blade to remove material until we are at the right thickness.
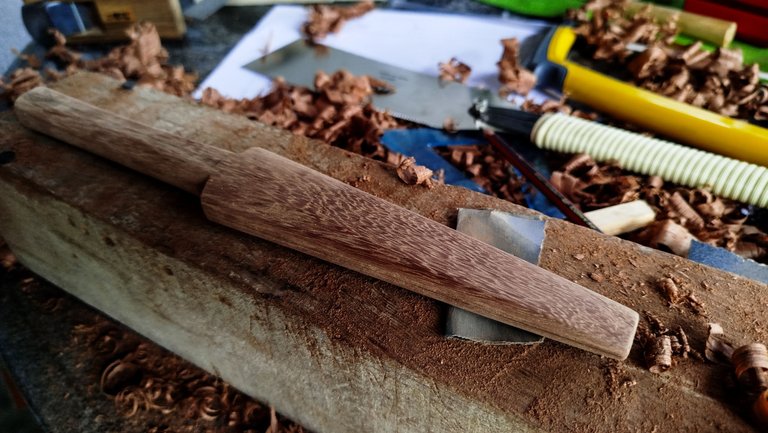
The last part of the job is sanding the whole piece of until it is smooth to the touch. One extra step I did was adding some padding to the handle with nylon fibers. I didn't take any photos of it, but it is an interesting thing as it gives more grip to the stick.
And this is how the project of the Break Sticks comes to an end. Too bad there were no commissions for this past the first one. It was an interesting project to work and one that gave me some perspective into creating different things with wood.
Hopefully, I'll have some other projects like this in the future. Until then, let's get back to luthierie!
Thanks for reading!

Fotos/Photos 📷: taken by me (Redmi Note 13)
Portada/Thumbnail 🖼️: by me, created with Canva.
Edición/Editing 🎬: by me, made with Adobe Photoshop Lightroom.


Follow me on Instagram for enquires and commission.
If you'd like to help the workshop grow, you can make a donation here. You can find me at discord as bertrayo#1763

Fabulous work Andrés... he who knows knows!
This is my favourite!
Wow a lot of patience and creativity is needed for this job.
I understand that they are very specific woods, how do you get them? I understand that the time in the industry made you get to the suppliers but I'm curious, do you buy them per piece of wood or are they like cuttings that are left over from other jobs?
I bought some piece that maybe was a cutoff of some bigger board.