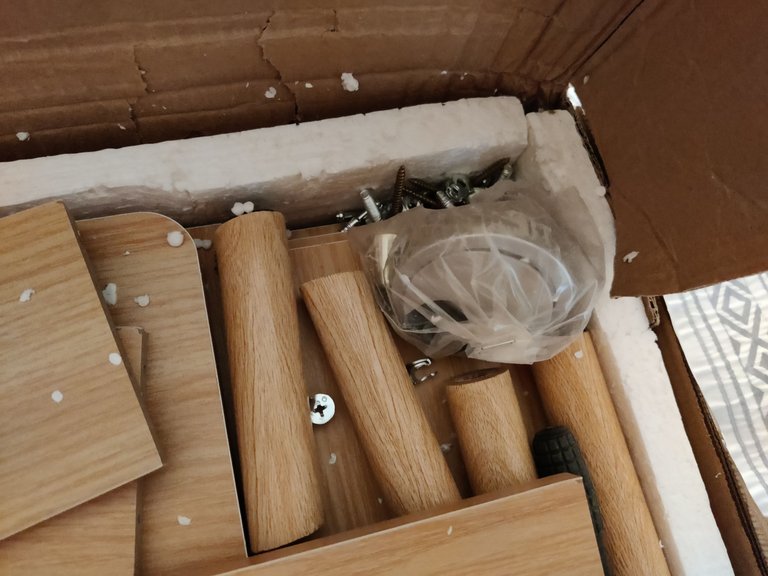
Over the years, I've gotten pretty good at putting together IKEA flatpack furniture... sure, the instructions haven't always been the clearest... but they are tolerably decent.
So, when this flatpack bedside table (not IKEA) arrived for my daughter's birthday present in the post... I was instructed to build it immediately, as the complaints window for damaged and missing parts was only 48 hours after delivery.
... and upon opening the package... well, this wasn't a good sign. Whatever small and thin and single layered packaging that had been used to contain the screws and bits and bobs... well, it had ripped and the all the metal pieces were all over the place... and as an indication of the trauma that the package had been through, well all that polystyrene crap everywhere!
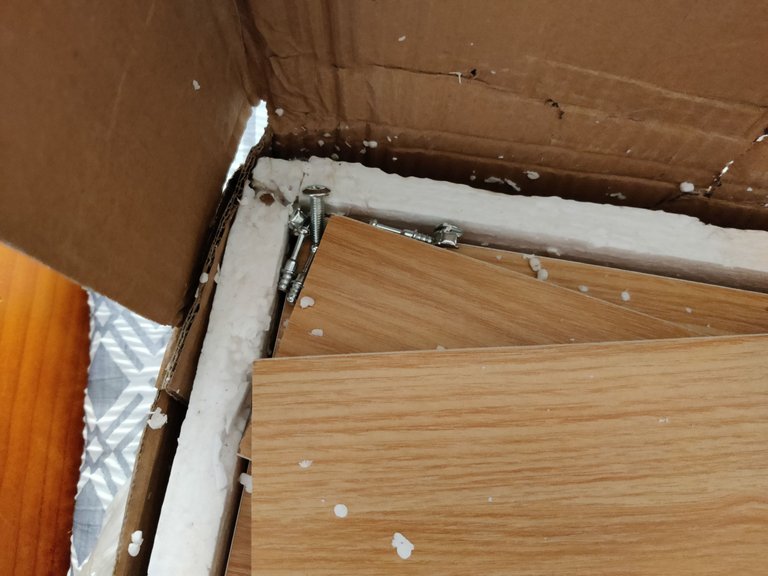
So, it was a bit of a hassle to slowly and carefully unpack the whole thing... keeping a vacuum cleaner handy to get all that annoying white fluff... and to fish out the various metal pieces from all over the place without damaging the wood panels. And in some cases, I found them deeply embedded into the polystyrene packaging.
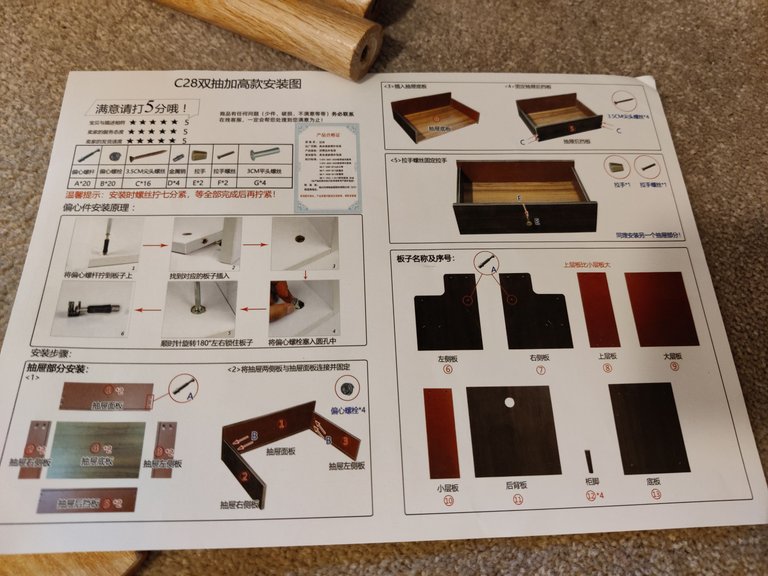
... sigh... and when I found the instruction manual... well, lets just say that my Chinese is a touch rusty after I stopped speaking it when I was about 4! Thank goodness for Google Translate via Lens... which allowed me to decipher the various instructions... even if they were sometimes a little bit cryptic or needlessly poetic!
In general, most of the instructions were pretty clear with the pictures... with my only gripe being the problem of scale and perspective! Although, that is an issue that all flatpack instructions have.
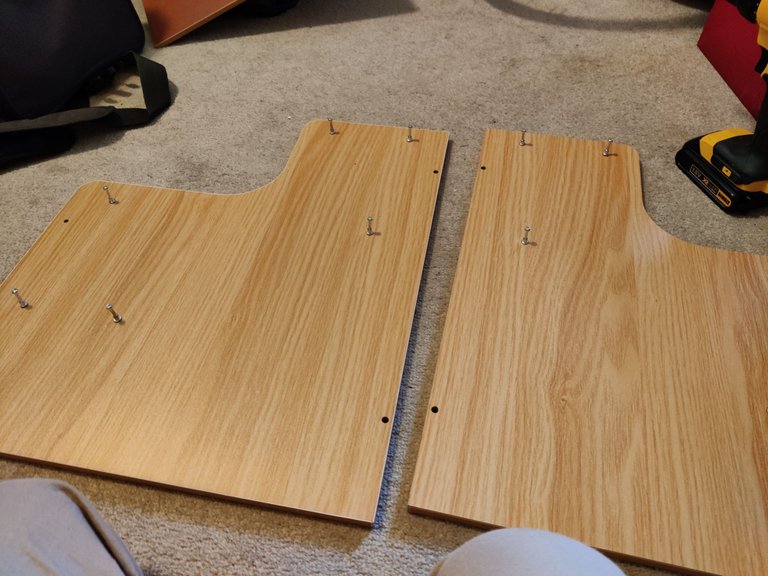
A gentle wipe with a damp cloth got the dust out... and I had to construct this in secret away from the daughters. Honestly, a battery driver/drill is the best investment that I have ever made... my first power tool, and one that I use the most!
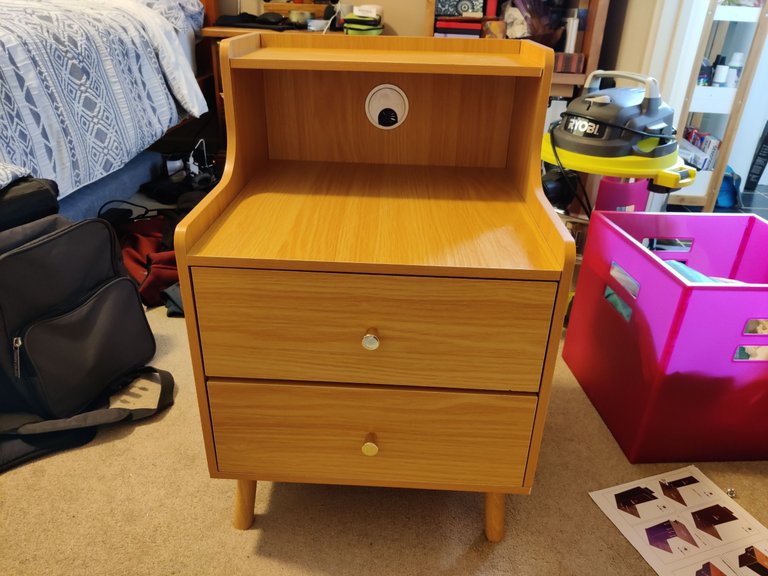
Woohoo! Completed with no bits sticking back to front or needing to be rescrewed.... Yay! Now to hide it for the next couple of weeks...

Handy Crypto Tools
Ledger Nano S/X: Keep your crypto safe and offline with the leading hardware wallet provider. Not your keys, not your crypto!
Coinbase Wallet: Multi chain wallet with lots of opportunities to Learn and Earn!
Binance: My first choice of centralised exchange, featuring a wide variety of crypto and savings products.
WooX: The centralised version of WooFi. Stake WOO for fee-free trades and free withdrawals! This link also gives you back 25% of the commission.
GMX.io: Decentralised perpetual futures trading on Arbitrum!
Coinbase: If you need a regulated and safe environment to trade, this is the first exchange for most newcomers!
Crypto.com: Mixed feelings, but they have the BEST looking VISA debit card in existence! Seriously, it is beautiful!
CoinList: Access to early investor and crowdsale of vetted and reserached projects.
Cointracking: Automated or manual tracking of crypto for accounting and taxation reports.
KuCoin: I still use this exchange to take part in the Spotlight and Burning Drop launches.
MEXC: Accepts HIVE, and trades in most poopcoins! Join the casino!
ByBit: Leverage and spot trading, next Binance?
OkX: Again, another Binance contender?

Account banner by jimramones

Duuuude what a hassle.
Did the married survive though? Always the perfect test ;))
Haha... yes, the marriage is still intact... mostly because I was doing it alone!