Please keep in mind that this is a English PLUS Turkish post. Thank you.
Lütfen bu postun hem Türkçe hem de İngilizce olduğunu aklınızda bulundurun. Teşekkürler.
Hello everyone!
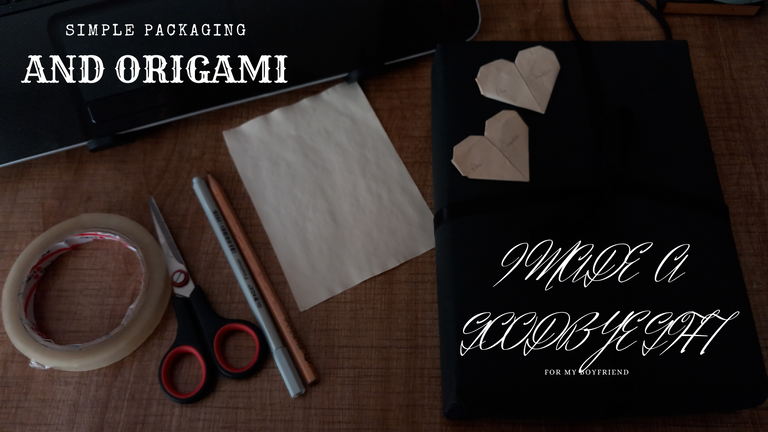
All week long I have been busy with a seemingly simple task, namely preparing a gift for my boyfriend. If I remember correctly, I mentioned this gift to @incublus before and he mentioned that he was curious about it. He even told me about this community. Thank you again for this.
I can say that it actually took this long because I have problems with my hands. Although it has been about 4 months, maybe more, since my last problem, I still have problems using my hands, but this doesn't mean that I can't prepare something with my hands for my boyfriend who is probably going to Poland permanently.
Firstly, I would like to tell you about my motivation for this almost full-time gift. I can say that I know the person we have decided to marry like the palm of my hand so far (😂 I always leave a margin of error).
And even though he will go with his friend on close deadlines, I wanted to buy him this gift because I know that it would be bad for him to keep it inside in case there are things that he cannot or does not want to tell me, his friend, and if it happens. This gift, and I should also inform you that I did everything except the papers because I am trying to write a post that I think is in line with the purpose of this community.
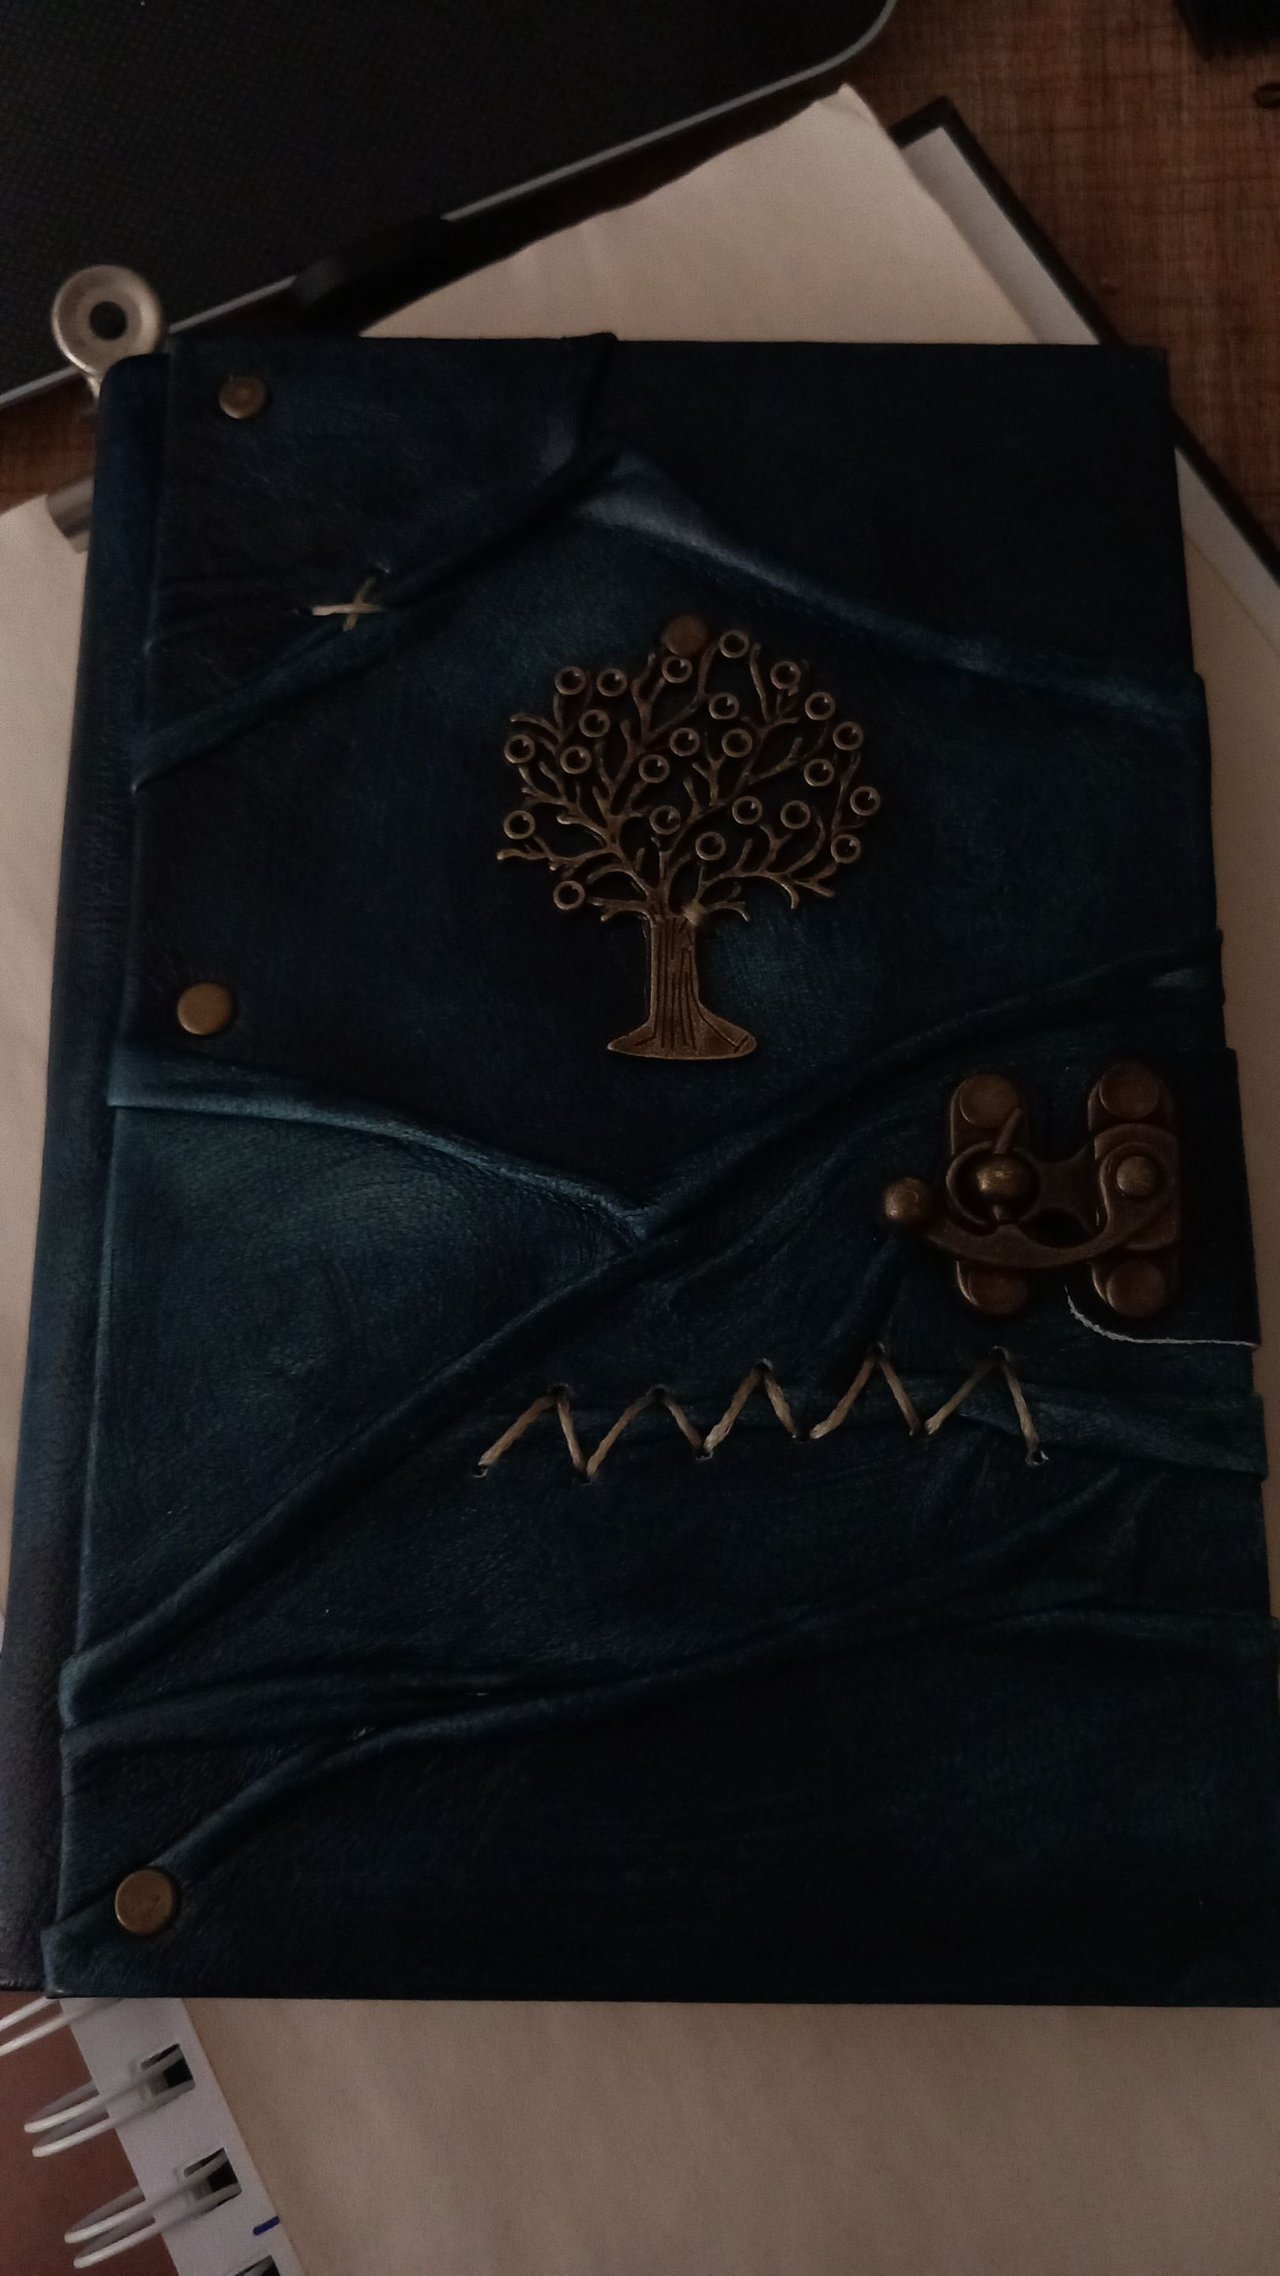
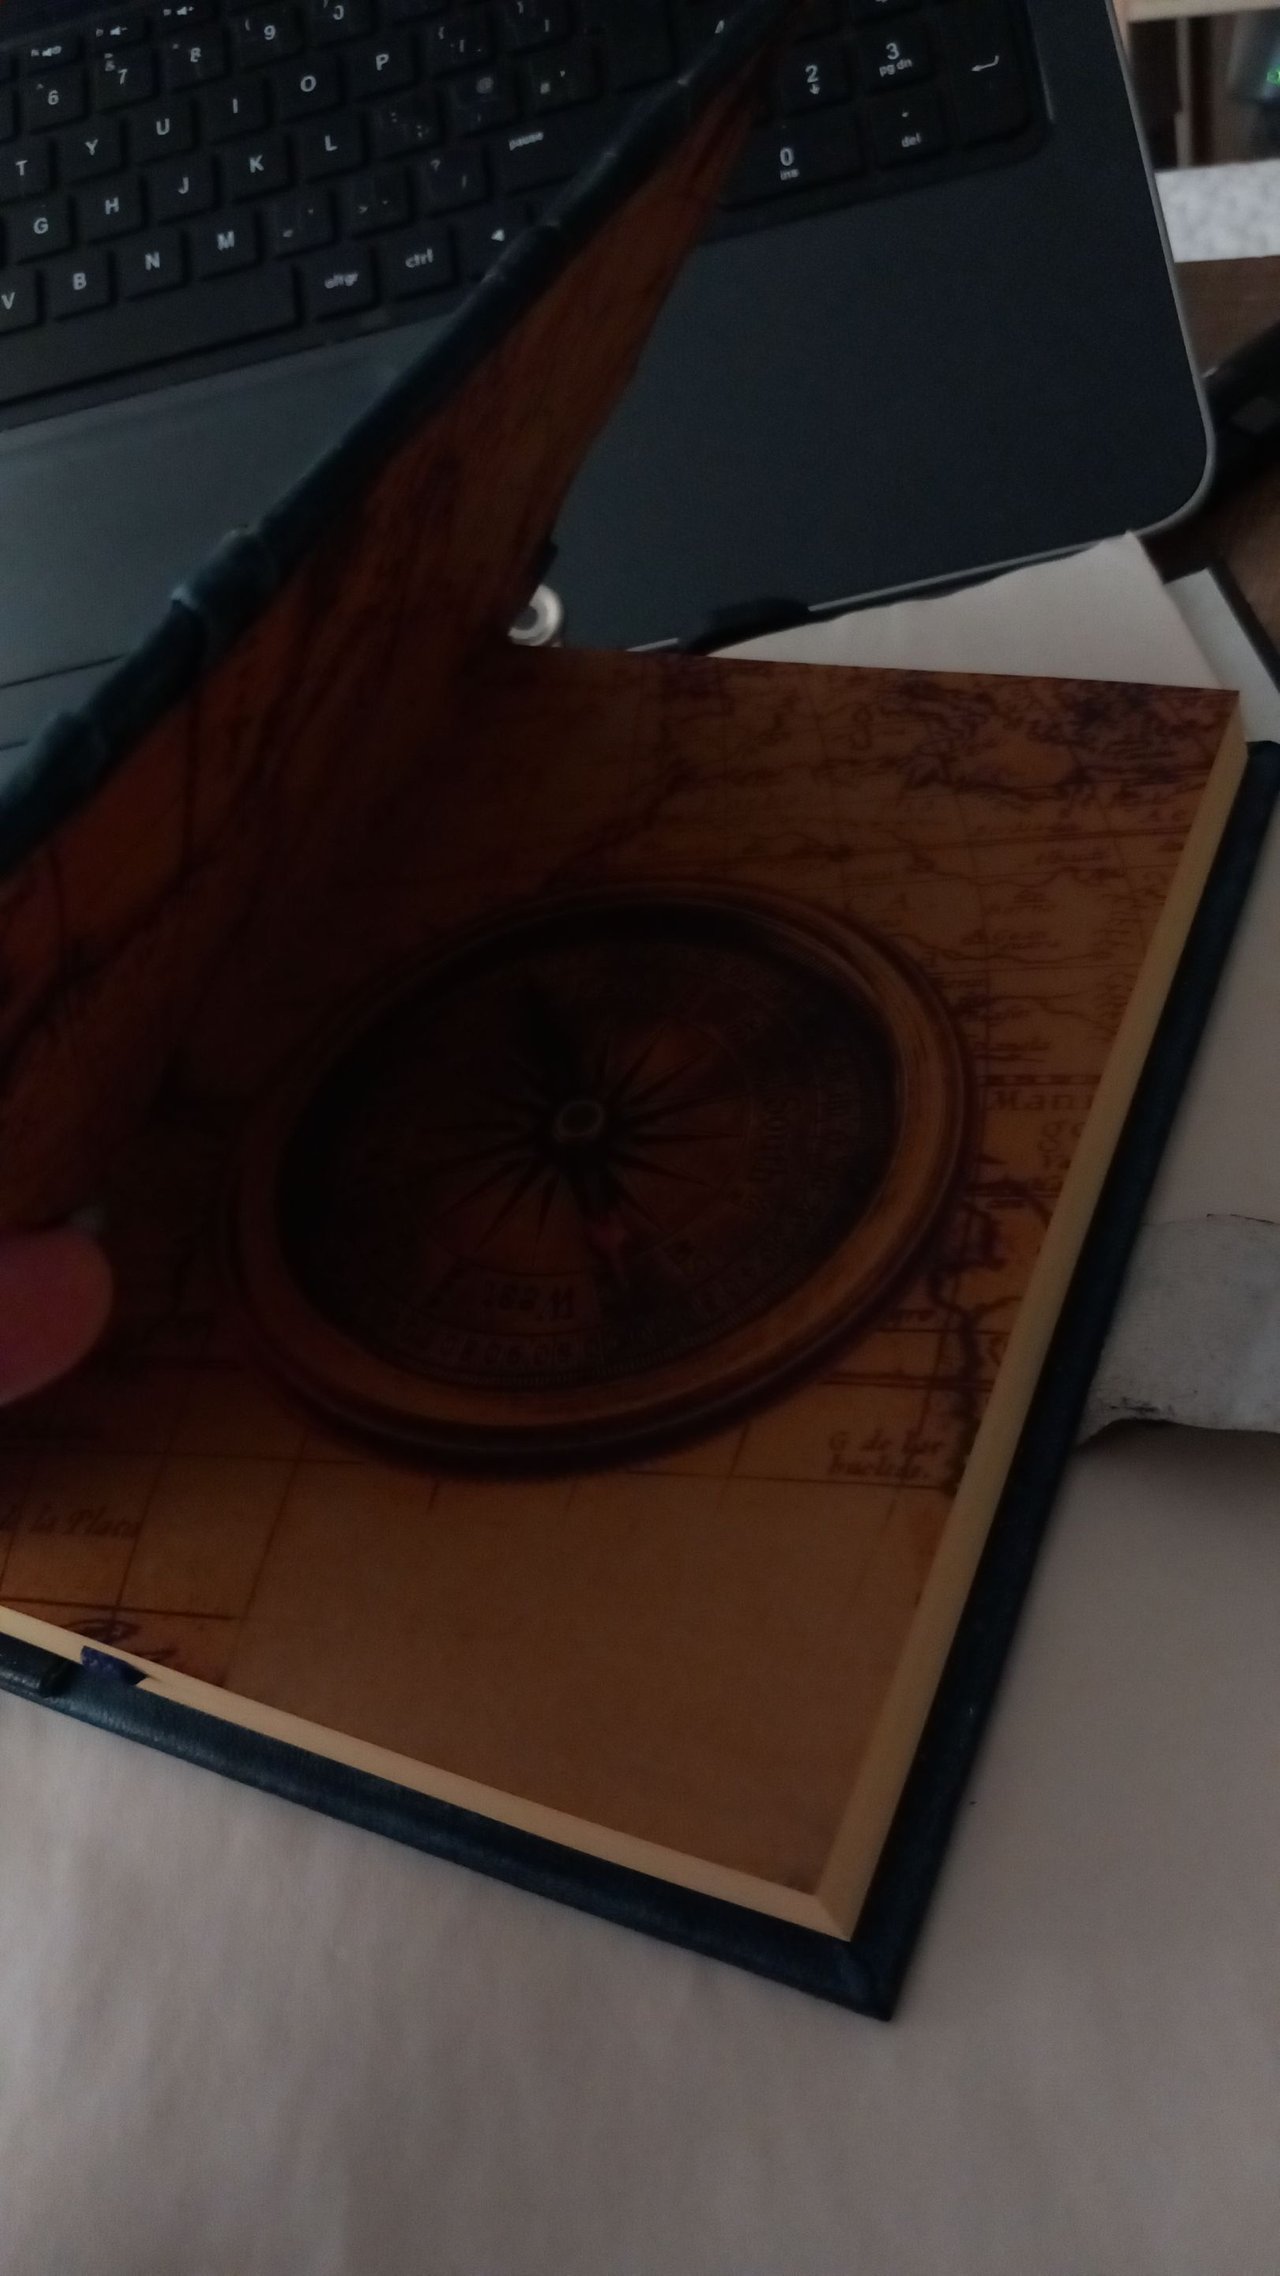
When choosing the colour of the leather, I thought a lot about the feelings that colours provoke in people and the effect that this symbol would have on people if there was another symbol instead of this tree. Actually, I would have wanted a bird instead of a tree, but unfortunately there was neither such a production nor I could make it myself.
As for the colour, the only thing I had in mind was that it should not be brown. As far as I understand, brown stimulates emotions such as longing and sadness in people that may be too negative. So I wanted it to be more blue, the colour of freedom.
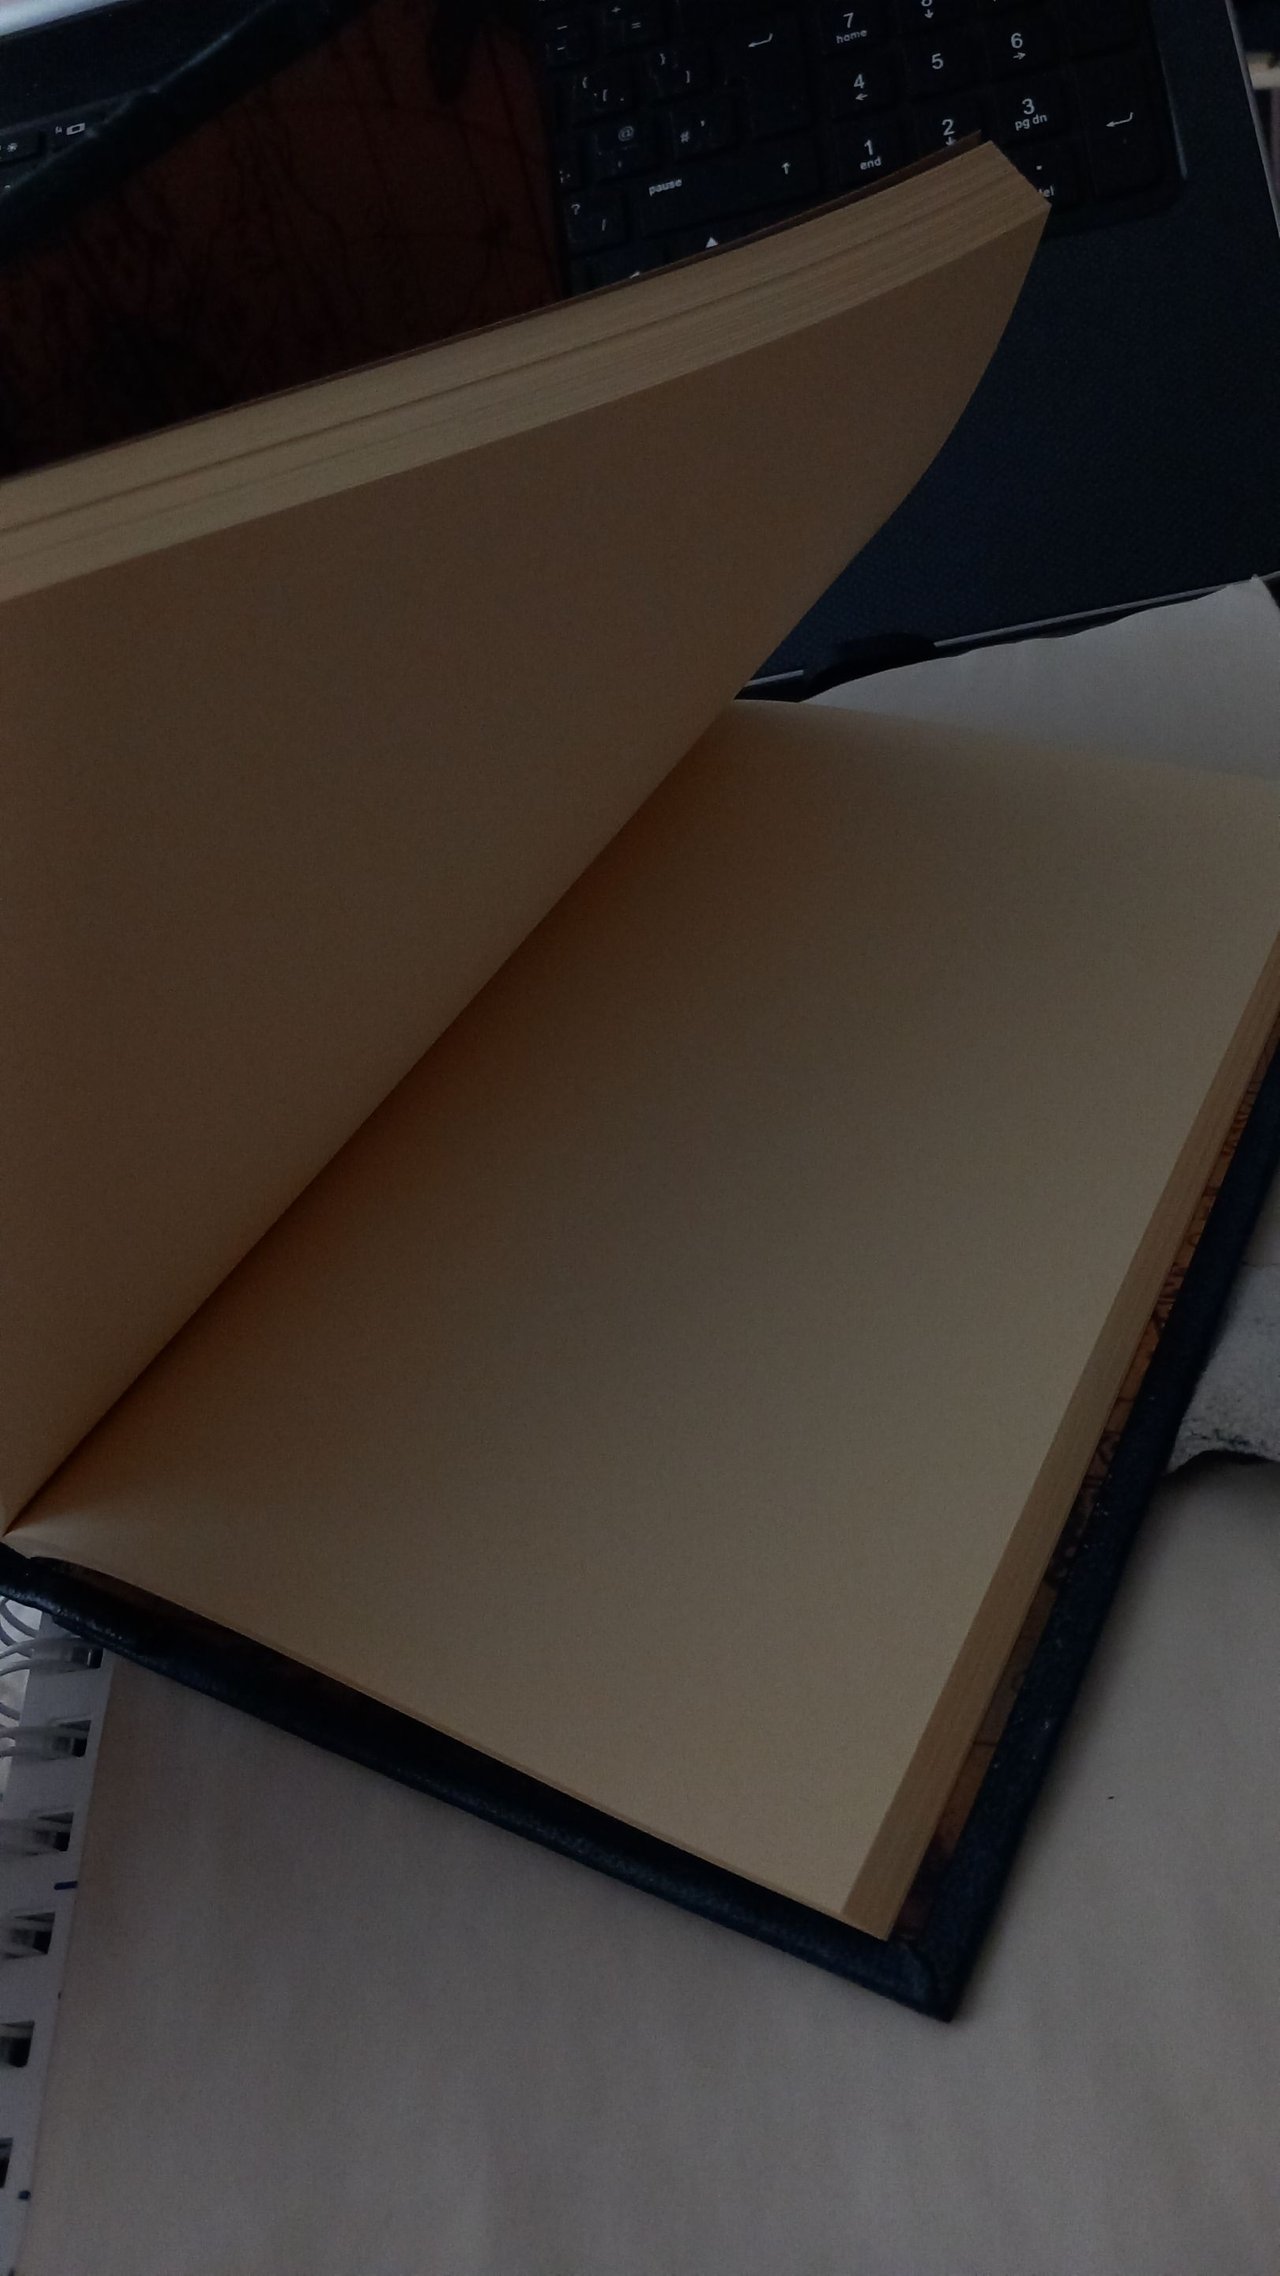
Then I tried to write something as much as I could on papers that would be the colour of the leaves of the gift I bought. Some of you may know and remember what I actually write and my style. He also mentioned that he liked my writing attempts very much. So that was the first thing that came to my mind. He is an Indiana Jones fan and I also thought that he might like something that might resemble this.
So I started preparing a lot of yellowed paper, even if I wasn't going to use it for this gift. So how could this be? With coffee, of course...
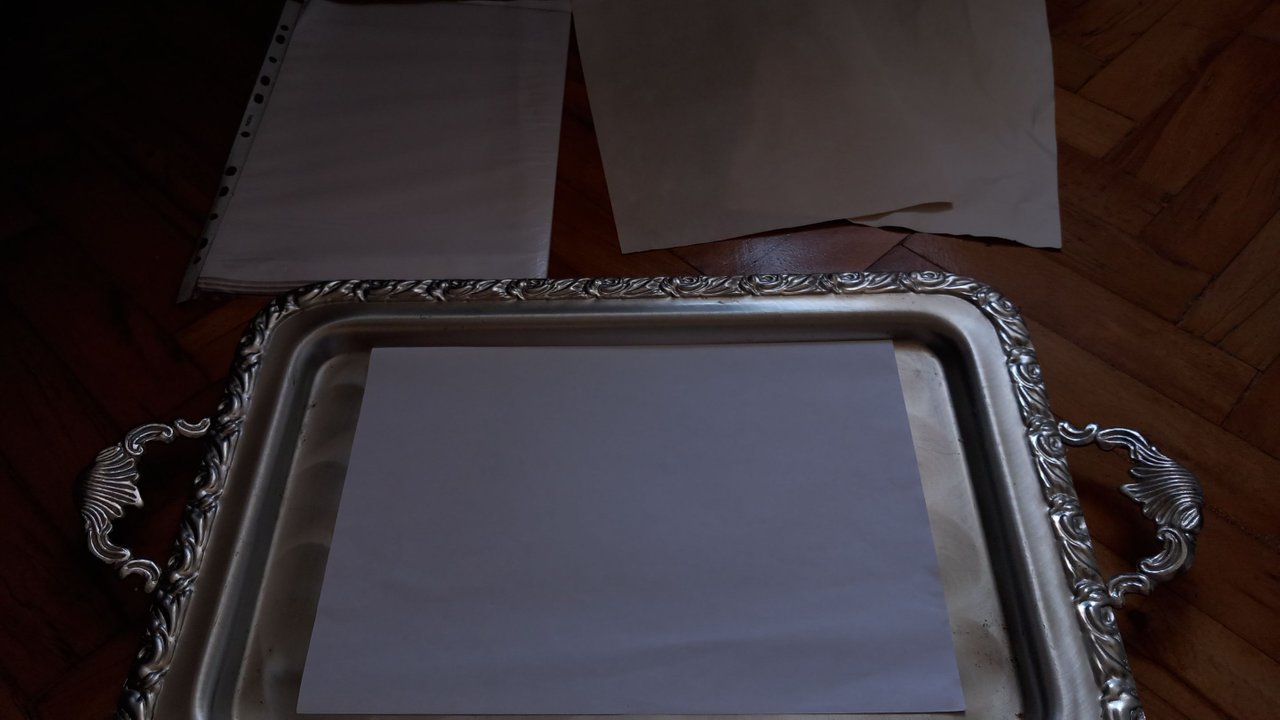
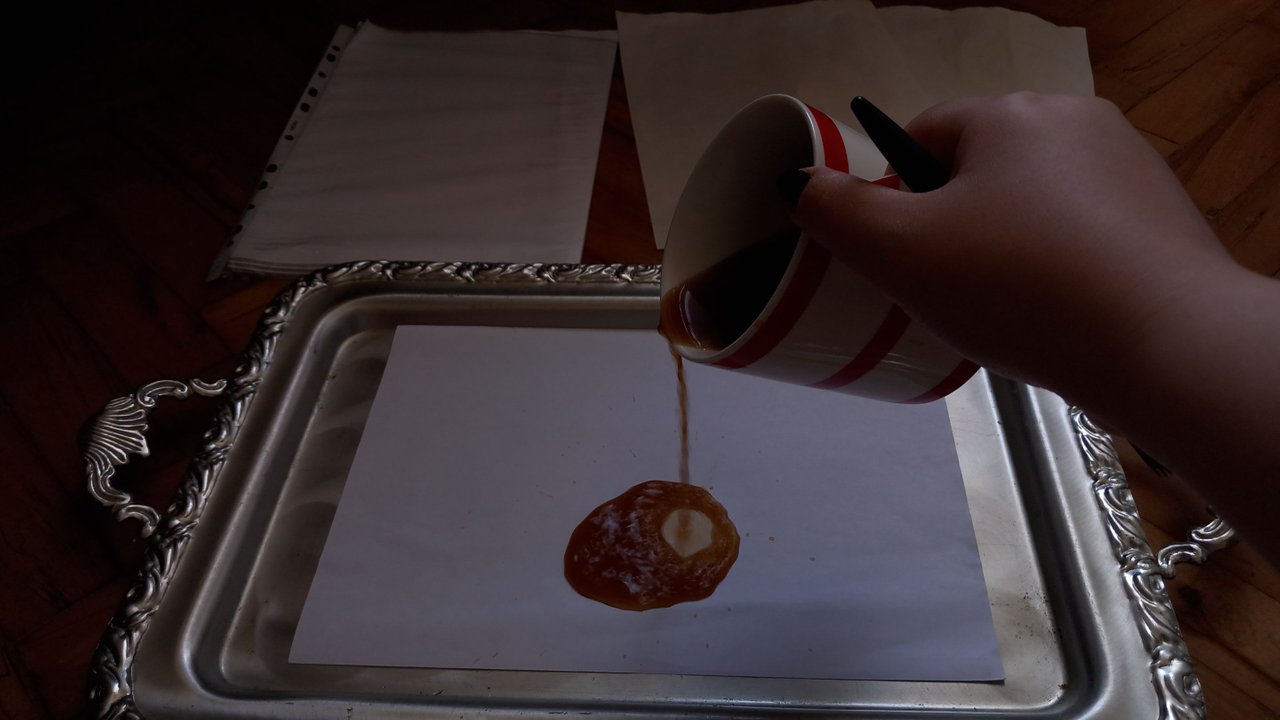
I started by taking a tray that I thought I wouldn't make a mess and spread the coffee all over the paper with the help of a brush.
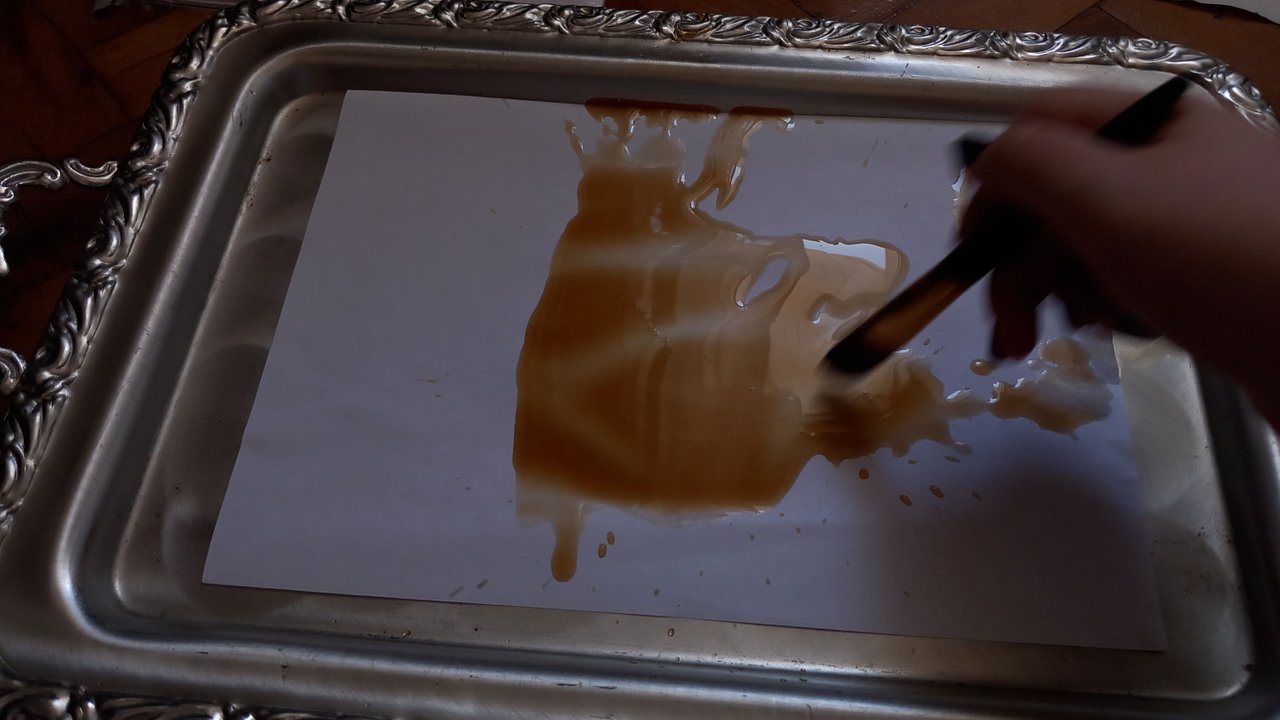
After this was done, I checked the bottom part of the paper and realised that it was not completely soaked. So I turned it over and tried to wet those parts as much as I could.
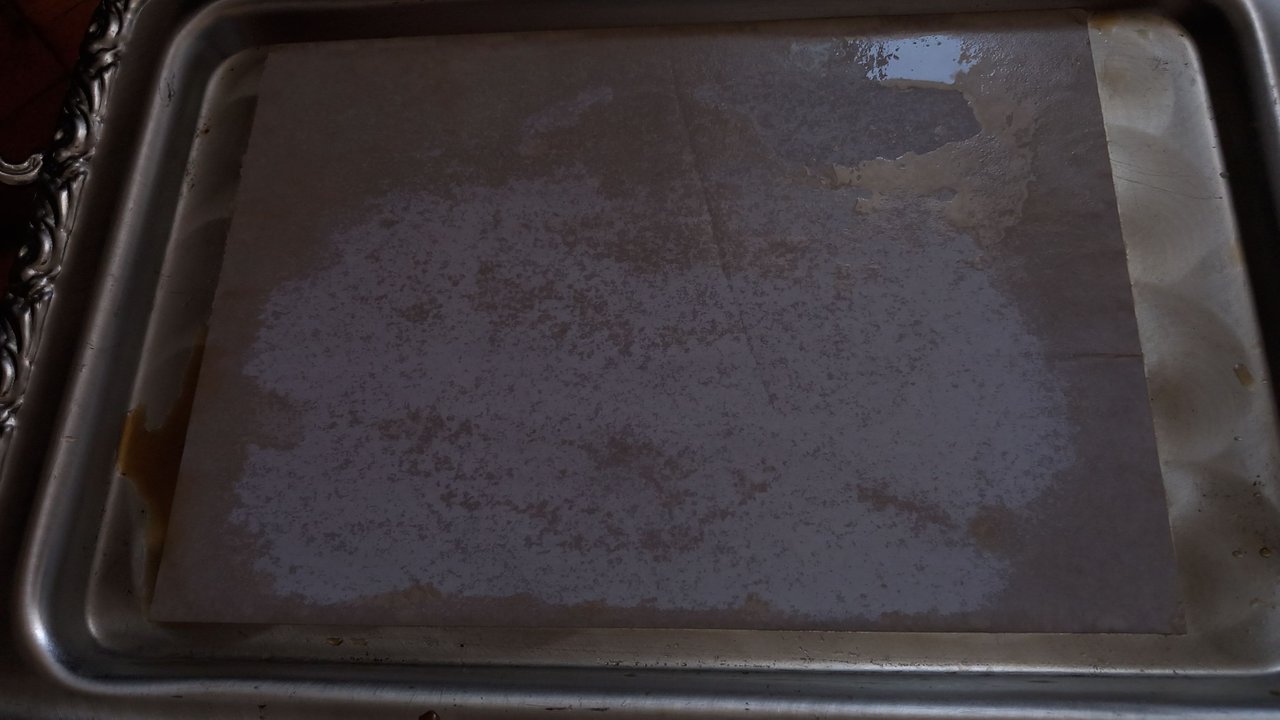
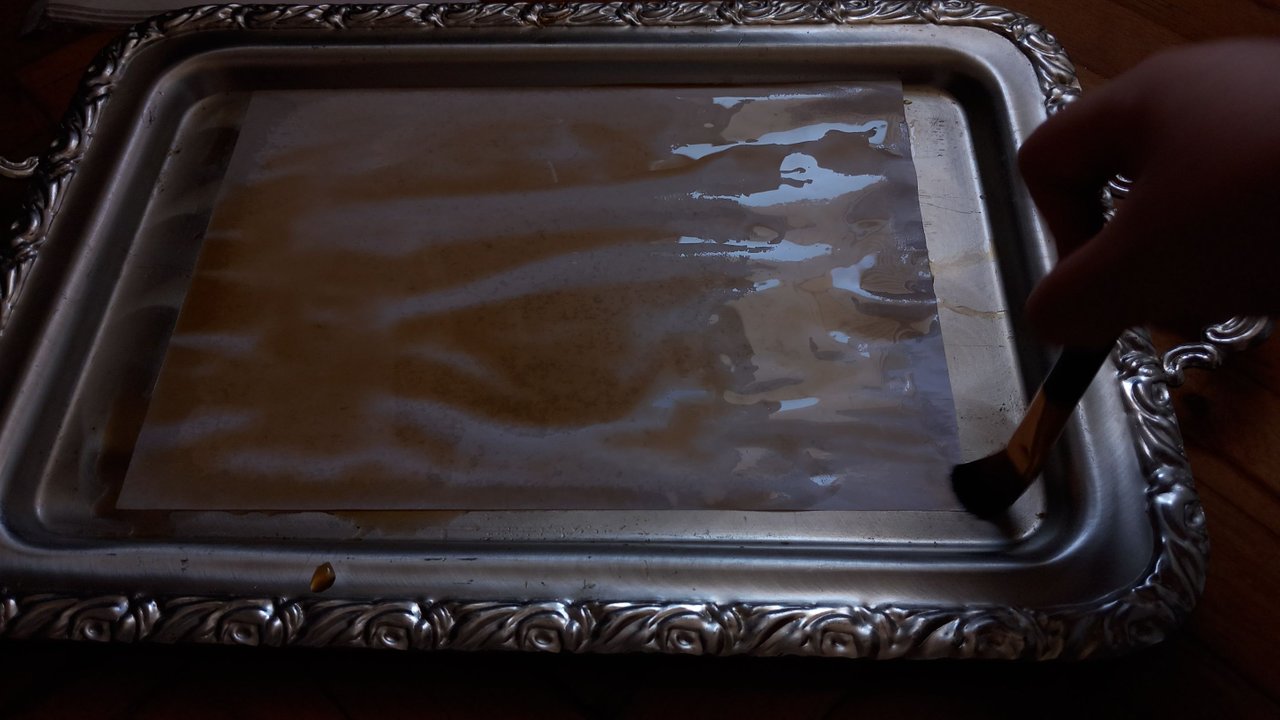
Luckily the weather was warm and the papers dried quickly. After making all 4 papers, I asked myself "Why don't I make smaller ones?" Just in case. And I'm glad I did. You will see the reason towards the end.
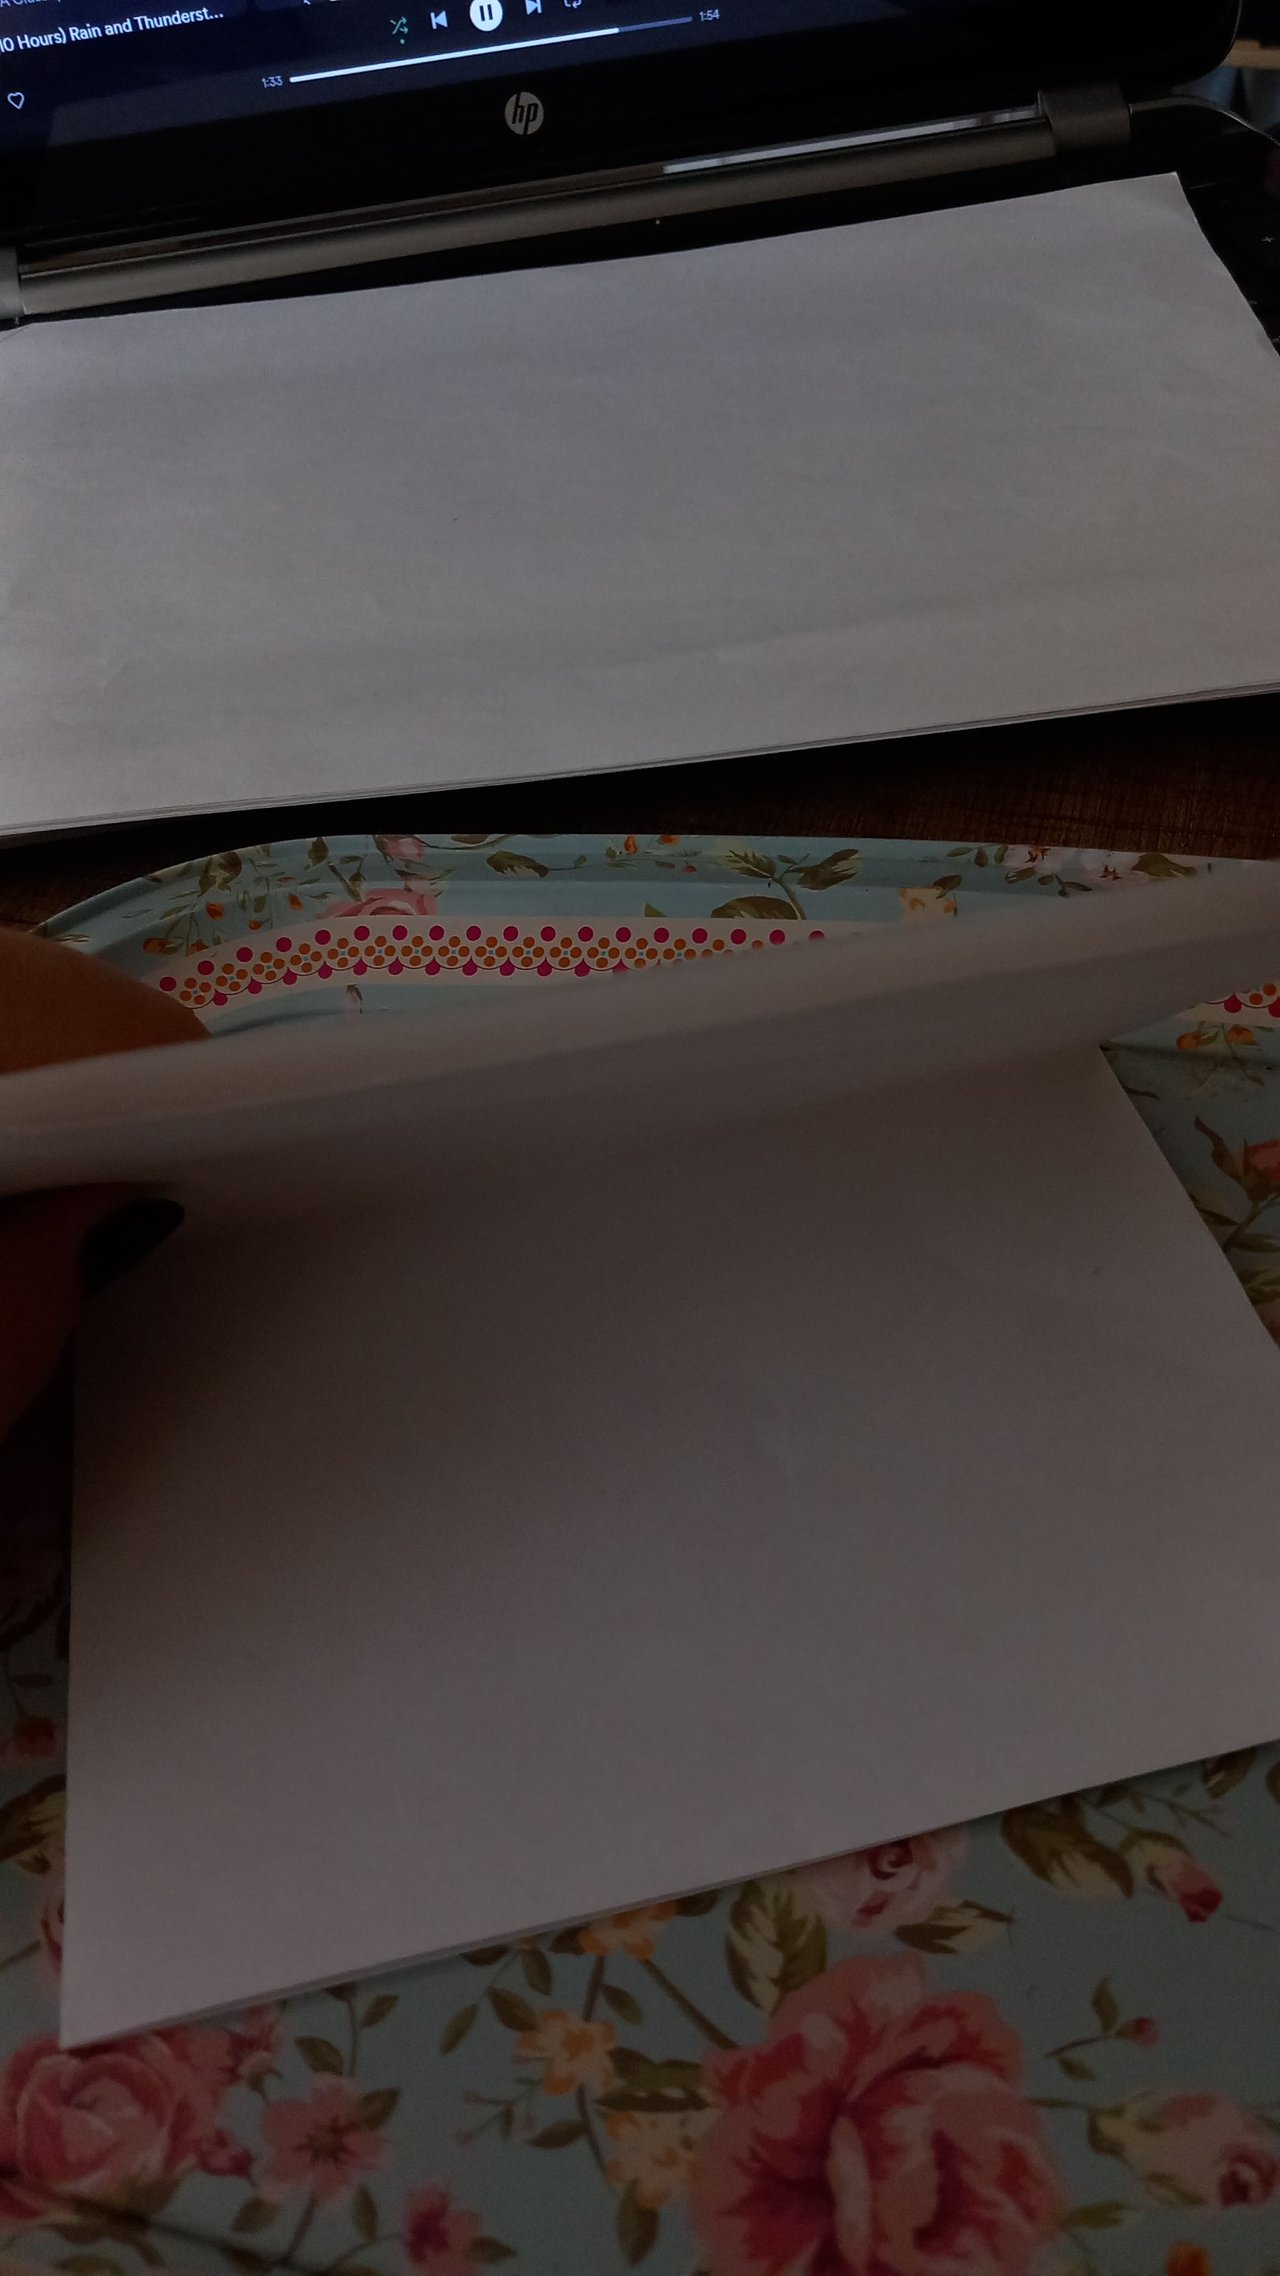
Since the papers would be smaller, I switched to a smaller tray and folded the papers into 4, so that I had exactly 4 small sheets of A4 paper to keep notes on.
And I soaked them in coffee and dried them in the same way.
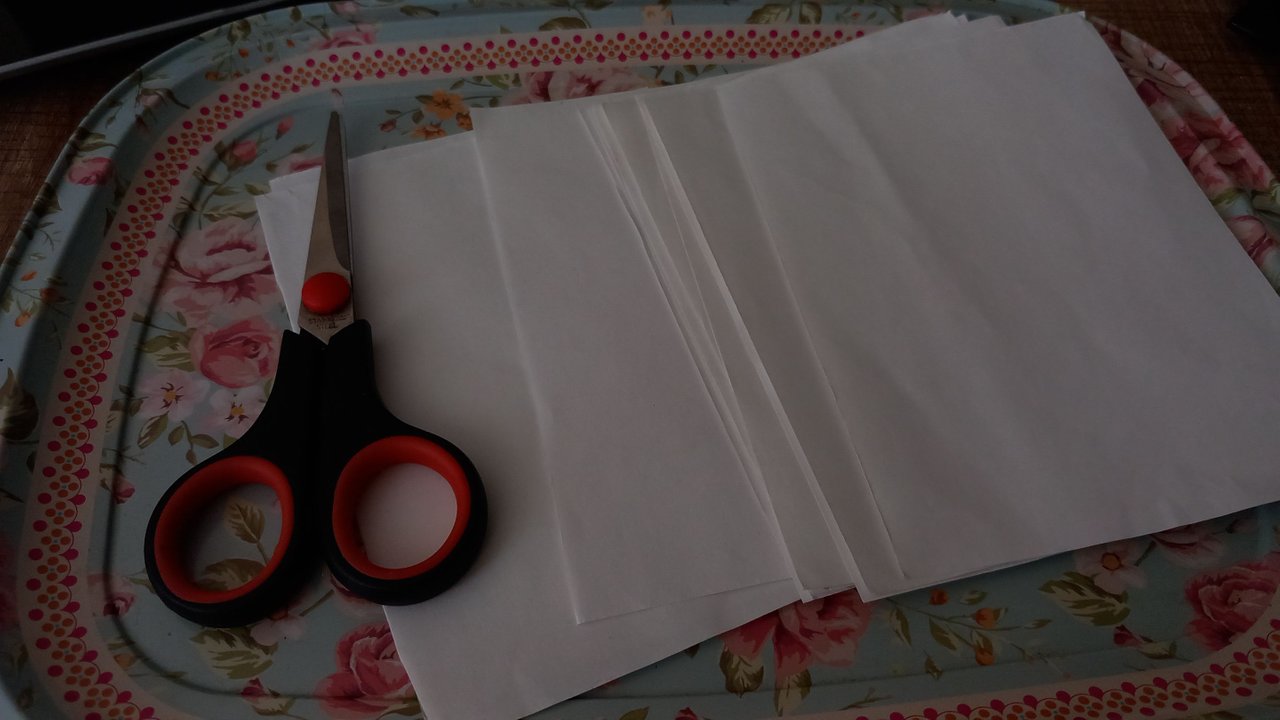
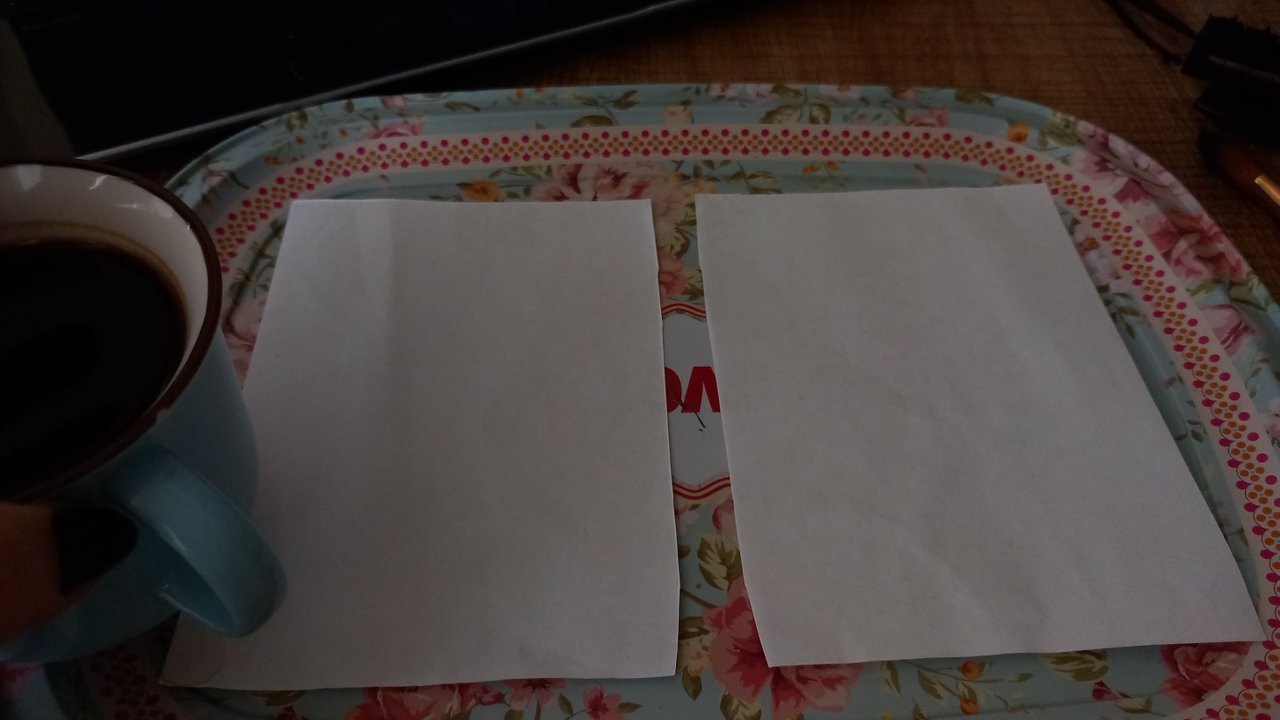
The reason why the coffee cup changed is only because I finished the remaining coffee 😂
Then it was time to write my letter, which I was still thinking and not sure about.
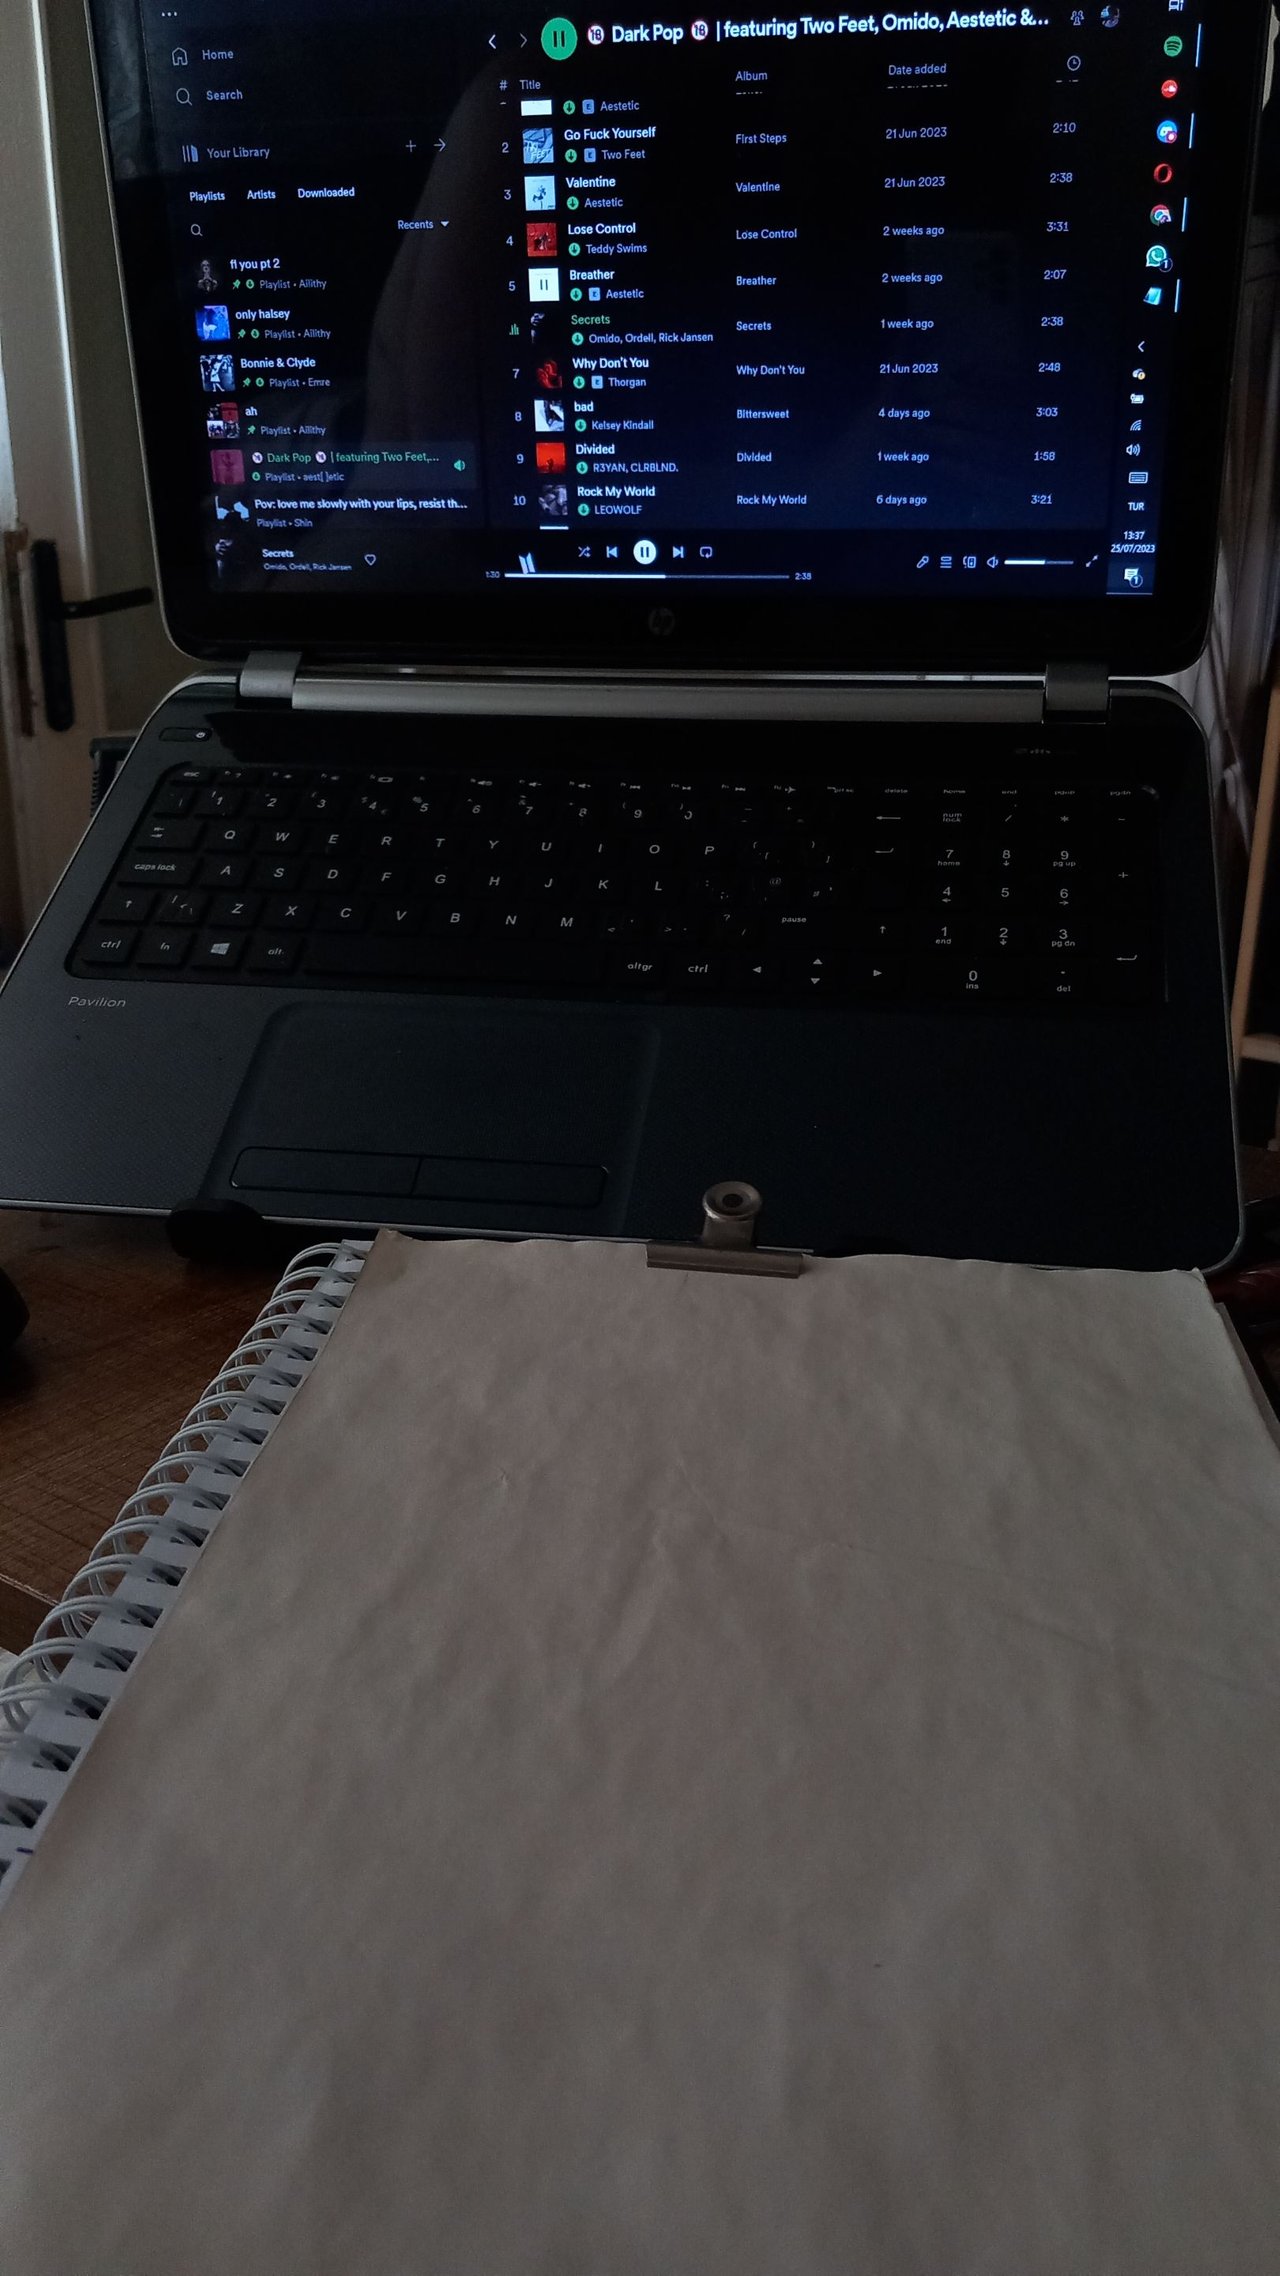
This time a different playlist accompanied me because I had a different purpose 😊
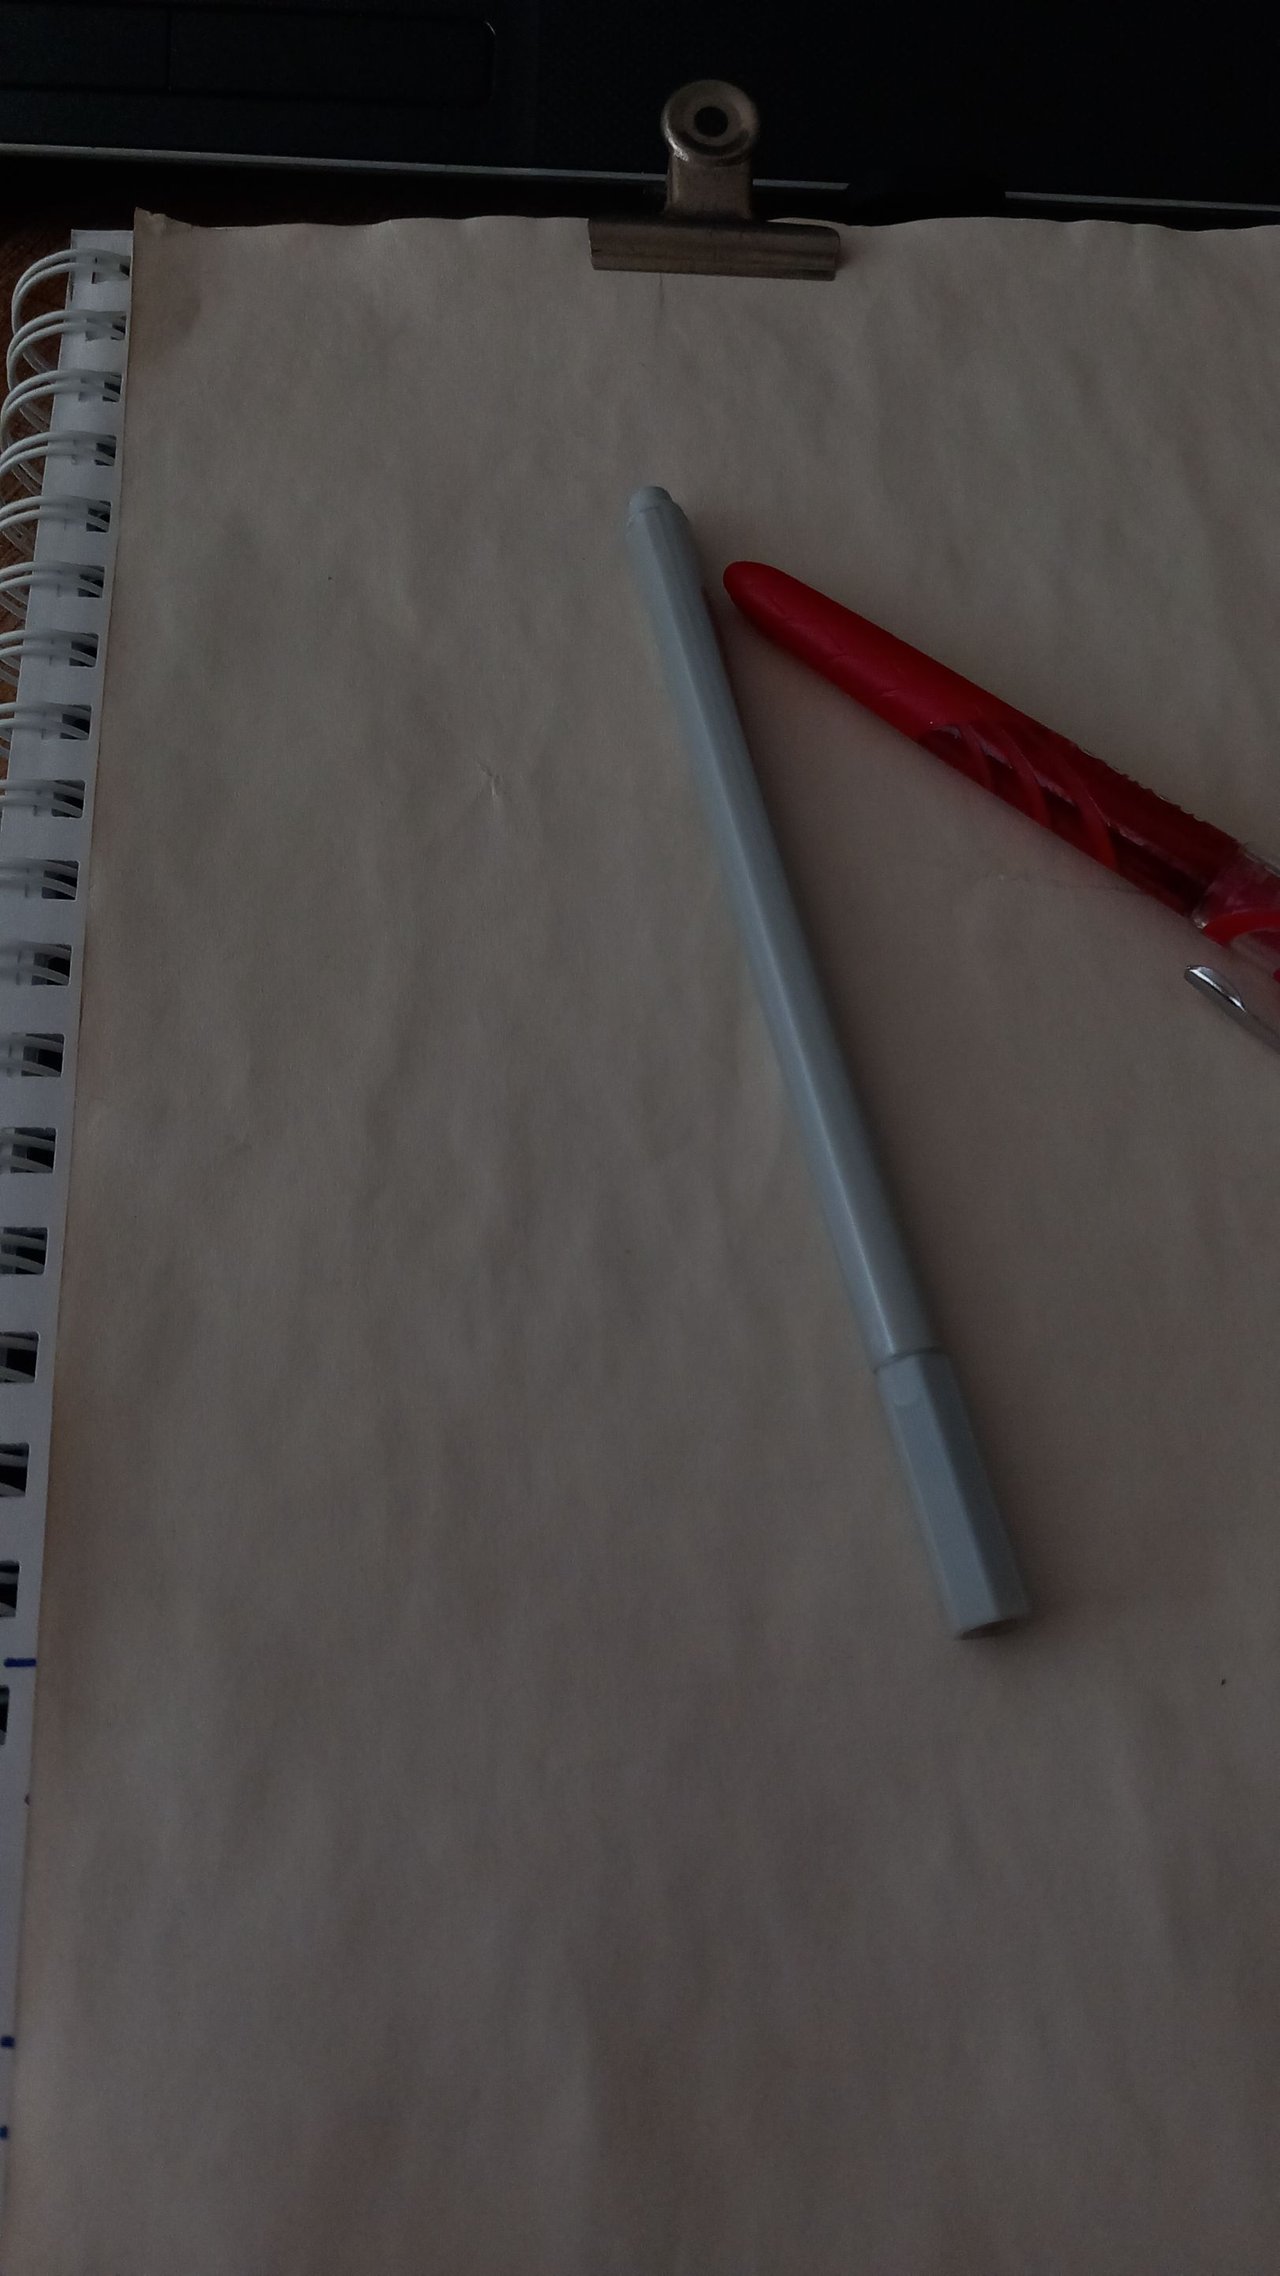
I thought a lot about whether to write with a red pen or a grey pen. Of course, I offered myself this chance to try and see, I used a paper for this experiment and I decided on the grey pen because it looked so beautiful on this yellowed paper. Although it is not exactly Indiana Jones, I can say that it added an air resembling old scrolls.
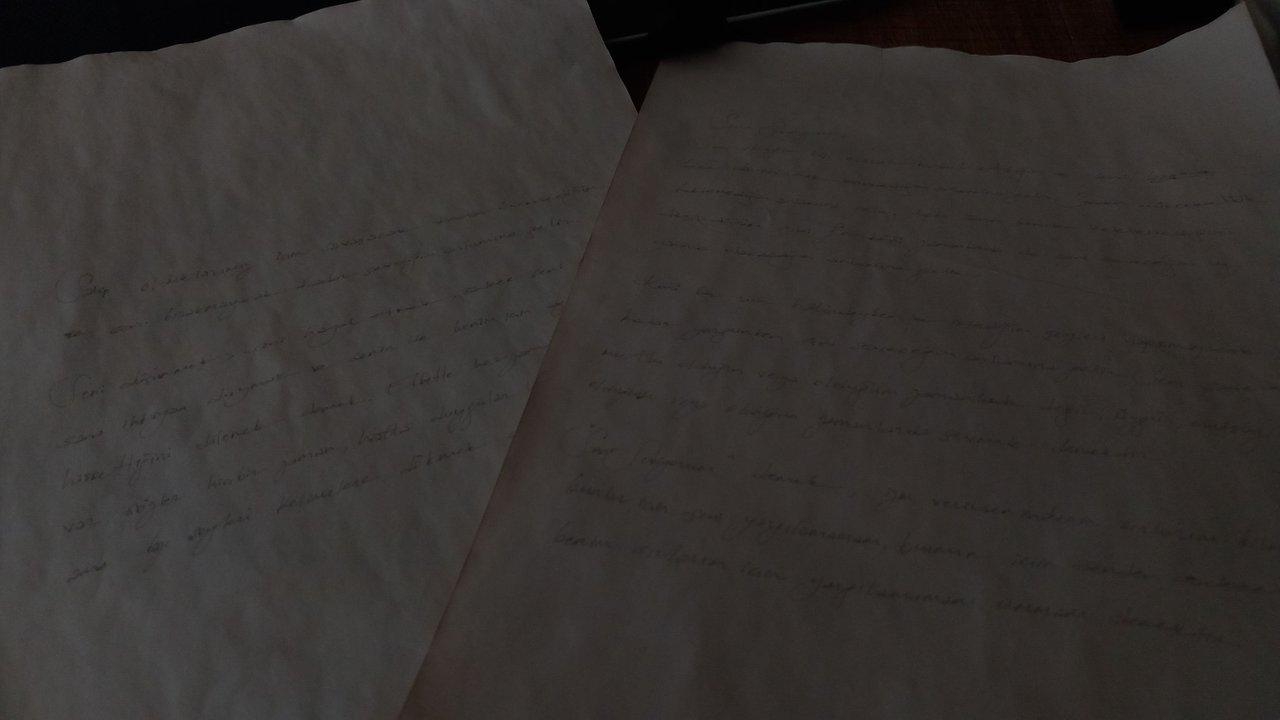
Afterwards, I started the packaging part by writing on my tiny notes the messages that he told me that he had starred in our messages, because he said that he loved it very much.
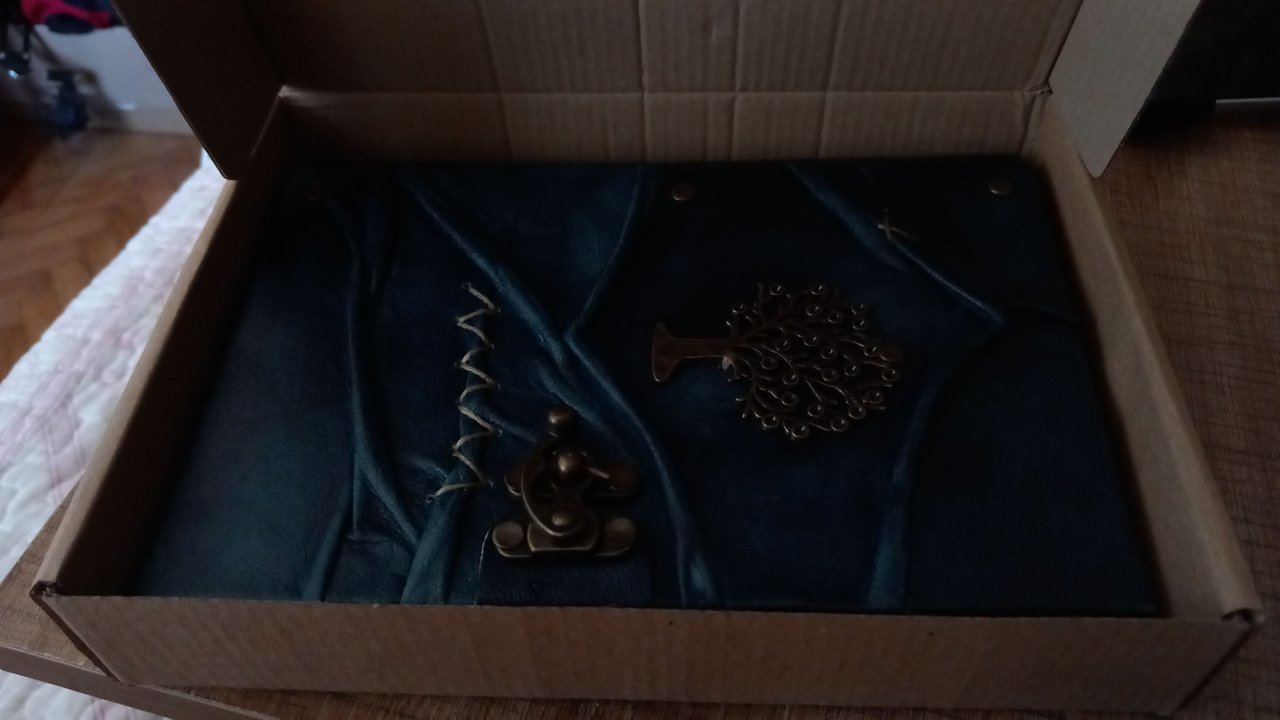
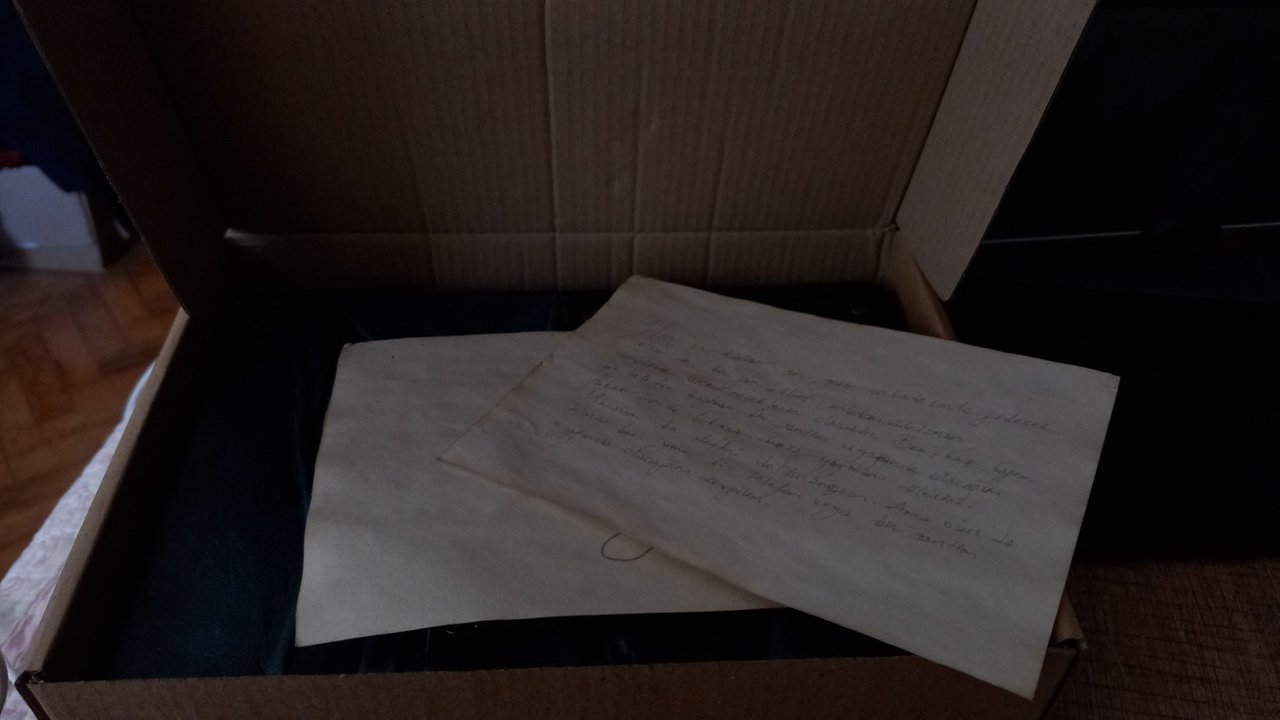
To be honest, I chose a black paper to show the sadness of his leaving, because this paper and cardboard will not travel with him. So it's not going to be permanent. So I was comfortable. And I personally think black is a very elegant colour.

Isn't it such a happy colour? 😂
I started by folding the black paper in half and aligned the box exactly on this line.
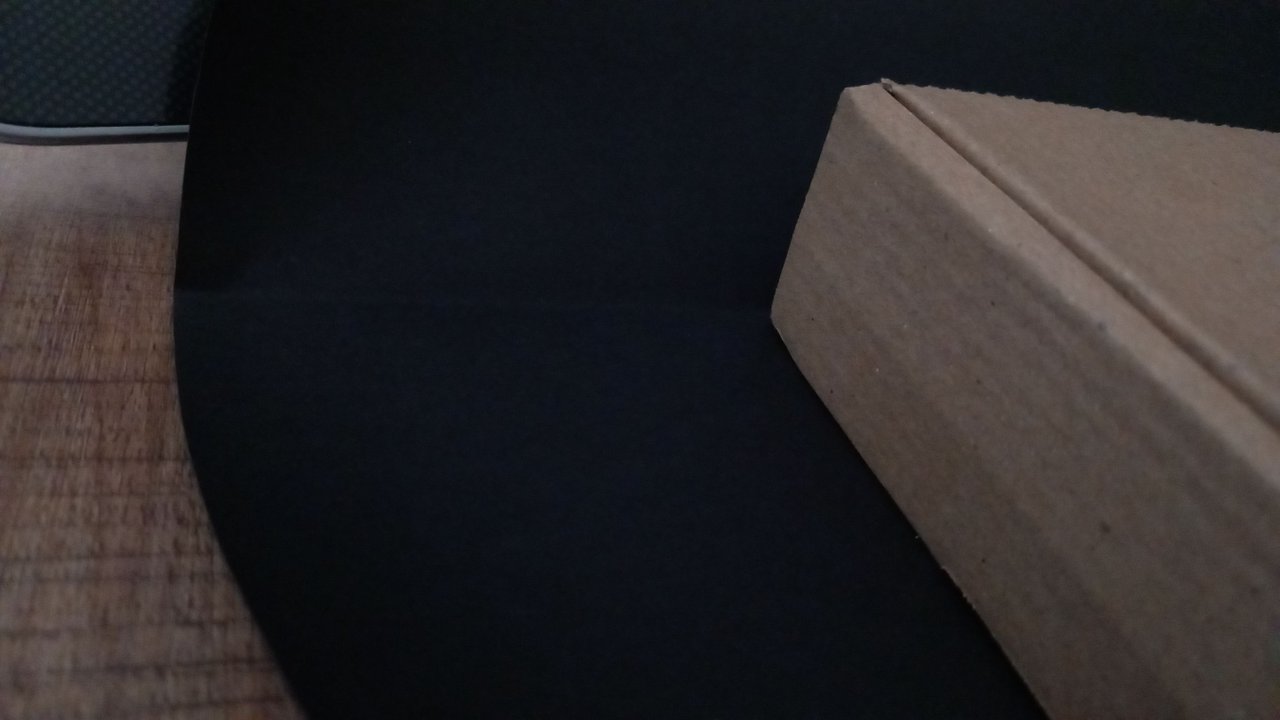
Then I put the remaining part over it in such a way that I could not see the box. And I covered the excess from the bottom part over it.
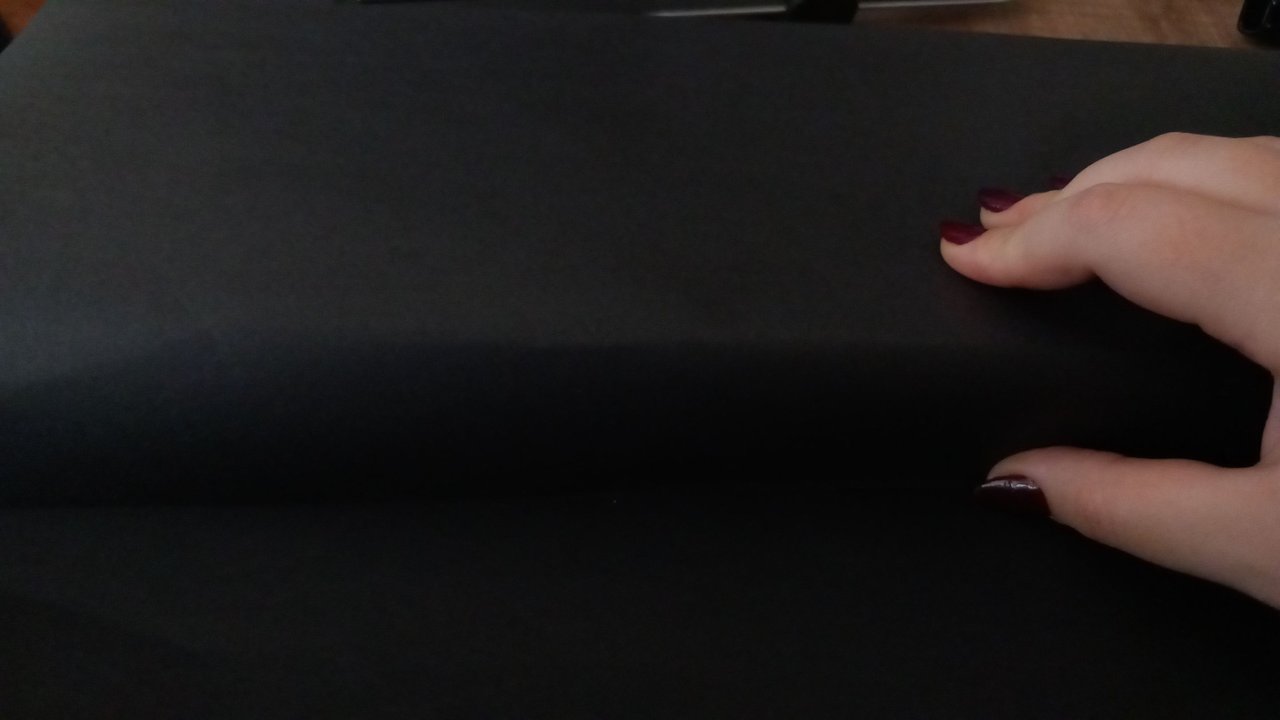
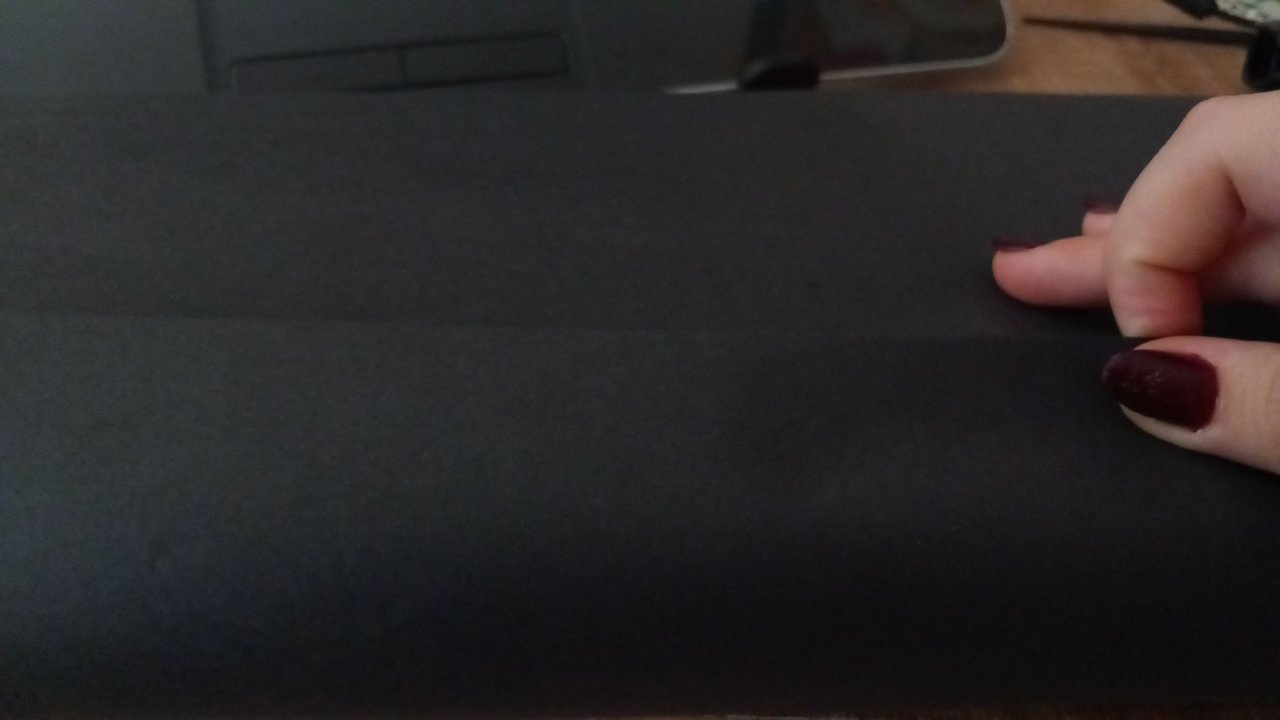
After fastening the middle part with the help of a tape, as you can see in the photo below, I folded the two ends of the paper inward in a very simple way and fastened it with tape.
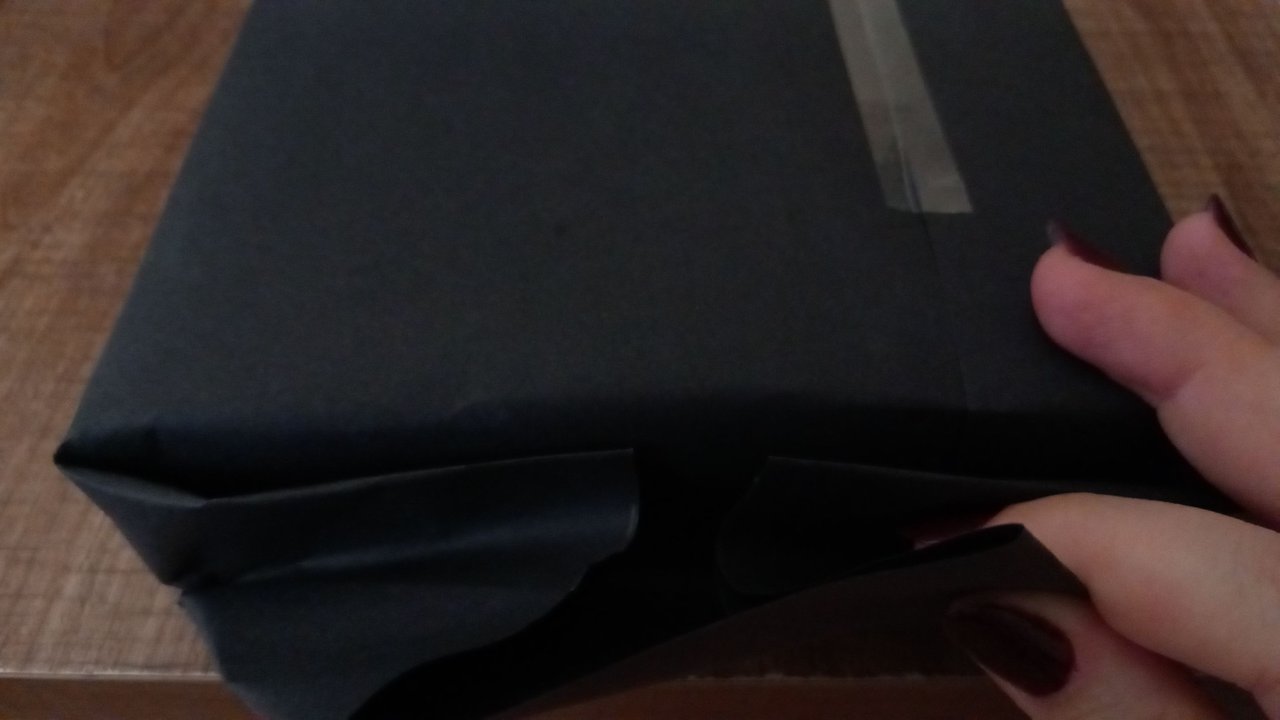
Unfortunately, these were the materials I had at hand, although I thought that the tapes were not a very nice image in this part. It may not seem like a very expensive gift, but I can easily say that it is a difficult situation for someone who does not work.
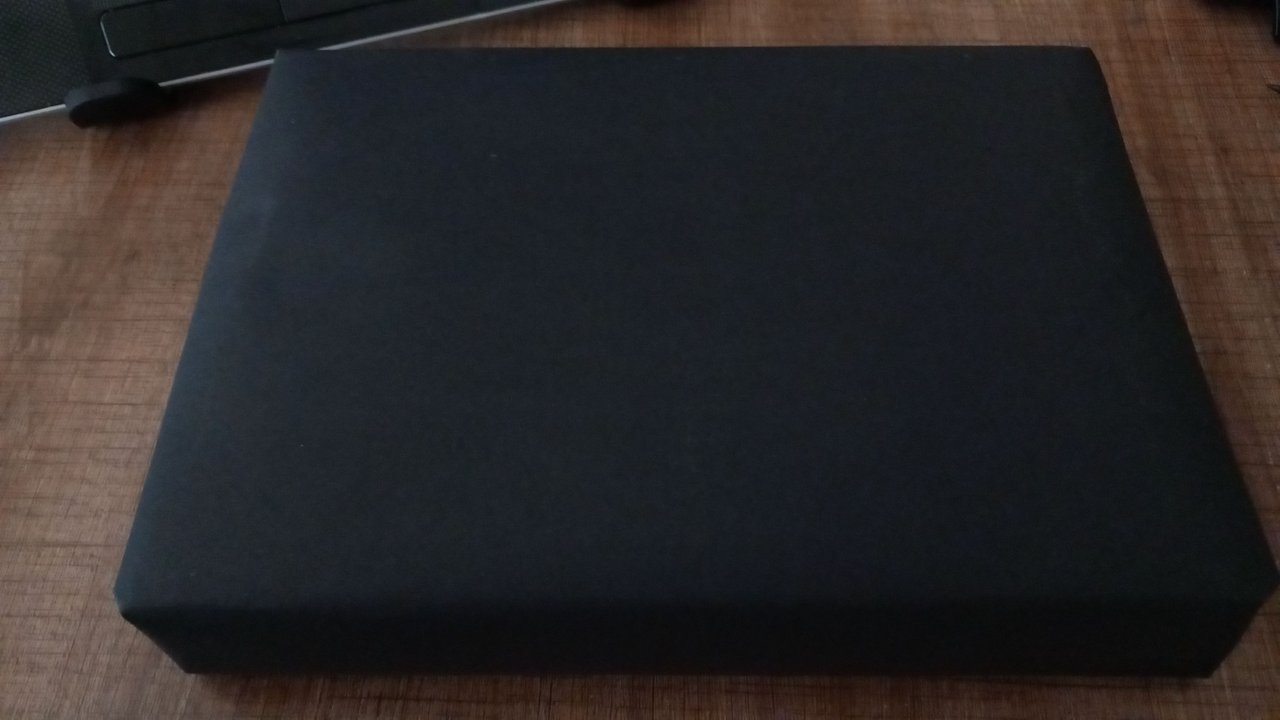
Although I was uncomfortable with the bottom part, the top part looked pretty to my eyes. Plain, simple and elegant. This is exactly what I was aiming for. It seems to be a paler black here, but I can clearly say that it is an unfaded black.
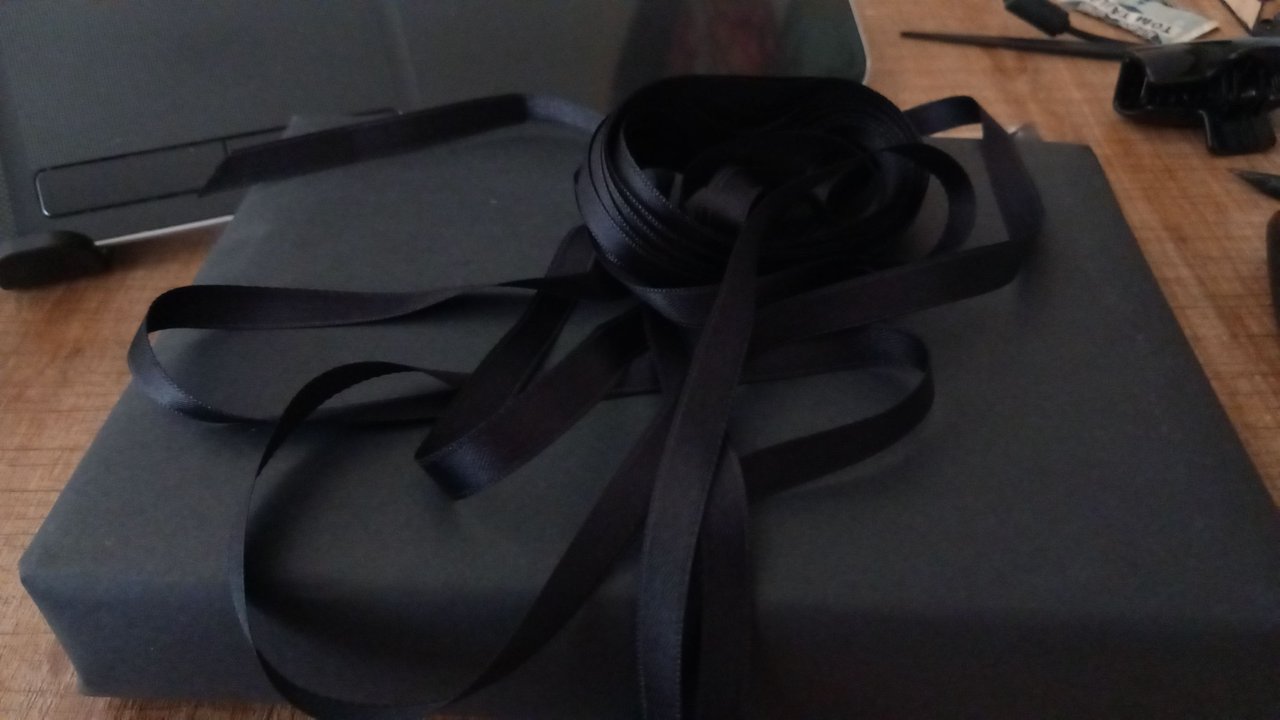
And I started thinking again. What's a gift without ribbons? I think not. I remembered that I had a black ribbon left over from the gift I bought for my Berceste for her birthday in December last year and wrapped by me.
Here I have come up with a tying tip that you can open in one go, is very easy to make and can be used over and over again.
If you want to use it, please pay attention to the positions of the ribbon in the photos because the real magic is in those positions.
I started by passing my ribbon over the ribbon when it was in the position I wanted to give the gift, that is, when it was a vertical rectangle. I left about an inch of excess ribbon on the left side because that excess will be our one-eared bow. And let me inform you that the length of the rest of the ribbon is not important. If you make the length adjustment last, you can get more accurate, eye-pleasing results.
I fixed the place of the ribbon on the left side with the thumb of my left hand.
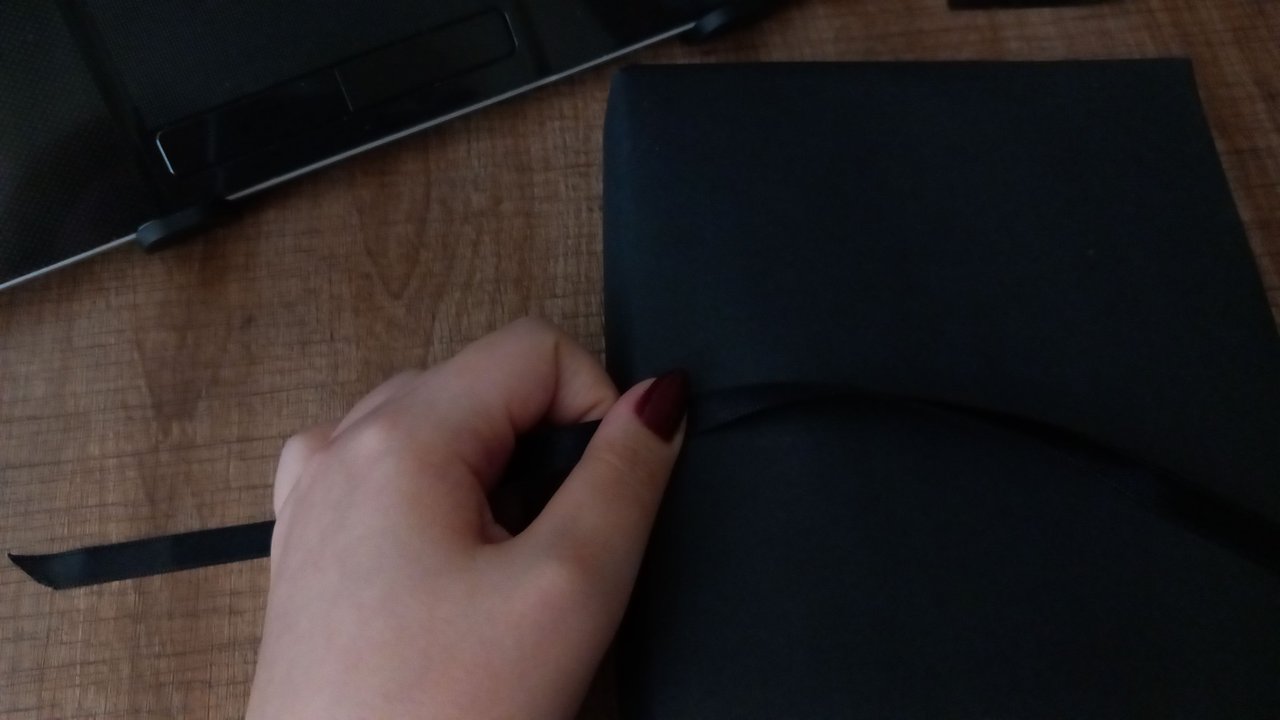
Without lifting my finger, I passed the ribbon underneath so that it completely wrapped around the gift.
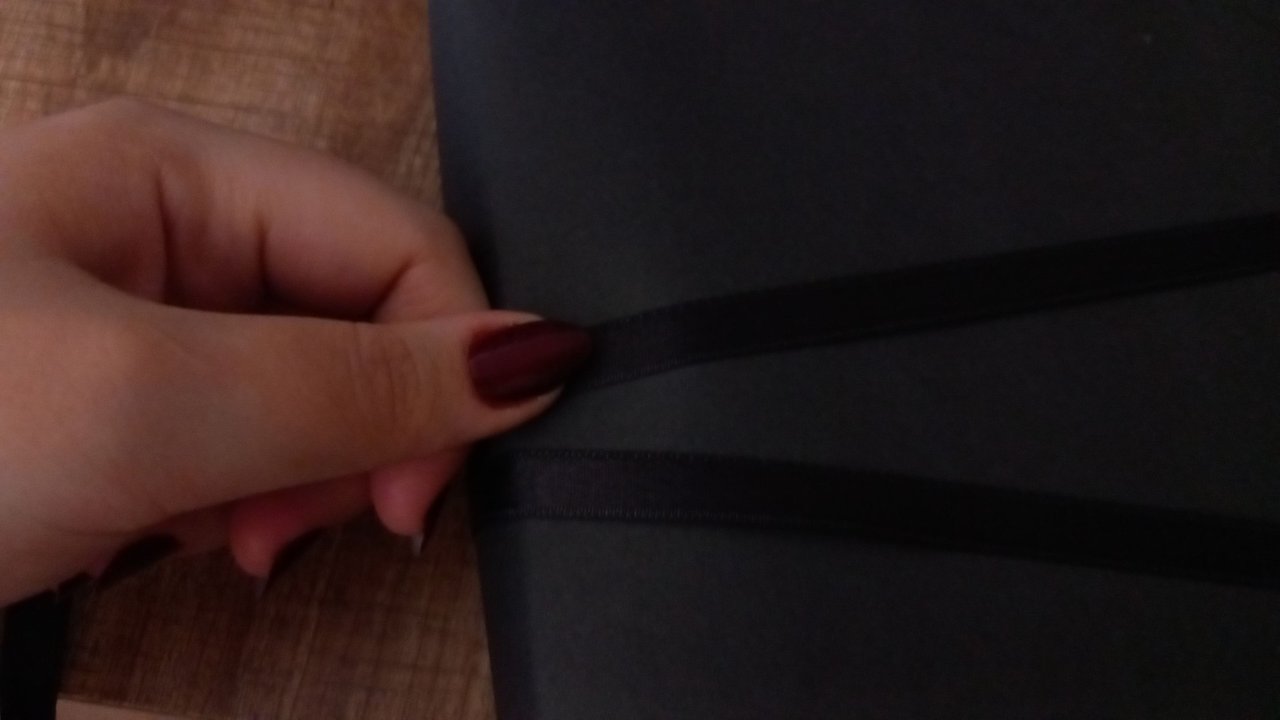
Again, without lifting my finger, I guided the ribbon upwards and passed it vertically under the gift box.
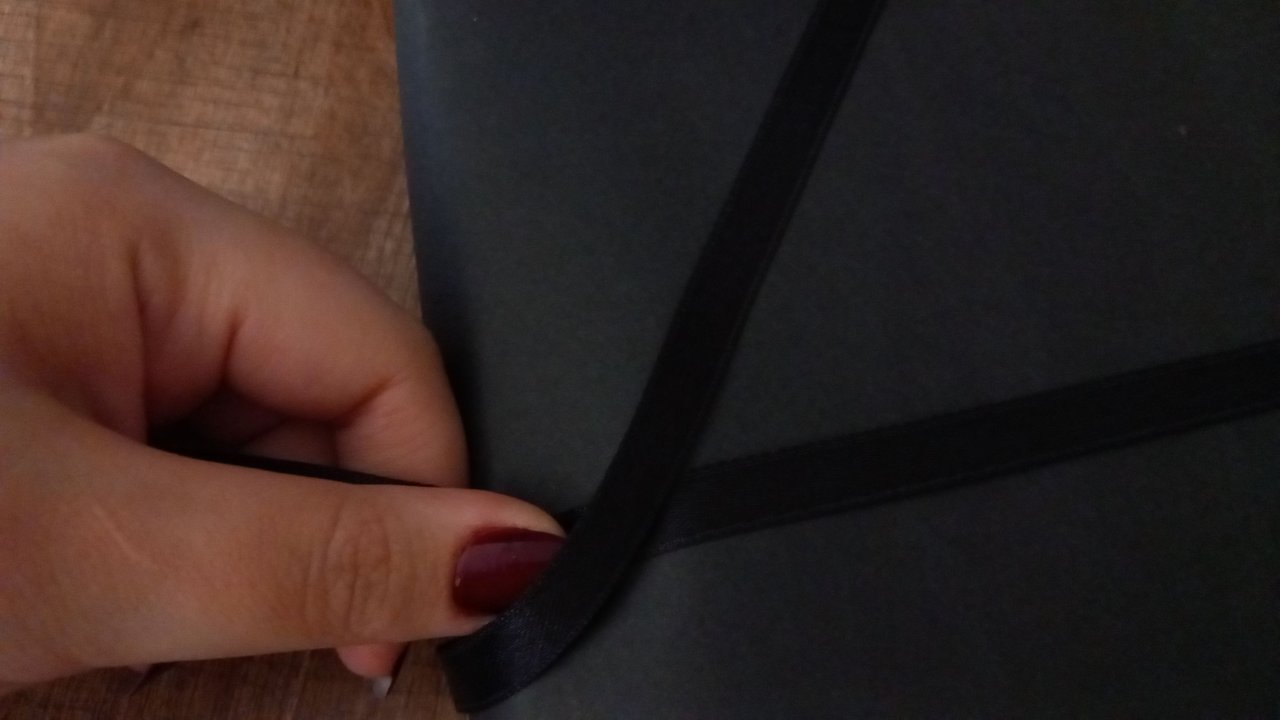
It's supposed to look exactly like this.

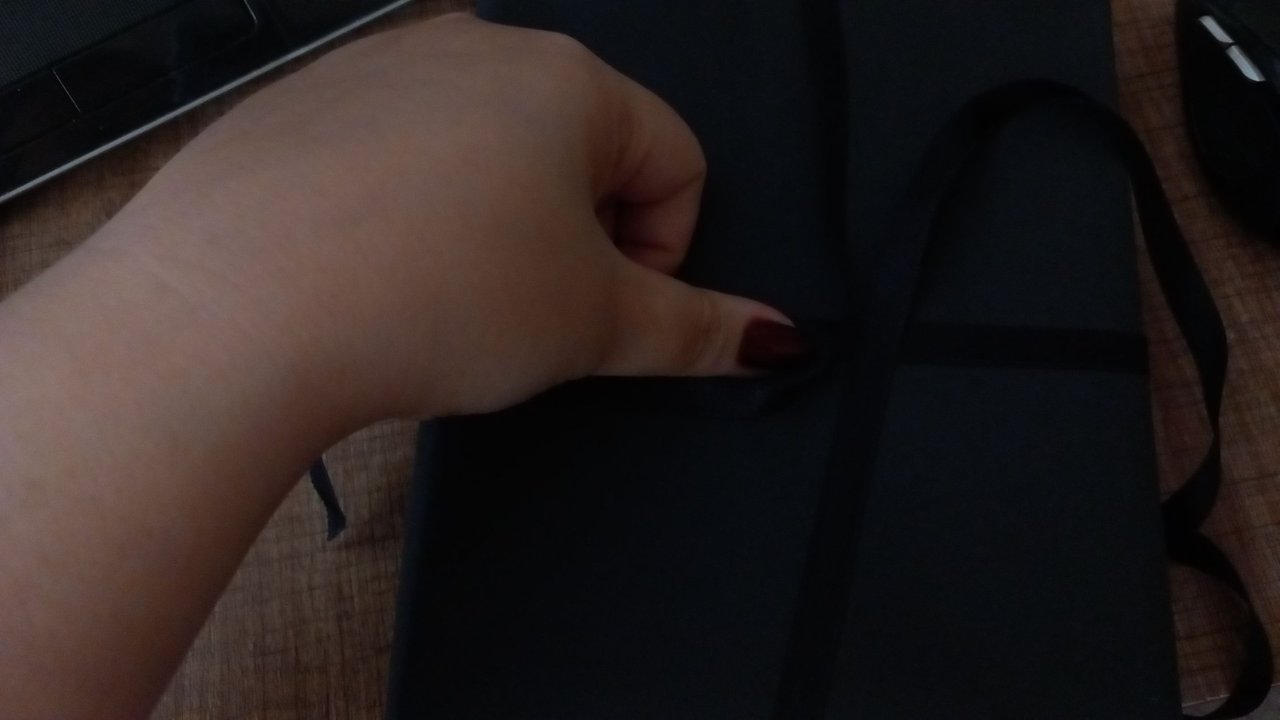
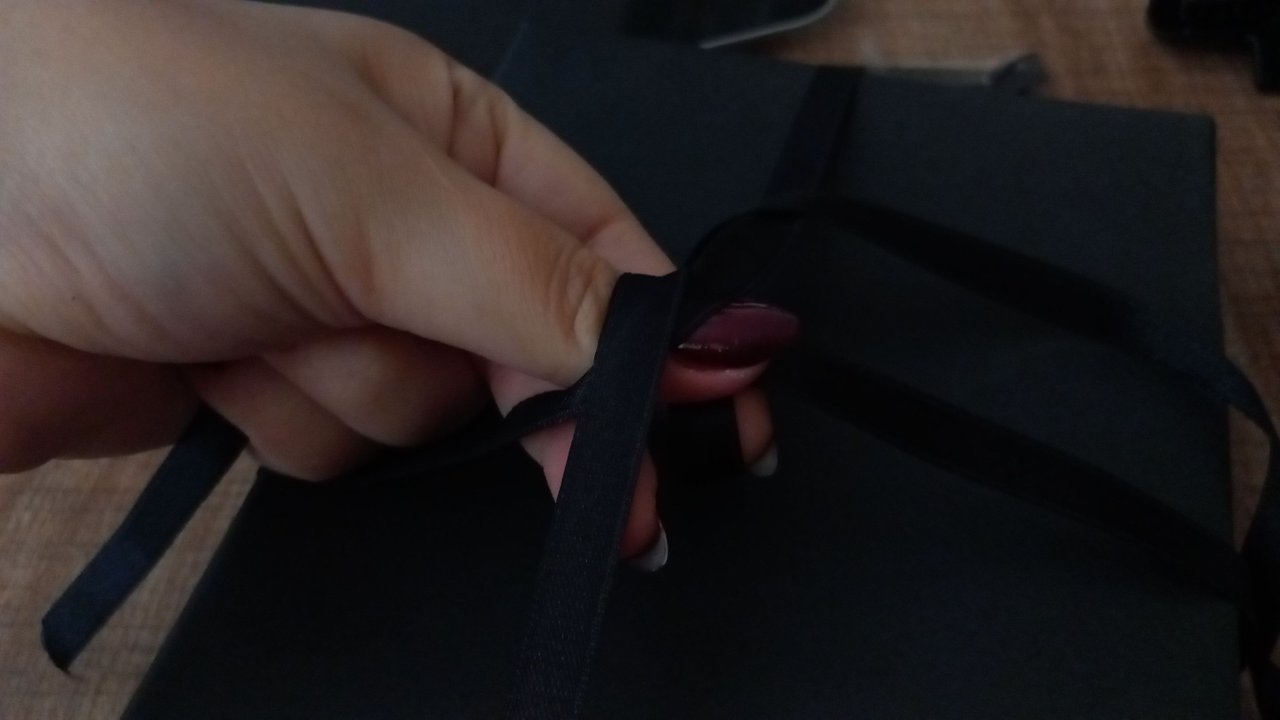
When this is done, as you can see above, I aligned my thumb in the middle without letting go of the point I was holding. And I passed the piece of ribbon we brought vertically from the bottom exactly over my hand, that is, from the upper left corner, and again, as you can see in the photo, I raised my hand and passed the part I passed from this upper corner under my hand.
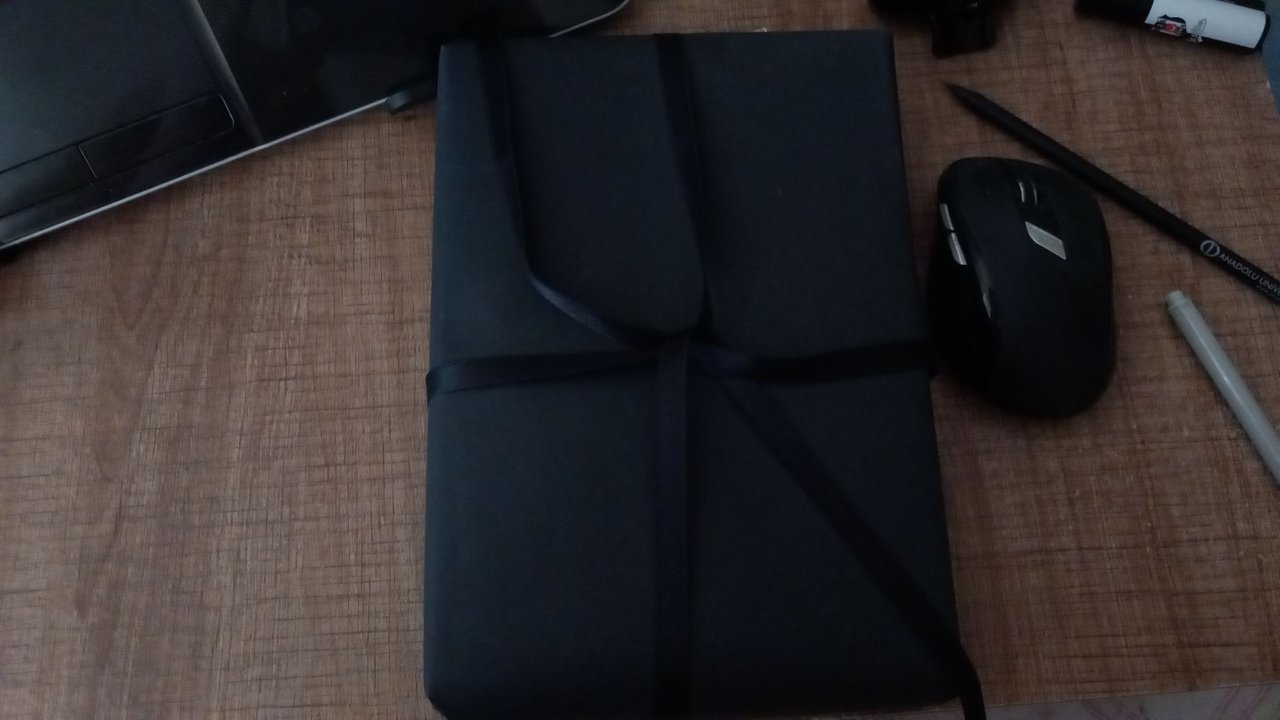
The part on the top left was the part I held with my left thumb and the part on the bottom right was the part I passed underneath. At this point, you don't need to hold any part of the ribbon, you can even go and have a coffee and come back.
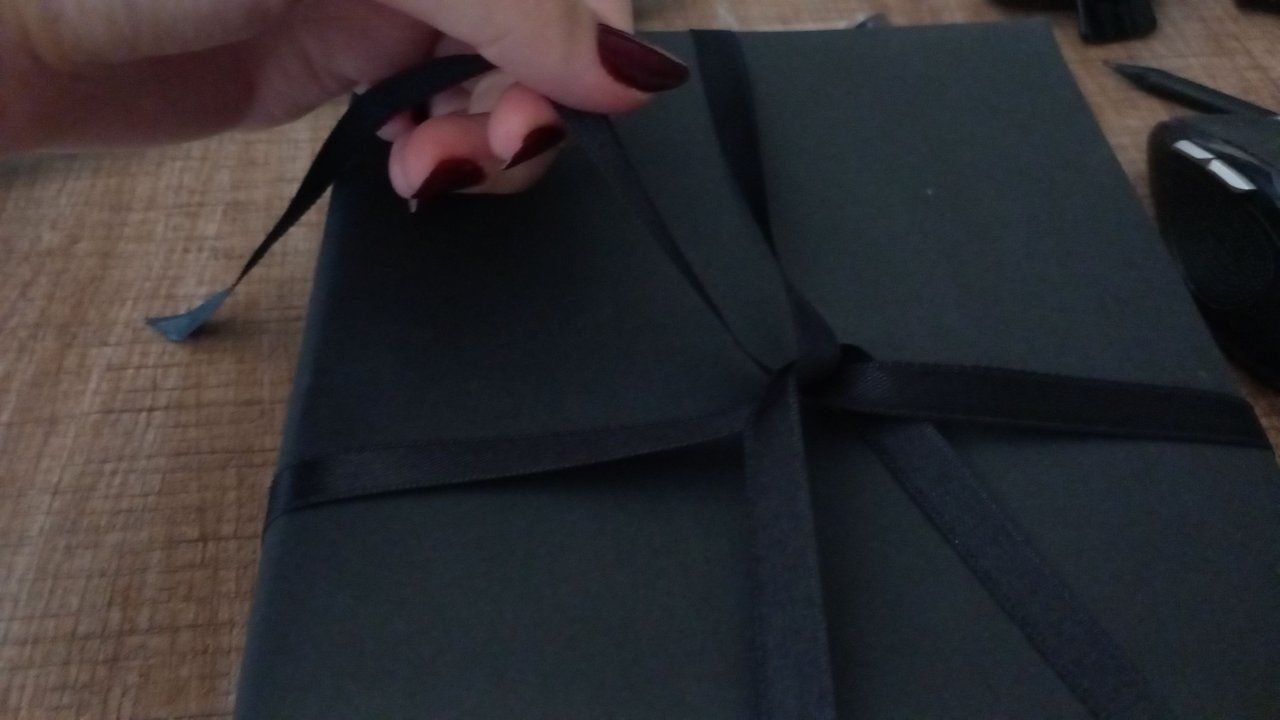
I held the upper left part with our left hand and turned it into an ear as you can see below. Again, a process begins where you do not lift your left thumb. 😂
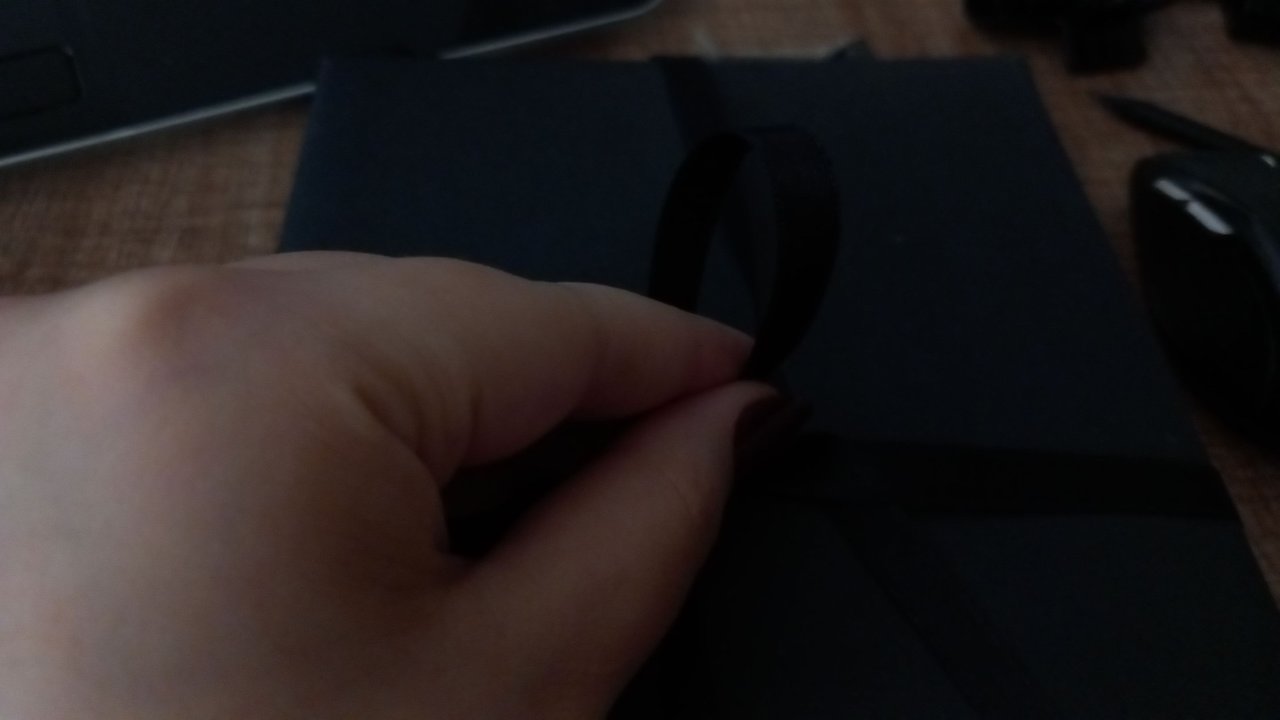
As you can see above, I ran the part that I had not yet cut and held clockwise over my finger.
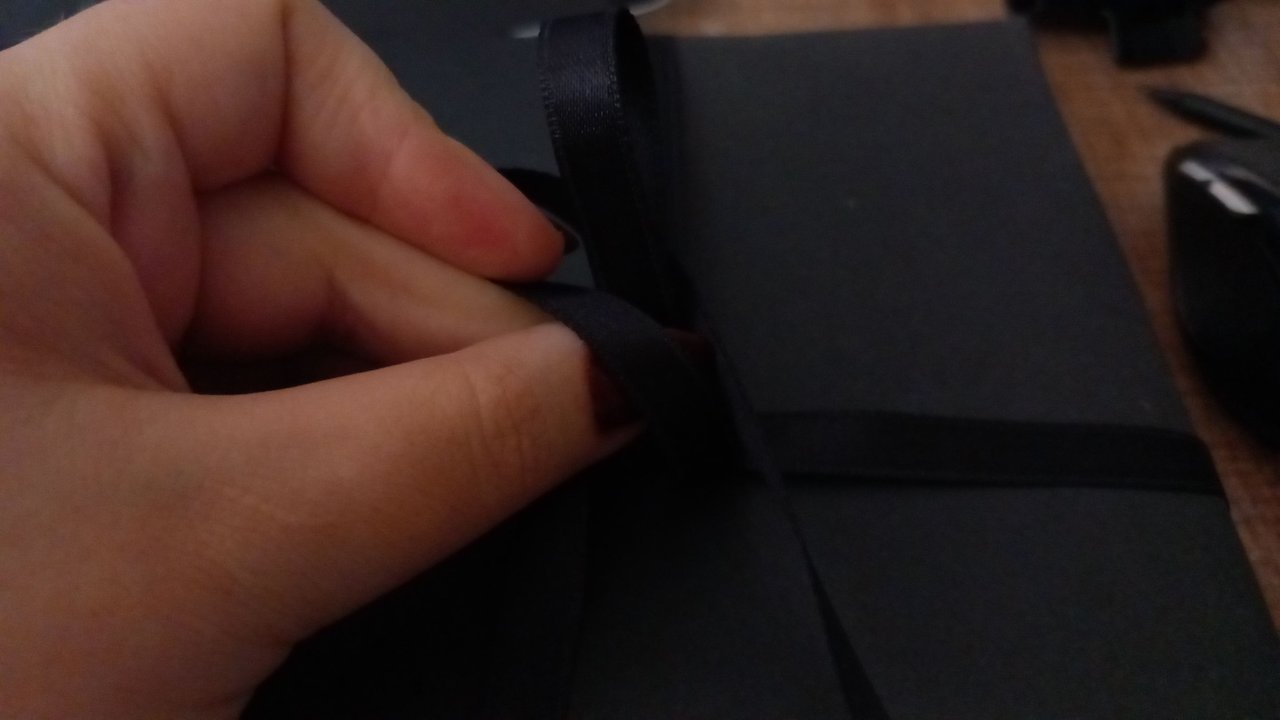
The next step was to pass the part that I had not yet cut through the hole that was formed and in which my one ear was located. You can see the full version in the photos below.
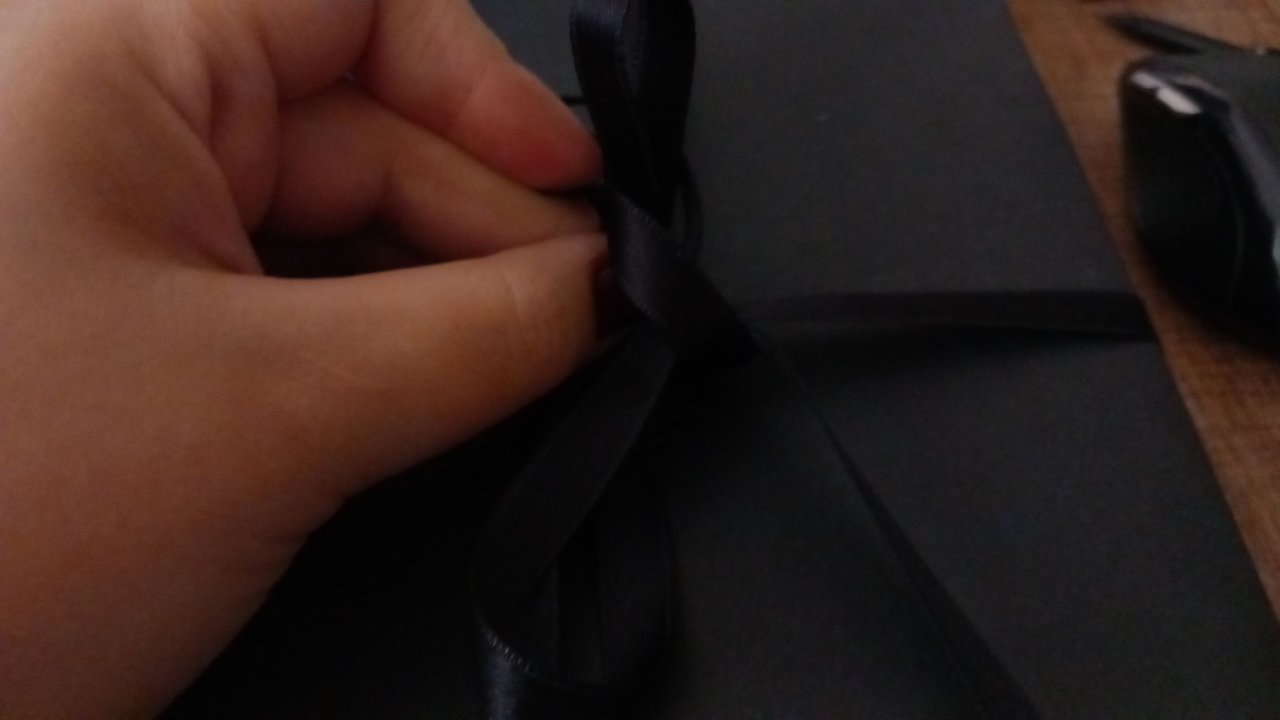
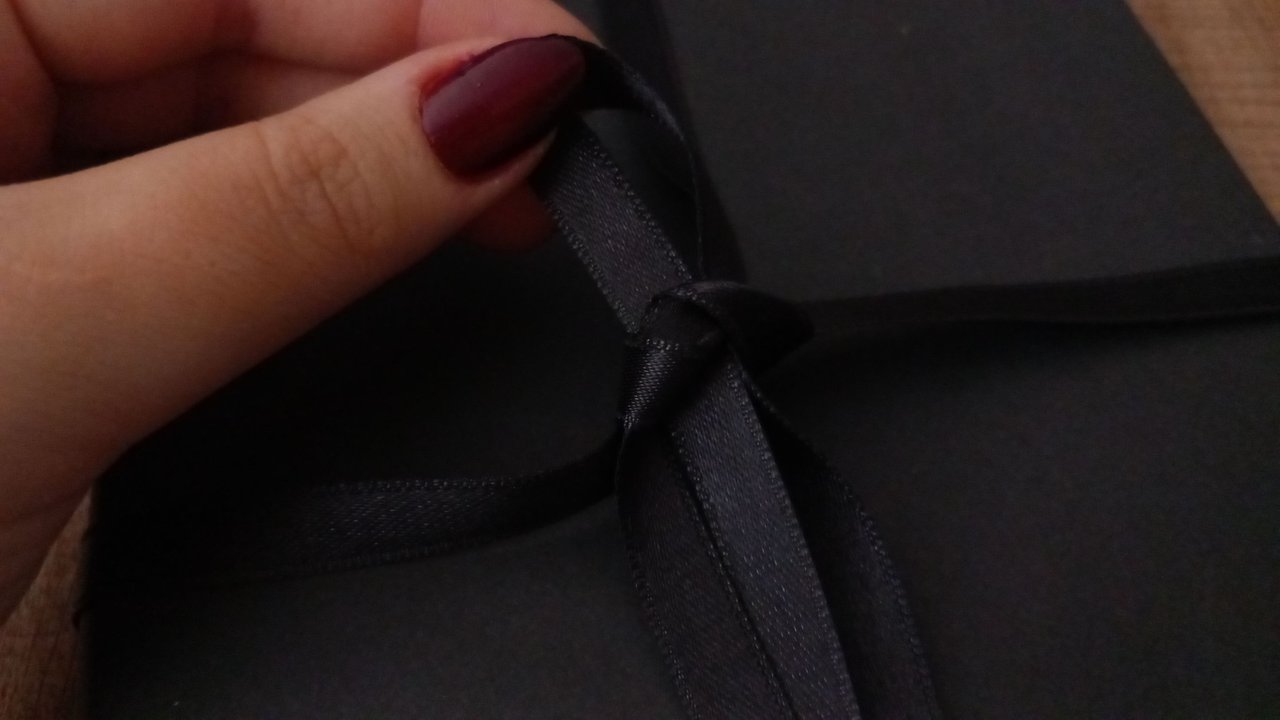
And it's done. When I tighten the ribbon and cut it, the whole packing process is over.
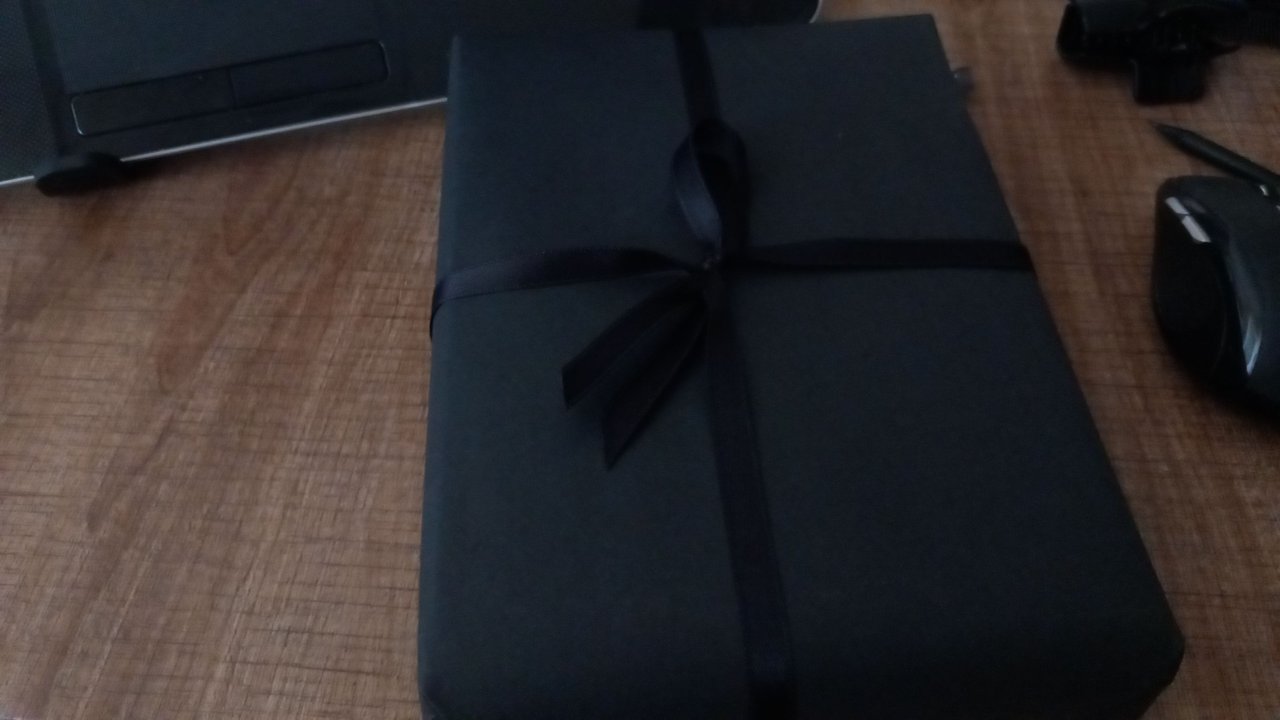
Well, would I finish here? Of course not 😂 Then it caught my eye that I had a lot of yellowed paper in my hand and I said; "Why don't I make tiny hearts in these?" I also thought that I don't make him this gift in the form of tiny notes that he will read without opening it.
And of course, hearts, which are a must for a lover, has arrived. 🖤 Oh, this post has been very long 😂 But as I add it, I feel like adding it. Anyway.
Now, because I think my note will look a little too legible, I will show you what and how I did on a different paper exactly the same.
I started by folding my paper, which I cut into squares, so that the two ends come up to each other.
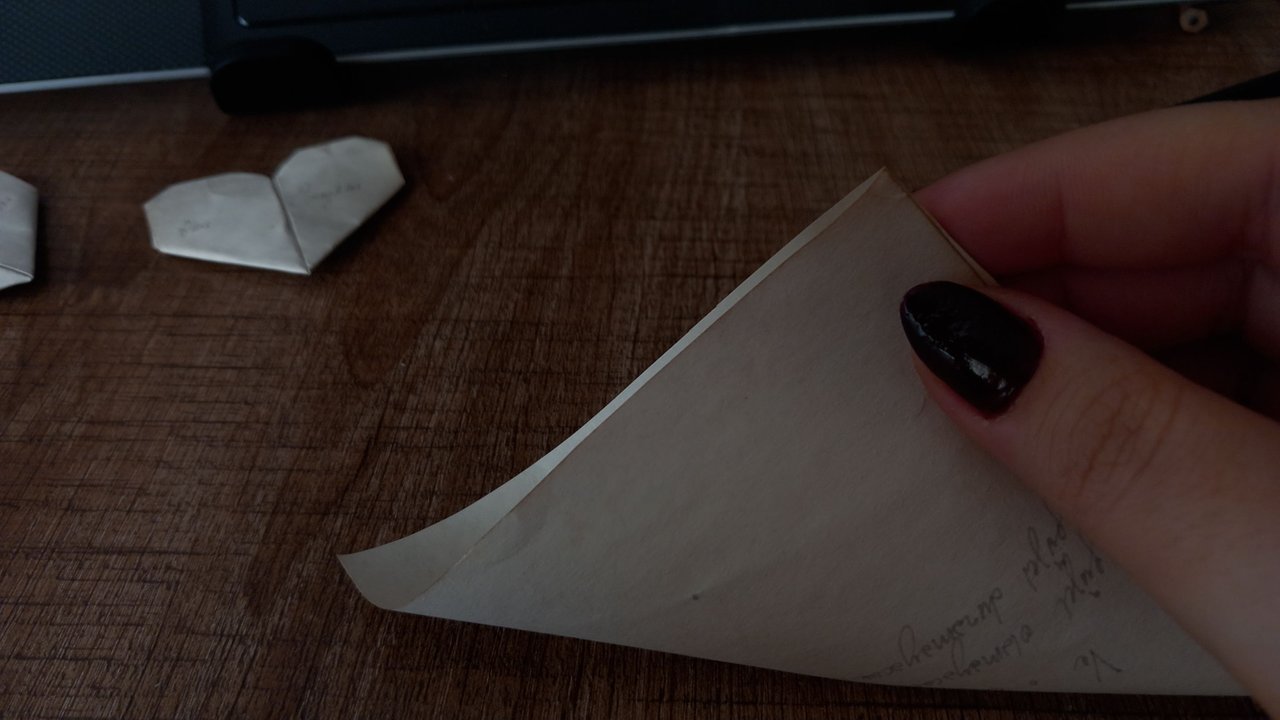
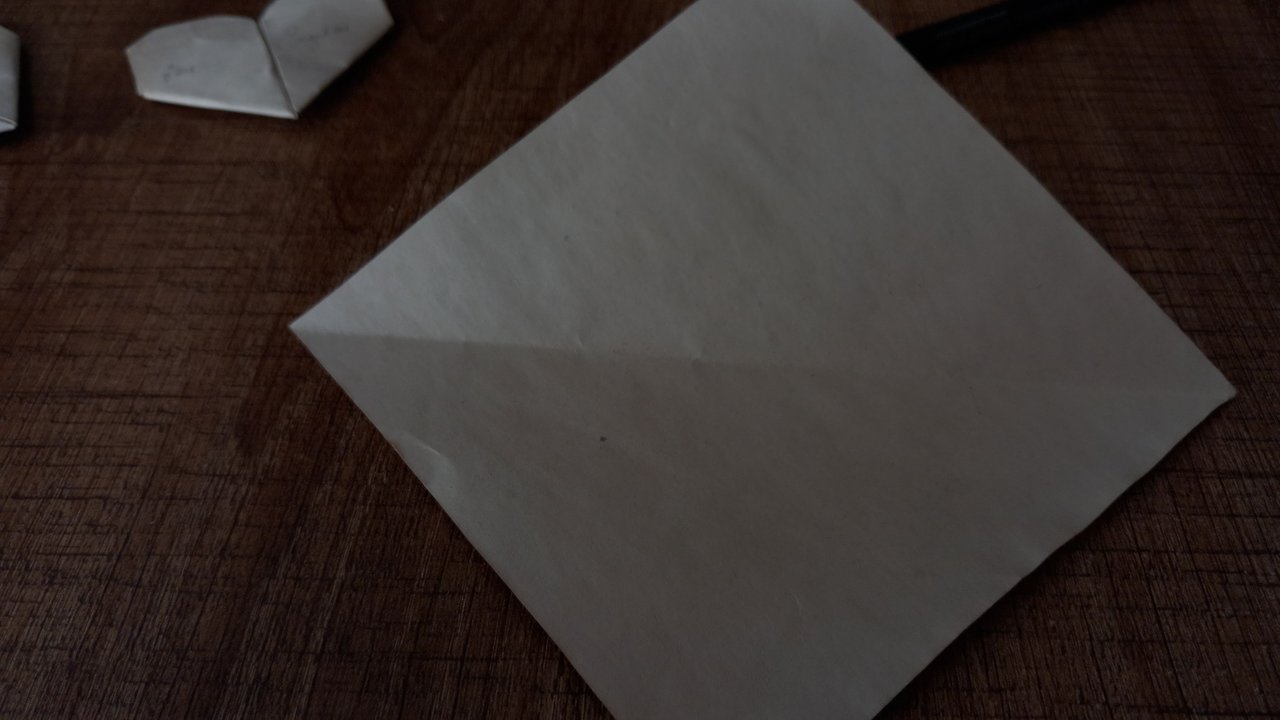
I did the same with the other two ends and obtained a trace that cuts the paper diagonally.
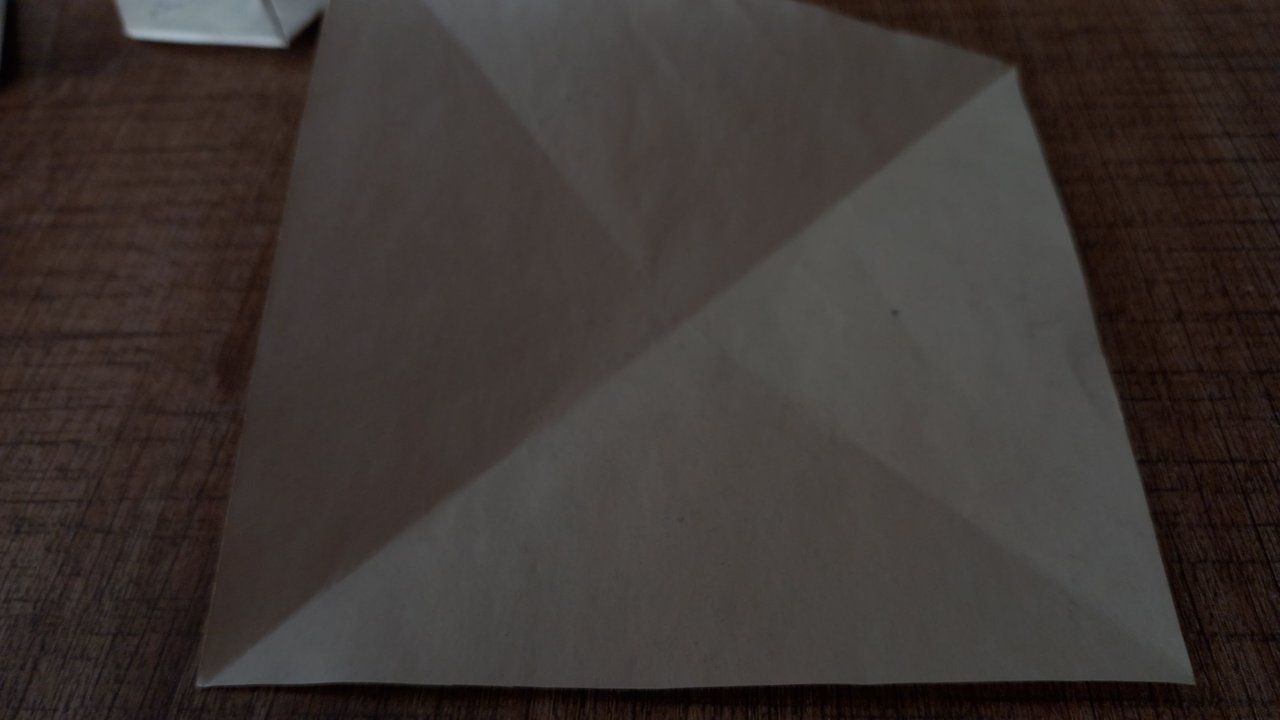
I folded it in half in the middle, then unfolded this fold and folded it in half in the middle so that the part with the trace in the middle coincided with the tip.
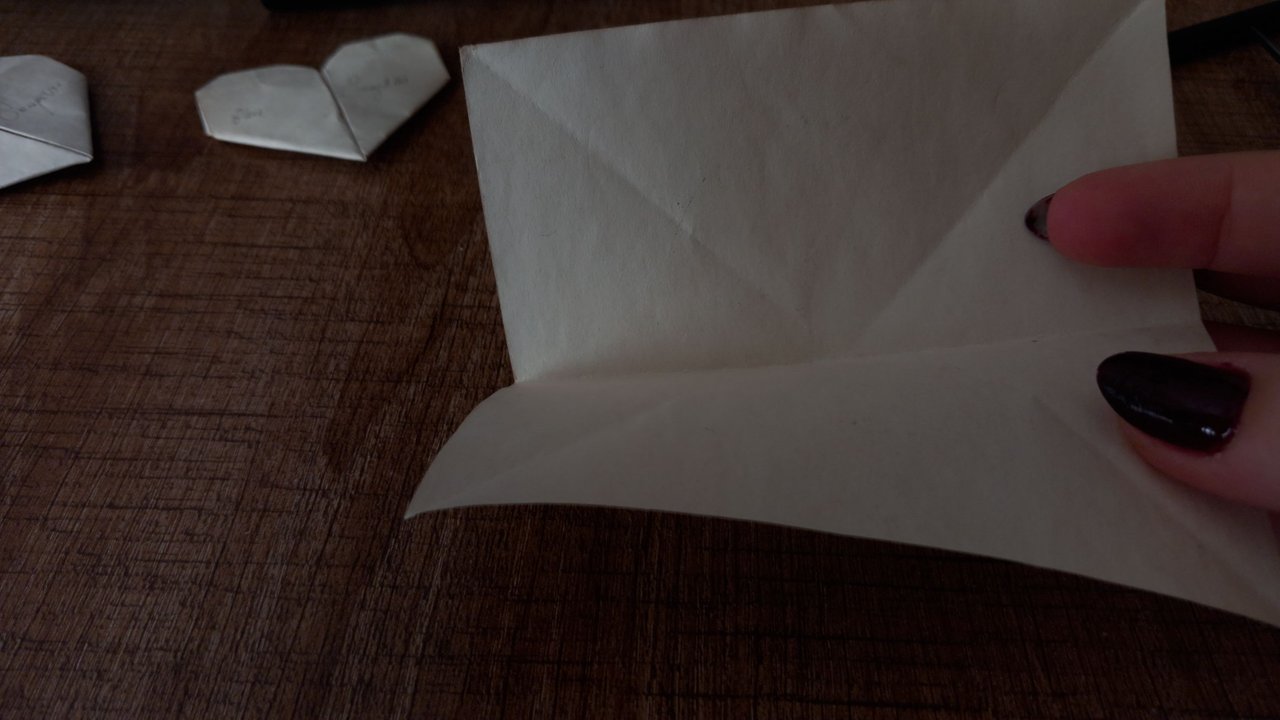
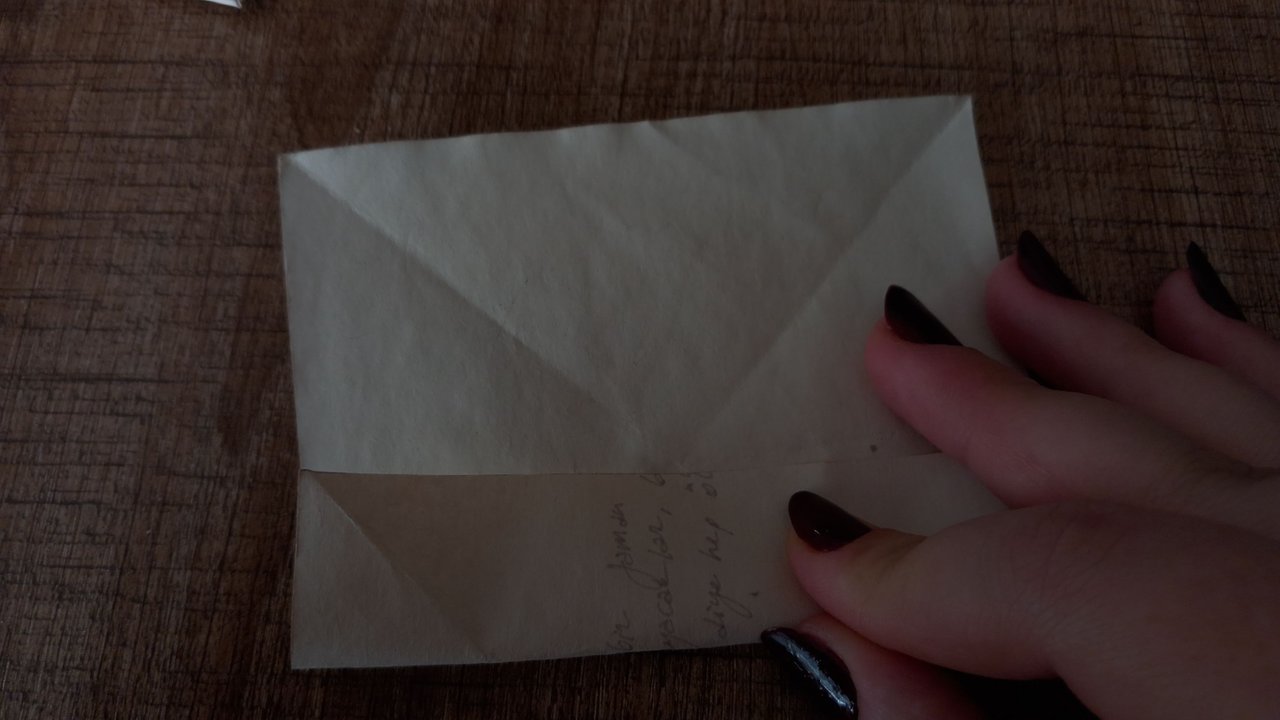
The folding part should look exactly as follows from the side.
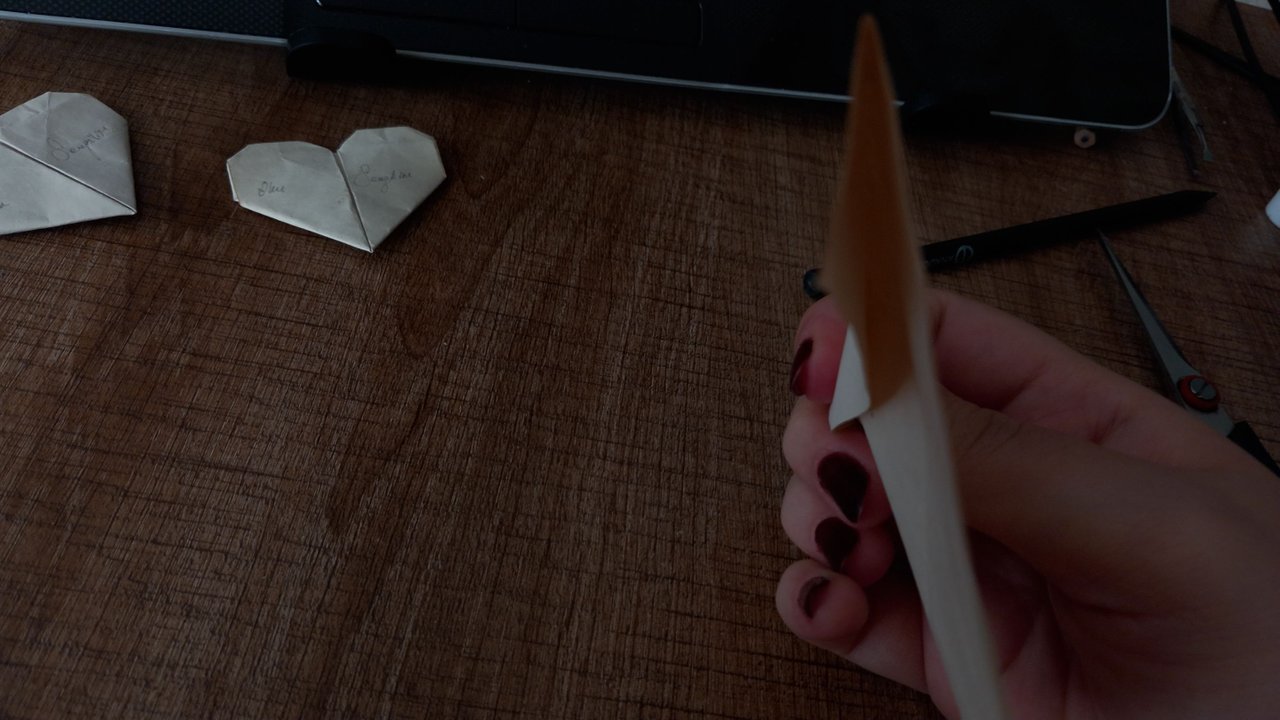
And then, without unfolding this second fold, just like we made a paper plane when we were little.
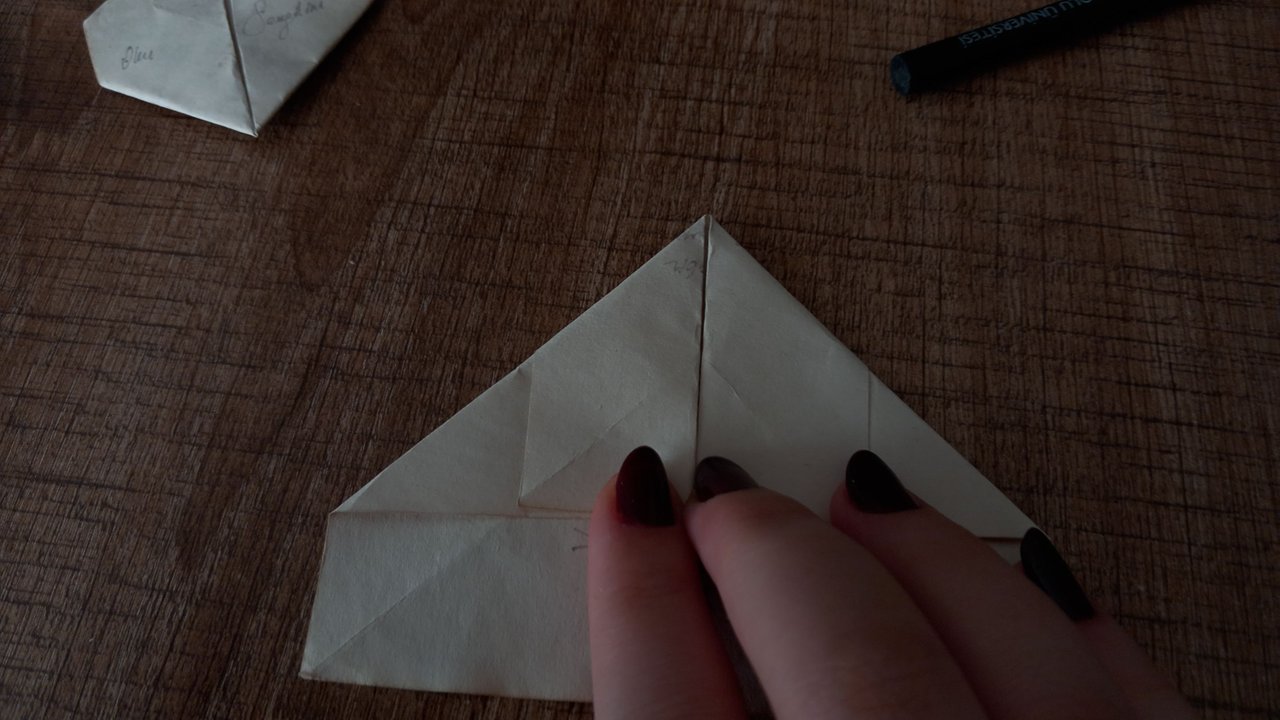
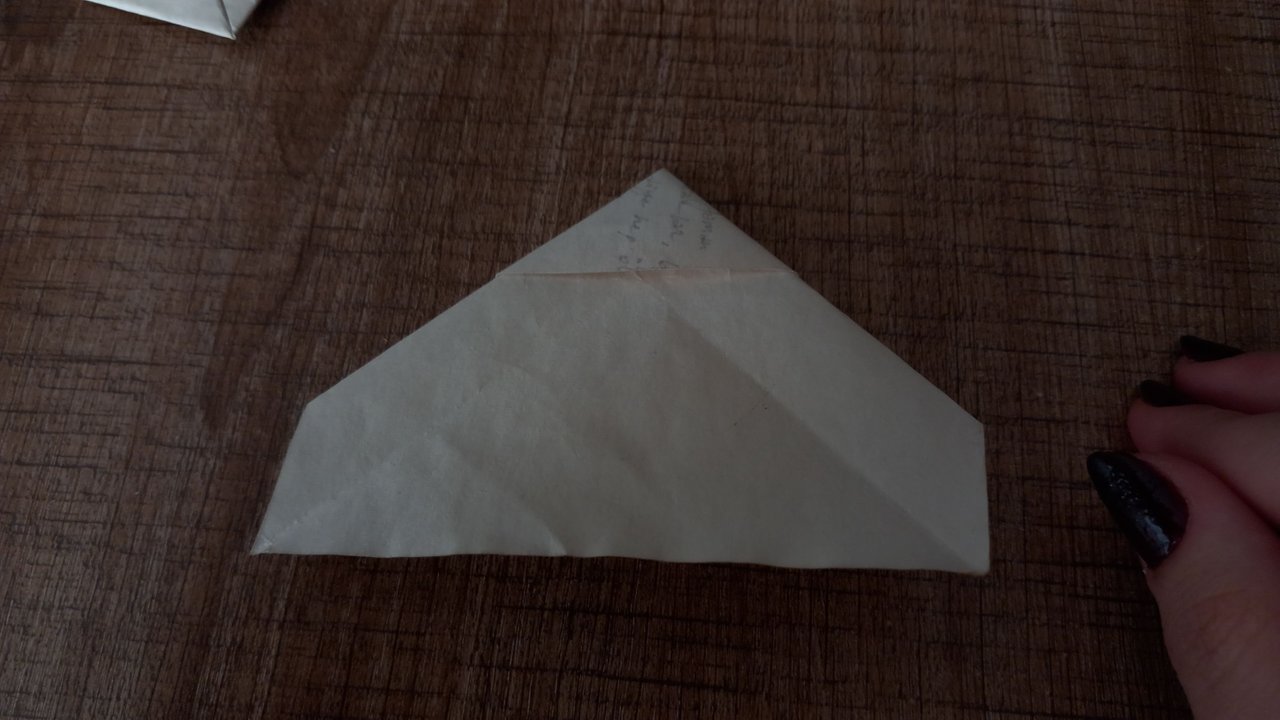
And I flipped it over.
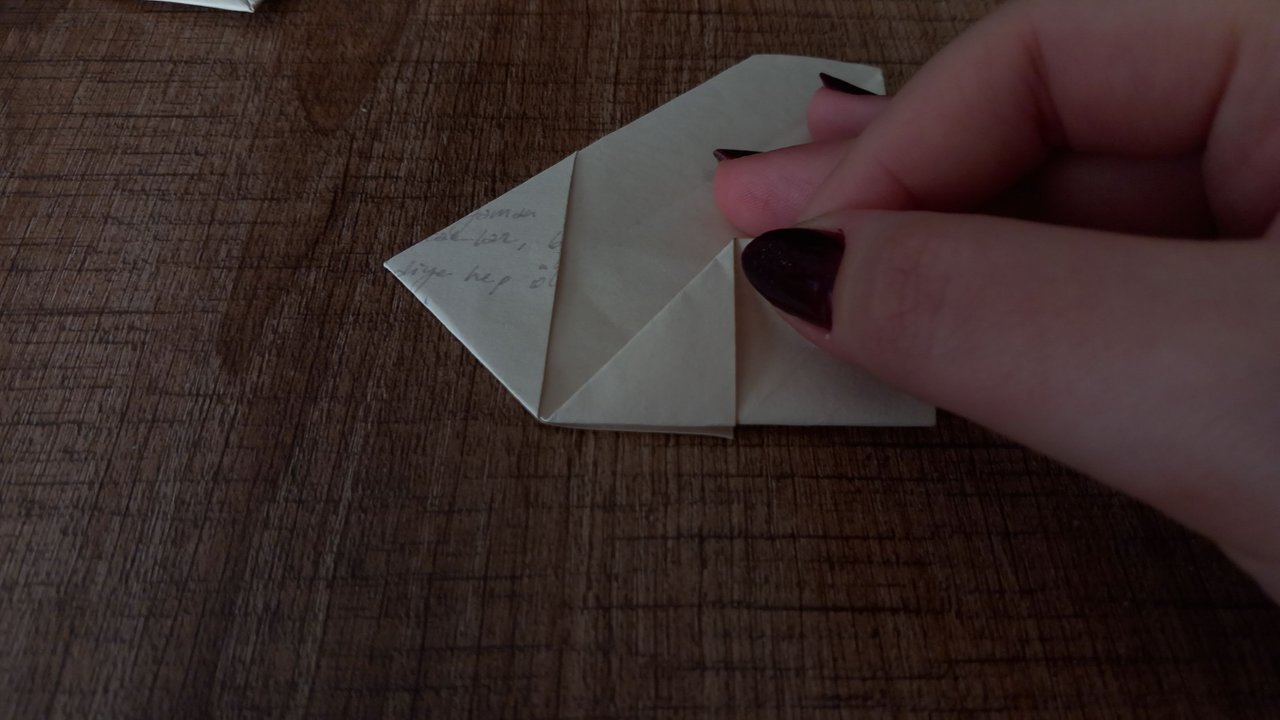
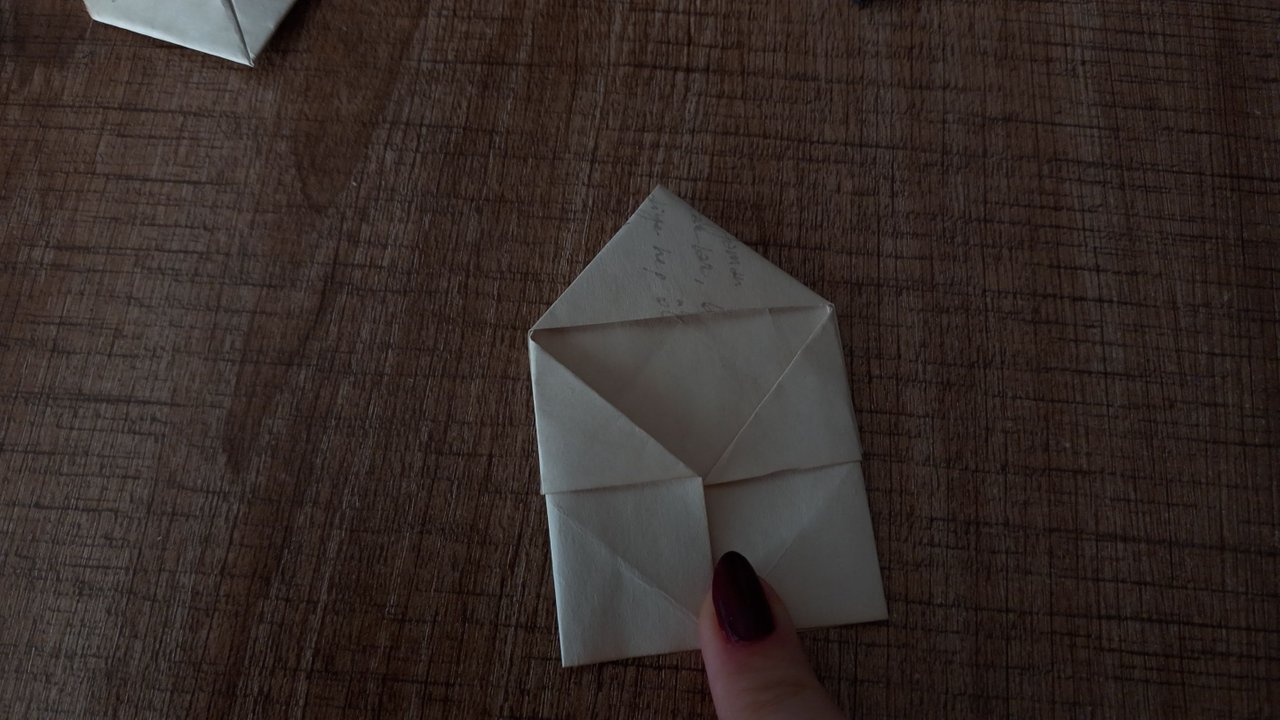
As you can see, I folded the excess parts on the sides based on the tip of the pocket part at the head. I wanted to show it in this way because it opened when I did not hold it with my finger.
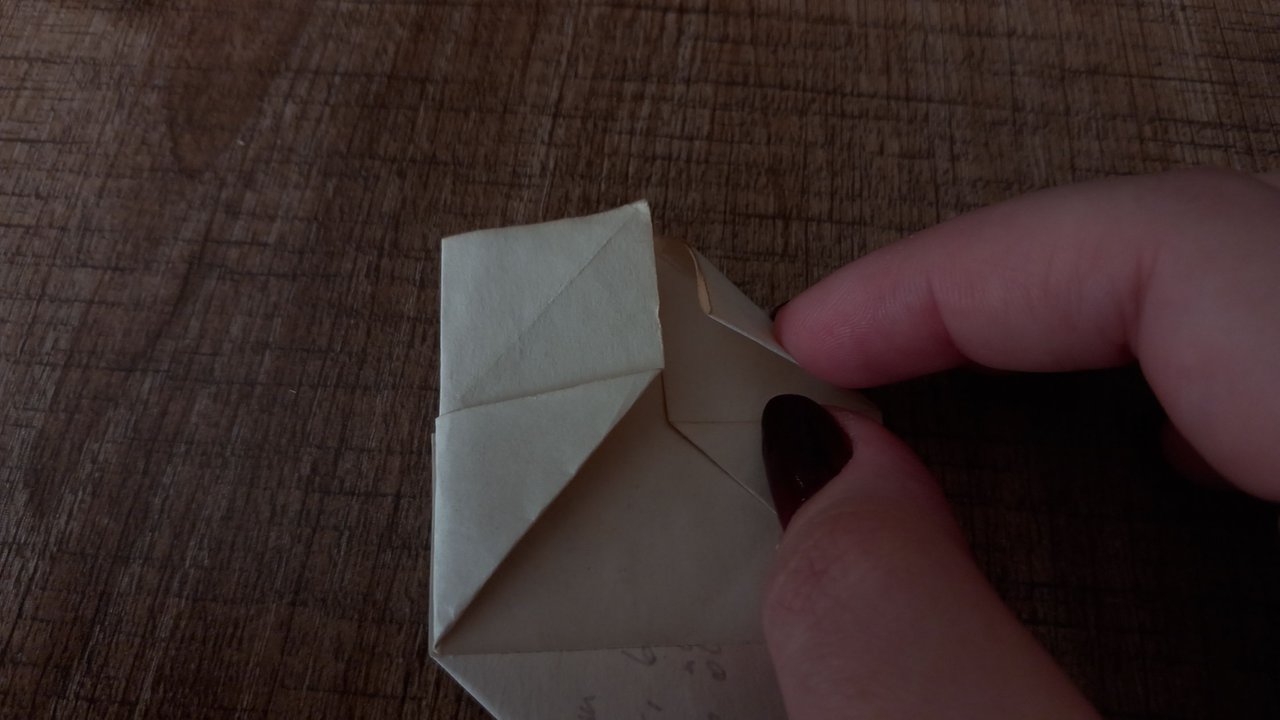
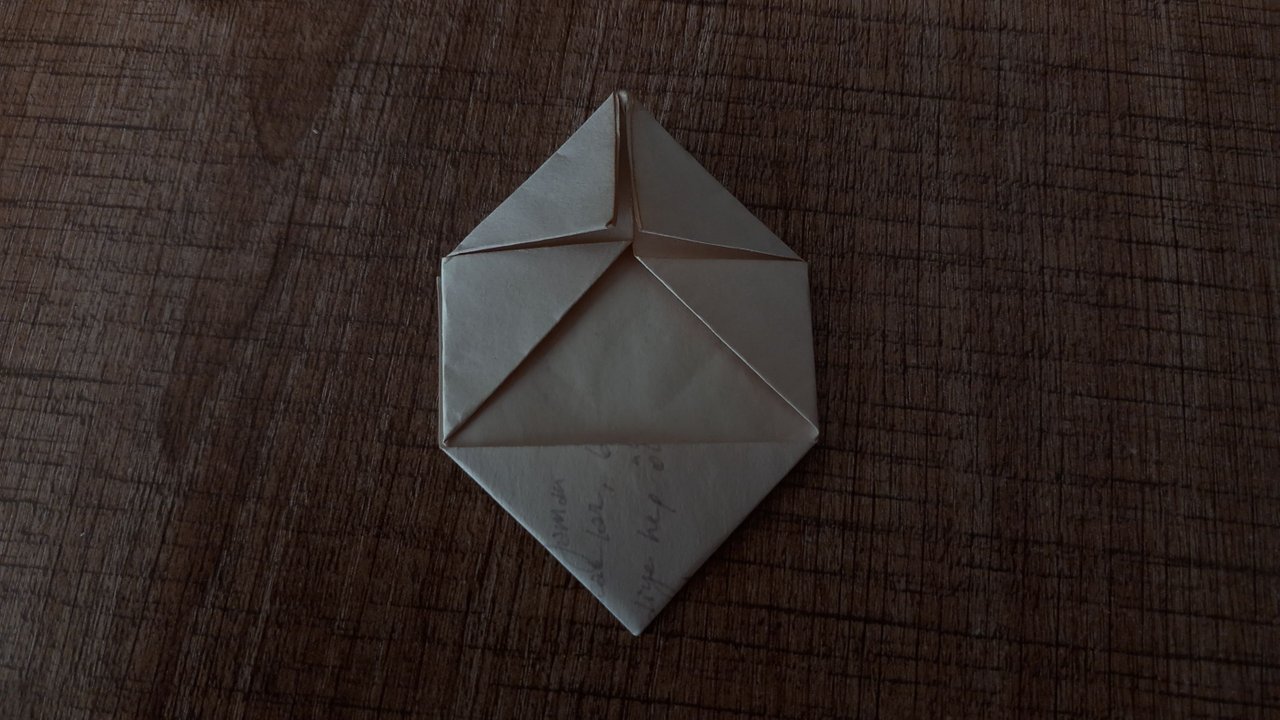
And then I turned it to the other end. And I folded the parts that already had folding marks into this shape. I don't know exactly what this is 😂
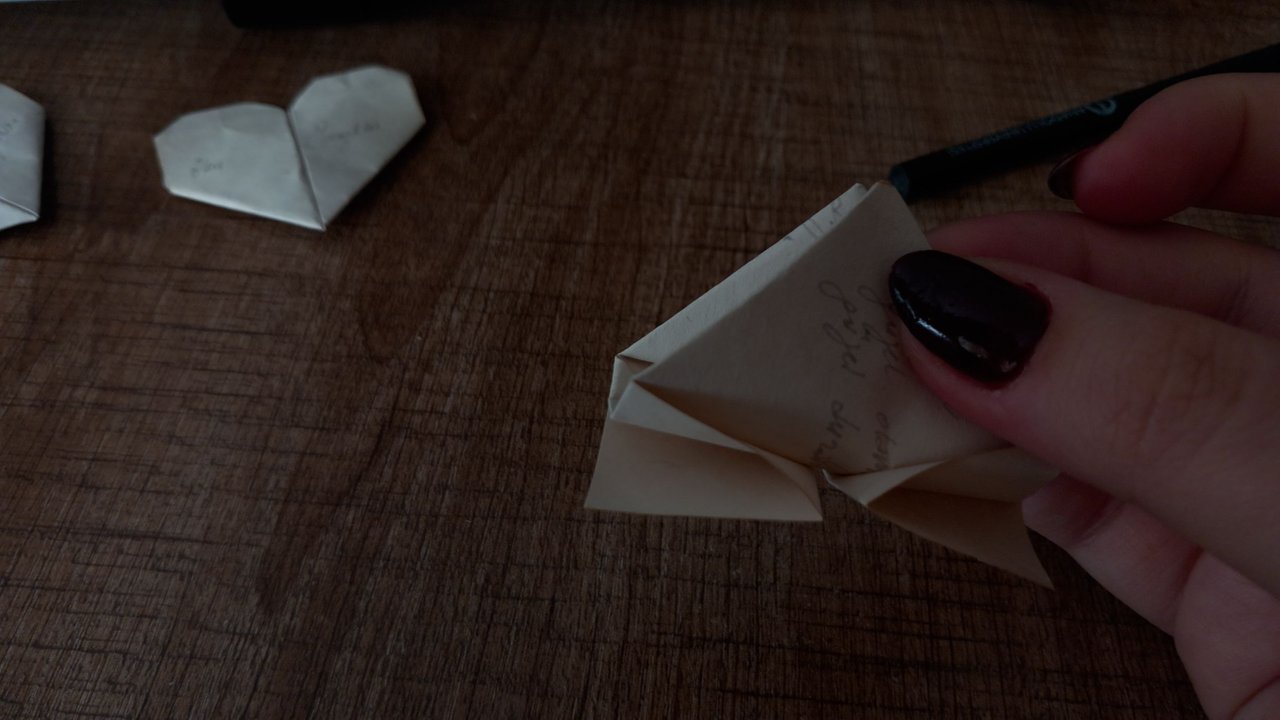
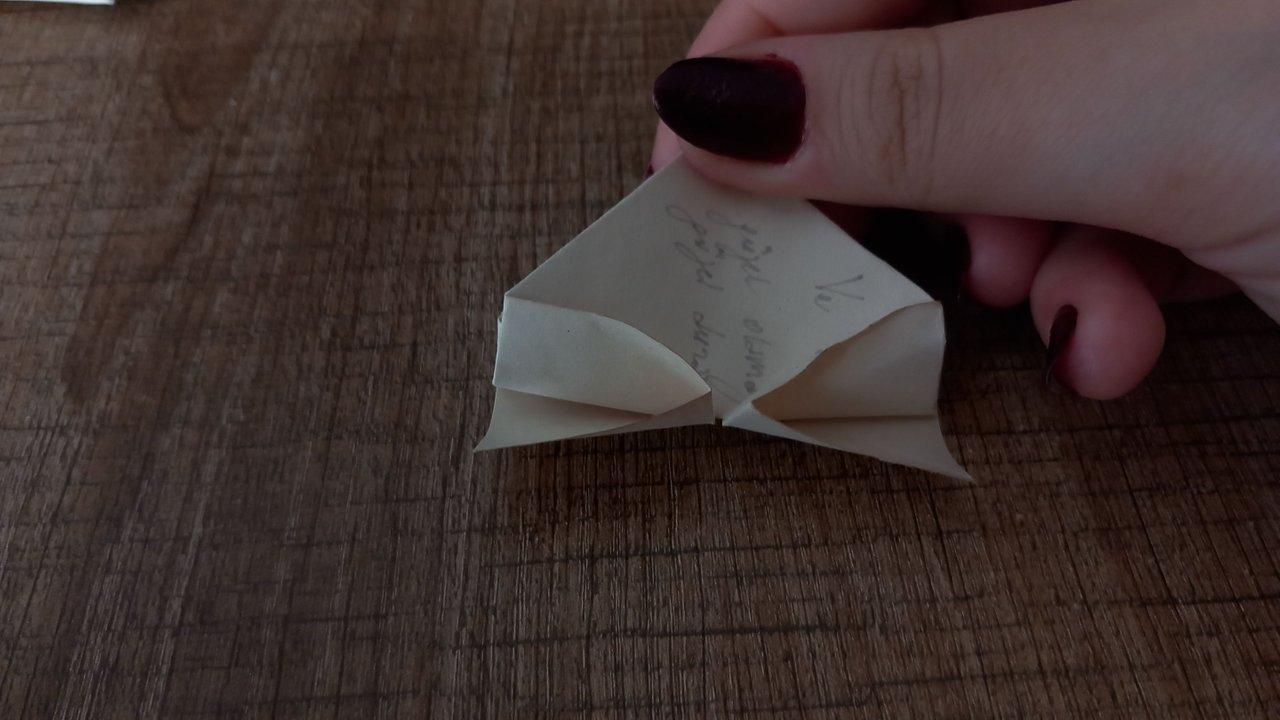
And I put the two ends together so that the parts that we have just folded are facing outwards. It may bend a little bit like there is a problem, but don't worry, this is how it should be.
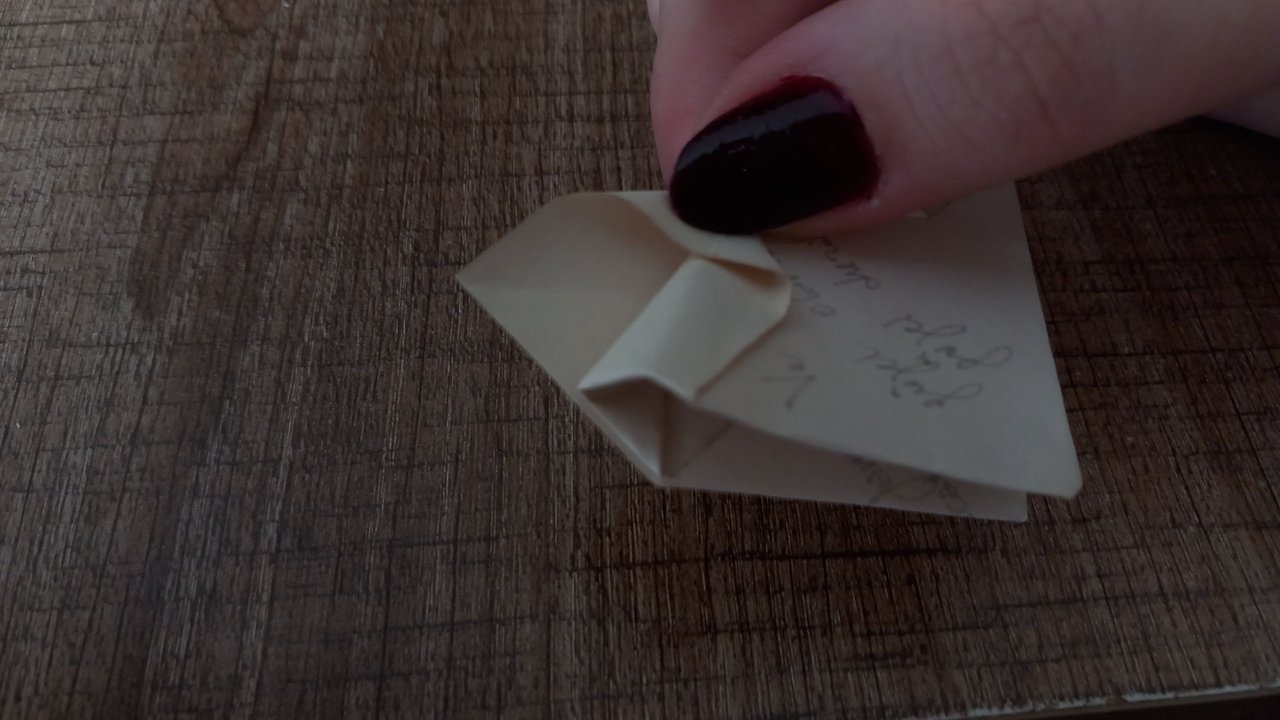
Before joining the two ends together, I pressed the folded parts a little bit to make it easier to use. You may also have noticed. At the very beginning, we had made an plane-like fold out of paper. This fold became a pocket with the last one we made.
In order to prevent the heart from opening, I took the other end and placed it in this pocket.
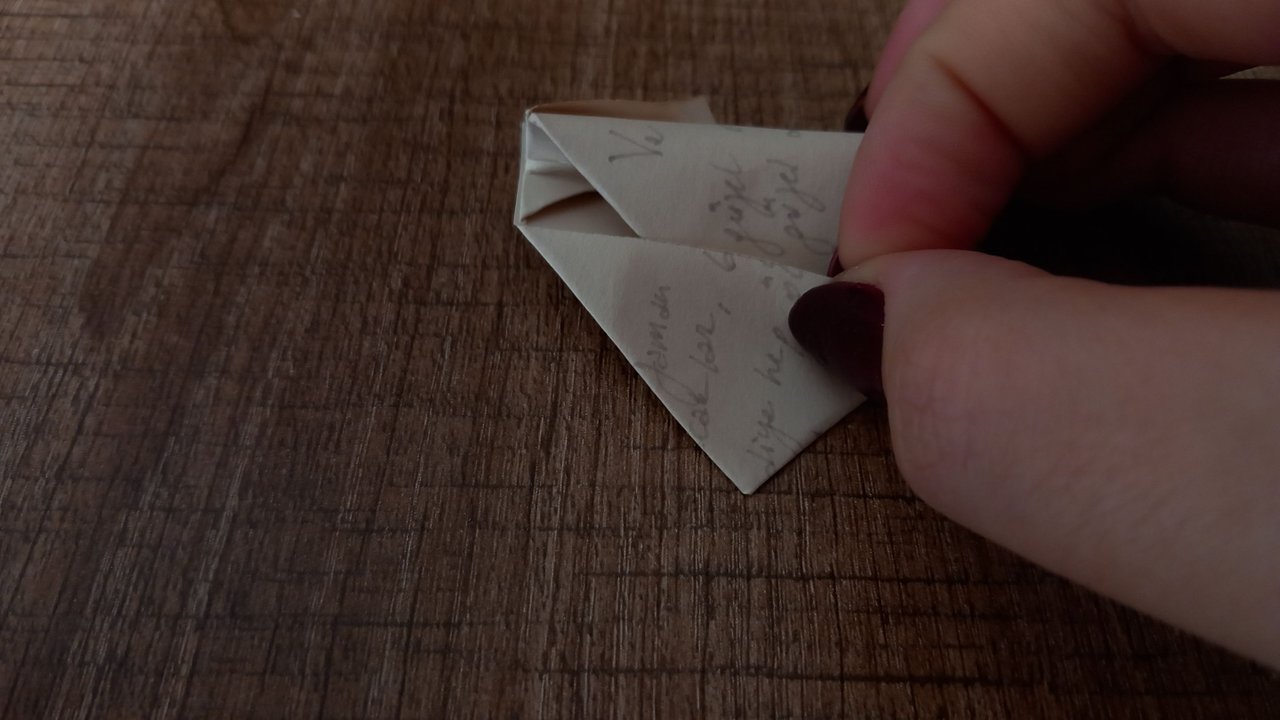
Then, by pressing a little bit, this time we completely flatten the ears formed when we make the correction that will make our work easier before putting it in the pocket. And as you can see in the photo on the right side, we take these ears and fold them inwards.
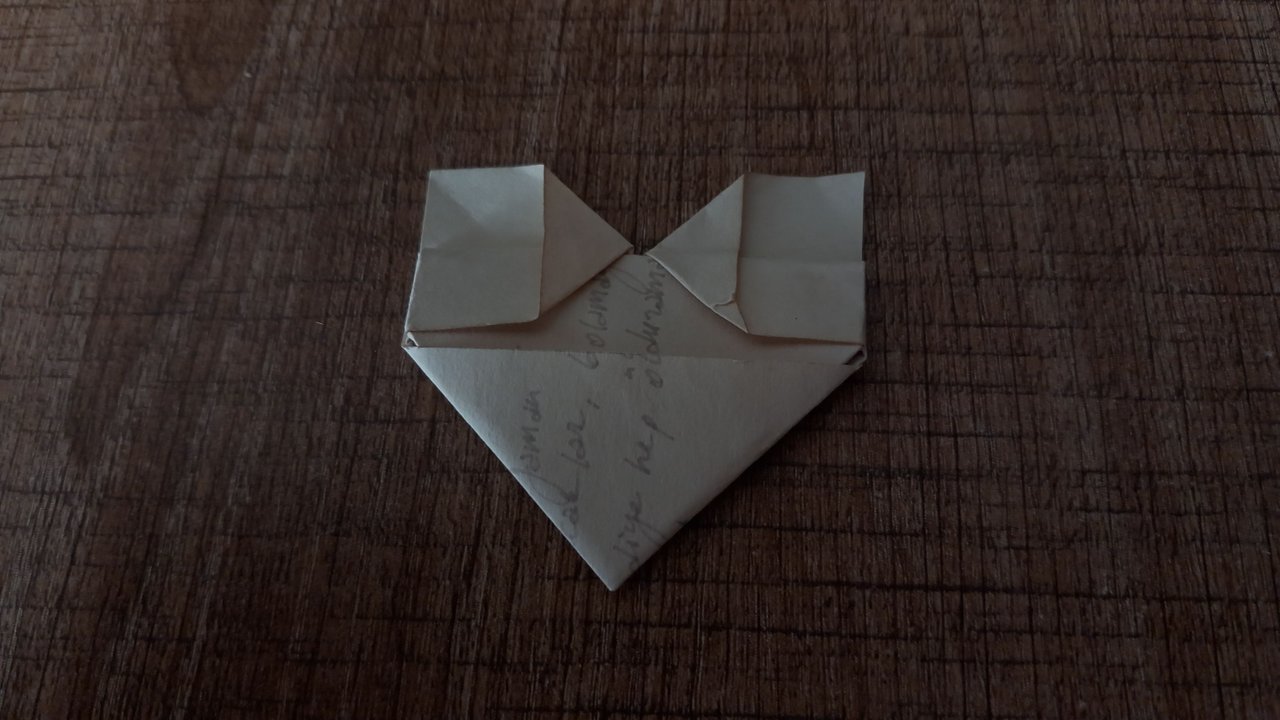
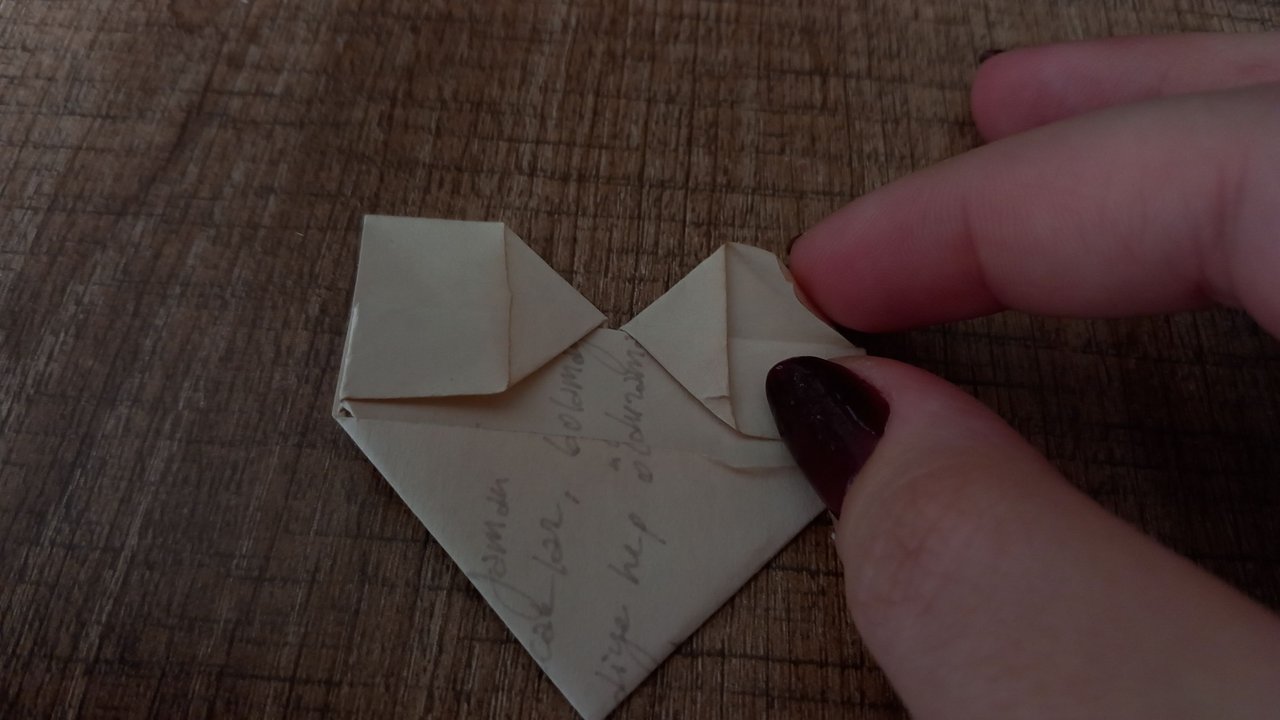
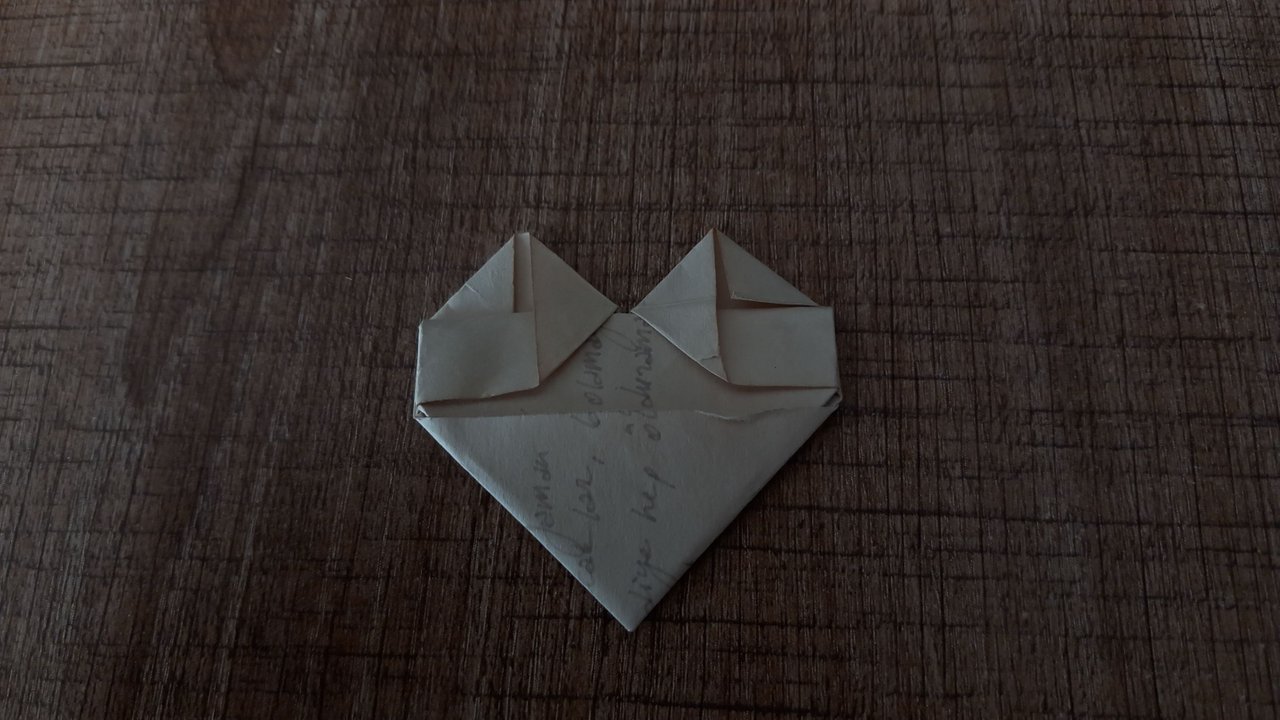
It should look like this.
And before our heart is completely ready, we have one last thing to do. We fold these folded ears one more time. I'd say we folded them in half just thinking about that triangle.
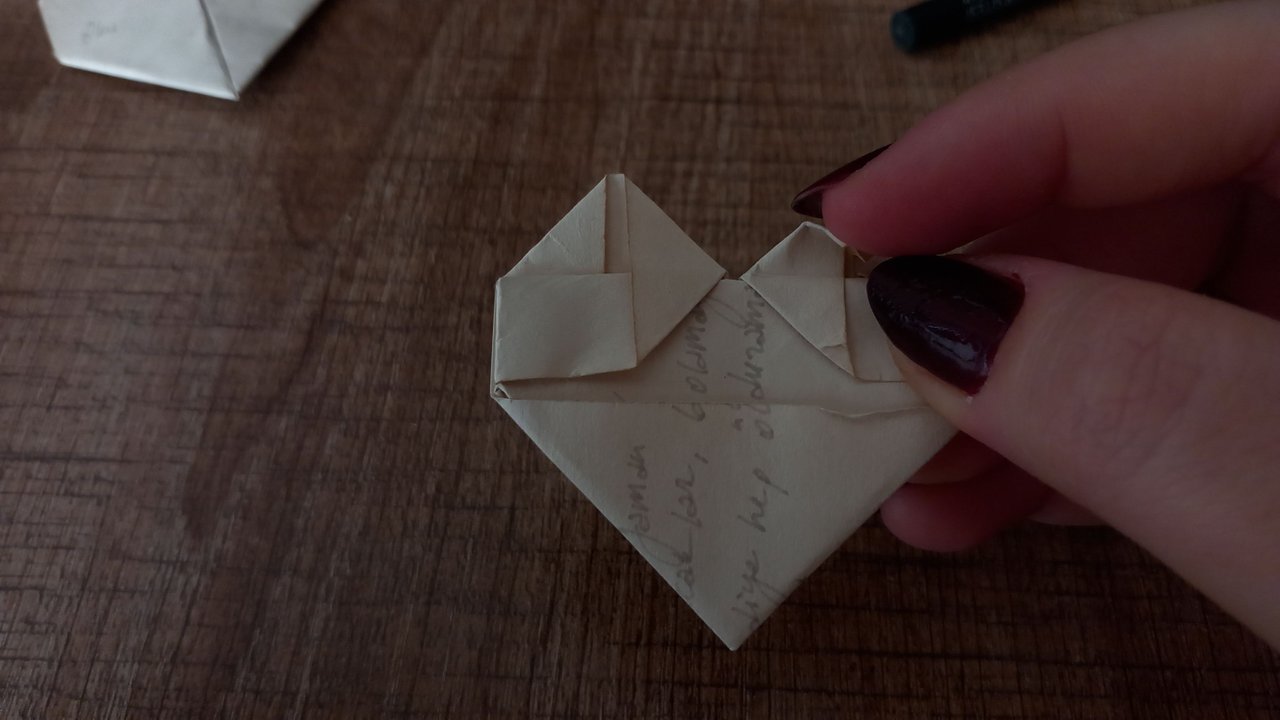
And that's the end of that. 😅
Of course, my work is not completely finished. Since I didn't want to glue these hearts permanently, I took the tape and cut a strip that could be considered a little long, as I didn't want to damage the black paper and the now finished hearts.
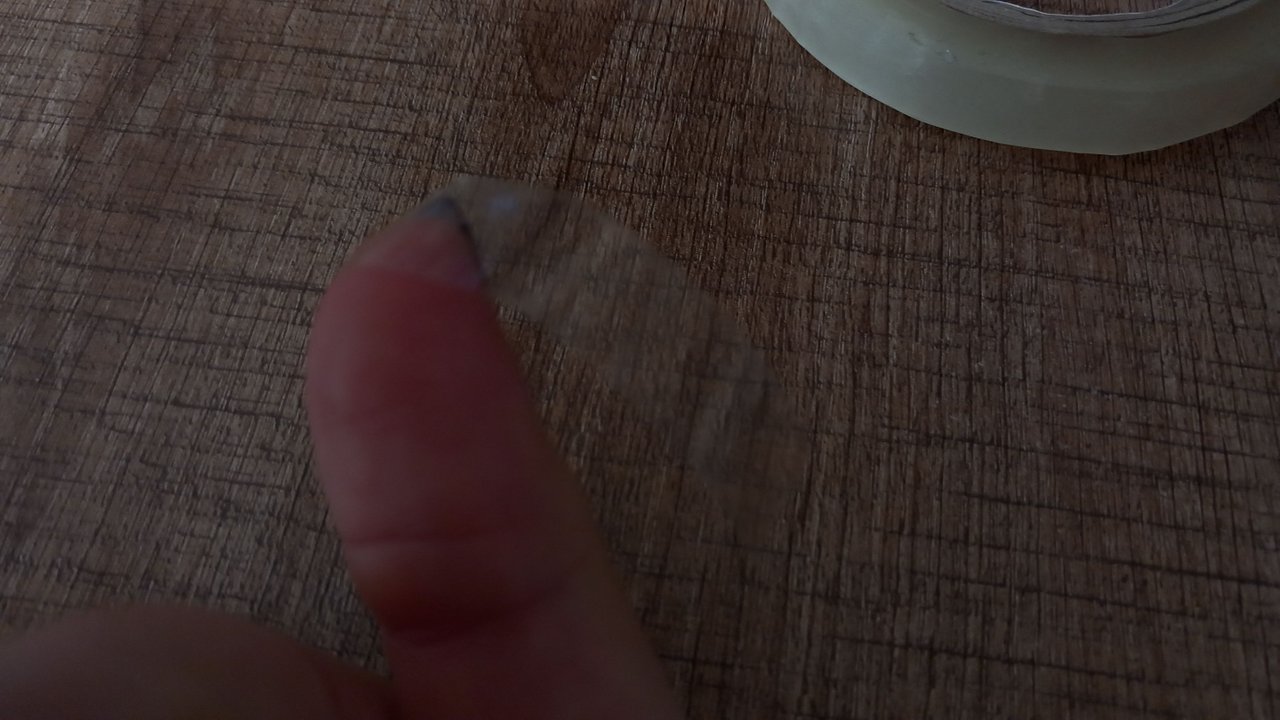
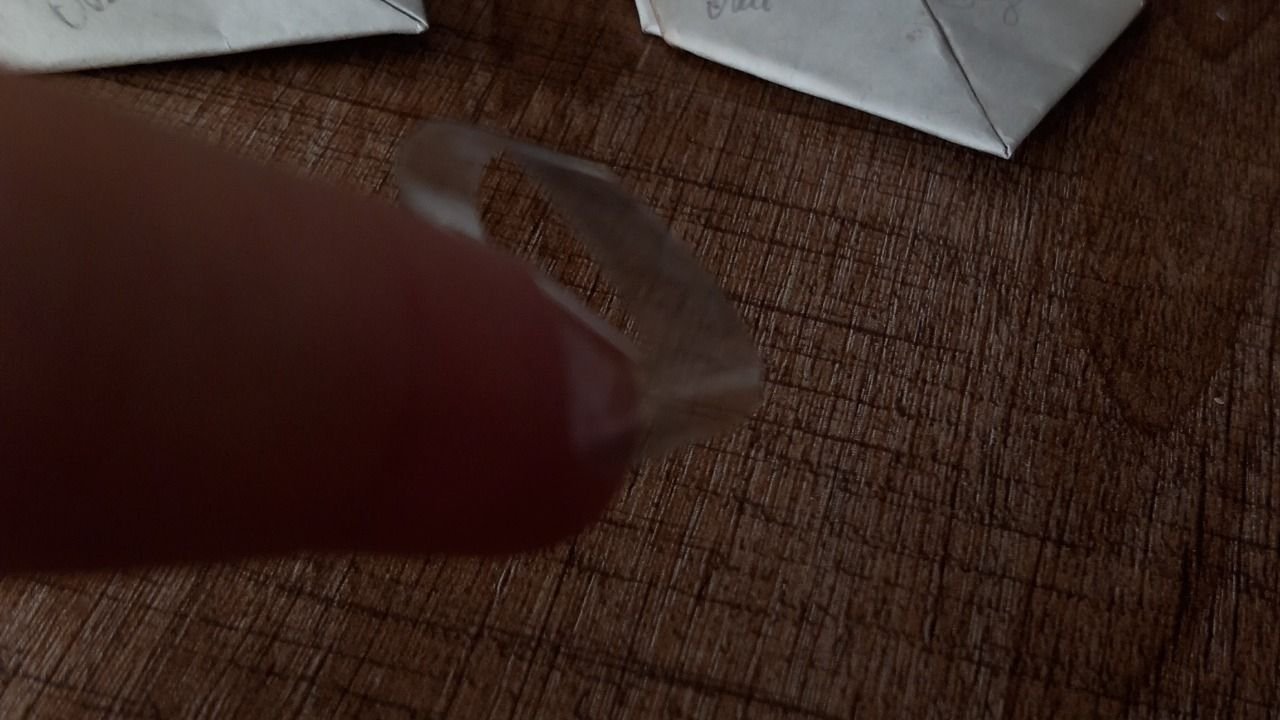
I took these two ends and glued them together and got a ring with the sticky side out. I did this twice because I had 2 hearts.
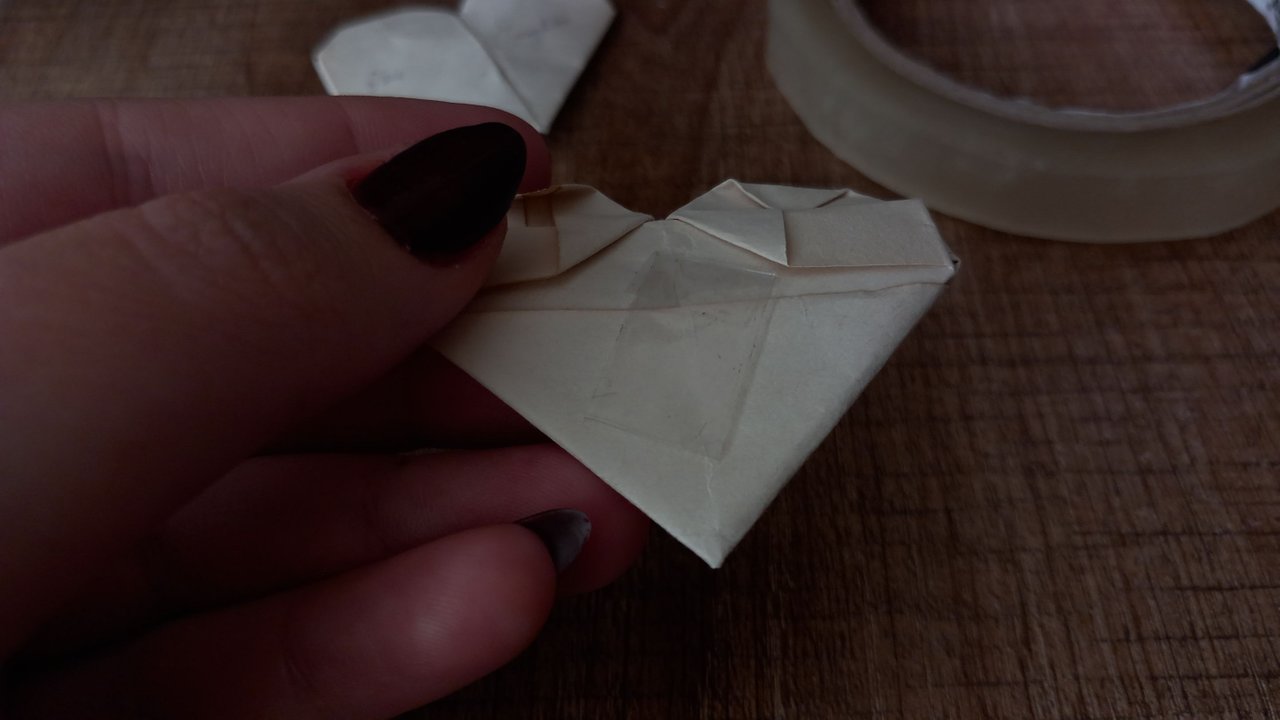
And finally, I stuck these hearts that I can now stick on my gift in a way that I think is pretty. Of course, since I thought that he would try to open the gift directly, I stuck it with the note "Read My Darling".
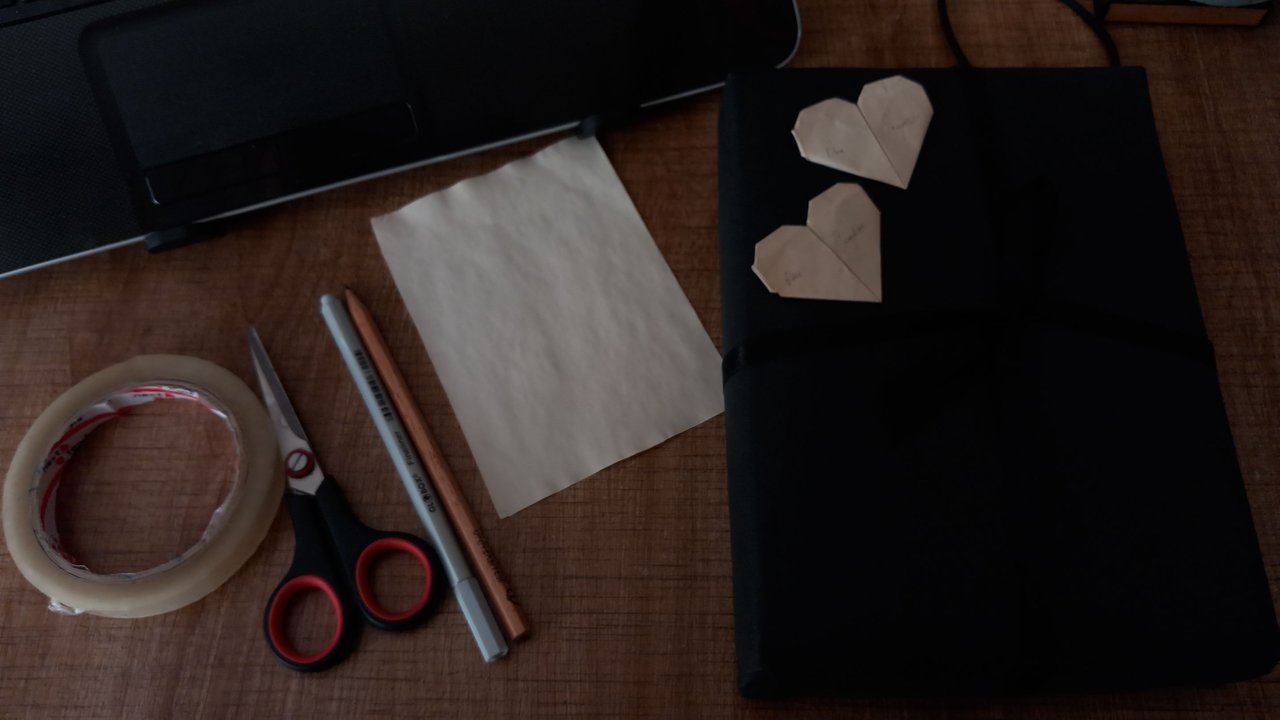
And this time it's really over. I think I shouldn't add anything more because I think I have done everything I can do in my own capacity, both in writing and as a handicraft. And the best thing is that I know that he knows it. It was too much work to know, but that's it 😂
Thank you for being with me this far in this long post. Finally, I would like to end with an Ailithy and Beril classic.
Take care of yourself and please remember that;
You are the only one of you.


Herkese merhabaa!
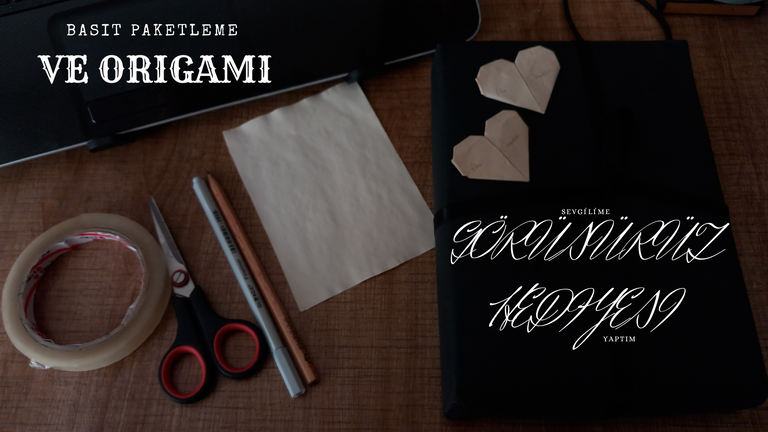
Bütün hafta boyunca basit gibi görünen bir işle, yani sevgilime hediye hazırlama ile uğraştım. Daha önce @incublus'a bu hediyeden bahsetmiştim ve o da merak ettiğinden bahsetmişti doğru hatırlıyorsam. Hatta bana bu topluluktan bahsetmişti. Bunun için tekrar teşekkür ederim.
Ellerimde sorun olduğu için aslında bu kadar uzun sürdü diyebilirim. Yaşadığım son rahatsızlığın üzerinden yaklaşık 4 ay belki de daha fazla geçmesine rağmen ellerimi kullanırken hâlâ problem yaşıyorum ama bu durum Polonya'ya büyük ihtimalle kalıcı olarak giden sevgilime ellerimle bir şey hazırlayamayacağım anlamına gelmiyor elbette.
Bu neredeyse bütün zamanımı alan hediye için motivasyonumdan bahsetmek isterim ilk önce size. Evlenmeye karar verdiğimiz insanı şu zamana kadar az da olsa avucumun içi gibi biliyorum diyebilirim. (😂 Her zaman bir yanılma payı bırakırım.)
Ve her ne kadar arkadaşıyla yakın tarihlerde gidecek olsa bile, hatta bana, arkadaşına anlatamayacağı ya da anlatmak istemeyeceği şeyler varsa ve olursa diye içinde tutmasının kötü olacağını bildiğim için ona bu hediyeyi almak istedim. Bu hediye, bir de kağıtlar dışında her şeyi benim yaptığımı size iletmem gerekir bu topluluğun amacına uygun olduğunu düşündüğüm bir post yazmaya çalıştığım için.


Derinin rengini seçerken renklerin insanlar üzerinde uyandırdığı hislere, bu ağaç yerine başka bir sembol olursa bu sembolün yine insanlar üzerinde yaratacağı etki üzerine çok düşündüm. Aslında bir ağaç yerine kuş isterdim ama ne yazık ki ne öyle bir üretim vardı ne de ben kendim yapabilirdim.
Renk olarak ise aklımda bir tek kahverengi olmamalı düşüncesi vardı. Kahverengi anladığım kadarıyla insanlarda özlem, hüzün gibi fazla negatif olabilecek duyguları uyarıyor. Bu yüzden daha çok özgürlüğün rengi olan mavi olsun istedim.
Sonra da aklıma bir anda aldığım hediyenin yapraklarının renginde olacak kağıtlara elimden geldiğince bir şeyler yazmaya çalıştım. Bazılarınız belki aslında neler yazdığımı ve tarzımı biliyordur, hatırlıyordur. Ki o da yazı denemelerimi çok sevdiğinden bahsetmişti. Bu yüzden aklıma ilk gelen buydu. Bir kendisi Indiana Jones hayranı ve ucundan bir yerlerden ona bunu andırabilecek bir şey hoşuna gidebilir diye de düşündüm.
Bu yüzden işe bir sürü, bu hediye için kullanmayacak bile olsam, bir sürü sararmış kağıt hazırlamaya başladım. Peki bu nasıl olabilirdi? Tabii ki de kahveyle...

İşe ilk olarak etrafı kirletmeyeceğimi düşündüğüm bir tepsi alarak başladım. Ve bir fırça yardımı ile kahveyi bütün kağıda yaydım.


Bu işlem bittikten sonra kağıdın altta kalan kısmını kontrol ettim ve bir baktım ki tam olarak ıslanmamış. Bu yüzden ters çevirip o kısımları da elimden geldiğince ıslatmaya çalıştım.


Şanslıyım ki havalar sıcak ve bunun sayesinde kağıtlar hemen kurudu. 4 kağıdı da hallettikten sonra bu seferde kendime "Neden daha küçüklerini de yapmıyorum ki?" diye sordum. Ne olur ne olmaz. Ve iyi ki de yapmışım. Sebebini sonlara doğru göreceksiniz.


Kağıtlar daha küçük olacağı için daha küçük bir tepsiye geçtim ve kağıtları 4'e katlayarak bir A4 kağıdından tam 4 tane not tutacağım küçük kağıtlardan çıkardım.
Ve onları da yine aynı şekilde kahveyle ıslattım ve kuruttum.


Kahve bardağının değişmesinin sebebi yalnızca benim kalan kahveyi bitirmem 😂
Sonrasında ise sıra benim üzerinde hâlâ düşündüğüm ve emin olamadığım mektubumu yazmaya geldi.


Bu sefer daha farklı bir çalma listesi bana eşlik etti çünkü daha farklı bir amacım vardı 😊
Kırmızı kalem ile mi yoksa gri kalem ile mi yazsam diye çok düşündüm. Tabii bu deneyip görme şansımı kendime sunup bir kağıdı bu deney için kullandım ve gri kalemde karar kıldım çünkü bu sarartılmış kağıdın üzerinde o kadar güzel göründü ki. Tam olarak Indiana Jones olmasa da eski parşömenleri andıran bir hava kattı diyebilirim.

Daha sonrasında ise minik notlarıma da onun bana mesajlarımızda yıldızladım dediği mesajları da, çünkü çok sevdiğini söylemişti, yazarak paketleme kısmına geçtim.


Açıkçası biraz da onun gidişinin hüznünü belli etmek için siyah bir kağıt seçtim. Çünkü bu kağıt ve karton onunla birlikte seyahat etmeyecek. Yani kalıcı olmayacak. Bu yüzden rahattım. Ve şahsen siyahın çok şık bir renk olduğunu düşünüyorum.

Ne kadar da mutlu bir renk değil mi? 😂
İlk olarak siyah kağıdı ortadan ikiye katlayarak işe başladım ve kutuyu tam olarak bu çizgiye hizaladım.

Sonrasında ise kalan kısmı kutuyu göremeyeceğim bir şekilde üzerinden geçirdim. Ve alt kısımdan kalan fazlalığı da onun üzerine kapattım.


Bir bant yardımı ile orta kısmı tutturduktan sonra, alttaki fotoğrafta görebileceğiniz gibi kağıdın iki ucunu içeri kıvırarak çok basit bir şekilde katlayıp bant ile tutturdum.

Bu kısımda bantların çok da hoş bir görüntü olmadığını düşünsem de elimdeki malzemeler bunlardı ne yazık ki. Hatta sizinle paylaşayım ki bu hediyeyi alabilmemi Hive'a borçluyum. Çok da pahalı bir hediye gibi görünmeyebilir fakat çalışmayan biri için zor bir durum olduğunu rahatlıkla söyleyebilirim.
Alt kısmından her ne kadar rahatsız olsam da üst kısım gözüme güzel göründü. Düz, sade ve şık. Amaçladığım da tam olarak buydu. Bakmayın burada daha soluk bir siyahmış gibi görünüyor ama solmamış bir siyah olduğunu net bir şekilde söyleyebilirim.

Ve ben yine düşünmeye başladım. Hiç kurdelesiz hediye olur mu? Bence olmaz. Geçen sene Aralık ayında Bercestem'e doğum günü için aldığım ve paketlemesini benim yaptığım hediyeden kalma siyah bir kurdelem olduğunu hatırladım.

İşte tam da burada size tek bir seferde açabileceğiniz, yapımı oldukça kolay olan ve tekrar tekrar kullanmanızı sağlayabilecek bir bağlama tüyosu ile geldim.
Eğer kullanmak isterseniz lütfen fotoğraflardaki kurdelenin konumlarına dikkat edin çünkü asıl sihir o konumlarda.
İşe ilk önce hediyeyi vermek istediğim konumdayken yani dik dikey dikdörtgen iken kurdelemi üzerinden geçirerek başladım. Kurdeleden yaklaşık bir karış kadar sol tarafta fazlalık bıraktım çünkü o fazlalık bizim tek kulaklı fiyonkumuz olacak. Ve kurdelenin geri kalanında olan uzunluğunun önemli olmadığını size ileteyim. Uzunluk ayarlamasını en son yaparsanız daha doğru, göze hitap eden sonuçlar elde edebilirsiniz.
Sol elimin baş parmağı ile kurdelenin sol kısımdaki yerini sabitledim.

Parmağımı kaldırmadan kurdeleyi altından hediyeyi tamamen dolaşacak şekilde geçirdim.

Yine parmağımı kaldırmadan kurdeleyi yukarı doğru yönlendirdim ve dikey bir şekilde hediye kutusunun altından geçirdim.

Tam olarak bu şekilde görünmesi gerekiyor.
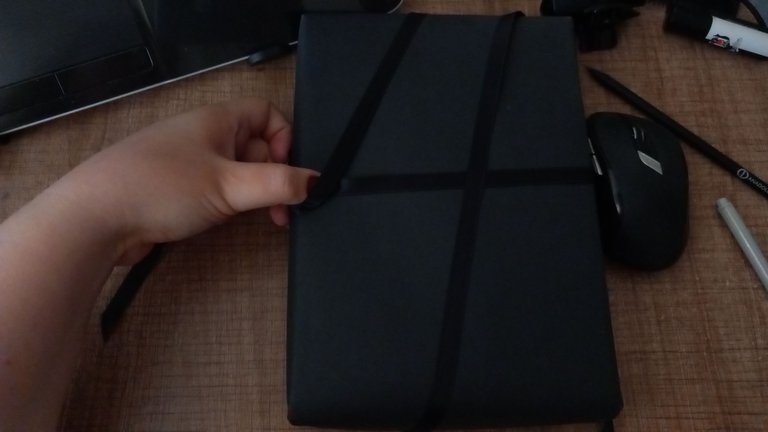


Bu işlem bittiğinde yukarıda gördüğünüz gibi başparmağımı tuttuğum noktayı bırakmadan ortada hizaladım. Ve dikey olarak alttan getirdiğimiz kurdele parçasını tam olarak elimin üzerinden yani sol üst köşeden geçirdim ve yine fotoğrafta görebileceğiniz gibi elimi kaldırarak bu üst köşeden geçirdiğim kısmı elimin altından geçirdim.

Sol üstte kalan kısım sol başparmağım ile tuttuğum kısımdı ve sağ altta olan kısım da bahsettiğim altından geçirdiğim kısımdı. Bu noktada kurdelenin hiçbir noktasını tutmanıza gerek yok hatta gidip bir kahve içip dönebilirsiniz bile.

Sol üstte kalan kısmı sol elimizle tutarak aşağıda görebileceğiniz gibi bir kulak hâline getirdim. Tekrar sol başparmağınızı kaldırmadığınız bir işlem başlıyor. 😂

Yukarıda görebileceğiniz gibi henüz kesmediğim ve tutmadığım kısmı saat yönünde parmağımın üzerinden dolaştırdım.

Sonraki aşama ise bu oluşan ve içinde tek kulağımın da bulunduğu delikten henüz kesmediğim kısmı geçirmek oldu. Aşağıdaki fotoğraflarda tam hâlini görebilirsiniz.


Ve bitti. Kurdeleyi sıkıp da kestiğimde bütün paketleme işlemi bitti.

Peki ben burada bitirir miyim? Elbette ki hayır 😂 Sonra elimde çok fazla eskitilmiş kağıt olduğu gözüme çarptı ve dedim ki; "Neden bunlarda minik kalpler yapmıyorum?" Bir de bunun üzerine ona bu hediyeyi açmadan okuyacağı minik notlar şeklinde yapmıyorum diye de düşündüm.
Ve tabii ki bir sevgilinin olmazsa olmazı olan kalpler geldi. 🖤 Ah bu post çok uzun oldu 😂 Ama ekledikçe de ekleyesim geliyor. Neyse.
Şimdi notumun biraz fazla okunaklı görüneceğini düşündüğüm için tıpatıp aynı farklı bir kağıtta neyi nasıl yaptığımı göstereceğim size.
İşe kare şeklinde kestiğim kağıdımı iki ucu birbirine dek gelecek şekilde katlayarak başladım.


Aynı işlemi diğer iki uca da uyguladım ve kağıdı çapraz bir şekilde kesen bir iz elde ettim.

Sırasıyla ortadan ikiye, sonrasında ise bu katlamayı açarak ortada izi kalmış kısmı ucuna denk getirecek şekilde ortadan ikiye katladım.


Katlama kısmı tam olarak yandan aşağıdaki gibi görünmeli.

Ve sonrasında da bu ikinci katlamayı açmadan aynı küçükken kağıttan uçak yaptığımız gibi.


Ve ters çevirdim.


Görebileceğiniz gibi baş kısımda olan cep kısmın ucunu baz alarak yanlardaki fazlalık kısımları da katladım. Parmağımla tutmadığım zamanda açıldığı için bu şekilde göstermek istedim.


Ve sonrasında bunu diğer ucuna çevirdim. Ve zaten katlama izi olan kısımlarını katlayarak bu şekle getirdim. Bunun ne olduğunu tam olarak bilemiyorum 😂


Ve iki ucu biraz önce katladığımız kısımlar dışarı bakacak şekilde bir araya getirdim. Biraz sorun varmış gibi bükülebilir ama merak etmeyin bunun zaten böyle olması gerekiyor.

İki ucu birleştirmeden önce katlamış olduğumuz kısımları birazcık bastırarak daha kullanması kolay bir hâle getirdim. Ayrıca belki fark etmişsinizdir. Daha ilk başlarda kağıttan uçak benzeri bir katlama yapmıştık. Bu katlama bize son yaptığımız ile birlikte bir cep olmuş oldu.
Kalbin, açılmaması için, diğer ucunu alarak bu cebe yerleştirdim.

Sonrasında biraz bastırarak, daha cebe koymadan önce işimizi kolaylaştıracak düzeltmeyi yaptığımız da oluşan kulakları bu sefer tamamen düzleştiriyoruz. Ve sağ taraftaki fotoğrafta görebileceğiniz gibi bu kulakları alarak içeri doğru katlıyoruz.


Bu şekilde görünmeli.
Ve kalbimiz tamamen hazır olmadan ise yapmamız gereken son bir şey kaldı. Bu katladığımız kulakları bir kere daha katlıyoruz. Sadece o üçgeni düşünerek ikiye katladığımızı söyleyebilirim.

Ve bu da bitti. 😅
Tabii işim tamamen bitmedi. Bu kalpleri kalıcı olarak yapıştırmak istemediğim için, siyah kağıda ve şimdi biten kalpleri zarar vermesini istemediğim için para bandını alarak biraz uzun sayılabilecek bir şerit kestim.


Bu iki ucu alarak birbirine yapıştırdım ve yapışkan tarafı dışarıda olan bir halka elde ettim. Bunu 2 tane kalbim olduğu için 2 kere yaptım.

Ve son olarak bu artık yapıştırabileceğim kalplerimi güzel olduğunu düşündüğüm bir şekilde hediyemin üzerine yapıştırdım. Tabii ki direkt hediyeyi açmaya çalışacağını düşündüğüm için üzerine "Oku Sevgilim" notu ile birlikte yapıştırdım.

Ve bu sefer gerçekten bitti. Artık daha fazla bir şey eklememeliyim diye düşünüyorum çünkü hem yazılı olarak hem de el emeği olarak kendi kapasitemde yapabileceğim her şeyi yaptığımı düşünüyorum. Ve en güzeli de onun bunu biliyor olduğunu bilmem. Çok fazla bilmek geçti fakat olur o kadar 😂
Bu upuzun postta benimle buraya kadar geldiğiniz için teşekkür ederim. Son olarak bir Ailithy ve Beril klasiği ile bitirmek istiyorum.
Kendinize dikkat edin ve lütfen unutmayın;
Bu dünyada sizden başka bir tane daha yok.

All of my content is written in Turkish first and then with the help of translators and dictionaries below translated in English.
https://www.seslisozluk.net https://www.deepl.com/translator
Editing was done using Adobe Express/free version.
Editler Adobe Express/ücretsiz üzerinden yapılmıştır.
Bütün fotoğraflar aksini iddia etmediğim sürece benim tarafımdan, akıllı telefonumla çekilmiştir.
All photos are taken by me, with my smart phone unless otherwise stated.
P.S. If you know English AND Turkish, I do that too... If you see a translation discrepancy that was on purpose. I did think this is as proper as I could do. Because there are many differences between these languages.
Not: Hem Türkçe hem de İngilizce biliyorsanız, ben de biliyorum... Eğer çeviri farklılığı görürseniz bunun bilinçli olduğunu bilin lütfen. Bunu yapabileceğim en uygun şekilde yaptığımı düşünüyorum. Çünkü bu iki dil arasında çok fazla fark var.
Congratulations!
Your post has been manually curated and reblogged.
You can follow our curation trail on Hive.Vote
If you want to support us and the authors we vote for you can upvote this comment or delegate some Hive Power to our account. Thanks!
Propose a worthy post by mentioning us in the post or in a comment.
We reblog curated posts, follow us if you wish to see them in your feed.
Thank you so much! For support and all 💫
Discord Server.This post has been manually curated by @steemflow from Indiaunited community. Join us on our
Do you know that you can earn a passive income by delegating to @indiaunited. We share more than 100 % of the curation rewards with the delegators in the form of IUC tokens. HP delegators and IUC token holders also get upto 20% additional vote weight.
Here are some handy links for delegations: 100HP, 250HP, 500HP, 1000HP.
100% of the rewards from this comment goes to the curator for their manual curation efforts. Please encourage the curator @steemflow by upvoting this comment and support the community by voting the posts made by @indiaunited.
Thank you so much @steemflow 💫
Açıklayıcı bir post özenle hazırlanmış güzel bir hediye, ama aklımda sorular...
Polonya'ya giden sevgili? Geri dönmemesi durumu? Neler hissediyorsun? Nasılsın?
Evet dostum, Emre Polonya'ya gidiyor. Ben Yunan vatandaşlığı için uğraşıyorum. Artık kim ilk önce alırsa 😂 Gerginim de üzgünüm de. Çünkü o Türkiye'deyken buluşabiliyorduk. Kısıtlı da olsa bir zamanımız oluyordu fakat o gittikten sonra ne yazık ki bu zaman yine olacak fakat bizim istediğimiz sıklıkta olamayacak. Bakalım hayat önümüze neler çıkaracak...
Herseyin hayırlısı olsun kuzum 🙏
Teşekkür ederim tatlış, hepimiz için en iyisi olsun. Her şeyin en güzelini hak ediyoruz.
wow, thats a nice gift! well done, is everything Ok bemier? is Bemier your true name?
Thank you! I really had to convince myself for buying it. I still can't be sure. But I already have it. Kind of, I feel sad and all. But I know that he is going because of his, pardon me, because of us, for our future together. Can I blame him for that? Nope, I am trying my best to be supportive. And yes and no at the same time lol. Those are my initials. My name is Beril, it is pronounced as Beryl. And Mine, it isn't like mine but I don't know how to write this one. And the last ones "ER" stands for my surname.
Ellerine sağlık, hediye mükemmel olmuş. Sanırım Hive'da gördüğüm en çok emek verilmiş hediye olabilir. Kabından hazırladığın küçük kalplere kadar hepsini çok beğendim ve eminim sevgilin de beğenecektir.
Teşekkür ederim🤗 Umarım beğenir. Elimden gelenin en iyisini yapmaya çalıştım. Fikir elbette önemli fakat verilen emeğin daha önemli olduğunu düşünüyorum bazı şeylerde. Bu onlardan biri mi emin değilim ama tek isteğim onun beğenmesi, hatta biraz daha ileri giderek severek kullanması diyebilirim.
Yay! 🤗
Your content has been boosted with Ecency Points
Use Ecency daily to boost your growth on platform!
Support Ecency
Vote for new Proposal
Delegate HP and earn more, by @bemier.
That's so pretty and aesthetic for a goodbye gift.
Thank you so much I tried my best 💫
I loved it😍 it turned out very nice. I hope everything happens in the best way for both of you. Regards.
Thank you 💮 I liked the way it look too, I hope it is nice for him. Again thank you for your good wishes 💫
Congratulations @bemier! You received a personal badge!
Wait until the end of Power Up Day to find out the size of your Power-Bee.
May the Hive Power be with you!
You can view your badges on your board and compare yourself to others in the Ranking
Check out our last posts:
you packed it well. good job Bemier 😁
I tried my best. Again and again I hope he will like it. 🌺