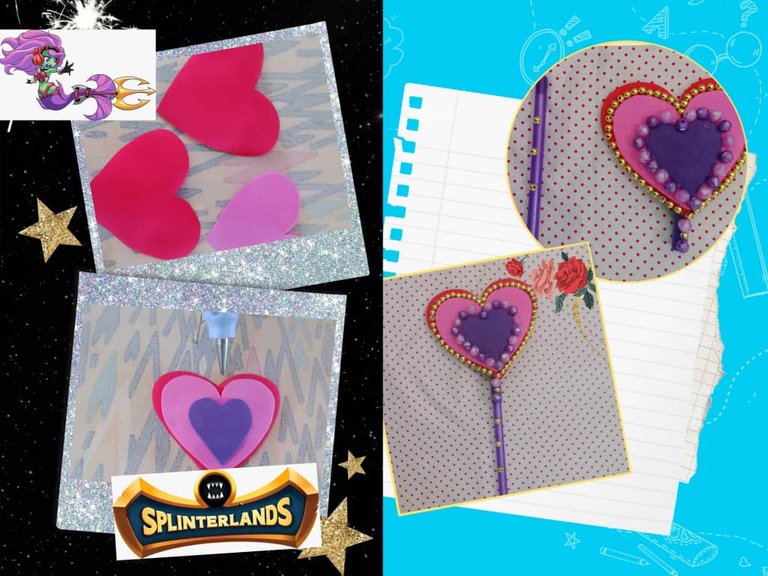
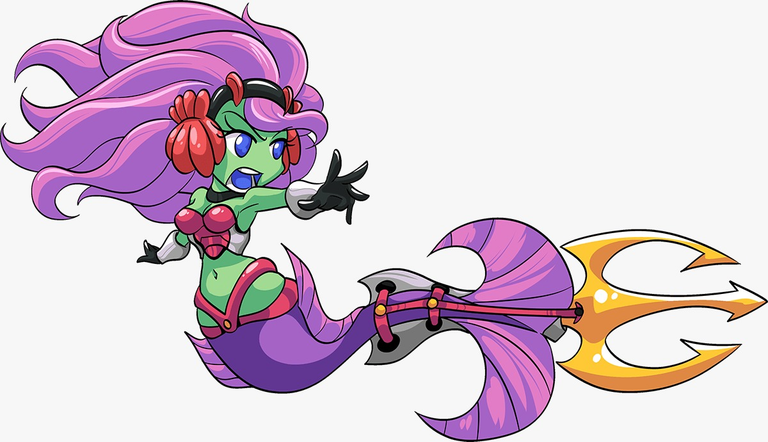
Hello, hello friends crafters and Hivediy community I wish you are enjoying good health and have a great weekend together with your loved ones, this time I share a creative project inspired by the characters of Splinterlands Mischievous Mermaid, this is a pencil decorated with hearts ideal for Valentine's Day, which by the way is very near; the character wears in her outfit a red heart-shaped top, taking as a reference the top, the hair colors and part of her outfit I made the heart in three colors: red, pink and purple, for its decoration I used golden balls and light purple and dark purple beads, these add an elegant and delicate style to the pencil, to work the foami and give a better finish I used the thermoforming technique, it is the first time I use this technique, the result was not what I expected, I think that with more practice I can improve and achieve a better result, the idea was that it was more bulky, however the heart looks great and the color combination is great, I invite you to join me in the process of elaboration.
Hola, hola amigos artesanos y comunidad Hivediy deseo se encuentren disfrutando de buena salud y tengan un excelente fin de semana en unión de sus seres queridos, en esta ocasión comparto un proyecto creativo inspirado en los personajes de Splinterlands Mischievous Mermaid, se trata de un lapicero decorado con corazones, ideal para obsequiar en el día de San Valentín, que por cierto está muy cerca; el personaje lleva en su atuendo un top en forma de corazón de color rojo, tomando como referencia el top, los colores del cabello y parte de su atuendo realicé el corazón en tres colores rojo, rosa y morado, para su decoración utilice balines dorados y cuentas morado claro y morado oscuro, estos agregan un estilo elegante y delicado al lapicero, para trabajar el foami y dar un mejor acabado utilicé la técnica de termoformado, es la primera vez que utilizo esta técnica, el resultado no fue el que esperaba, creo que con más práctica puedo mejorar y lograr un mejor resultado, la idea era que quedara más voluminoso, sin embargo el corazón se ve muy bien y la combinación de colores es genial, les invito me acompañen en el proceso de elaboración.
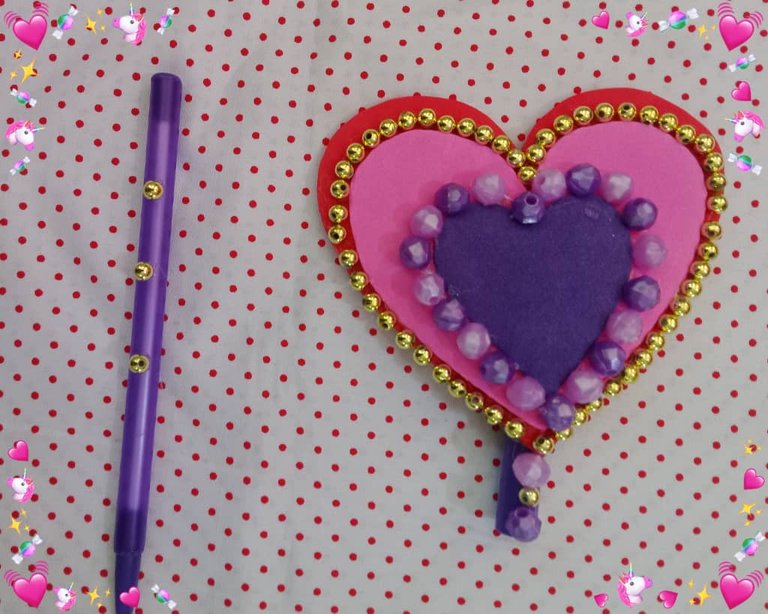

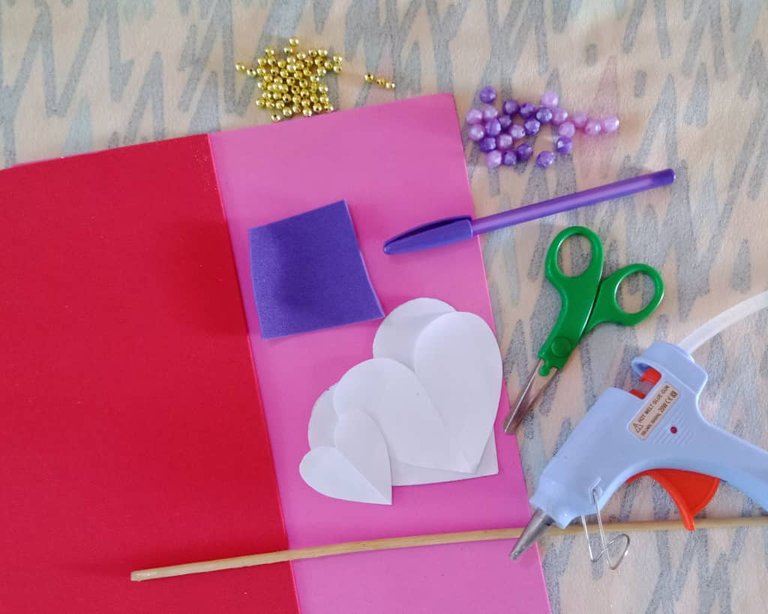
The materials used were:
Foami (purple, pink and red).
Molds
Scissors
Silicone stick
Height stick
Balls
Beads
Silicone gun
Pencil
Los materiales usados fueron:
Foami (morado,rosa y rojo)
Moldes
Tijera
Silicón en barra
Palillo de altura
Balines
Cuentas
Pistola de silicón
Lapicero

Elaboration
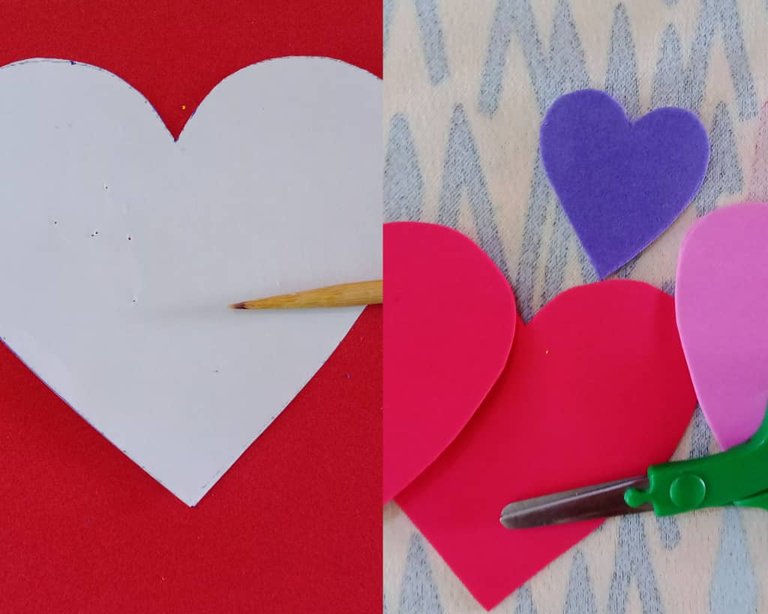
The first step to make this project was to mark the hearts on the foami, for this I used as in most of the projects made with foami, a toothpick, this has the advantage that it does not leave marks on the foami, and the indentation that is left when marking is a great help when cutting.
Elaboración
El primer paso para realizar este proyecto fue marcar los corazones en el foami, para ello utilicé como en la mayoría de los proyectos hechos con foami, un palillo de altura, este tiene la ventaja que no deja marcas en el foami, y la hendidura que queda al marcar es de gran ayuda al momento de cortar.

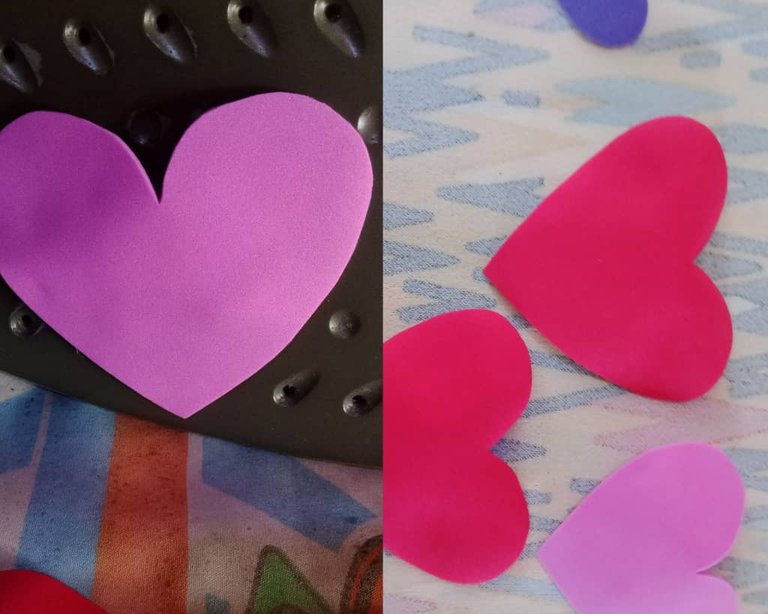
Then I took the hearts to the hot griddle and left them for approximately thirty (30) seconds, ideally as soft as possible, and with our hands we shape them until we achieve the desired volume.
Luego llevé los corazones a la plancha caliente y dejé por aproximadamente treinta (30) segundos, lo ideal es que quede lo más blando posible y con las manos vamos dando forma hasta lograr el volumen deseado.

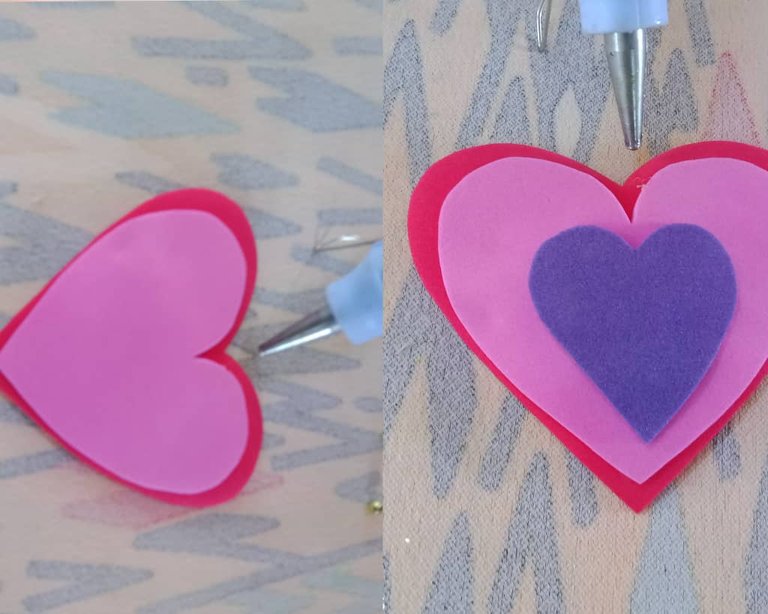
The next step was to glue the hearts, at the bottom I placed the red heart, on top I placed the pink heart, I glued using hot silicone dots and finally I glued the purple heart using hot silicone in the same way.
El siguiente paso fue pegar los corazones, en la parte inferior coloqué el corazón rojo, encima coloqué el corazón rosa, pegué usando puntos de silicón caliente y finalmente pegué el corazón morado usando de igual manera silicón caliente.

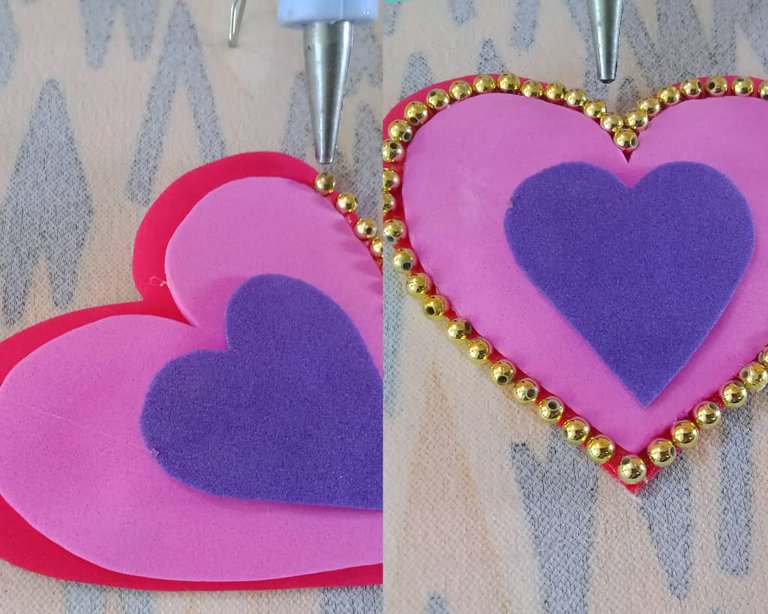
Once the hearts were glued, I decorated the edges of the pink heart with balloons, added hot silicone dots and glued them one by one until I covered the entire contour.
Pegados los corazones, decoré los bordes del corazón rosa con balines, agregué puntos de silicón caliente fui pegando uno a uno hasta cubrir todo el contorno.

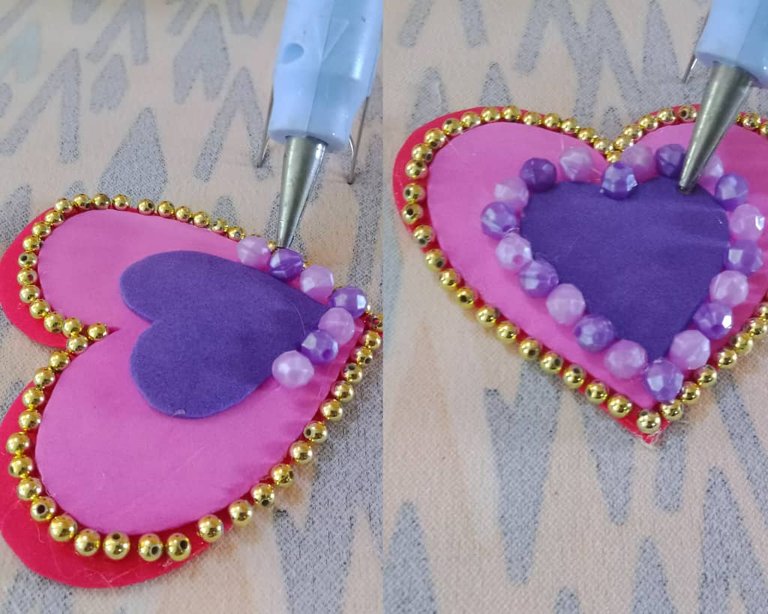
I also decorated the edge of the purple heart, adding light purple and dark purple beads to cover the outline of the heart, using small dots of hot silicone.
De igual forma decoré el borde del corazón morado, agregué cuentas morado claro y morado oscuro hasta cubrir el contorno del corazón, usando para ello pequeños puntos de silicón caliente.

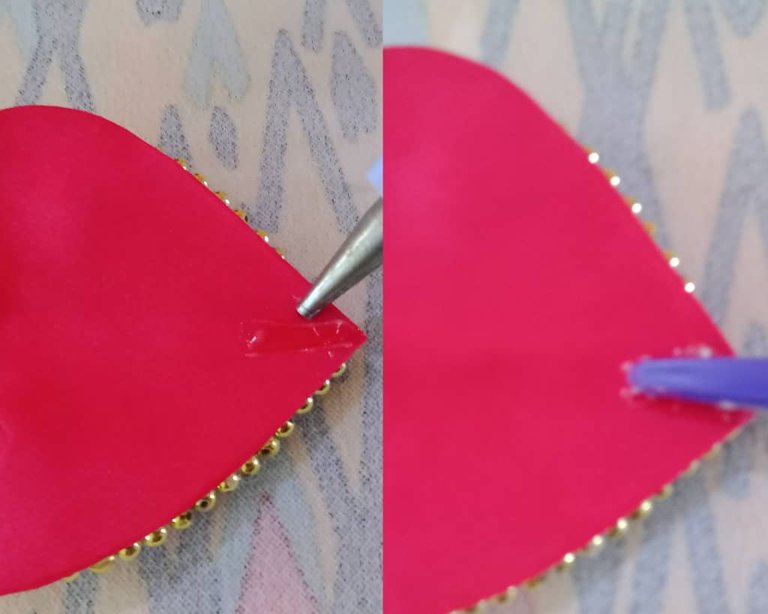
The sixth step was to glue the lid onto the red heart, add hot silicone and attach.
El sexto paso fue pegar la tapa en el corazón rojo, agregué silicón caliente y uní.

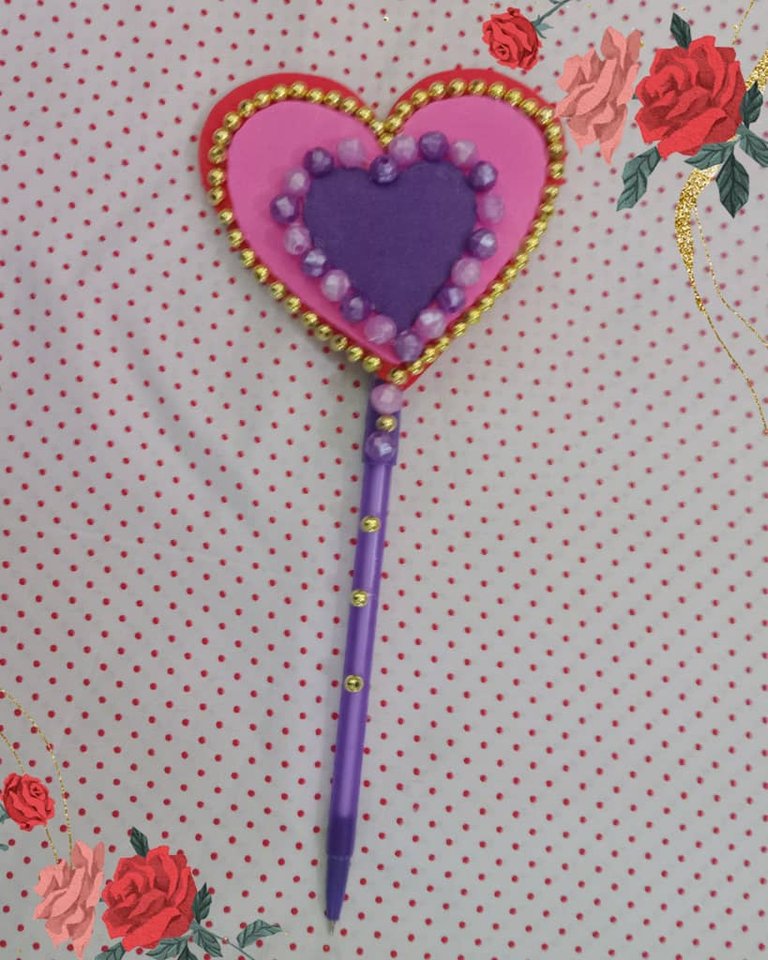
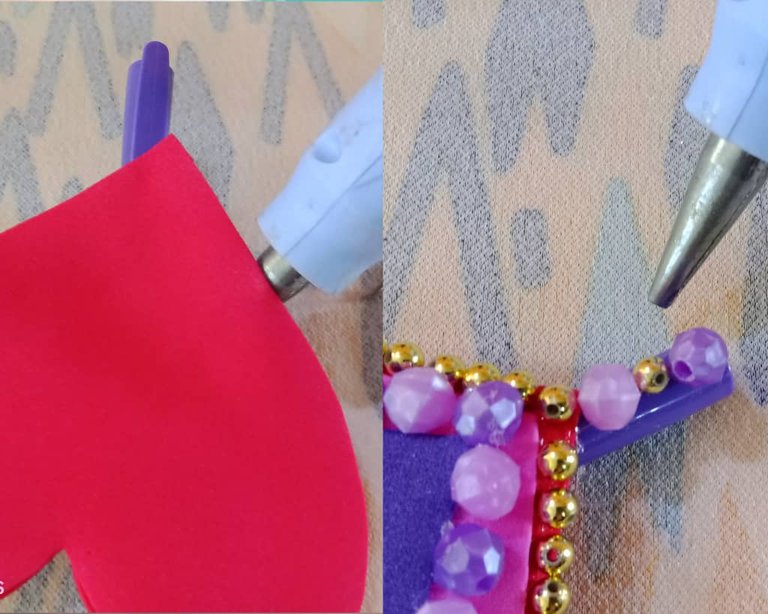
To finish I glued a red heart on the back so that the lid of the pen is covered, I also added purple beads and pellets at the base of the lid, I added three (3) pellets in the pen, this gives it an elegant and different style, the idea of placing a heart on the back is to make it look nicer and the lid is completely covered, on one side we will have the decorated heart and on the other side we will have a red heart, you can decorate the hearts on both sides depending on the taste of each person, with these simple steps is finished a beautiful pencil with hearts decoration inspired by the character of Splinterlands.
Para finalizar pegué un corazón de color rojo, en la parte trasera de tal forma que la tapa del lapicero quede cubierta, agregué también cuentas moradas y balines en la base de la tapa, añadí tres (3) balines en el lapicero, esto le da un estilo elegante y diferente, la idea de colocar un corazón en la parte trasera es para que se vea más bonito y quede la tapa cubierta totalmente, de un lado tendremos el corazón decorado y del otro tendremos un corazón de color rojo, se pueden decorar los corazones de ambos lados dependiendo el gusto de cada persona, con estos sencillos pasos está terminado un hermoso lapicero con decoración de corazones inspirada en el personaje de Splinterlands.

This project is simple to make and ideal for Valentine's Day or any special occasion, you can use the colors of our preference or the materials we have at home, I hope the tutorial will be useful.
Este proyecto es sencillo de hacer e ideal para obsequiar en San Valentín o cualquier ocasión especial, se pueden usar los colores de nuestra preferencia o los materiales que tengamos en casa, espero el tutorial les sea de utilidad.


Blessings!

¡Bendiciones!


Translated with https://www.deepl.com/translator
          All images are my own.

   Todas las imágenes son de mi autoría.
Delegate Tokens and HP to Fallen Angels to earn weekly rewards!
Delegate | Join to the guild
Thank you
Congratulations @belkyscabrera! You have completed the following achievement on the Hive blockchain And have been rewarded with New badge(s)
Your next target is to reach 13000 replies.
You can view your badges on your board and compare yourself to others in the Ranking
If you no longer want to receive notifications, reply to this comment with the word
STOPThank you!
That's great @belkyscabrera! We're impressed with your progress on Hive! Keep going and reach your new target!
Thank you very much
Thanks for sharing! - @isaria

Grateful for the support.
Have a great week!
Amiga te quedó hermoso, quiero uno así. 😍
Me alegra que te haya gustado amiga, anotando pedidos, pronto tendrás el tuyo. 🤗😊
Saludos!
Greetings @seckorama, thanks so much for the support.
Have a great week!
You're welcome!