♥
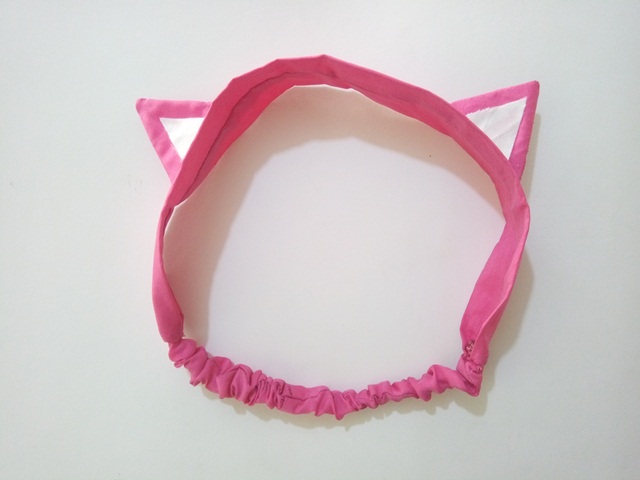
Holaaa amigos 🤗, espero que se encuentren muy bien y tengan un tranquilo comienzo de semana, en la publicación anterior elaboramos una bandana para las princesitas de la casa y el día de hoy les quiero enseñar el proceso para elaborar una vincha o bandana de gato que son ideales para las niñas aunque también pueden utilizarlas las jóvenes y jóvenes adultas en su rutina de Skin Care. En esta oportunidad vamos a utilizar una medida estandar para chicas jovenes las cuales pueden ajustar dependiendo de para quien sean las bandanas. ¡Comencemos!
Hello friends 🤗, I hope you are very well and have a peaceful start to the week, in the previous post we made a bandana for the little princesses of the house and today I want to show you the process to make a cat headband or bandana that They are ideal for girls, although they can also be used by young women and young adults in their Skin Care routine. In this opportunity we are going to use a standard measure for young girls which can be adjusted depending on who the bandanas are for. Let's get started!
Materiales - Materials
- Tela
- EntreTela
- Hilo
- Aguja y alfileres
- Elástica
- Cinta métrica
- Tijera
- Cloth
- Interlining
- Thread
- Needle and pins
- elastic
- Measuring tape
- Scissors

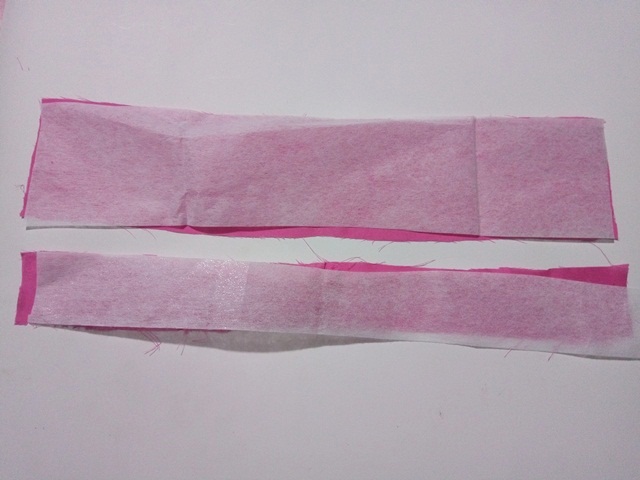
1. El primer paso será cortar dos piezas de tela de 5 x 30cm y 9 x 42cm y dos piezas de entretela de la misma medida, seguidamente colocamos una encima de la otra. Estoy utilizando entretela porque esta tela fucsia es un tipo de tejido que se utiliza como forro para bolsos, carteras y es algo frágil , entonces la entretela nos ayudará a que la tela principal quedé mas firme y la bandana quedé con una mejor forma
1. The first step will be to cut two pieces of fabric of 5 x 30cm and 9 x 42cm and two pieces of interlining of the same size, then place one on top of the other. I am using interlining because this fuchsia fabric is a type of fabric that is used as a lining for bags, wallets and it is somewhat fragile, so the interlining will help us to make the main fabric firmer and the bandana to have a better shape.
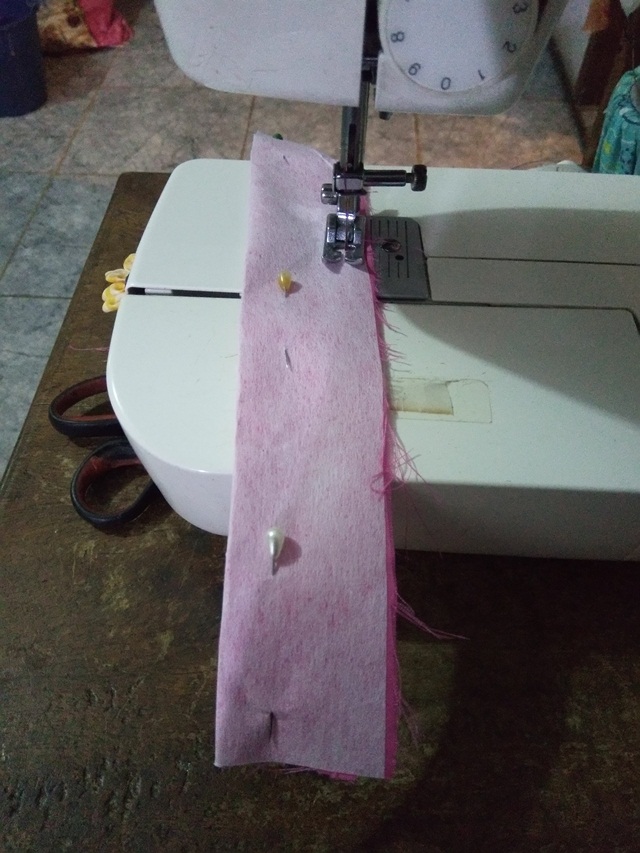
2. Ahora vamos a doblar hacia la mitad y cosemos por el borde respetando 1 centímetro o 1/2 centímetro de costura, si utilizamos una máquina debemos coser en puntada recta y si estamos cosiendo a mano debemos coser en pespunte
2. Now we are going to fold in half and sew along the edge respecting 1 centimeter or 1/2 centimeter of seam, if we use a machine we must sew in straight stitch and if we are sewing by hand we must sew in backstitch
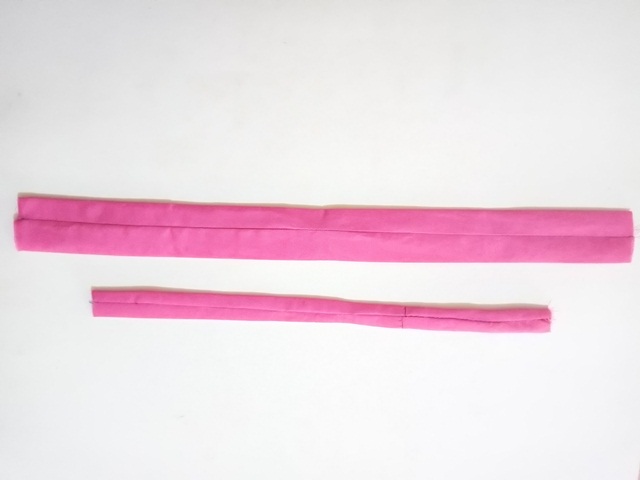
3. Luego de coser vamos a voltear ambas tiras con la ayuda de una pinza y las vamos a planchar, bueno yo admito que no soy fan de utilizar la plancha pero si admito que nuestras creaciones se ven mejores cuando las planchamos en el proceso de elaboración😉
3. After sewing we are going to turn both strips with the help of a clamp and we are going to iron them, well I admit that I am not a fan of using the iron but I do admit that our creations look better when we iron them in the elaboration process😉
4. Ahora vamos a colocar la elástica en la tira de tela más delgada y también es bueno ayudarnos de una pinza para ahorrarnos dolores de cabeza , luego fijamos cada extremo con la ayuda de alfileres o también podemos dar unas puntadas con hilo y aguja
4. Now we are going to place the elastic on the thinnest strip of fabric and it is also good to use a clamp to save headaches, then we fix each end with the help of pins or we can also stitch with a needle and thread
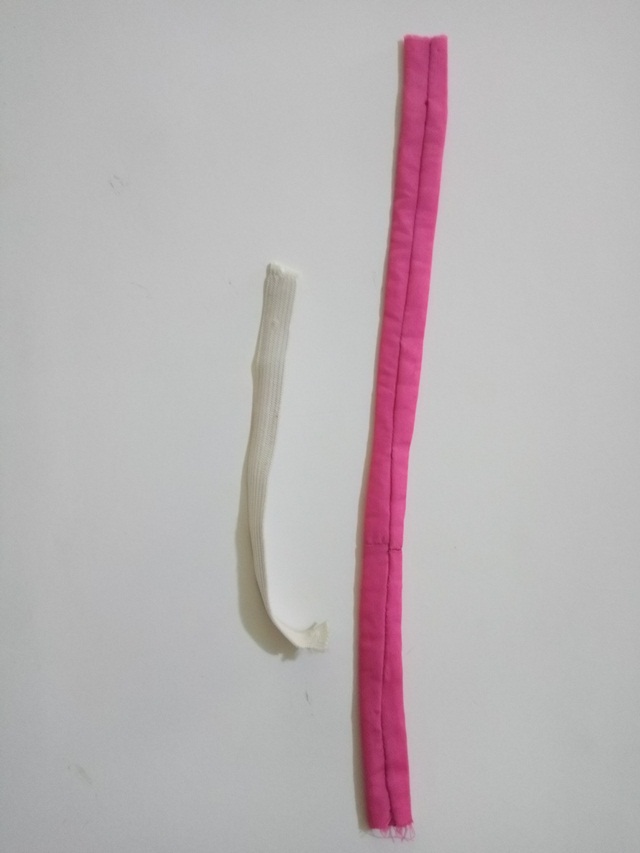
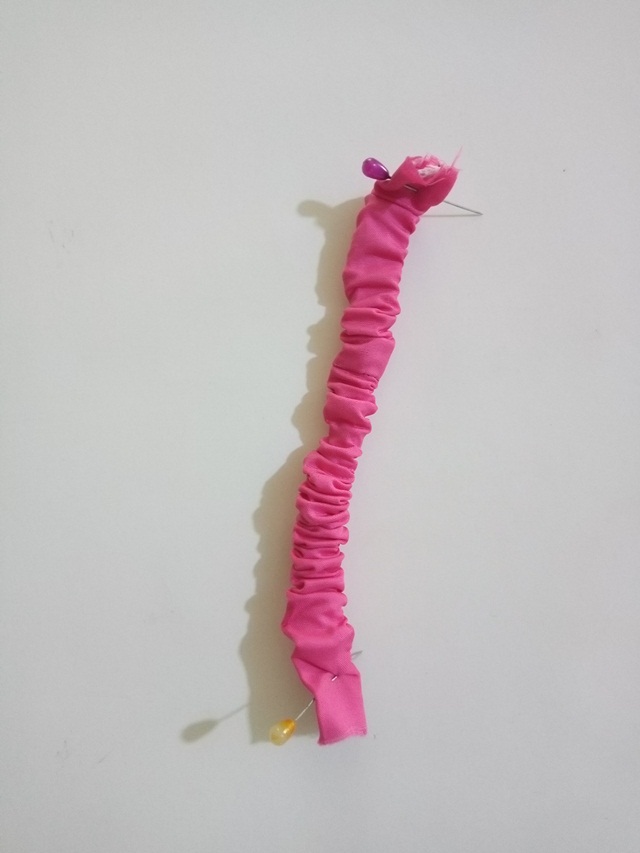
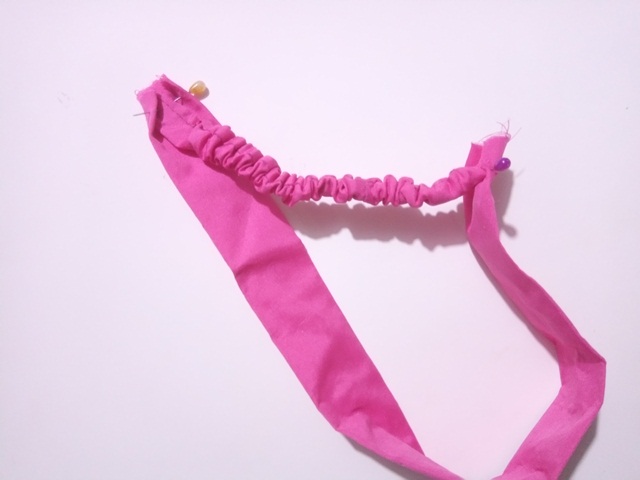
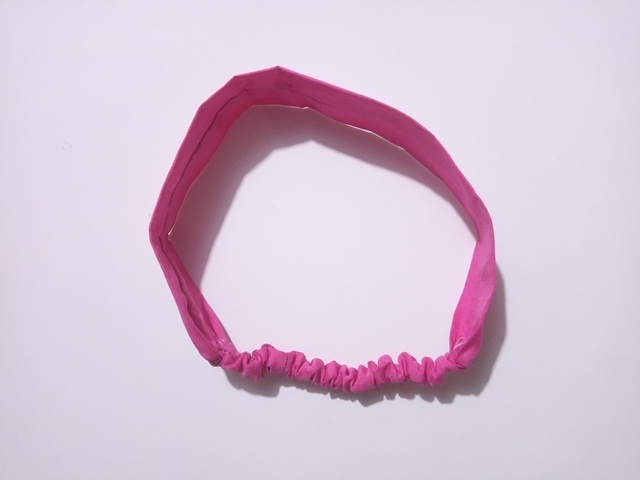
5. Then we join both strips of fabric at the ends and sew very well so that they do not come loose.
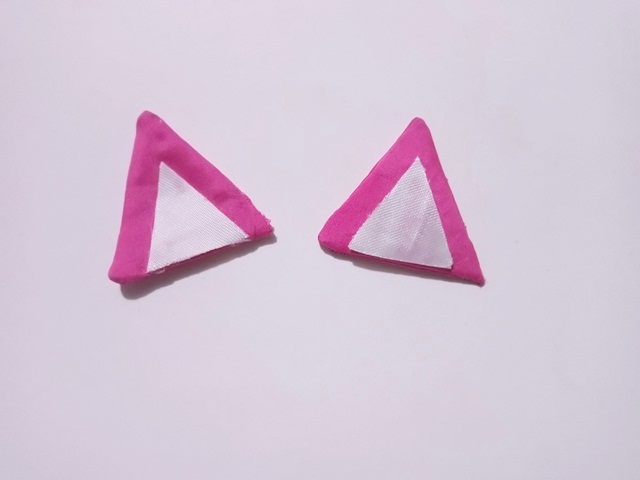
6. Seguidamente vamos a elaborar las orejitas , solo debemos dibujar dos triángulos sobre una tela doble y coserlos por todo el borde dejando un pequeño espacio para cortar y poder voltear la pieza yyy luego le pegamos dos triángulos de tela mas pequeñitos para simular el interior de las orejitas de gato
6. Next we are going to make the ears, we just have to draw two triangles on a double fabric and sew them around the edge leaving a small space to cut and be able to turn the piece over and then we glue two smaller fabric triangles to simulate the inside of the ears of cat

Gracias por visitar mi publicación💖 , espero que les haya gustado y les sea de mucha utilidad, esta bandana fue un regalo para mi hermana porque le encantan los gatos, la elabore fucsia tal cual como ella la quería y quise compartir el procedimiento en esta comunidad creativa . Nos vemos en una próxima oportunidad
Thank you for visiting my publication💖, I hope you liked it and find it very useful, this bandana was a gift for my sister because she loves cats, I made it fuchsia just as she wanted it and I wanted to share the procedure in this creative community . See you at the next opportunity
Las imágenes fueron tomadas por mi persona @beidacarolina para ser publicadas exclusivamente en hive. Para editar las fotos utilice PhotoScape y para traducir el texto utilice Traductor de Google :)
The images were taken by my person @beidacarolina to be published exclusively on hive. To edit the photos use PhotoScape and to translate the text use Google Translate :)
The rewards earned on this comment will go directly to the person sharing the post on Twitter as long as they are registered with @poshtoken. Sign up at https://hiveposh.com.