♥
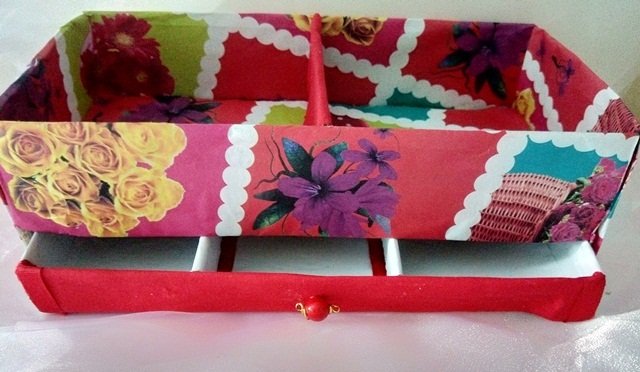
Hola amigos, espero estén muy bien y tengan un bonito comienzo de semana, el día de hoy quiero compartir con ustedes un proyecto de reciclaje , vamos a utilizar una caja de cartón para elaborar un hermoso organizador de mesa en donde podrás guardar lo que desees , yo utilizo este tipo de organizadores para guardar mis materiales de costura y también son ideales para organizar lapices, lapiceros, colores, marcadores, y lo demas que necesitemos para nuestras actividades escolares o laborales
Hello friends, I hope you are very well and have a nice start to the week, today I want to share with you a recycling project, we are going to use a cardboard box to make a beautiful table organizer where you can store whatever you want, I use this type of organizer to store my sewing materials and they are also ideal for organizing pencils, pens, colors, markers, and anything else we need for our school or work activities
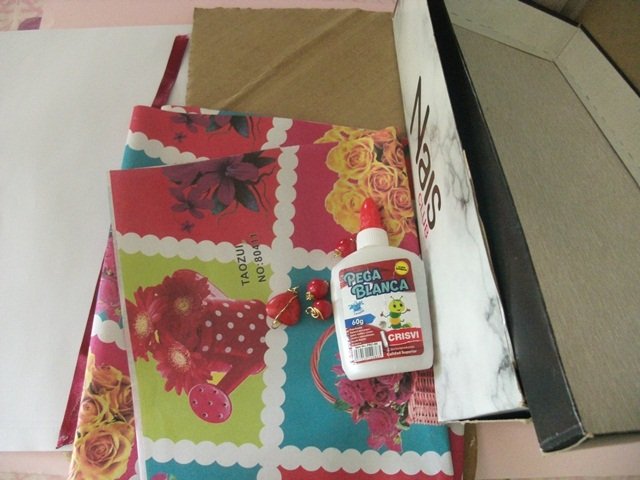
Materiales
- Una caja de cartón
- Cartón
- Pega blanca
- Hojas blancas
- Papel de regalo
- Una perlita o adorno
- Tela o cinta roja
- A cardboard box
- Paperboard
- White glue
- White sheets
- Gift Wrap
- A pearl or ornament
- Red cloth or ribbon
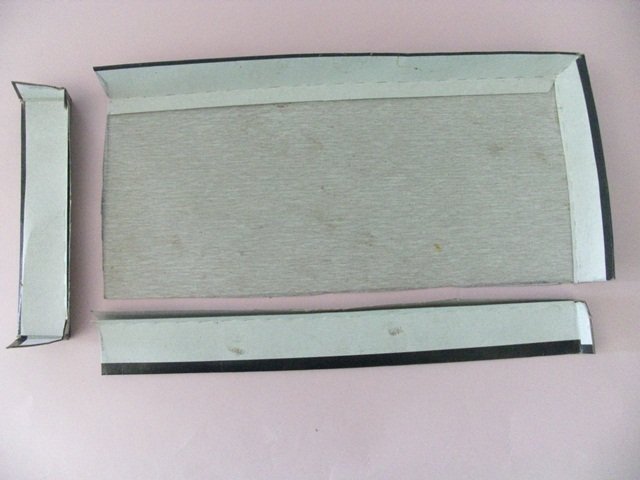
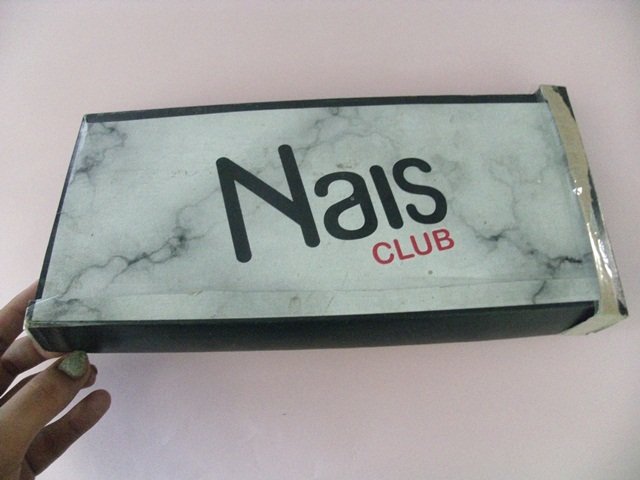
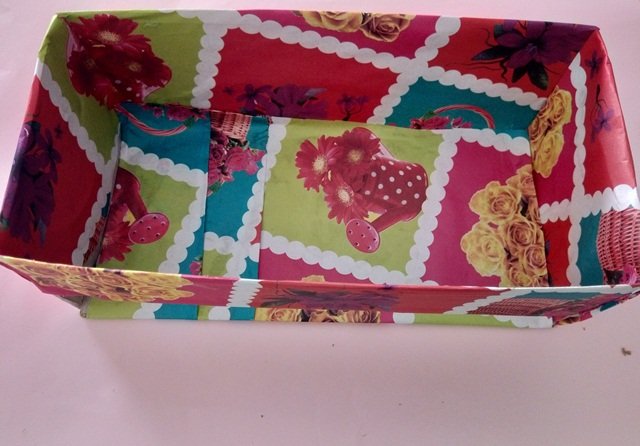
1. Este organizador tiene un gavetero por lo que el primer paso es cortar la caja en la parte inferior y cortar en cartón el separador o techo de la gaveta. Es importante que este separador quede justo y por tal motivo debemos medirlo en la caja antes de forrar y pegar como pueden ver en la segunda imagen
1. This organizer has a drawer so the first step is to cut the box at the bottom and cut the spacer or top of the drawer out of cardboard. It is important that this separator is just right and for this reason we must measure it in the box before lining and gluing as you can see in the second image
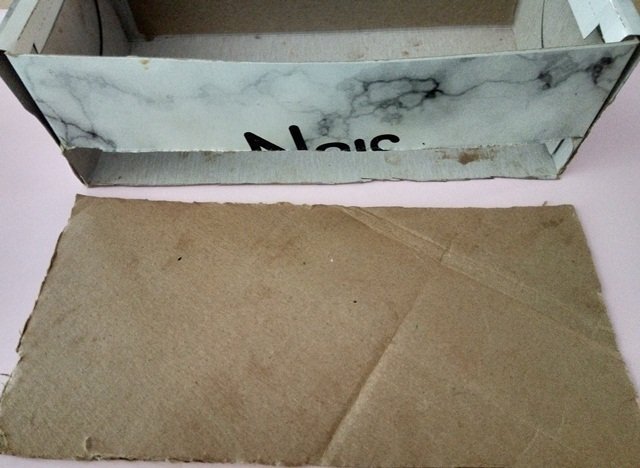
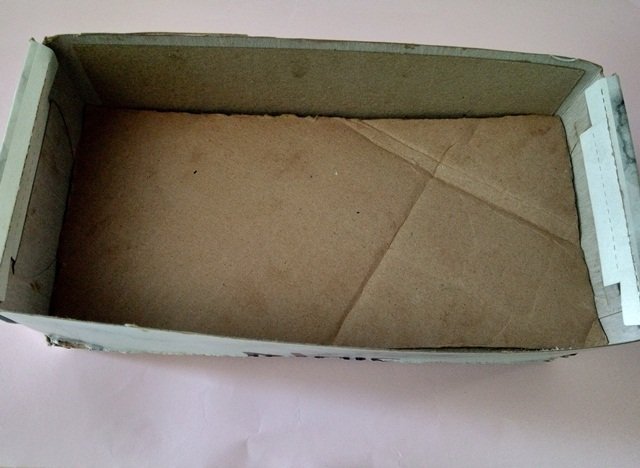
2.Para elaborar la gaveta utilizamos la tapa que tiene la caja de cartón, la cual debemos reducir para adaptarla a la medida de la caja
2. To make the drawer we use the lid that the cardboard box has, which we must reduce to adapt it to the size of the box.
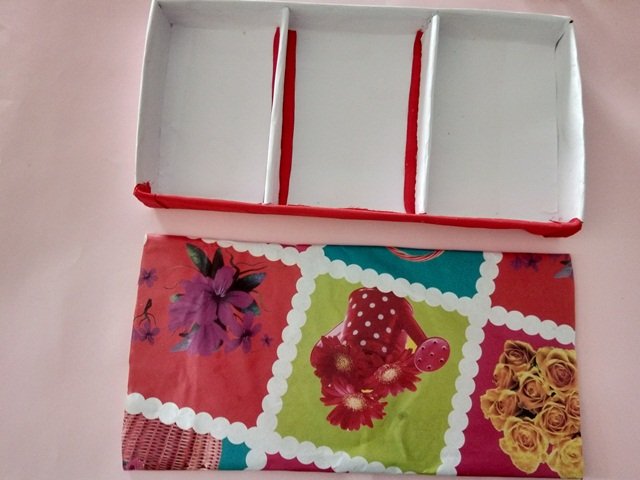
3. Seguidamente decoramos la gaveta con hojas de papel y cinta roja, y también decoramos el separador utilizando papel de regalo. Quise dividir la gaveta en tres secciones y solo necesitamos cortar y forrar dos tiras de cartón que midan de largo lo mismo que la caja y de ancho ya sería a gusto personal
3. Next we decorate the drawer with sheets of paper and red ribbon, and we also decorate the separator using wrapping paper. I wanted to divide the drawer into three sections and we only need to cut and cover two strips of cardboard that measure the same length as the box and width would be to personal taste.
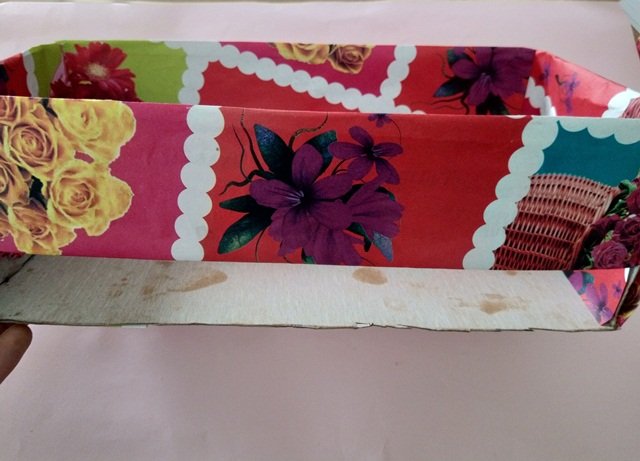
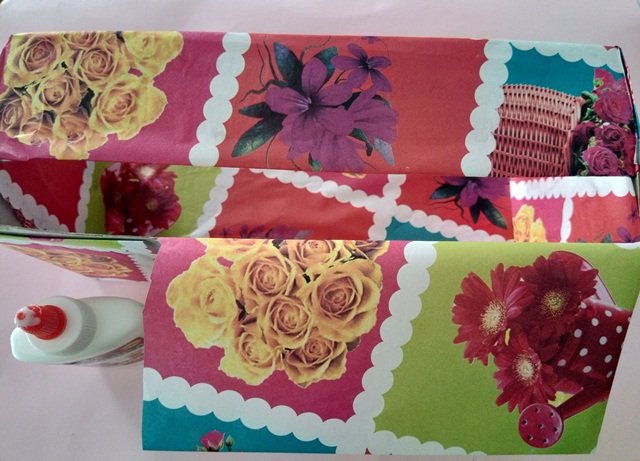
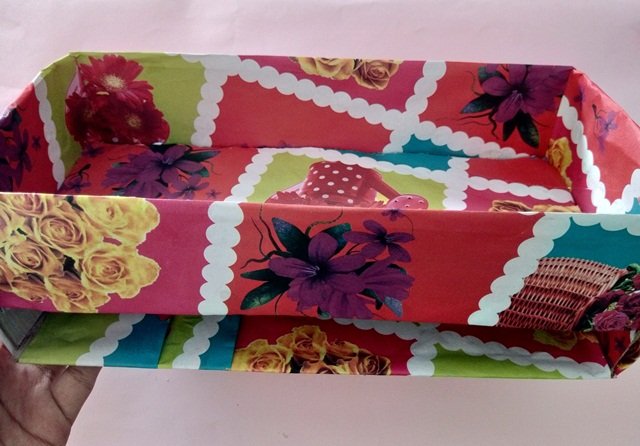
4. Ahora nos corresponde forrar toda la caja utilizando pega blanca , como el papel de regalo es delicado debemos tener un poquito de cuidado para que no se rasgue accidentalmente
4. Now it is up to us to cover the whole box using white glue, as the wrapping paper is delicate we must be a little careful so that it does not accidentally tear
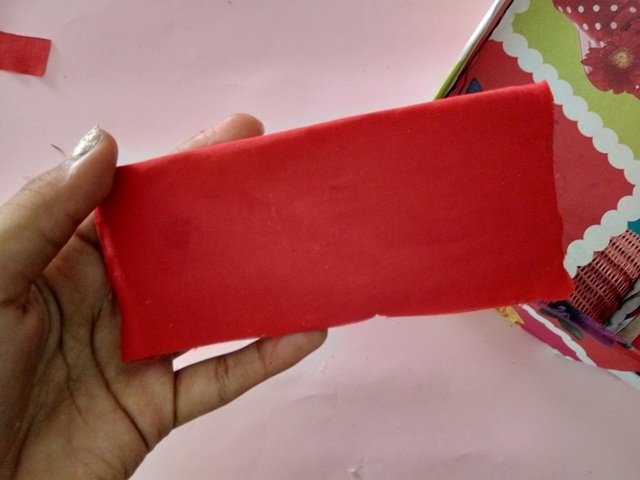
5. En la parte superior quise agregarle una división de cartón forrada con tela roja. De esta manera será más fácil utilizar este organizador!
5. At the top I wanted to add a cardboard partition lined with red fabric. This way it will be easier to use this organizer!
¡Resultado final! - Final score!

Muchas gracias por visitar mi publicación♥, Hasta la próxima, cuidense!
Thank you very much for visiting my publication ♥, Until next time, take care!
Las imágenes fueron tomadas por mi persona @beidacarolina para ser publicadas exclusivamente en hive. Para editar las fotos utilice PhotoScape y para traducir el texto utilice Traductor de Google :)
The images were taken by my person @beidacarolina to be published exclusively on hive. To edit the photos use PhotoScape and to translate the text use Google Translate :)
Thank you for sharing this amazing post on HIVE!
non-profit curation initiative!Your content got selected by our fellow curator @rezoanulvibes & you just received a little thank you via an upvote from our
You will be featured in one of our recurring curation compilations and on our pinterest boards! Both are aiming to offer you a stage to widen your audience within and outside of the DIY scene of hive.
Join the official DIYHub community on HIVE and show us more of your amazing work and feel free to connect with us and other DIYers via our discord server: https://discord.gg/mY5uCfQ !
If you want to support our goal to motivate other DIY/art/music/homesteading/... creators just delegate to us and earn 100% of your curation rewards!
Stay creative & hive on!
Congratulations @beidacarolina! You have completed the following achievement on the Hive blockchain and have been rewarded with new badge(s):
Your next payout target is 250 HP.
The unit is Hive Power equivalent because post and comment rewards can be split into HP and HBD
You can view your badges on your board and compare yourself to others in the Ranking
If you no longer want to receive notifications, reply to this comment with the word
STOPCheck out the last post from @hivebuzz:
Support the HiveBuzz project. Vote for our proposal!