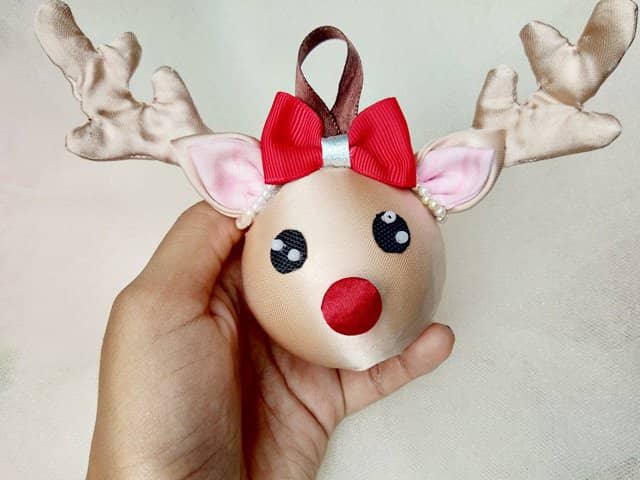
Holaaa amigos de hive!! , me alegra estar de vuelta con un nuevo paso a paso😄. Les cuento que tenía días viendo algo raro en el árbol navideño de mi casa 🤔... algo no encajaba y pues era que se me había olvidado colocarle las esferas!. Parece extraño pero en realidad soy una persona muy distraída y al parecer los que viven conmigo tambien xD. Bueno, al enterarme de lo que no encajaba en mi arbolito fui en busca de las esferas navideñas y una estaba rota así que decidí tomar esa para elaborar un lindo Alce , tambien conocidos como Renos , los mejores amigos de santa🎅💖
Hello hive friends!! I'm glad to be back with a new step by step😄. I'll tell you that I had been seeing something strange on the Christmas tree in my house for days🤔 ... something didn't fit and well it was because I had forgotten to put the balls on it! It seems strange but in reality I'm a very distracted person and apparently those who live with me too xD. Well, when I found out what didn't fit on my tree I went in search of the Christmas balls and one was broken so I decided to take that one to make a cute Moose, also known as Reindeer, Santa's best friends🎅💖
• Tela de razo
• Cinta gross roja
• Tela negra
• Perlitas
• Esfera navideña
• Silicon
• Hilo y aguja
• Satin fabric
• Red gross ribbon
• Black fabric
• Pearls
• Christmas ball
• Silicon
• Thread and needle
🎄 ✃Procedimiento✃ 🎄
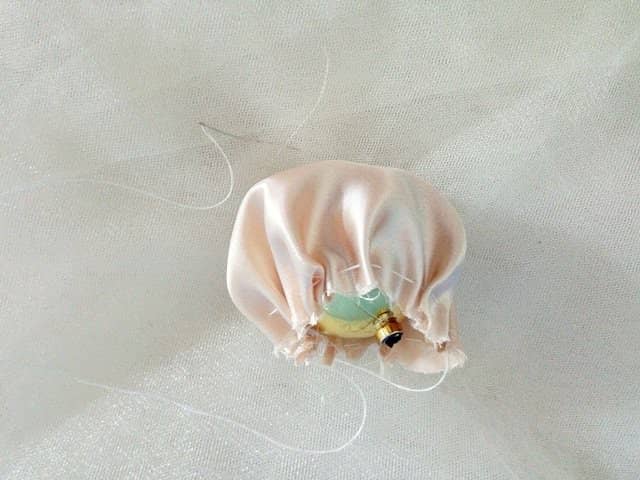
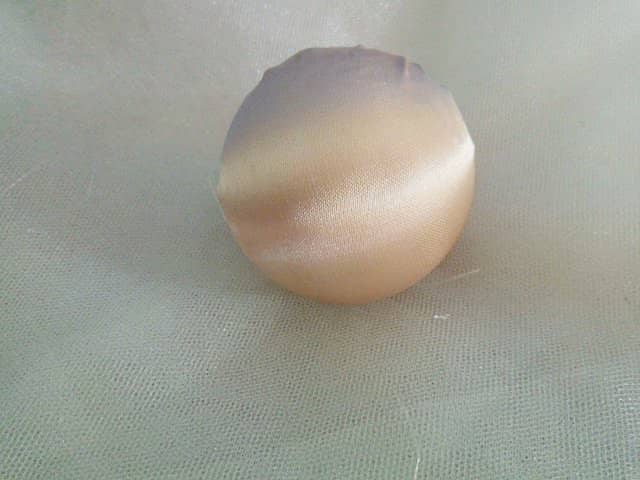
Paso 1. Primeramente cortamos un círculo que cubra toda nuestra esferaa y lo cosemos por todo el contorno respetando como siempre 1cm de costura, luego arruchamos el hilo y poco a poco vamos dándole forma, en este caso como la esfera será el rostro de un alce, yo no quería que tuviera muchos pliegues de tela entonces la arruche y estire lo más que pude
Step 1. First, we cut a circle that covers our entire sphere and sew it around the entire perimeter, respecting as always 1cm of seam allowance, then we gather the thread and little by little we shape it, in this case as the sphere will be the face of a moose, I didn't want it to have many folds of fabric so I gathered it and stretched it as much as I could.
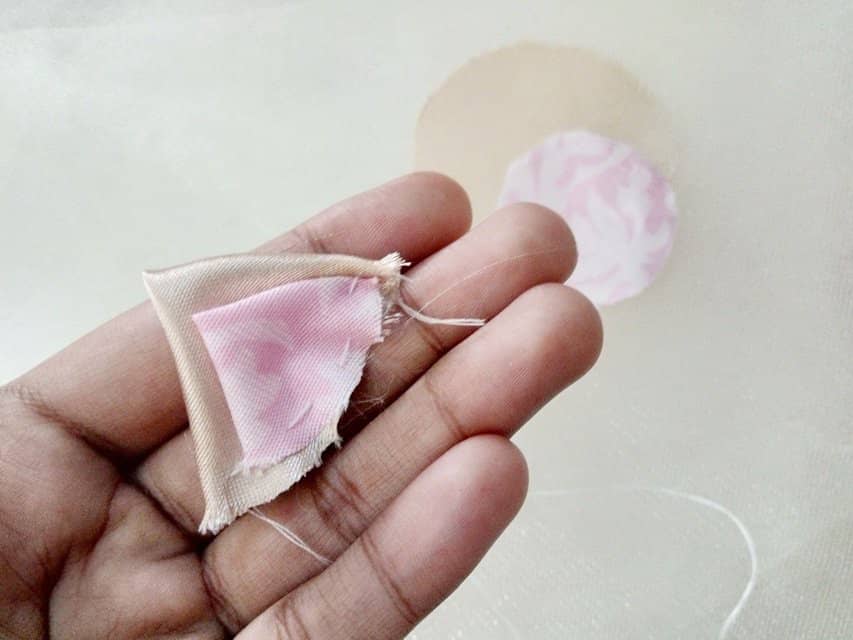
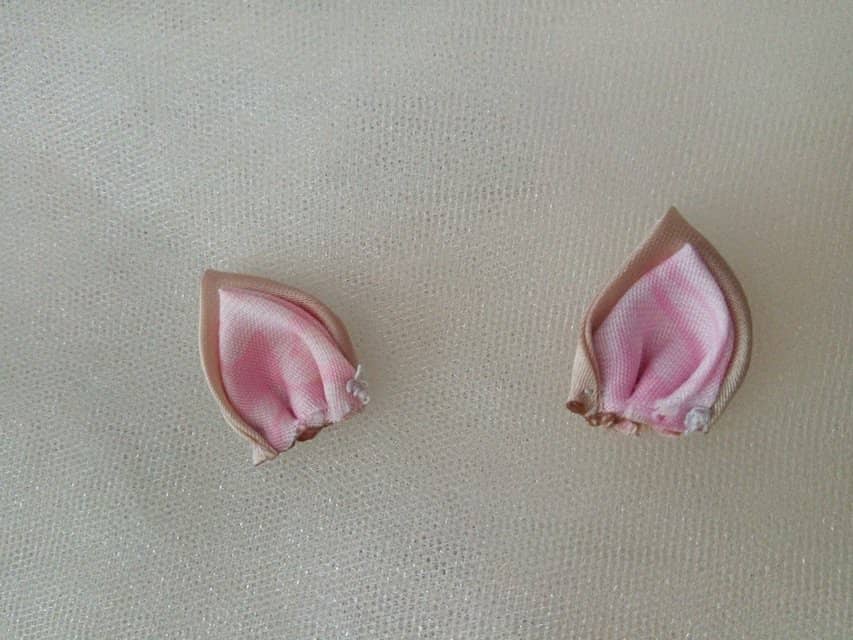
Paso 2. Seguidamente haremos dos círculos de 6cm en tela marrón y dos círculos de 3cm en tela rosa, tomamos un círculo de 6cm lo doblamos a la mitad y luego volvemos a doblar, repetimos lo mismo con un círculo rosa y los cosemos juntos por el borde para luego fruncir un poquito el hilo y formar las orejitas del Alce
Step 2. Next we will make two 6cm circles in brown fabric and two 3cm circles in pink fabric, take a 6cm circle, fold it in half and then fold it again, repeat the same with a pink circle and sew them together along the edge to then gather the thread a little and form the Moose's ears.
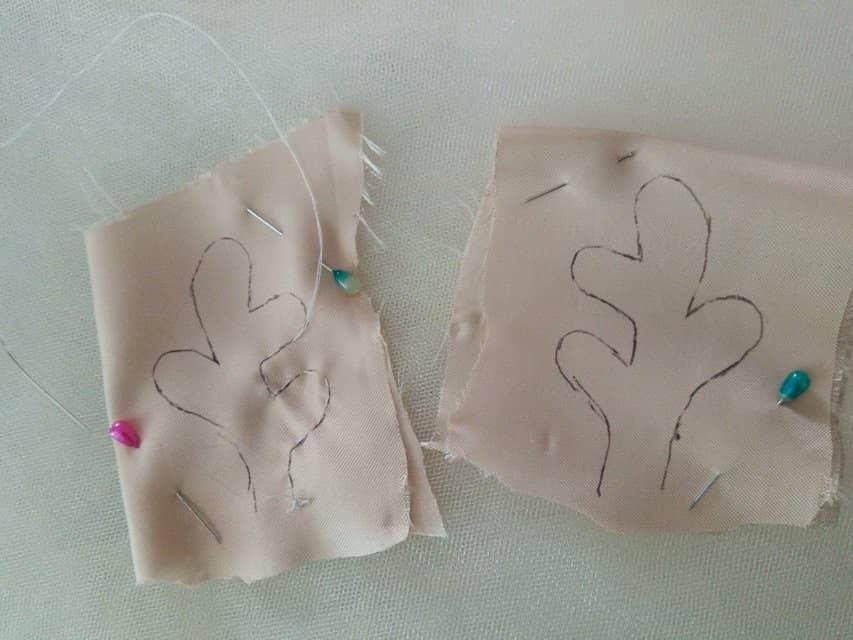
Paso 3. Ahora haremos los cuernitos dibujando cada uno por el revés de la tela doble, yo quise aprovechar los retazos y los dibuje en dos retazos de tela diferente. Seguidamente fijamos con alfileres y procedemos a coser dejando una pequeña abertura para luego darles vuelta..Es muuuuuy importante que luego de coser cortemos la figura dejando un espacio de 1cm o un poquito más si es una tela delicada como el razo porque son piezas pequeñas que pueden deshilacharse con mucha facilidad si no dejamos el espacio!
Step 3. Now we will make the horns by drawing each one on the wrong side of the double fabric. I wanted to use up the scraps and I drew them on two scraps of different fabric. Then we secure them with pins and proceed to sew, leaving a small opening and then turning them over. It is very important that after sewing we cut out the figure leaving a space of 1cm or a little more if it is a delicate fabric like satin because they are small pieces that can fray very easily if we do not leave the space!
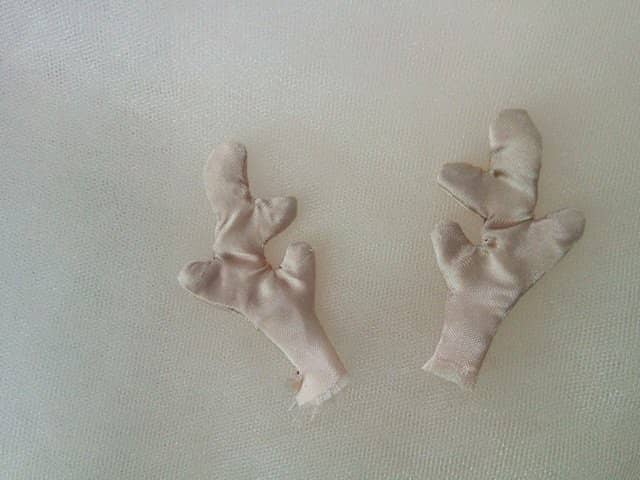
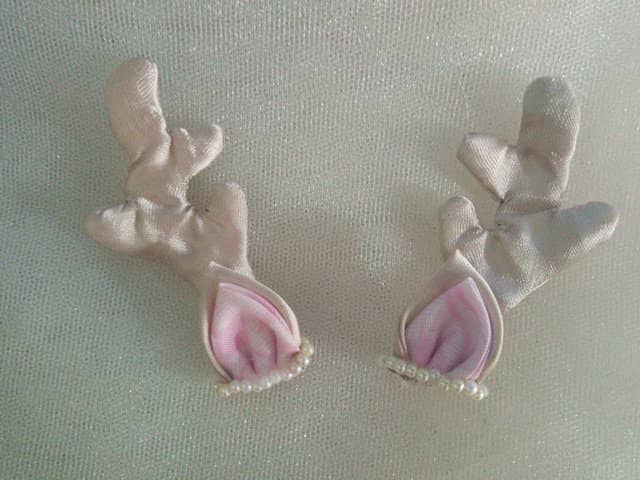
Paso 4. Con silicon frío o caliente pegamos los cuernitos detrás de la orejas y por el borde decoramos con unas pequeñas perlitas
Step 4. Using hot or cold silicone, we glue the horns behind the ears and decorate the edges with some small pearls.
Paso 5. Ahora elaboraremos un par de lazitos lo mas idéntico posibles y cortamos una tira de cinta del largo que desees, lo que haremos es doblar la cinta y pegarla a un lazito y luego pegamos el otro lazito para que quede con un buen acabado por ambos lados
Step 5. Now we will make a pair of bows as identical as possible and cut a strip of ribbon the length you want, what we will do is fold the ribbon and stick it to a bow and then stick the other bow so that it has a good finish on both sides.
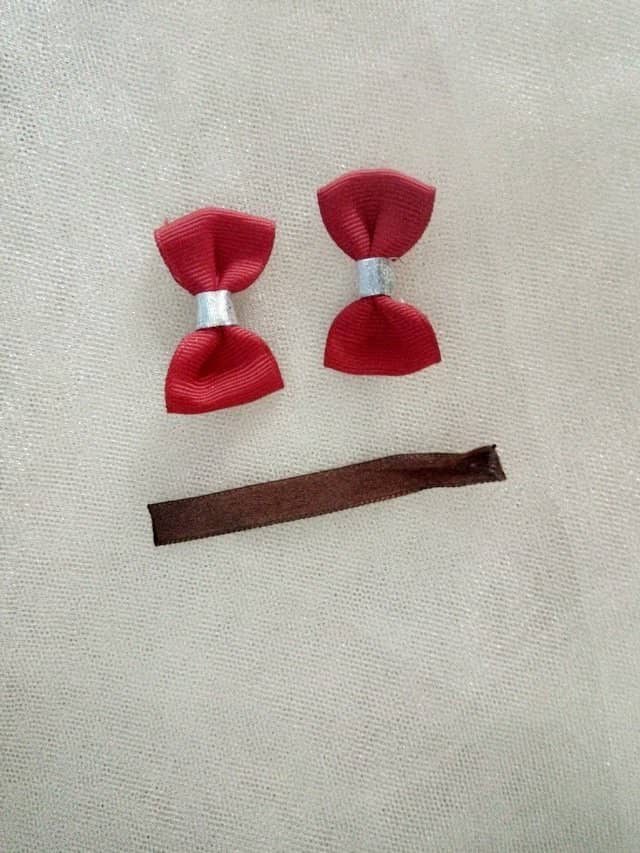
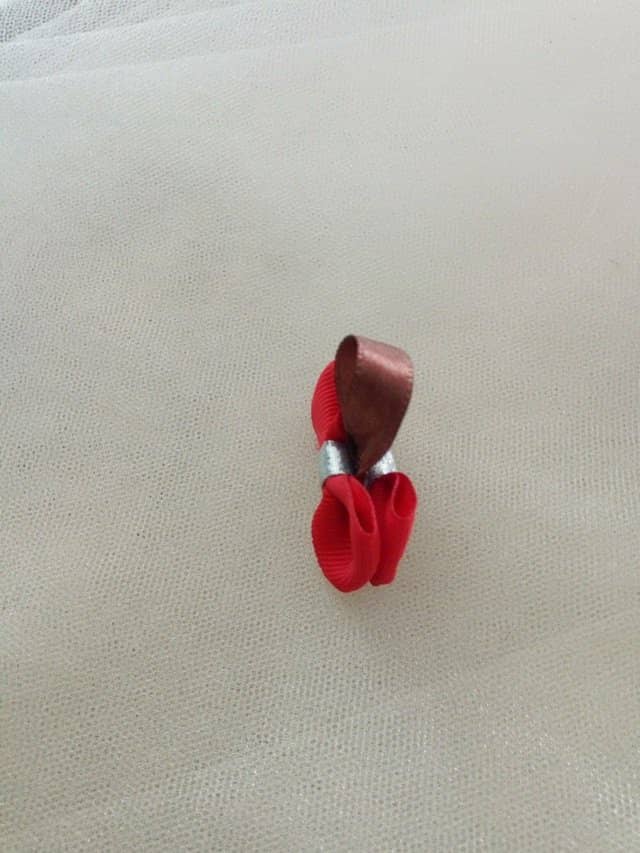
Paso 6. Para elaborar la trompa forramos un boton con tela roja, para elaborar los ojos cortamos dos mini círculos de tela negra y le pegamos dos perlitas blancas. Finalmente pegamos cada una de las piezas, yo empecé por el lazito y luego le coloque ambas orejas, luego la trompa y por último los ojos
Step 6. To make the trunk we covered a button with red fabric, to make the eyes we cut two mini circles of black fabric and glued two white pearls on. Finally we glued each of the pieces, I started with the bow and then I added both ears, then the trunk and finally the eyes.
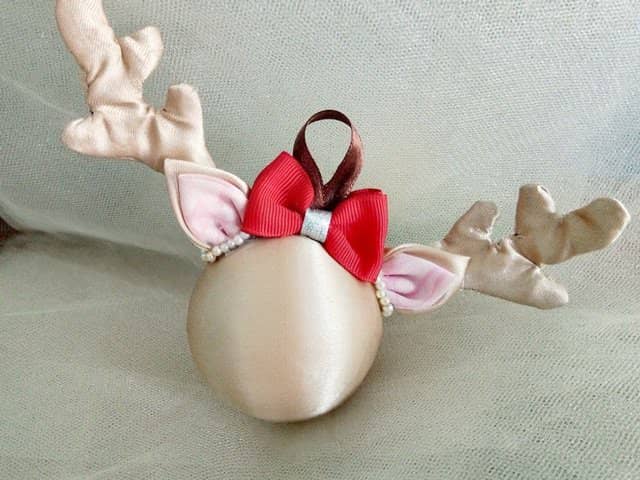

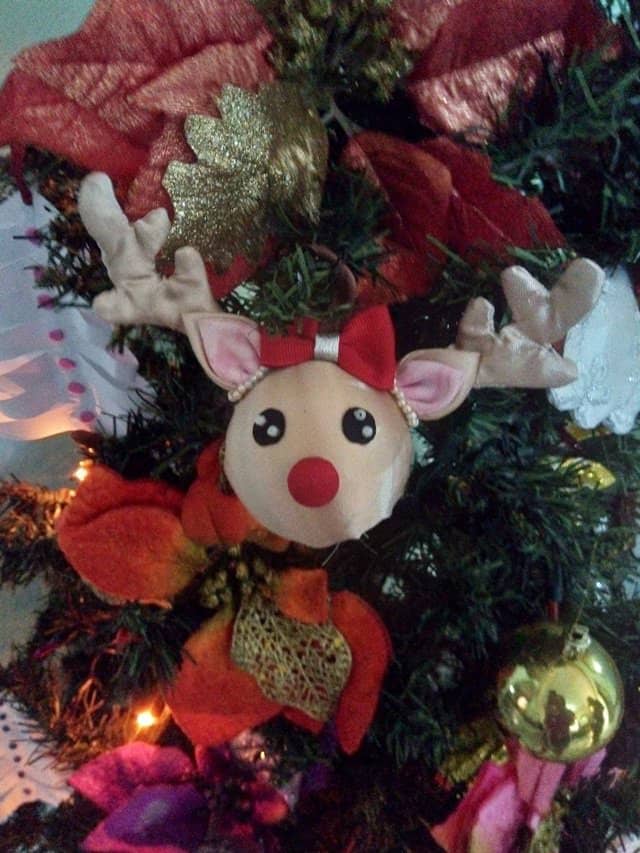
Quedó muy linda, súper creativa 🥹🎄
Muchas Gracias😊🎄