Hi Hive DIY friends
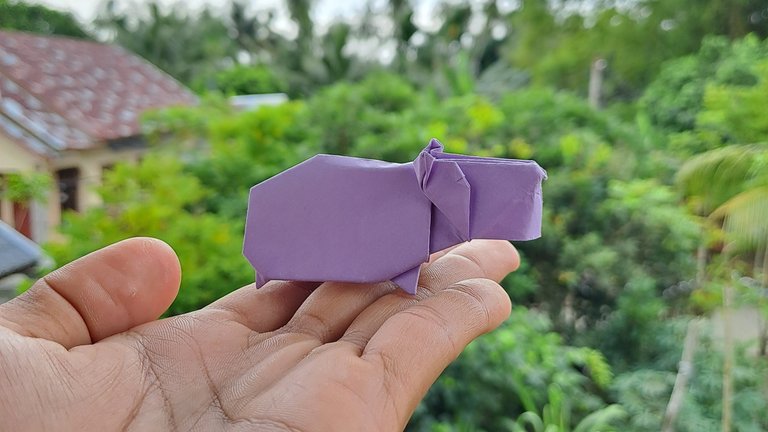
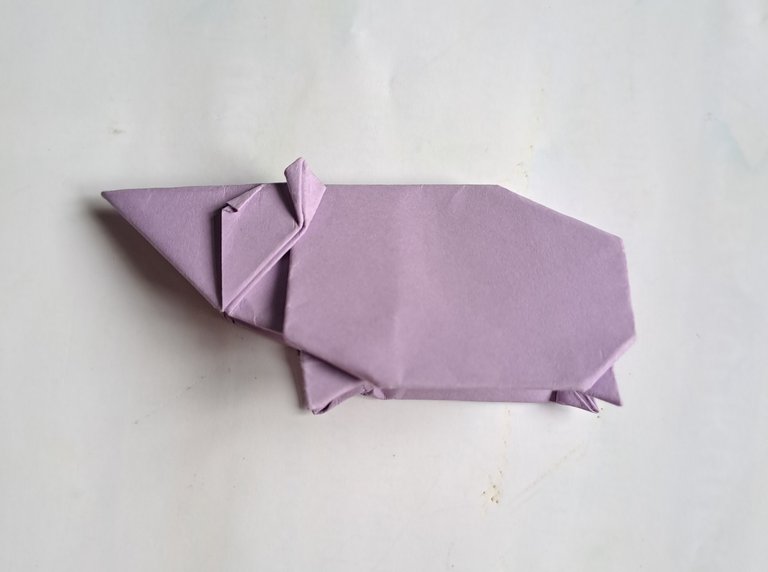
Capybara is a mouse-like creature but its size is very large, I have never seen a Capybara in person in my life, therefore I want to make a beautiful Capybara from a piece of Purple origami paper.
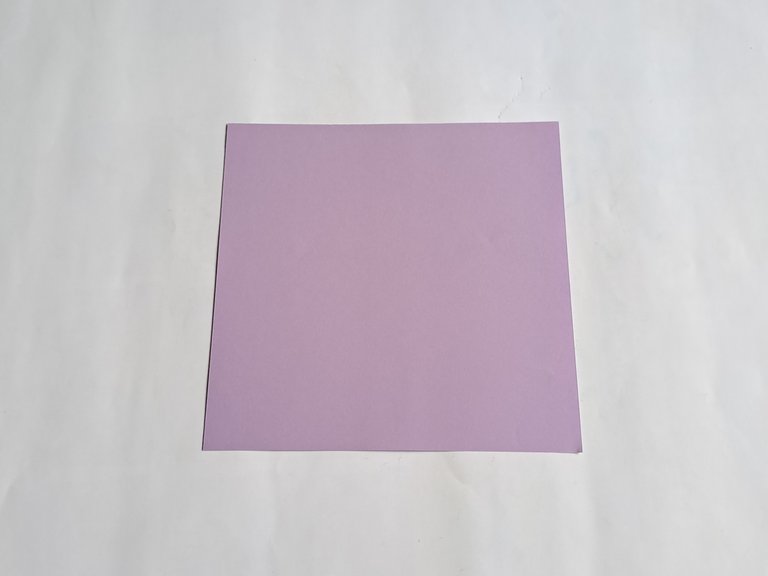
Here is a tutorial on making Capybara from origami paper.
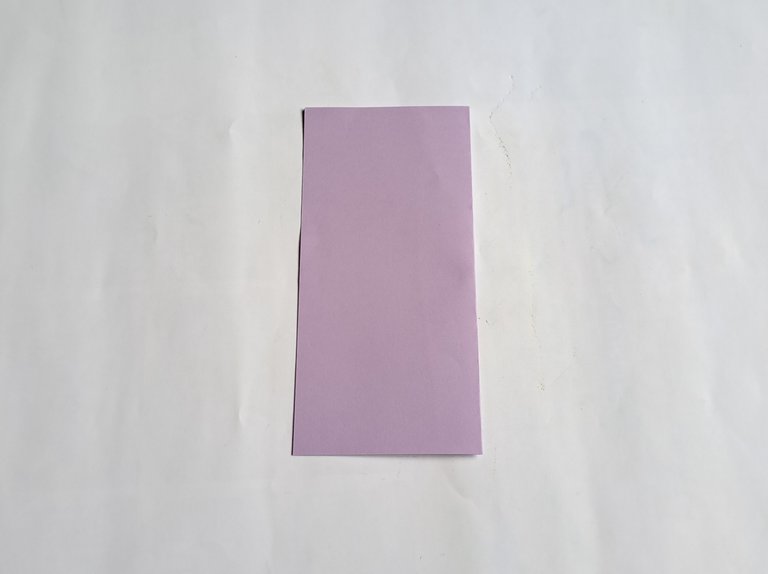
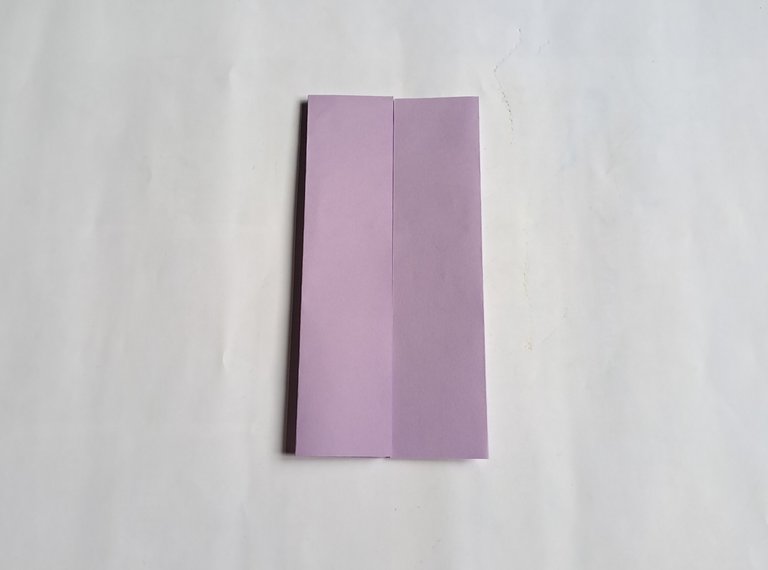
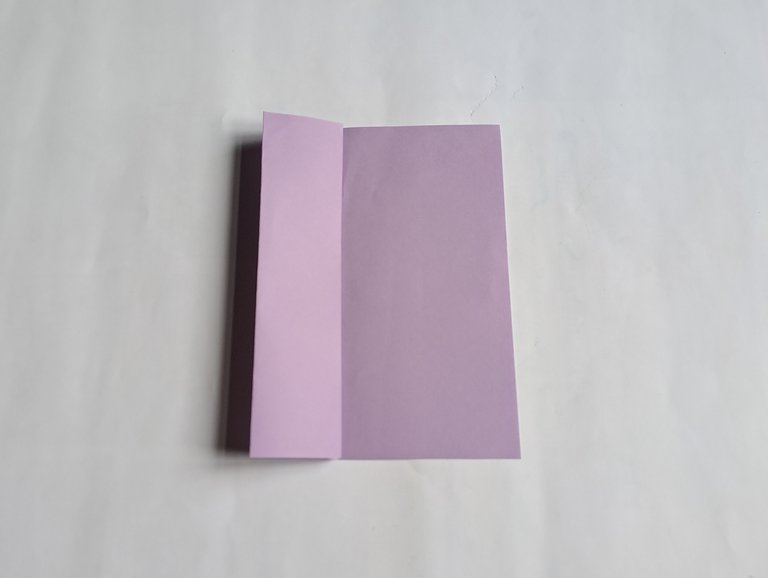
First, fold the origami paper into two parts, then reopen the middle fold and now fold the left and right sides of the origami paper towards the middle.
 |  |
|---|
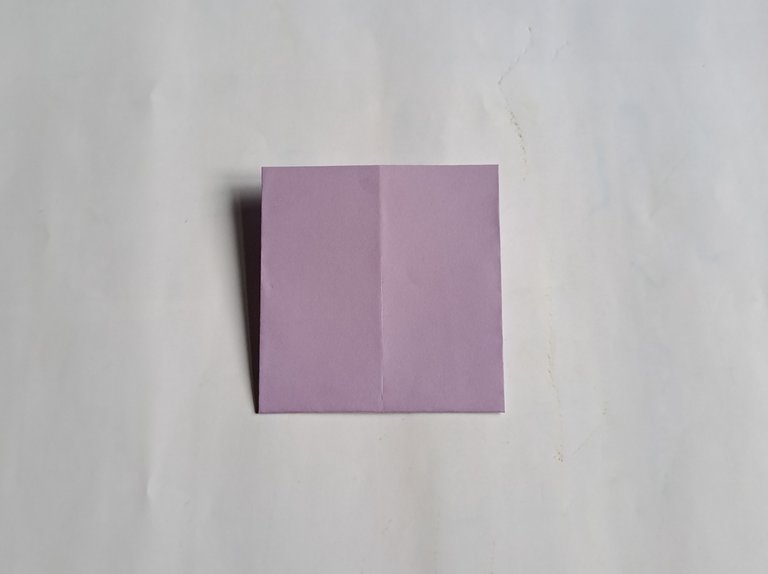
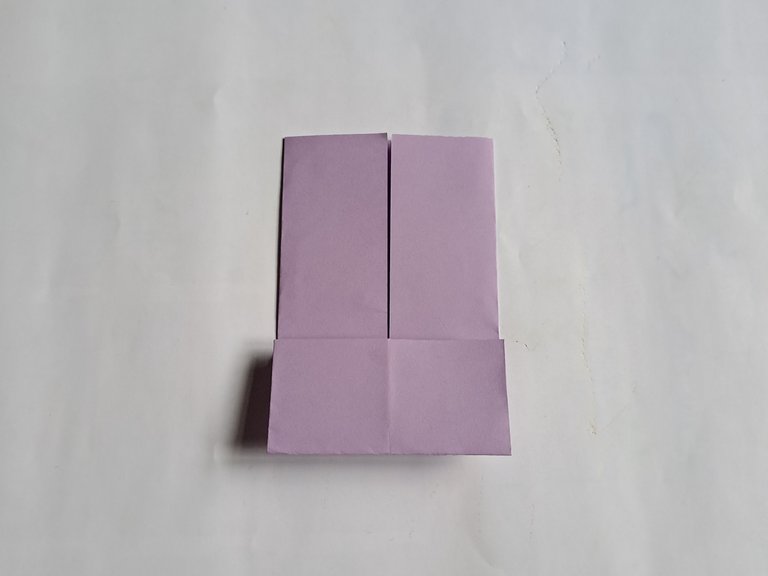
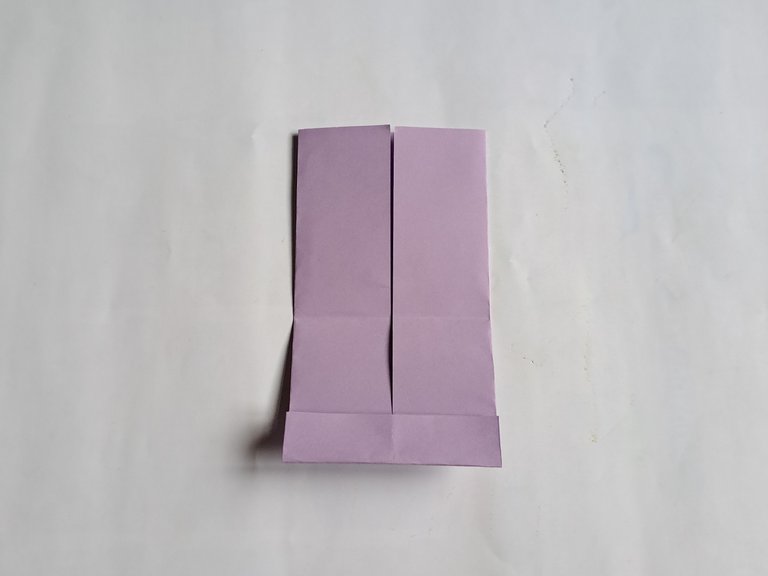
Then fold the two origami papers from bottom to top, then reopen the fold and now fold the bottom of the paper up again, then reopen the fold and fold the bottom end up again.
 |  |
|---|
Then turn the origami paper over and now fold the bottom side diagonally inward from the left and right sides, then fold the two middle parts of the origami paper.
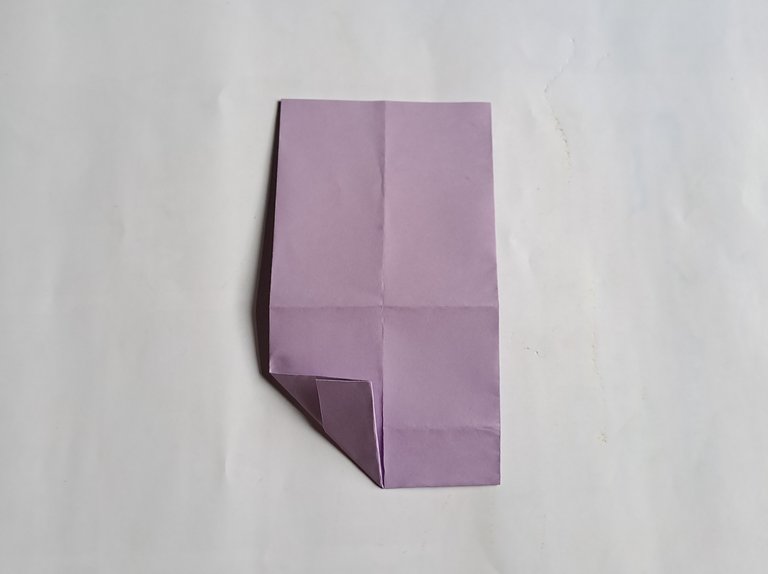 |  |
|---|
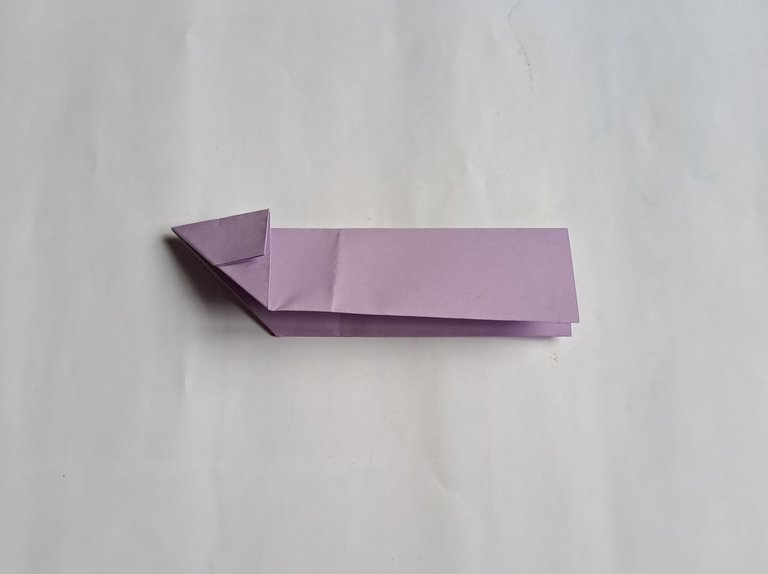
Then pull the front end of the origami paper down, then fold the part on the left side up, then make the fold go down, then turn the origami paper over and do the same thing in the same paper position too.
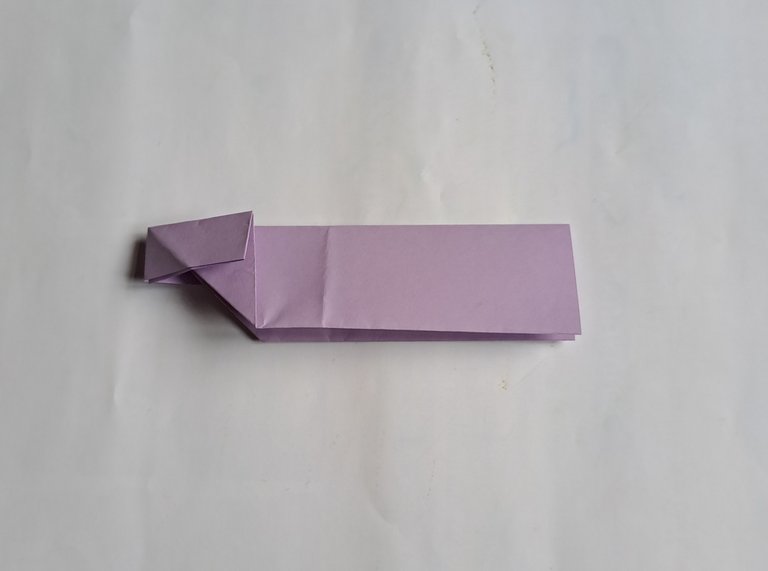
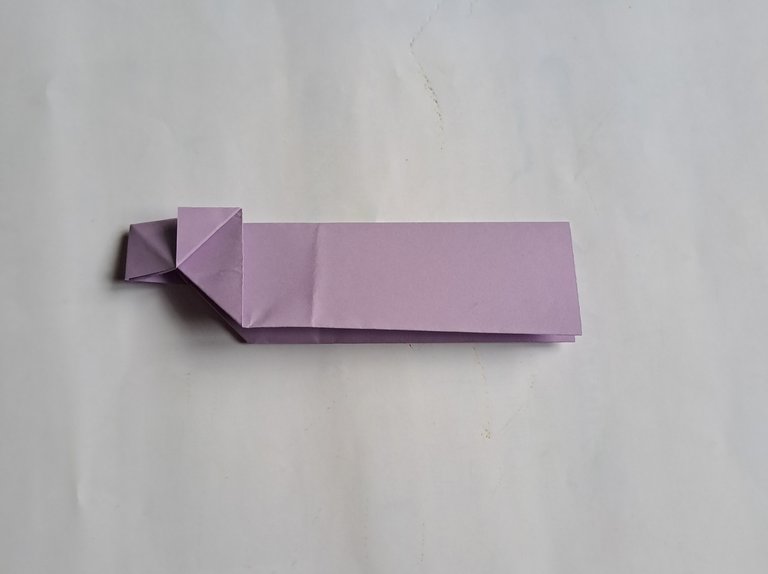 | 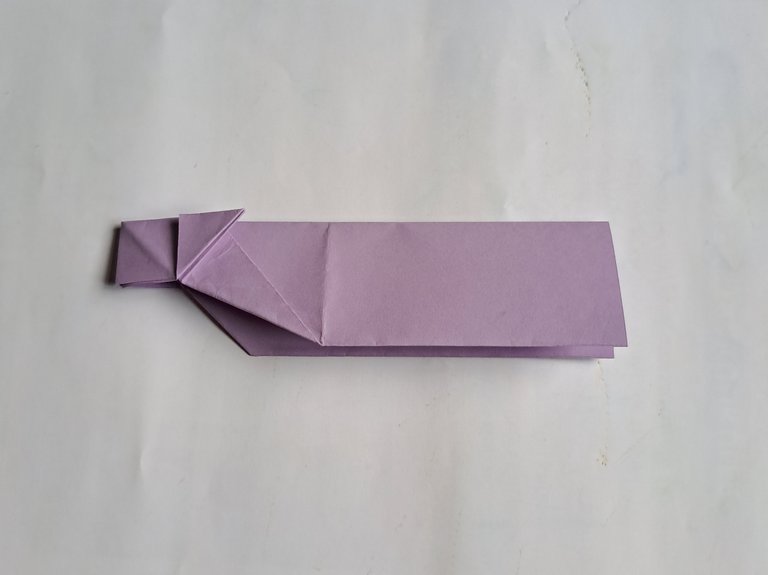 |
|---|
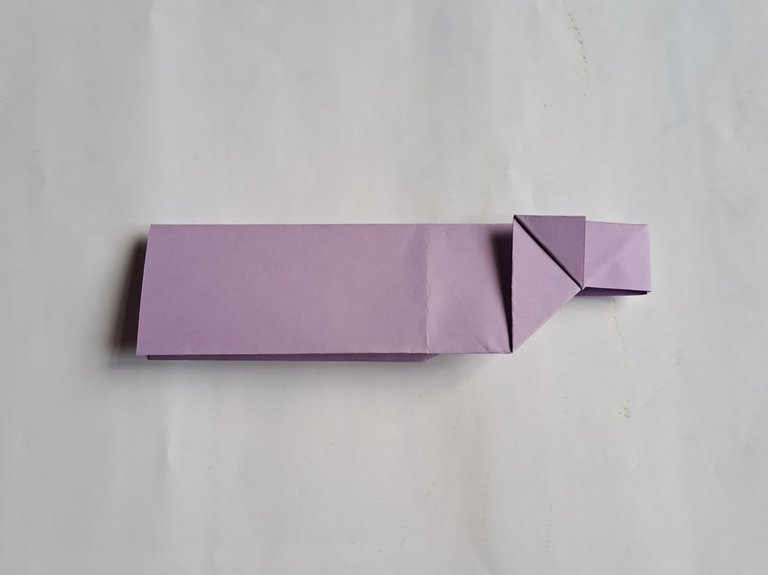 | 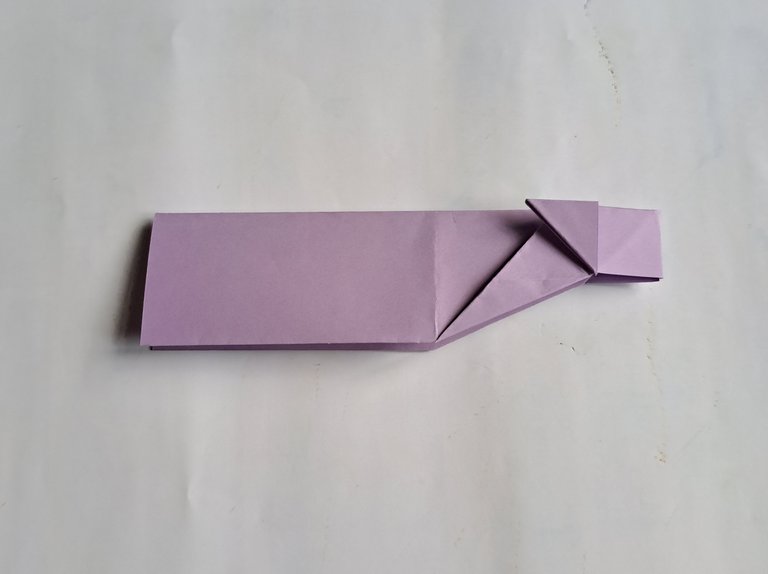 |
|---|
Then open the middle part of the paper again, then fold the back part to the front, then turn the paper over and now fold the bottom part up.
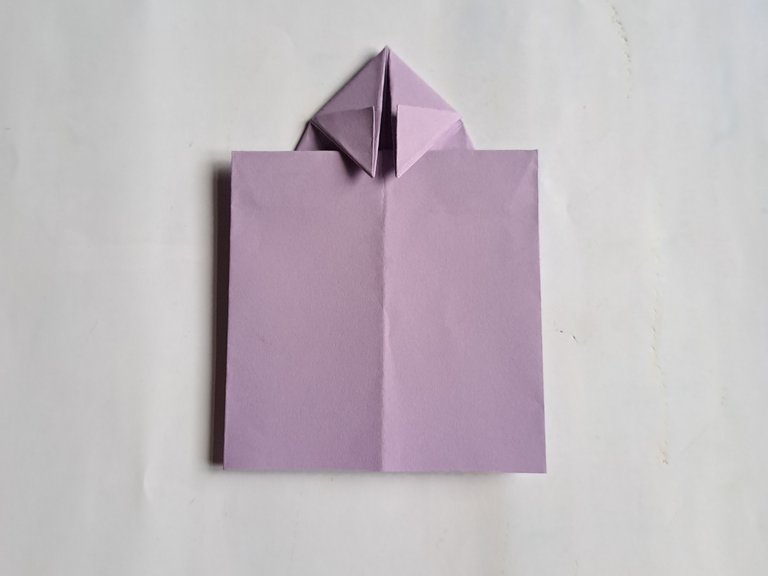
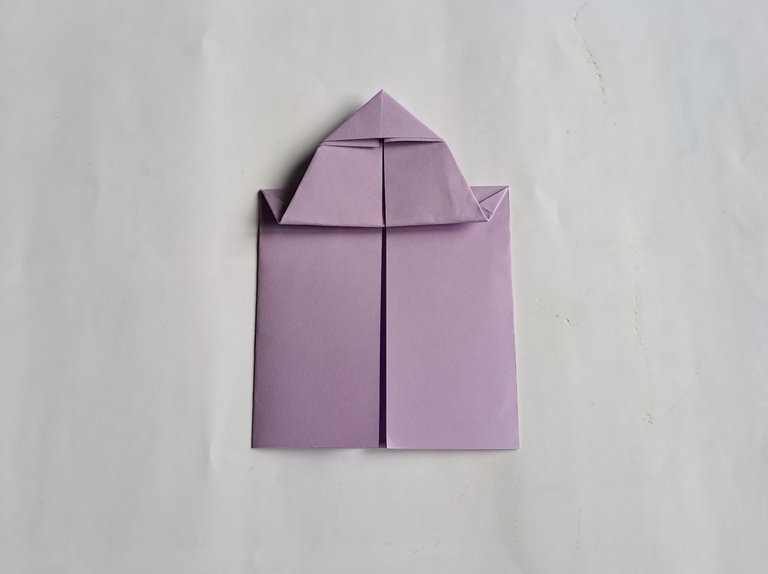 | 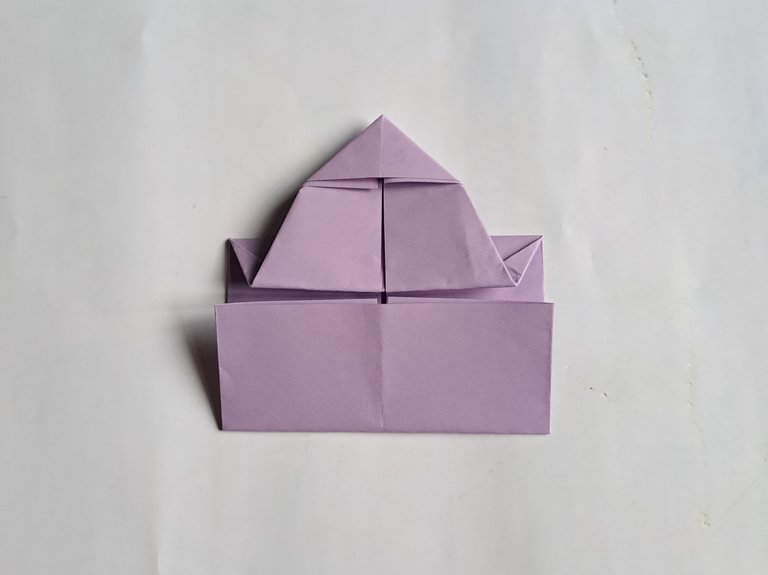 |
|---|
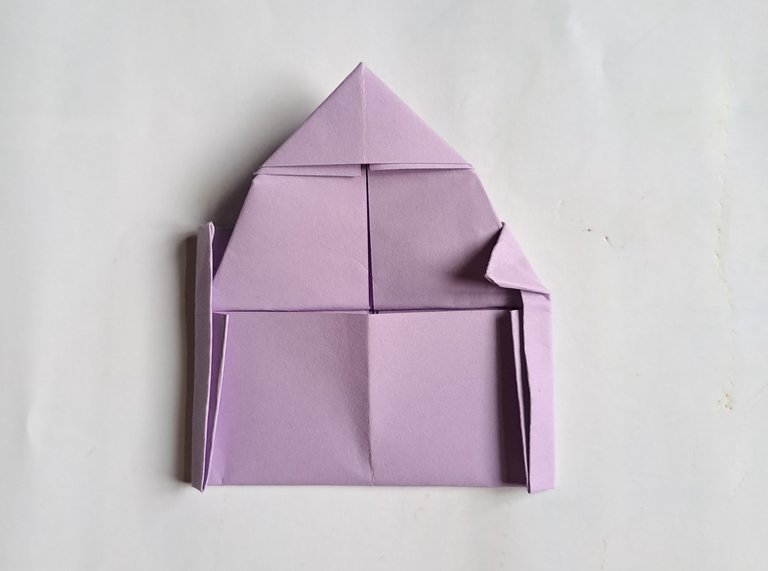
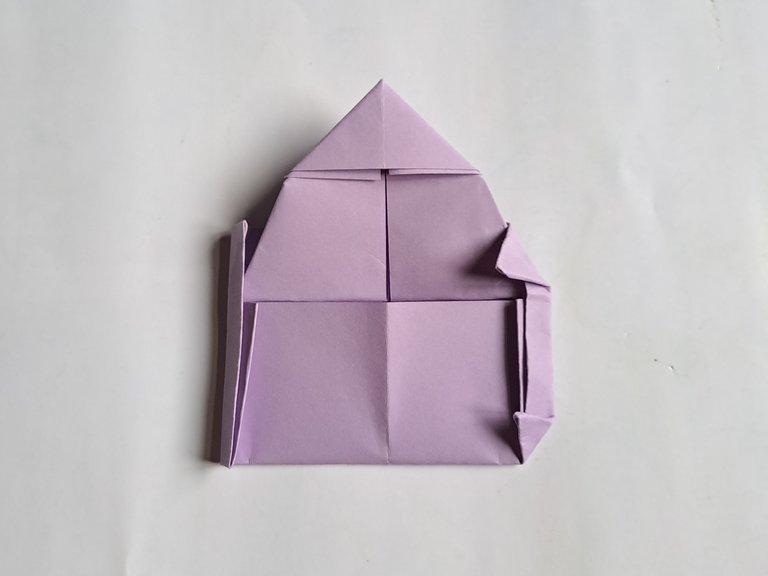
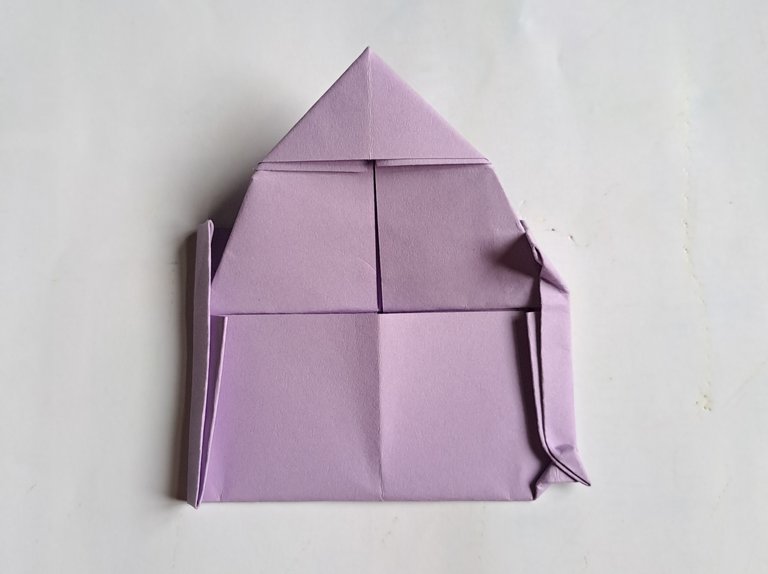
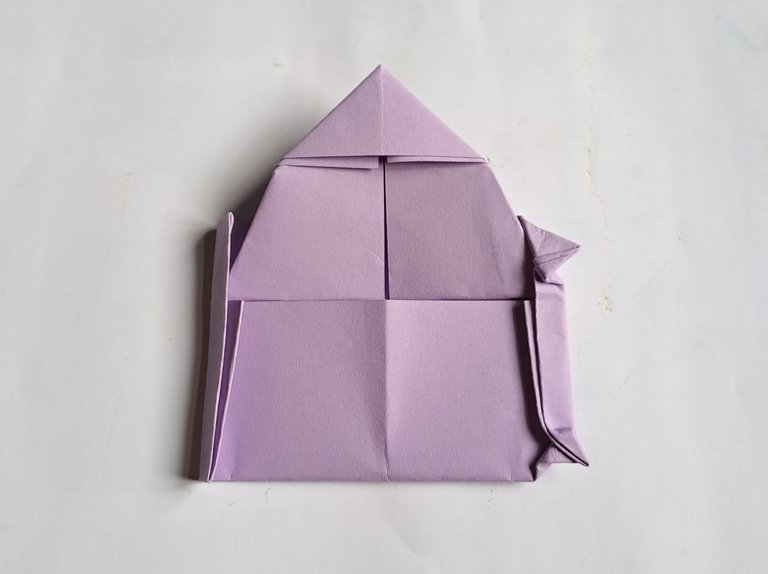
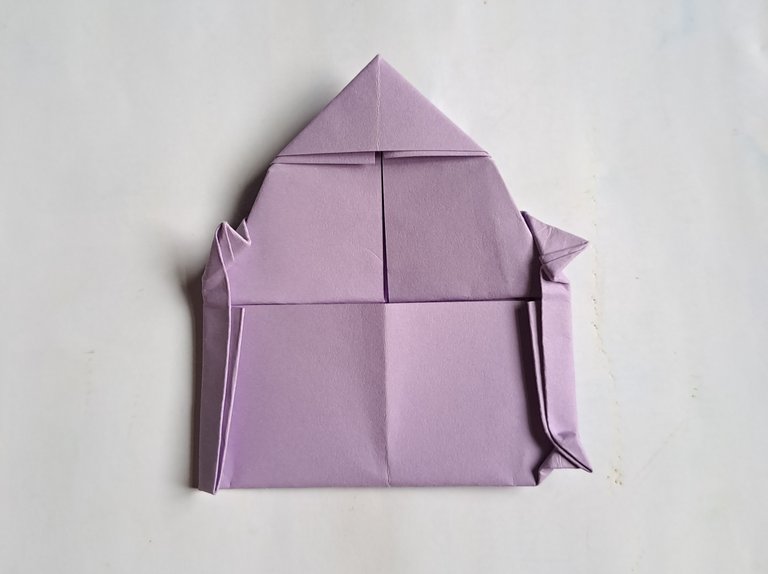
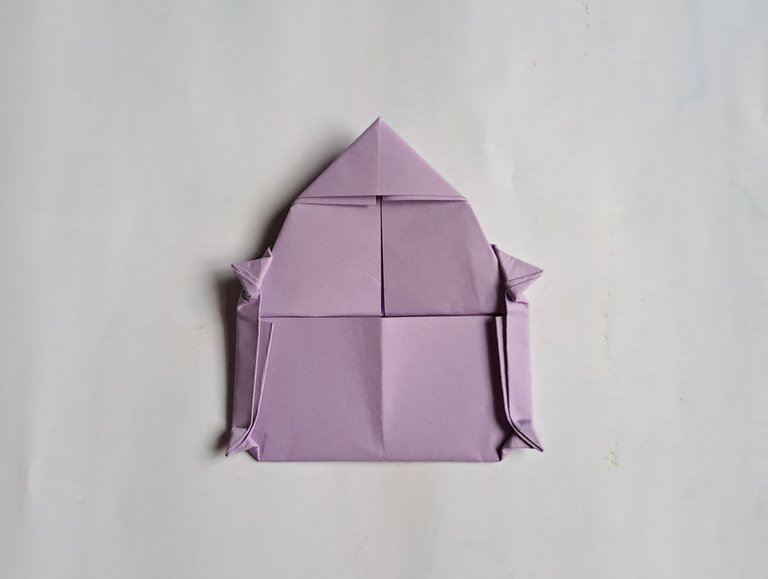
Then fold the right and left sides of the paper inwards, then fold the top and bottom ends of the right side inwards, then fold the ends outwards again to make the Capybara's leg pattern, do the same for the left leg with the same fold.
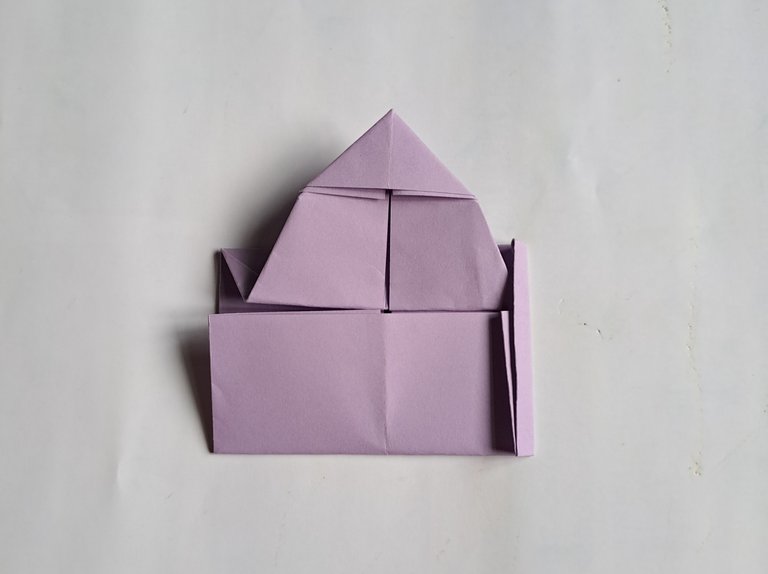 | 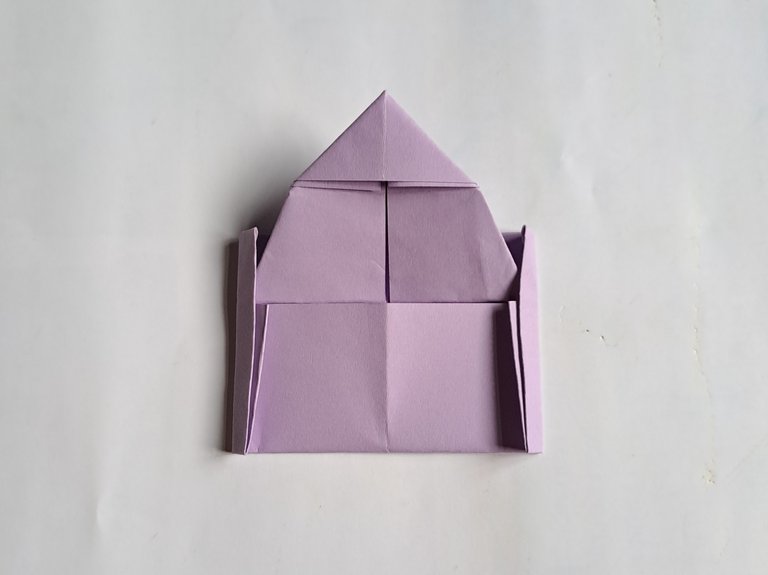 |
|---|
 |  |
|---|
 |  |
|---|
 |  |
|---|
 |  |
|---|
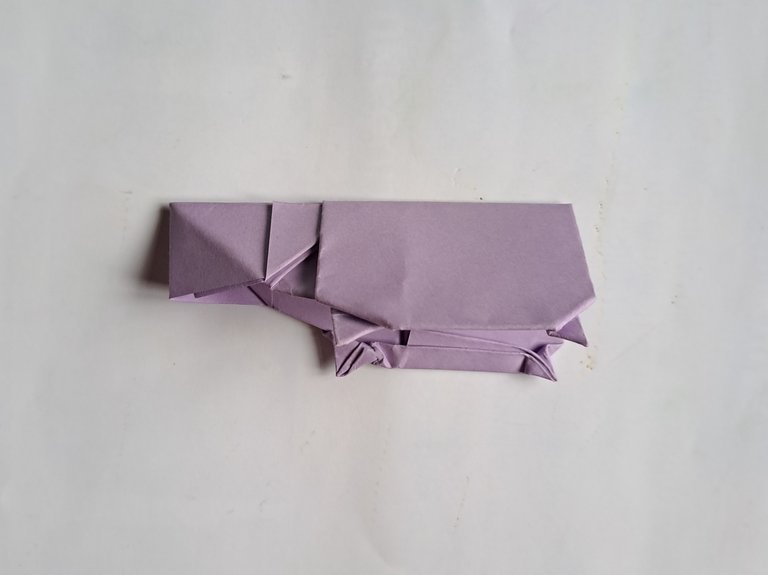
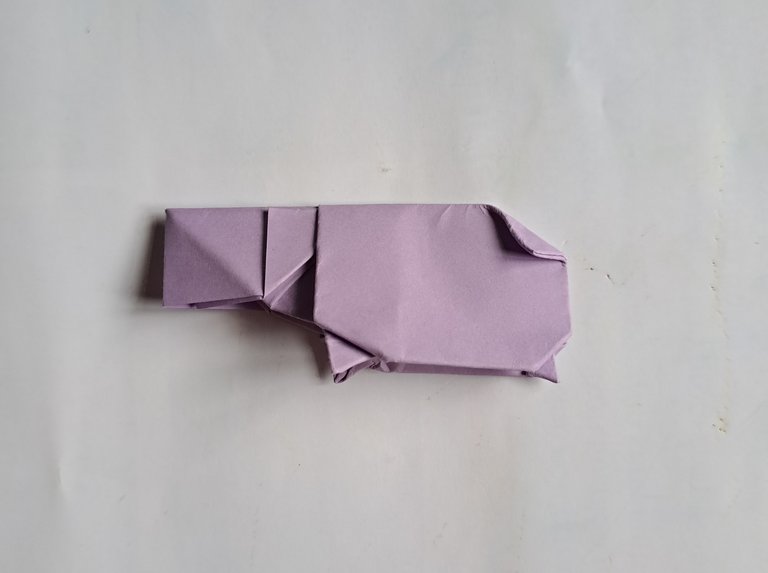
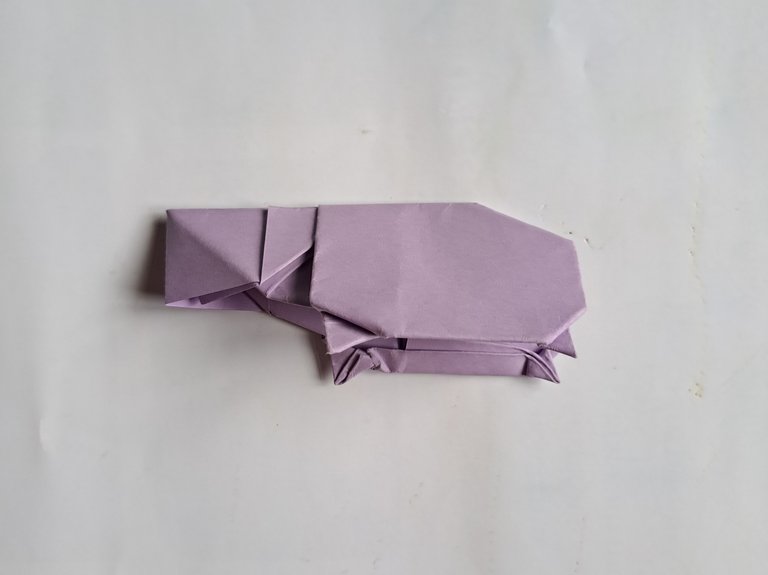
After that, fold the middle part of the paper in half again, then fold the back of the Capybara's body down, then make the folds go inward so that the folds are neat.
 |  |
|---|
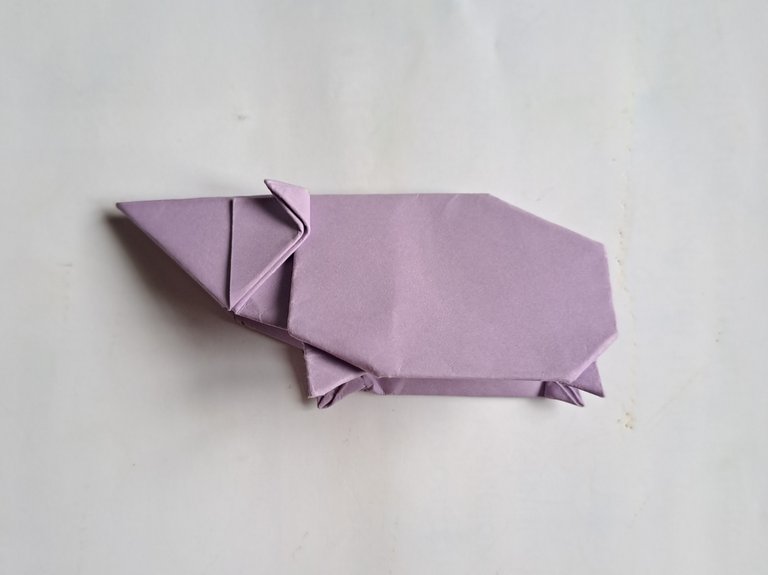
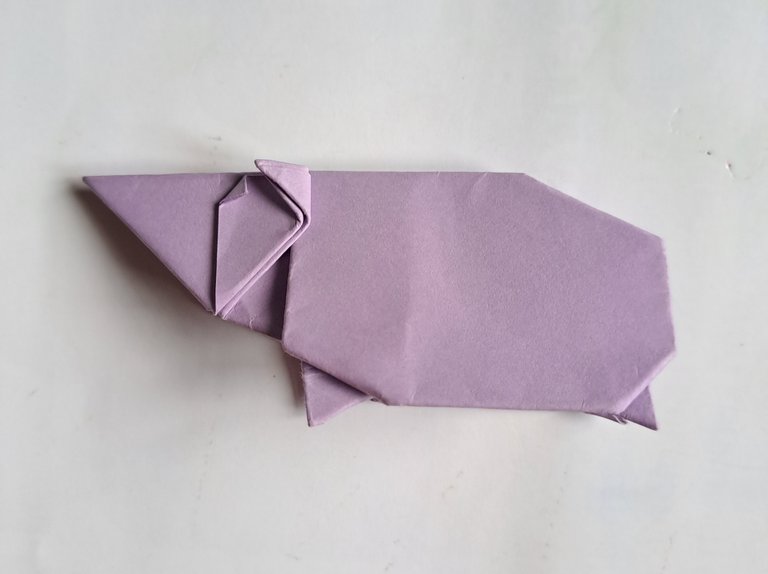
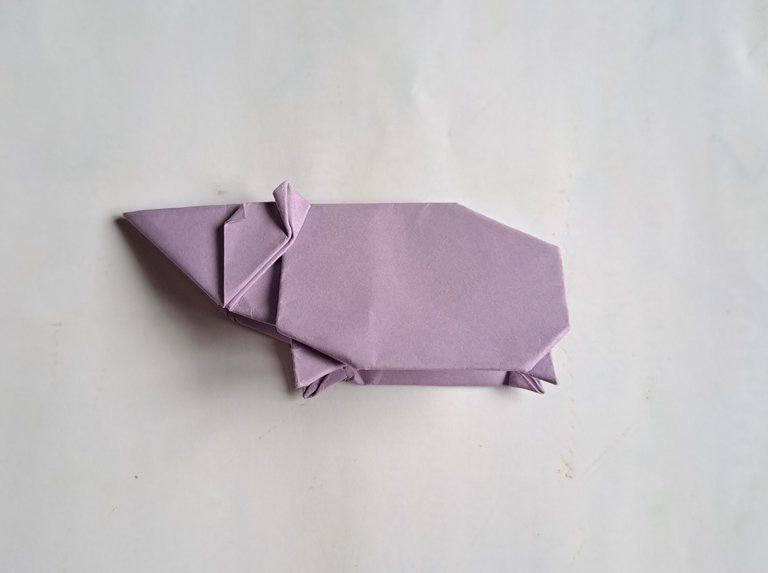
Then take out the middle fold up and now fold the middle part to the front, and the small part in front to the back, then make the middle fold protrude upward by pressing on the middle part, and make the small fold in front to lie down on the outside and inside by placing the front part inward, then do the same on the other side with the same fold so that the Capybara head pattern is the same between left and right.
 |  |
|---|
 |  |
|---|
 |  |
|---|
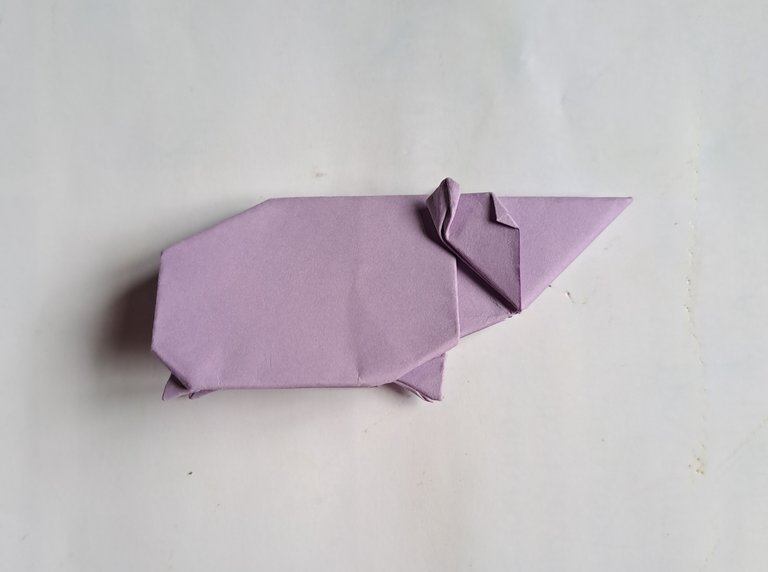
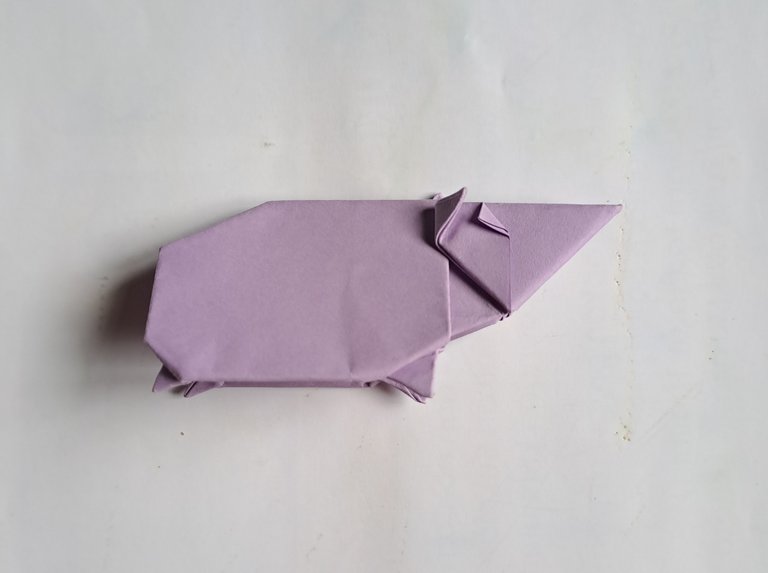
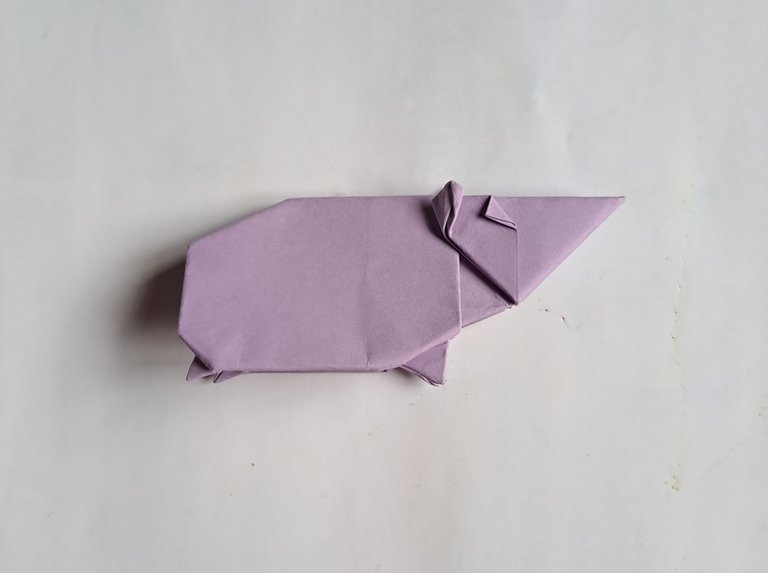
Then take out the bottom front part again and now fold the top front part down a little and make the front part a little square so that the shape of the Capybara's head becomes more perfect and looks beautiful.
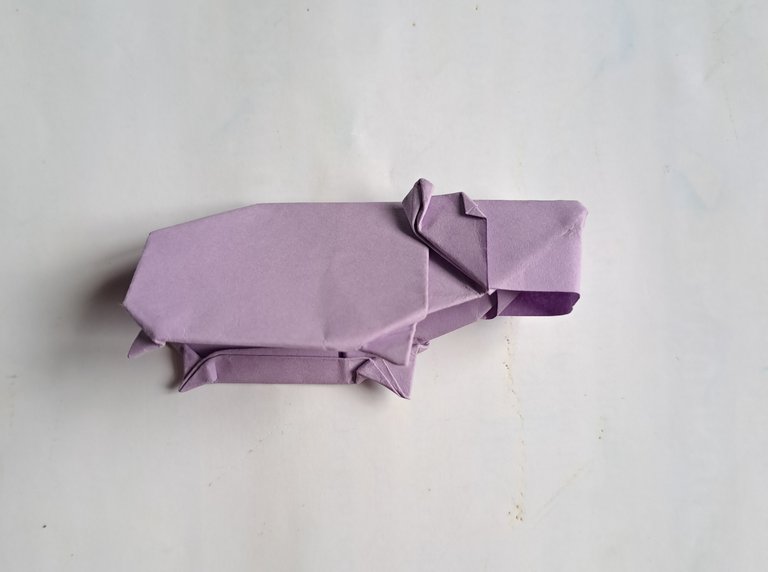
And also press the upper body of the Capybara which is behind its head down slowly to make the Capybara's body shape pattern very perfect.
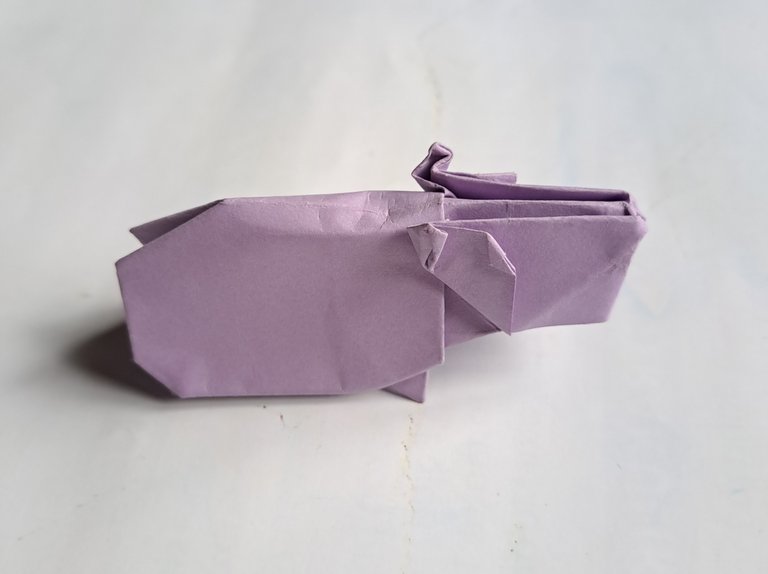
After all the folds have been followed properly, the Capybara that we made from origami paper is now finished and looks very beautiful, this is one of the most beautiful origami works I have ever made, I myself really like this Origami Capybara.
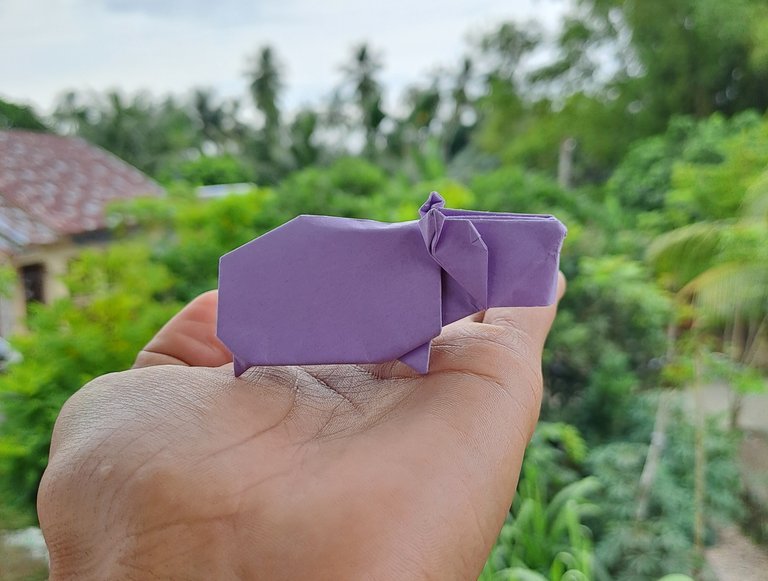
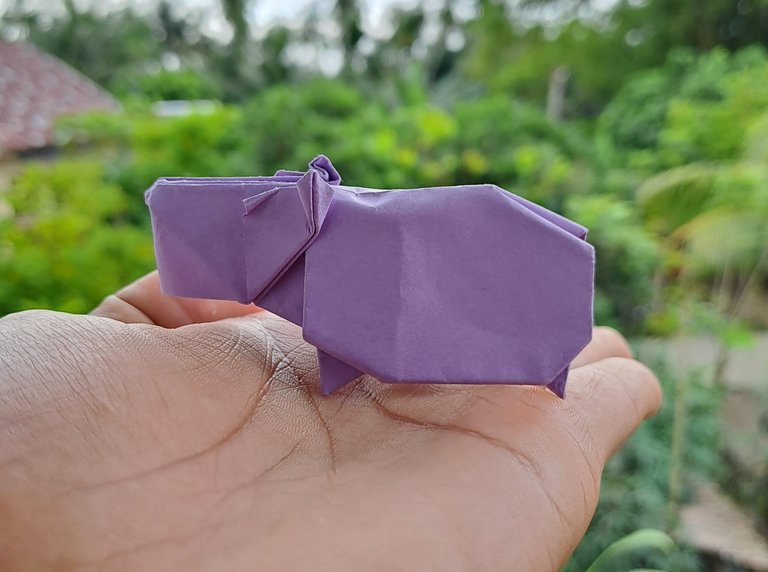
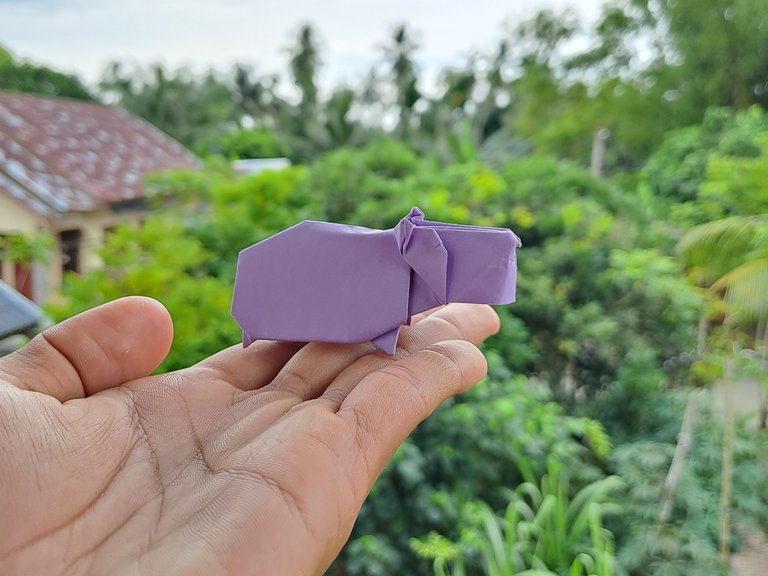
Hopefully all my friends can enjoy the results of this Origami Capybara handicraft, and if my friends want to make it, they can also copy it in my post.
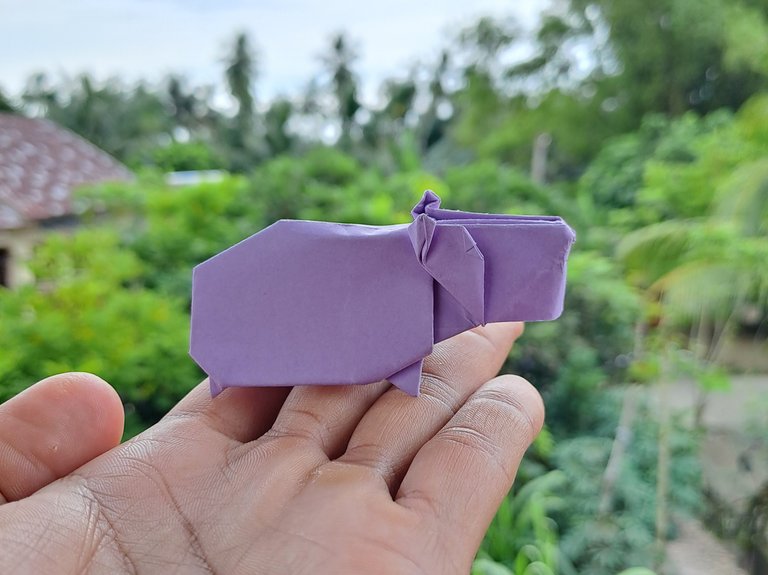
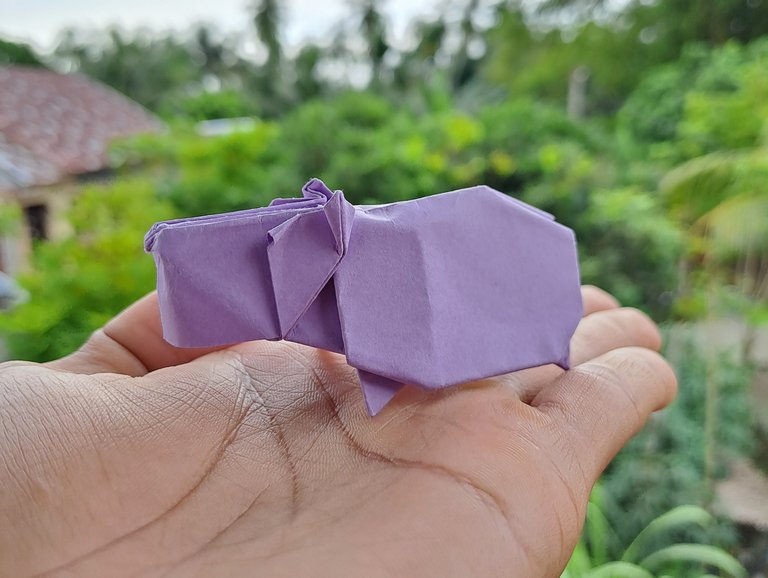
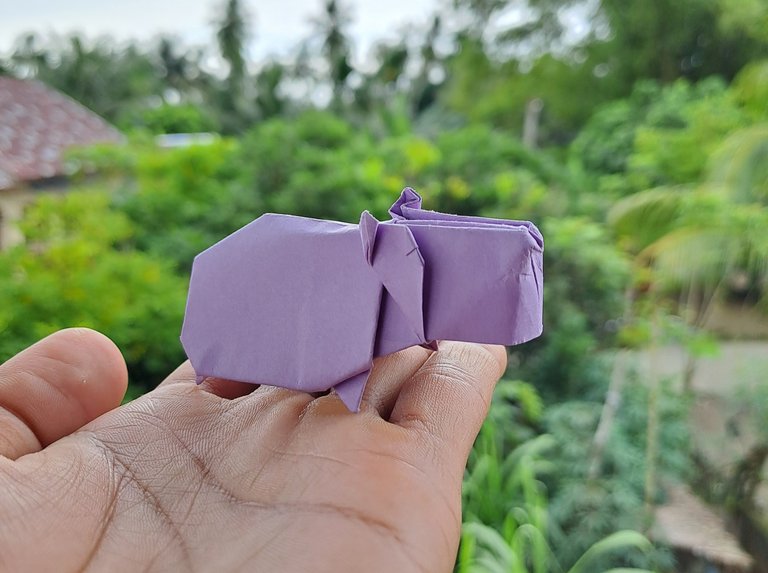
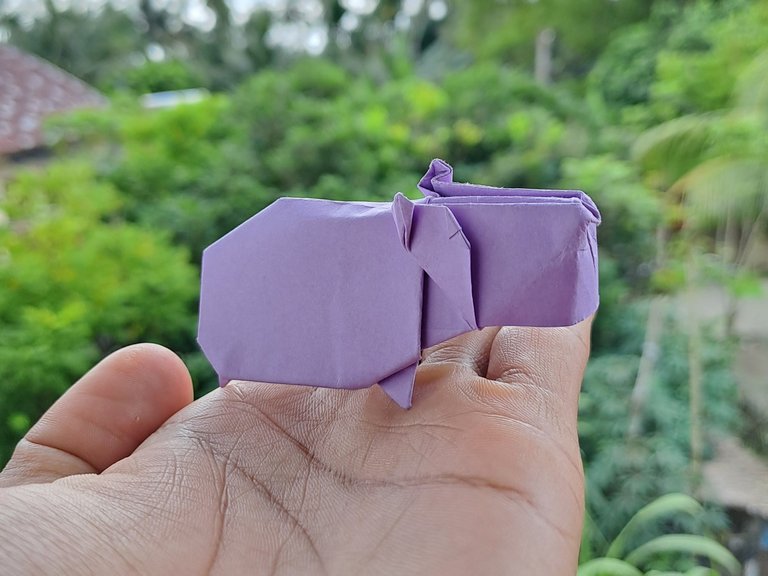
This is the result of the handicraft that I made from origami paper today, thank you for my friends who have visited my handicraft post today, see you in my next handicraft post.
Thank you for your support, brother.
Nice of you to make Capybara with origami and it turned out great. Lovely work friend and thanks for sharing.
Thank you for your support, brother.
Es un arte mágico con papel que después de tantos dobles, se puede obtener una figura increíble.
Thank you sister, origami is a wonderful work
Yes honey, congratulations, you're doing great.🙂
Congratulations @aquagelas! You have completed the following achievement on the Hive blockchain And have been rewarded with New badge(s)
You can view your badges on your board and compare yourself to others in the Ranking
If you no longer want to receive notifications, reply to this comment with the word
STOP