Hi Hive DIY friends
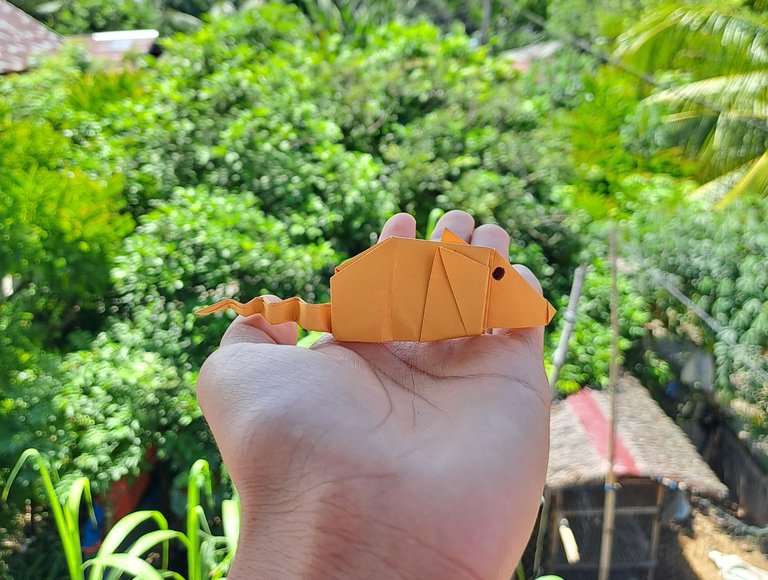
Today I am excited again to make beautiful and unique crafts from a piece of origami paper, well today I want to make the most common animal we find in our environment, namely a mouse.
I was also inspired to make a mouse from origami paper because since I was little I have really liked the character of the mouse in the Tom & Jerry film, I also used light brown origami paper to resemble the color of the mouse in the Tom & Jerry film that always accompanied my childhood.
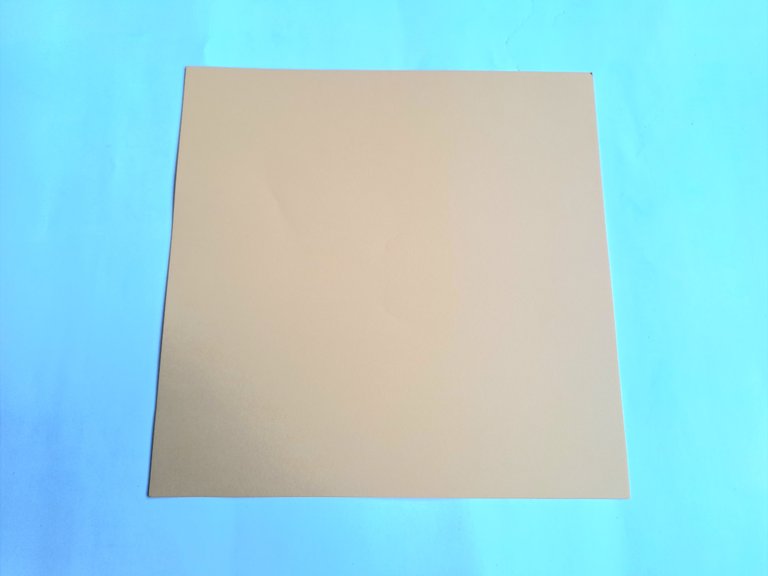
Here is a tutorial on how to make a mouse from origami paper.
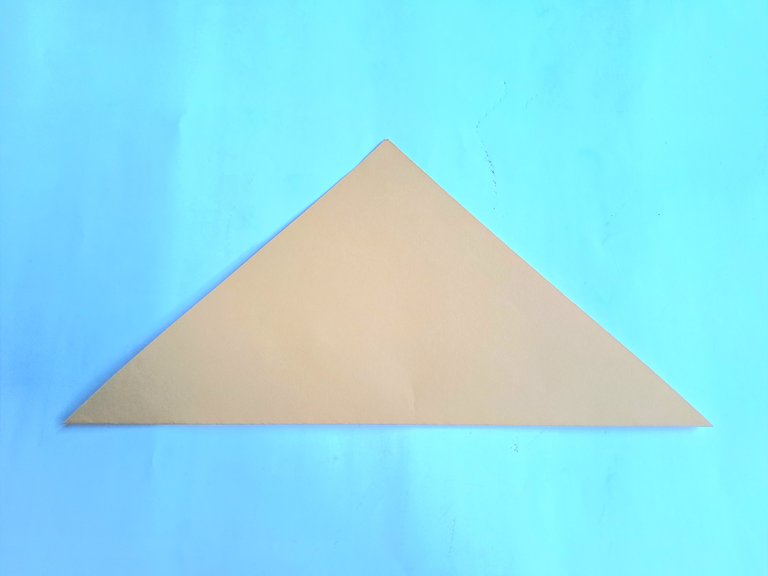
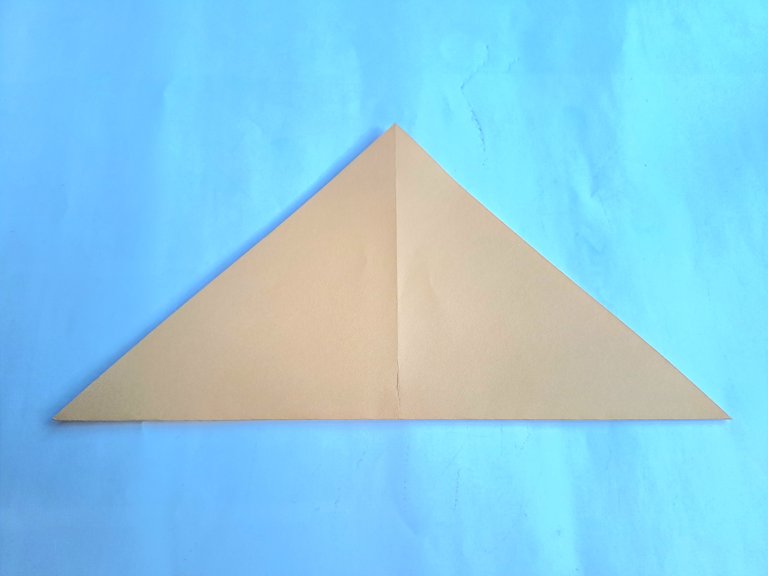
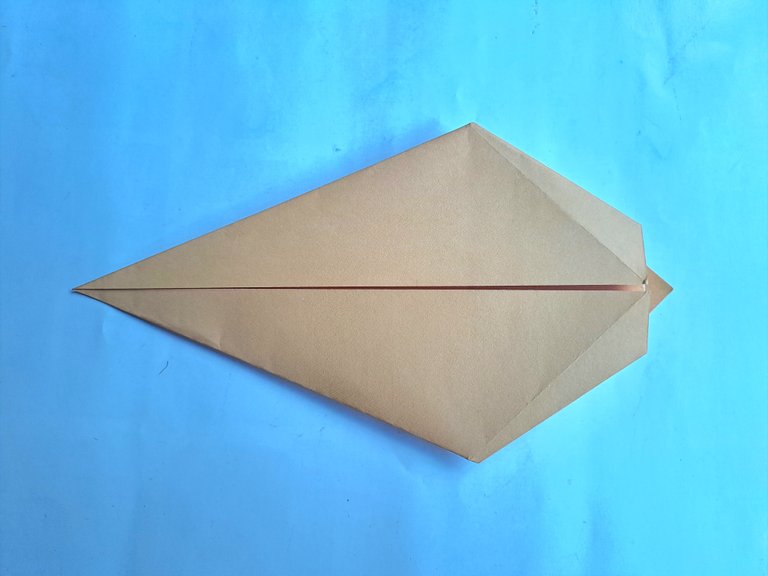
First, fold the origami paper into a triangle shape, then unfold it again and fold the origami paper once again until it forms a triangle from the opposite direction.
 |  |
|---|
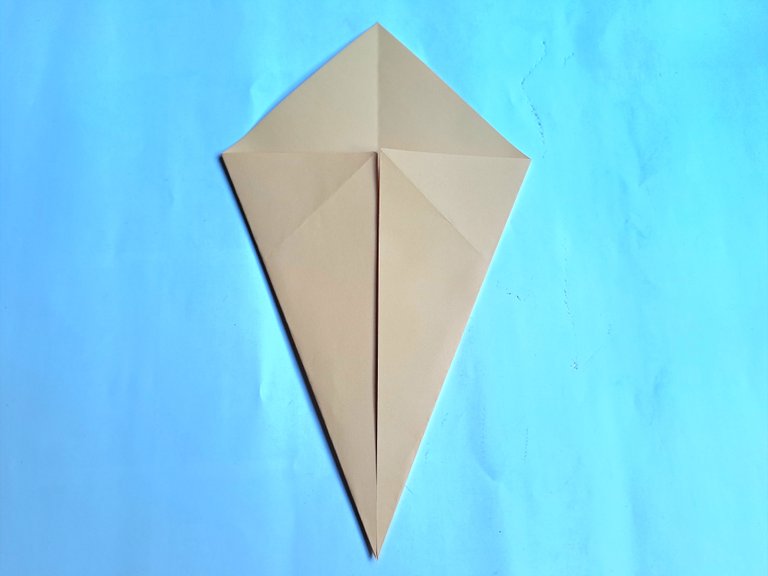
After that, reopen the origami paper, now continue to fold the right and left sides of the origami paper towards the middle as shown in the picture below.
 |  |
|---|
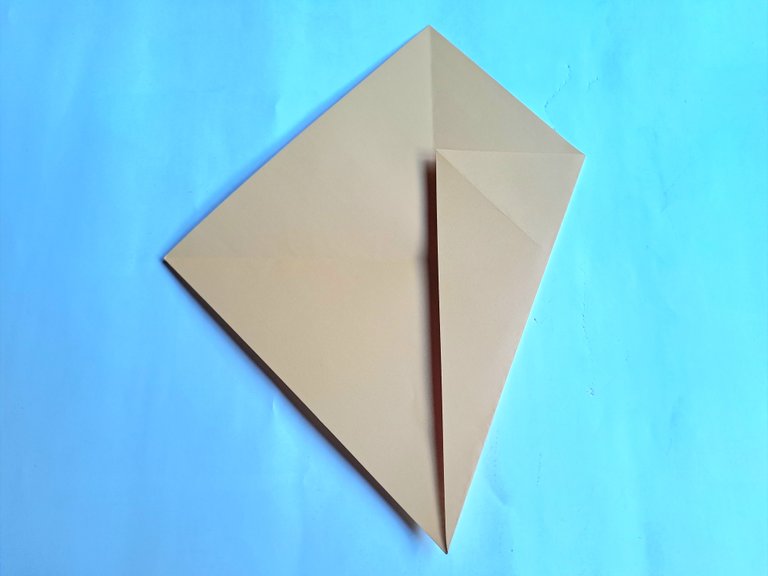
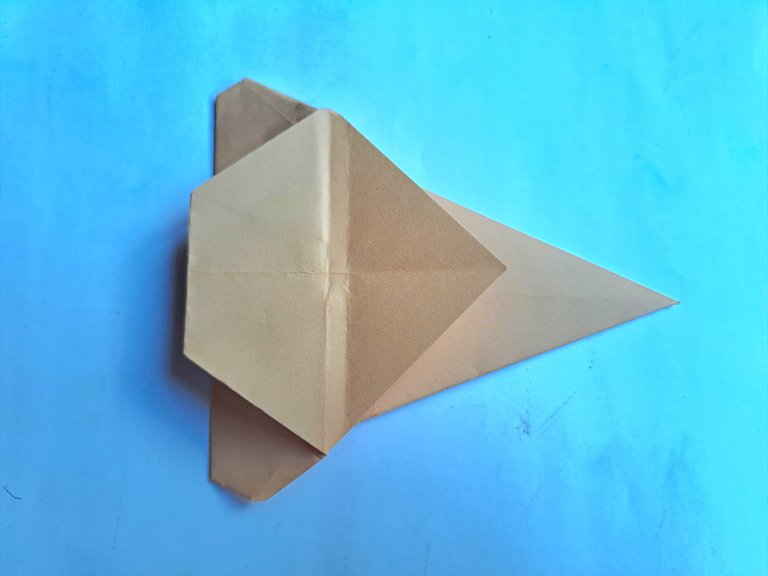
Then fold the front end of the paper to the back, then fold the end again to the front as shown in the picture below.
 |  |
|---|
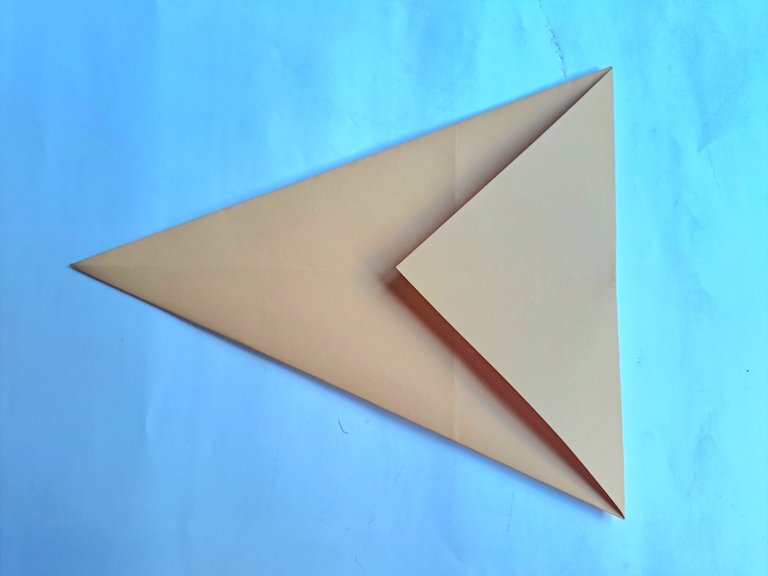
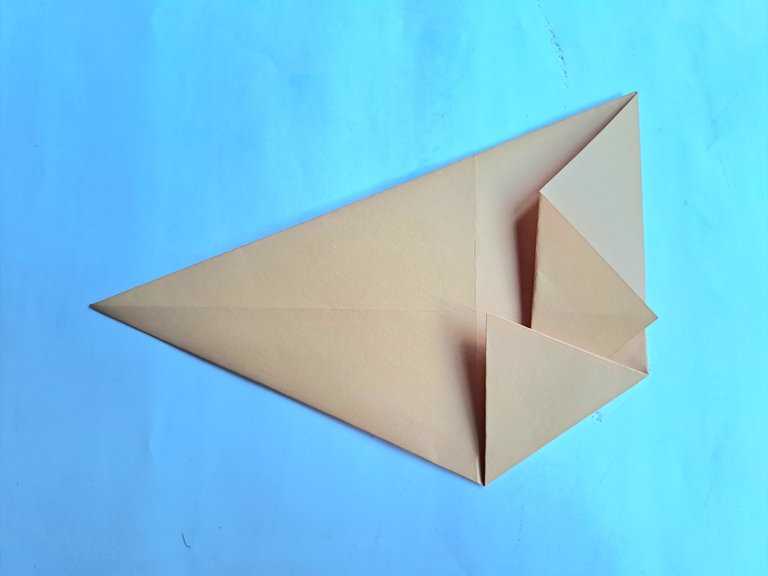
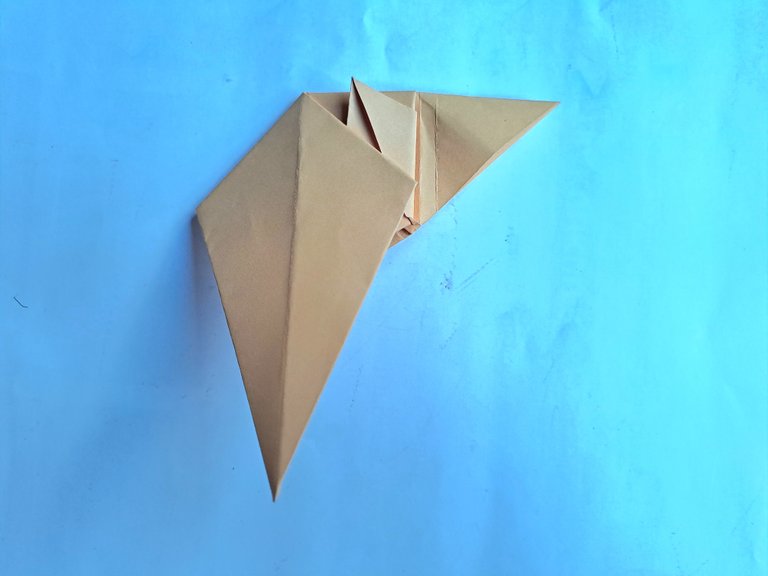
Then fold the right and left sides of the front of the paper towards the middle, then reopen the folds of both sides and insert the folds inward, then fold the pointed end of the paper a little more forward as shown in the picture below.
 |  |
|---|
 |  |
|---|
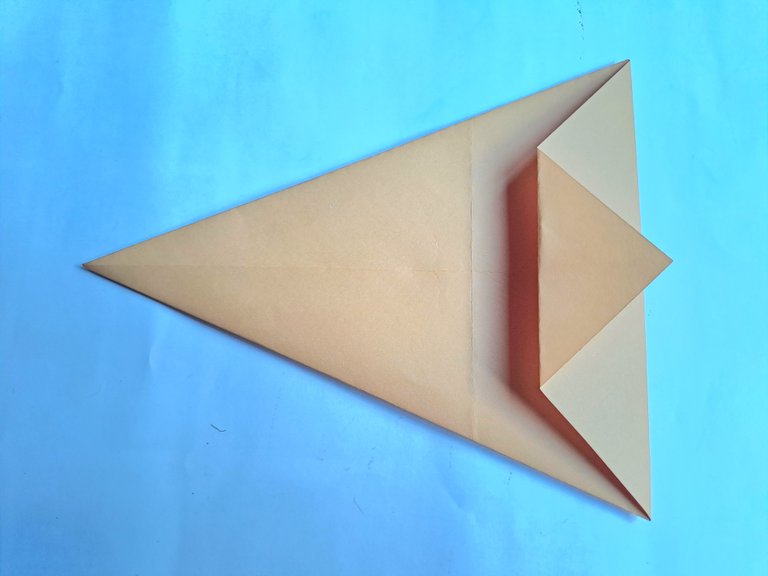
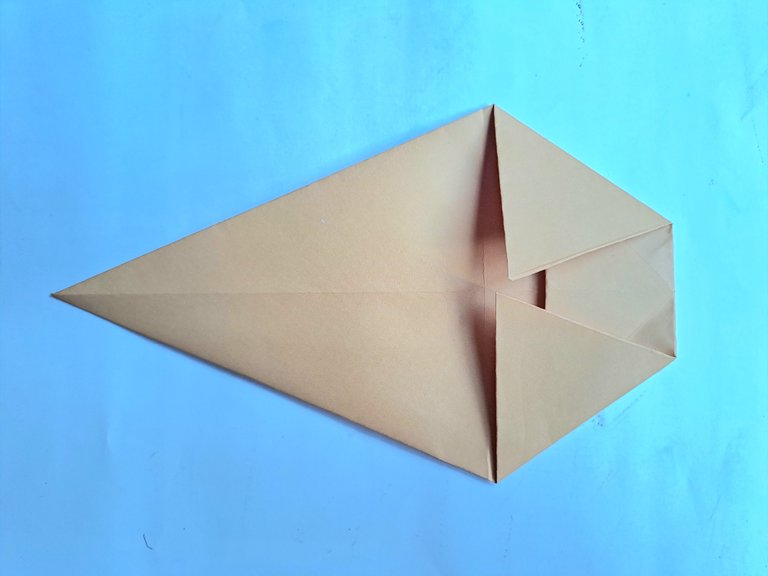
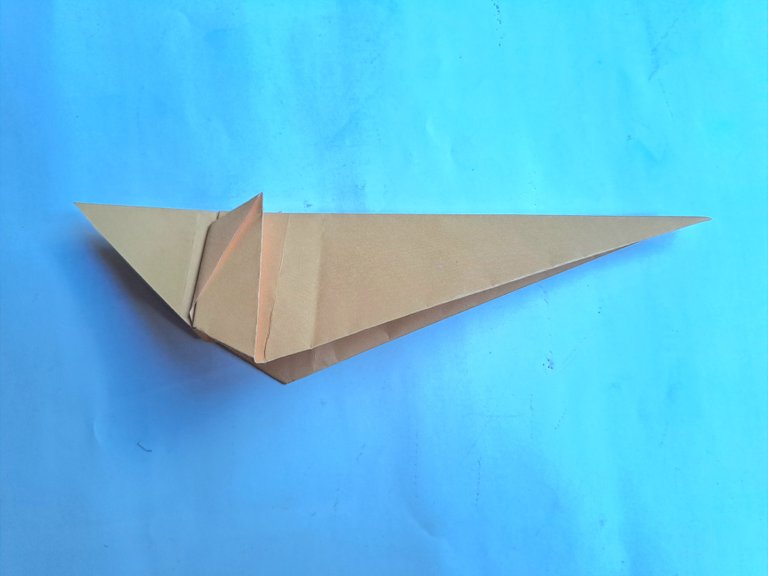
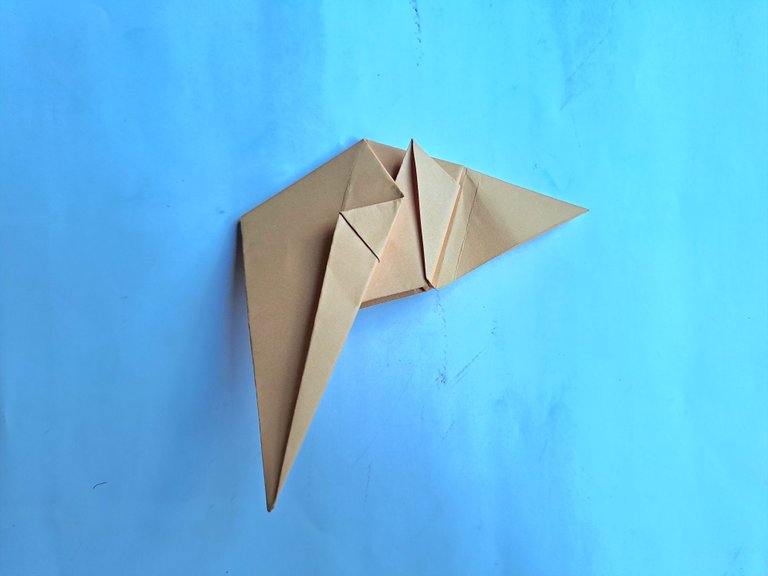
After that, turn the origami paper over and now fold the front of the paper backward, then fold the back end of the origami paper in half, then reopen the folds and now fold the origami paper in half.
 |  |
|---|
 |  |
|---|
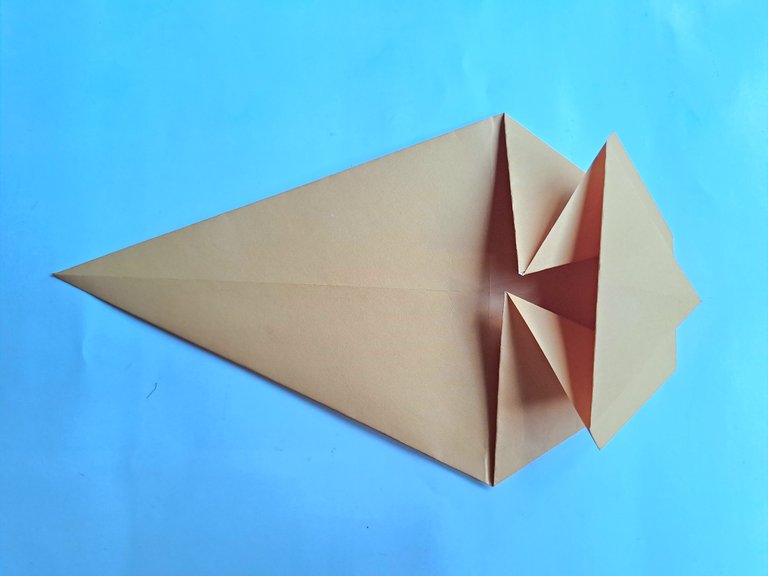
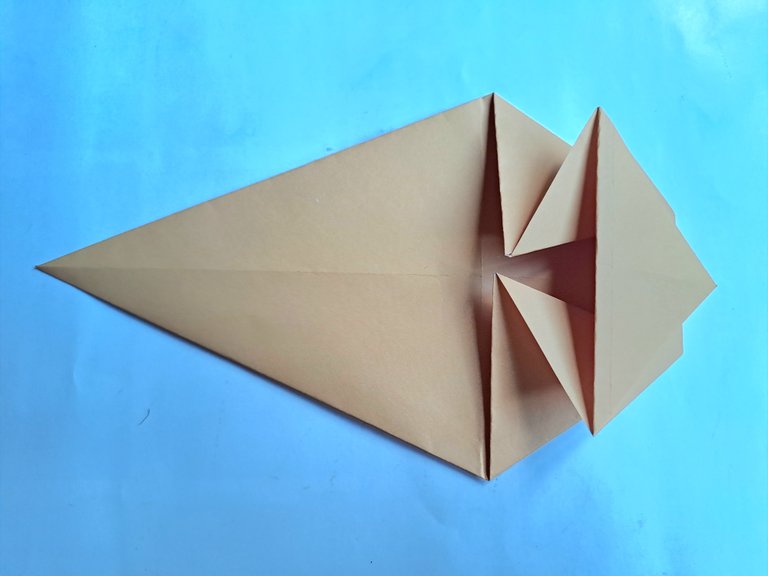
Then fold the origami paper in half again and open the back of the paper, then fold the left and right sides of the paper so that the pointed tail shape of the mouse is starting to appear, then fold the middle of the tail as well.
 |  |
|---|
 | 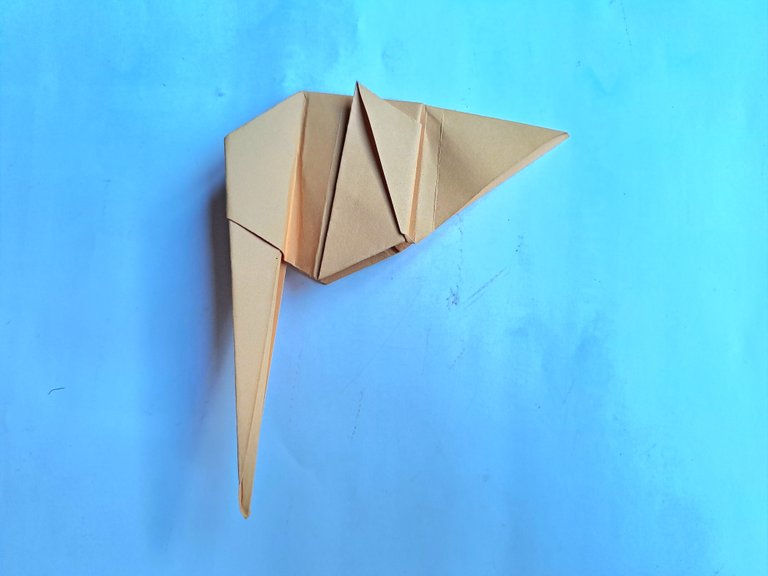 |
|---|
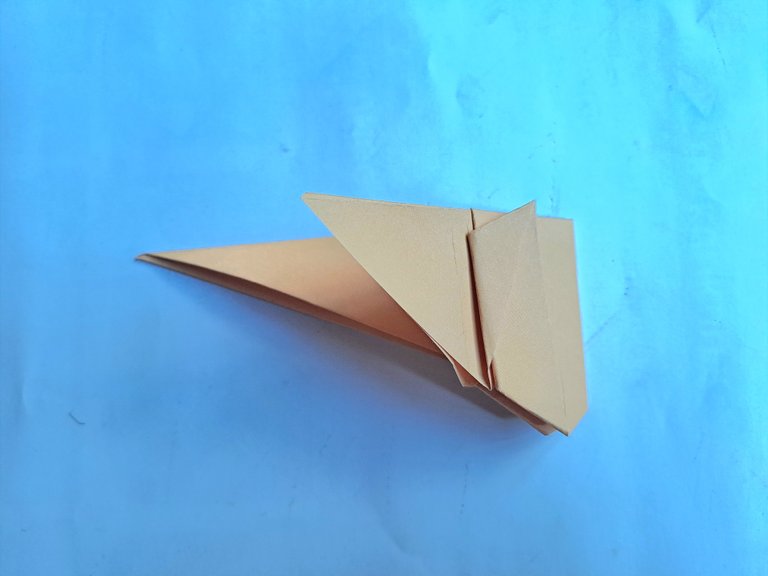
Then bend the mouse's head slightly inward, then fold the lower part of the left and right sides of the mouse's body inward as shown in the picture below.

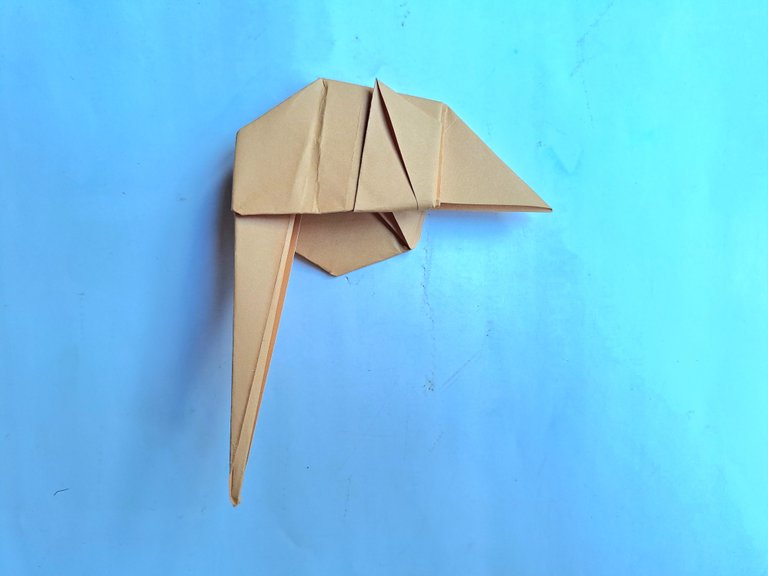 |  |
|---|
Then fold the mouse's tail backward, then fold the lower part of the left and right sides of the mouse's tail a little so that the tail becomes smaller.
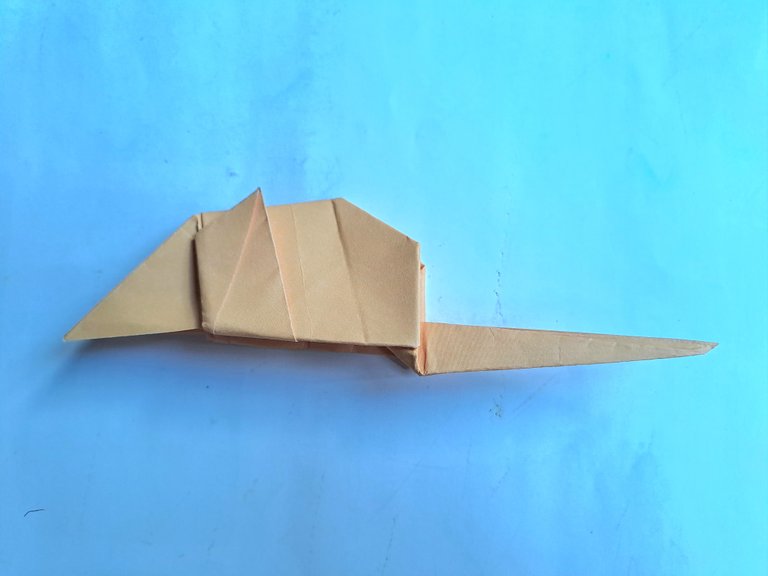 |  |
|---|
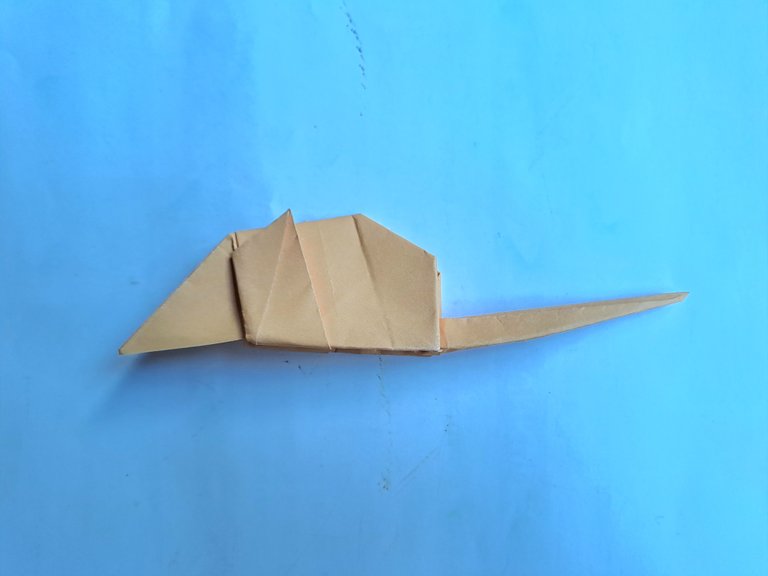
Then also fold the front of the mouse's head slightly upward, then fold the mouse's tail in a zigzag shape.

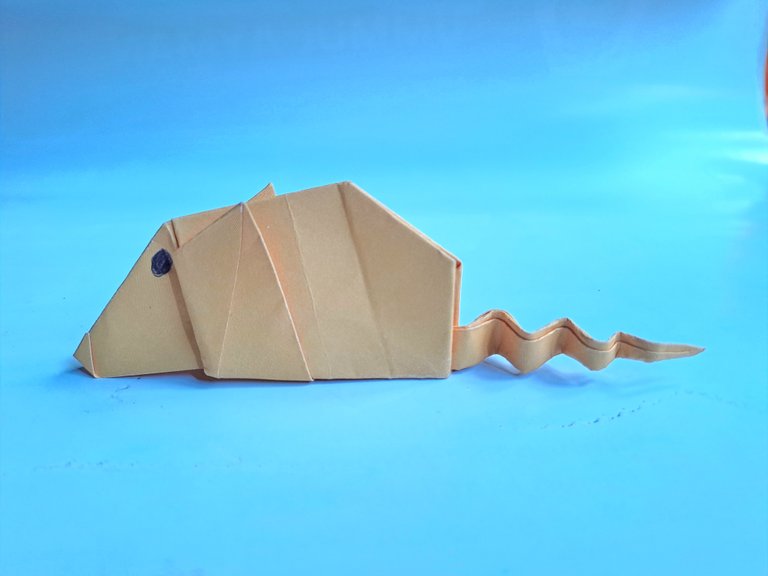
After all the folding steps have been followed properly, then the origami paper mouse is perfectly finished, add a few eyes on the mouse's head with a pen or colored pencil to make the mouse more realistic.
This is a tutorial on how to make an origami paper mouse, thank you for my friends who have visited my handicraft post today, see you in my next handicraft post.
Aww, that's adorable! I can't wait to make this for my little brother! Thanks a bunch for sharing!
Thank you for visiting my post, I hope we all always be happy.
This is actually really nice and cute. The mouse looks good, in a 3D like format. Good work
Thank you for your support
Your mouse is very cute, I loved the step by step to make it, very well explained, thanks for sharing, greetings 🥰
Thank you sister, may we always be happy