Hi friends of HIVE DIY
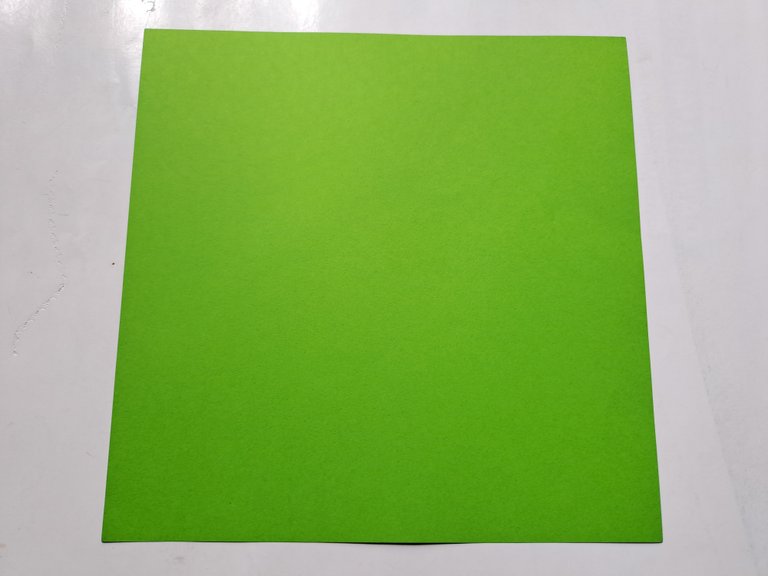
Today I am very excited and very happy because on this beautiful day I want to make another craft from origami paper, the craft that I will make using origami paper today is a Chameleon using green origami paper.
Chameleon is one of my favorite unique animals because this animal can change its skin color when it is standing on any media it occupies.
Here is a tutorial on making a Chameleon using origami paper
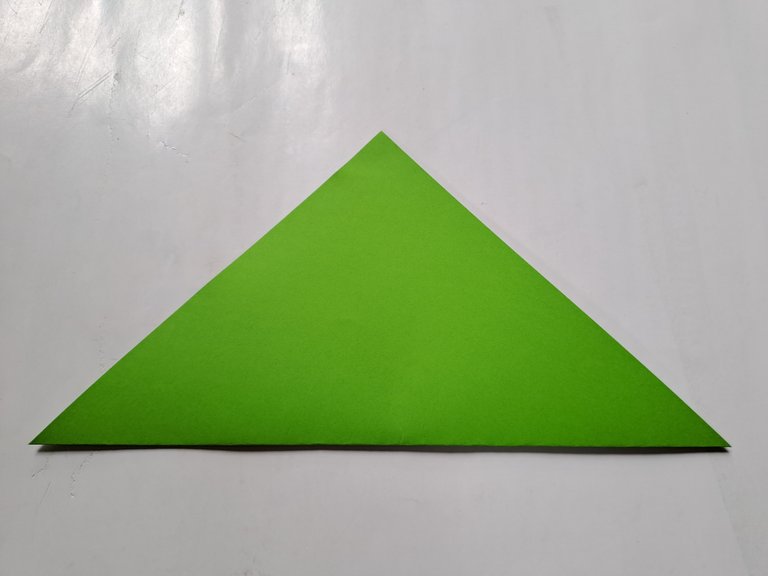
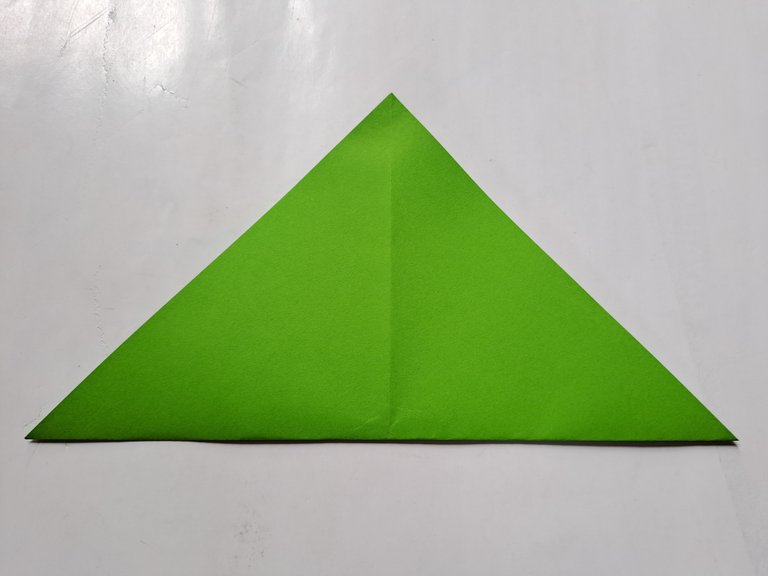
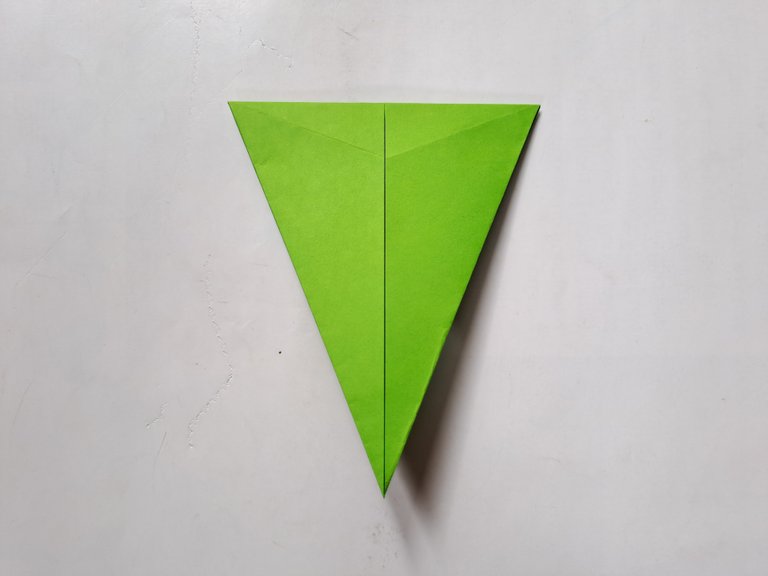
First, fold the origami paper into a triangle shape neatly, then unfold it again and now fold the origami paper once again into a triangle from the opposite direction as shown in the picture below.
 |  |
|---|
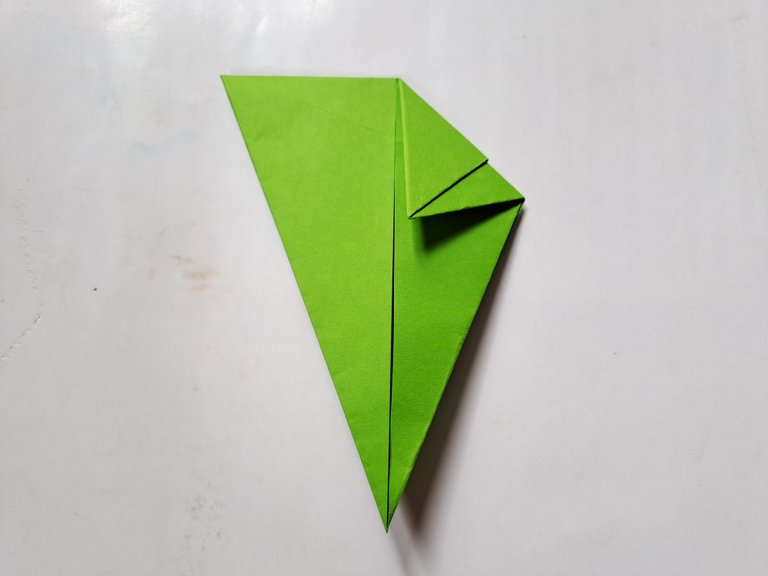
Then unfold the origami paper again and now fold the right and left sides of the origami paper towards the middle as shown in the picture below.
 |  |
|---|
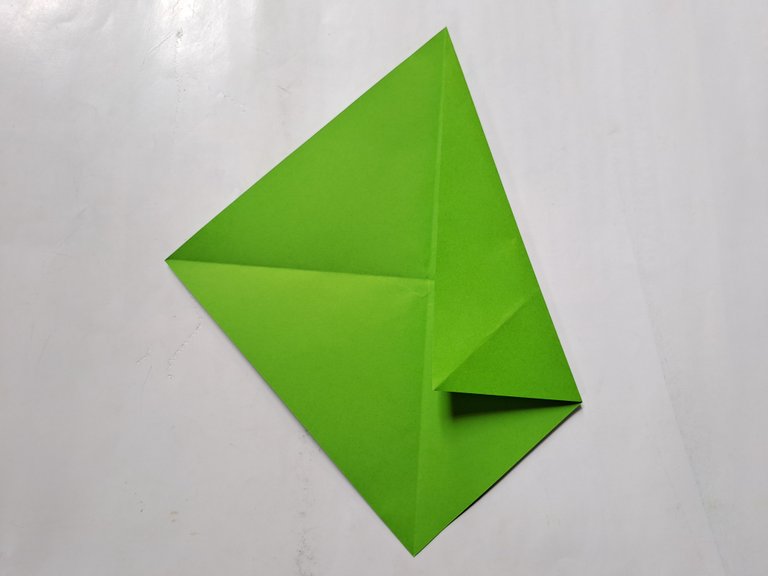
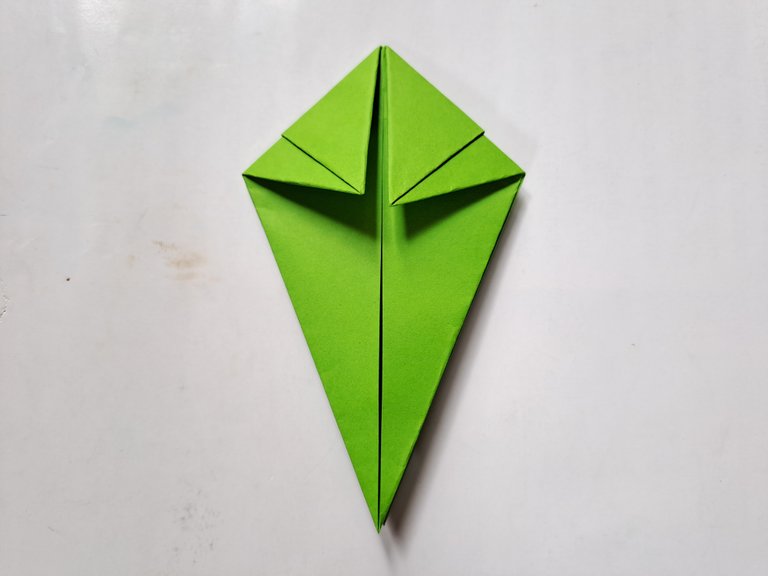
Then unfold it again and now fold the right and left sides of the origami paper once again from the bottom towards the middle as shown in the picture below.
 |  |
|---|
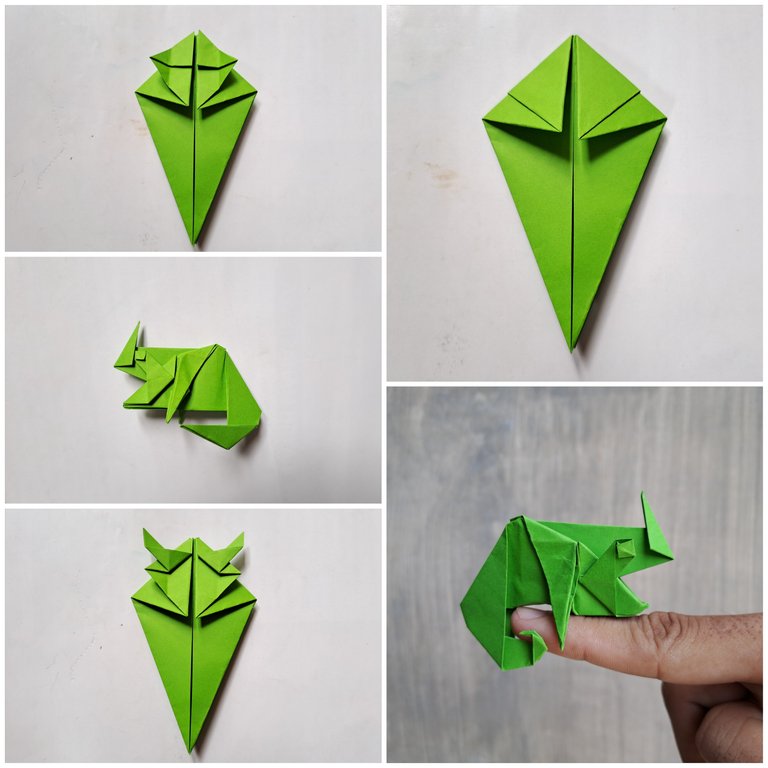
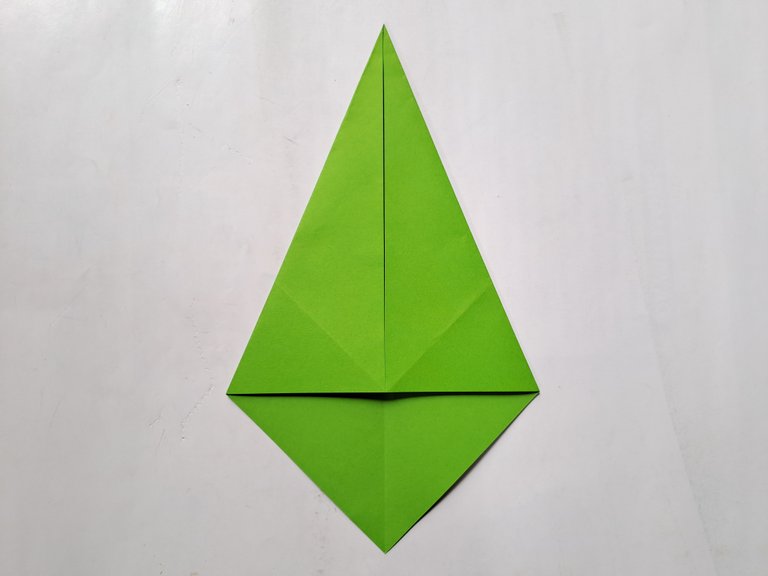
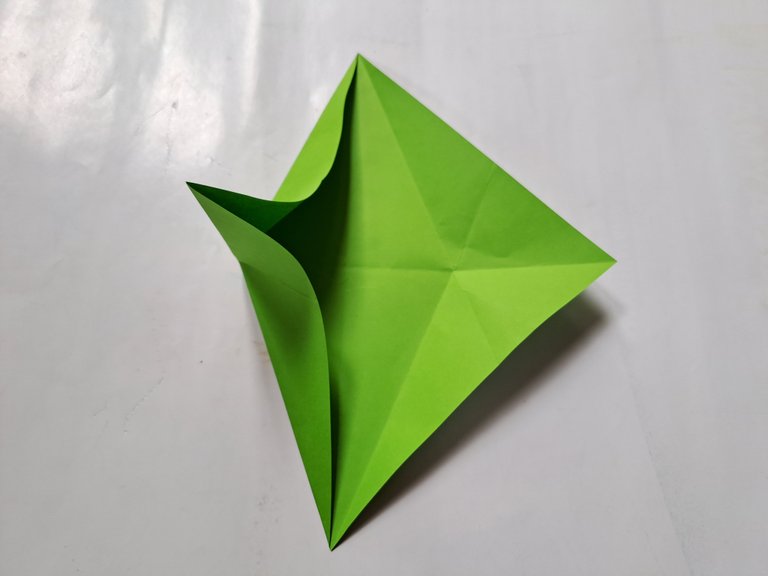
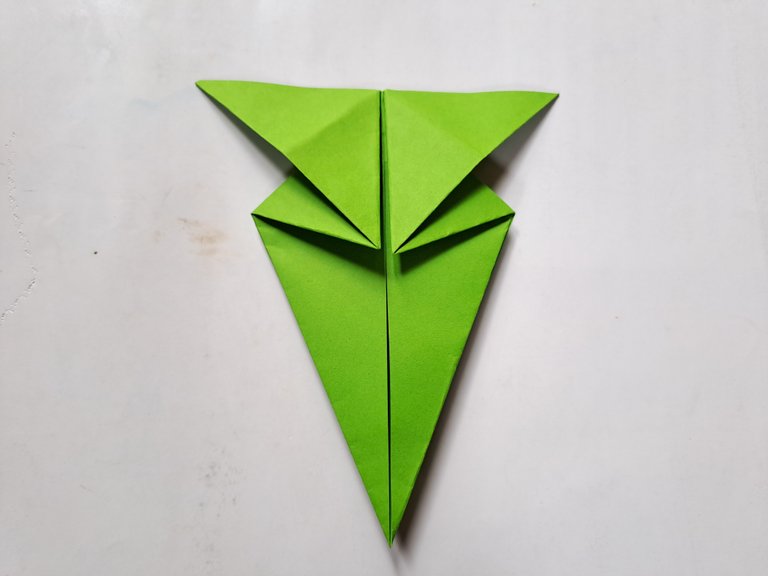
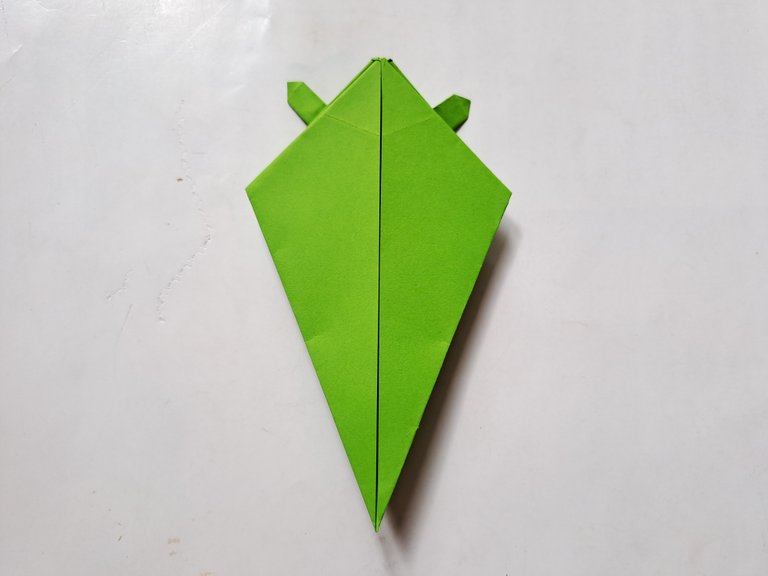
Then fold the left and right sides of the origami paper towards the middle following the line pattern that we made earlier so that the middle of the paper protrudes upwards.
 |  |
|---|
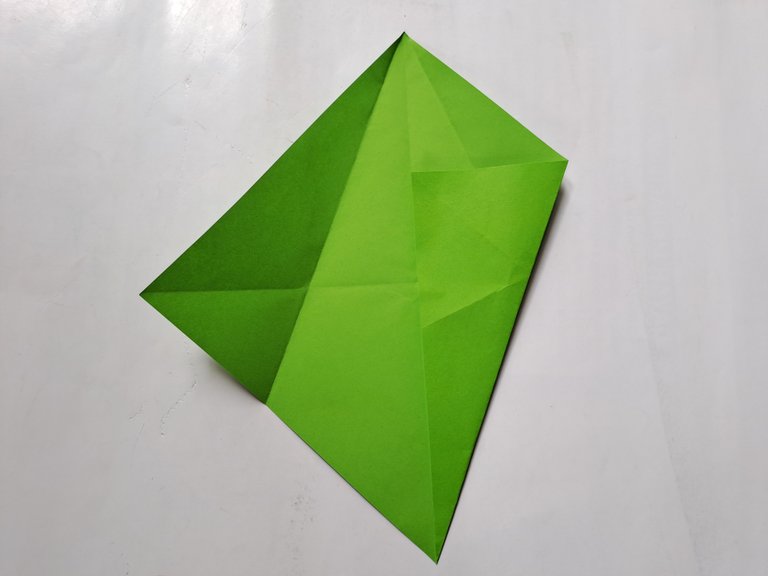
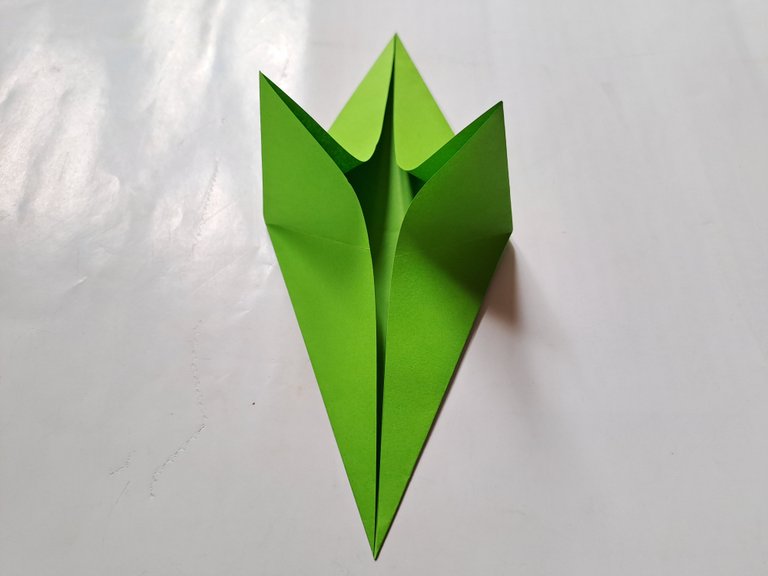
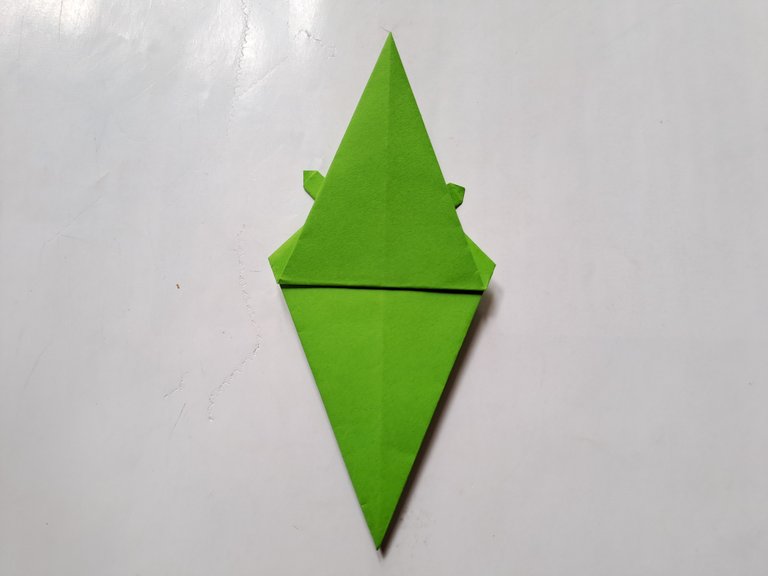
Then fold the two protrusions down and now turn the origami paper over, then fold the origami paper in half as shown below.
 |  |
|---|
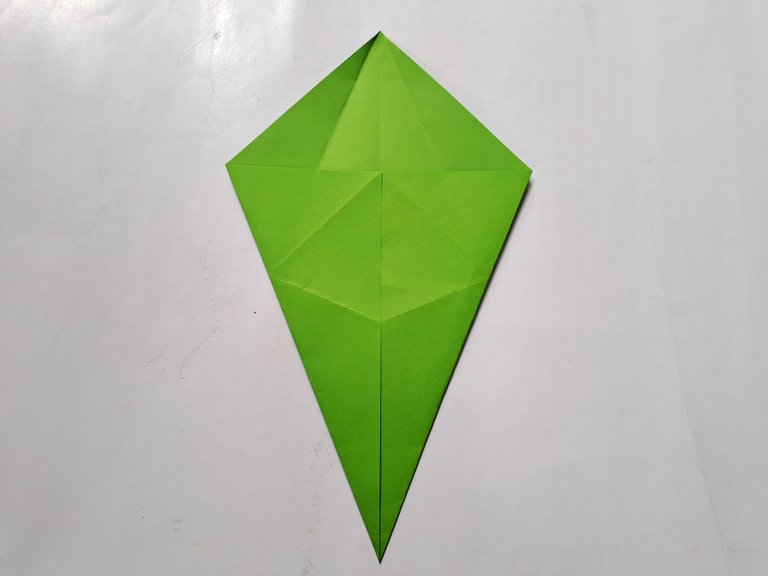
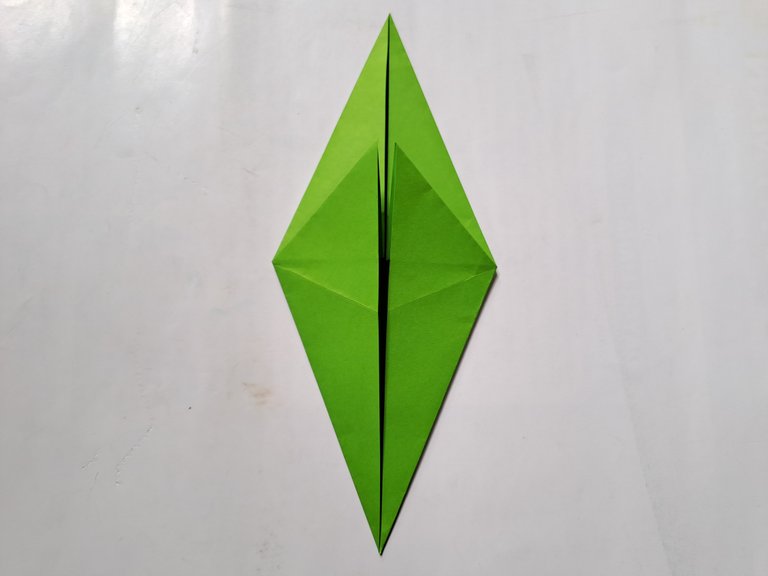
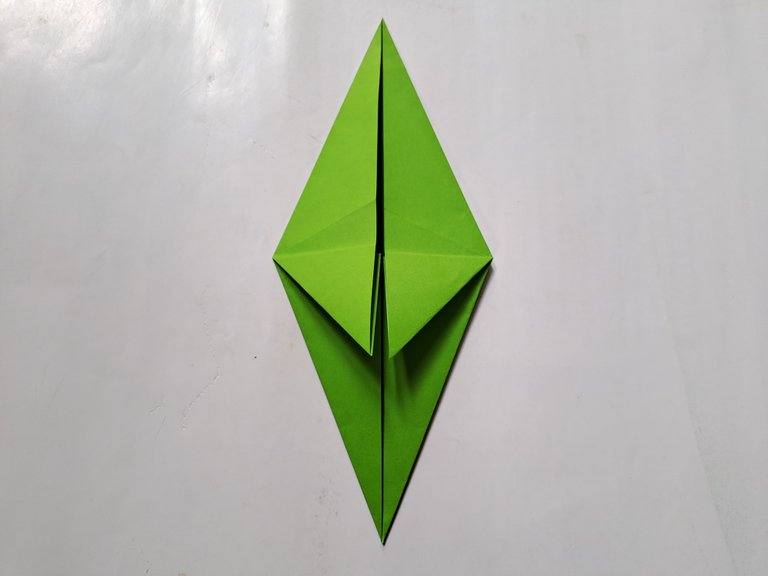
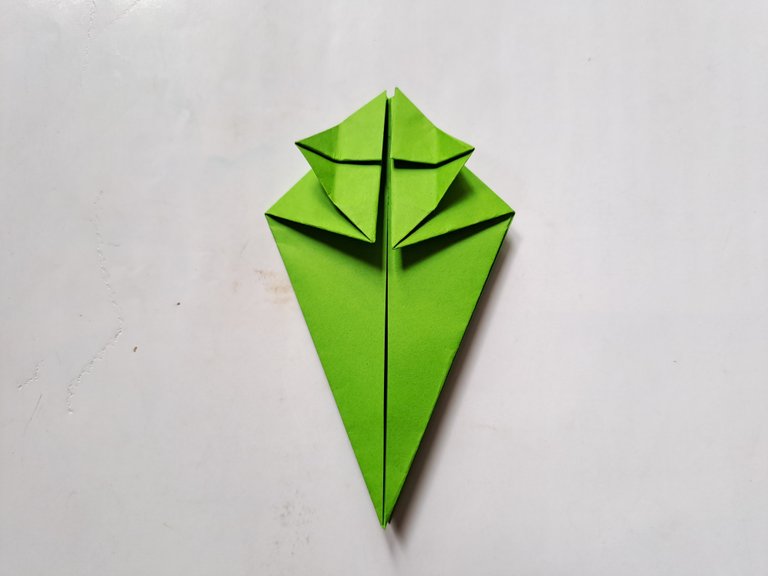
After that, fold the right and left sides of the top of the origami paper towards the middle as shown below, then open the bottom fold of the paper and now fold the two open sides of the paper inward as shown below.
 |  |
|---|
 |  |
|---|
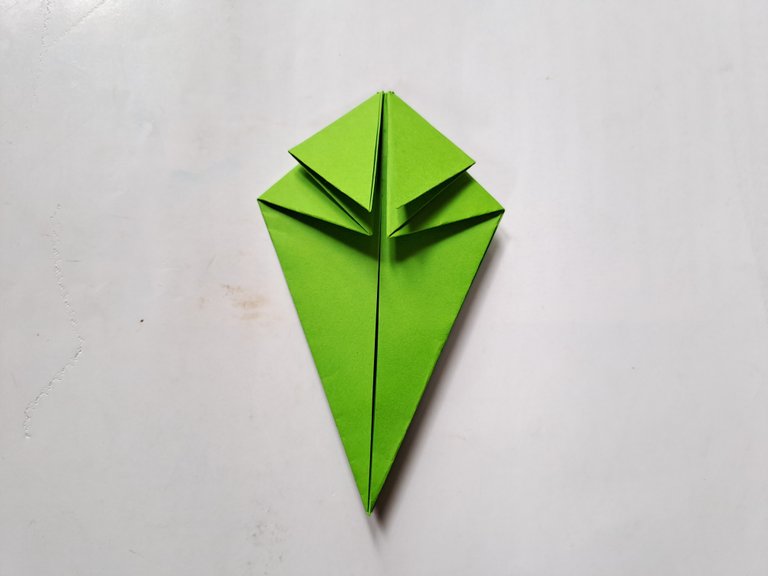
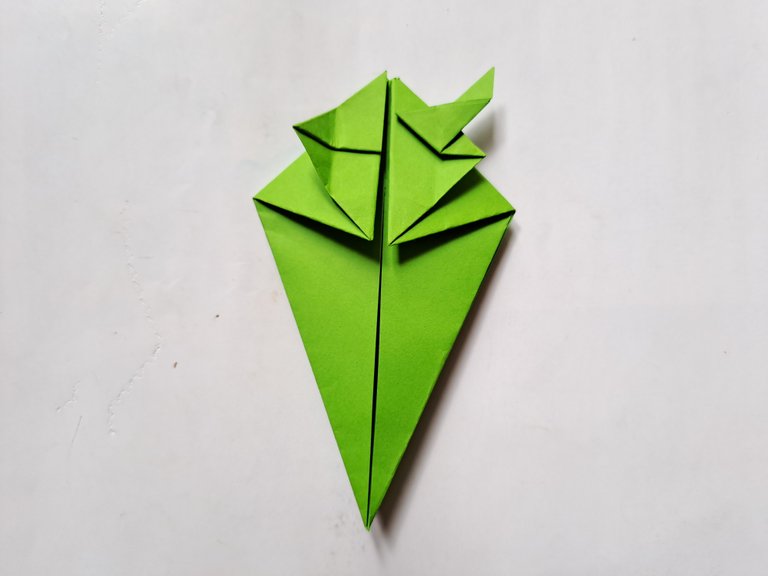
Then fold the right side of the paper up and fold the right side of the paper towards the middle. Then also fold the left side of the paper up, then fold the left side of the paper towards the middle as shown below.
 |  |
|---|
 |  |
|---|
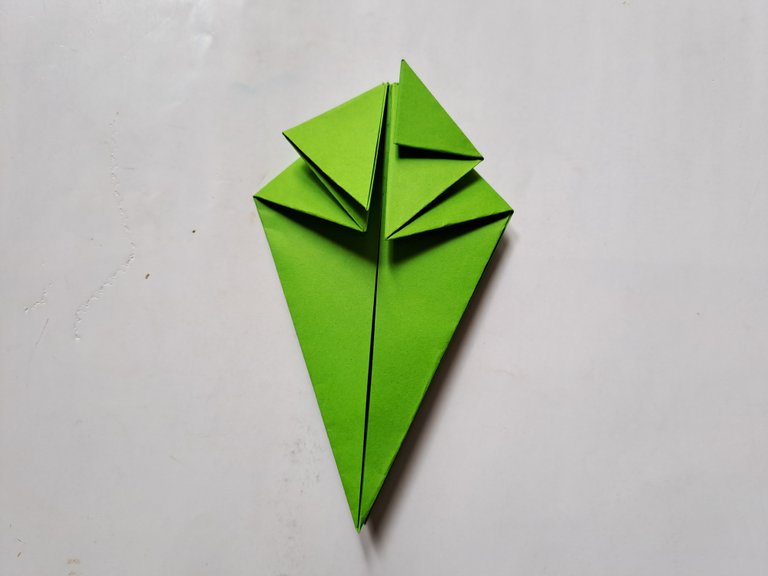
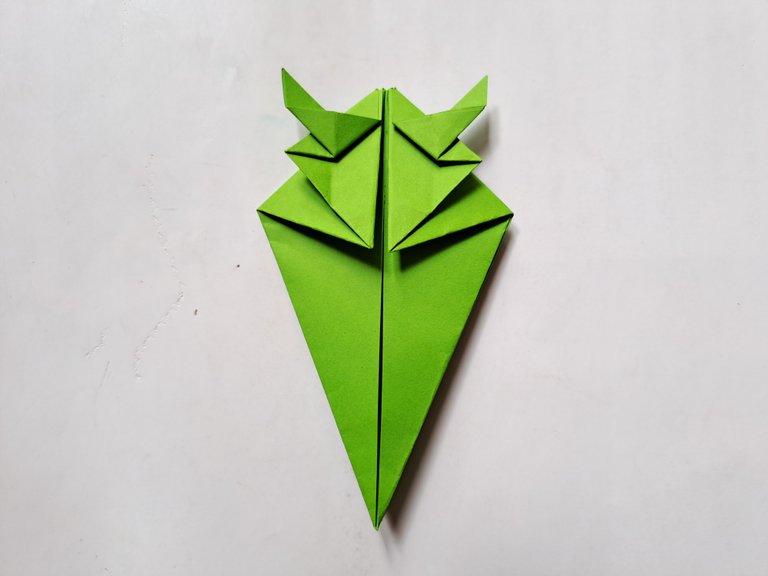
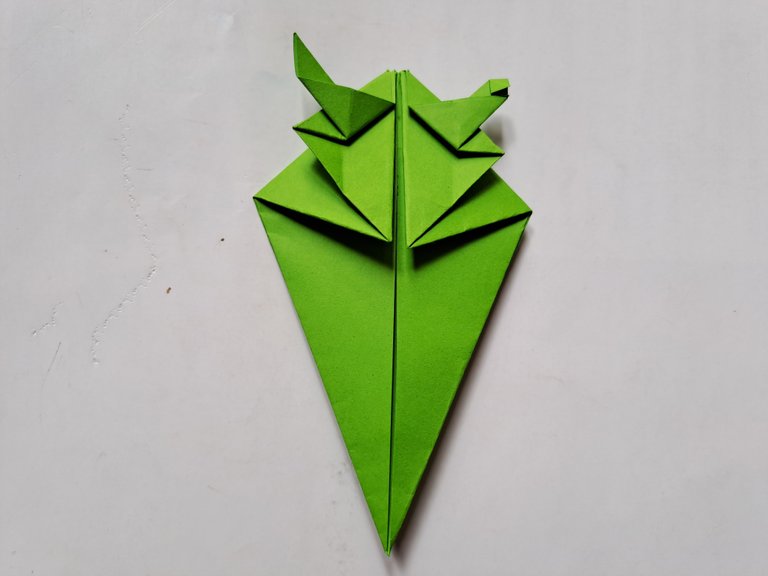
After that, reopen the fold and now press into the right side fold pattern of the keryas so that the fold shape comes out to the right, then do the same on the left side of the paper as shown below.
 |  |
|---|
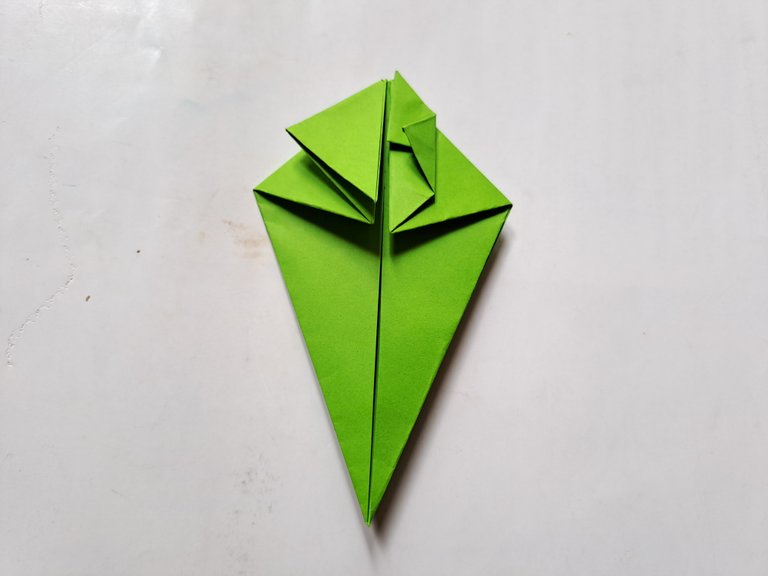
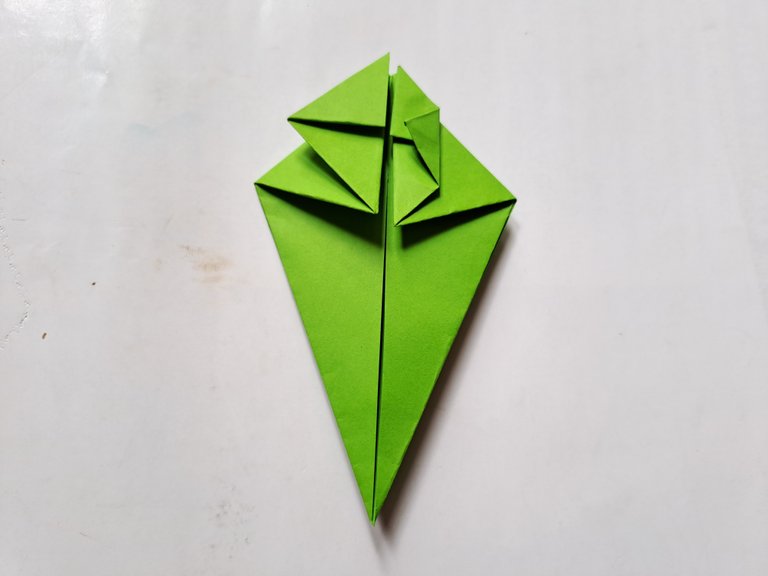
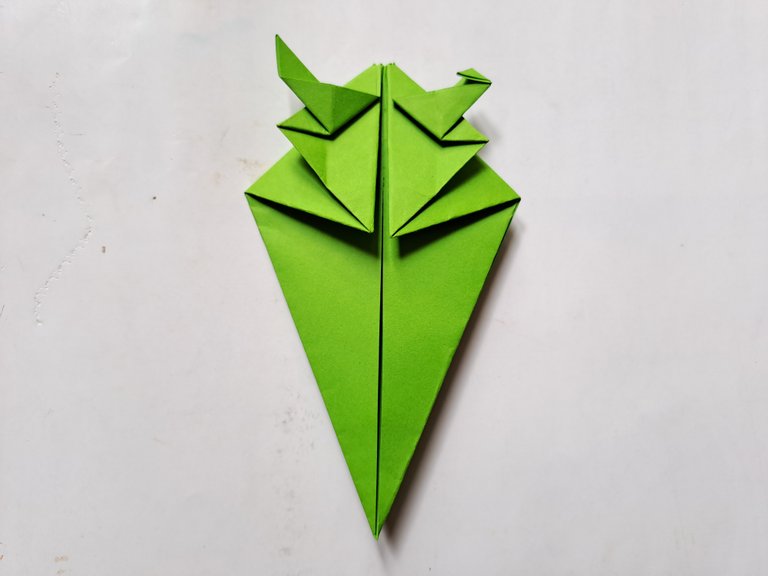
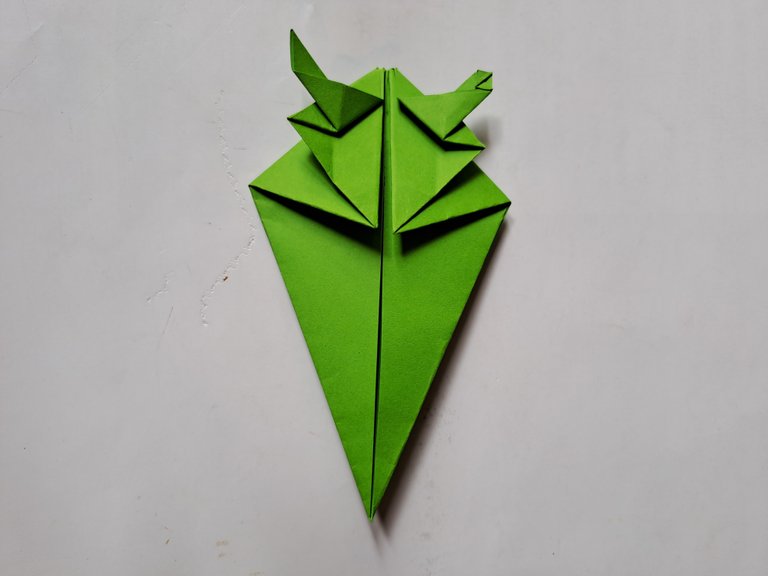
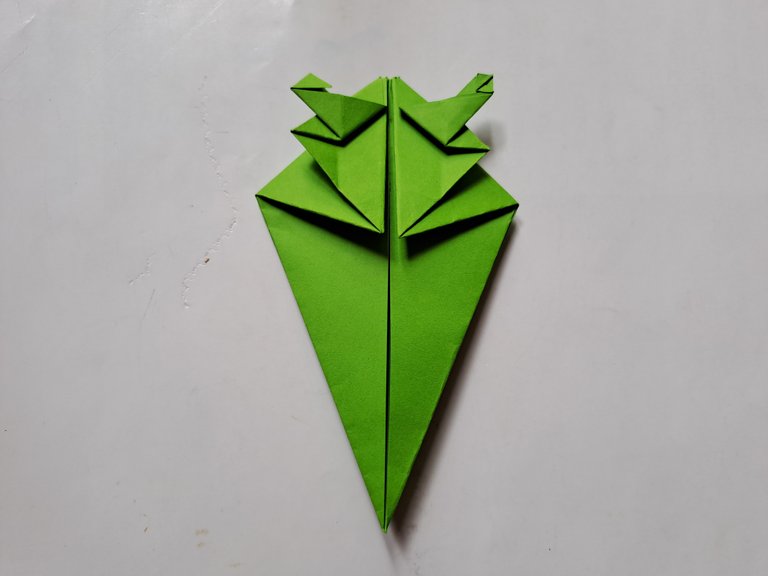
Then fold the right end of the paper inward, then press the fold line and after that fold out the small end of the paper, do the same on the left side of the paper as shown below.
 |  |
|---|
 |  |
|---|
 |  |
|---|
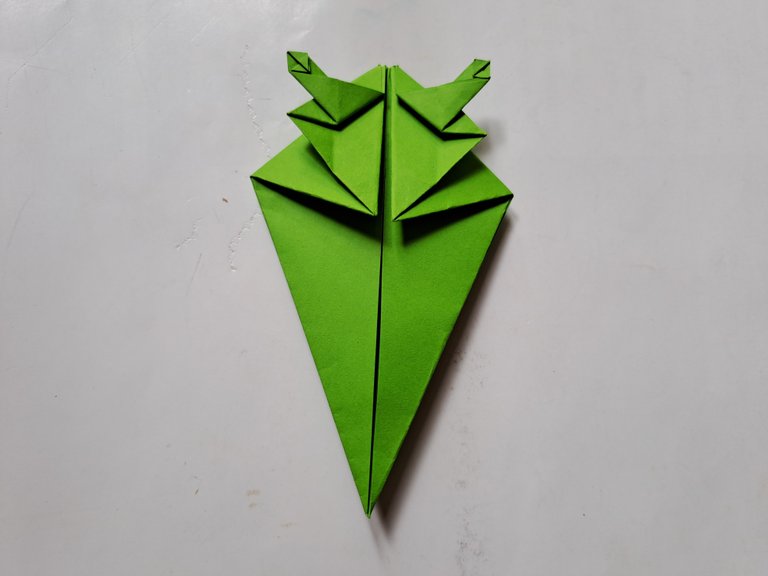
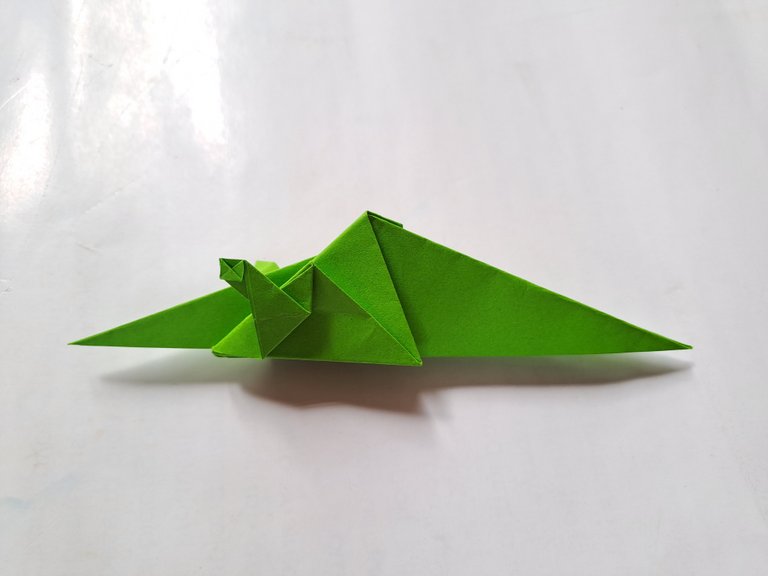
Then turn the paper over and now fold the bottom of the paper up as shown below.
 |  |
|---|
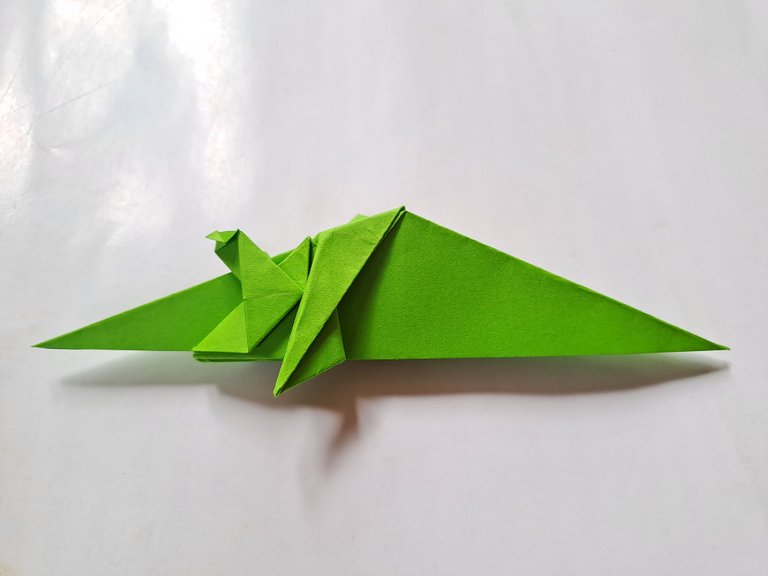
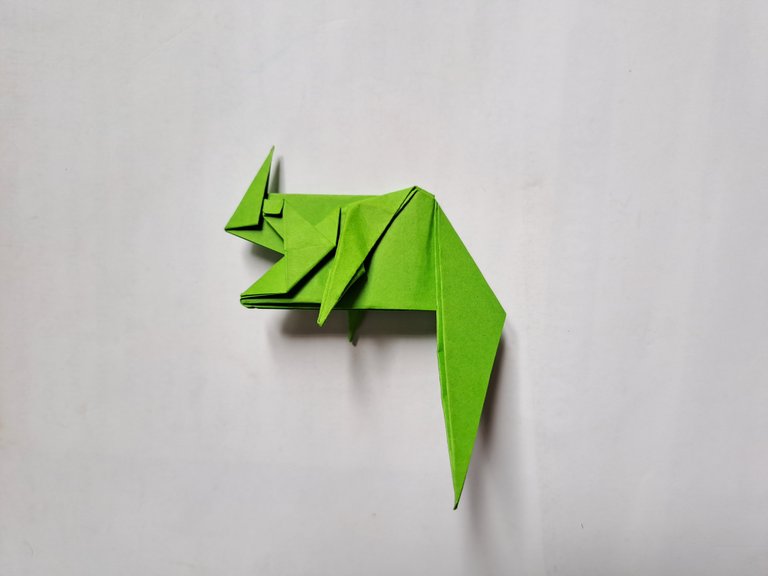
Then fold the middle part of the paper so that the paper becomes two parts as shown in the picture below.
Then bend the middle part of the paper backwards to make the chameleon's leg pattern, and the lower leg part also bends slightly inwards so that the legs look perfect, then do the same thing on the side of the leg next to it so that the shape of both legs is parallel and perfect.
 |  |
|---|
 |  |
|---|
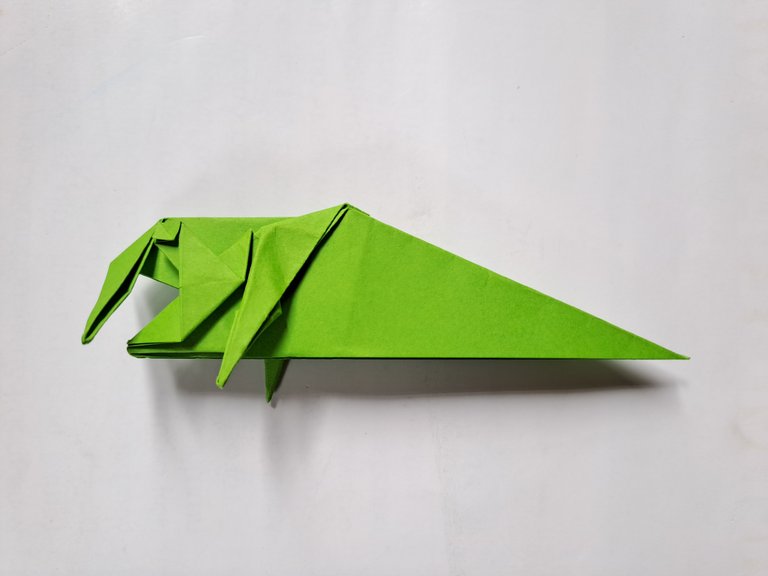
Then bend the pointed part at the front upwards a little, then bend the pointed part in front downwards and now bend it once again upwards with an inward fold pattern following the existing line pattern.
 |  |
|---|
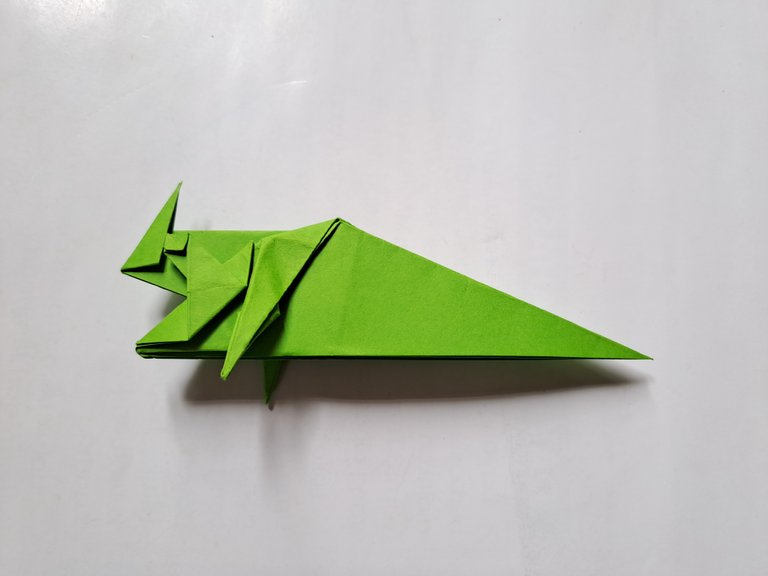
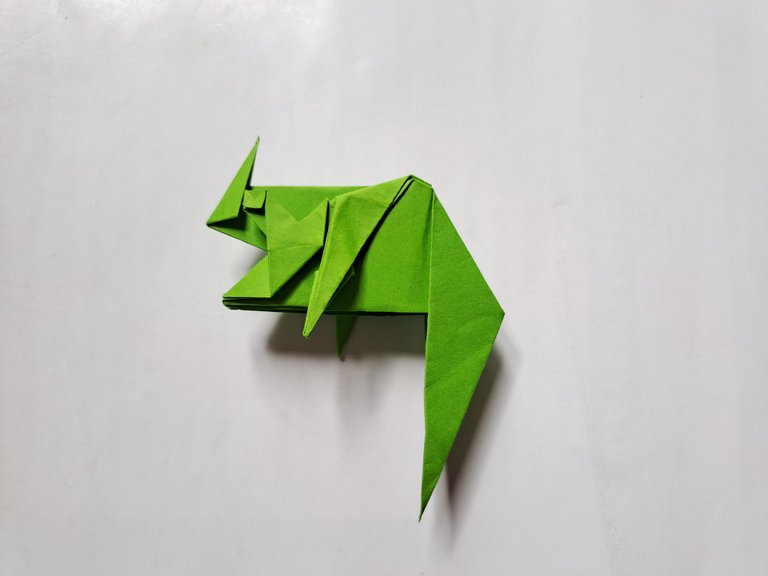
Then fold the tail down, then fold the tip of the tail forward again, then fold the tip of the tail up once again and fold the tip of the tail backwards as shown in the picture below.
 |  |
|---|
 |  |
|---|
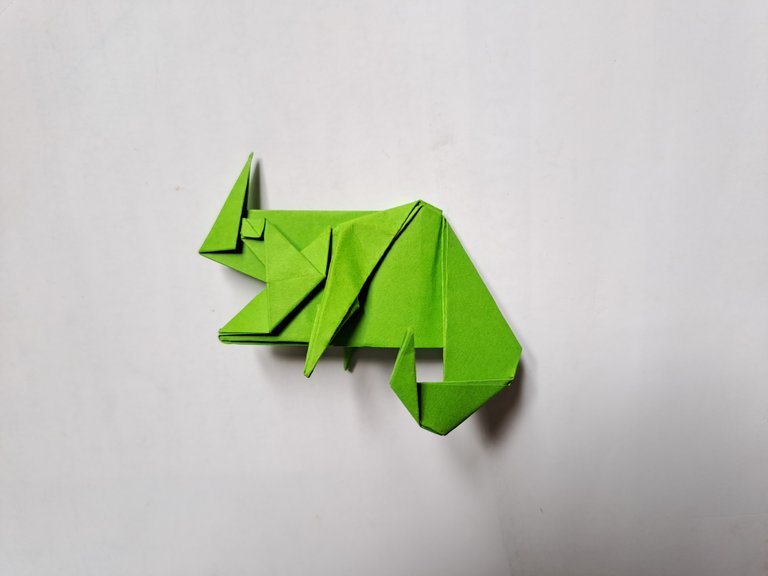
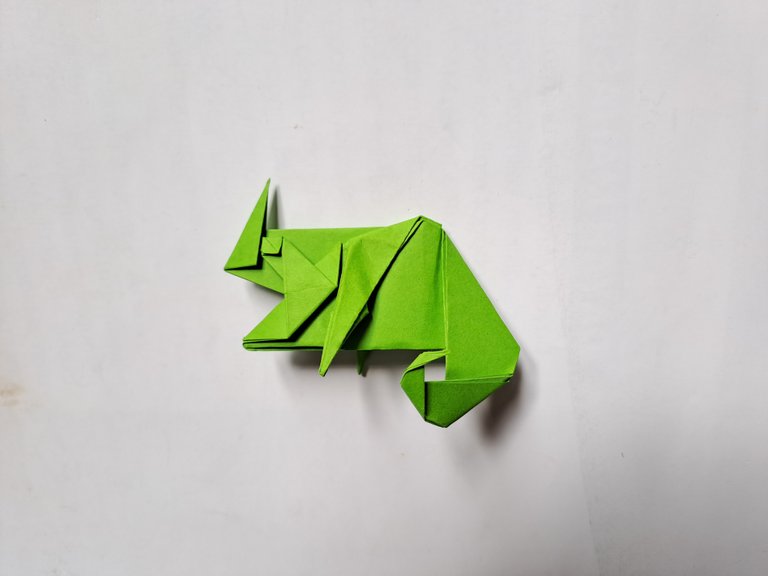
Then reopen all the tail folds and now perfect the tail fold pattern above with an inward fold following the existing line pattern so that the chameleon's tail looks perfect.
 |  |
|---|
 |  |
|---|
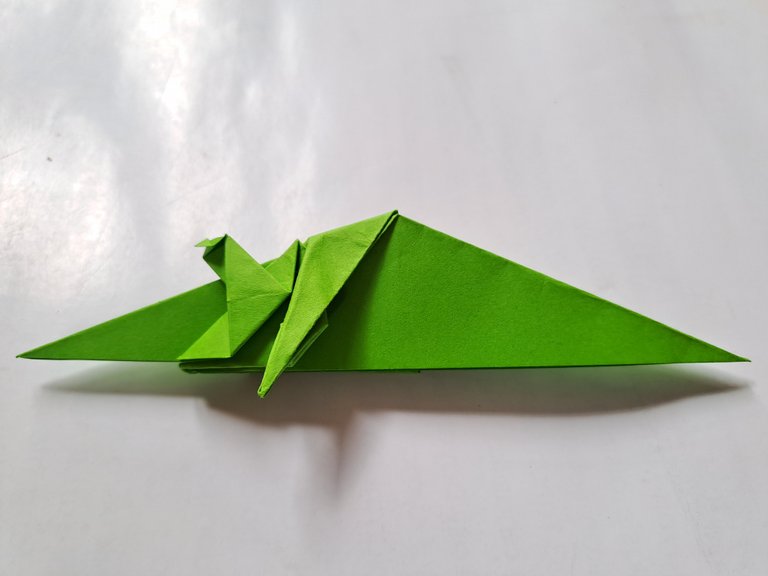
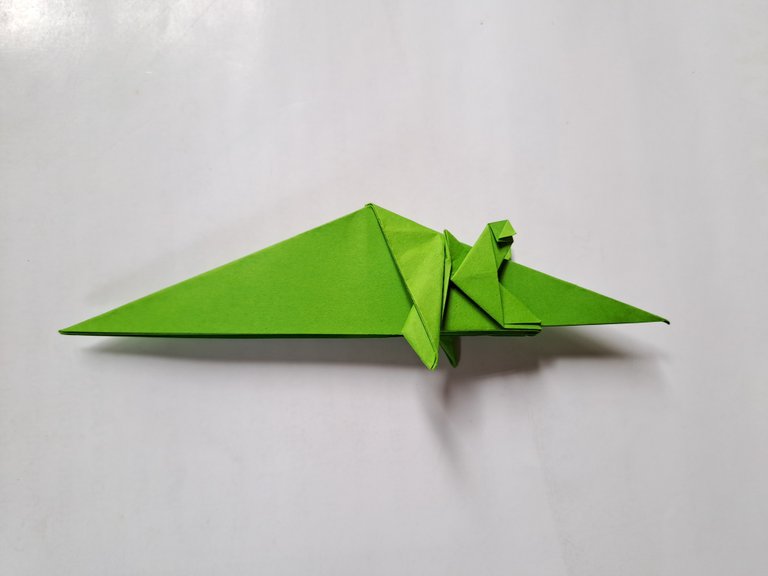
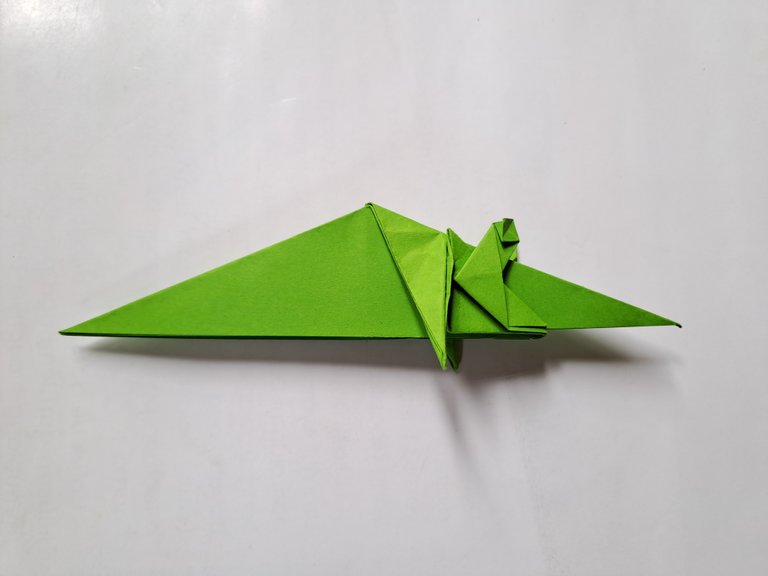
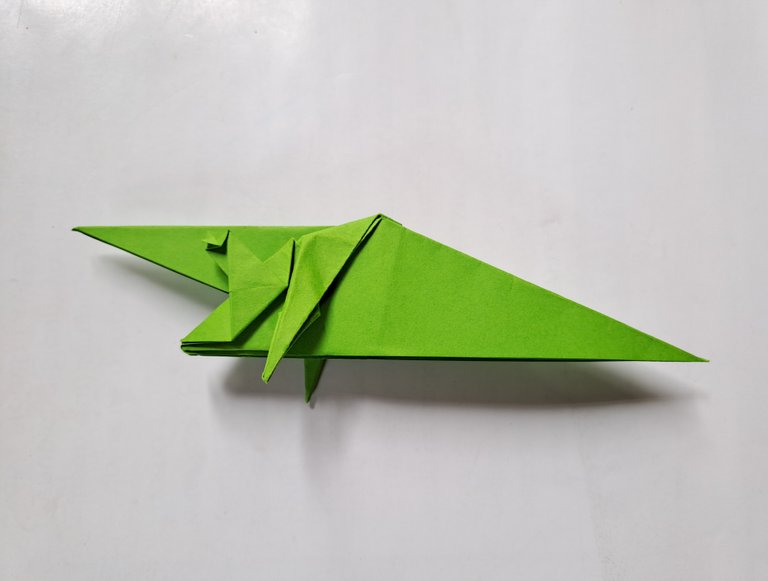
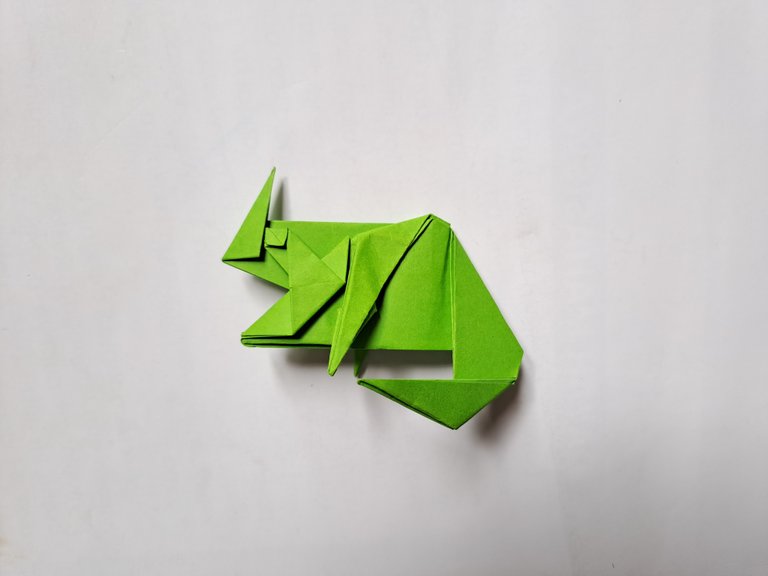
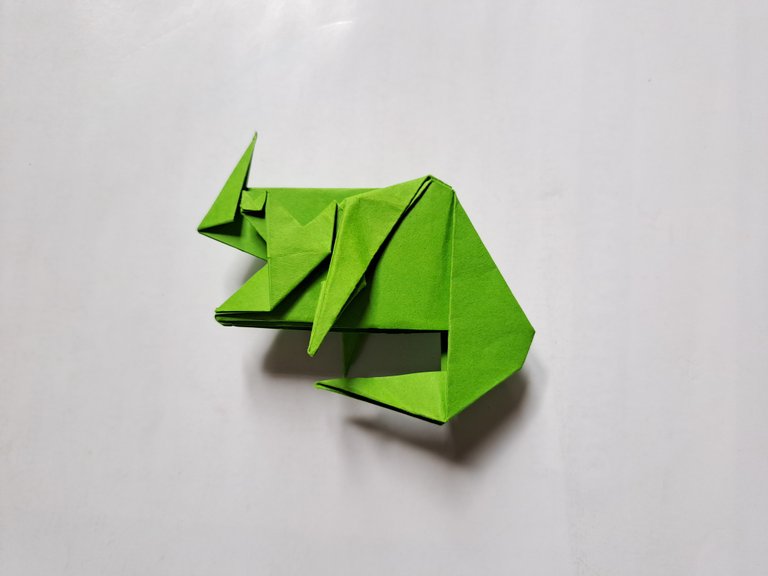
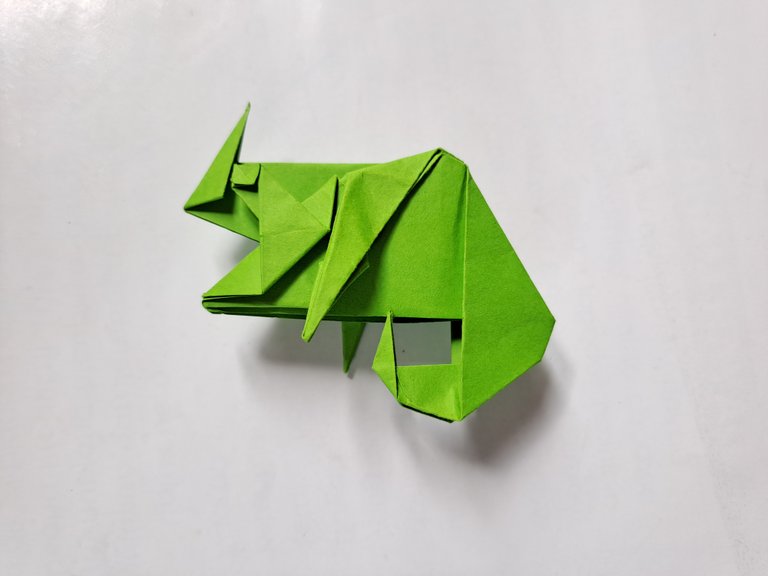
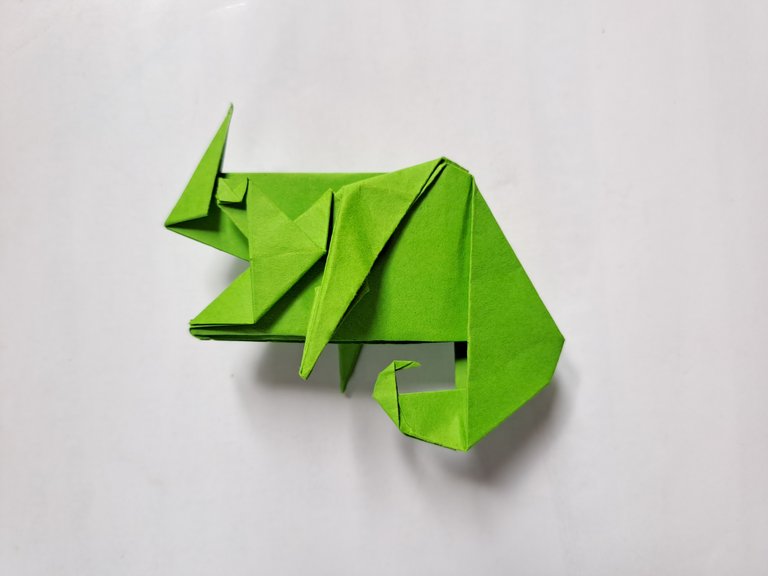
After that, bend the chameleon's stomach slightly inwards and also bend the front mouth slightly upwards so that the chameleon is perfect.
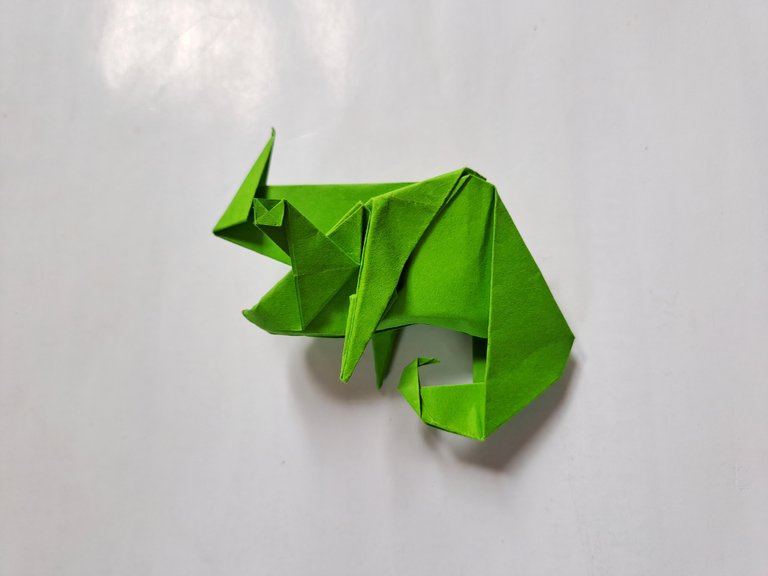
After all the steps to make the origami chameleon have been followed properly, the origami chameleon has been successfully completed perfectly and can sit on my finger.
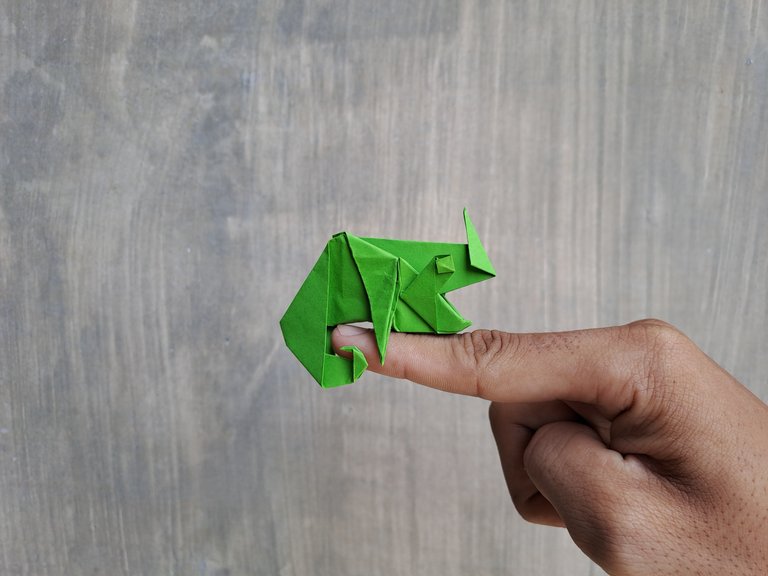 | 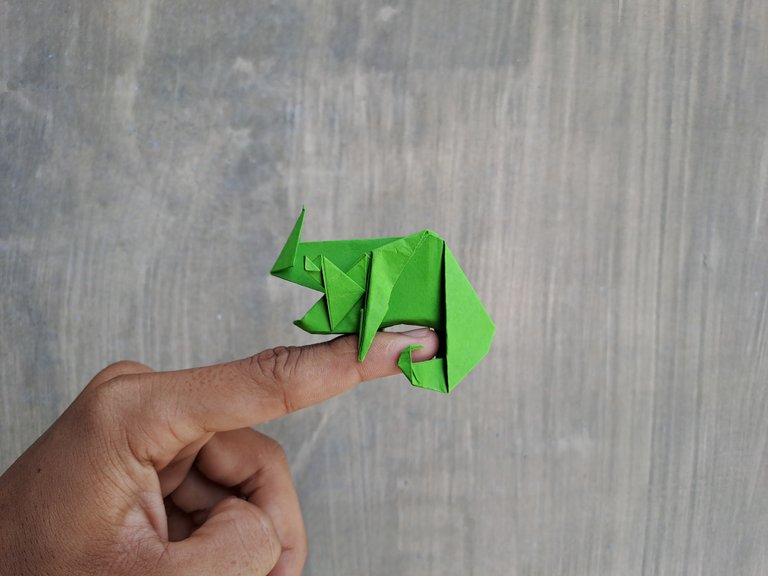 |
|---|
This is my craft post today, thank you for my friends who have visited my craft post, see you in my next craft post.
Your origami craft is brilliant. Intricate and meticulously done. Fine work
Thank you, I always try to continue to create the best work to share with my friends here.