Hi Hive DIY friends
Today I want to share another craft with all my friends that I made from origami paper, which I will make using origami paper is a cute animal named Marmut.
Marmut itself is a cute little mouse-shaped animal that likes to dig and live in the ground, I myself really like seeing this beautiful animal because when I was little my friend had this cute animal.
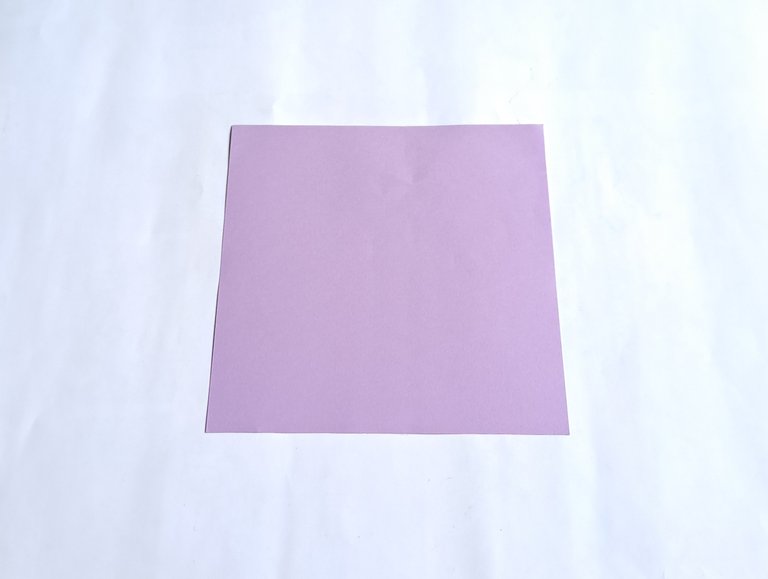
This is a tutorial for making a cute Marmut from origami paper.
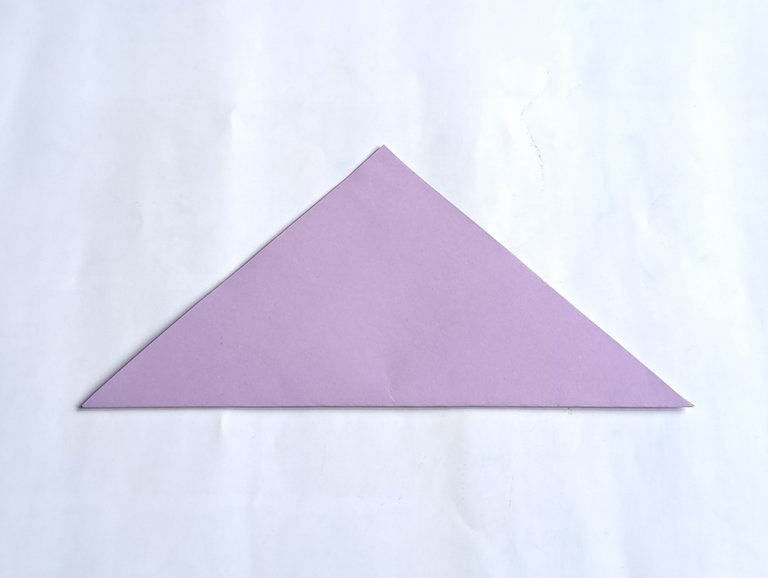
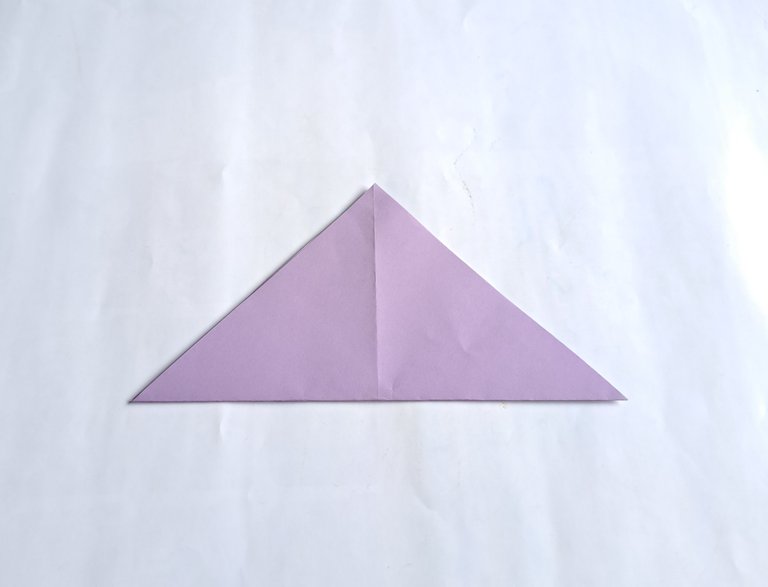
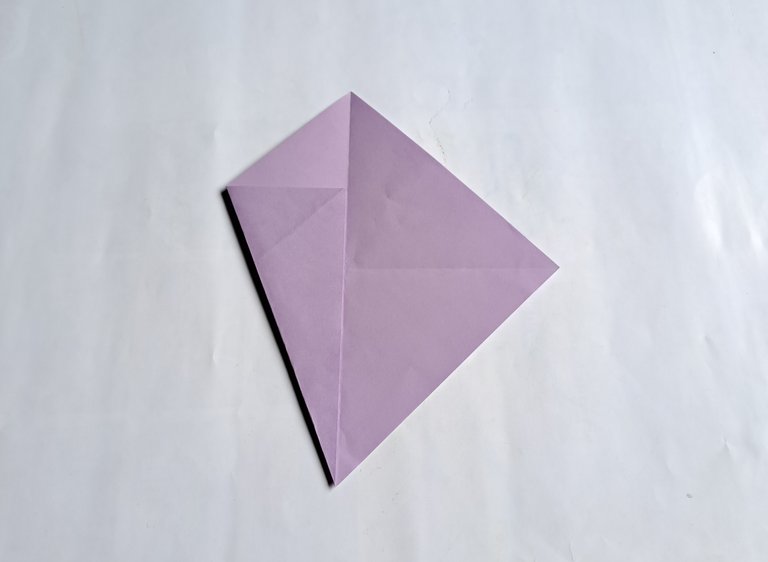
First, fold the origami paper into a triangle shape, then reopen the triangle fold and now fold the origami paper once again into a triangle shape from the opposite direction.
 |  |
|---|
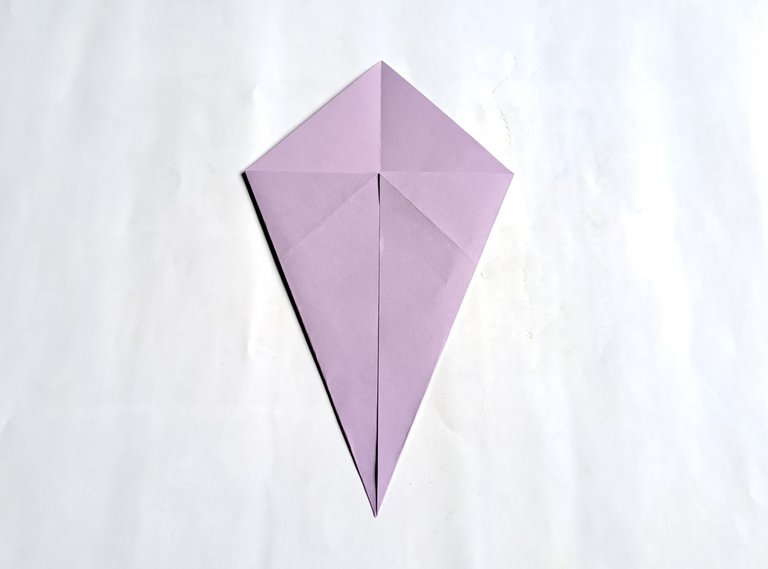
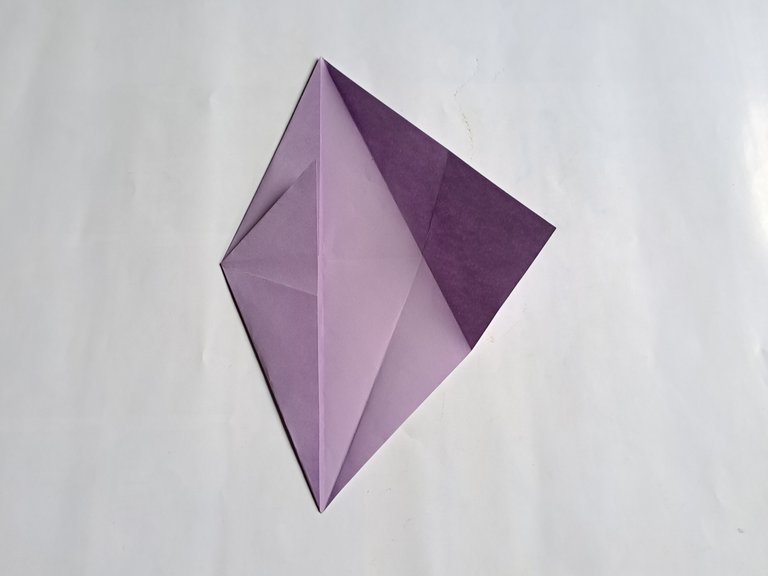
After that, reopen the fold and now fold the bottom left side of the origami paper inward with a pointed shape, then also fold the bottom right side of the origami paper inward with a pointed shape as shown in the picture below.
 |  |
|---|
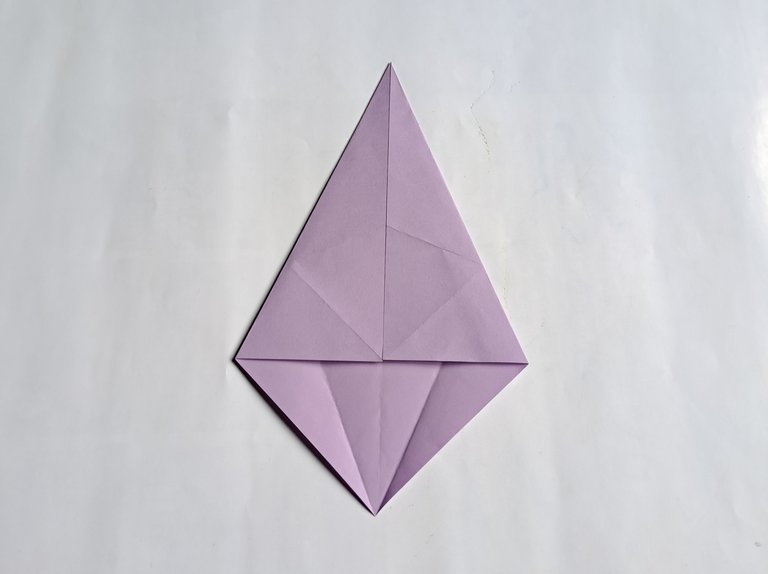
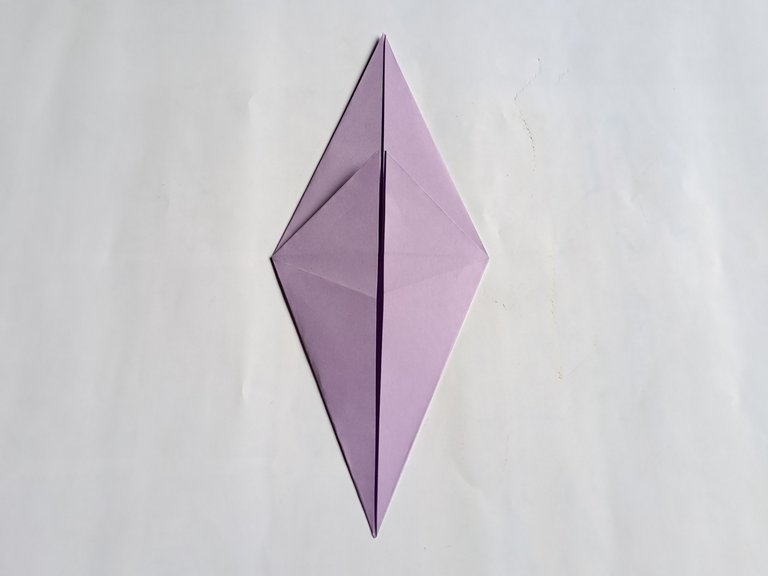
Then reopen the fold and now fold the right side of the origami paper at the top to the middle with a pointed shape, then also fold the top left side of the origami paper towards the middle with a pointed shape as shown in the picture below.
 |  |
|---|
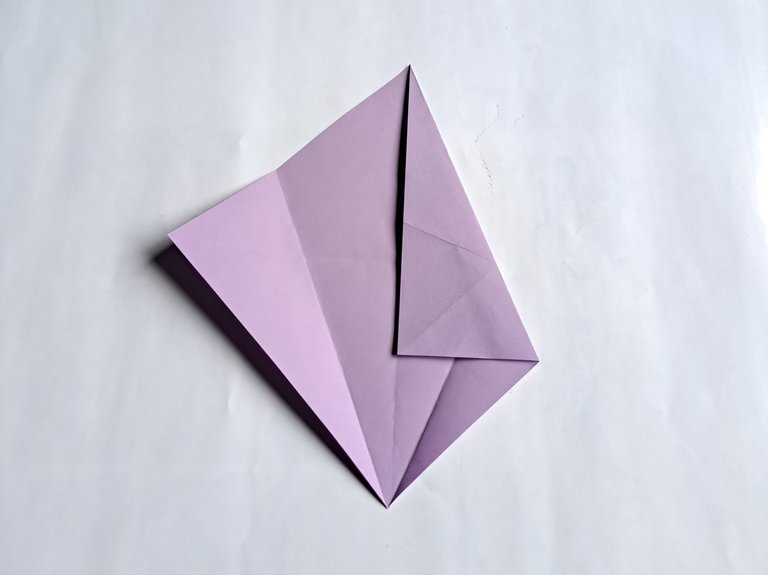
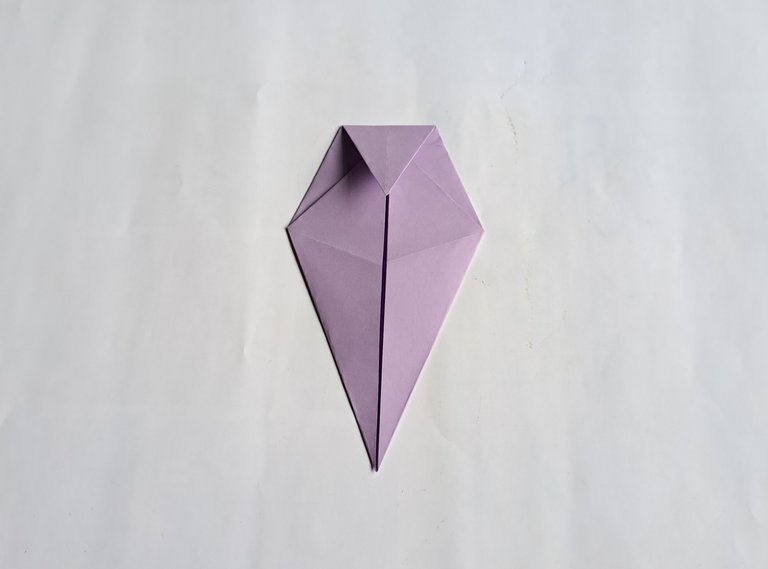
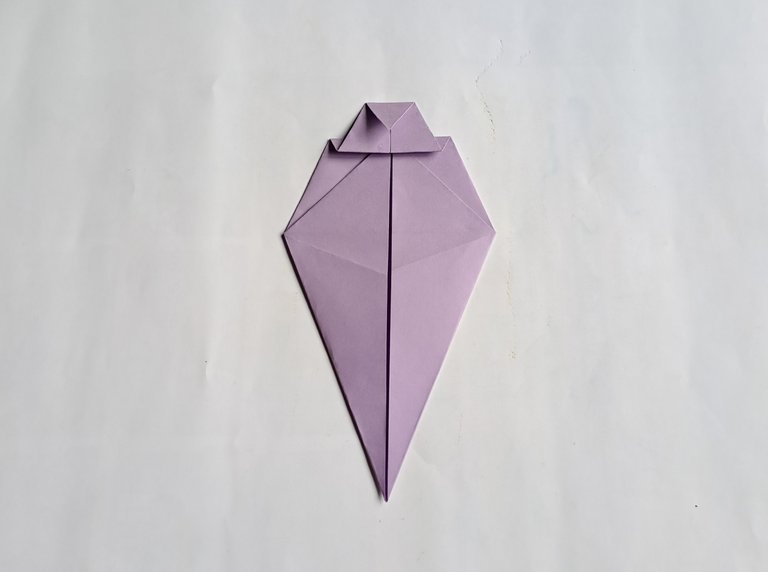
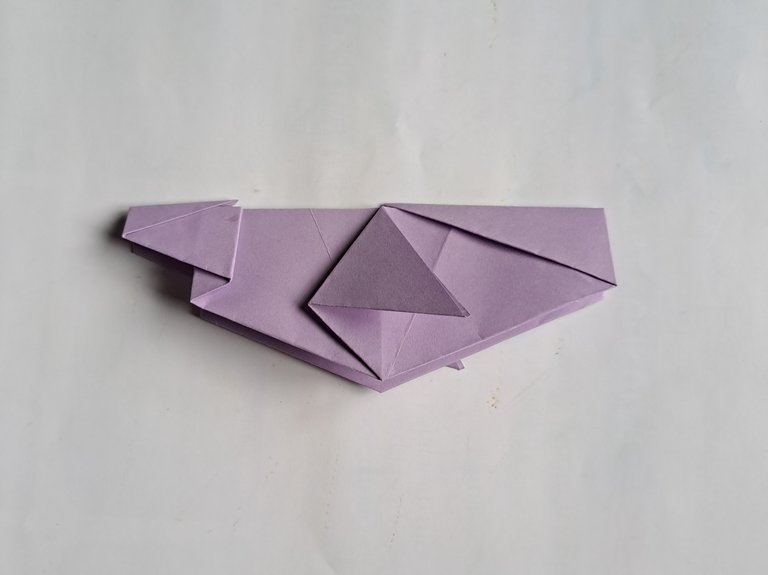
Then reopen the fold and now fold the right side of the origami paper simultaneously from the bottom and top to the middle with the previous fold pattern so that the middle of the origami paper protrudes upwards, then also fold the left side of the origami paper and the top and bottom in with the previous fold pattern so that the middle of the origami paper protrudes upwards as shown in the picture below.
 |  |
|---|
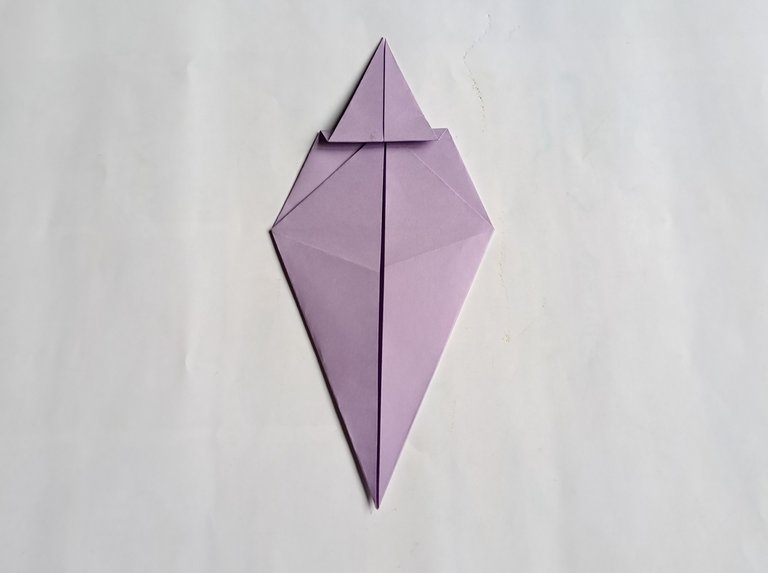
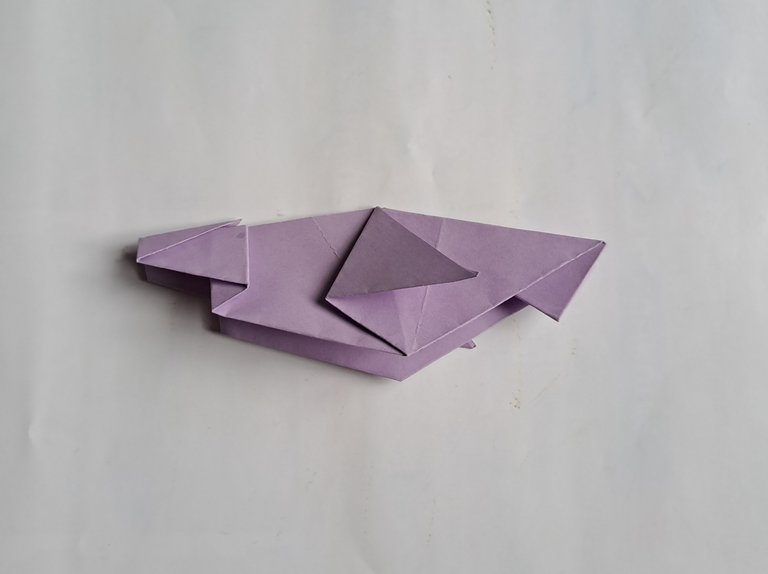
Then fold the top down, then reopen the fold and fold the top down once more with a smaller fold, after that reopen the fold and now fold the first fold down again and on the second fold on the fold line fold up, then fold the top end down once more.
 |  |
|---|
 |  |
|---|
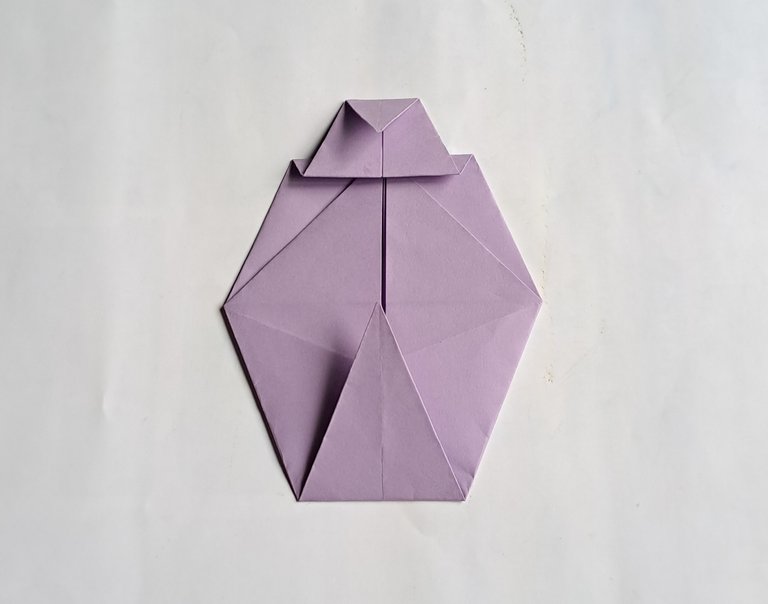
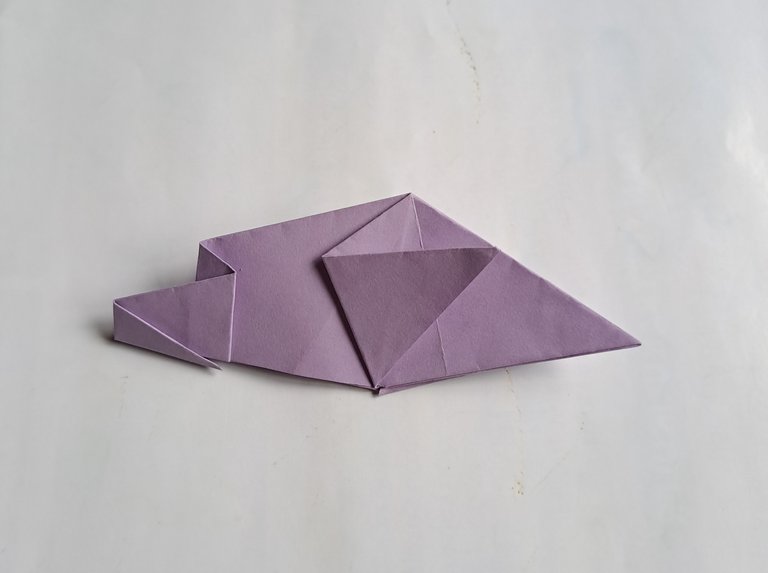
Then fold the bottom up, after that fold the origami paper in half, then fold the right hand of the guinea pig down at an angle, then turn the paper over and now also fold the left hand of the guinea pig down at an angle as shown in the picture below.
 |  |
|---|
 |  |
|---|
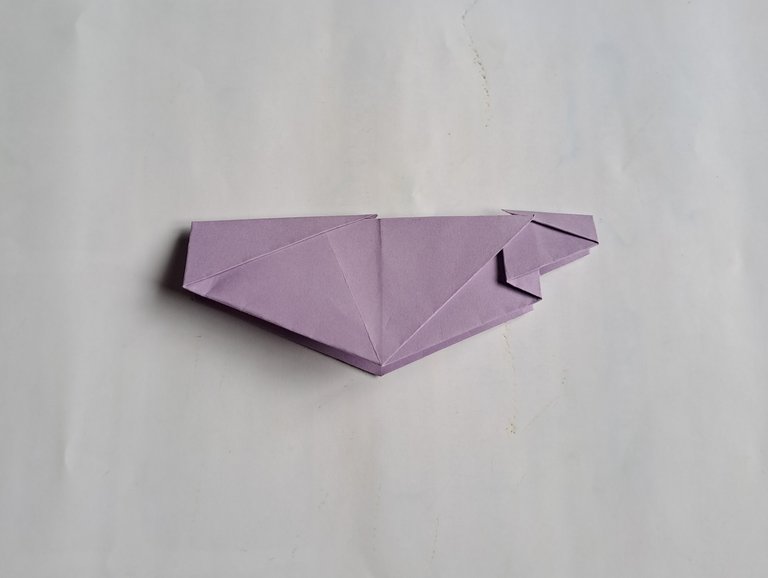
Then fold the right side of the middle of the paper down with an inward fold, then fold the bottom right side of the paper up again with an inward fold, then pull the middle of the paper out to make the guinea pig's tail, this guinea pig's tail can be made as you wish, it can be made more slanted downwards or straight back.
 |  |
|---|
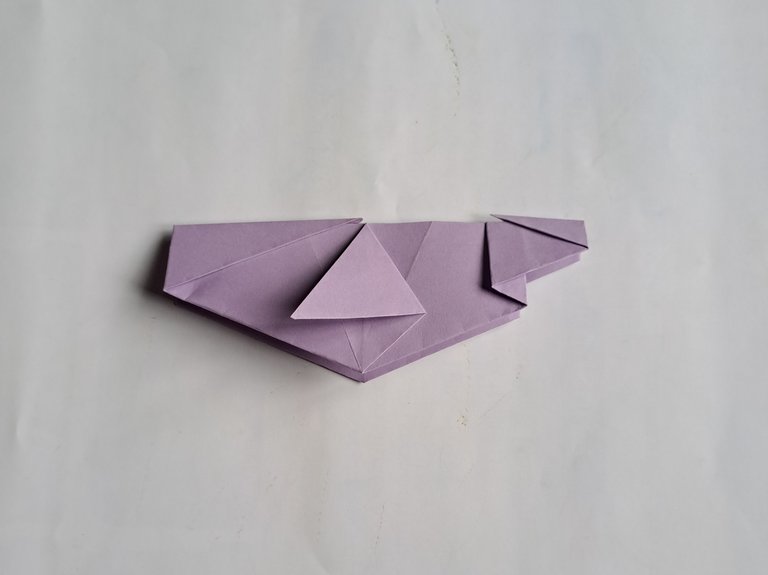
Then fold the bottom up, then fold the bottom forward again, then turn the paper over and do the same thing so that the folds are aligned.
 |  |
|---|
 |  |
|---|
After that, fold the bottom end of the guinea pig's hand on the right side up, then fold the end down again with an inward tilt, do the same thing on the guinea pig's left hand as shown in the picture below.
 |  |
|---|
 |  |
|---|
After that, fold the middle part up so that the guinea pig's head pattern is more visible, then also fold the top and bottom ends of the guinea pig's mouth a little inward so that the shape of its mouth is more perfect.
 |  |
|---|
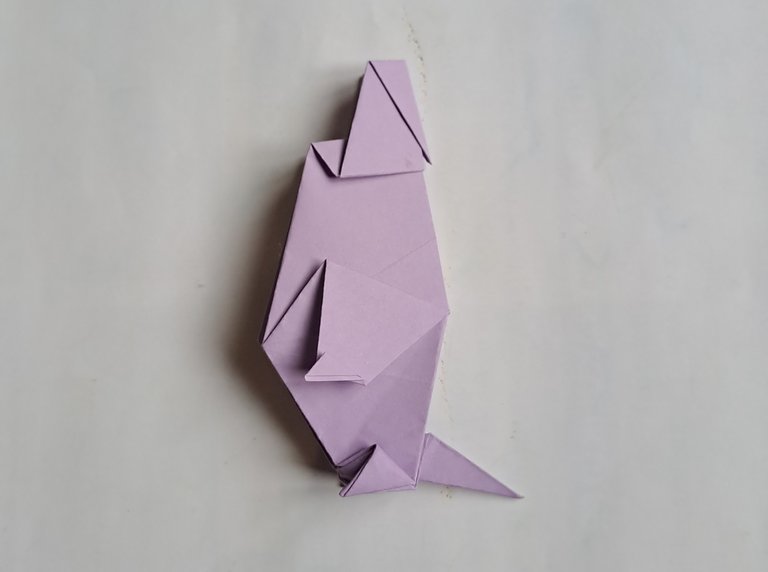
After that, fold the back of the guinea pig's head down on the right side and on the left side, then press the middle of the folded part both on the right and left sides so that the guinea pig's ears become more perfect.
 |  |
|---|
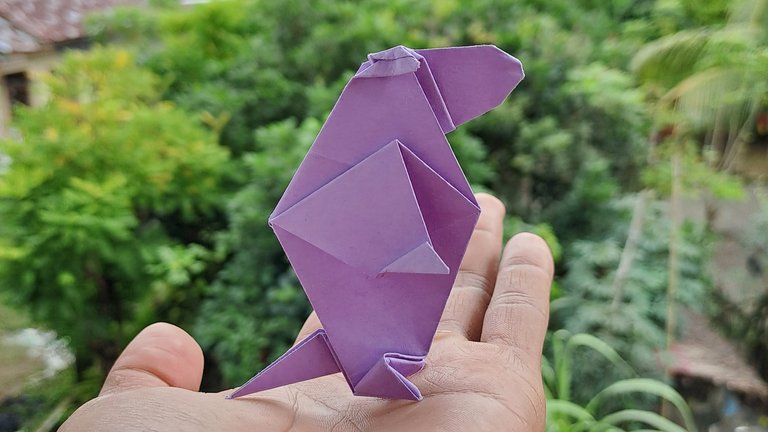
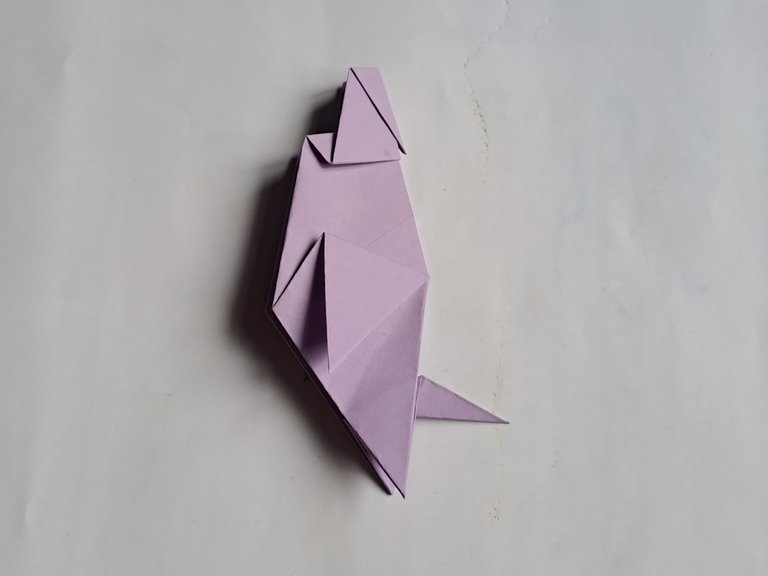
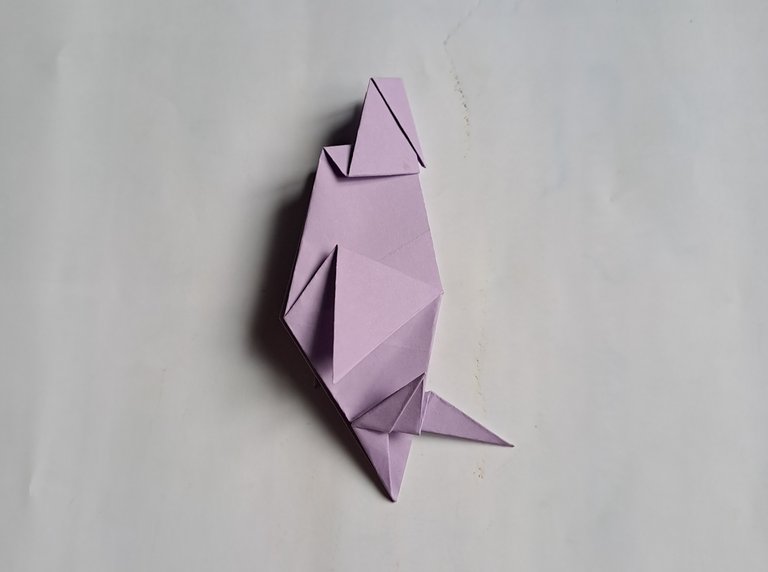
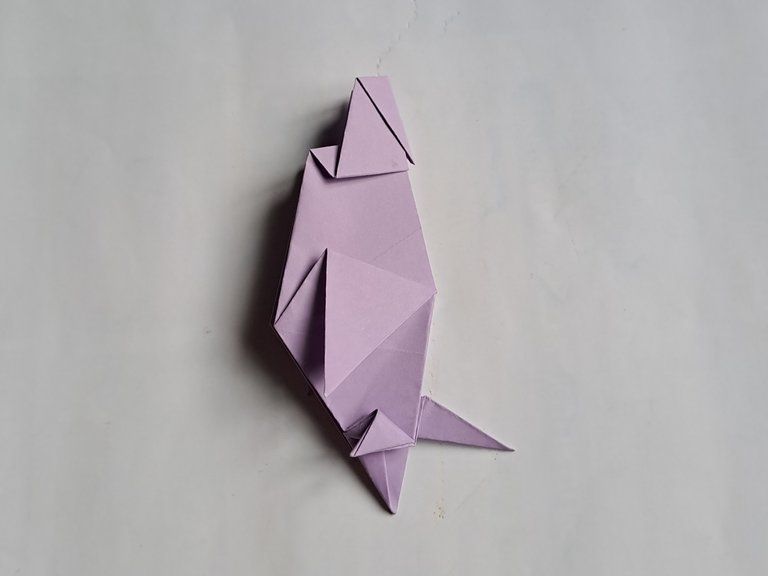
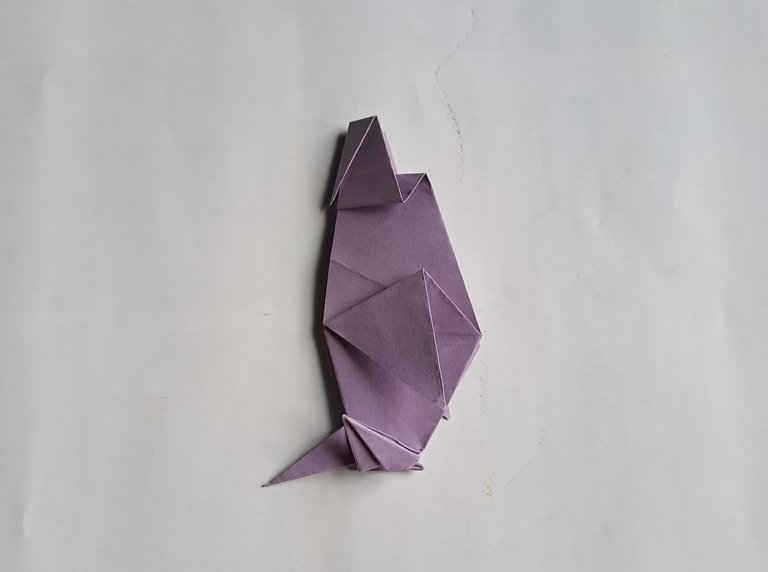
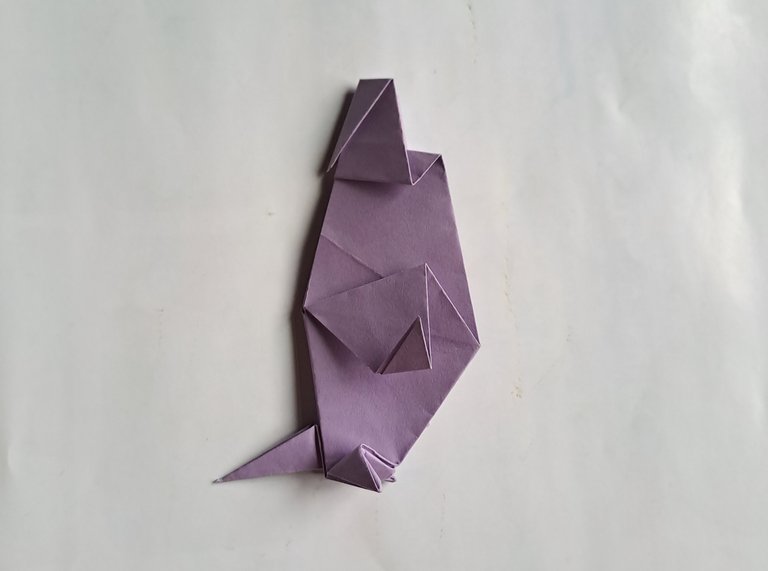
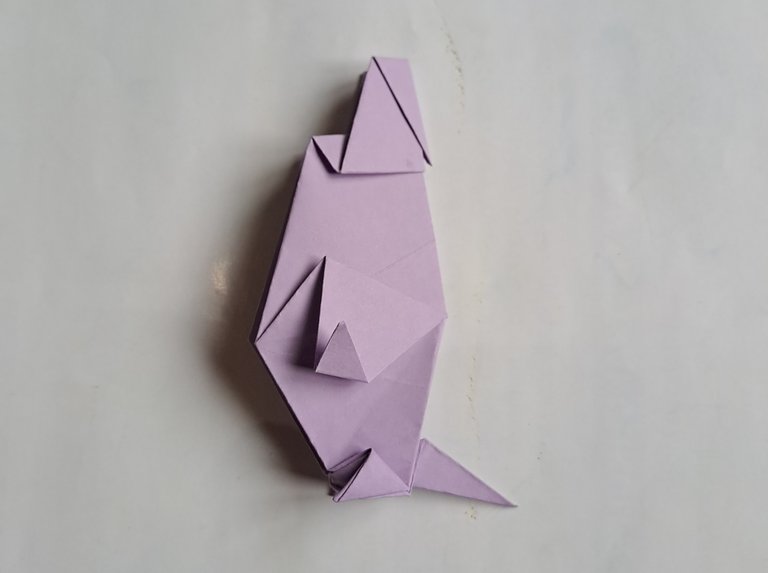
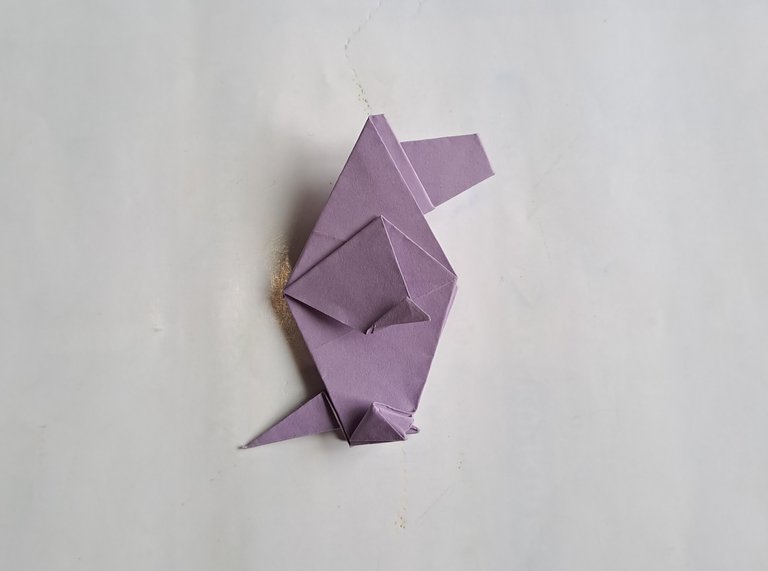
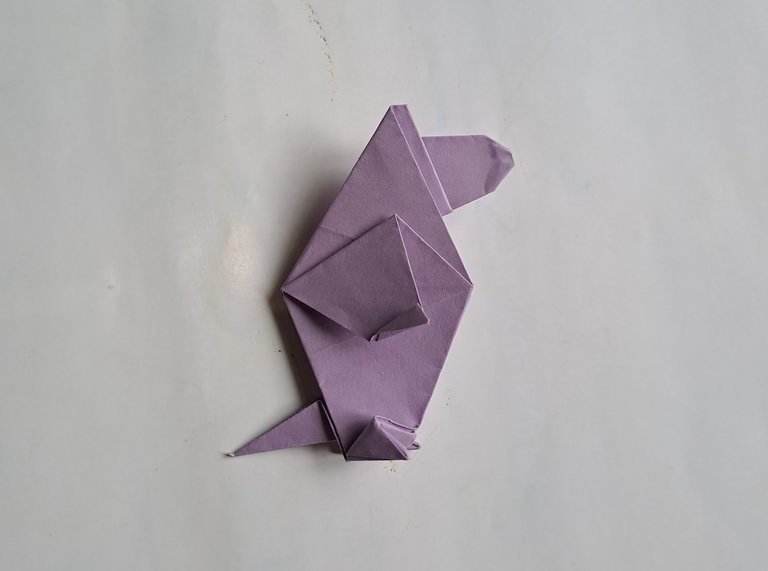
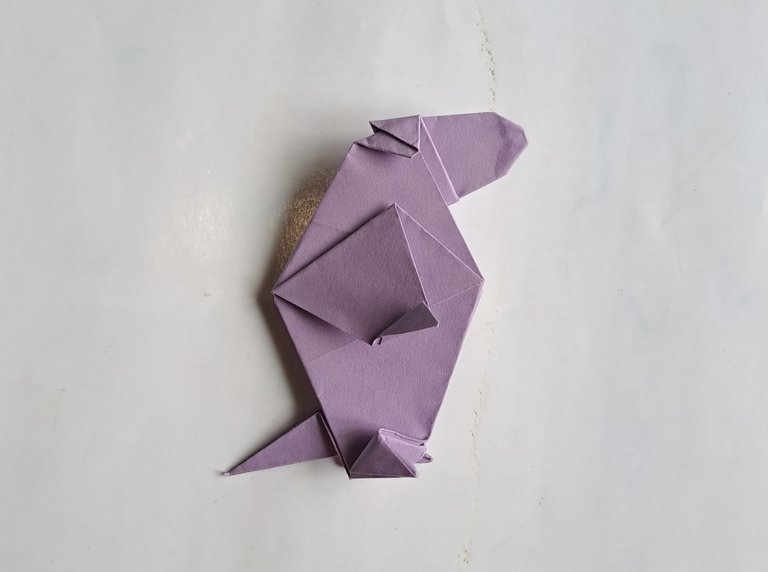
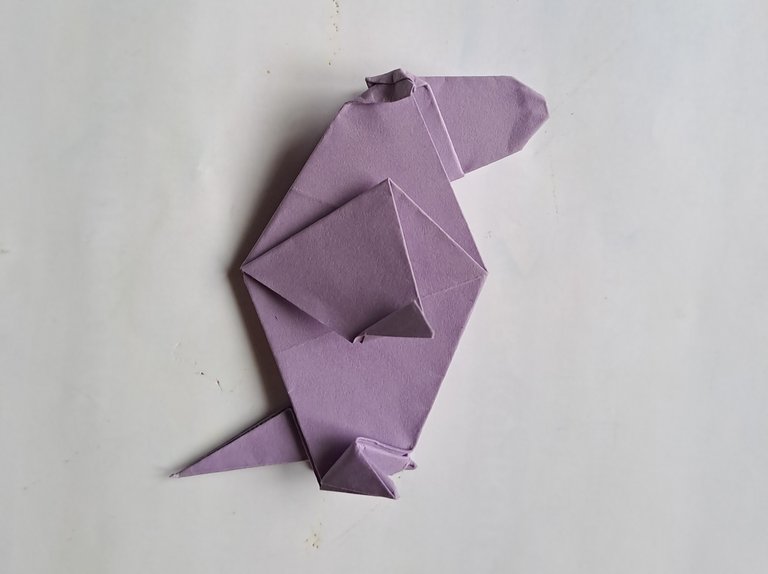
After all the folds are finished, the cute guinea pig is now perfectly finished and the guinea pig can stand.
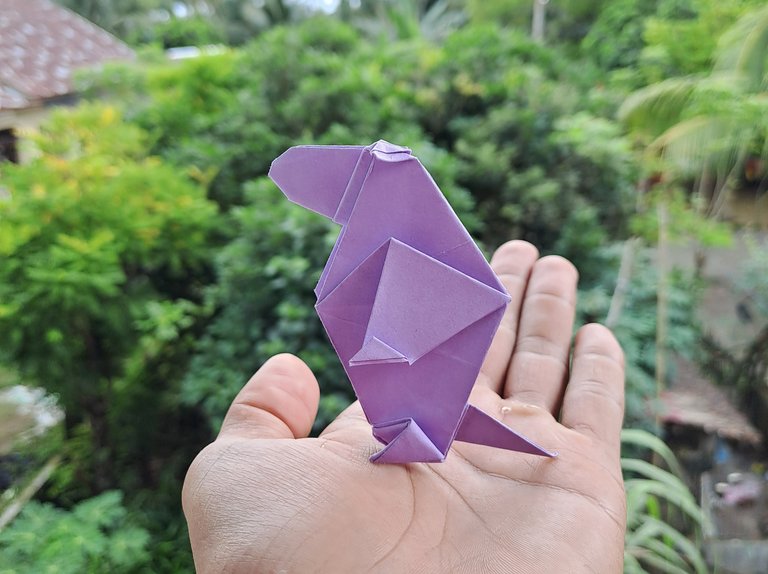
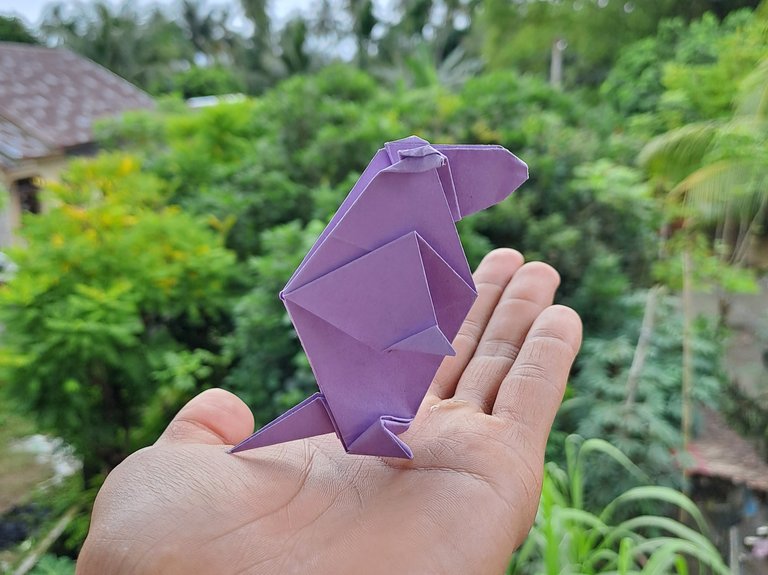
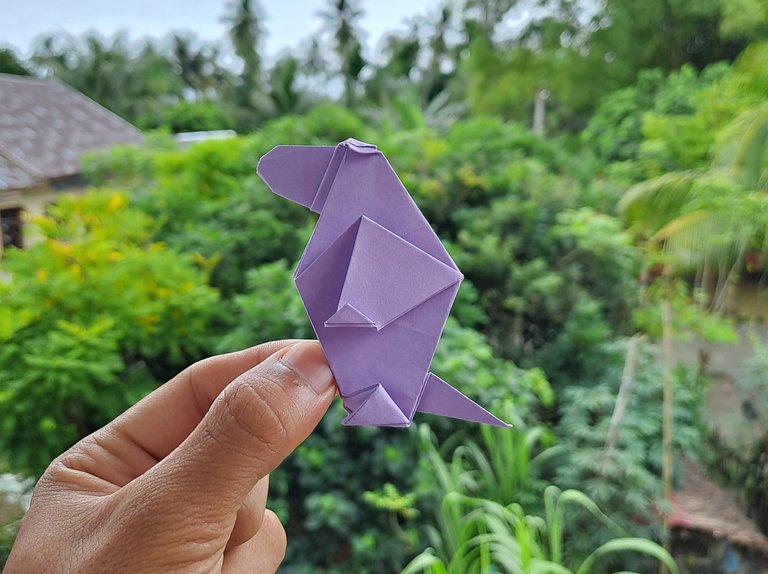
This is the result of the handicraft that I made from origami paper, thank you for my friends who have visited my handicraft post today, see you in my next handicraft post.
It looks pretty cool. You make different things with the paper. That's the reflection of your skills and creativity. Keep up the good work! Thanks!
Thank you for your support, brother.