Hola amigos!! Me gustan mucho las pulseras de hilo anudado son muy prácticas y quería aprender a hacerlas. Tengo unas perlas de bisutería guardadas y se me ocurrió hacer una pulsera.
Hello friends!!! I really like knotted thread bracelets are very practical and I wanted to learn how to make them. I have some costume jewelry beads saved and it occurred to me to make a bracelet.
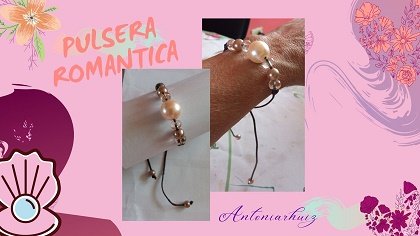
No sabía cómo hacerla, por lo tanto tuve que ver varios videos de pulseras fáciles en la web y quise intentar con el nudo franciscano. Este es un nudo sencillo y muy fácil; con esta técnica se pueden hacer pulseras, collares y hasta rosarios. Quizás me inspire por un rosario más adelante, por ahora les muestro cómo hice la pulsera.
I didn't know how to make it, so I had to watch several videos of easy bracelets on the web and I wanted to try the Franciscan knot. This is a simple and very easy knot; with this technique you can make bracelets, necklaces and even rosaries. Maybe I will be inspired by a rosary later, for now I show you how I made the bracelet.

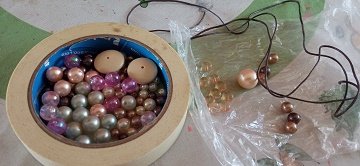
Para esta sencilla pulsera utilicé: 60 cms de Hilo de bisutería, una perla grande, perlas pequeñas, cuentas transparentes, tijera y el pedacito de un pitillo, popote, pajita o como lo llamen en tu localidad.
For this simple bracelet I used: 60 cms of costume jewelry thread, a large pearl, small pearls, transparent beads, scissors and the small piece of a straw or whatever they call it in your place.

Manos a la obra!!! / Let's get to work!
Eso dije, una vez que estuve clara en lo que iba a hacer. Por los colores de las cuentas usadas la llamé Pulsera Romántica. Lo fue medir 40 cms del cordón y cortar. Reservar el resto del hilo.
That's what I said, once I was clear on what I was going to do. Because of the colors of the beads used I called it Romantic Bracelet. I measured 40 cms of the cord and cut it. Save the rest of the thread.
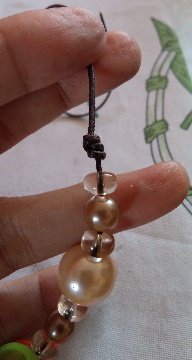
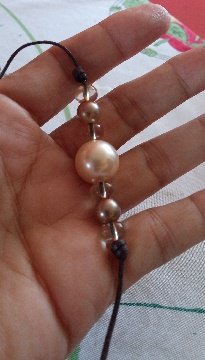
-Introduce en el cordón; una cuenta transparente, una perla mediana, una cuenta transparente y luego la perla grande. Repite el proceso con el resto de las cuentas.
-Insert on the cord; a clear bead, a medium bead, a clear bead and then the large bead. Repeat the process with the rest of the beads.
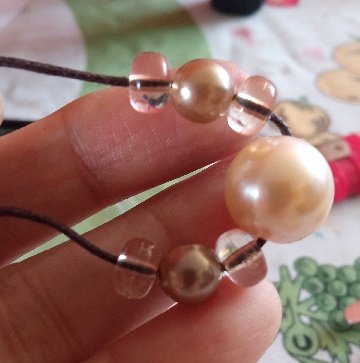

-Estira el cordón uniendo las puntas para encontrar el punto medio.
-Stretch the bead joining the ends to find the middle point.
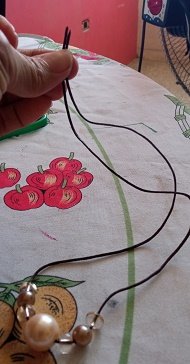

-Sujeté con un gancho para que no se salieran las cuentas.
-I fastened with a hook so that the beads would not come off.


-Para hacer el primer nudo, coloca el pitillo sobre el hilo y enrolla de derecha a izquierda formando 3 anillos, para luego introducir la punta por dentro de éste.
-To make the first knot, place the straw on the thread and roll from right to left forming 3 rings, then insert the tip inside the thread.
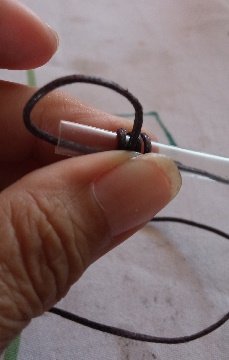

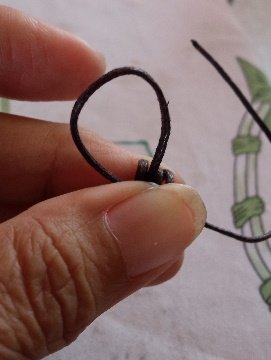
-Retira el pitillo con cuidado y comienza a apretar el nudo dando forma de anillos.
-Carefully remove the straw and begin to tighten the knot forming rings.
 |  |  |
|---|---|---|

-Repetir el procedimiento para el segundo nudo.
-Repeat the procedure for the second knot.
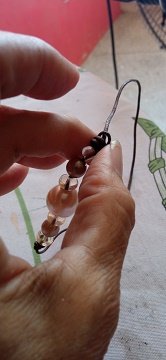

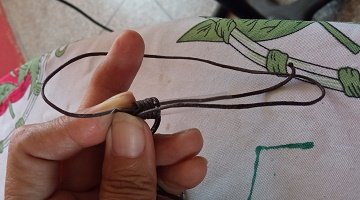
-The third knot is the one that joins the two ends. Form an "X" and put the straw on top. With the cord that we have in reserve we do the same operation of winding from right to left giving 5 or 6 turns, introduce the tip inside the straw and adjust the rings. Cut the excess and burn to weld the thread.
 |  |
|---|

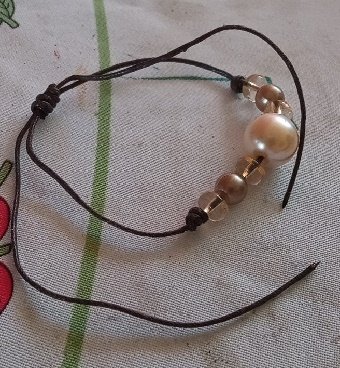
-En cada punta del cordón largo, coloca una perla pequeña y ajusta con un nudo normal. Listo y a lucir una linda pulsera!!!
-At each end of the long cord, place a small pearl and tighten with a normal knot. Ready to wear a beautiful bracelet!!!
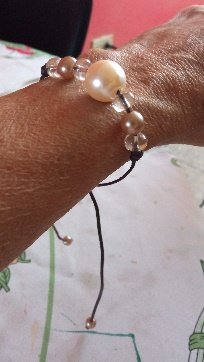
Me despido con cariño y espero se animen a elaborar sus pulseras.

Las fotos son propias, tomadas con un teléfono Redmi 9.
The photos are my own, taken with a Redmi 9 phone.
Translated with www.DeepL.com/Translator (free version)
Saludos mi comay, buen tutorial. En estos momentos cuando se acerca la navidad es bueno diseñar los regalitos. Saludos.
Qué buena idea!!! Confieso que no se me había ocurrido. Será porque no me había dado cuenta que se acerca diciembre?😅 Yo no te di feliz año ayer??? 😅 Barbaridad, el tiempo pasa muy rápido. Gracias por la visita Comay.
Gracias mis queridos amigos!! ❤️🎈🎈
A mí también me gustan las pulseras de hilo, me parecen muy románticas, como tú dices. Esta que hiciste se ve muy bonita, aunque, en lo personal, me gustan más con bolitas diminutas, jejeje.
Gracias, Antonia.
Si amiga, todas me gustan. Voy a practicar otro estilo de tejido. A mi me encantó cómo quedó esa gran perla rosa en el medio resaltando sobre las demás. Gracias mi bella por tu apoyo.
Que belleza de pulseritas! Me encantan. Quisiera aprender a hacerlas porque adoro las pulseras.
Amiga bella son muy fáciles, al menos ese modelo. No tuve que ver mucho para aprender a hacerla pero voy a practicar unos modelos que son tejidos.
The rewards earned on this comment will go directly to the person sharing the post on Twitter as long as they are registered with @poshtoken. Sign up at https://hiveposh.com.
Que hermoso resultado, le quedo muy bonita una prueba mas que basta querer hacer algo para poder lograrlo
Gracias mi linda. Bueno ya hice algo fácil pero ahora debo subir el nivel de complejidad 😅😅
Seve muy fácil de hacer, te quedó muy llamativa!