Do you like making these types of clothes for girls? I love them a lot and well, these days my clients have ordered this type of clothing, especially shorts for girls, because they tell me that summer is coming and it is a comfortable garment for them. These shorts that I made for the granddaughter of a client are super simple because they are not like those shorts that you have to make the waistband separately, no, these are complete upwards, meaning the cut is higher up to be able to place the elastic and the work is easier.
.jpg)
These days I have been using my overlock machine and it has helped me a lot in the sense that I have to finish off the edges of some garments with stitches, so making them made my job much easier. Here I show you how I did it. If you like to see this process, I would love to know that you liked doing it this way and that you too can make simple garments for your girls in the comfort of your home and learn new sewing techniques.
.jpg)
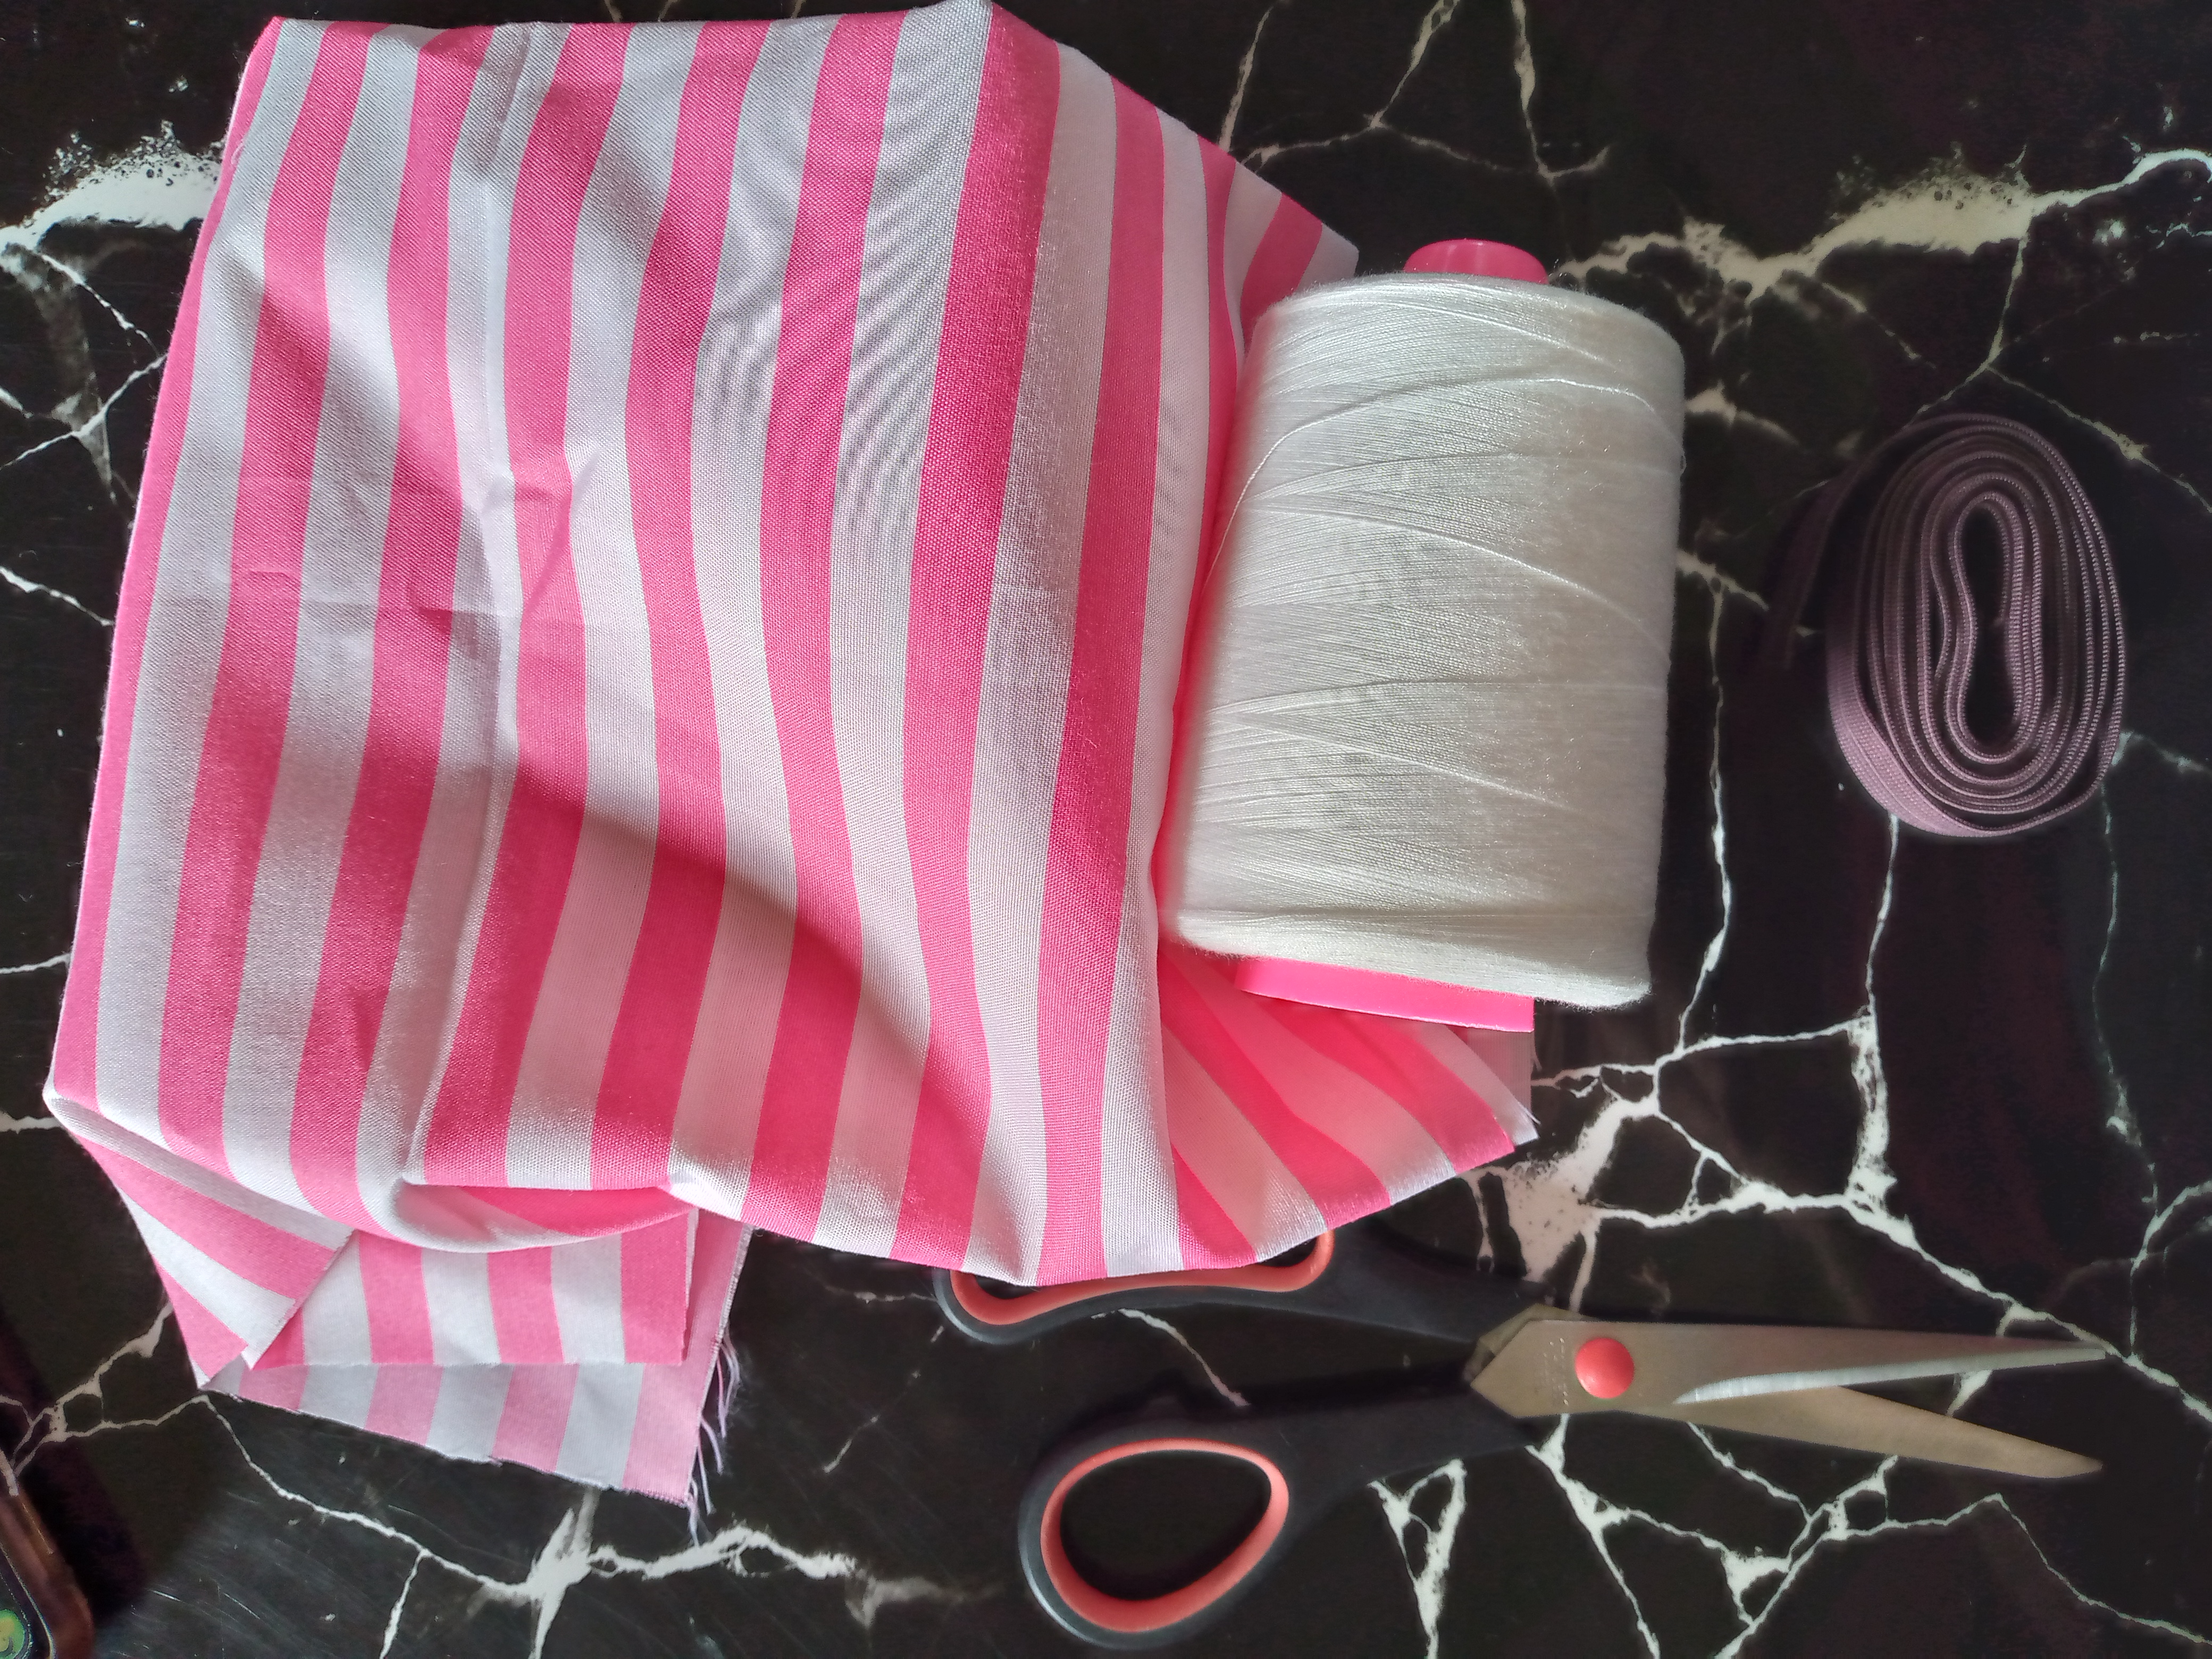
Materiales:// Materials:
| Español | English |
|---|---|
| •Elástico de 2 cm de ancho x 25 cm de ancho | •2cm wide x 25cm wide elastic |
| •Tijeras | •Scissors |
| •40 cm de tela | •40cm fabric |
| •Hilo | •Thread |
| •Máquina de coser | •Sewing machine |
.jpg)
Pasos a seguir://Steps to follow:
Paso 01
Step 01
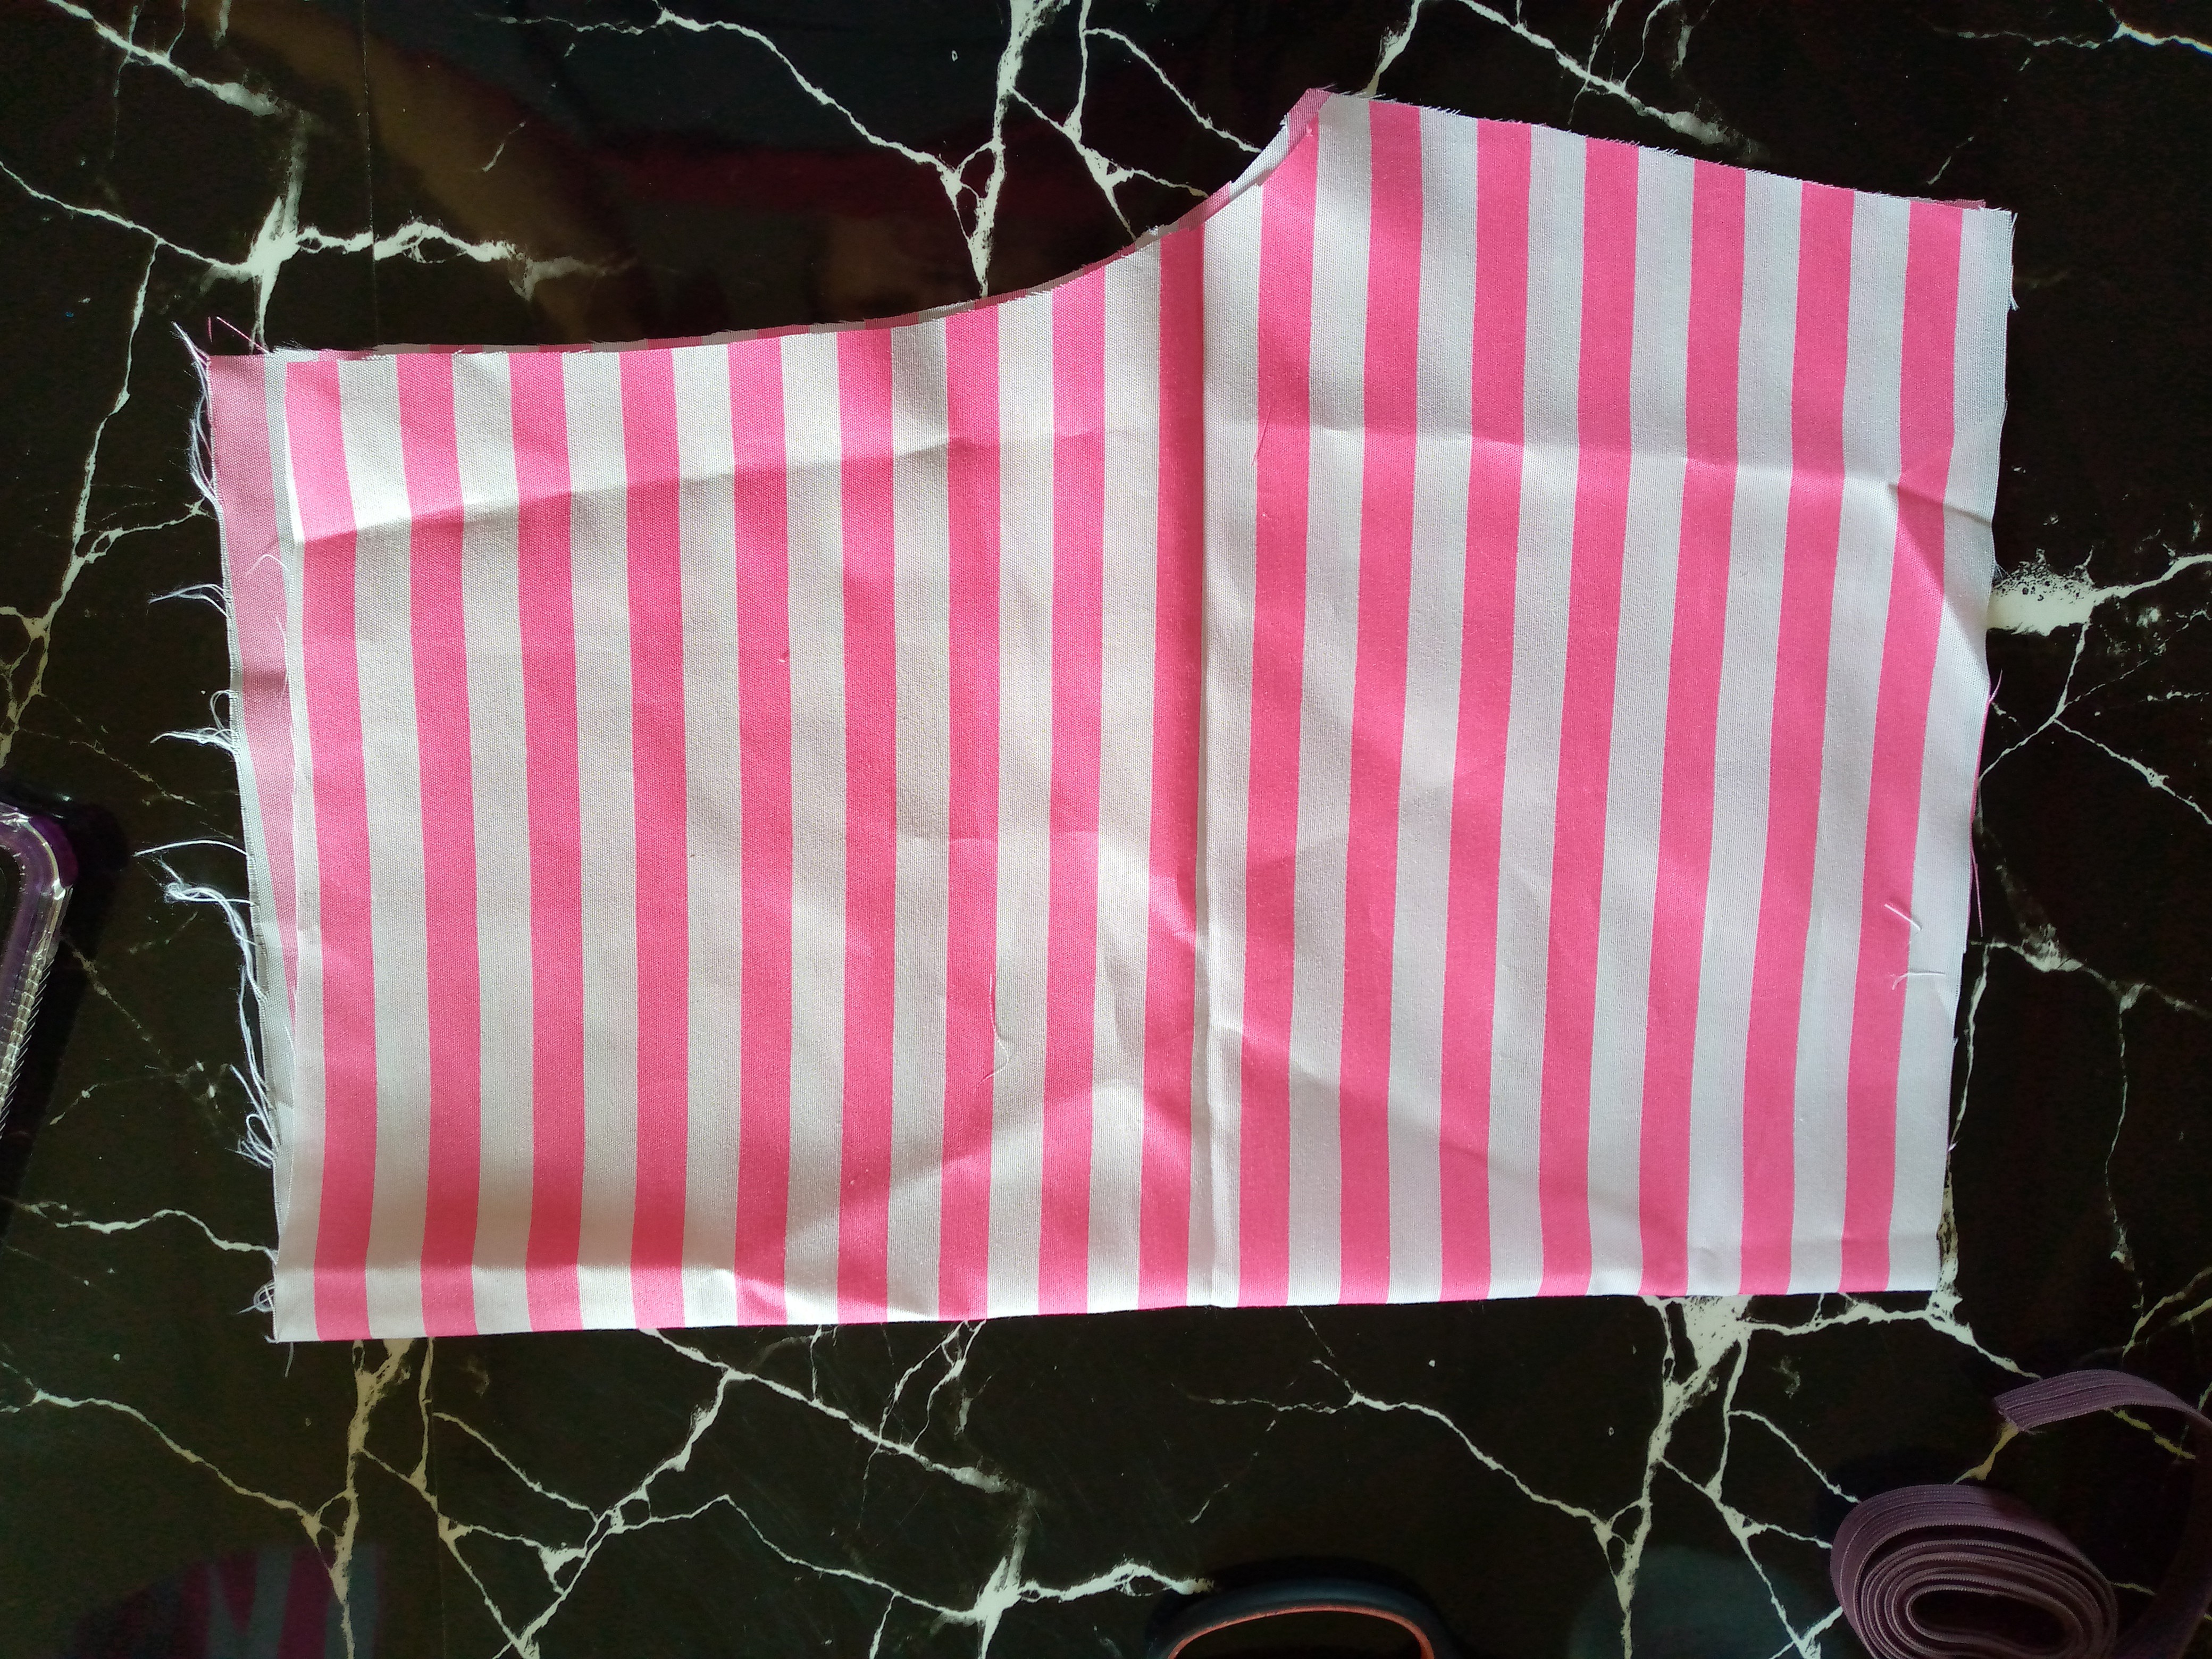
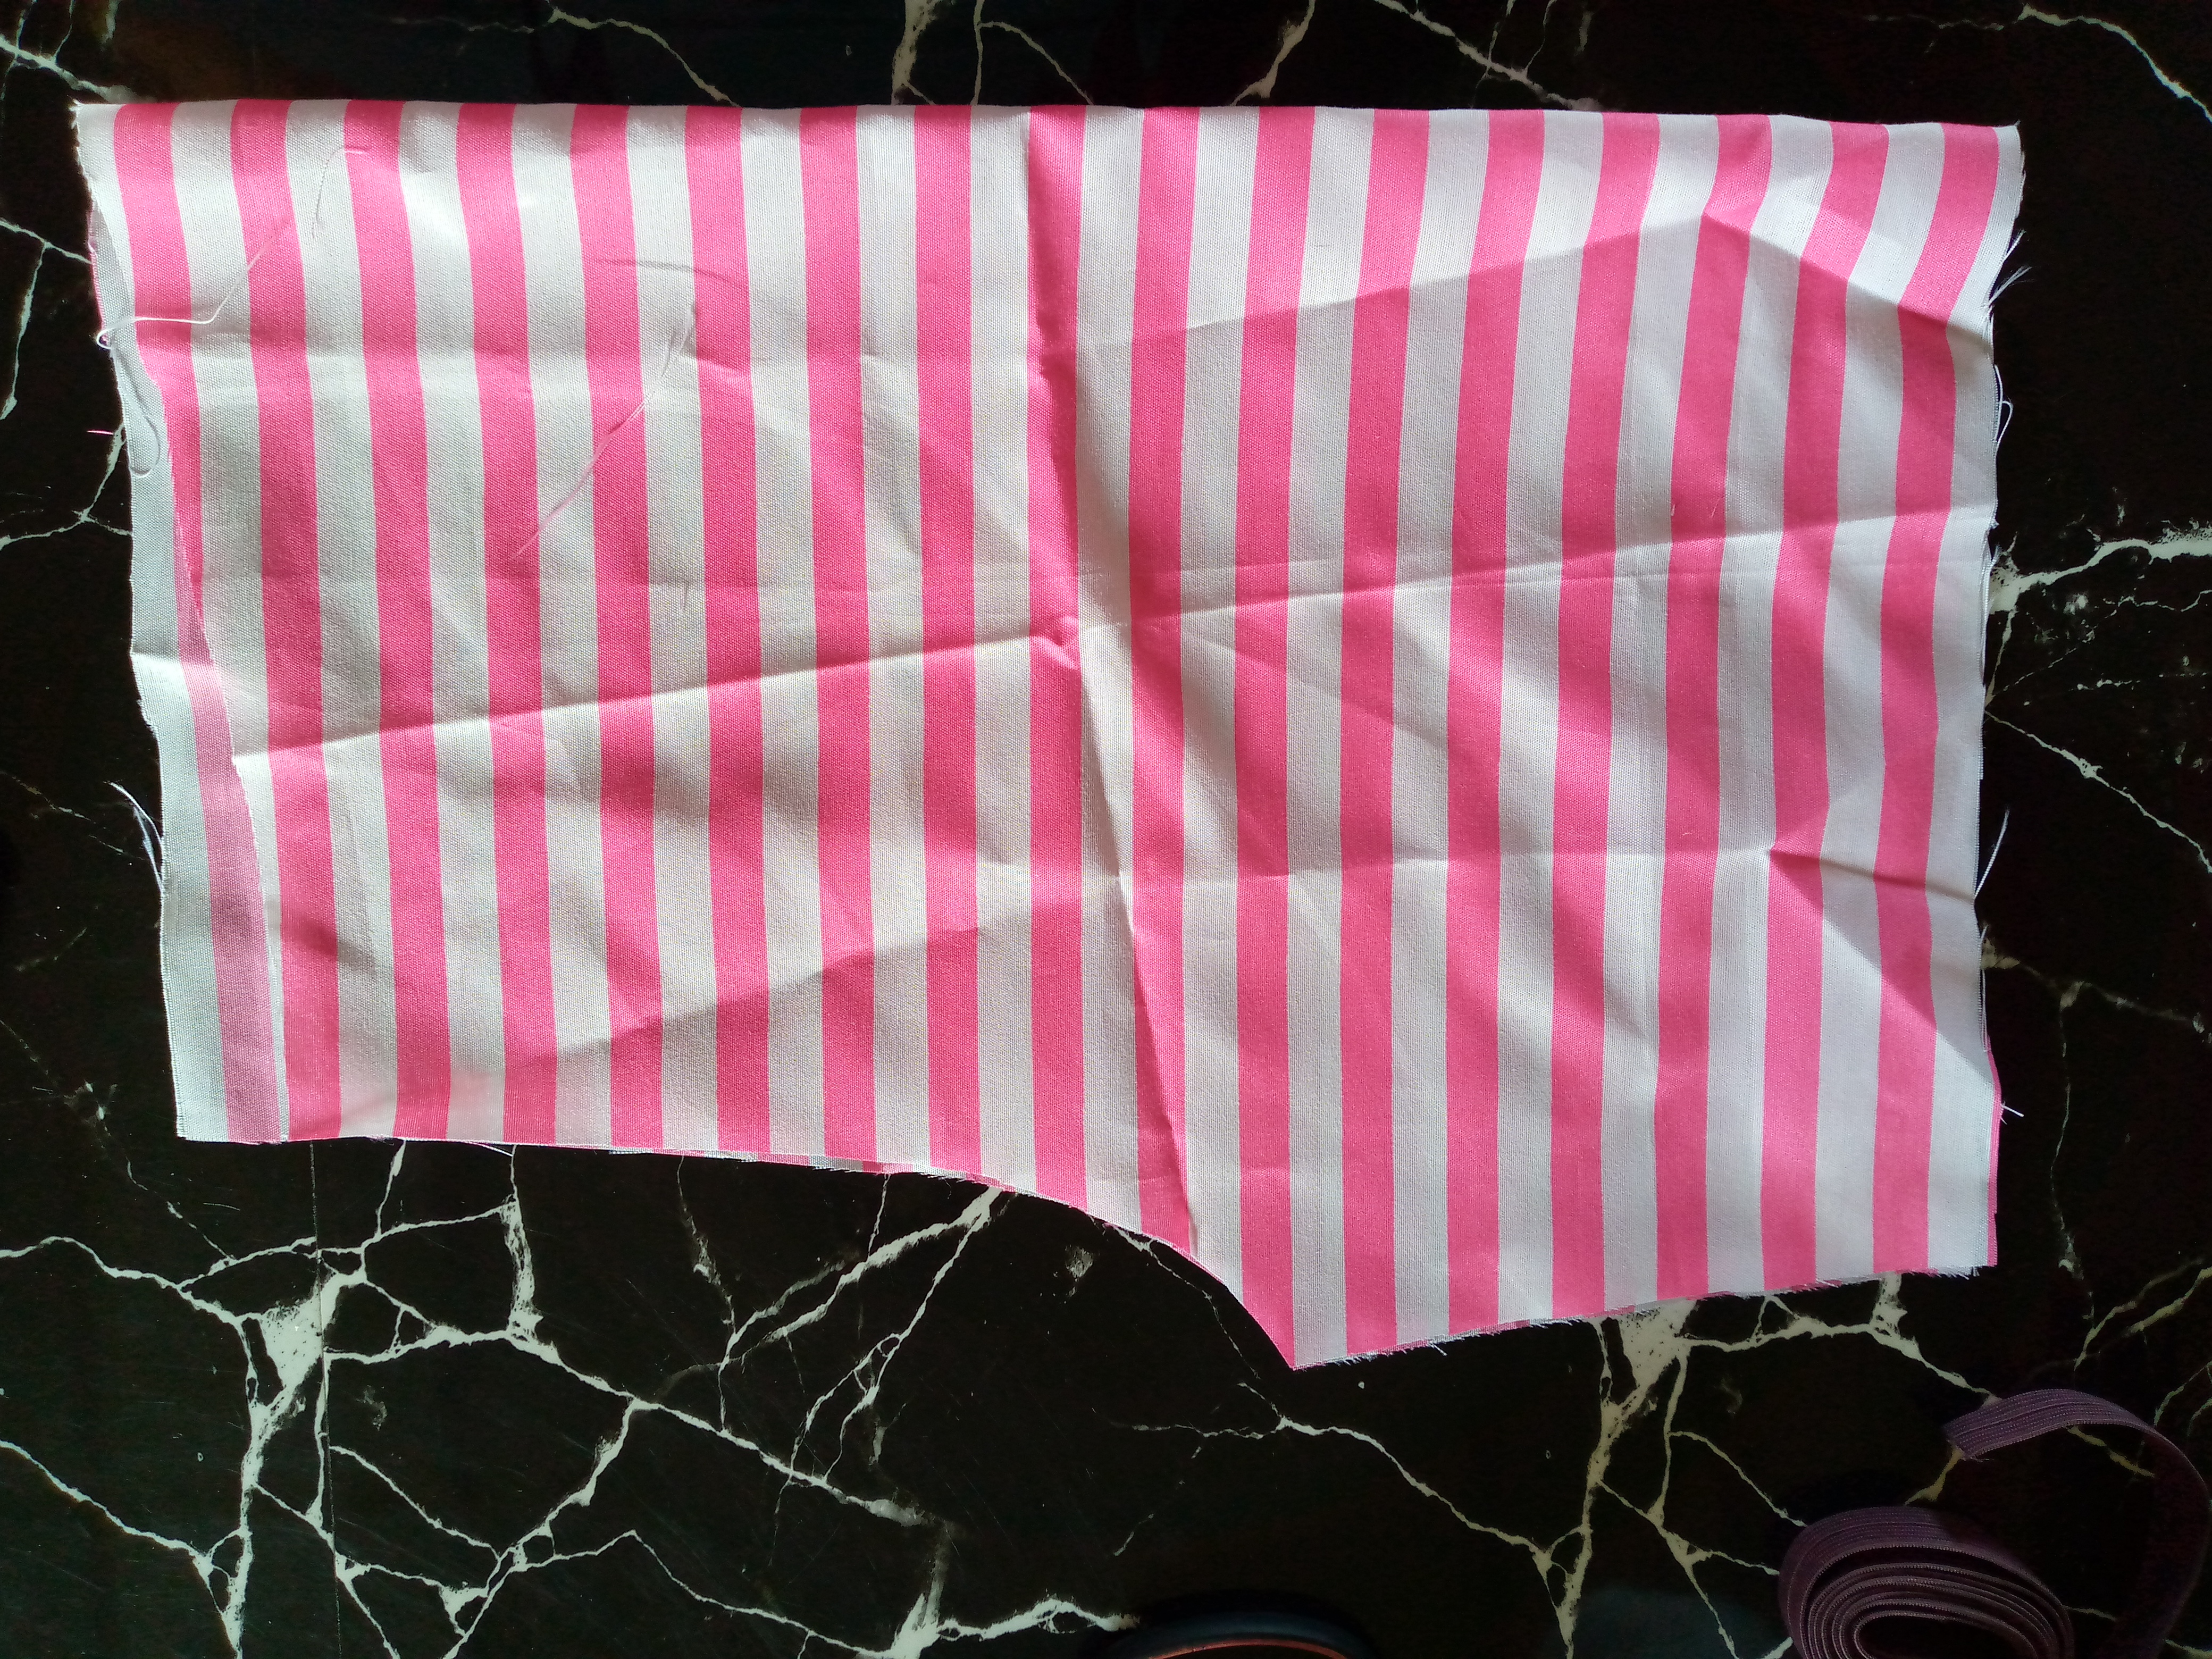
I cut the pieces in a very simple way, as you know I always use a measurement that fits our girl well, so I cut a double piece with a 1 cm drop in the front and left the back piece normal.
Paso 02
Step 02
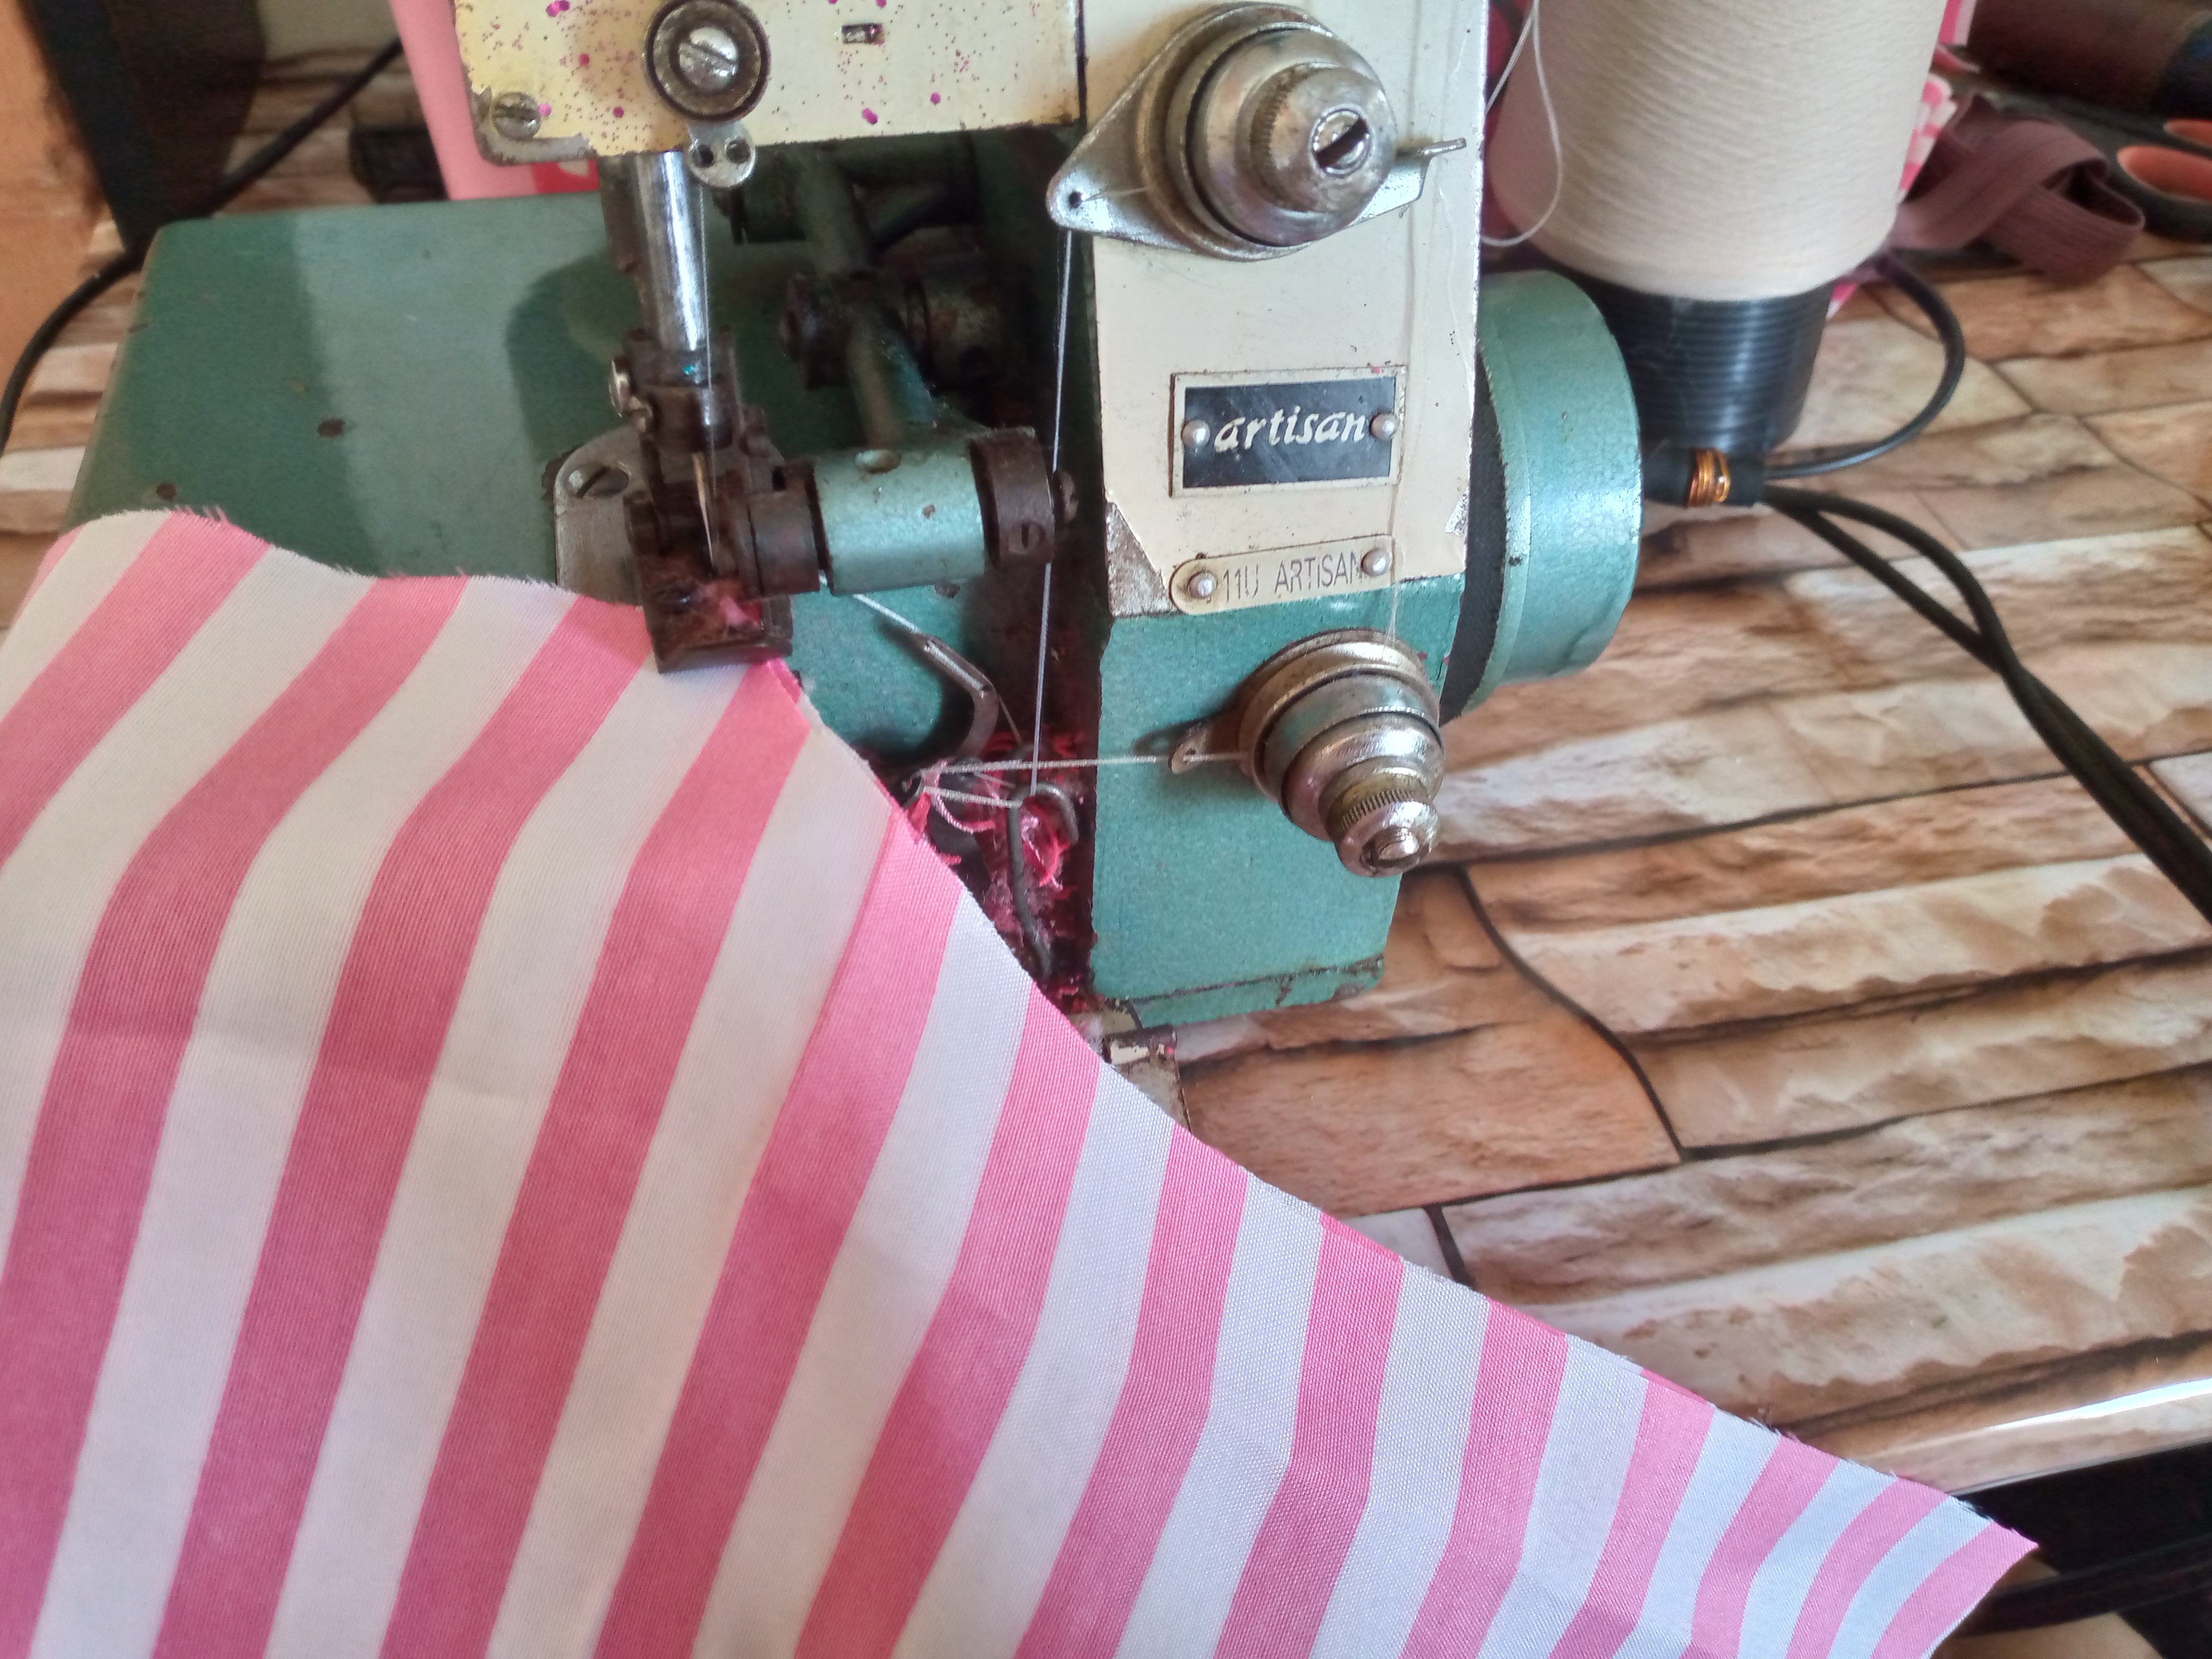
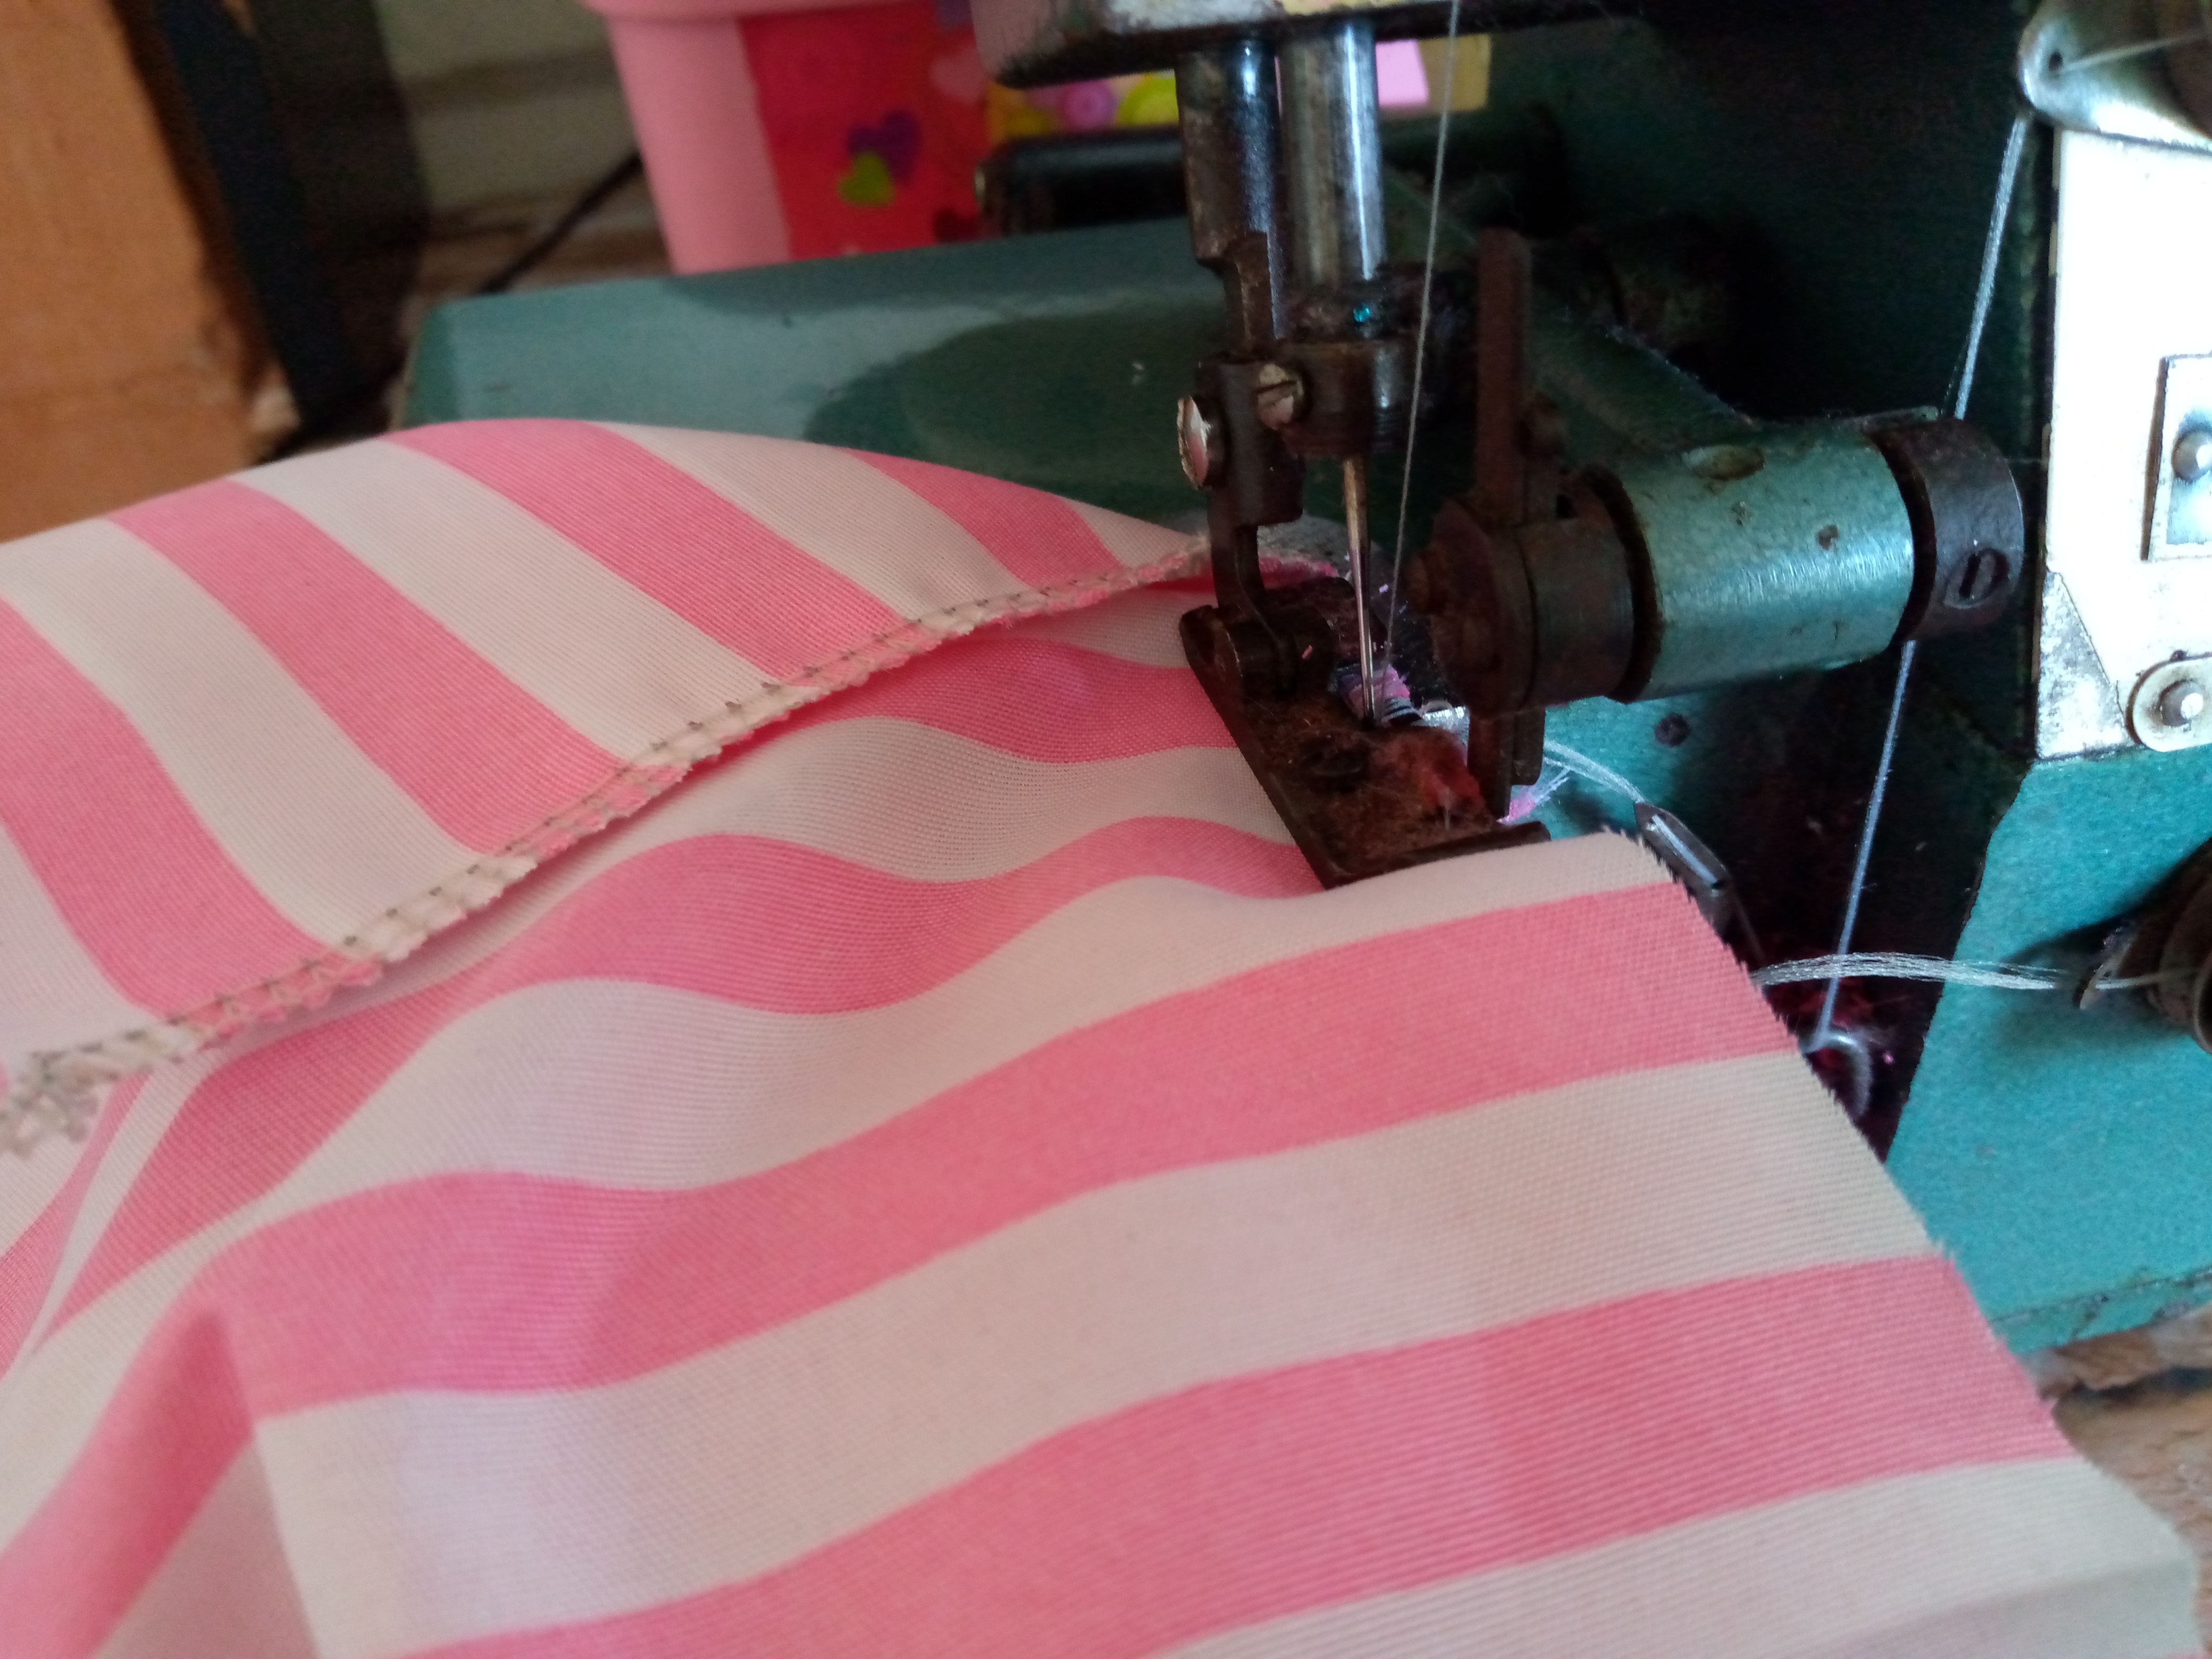
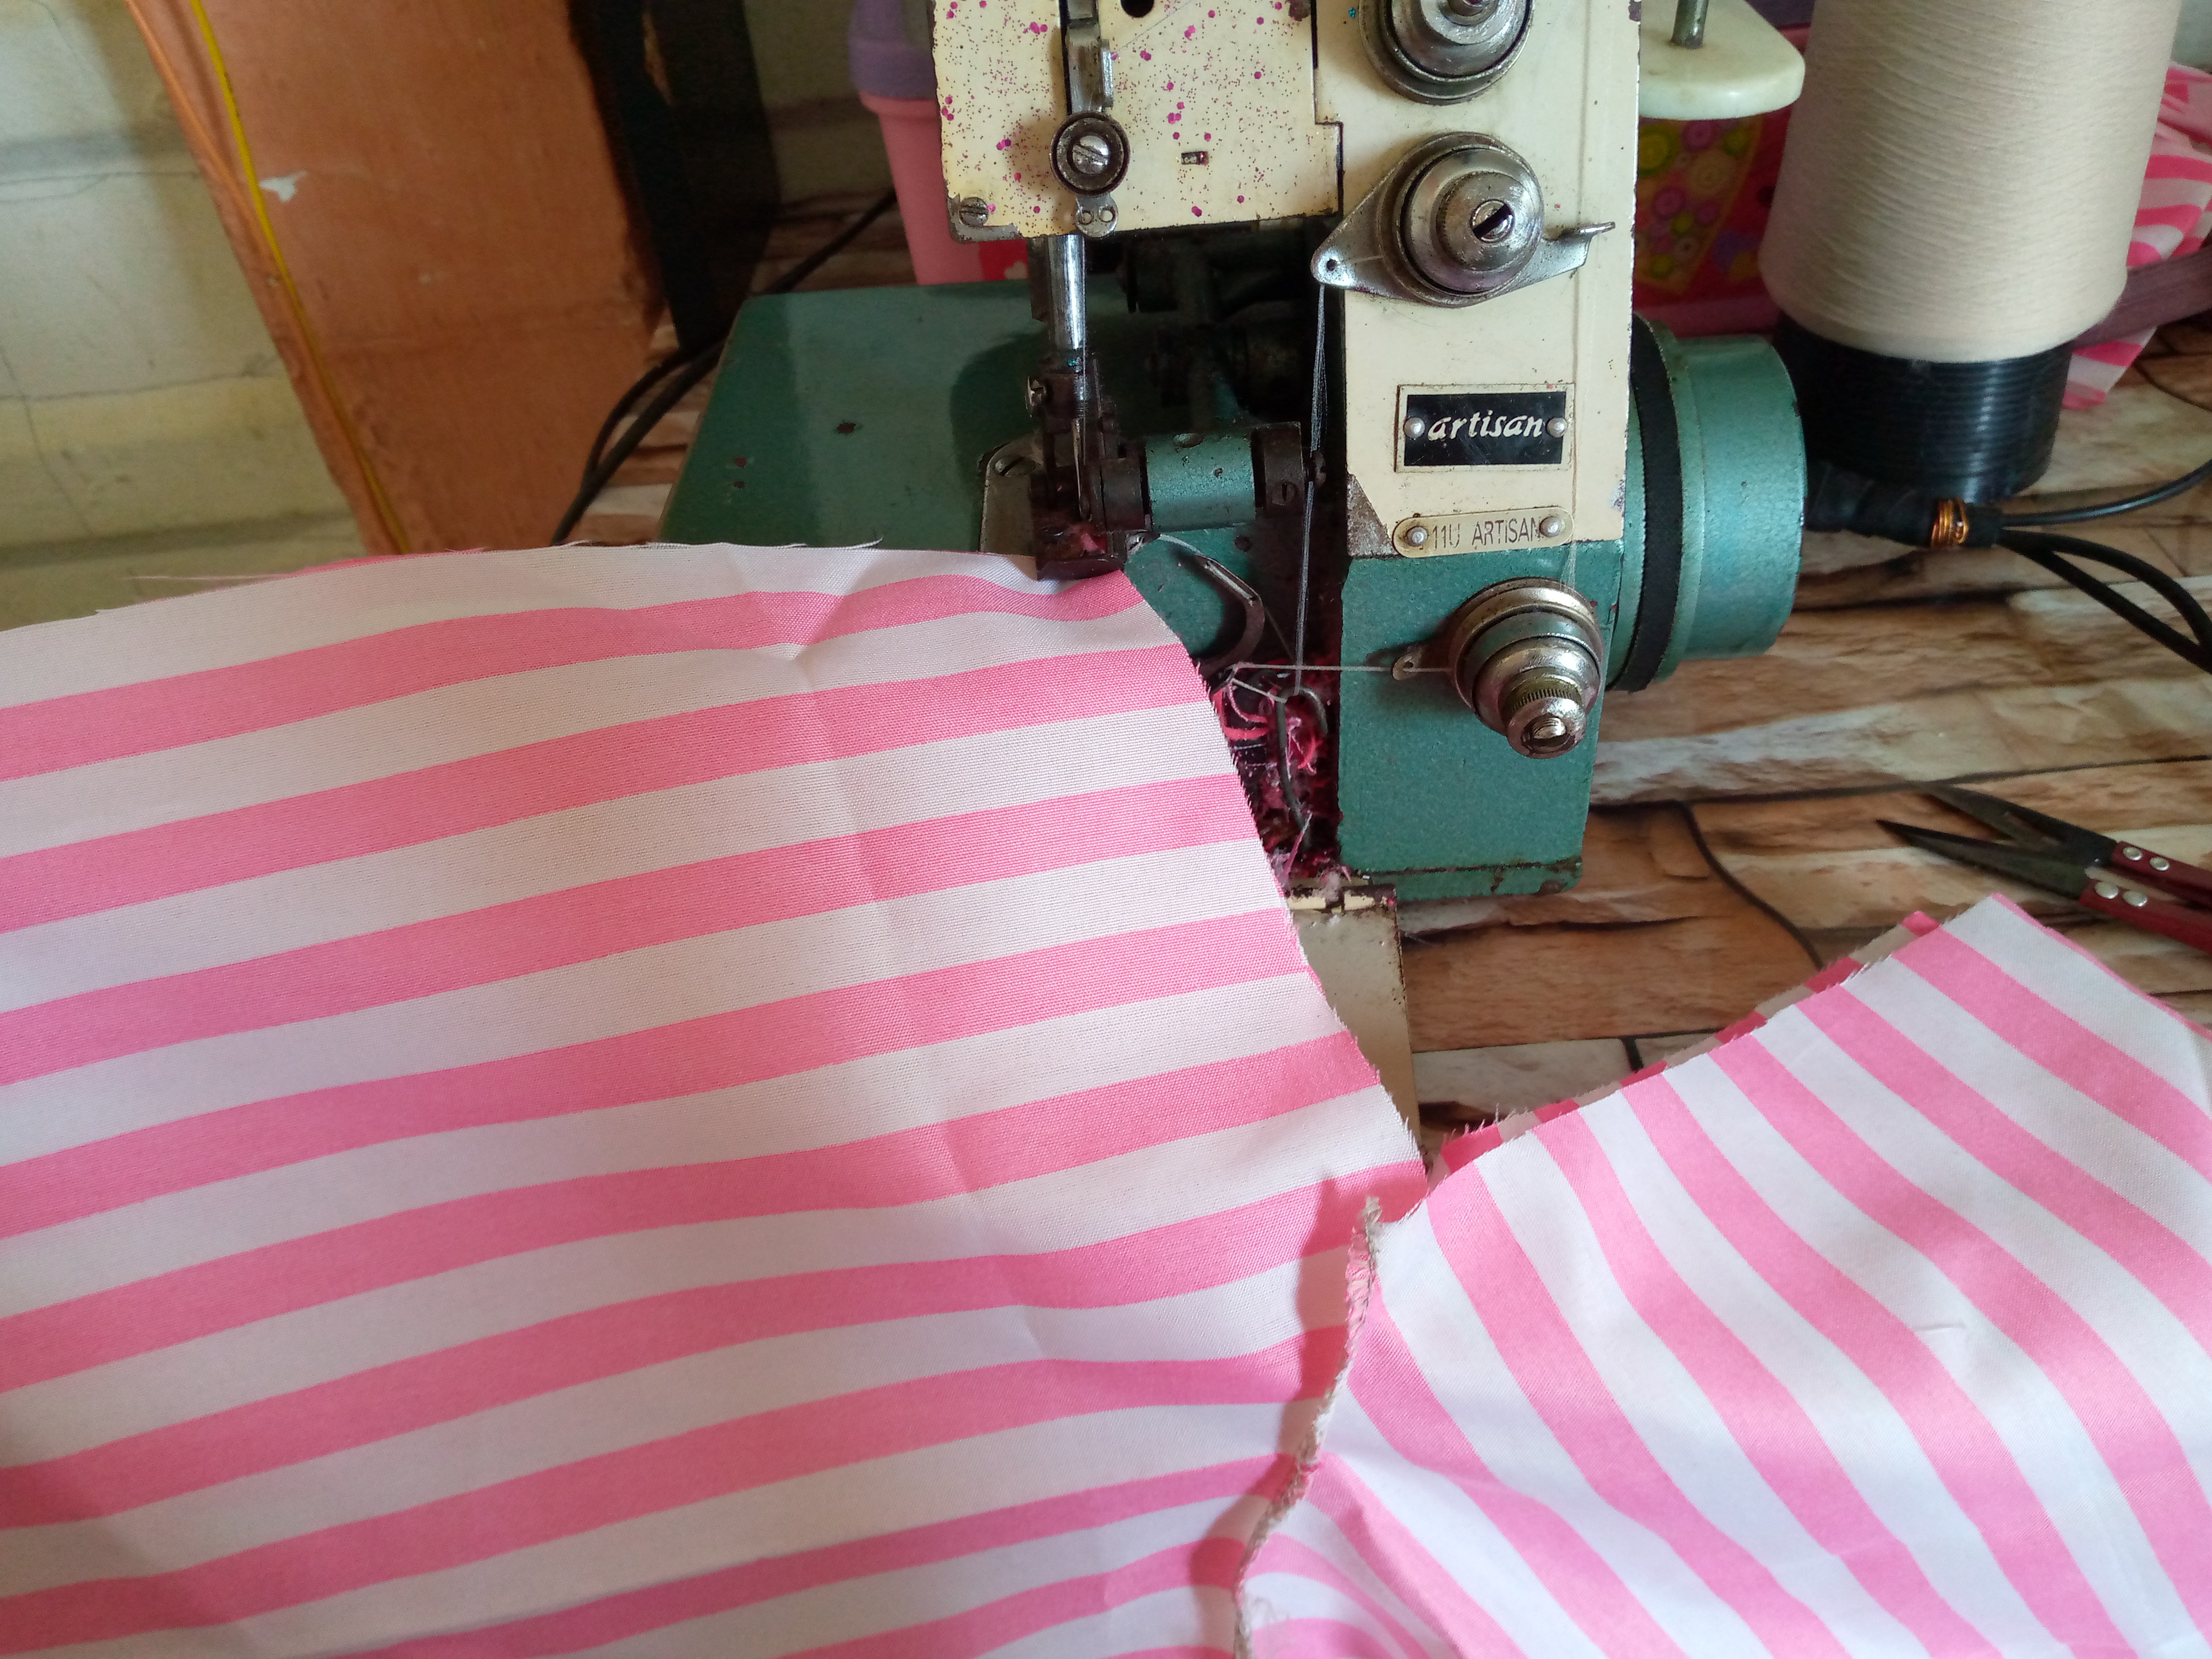
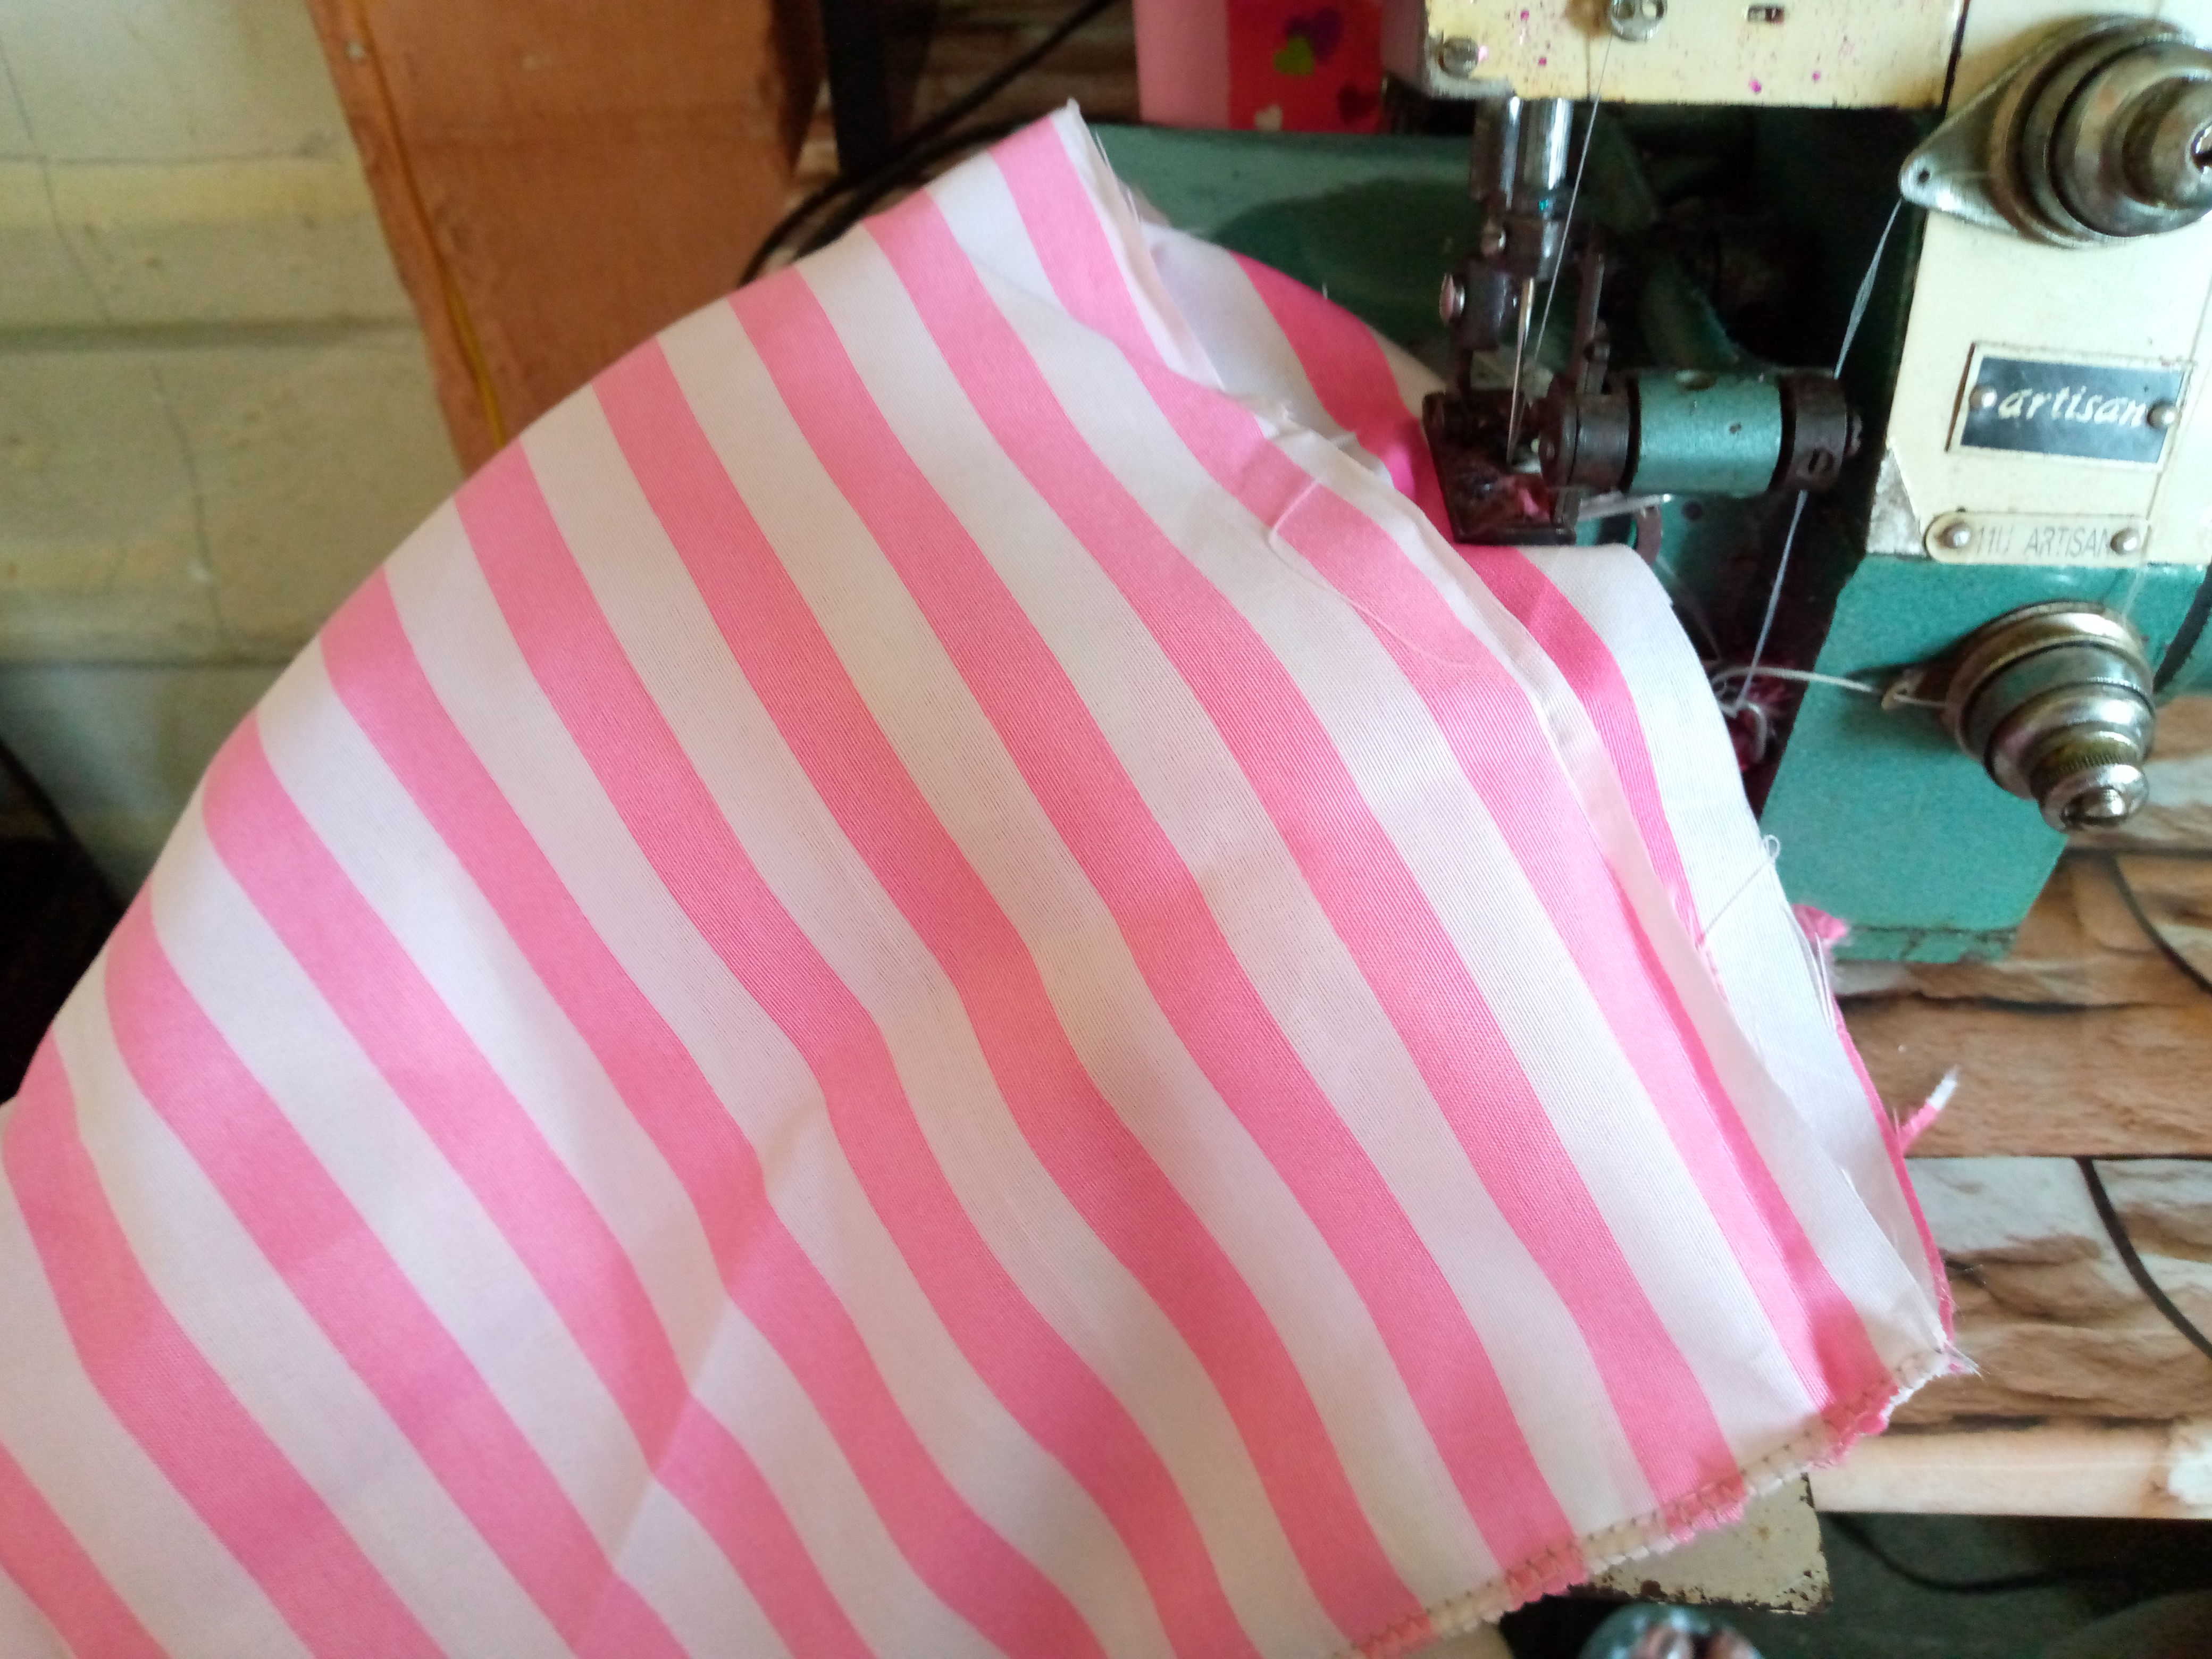
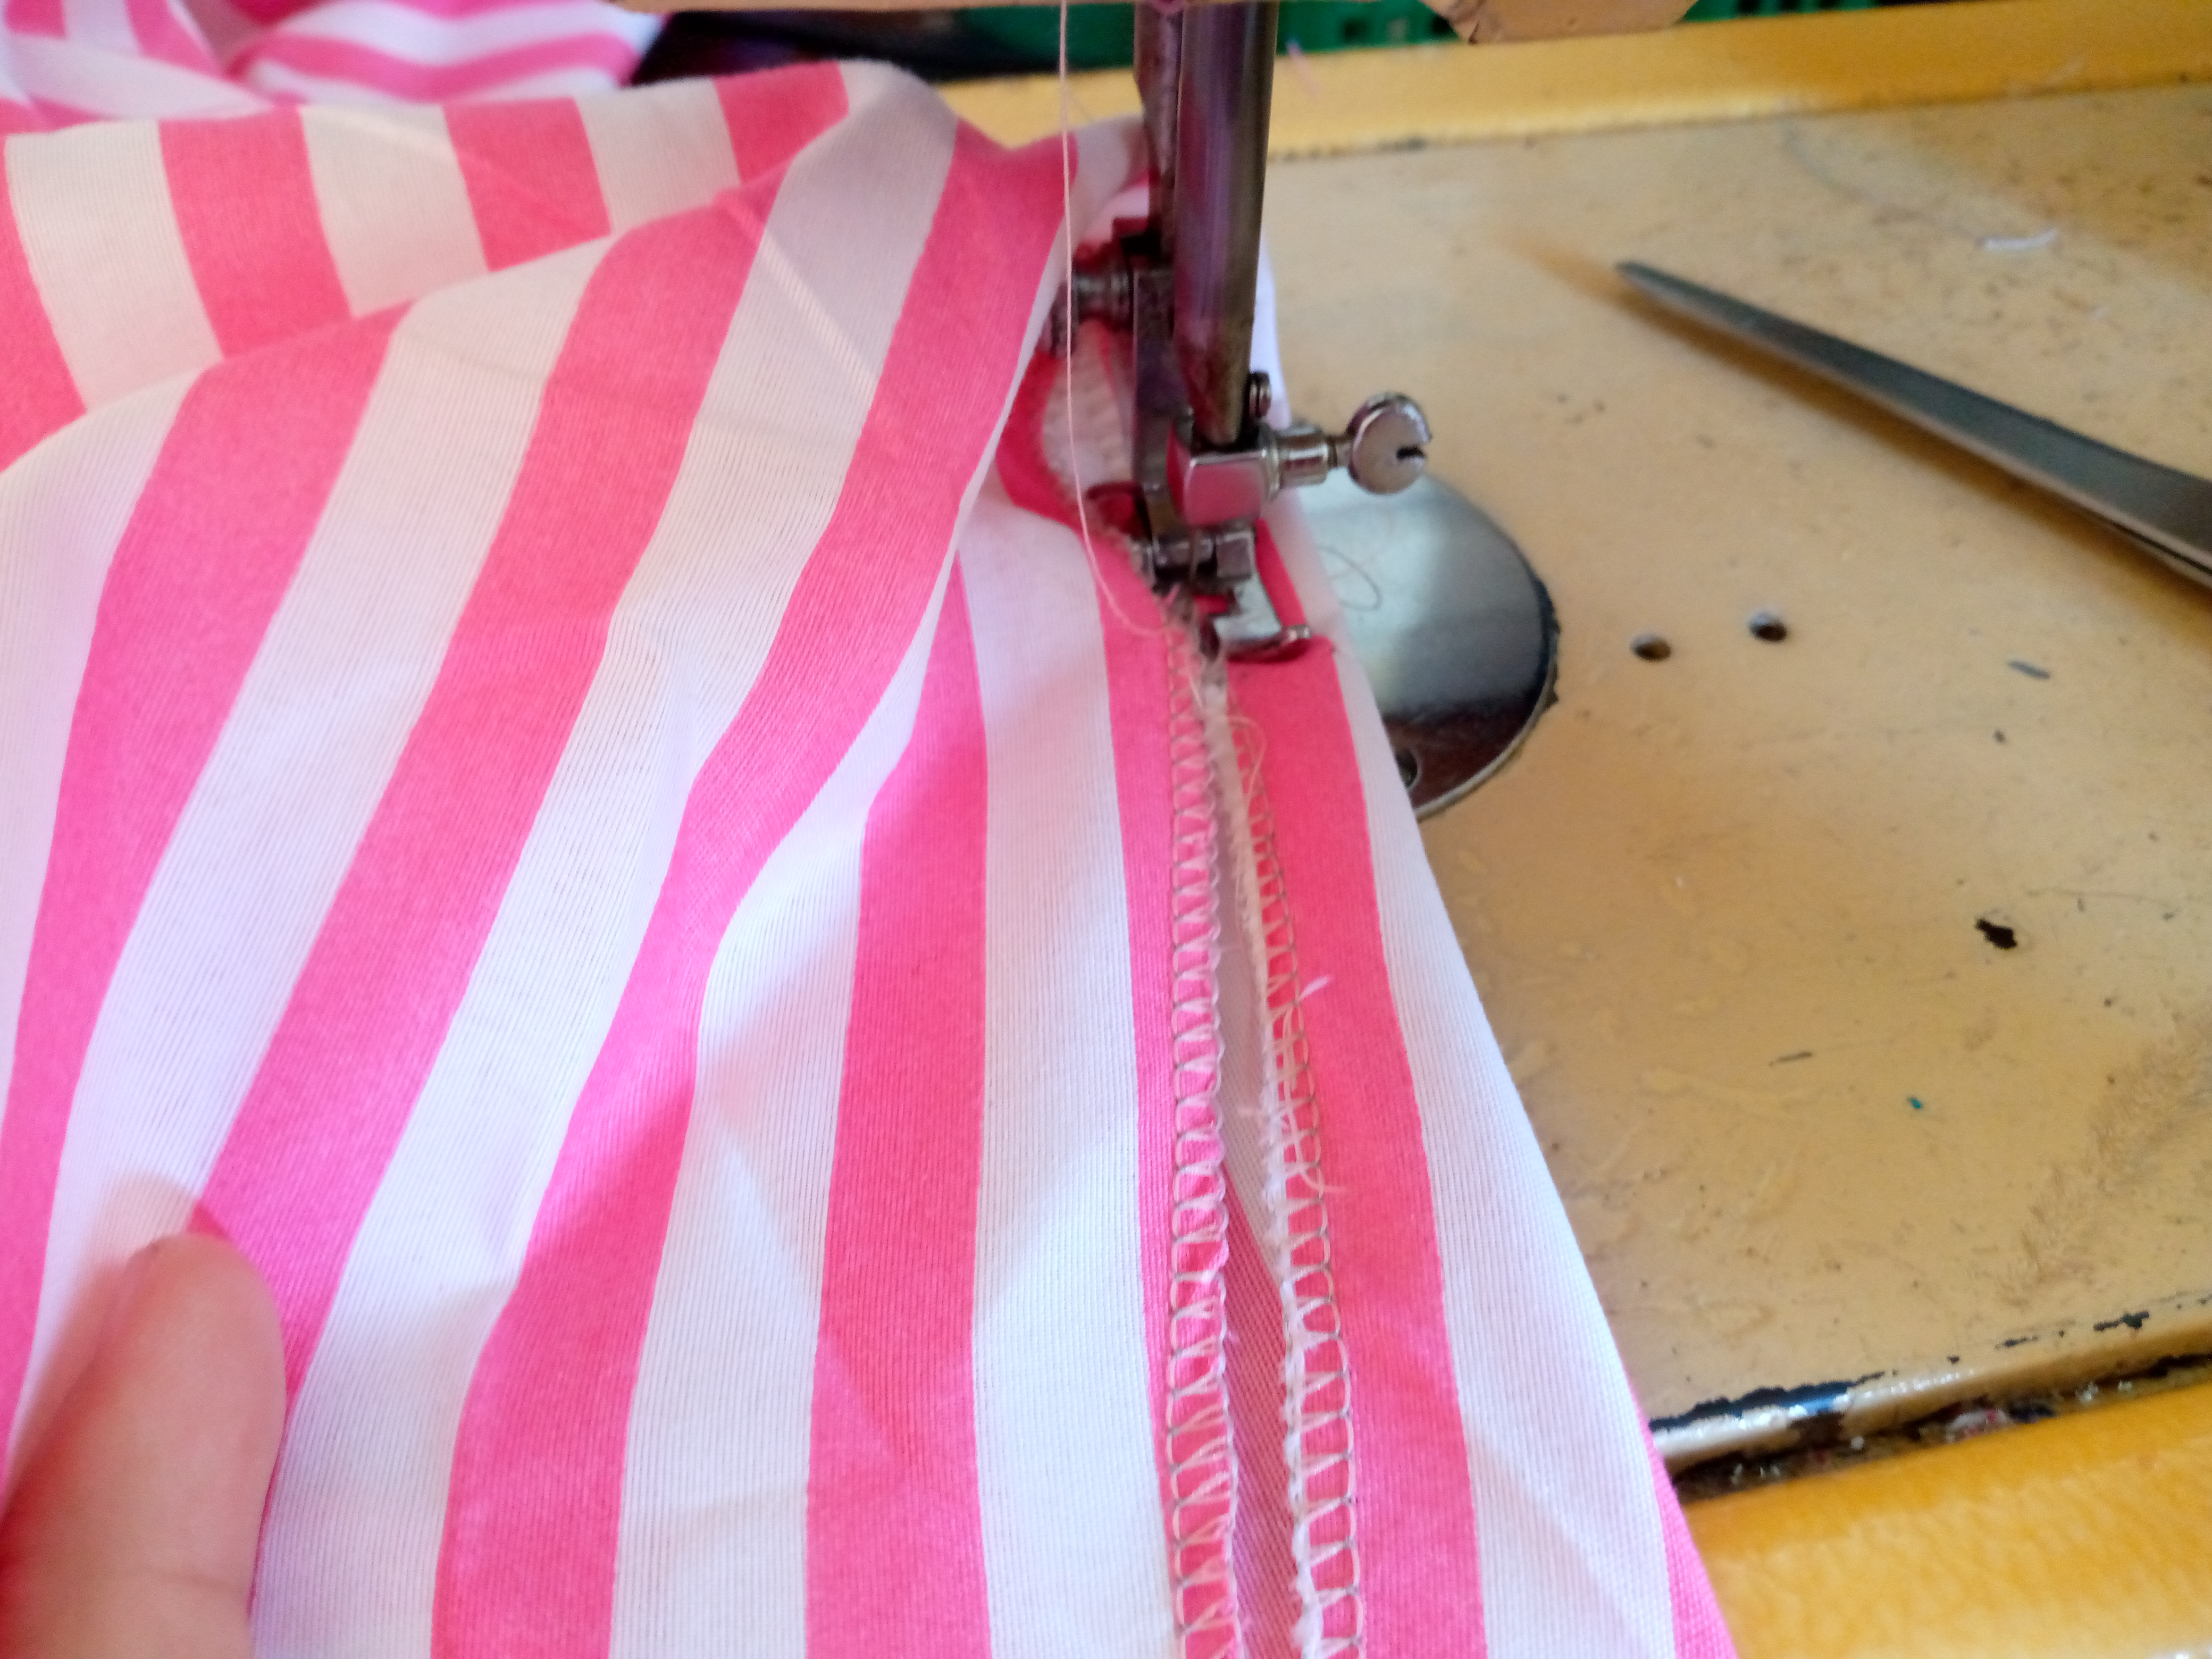
Using the overlock we are going to join the hems of my shorts, the one on one side, the front and back pieces, and we sew from the tip to the top, and we do the same step with both pieces on the other side, then we open this hem, of course, so that it is in the middle, both the front and the back.


Paso 03
Step 03
Once I have opened it, it is time to sew along the crotch area. I will also sew with my overlock from one end to the other. We measure our elastic as normal, from one end of the waist circumference, we lengthen it and measure 5 cm outwards and cut the elastic. Then we will seal both ends of it in the machine as well.
Paso 04
Step 04
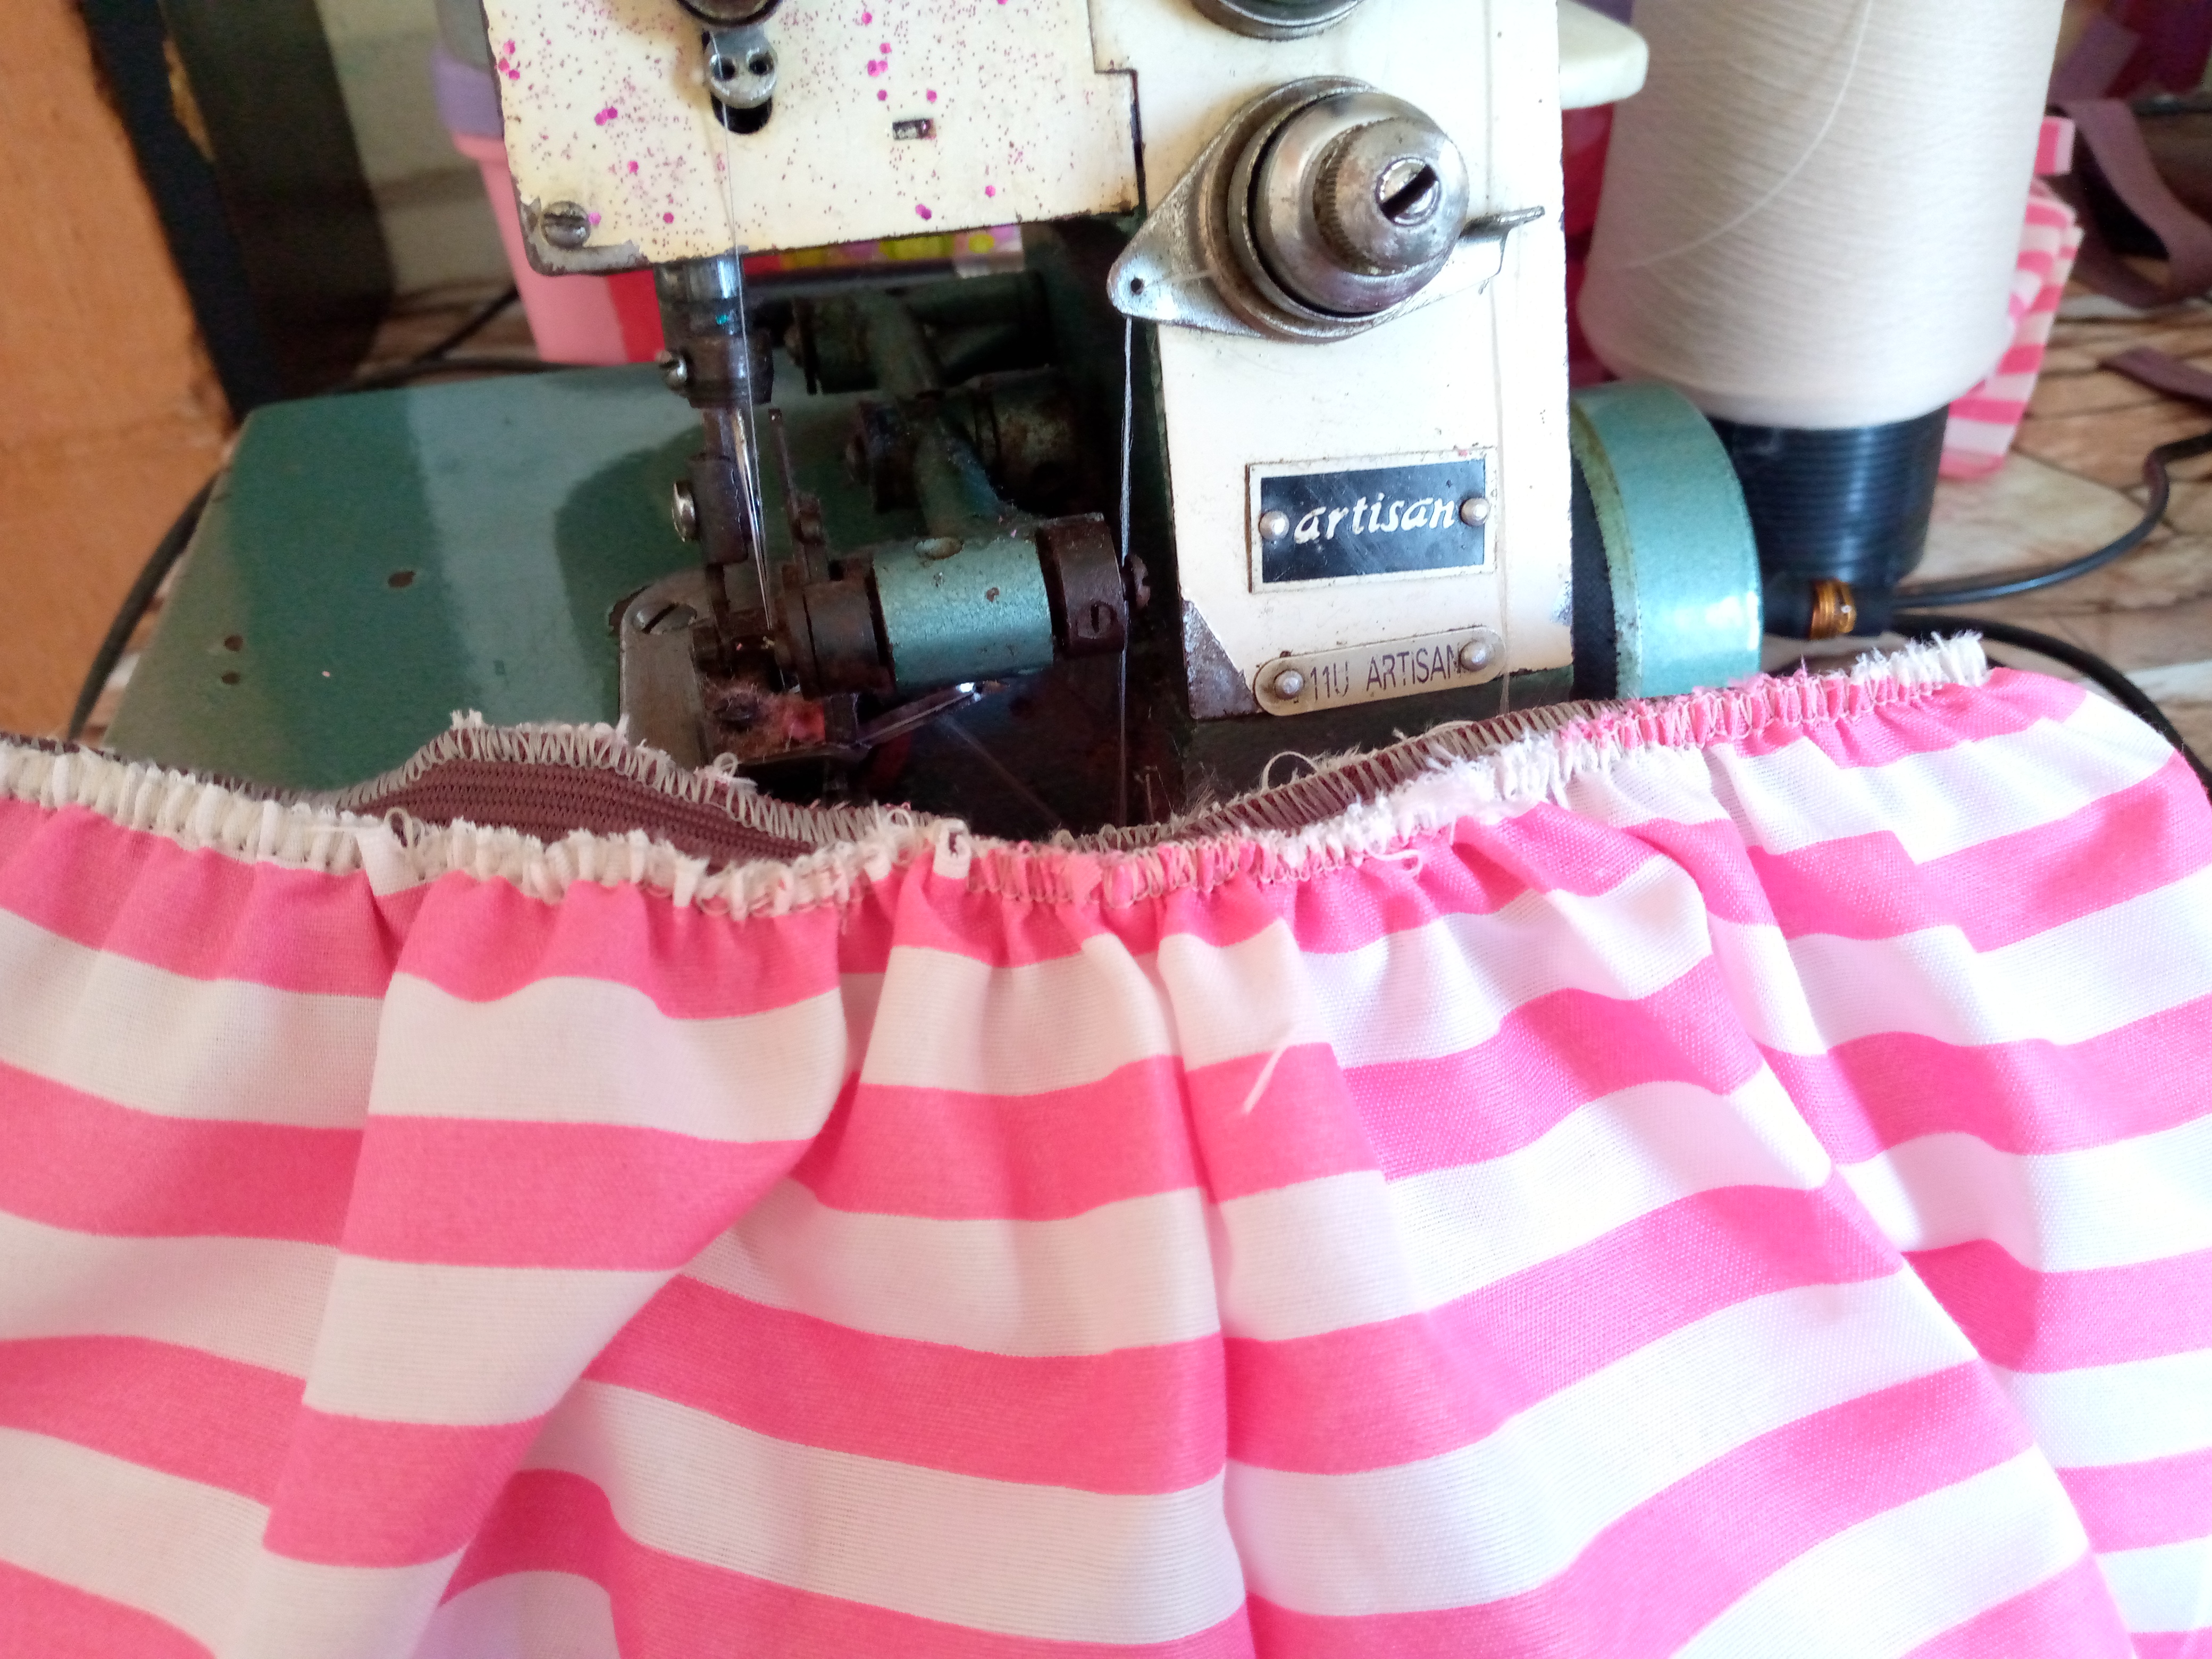
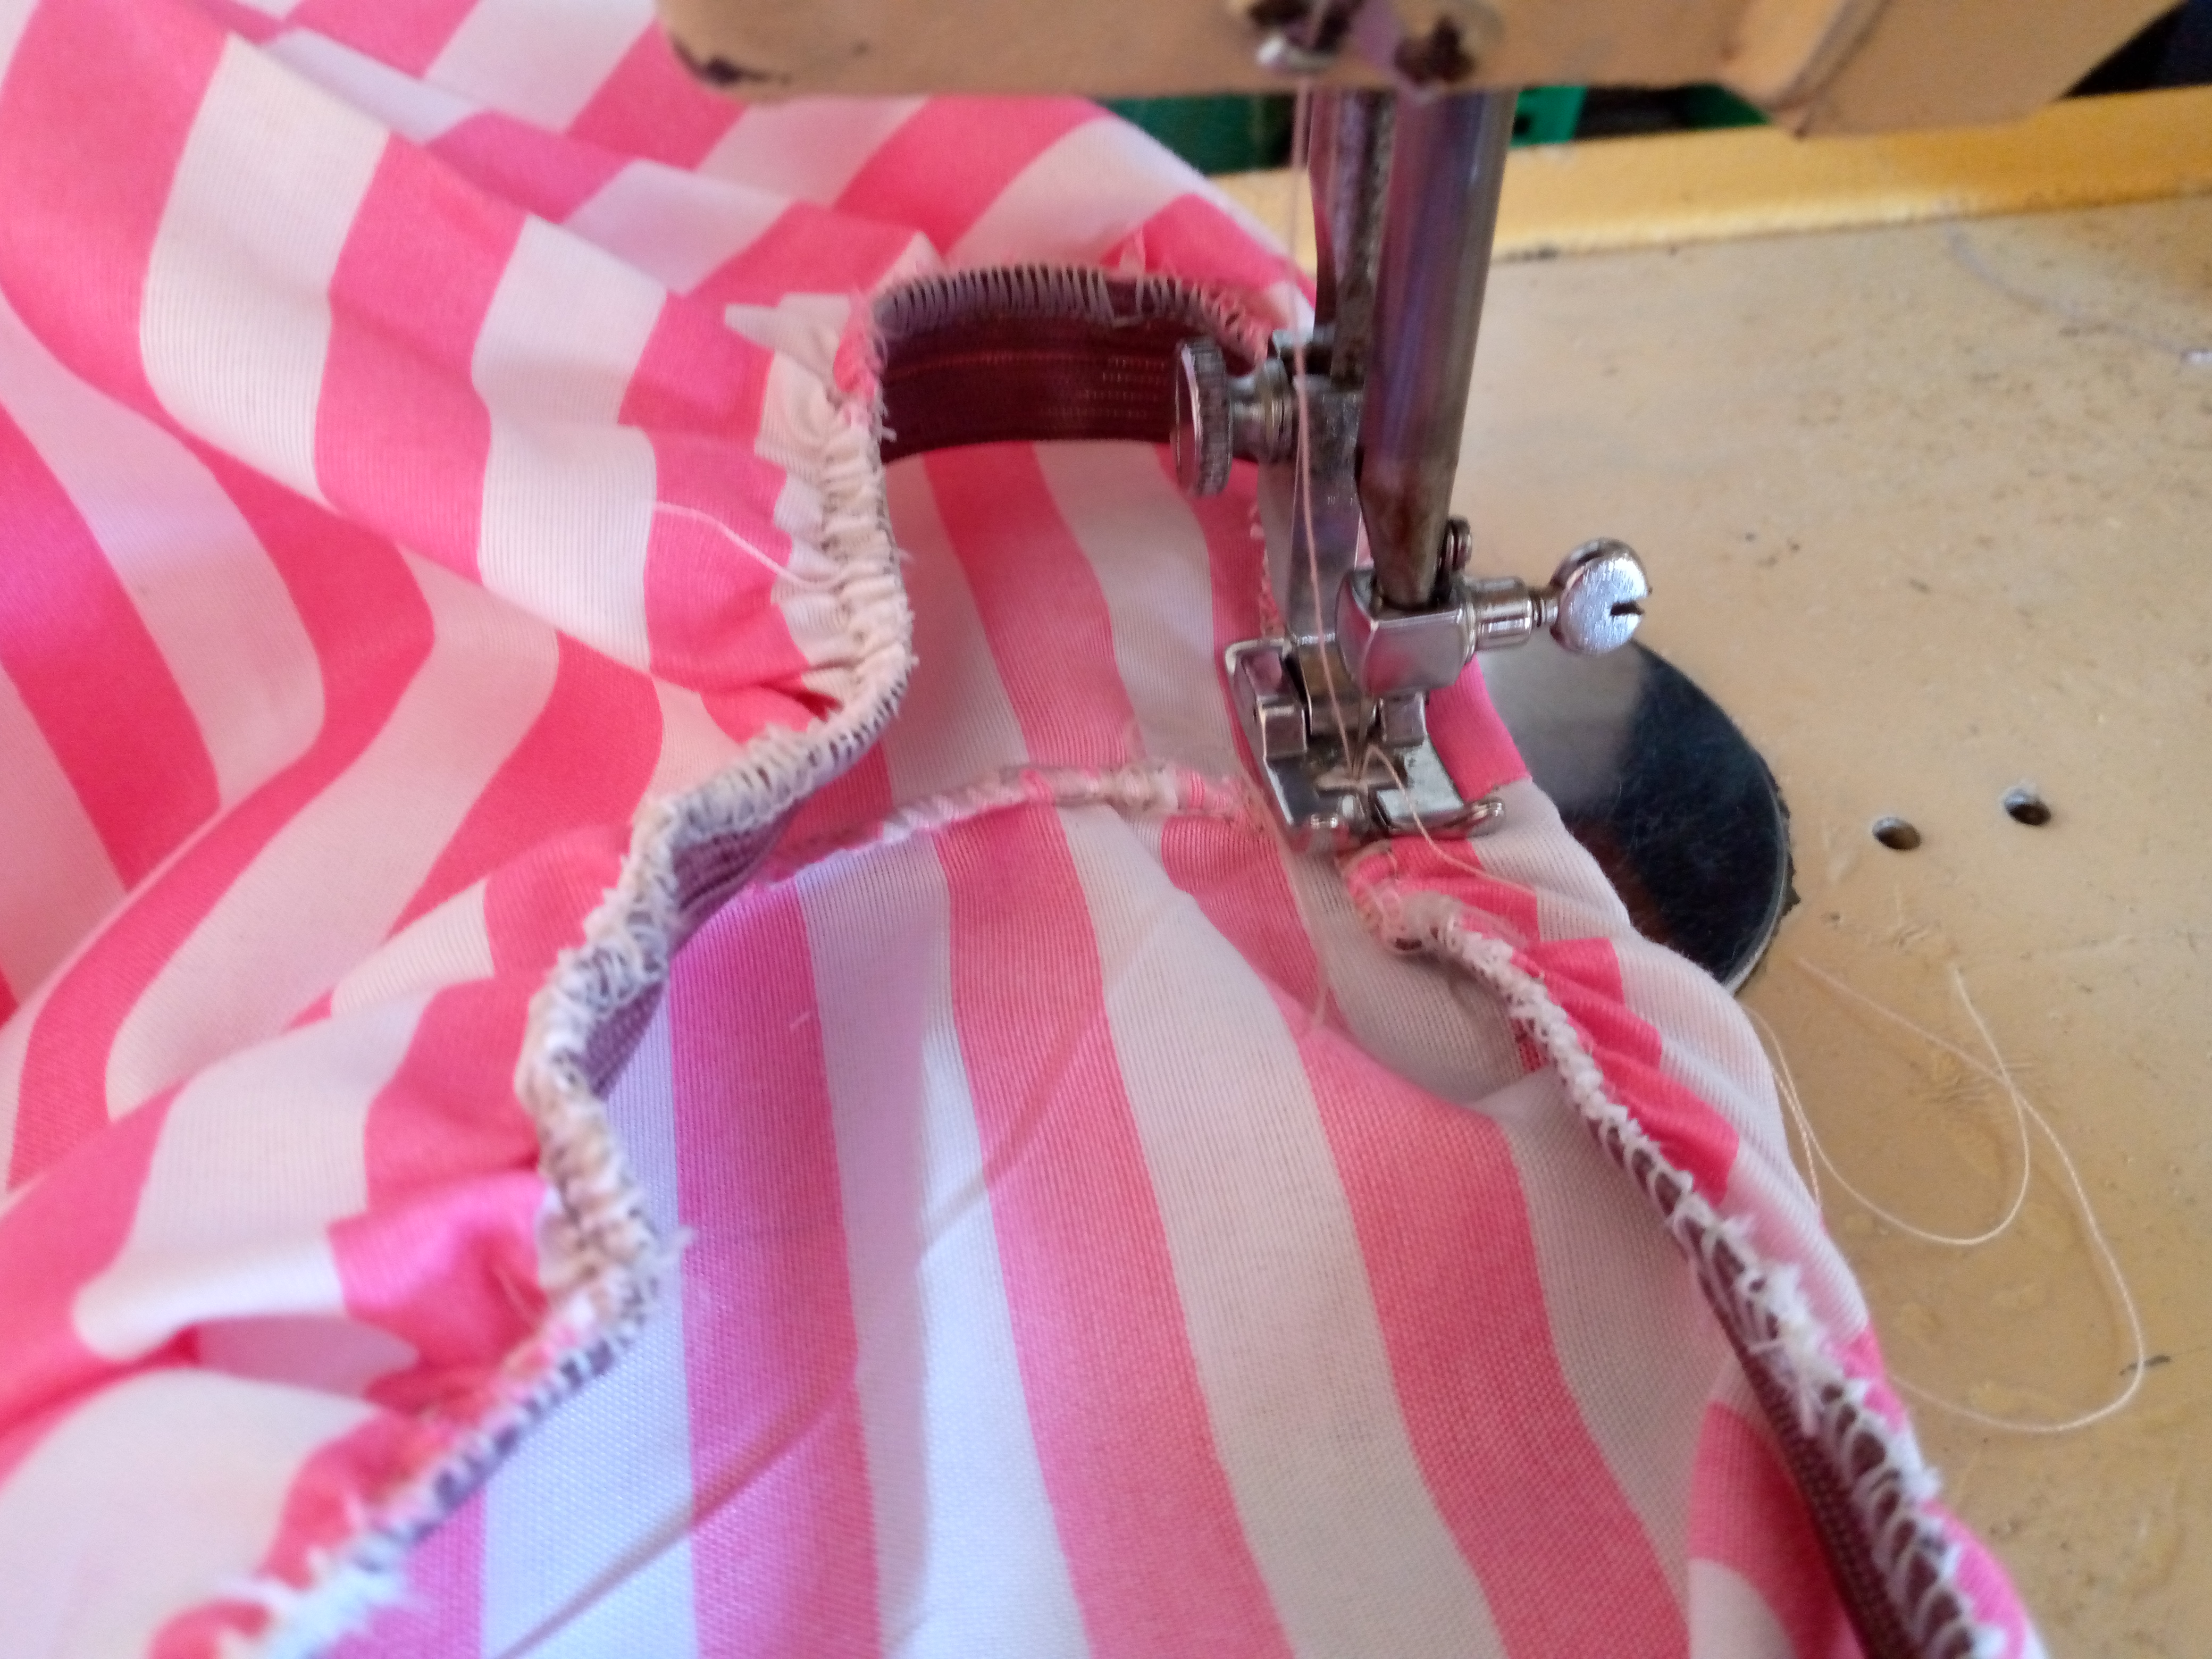
After we sew the ends of the elastic, we sew it with an overlock around the entire outline of my shorts and we will stretch the elastic and sew until we finish, then on the normal machine we sew the elastic again folding it inwards with a straight stitch and we sew a 2 cm hem on each part where the legs go and we finish these cute shorts.
.jpg)
Resultado:// Result:
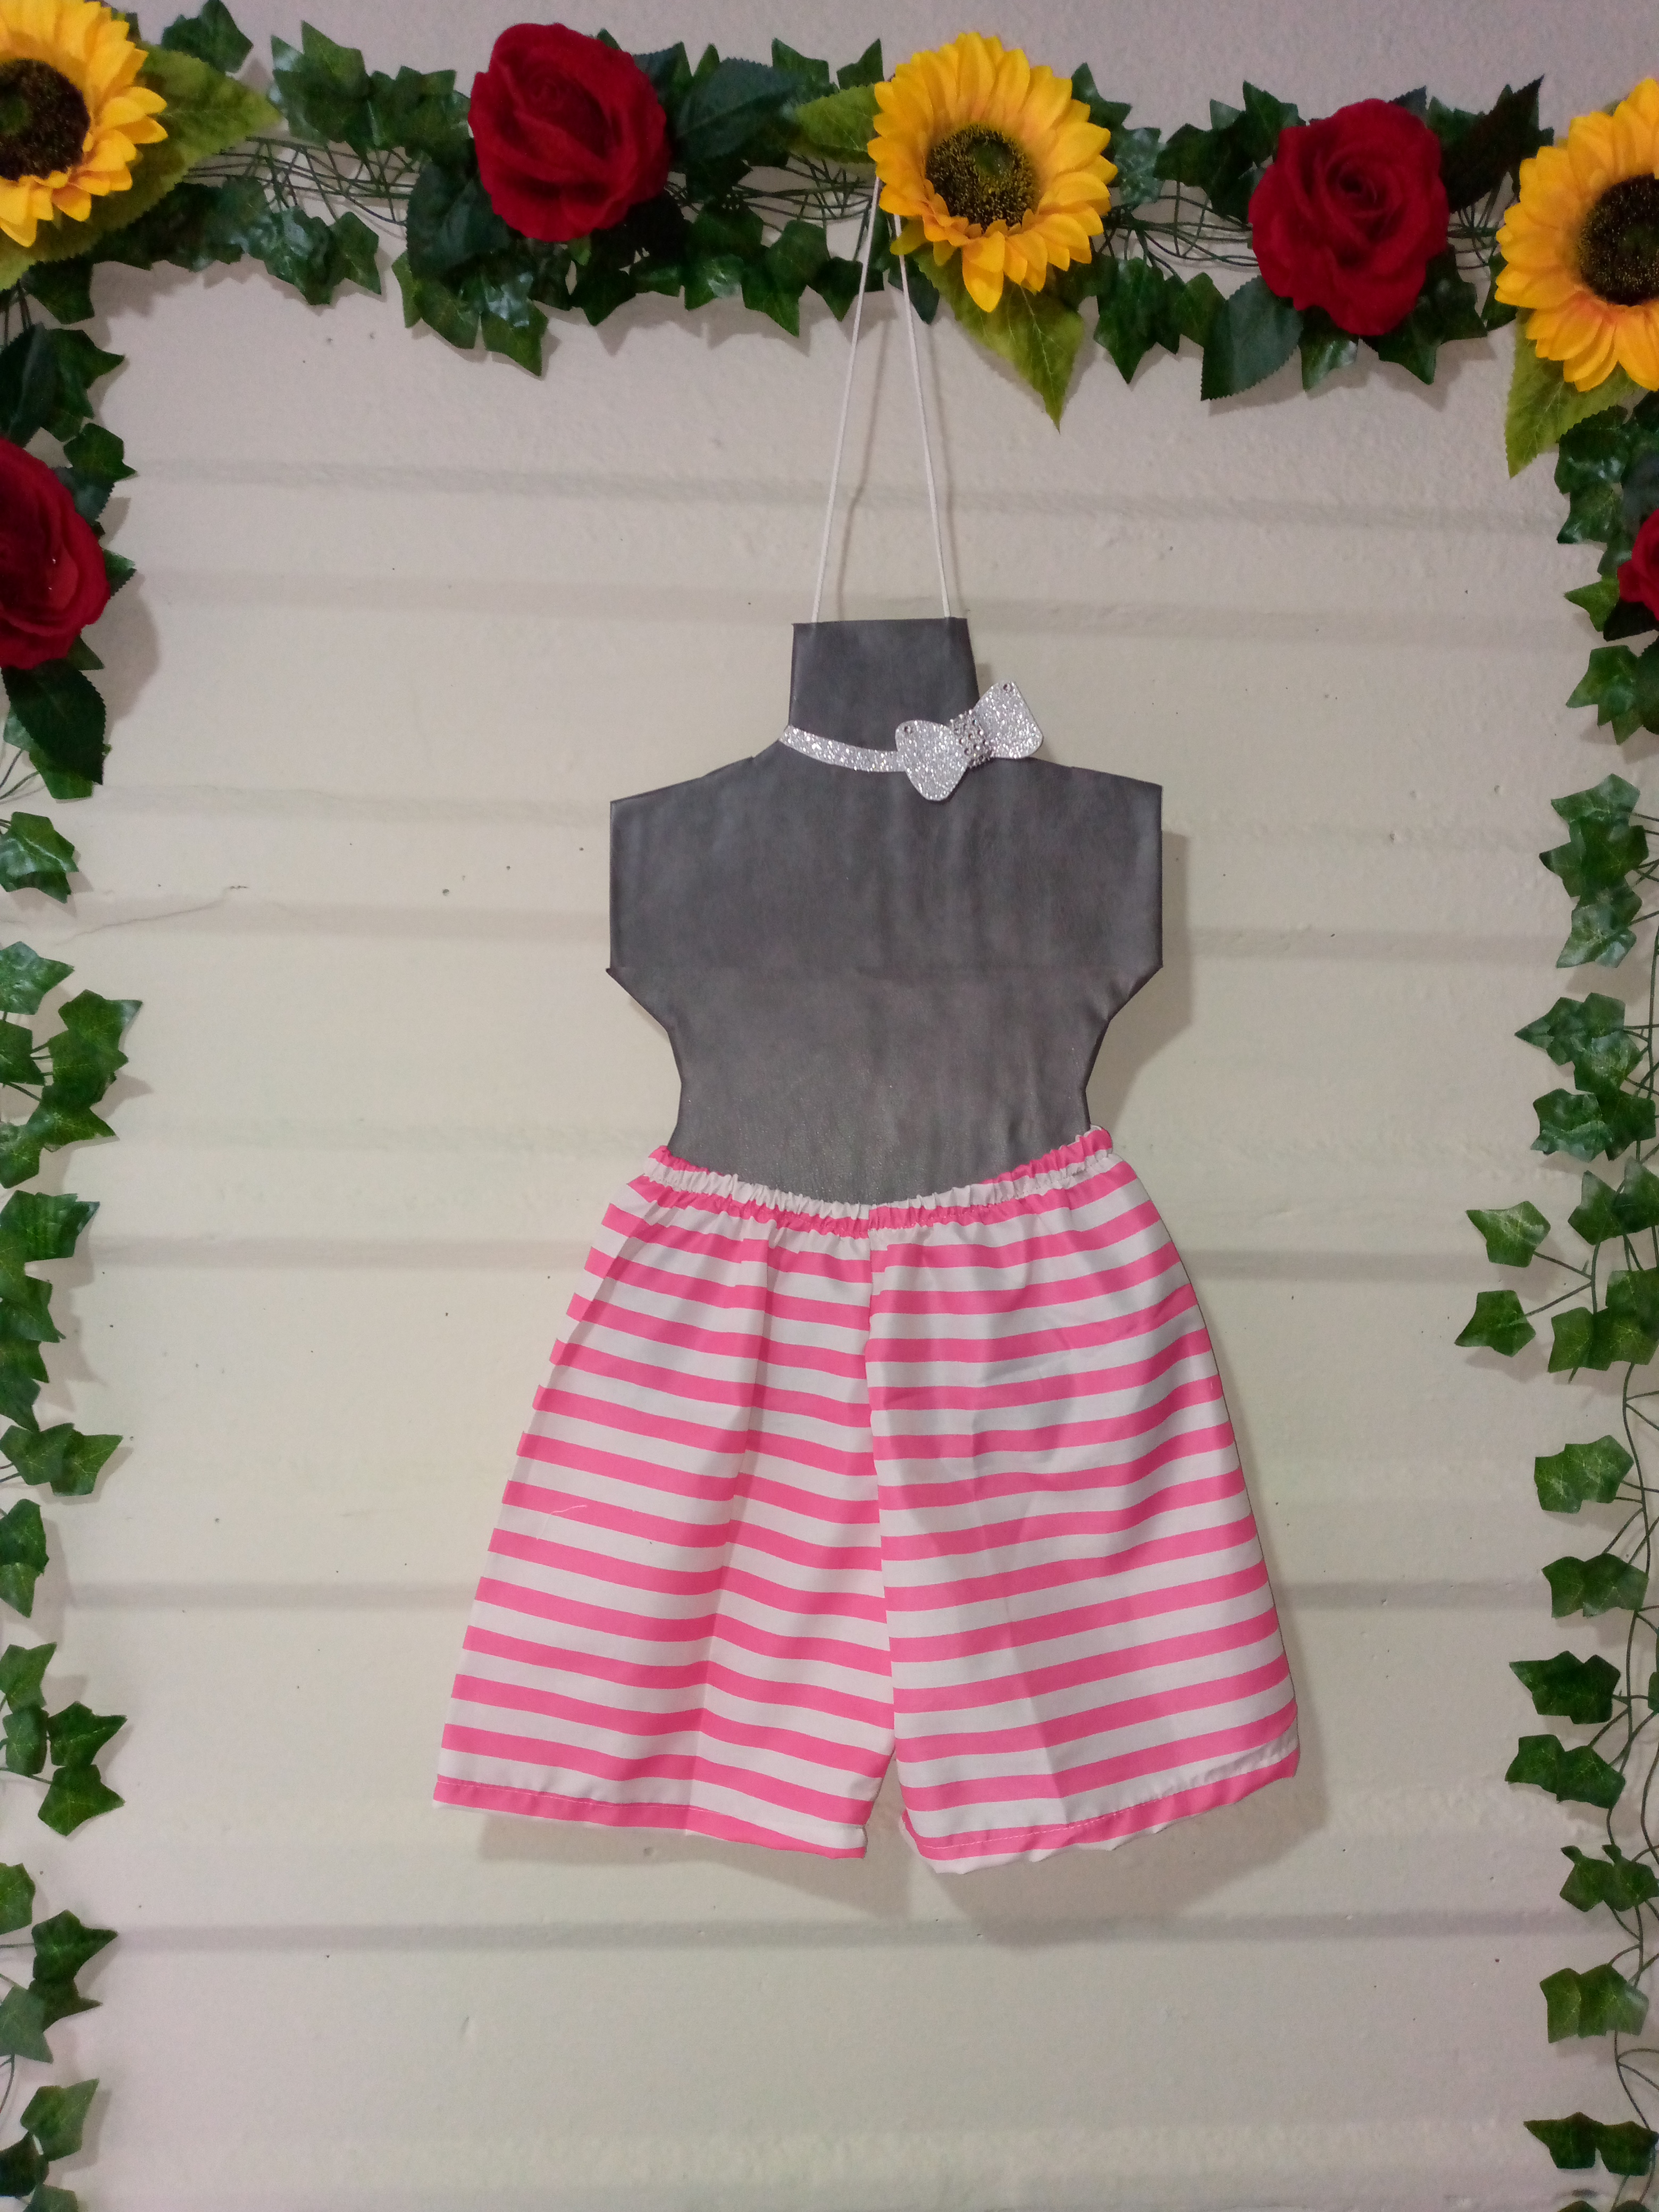
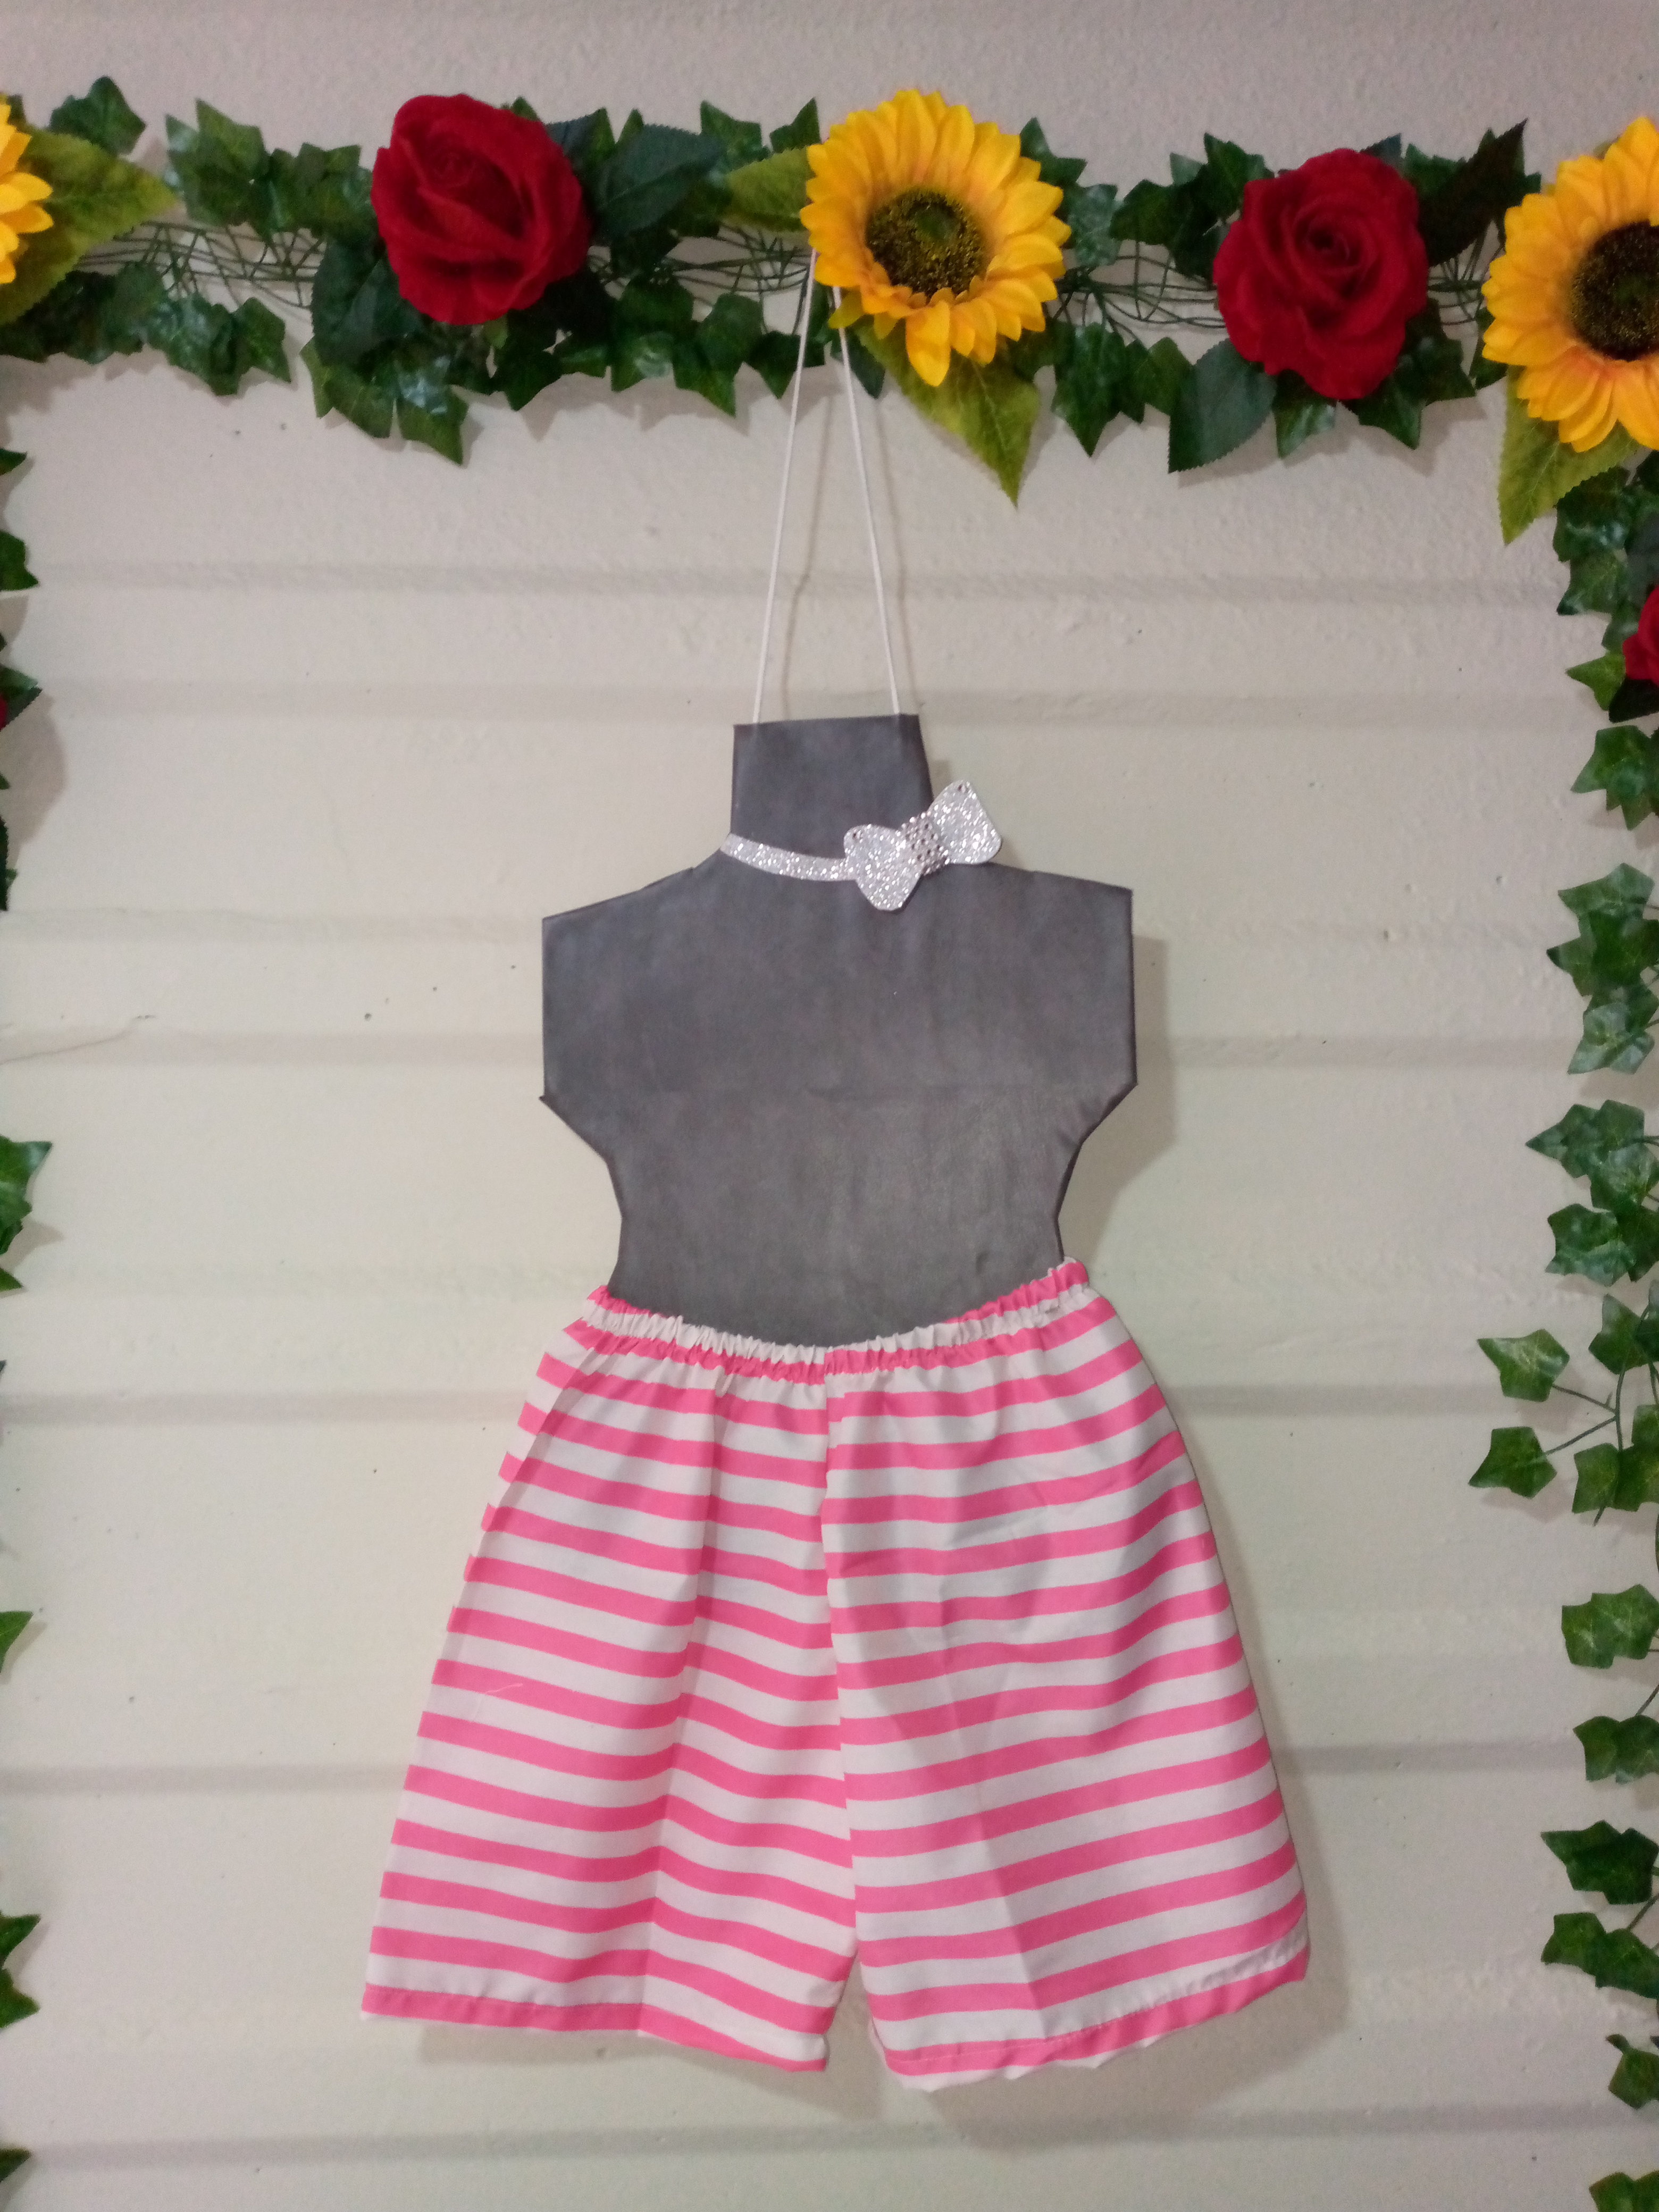
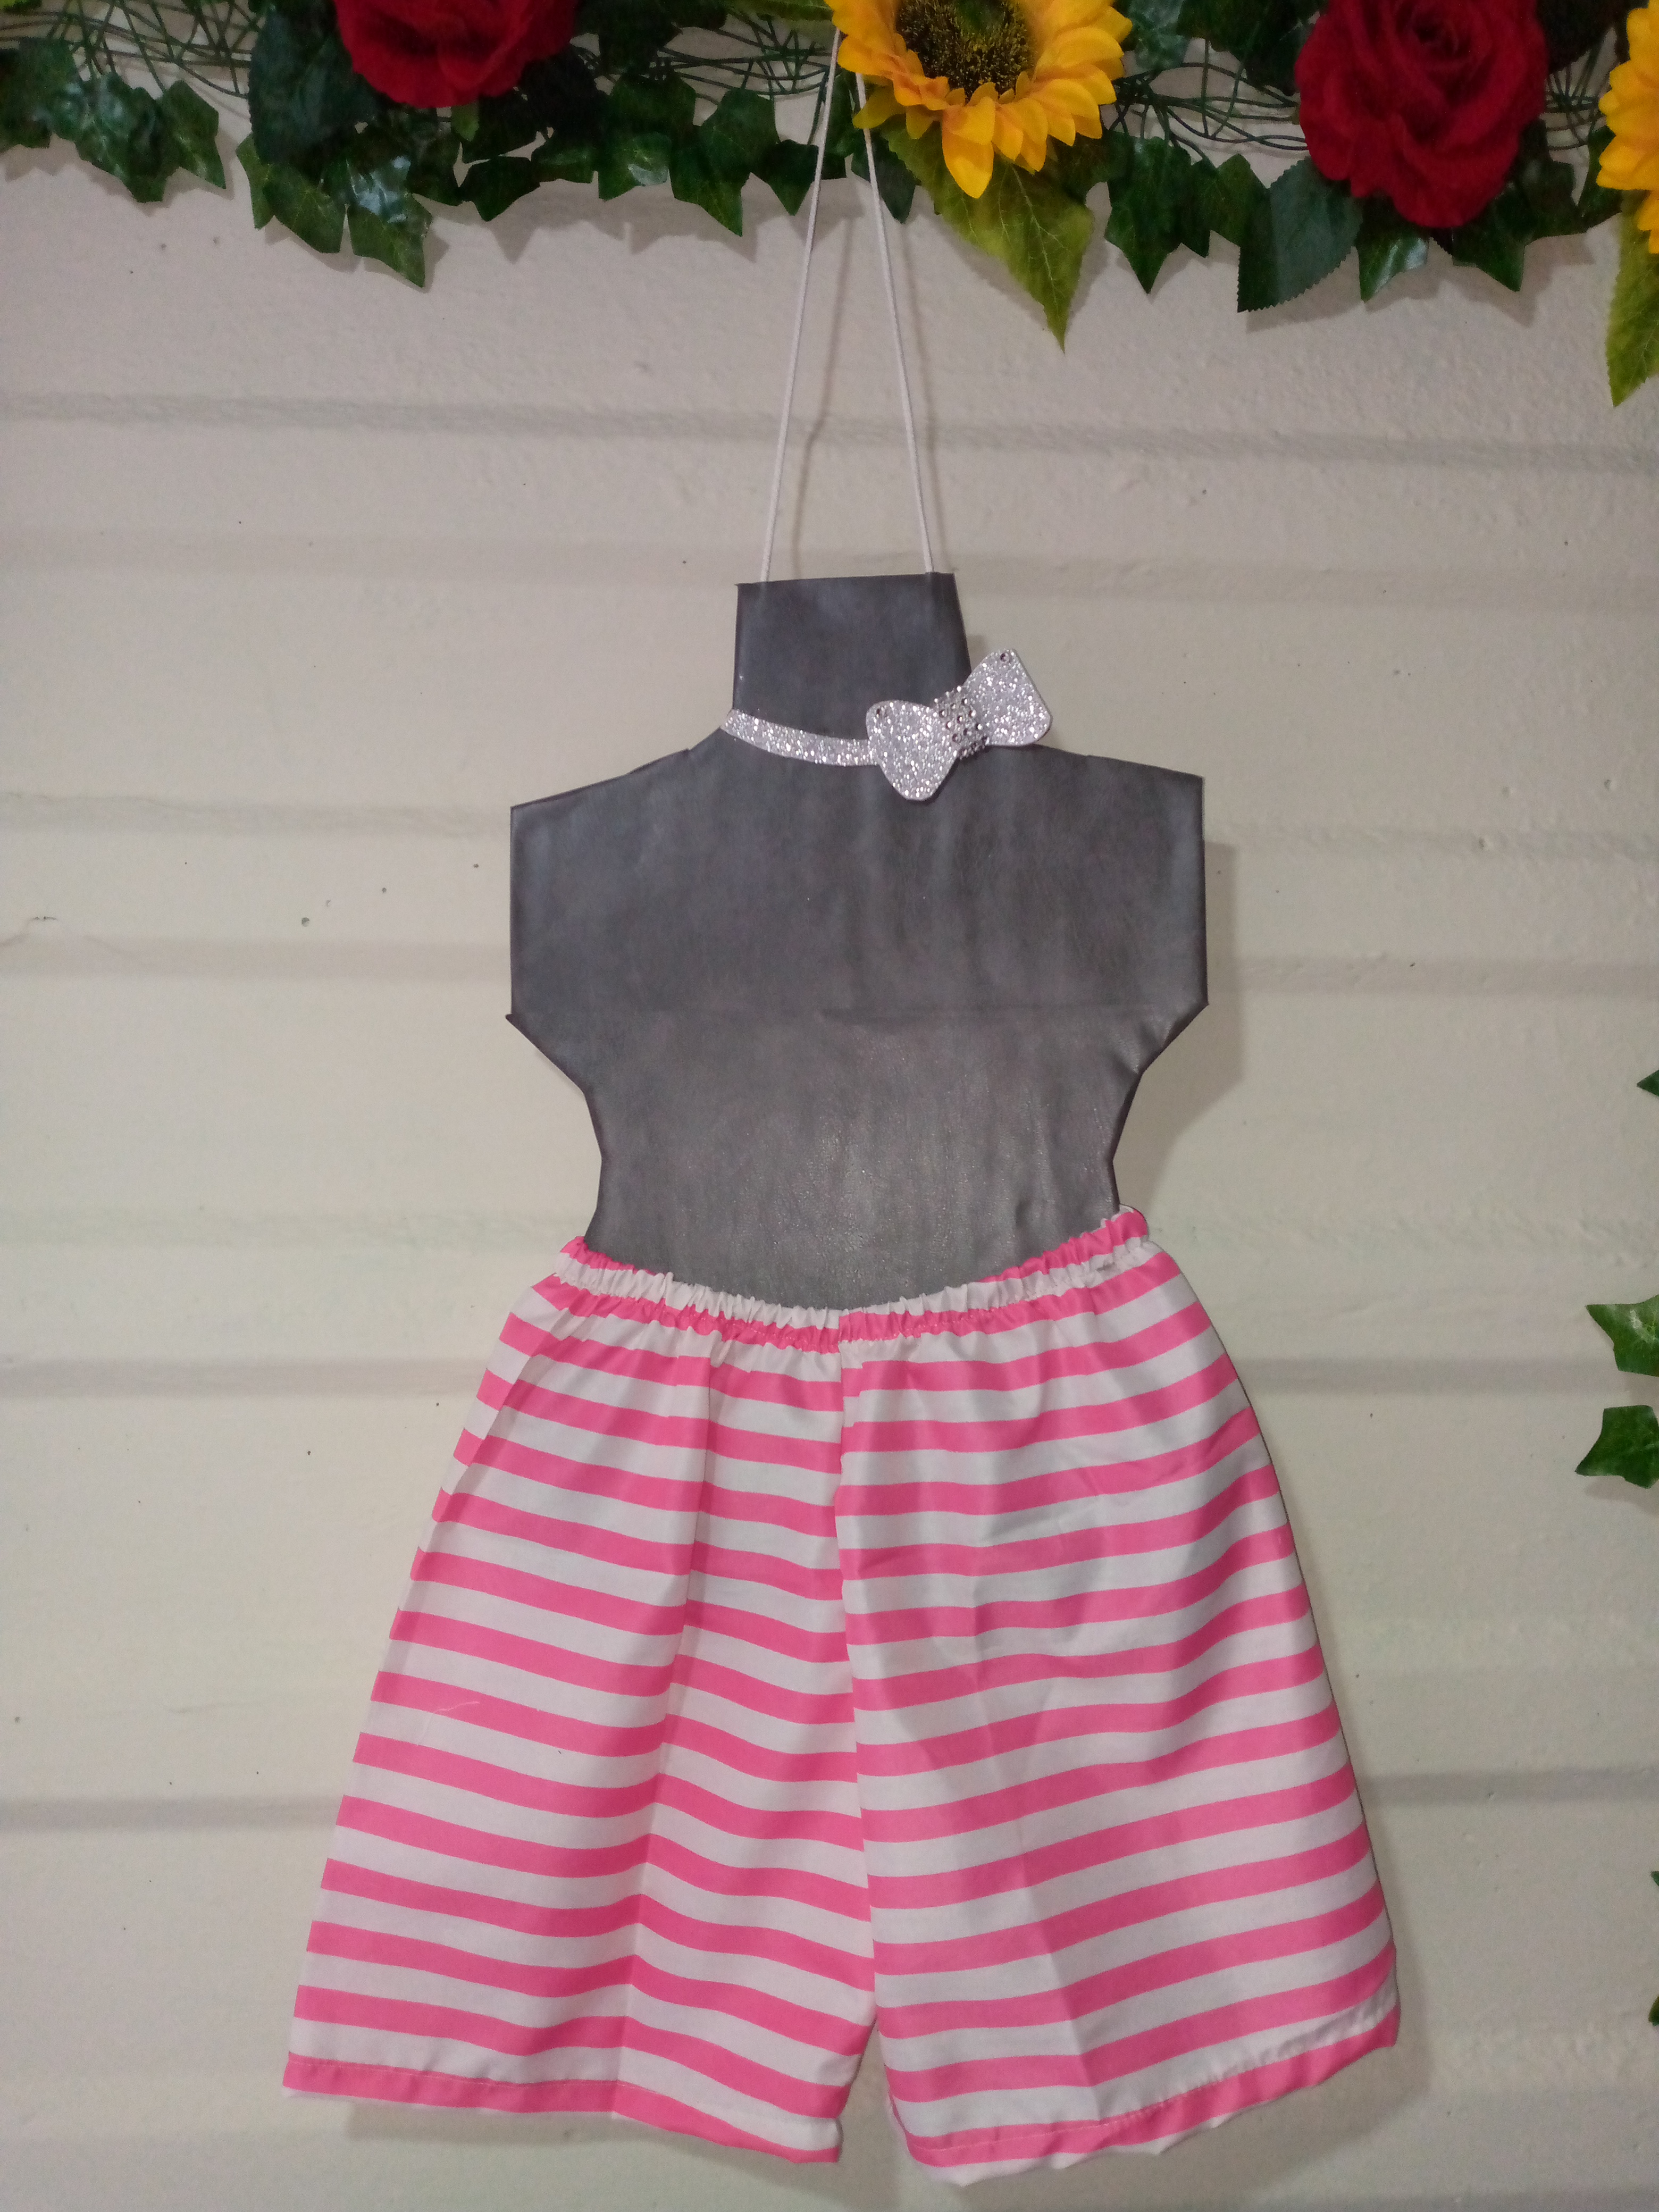
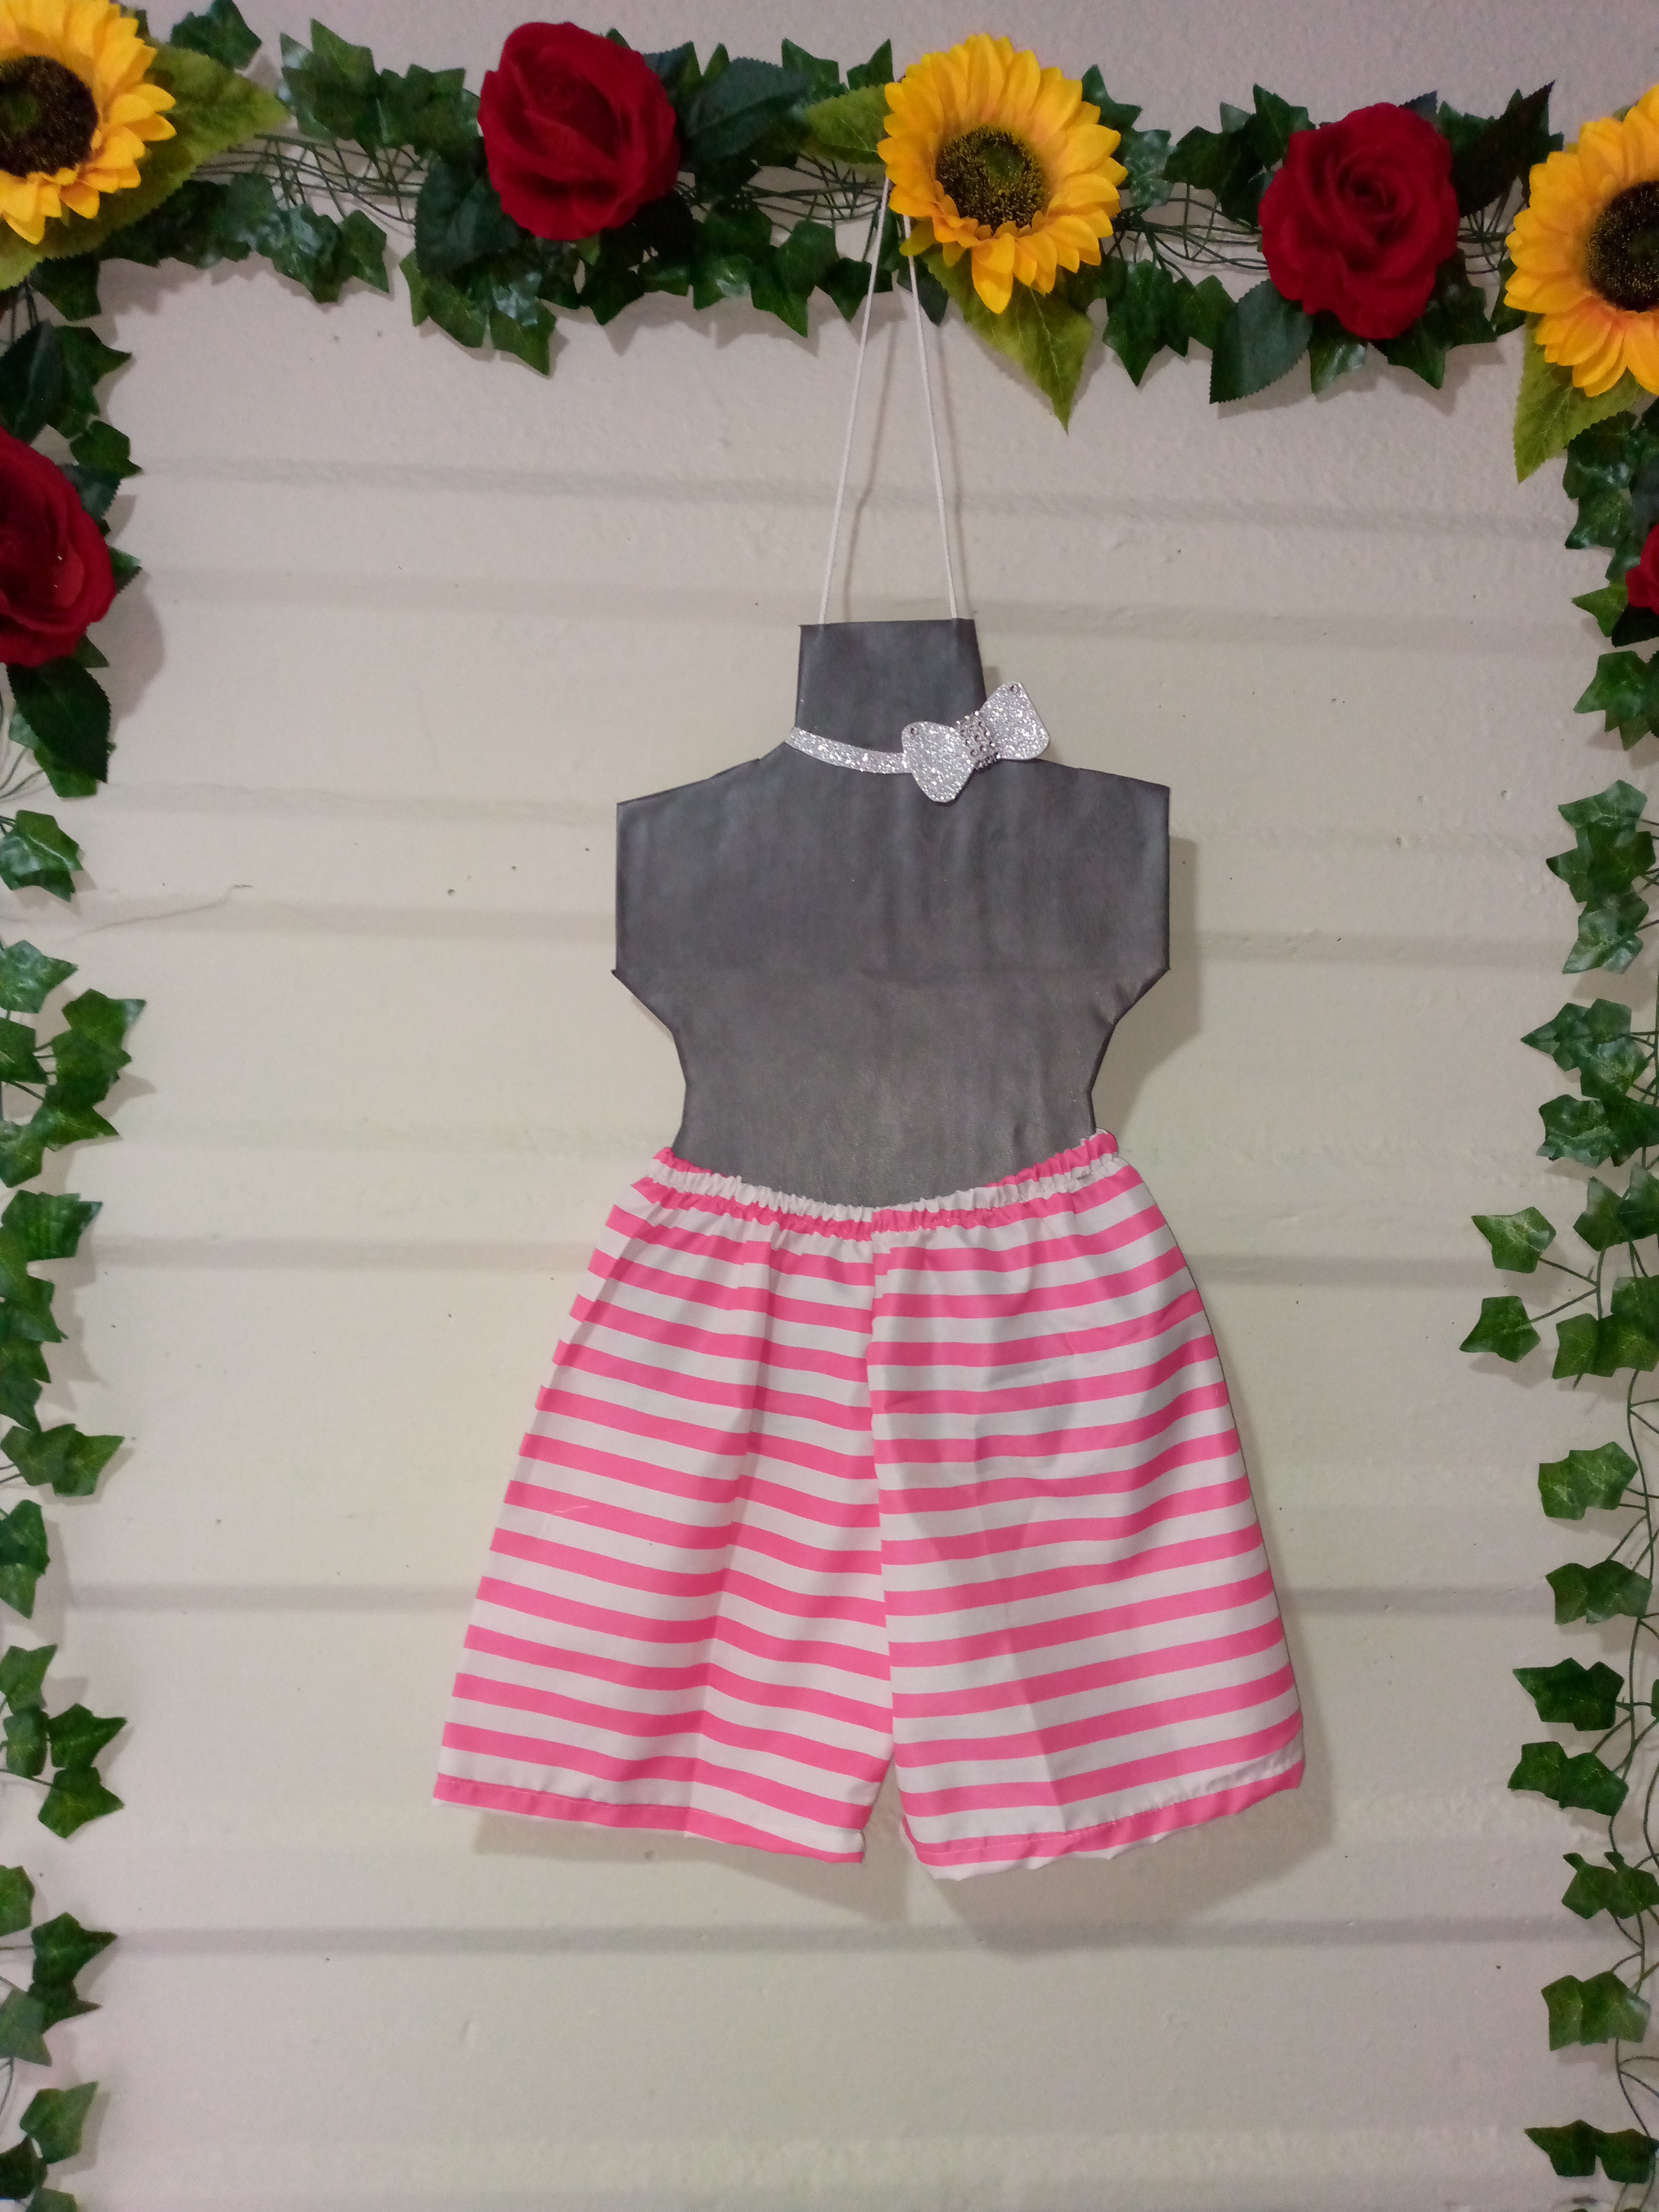
I hope you like this cute short and thank you for viewing this work, your opinion means a lot to me so I would appreciate your valuable comments, see you in another upcoming blog and I wish you a happy noon, see you soon.👋🏻🥰
.jpg)
Creating things with love 🌷❤️
🦋✨ All the images in this publication are my author ,📱taken with my TecnoSpark8C cell phone |📸Photos edited in PicsArt and Canva. Text translated in Google Translate.
I have two friends whose hobby is sewing and the truth is that I have always admired the fact of making and manufacturing garments, having to look at sizes, take measurements, make molding and then make the cuts and then use the sewing machines, it really is a great job that when you have the experience you do it quickly but anyway it does not take away that it is difficult.
Hi friend, I understand you, what you say is true, I learned 13 years ago, incredible but true, and I still tell you that there are some things I don't know what they mean, that you don't finish learning everything in the world of sewing. There is always something to learn, my grandmother used to say that even with effort, sometimes things don't turn out the way we want, but little by little the important thing is to be able to do something that you are satisfied with and that others appreciate and admire, that is priceless, the work that our hands do is incredible, greetings from Venezuela @nitsuga12 😊
Your DIY project for girls shorts is both practical and inspiring. The final result looks fantastic, well done.
I appreciate your support @diyhub thank you for appreciating this simple work, always giving my best, sewing makes me happy and doing work for you and teaching you sewing techniques is something I appreciate doing, thank you in advance and to the community for your support 👋🏻