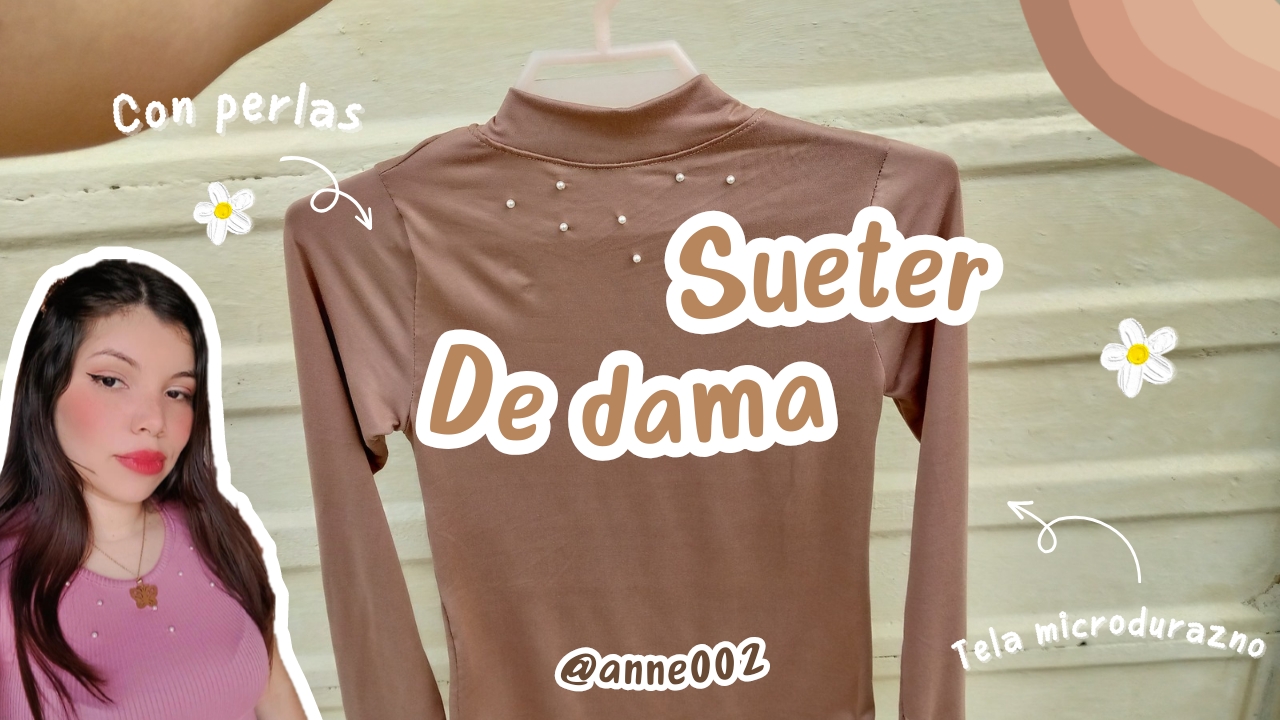
🤎✨Confección y diseño de un suéter de dama 🧥🌼//🌼🧥Making and designing a women's sweater🤎✨[Esp~Eng]

in Hive Diyyesterday (edited)

Picsart_24-12-24_12-23-33-974.jpg

Buenas tardes queridos amigos me alegra saludarles y desearles una hermosa y linda tarde,sean bienvenidos a un nuevo espacio creativo donde les estaré enseñando el proceso de este li do suéter de dama con adornos de perlitas en el pecho muy sencillo y casual espacio para esta época de frío donde sacamos nuestros suéter y abrigos del guarda ropa,la verdad lo hice muy rápido por eso principalmente porque a mí me pega más el frío de lo normal de estas épocas entonces usar este tipo de suéter me beneficia mucho a mi ,así que aquí les estaré como confeccionarlo sin muchos detalles nada mas haremos uso de nuestra maquina hilo y eso si yo usé oara este sueter un metro de tela porque esta vez queria que la manga fuera mucho mas larga de lo que lo acostumbro a usar.

Good afternoon dear friends, I am glad to greet you and wish you a beautiful and nice afternoon, welcome to a new creative space where I will be showing you the process of this nice ladies sweater with pearl ornaments on the chest, very simple and casual space for this cold time where we take our sweaters and coats out of the closet, the truth is I did it very quickly because the cold hits me more than usual at this time of year, so wearing this type of sweater benefits me a lot, so here I will be showing you how to make it without many details, we will only use our thread machine and that yes, I used a meter of fabric for this sweater because this time I wanted the sleeve to be much longer than I usually wear.

Picsart_24-12-24_14-04-14-210 (1).jpg

Si tú eres amante de ver tutoriales como estos donde confeccionamos prendas fáciles y sencillas se que éste material te va a ayudar mucho y los tips que traigo para ti ,espero te gusten los resultados tanto como a mi me ha gustado,de antemano les doy gracias siempre por sus lindos comentarios y si desean hacerlo aquí en este blog serán bien recibidos y les estaré respondiendo igualmente si tienen alguna duda con respecto al blog podrían hacérmelo saber,y bien con esto damos inicio a la confección de este suéter y pasamos a los materiales.

If you are a fan of watching tutorials like these where we make easy and simple garments, I know that this material will help you a lot and the tips that I bring for you, I hope you like the results as much as I have liked, in advance I always thank you for your nice comments and if you wish to do so here on this blog they will be well received and I will be answering you as well if you have any questions regarding the blog you could let me know, and well with this we begin the making of this sweater and move on to the materials.

IMG_20241224_101538_054.jpg

Picsart_24-12-24_14-04-14-210 (1).jpg

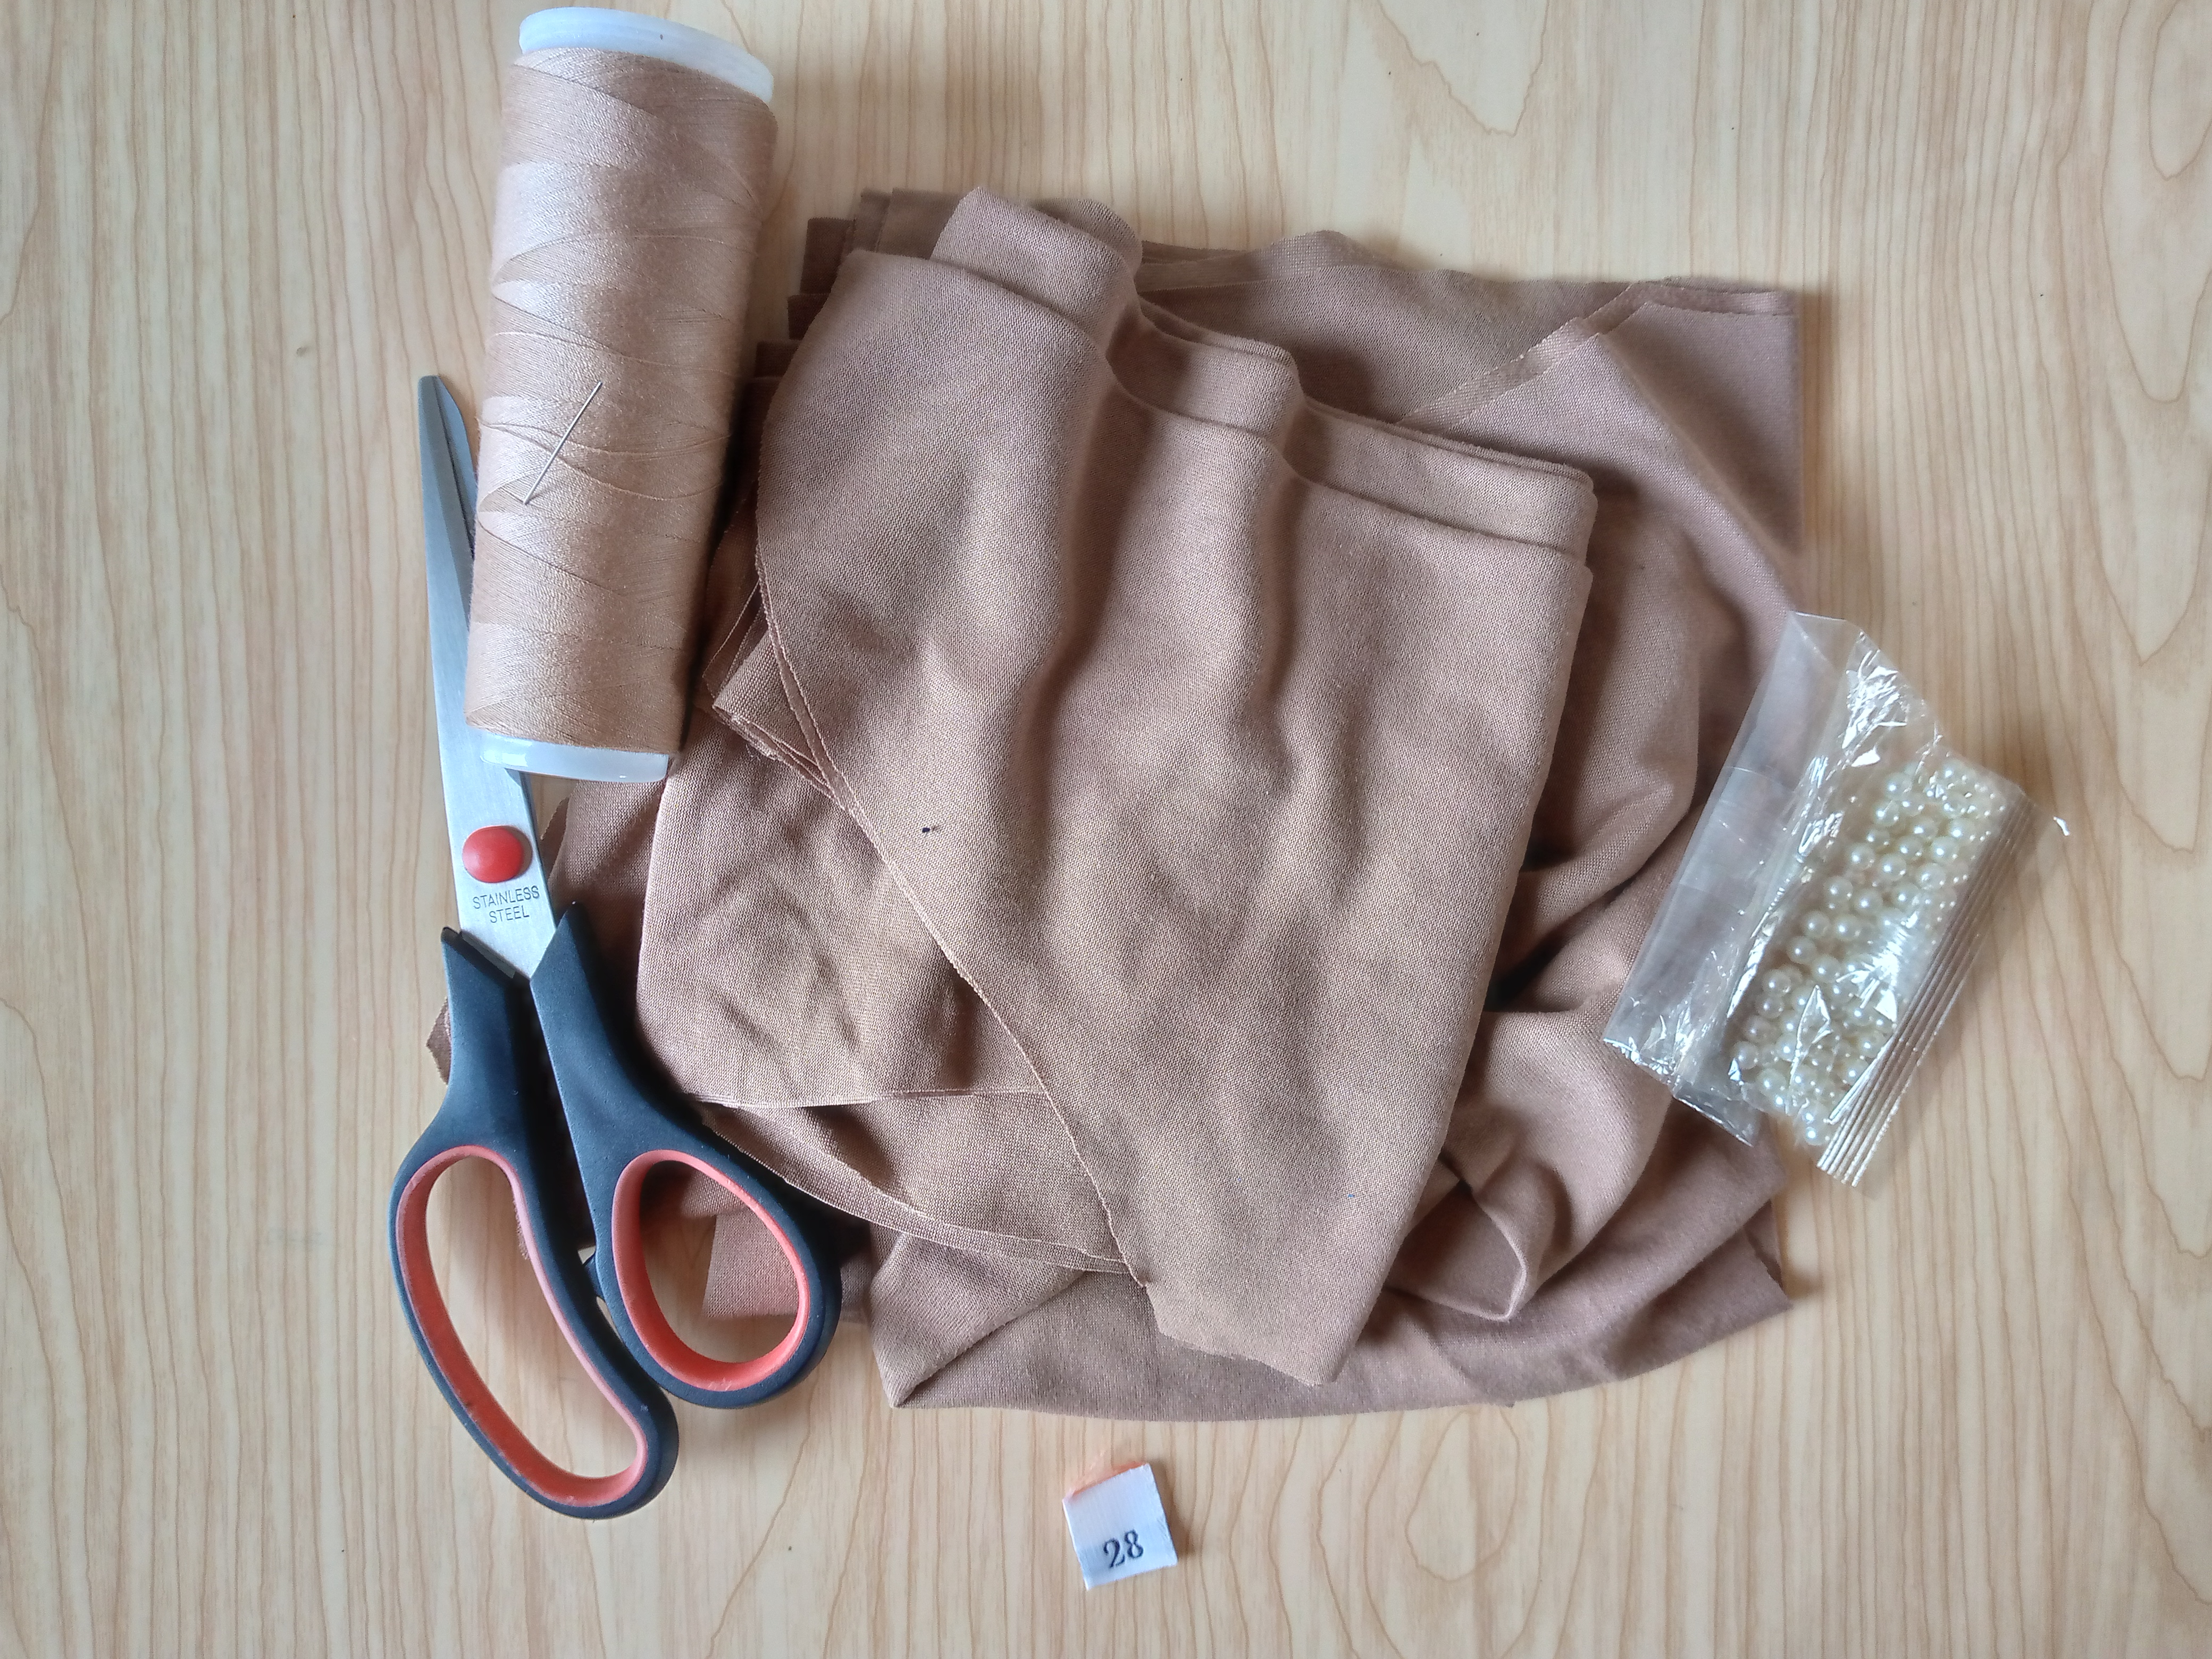
Materiales:// Materials:

  • 1 metro de tela microdurazno del color que desees
  • Máquina de coser
  • Aguja
  • Hilo
  • Perlitas blancas decorativas
  • Nuestras tijeras

  • 1 meter of micropeach fabric in the color of your choice
  • Sewing machine
  • Needle
  • Thread
  • Decorative white pearls
  • Our scissors

Picsart_24-12-24_14-04-14-210 (1).jpg

Pasos a seguir://Steps to follow:

B612_20241224_122610_553 (1).jpg

Paso 01

He elegido este tipo de tela súper suavecita para hacer mi suéter porque es mucho más fácil para colocarmelo y a mí me encanta este tipo de telas y hasta podría dormir con el pero haremos este suéter para salir bien sea para comprar y cubrirnos del frío cuando estemos afuera, entonces vamos a estar cortando las piezas principales para la confección primero vamos a cortar las piezas delantera y trasera como este suéter es de cuello alto no le bajaremos al cuello si no que le sacaremos una caída de la pieza del frente de alrededor de 1.5cm y la parte trasera de 1 cm ,recuerden que estas piezas las estoy cortando por una medida de una prenda que a mí me ha quedado a la perfección,cortaremos después el cuello que es un rectangulo ya que coseremos este cuello algo grueso ,siempre los cuellos altos son así de 4-6 cm de alto , después cortamos las mangas largas no tan anchas y estas son las piezas a usar.

Step 01

I have chosen this type of super soft fabric to make my sweater because it is much easier to put on and I love these types of fabrics and I could even sleep in it but we will make this sweater to go out either to shop and to cover ourselves from the cold when we are outside, so we are going to cut the main pieces for the making. First we are going to cut the front and back pieces. As this sweater has a high neck, we will not lower the neck but rather we will take a drop of around 1.5cm from the front piece and 1cm from the back. Remember that I am cutting these pieces to the measurement of a garment that has fit me perfectly. Then we will cut the neck which is a rectangle since we will sew this somewhat thick neck, high necks are always like 4-6 cm high. Then we cut the long sleeves, not so wide, and these are the pieces to use.

B612_20241224_131641_750.jpg

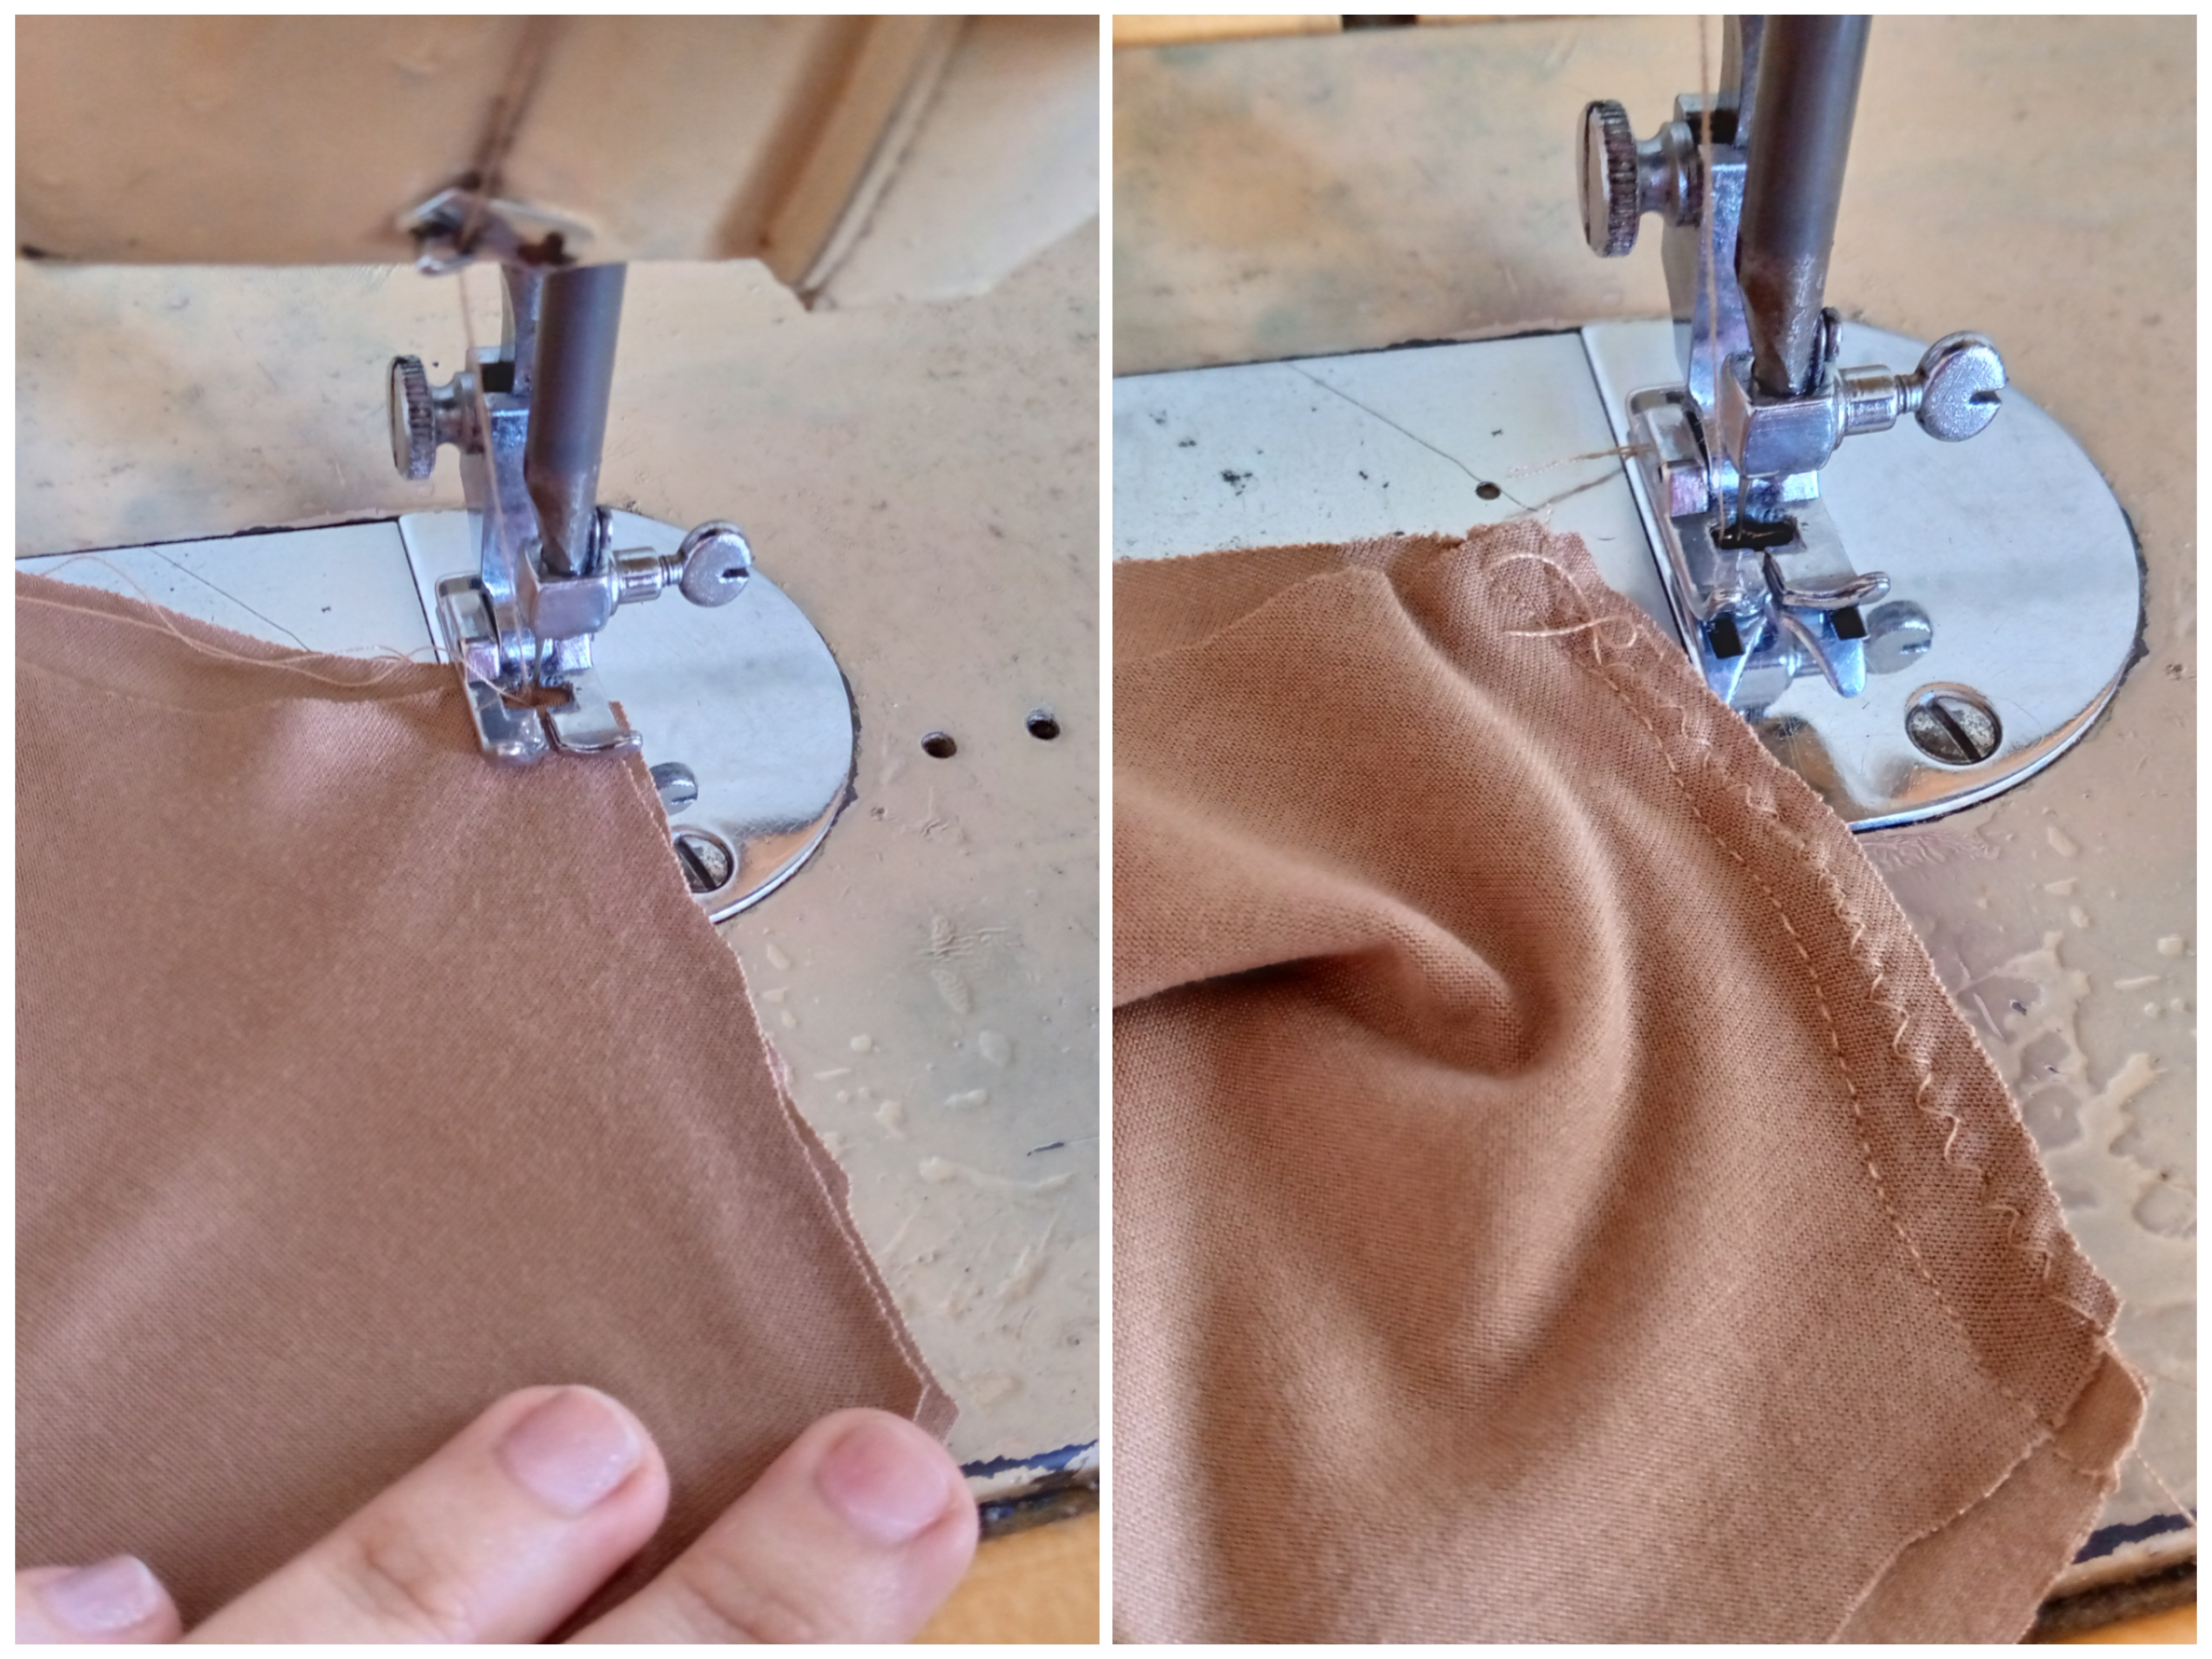
Paso 02

Nos vamos entonces a coser y estaremos uniendo las piezas de los hombros las dos partes ,coseremos con costura recta y estaremos rematando el borde de ambas piezas con costura zig zag para hacer falso overlock.

Step 02

We are then going to sew and we will be joining the shoulder pieces of the two parts, we will sew with a straight seam and we will be finishing the edge of both pieces with a zigzag seam to make a false overlock.

B612_20241224_131722_162.jpg

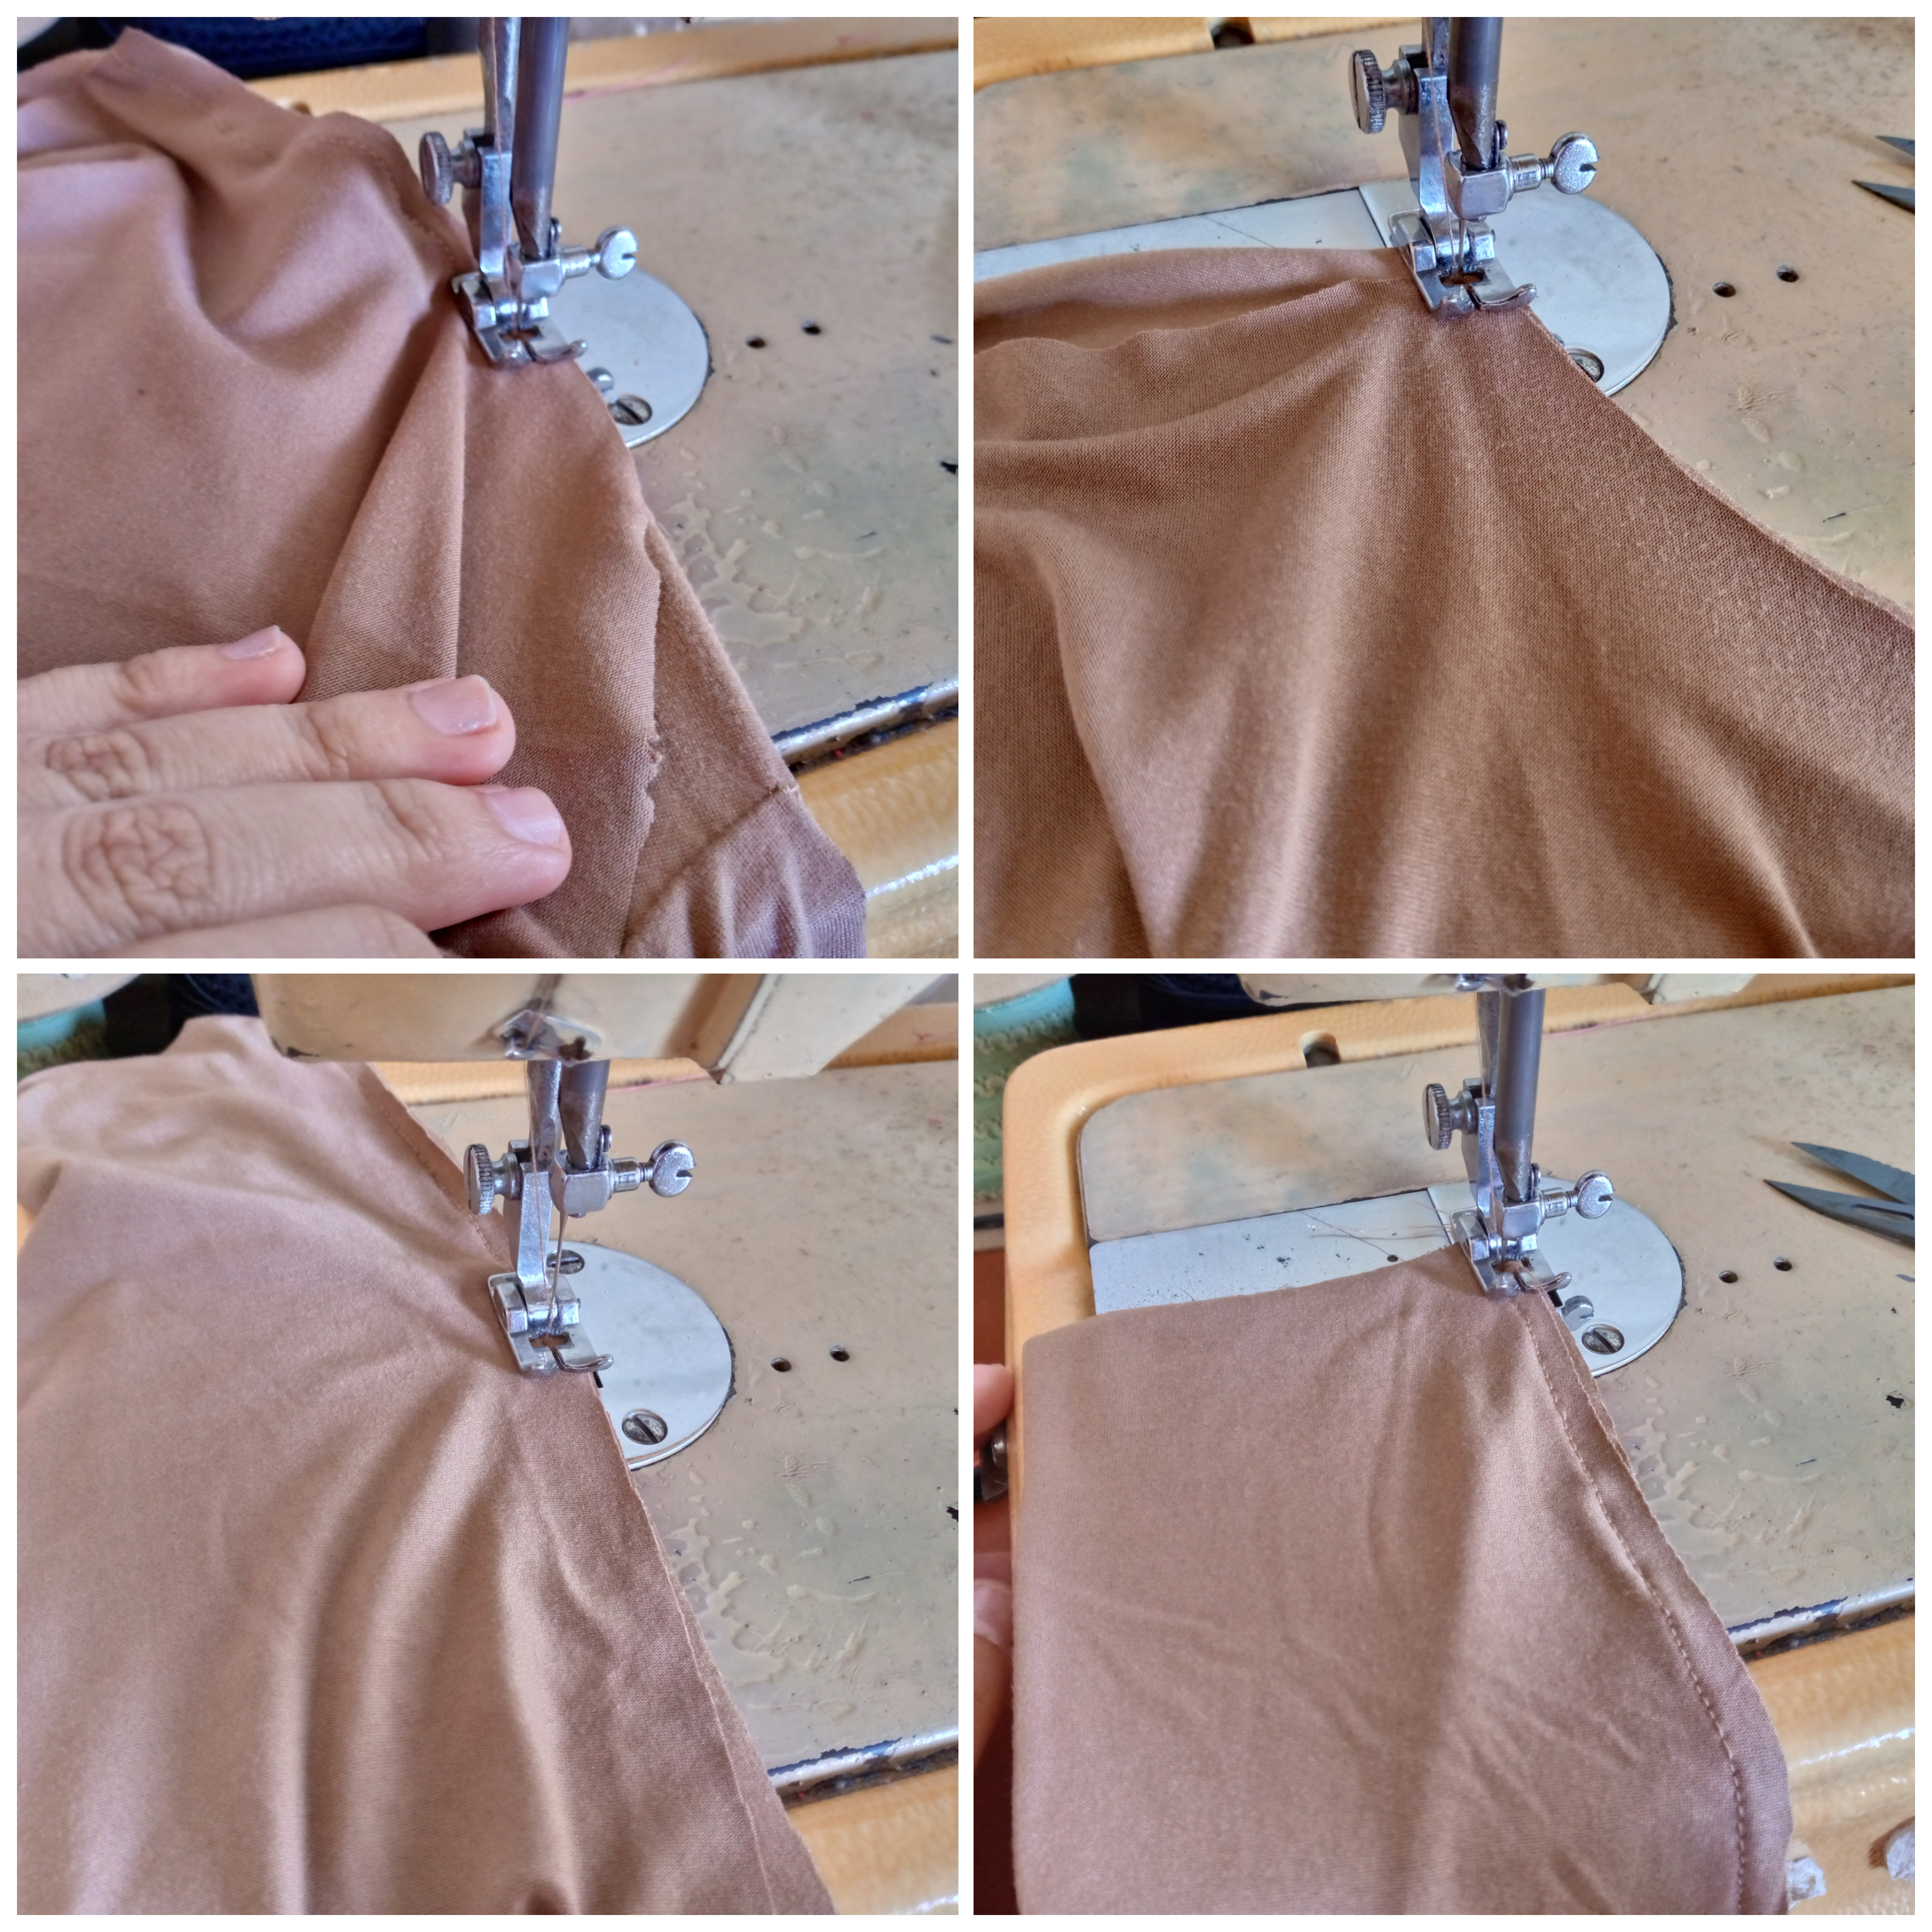
Paso 03

Como tercer paso estaré abriendo mi suéter para coser la manga por el contorno de mi sisa y pasaré costura recta y el zig zag no se olviden de ir rematando, después sellaremos los costados del suéter de los lados y comenzaremos desde la punta de una manga hasta abajo igual hacemos este paso con la ora parte del suéter.

Step 03

As a third step, I will open my sweater to sew the sleeve along the outline of my armhole and I will sew a straight stitch and a zigzag stitch, don't forget to finish off. Then we will seal the sides of the sweater on the sides and we will start from the tip of one sleeve down. We will do the same step with the other part of the sweater.


B612_20241224_131813_618 (1).jpg

Paso 04

Es momento de coser el dobladillo de abajo del contorno de la blusa lo hacemos de 1 cm hacia adentro y cosemos con costura recta,pasaremos a coser entonces nuestro cuello y vamos a unir en un extremo la pieza o el rectángulo que usaremos para hacerlo y cuando hayamos cosido lo doblamos a la mitad y cosemos por el contorno del cuello.

Step 04

It is time to sew the bottom hem of the blouse outline. We do it 1 cm inwards and sew with a straight stitch. We will then sew our collar and we will join at one end the piece or rectangle that we will use to make it and when we have sewn it, we fold it in half and sew along the outline of the collar.

B612_20241224_131853_497.jpg

Paso 05

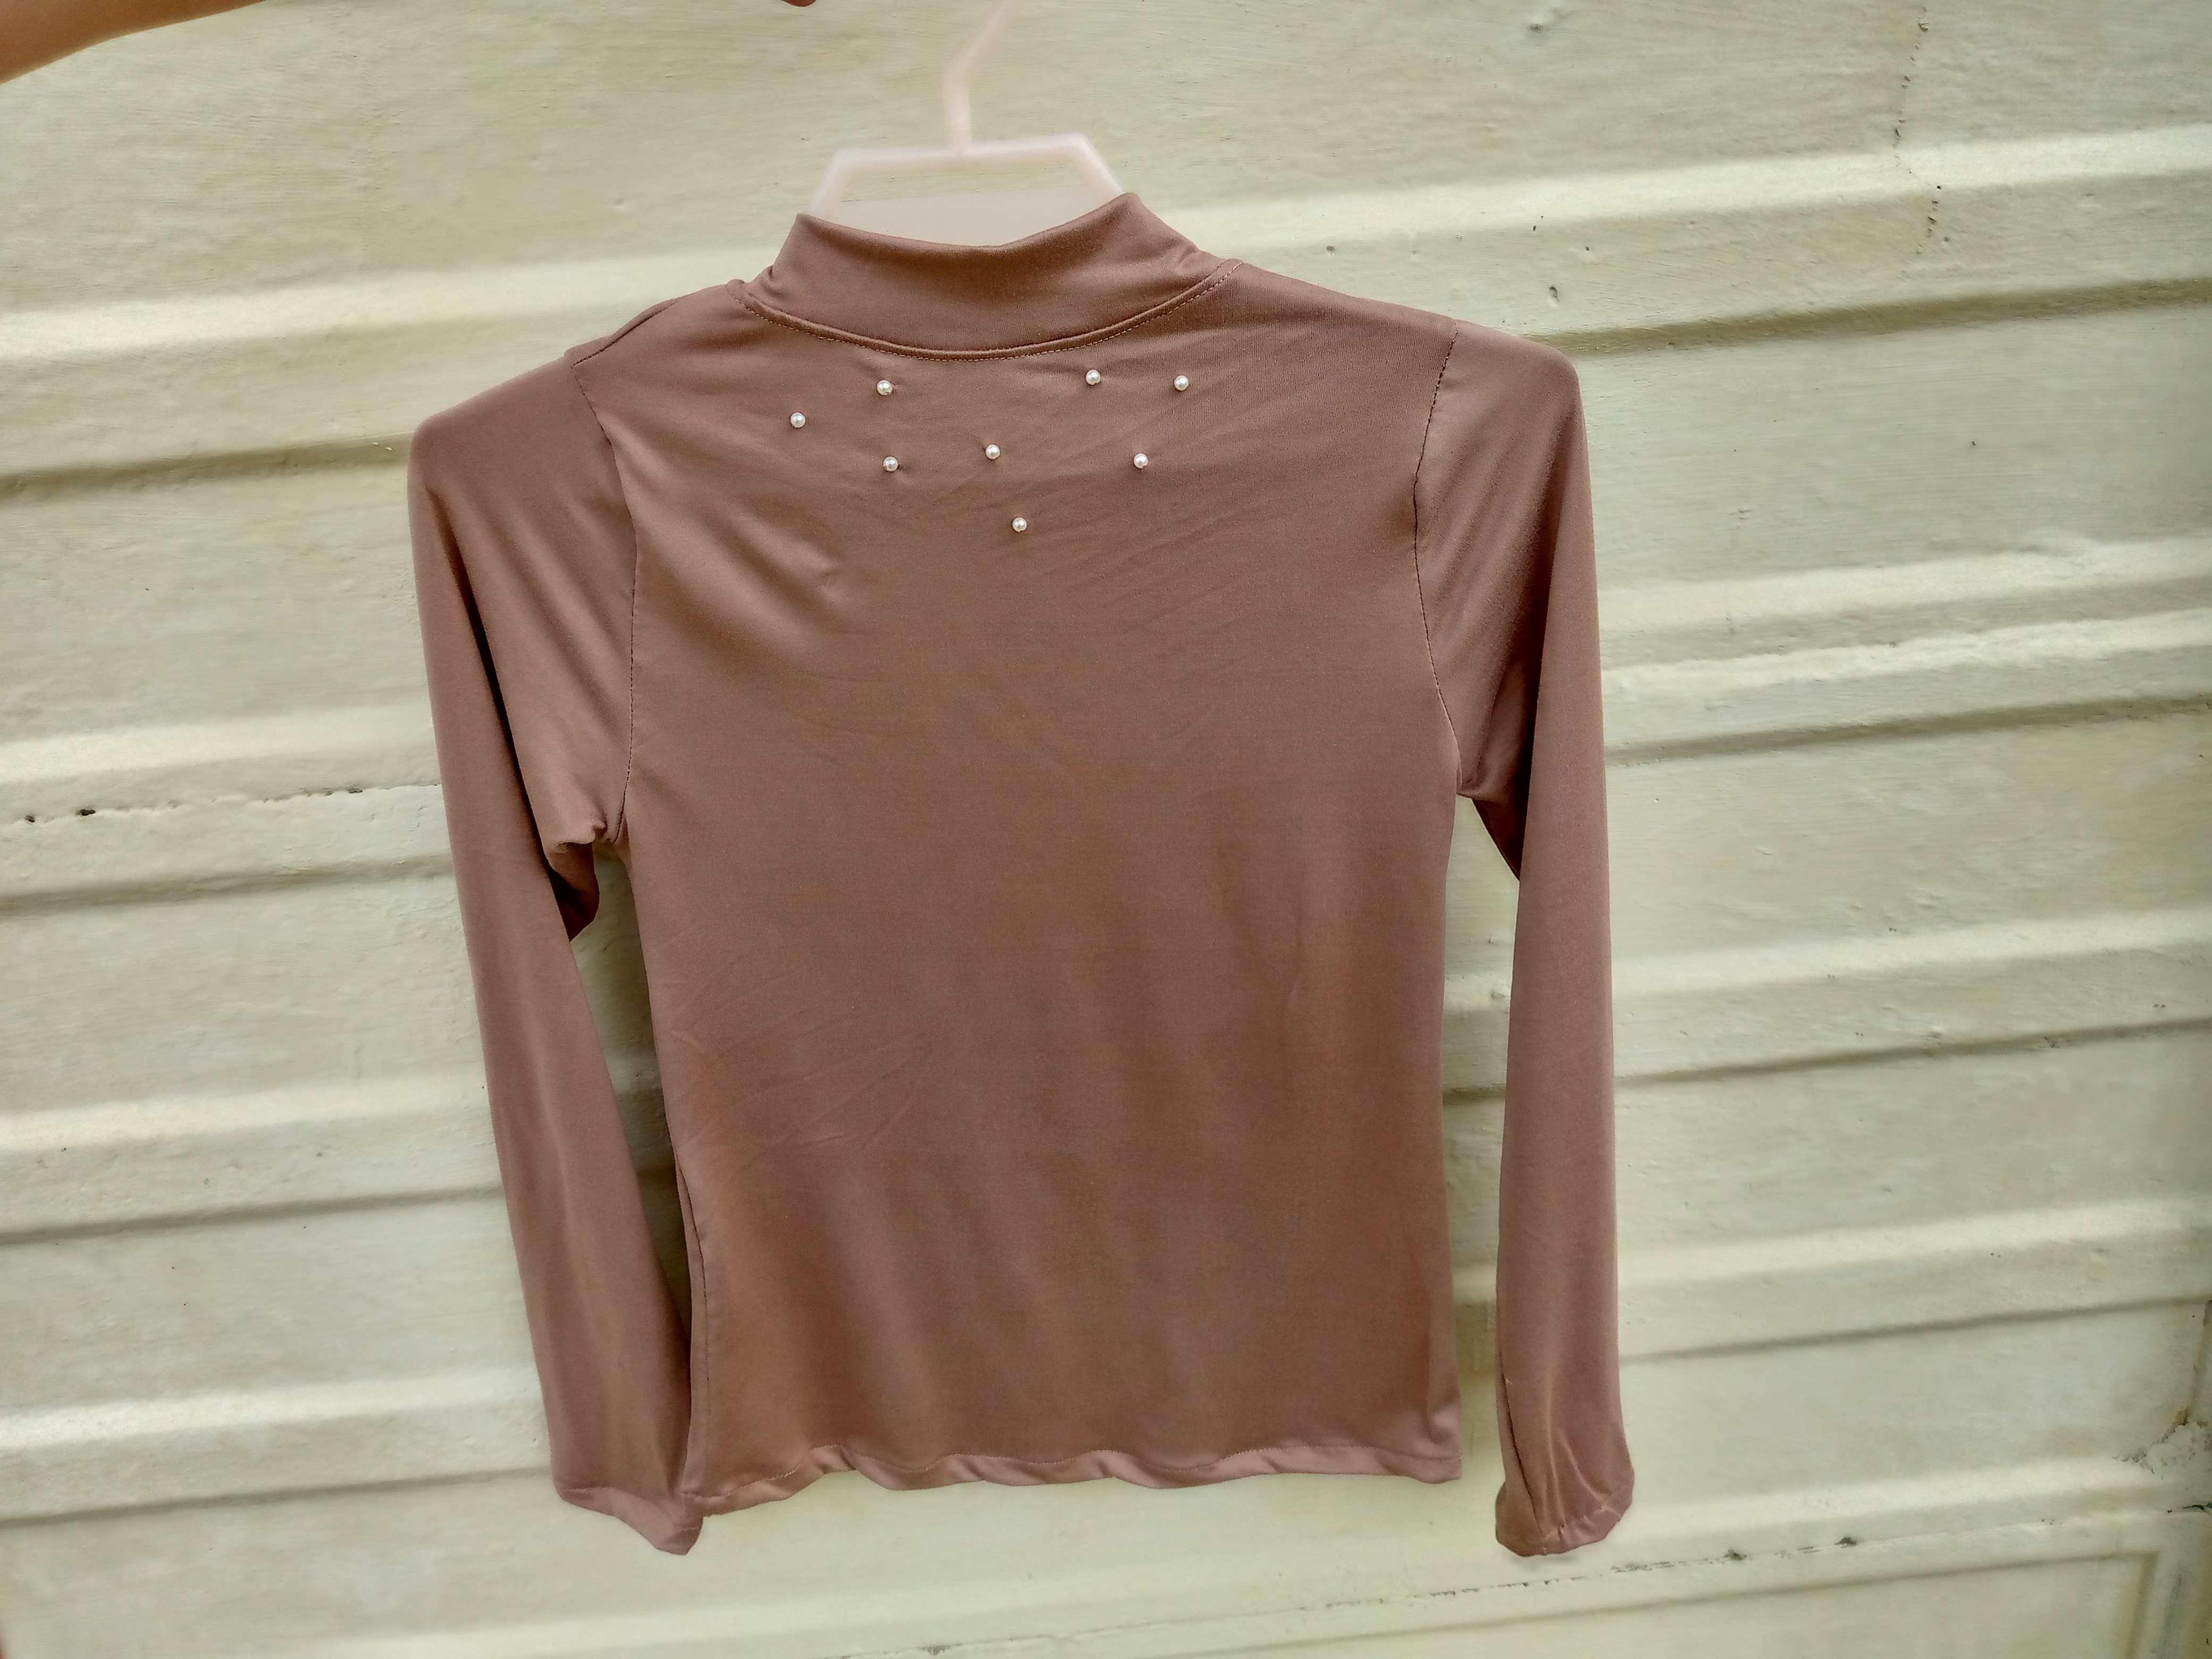
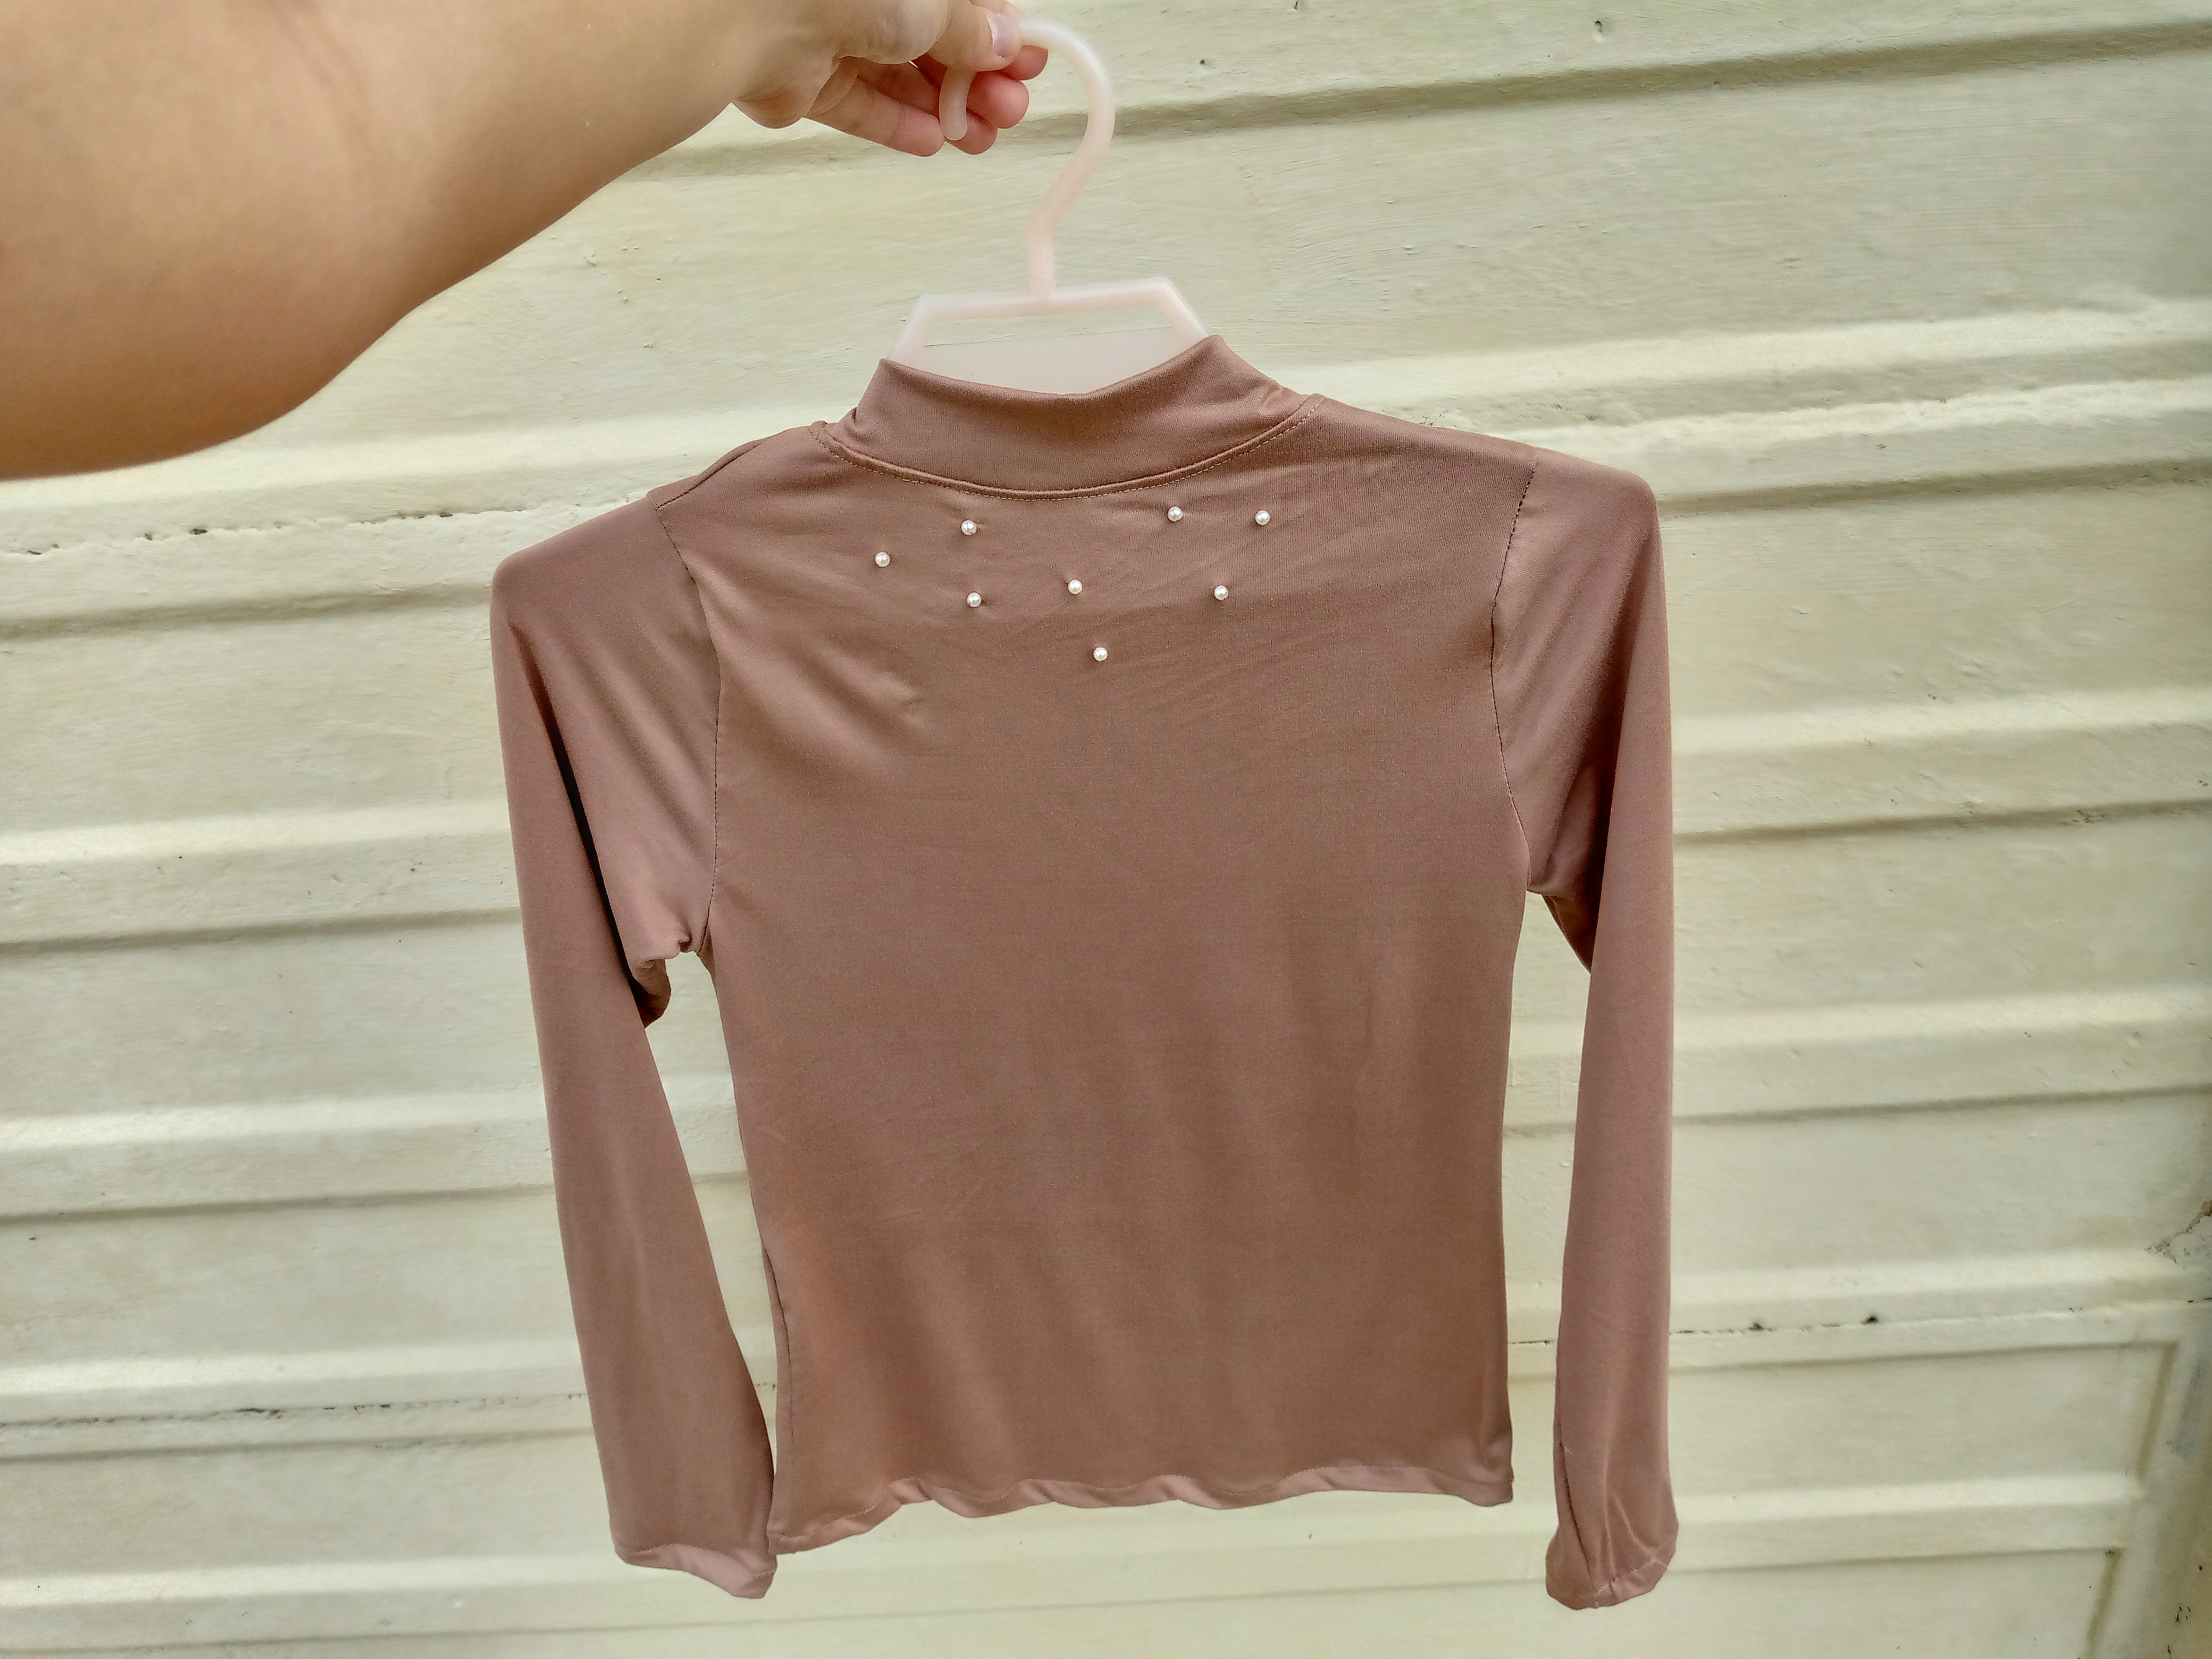
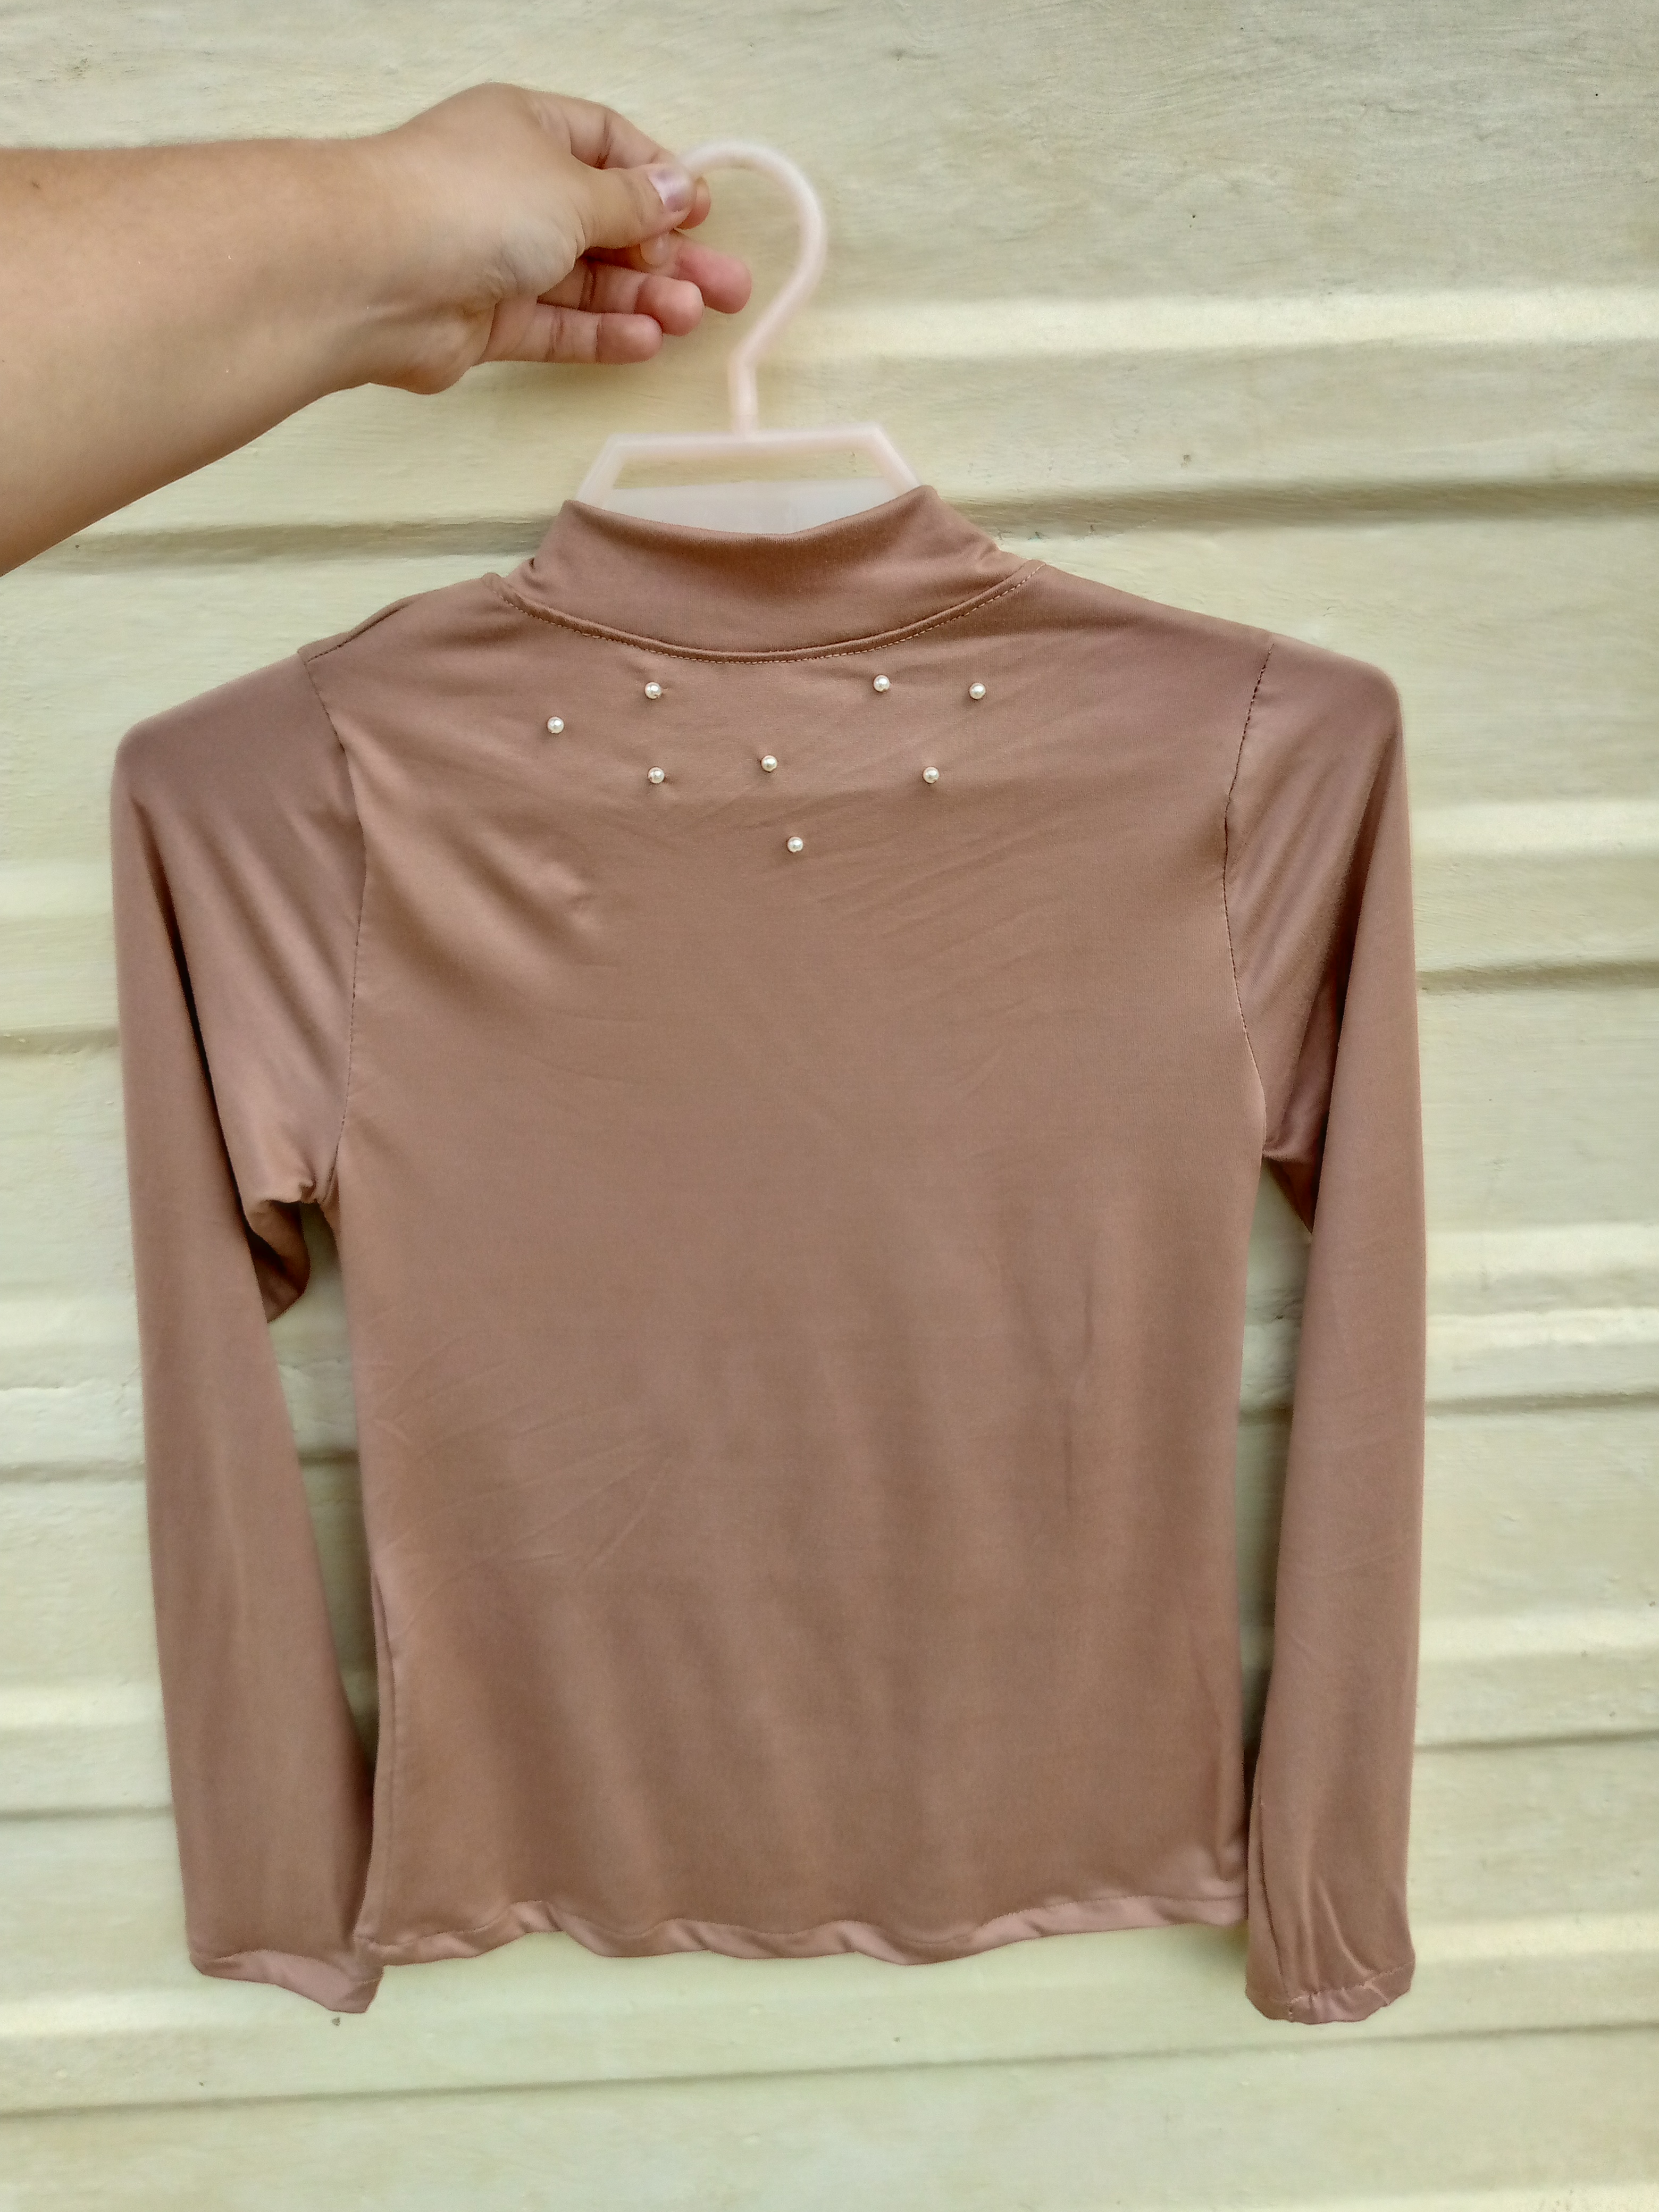
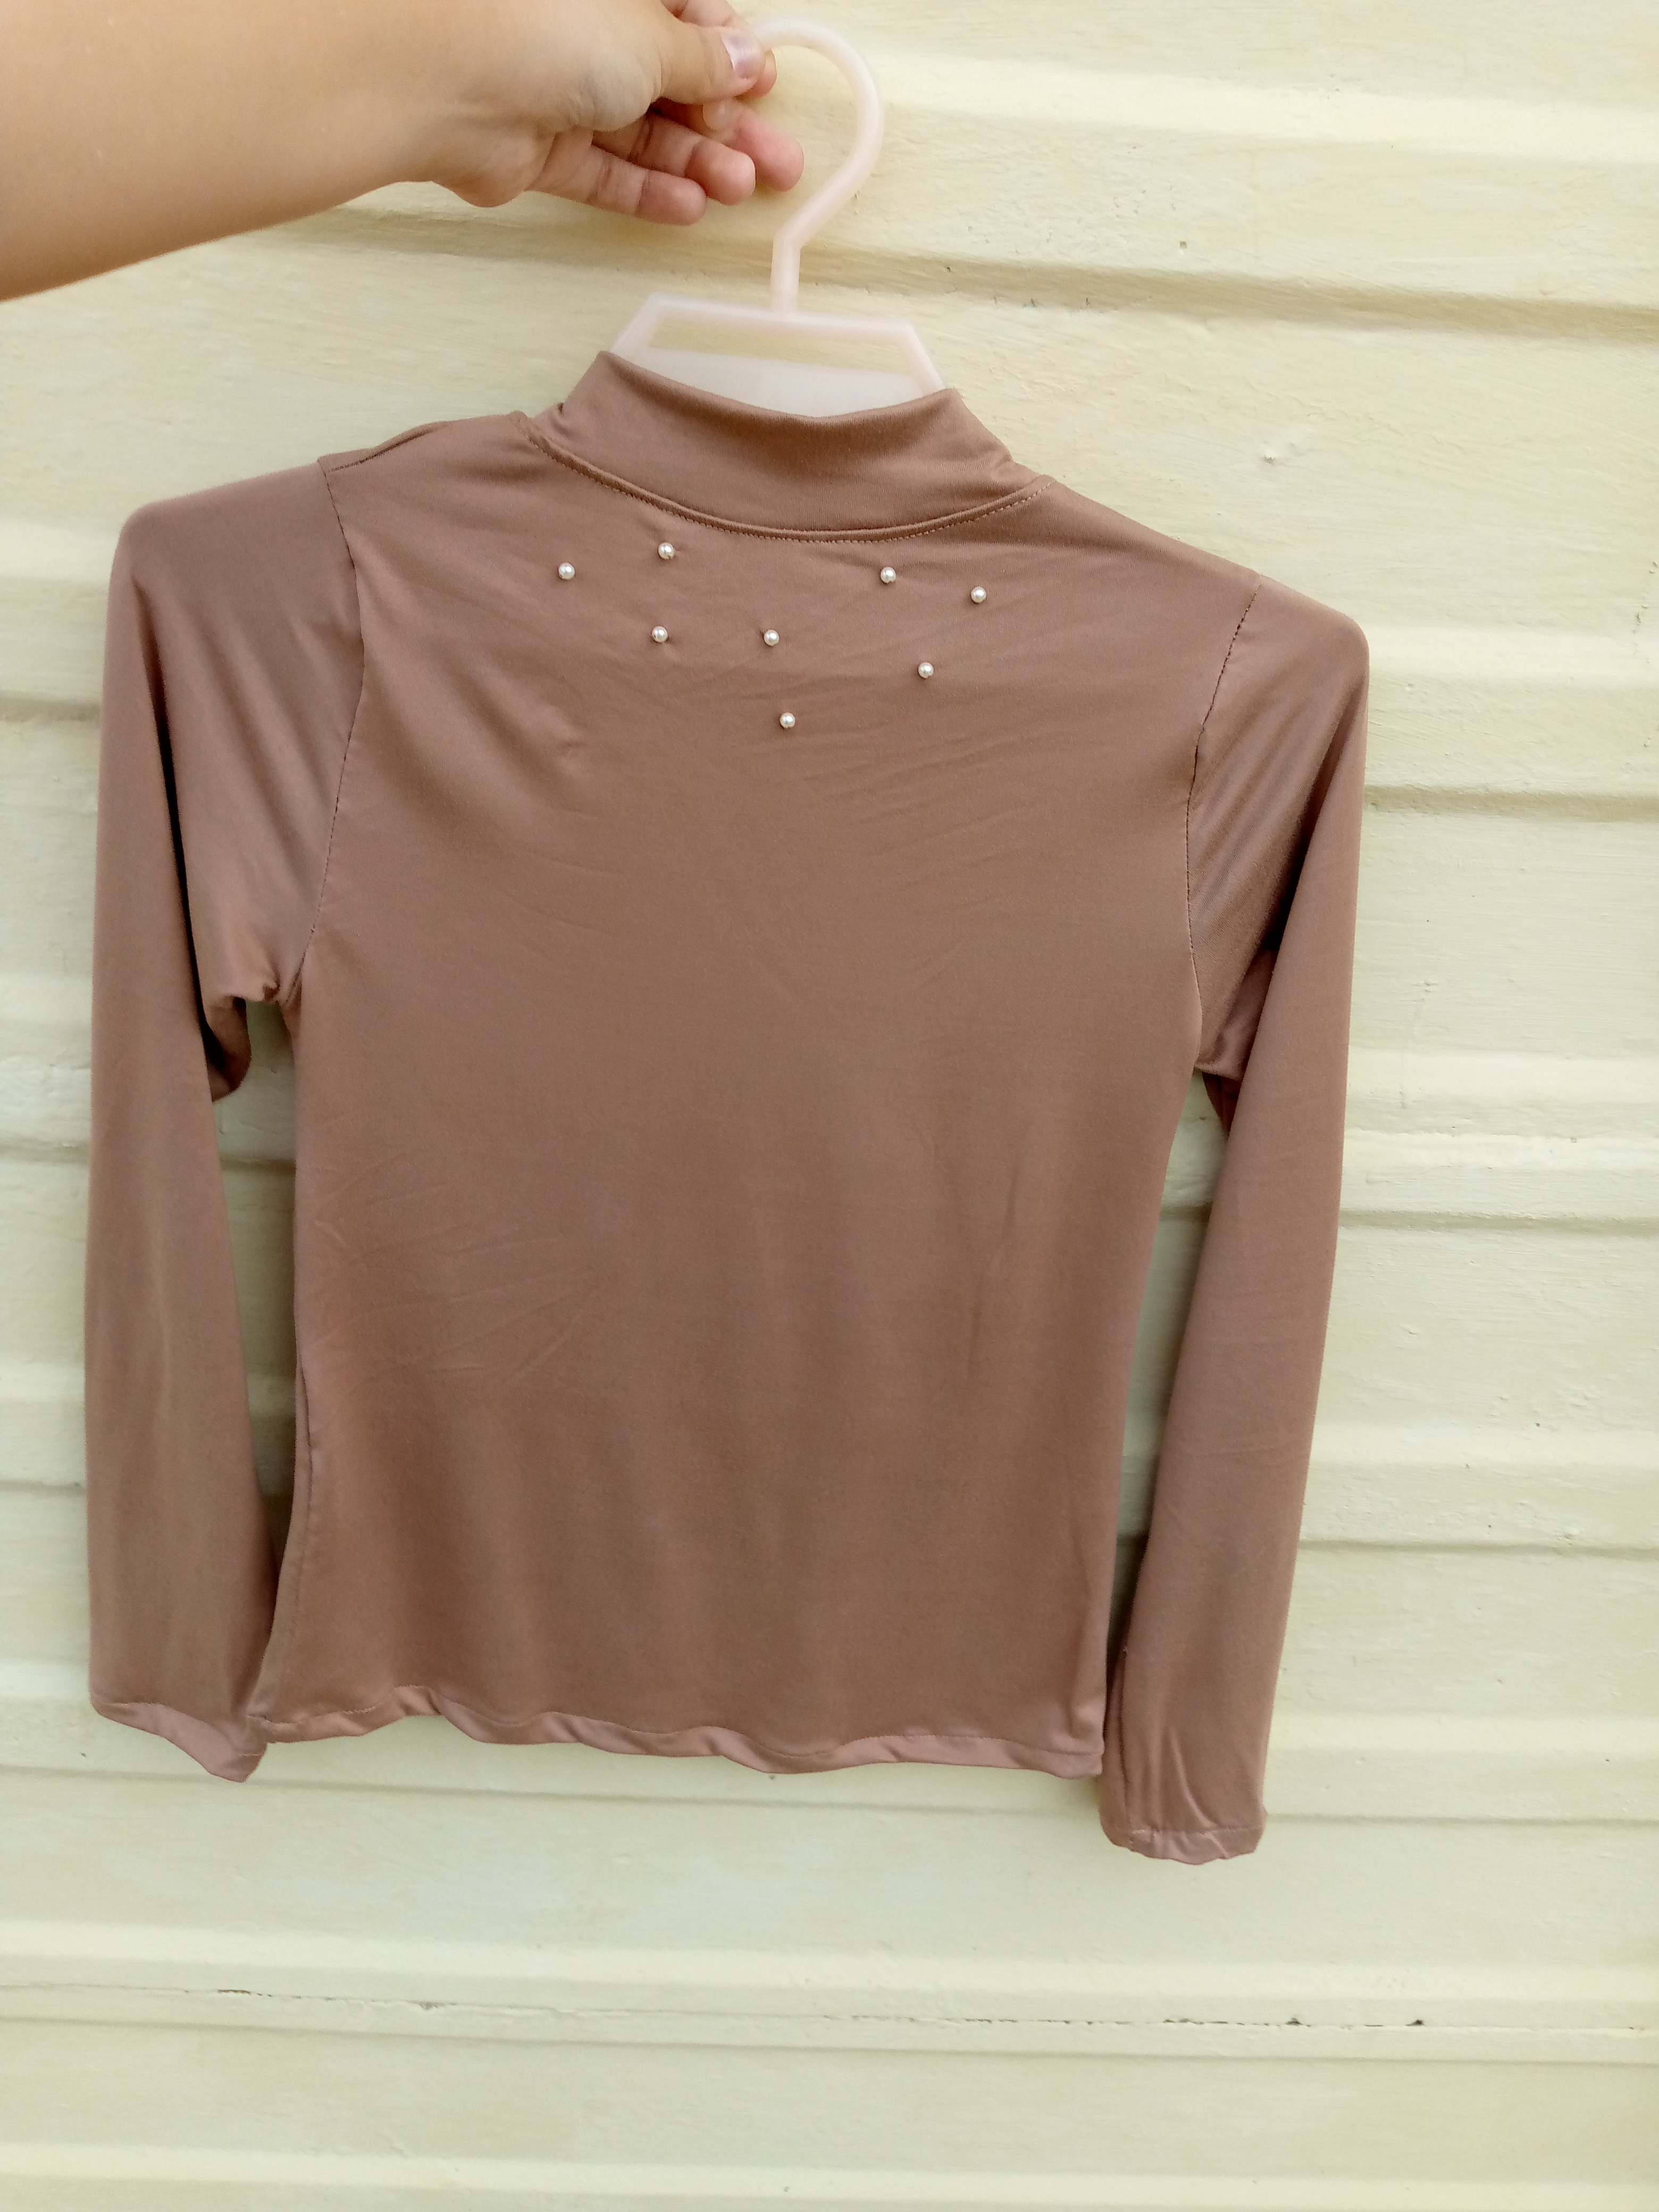
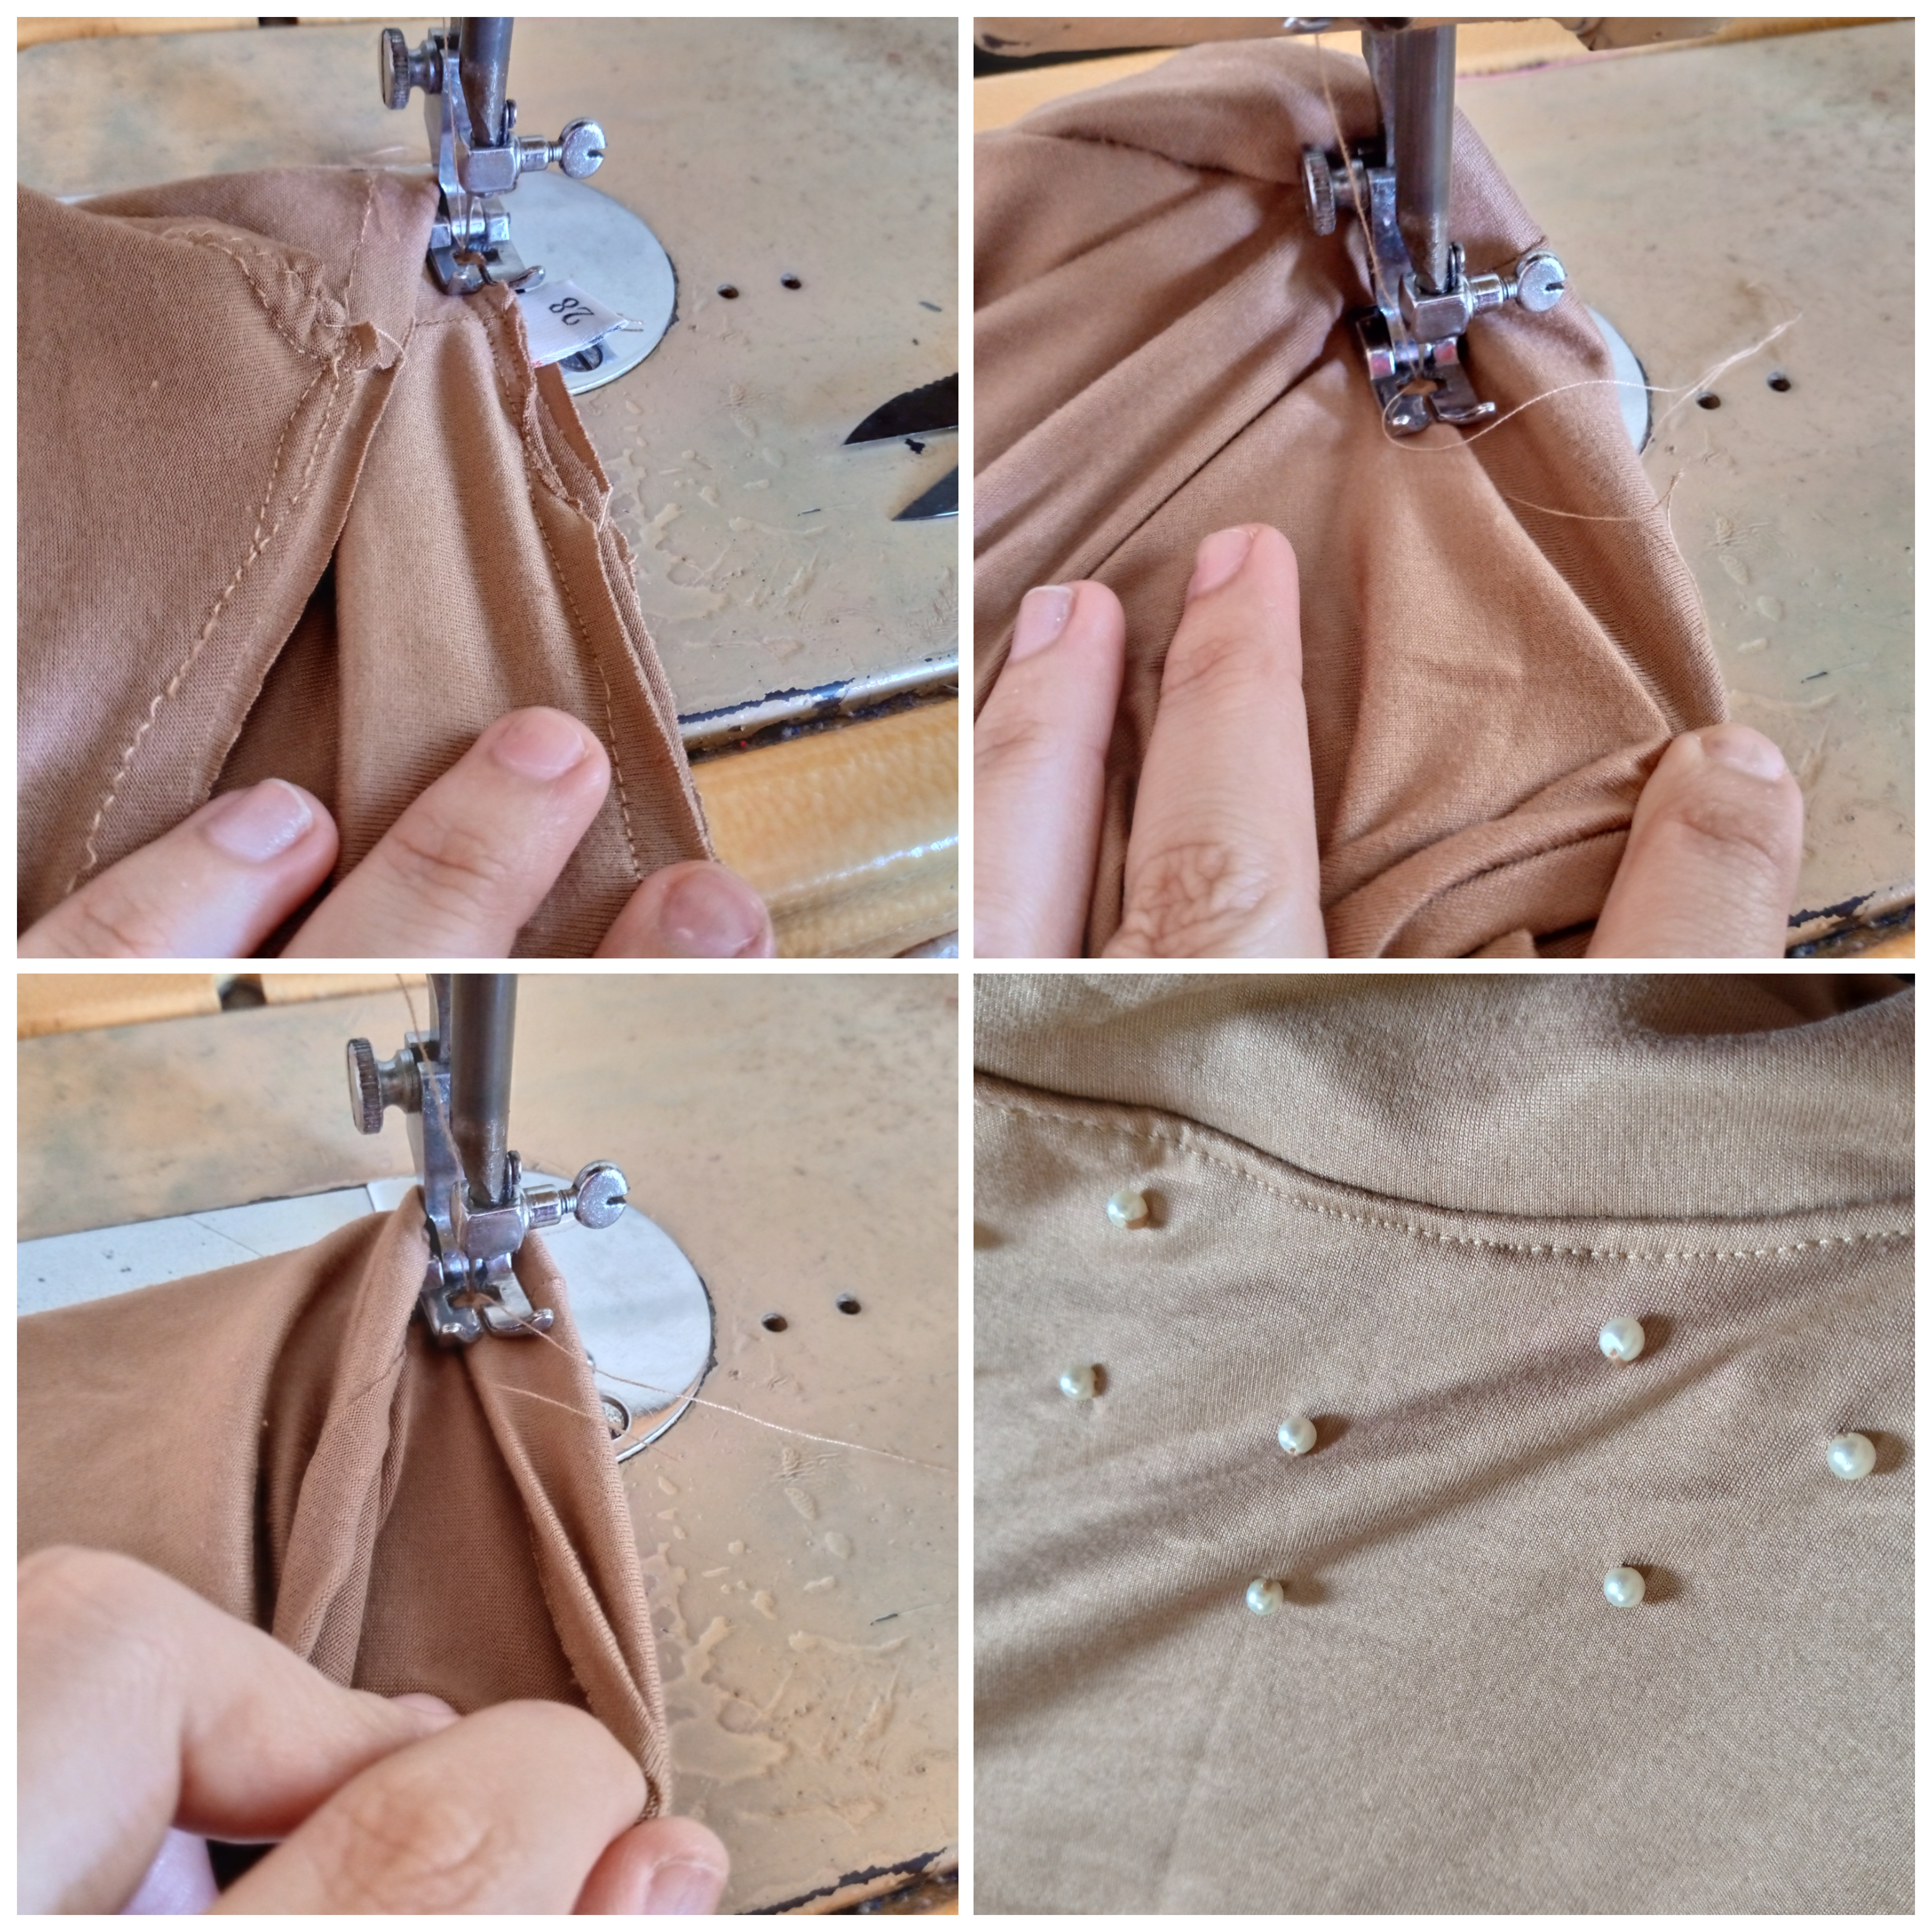
Le vamos a pasar nuestro zig zag por alrededor del cuello que acabamos de coser para darle su acabado luego lo volteamos y vamos a estar repisandolos por la parte superior casi en la orilla del cuello lo repisamos completo ,cosemos el dobladillo de cada manga del suéter y finalizamos cosiendo con hilo y aguja las perlitas en la parte del pecho de mi suéter en total he cosido ocho perlitas pero si ustedes desean pueden colocarlas o ubicarlas en cualquier parte del suéter ,aquí pueden hacerlo a tu preferencia amigos y usar tu creatividad de diseño con esto finalizamos este bello suéter.

Step 05

We are going to pass our zig zag around the neck that we just sewed to finish it, then we turn it over and we are going to be going over it along the top almost at the edge of the neck, we go over it completely, we sew the hem of each sleeve of the sweater and we finish by sewing with thread and needle the beads on the chest part of my sweater. In total I have sewn eight beads but if you wish you can place them or locate them anywhere on the sweater, here you can do it as you prefer friends and use your design creativity with this we finish this beautiful sweater.


Picsart_24-12-24_14-04-14-210 (1).jpg

Resultado:// Result:

IMG_20241224_112103_713.jpg

IMG_20241224_112110_801.jpg

IMG_20241224_112056_169.jpg

IMG_20241224_112056_837.jpg

Con las imagenes del resultado final me despido de ustedes y espero haya sido de su agrado pasen una feliz tarde y nos vemos en otro próximo blog gracias por llegar al final ,los quiero mucho mis queridos amigos y fué un gusto compartir con ustedes este blog y está feliz confección creativa ,adiós mis hivers artesanos.✨💕

With the images of the final result I say goodbye to you and I hope it was to your liking, have a happy afternoon and see you in another next blog, thank you for getting to the end, I love you very much my dear friends and it was a pleasure to share this blog with you and it is happy creative confection, goodbye my hivers artisans. ✨💕

Picsart_24-12-24_14-04-14-210 (1).jpg

Creando las cosas con amor 🌷❤️

🦋✨Todas las imágenes de esta publicación son de mi autoria ,📱tomadas con mi celular TecnoSpark8C |📸Fotos editadas en PicsArt y Canva. Texto traducido en el traductor de Google.

Creating things with love 🌷❤️

🦋✨ All the images in this publication are my author ,📱taken with my TecnoSpark8C cell phone |📸Photos edited in PicsArt and Canva. Text translated in Google Translate.

Gracias por visitar mi blog_20241117_145338_0000.png


Sort:  
Loading...