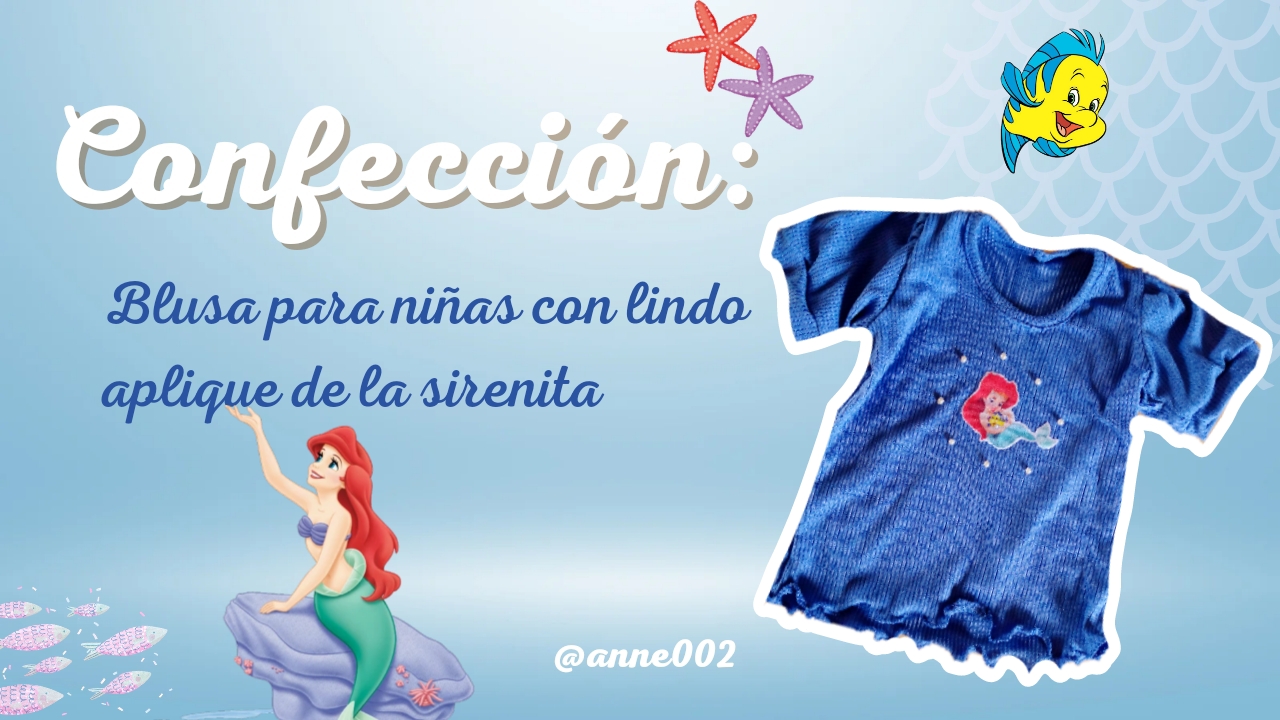
🌷Hello, beautiful day! It's a pleasure to greet you. I hope you are all doing very well, dear and appreciated friends. I warmly welcome you to a new blog where I will be sharing with you the creative process of what we will do here step by step. Feel comfortable and thank you for being here reading this blog.✨
.jpg)
I will be showing you how to make this easy and simple blouse. It does not require many materials to make it, the truth is because I have already used material that of course I had here like this piece of blue fabric that is very soft because it is ribbed and I highly recommend buying this type of fabric to make clothes for the boys and girls of the house because it does not give heat and is super soft especially for them who are always playing outside and tend to sweat a lot. This type of fabric is special and I highly recommend it to you. As a nice detail I have gotten this applique in a haberdashery store near my house. A long time ago when I of course worked in a store where we mostly made children's and adult clothing we always used these adhesive strips to stick them with a hot iron for a few seconds and make a nice design on the shirts for better sales. When I stopped working, I brought home many ideas from what I learned at work to start my own business on my own, so these details can be a very good option if you plan to sell them since the girls love these designs on their shirts and we girls too.
The process of gluing these appliqués is not very difficult. They have a transparent glue on the back and melt when you place them on the fabric with the iron on top of course. This way you can easily put these appliqués on your blouses in just one step. But come on, I'll show you in more detail how to do it and make this puffy sleeve blouse for girls. You'll like the results.

.jpg)
Materiales:// Materials:
- Aplique adhesivo
- Tela
- Medida de una prenda
- Tijera
- Hilo
- Máquina de coser
- Perlitas decorativas blancas de 4 mm
- Adhesive application
- Fabric
- Garment measurement
- Scissors
- Thread
- Sewing machine
- 4 mm white decorative pearls
.jpg)
Pasos a seguir://Steps to follow:
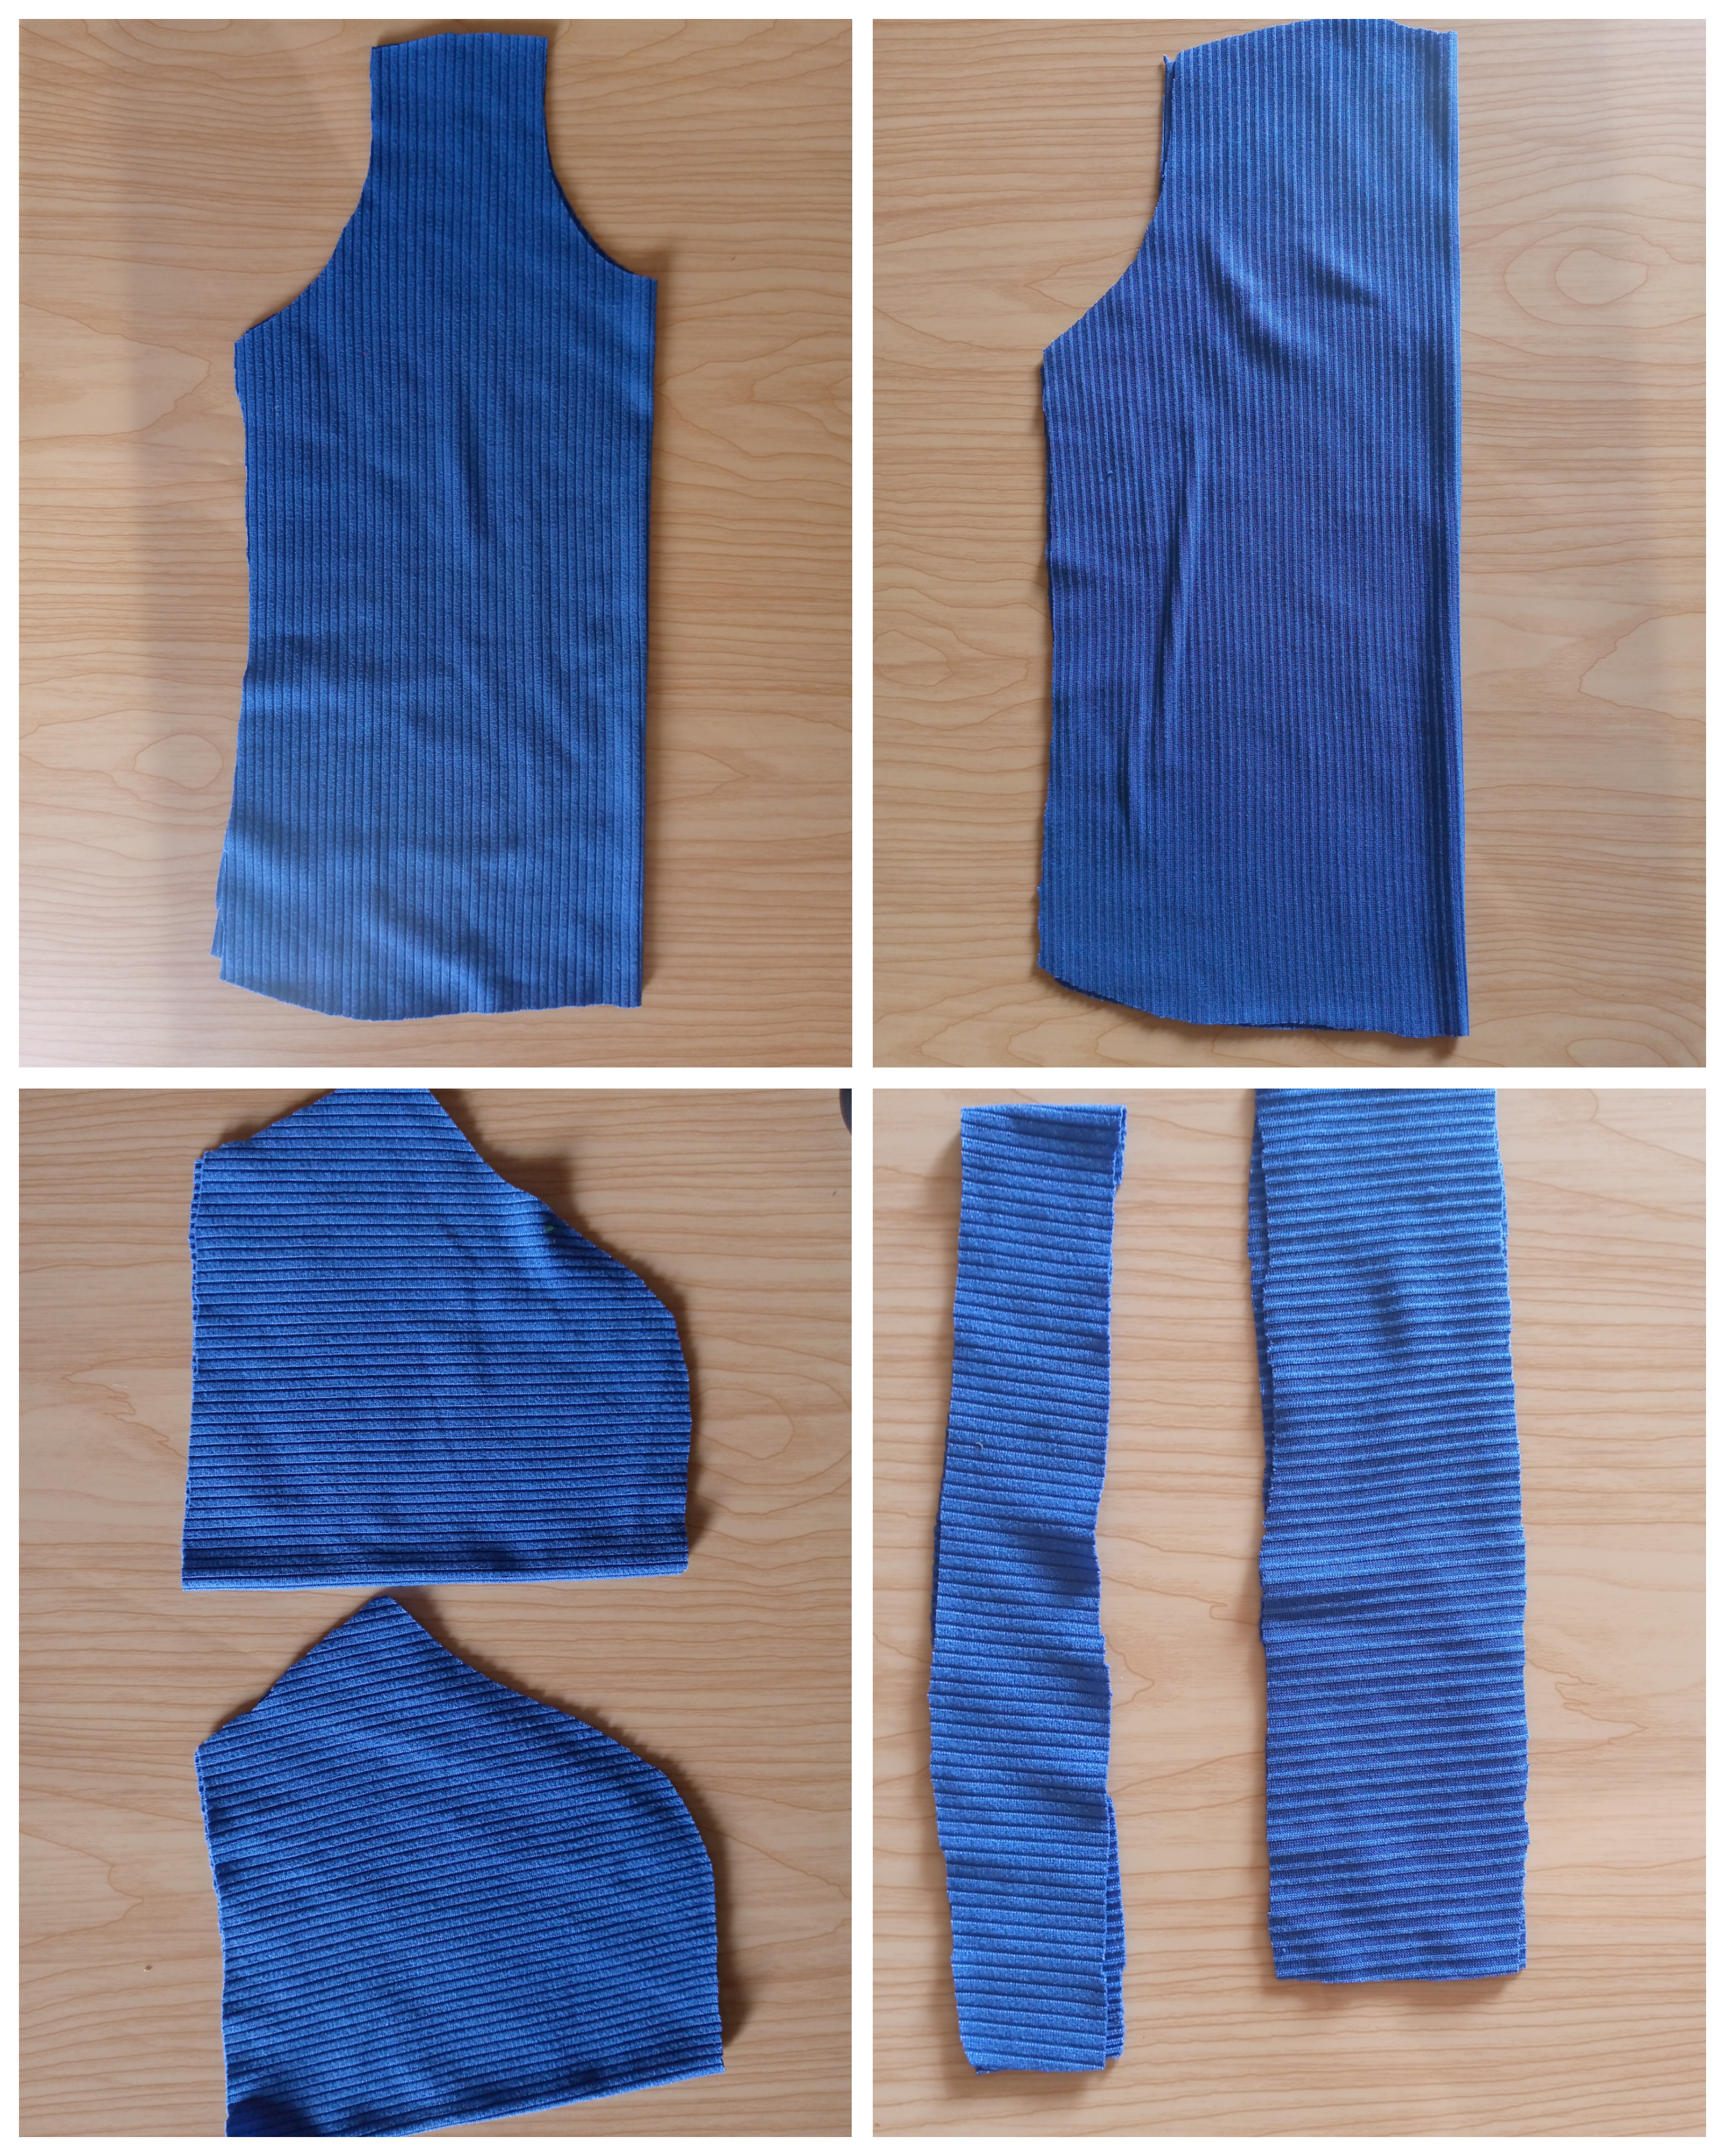
Paso 01
Step 01
The first step is to cut a garment with the size you know will fit perfectly the girl for whom you are going to make the blouse, if not you can also use their patterns in different sizes, it depends on the size of the girl for whom you are making this garment, the pieces we will need will be the following two pieces of the blouse: front piece with low collar and back piece, two sleeves, bias for the neck approximately 3.5 cm wide and the same length as the neck of the blouse and subtract 2 cm less from the bias so that when you stretch it and sew it it will look good, 2 bias for the cuff of the sleeves 4 cm wide, those are the pieces we will use.
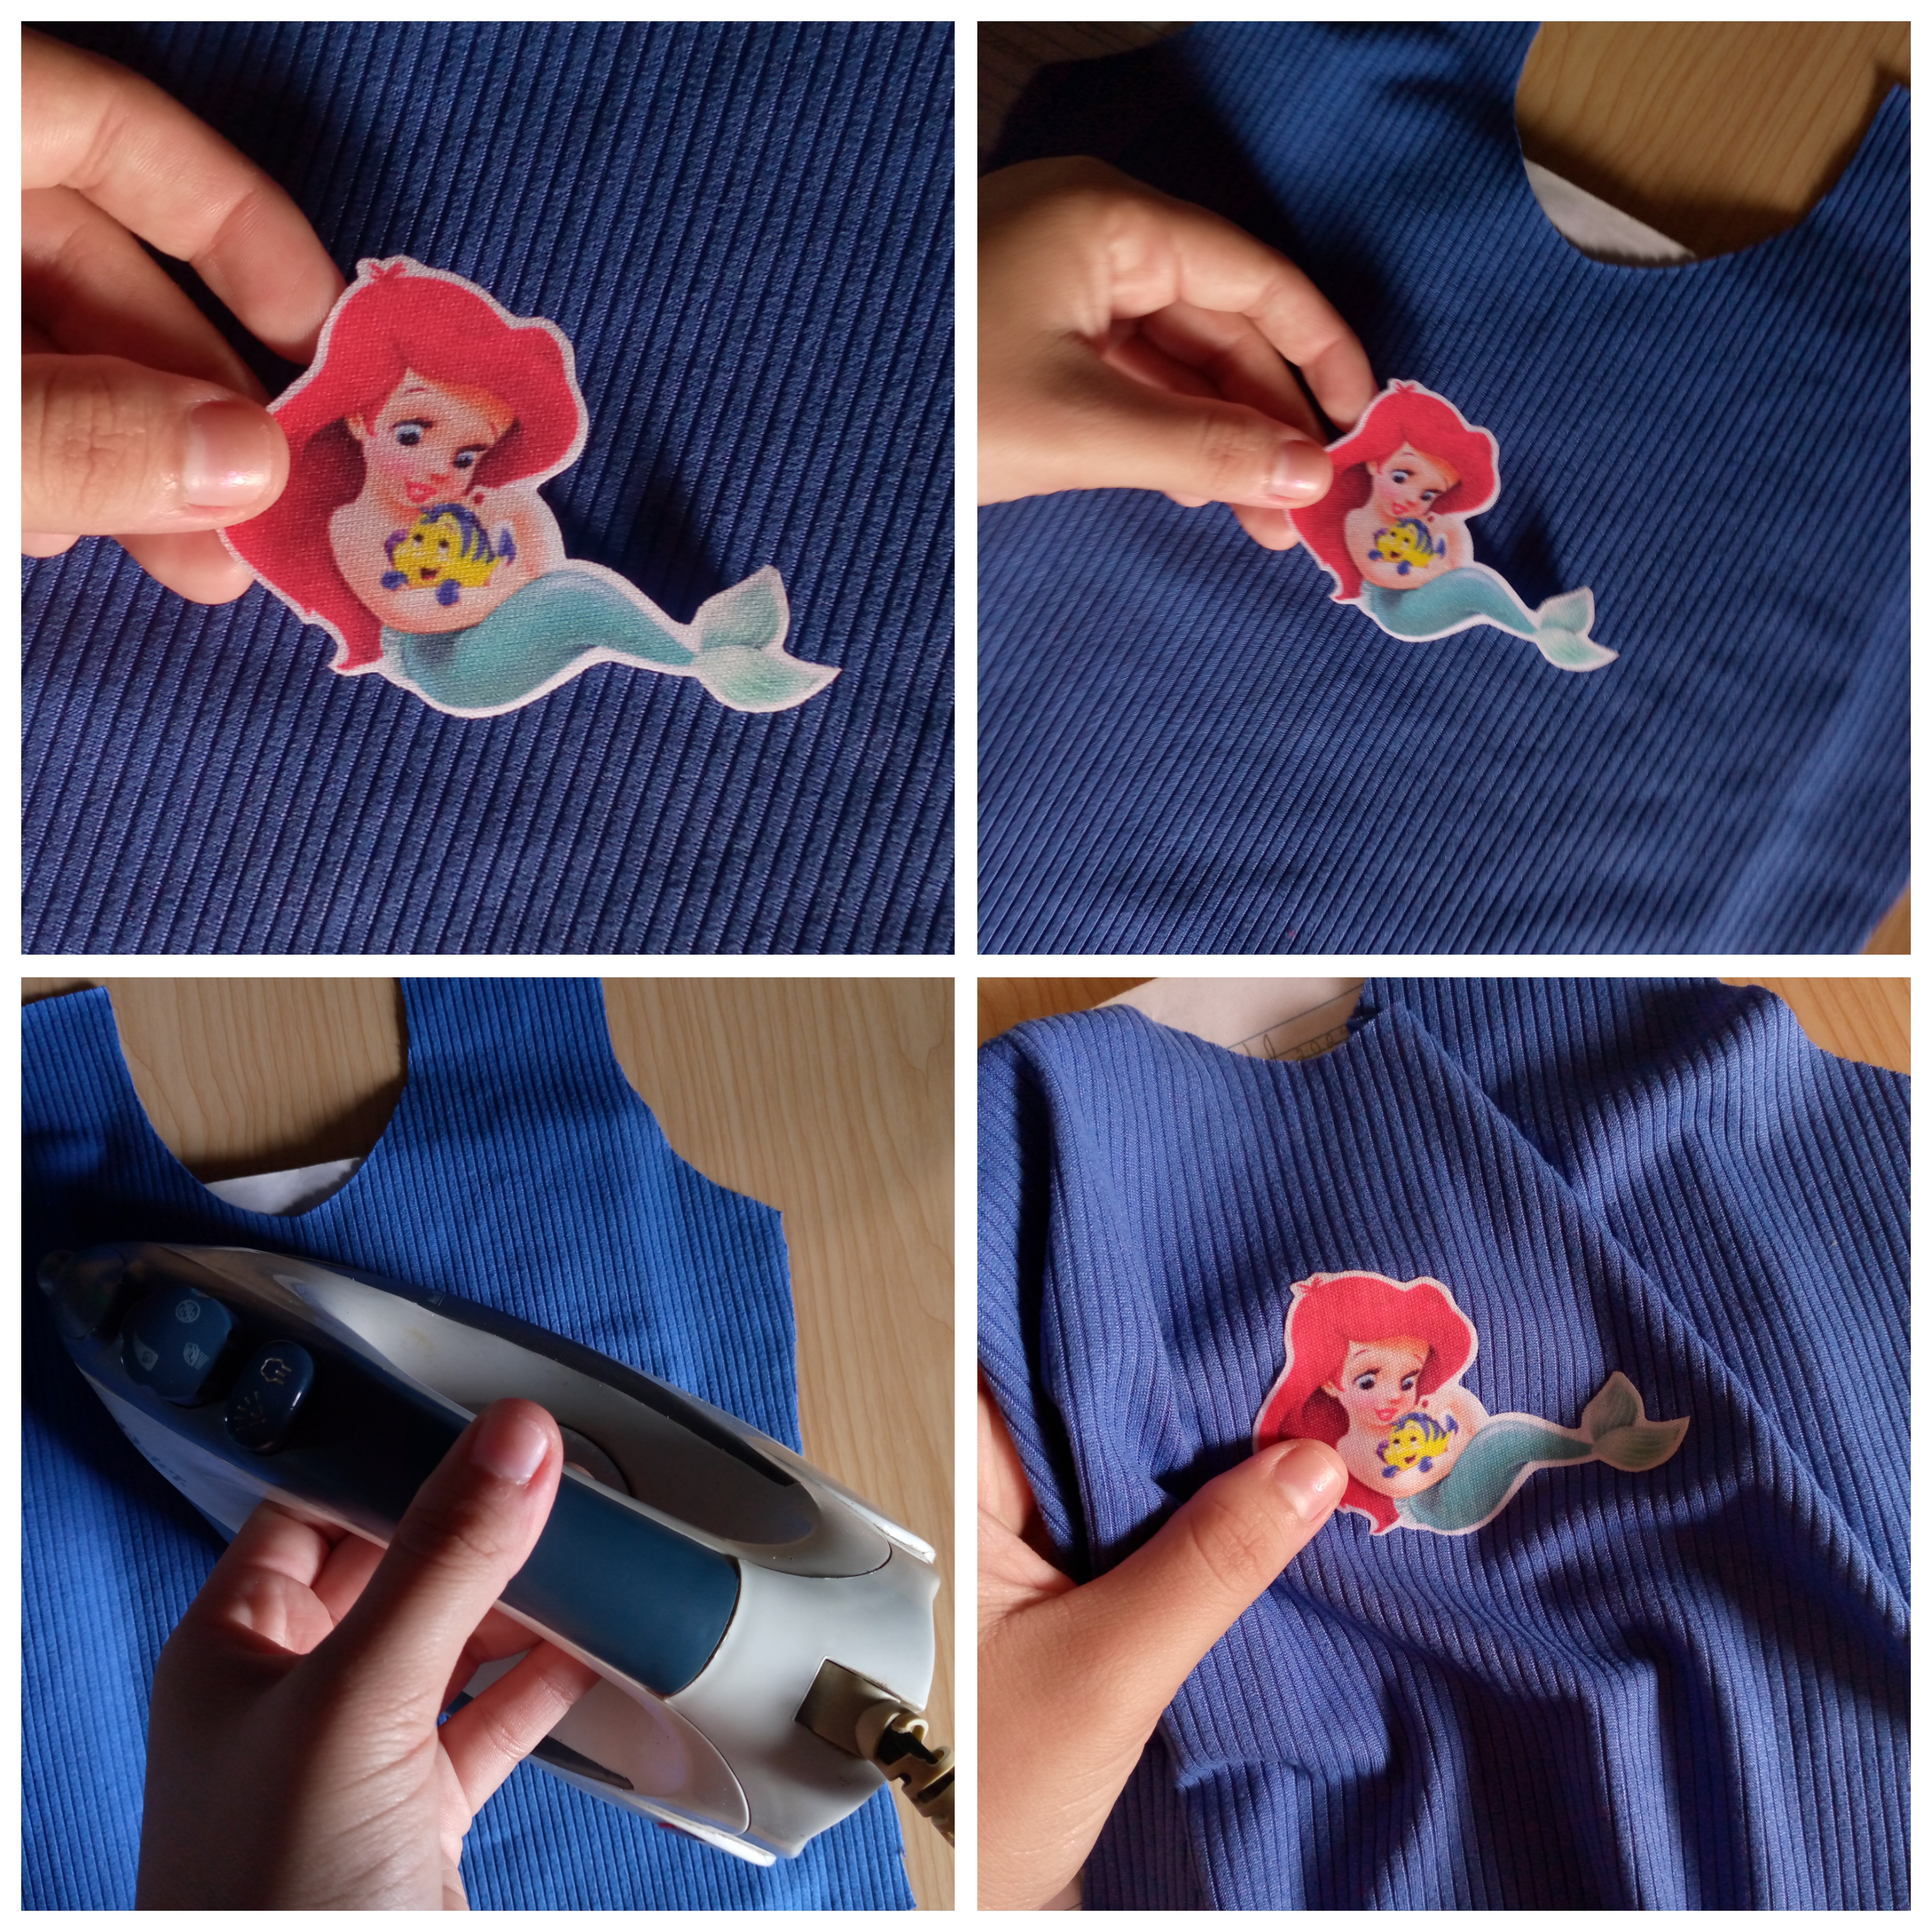
Paso 02
Step 02
Before you start sewing the blouse it is very important to glue the appliqué before making it to prevent the bottom piece from getting stained in case this happens this does not always happen but some appliqués are more sticky than normal and when they melt with our iron this happens not much but a little so for safety we are going to grab the piece where you are going to place your appliqué and it is time to use an old notebook open it and place the fabric on top, we locate the design and we are going to heat the iron to medium level, when it is hot it is time to place it on top of the design pressing it for 10 seconds while we make circular turns with the iron, we remove the iron and it is ready to use.
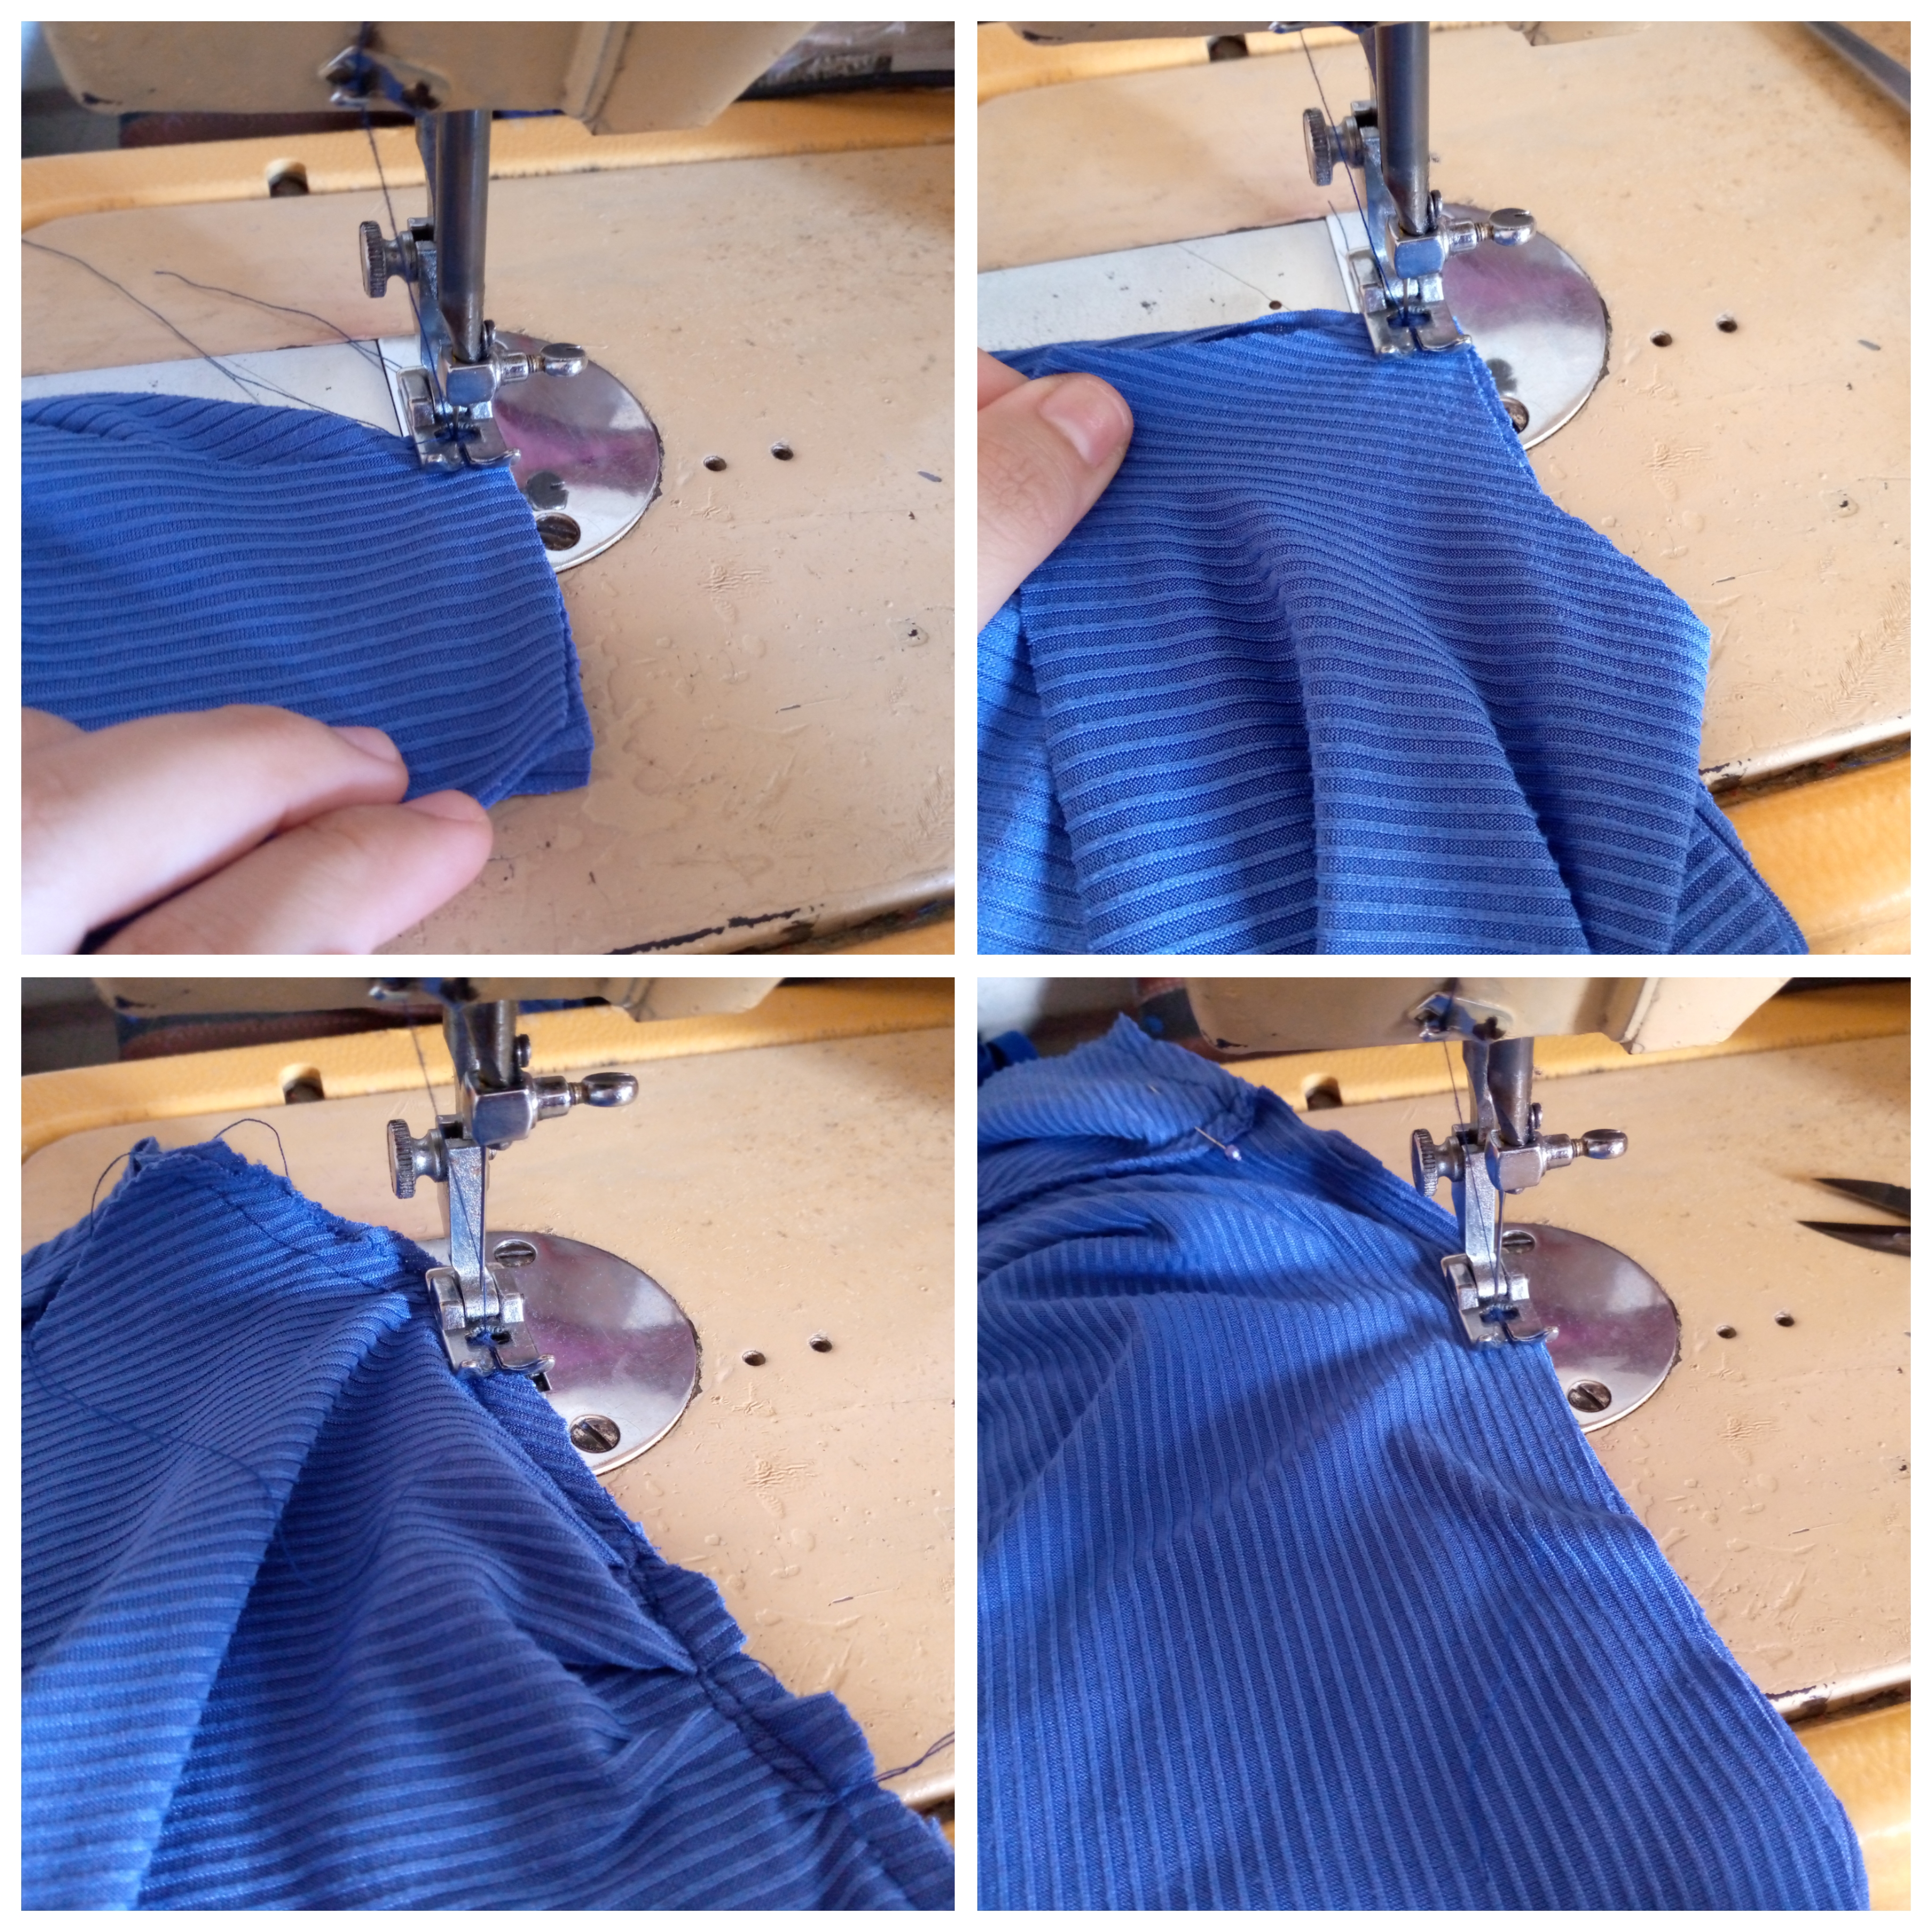
Paso 03
Step 03
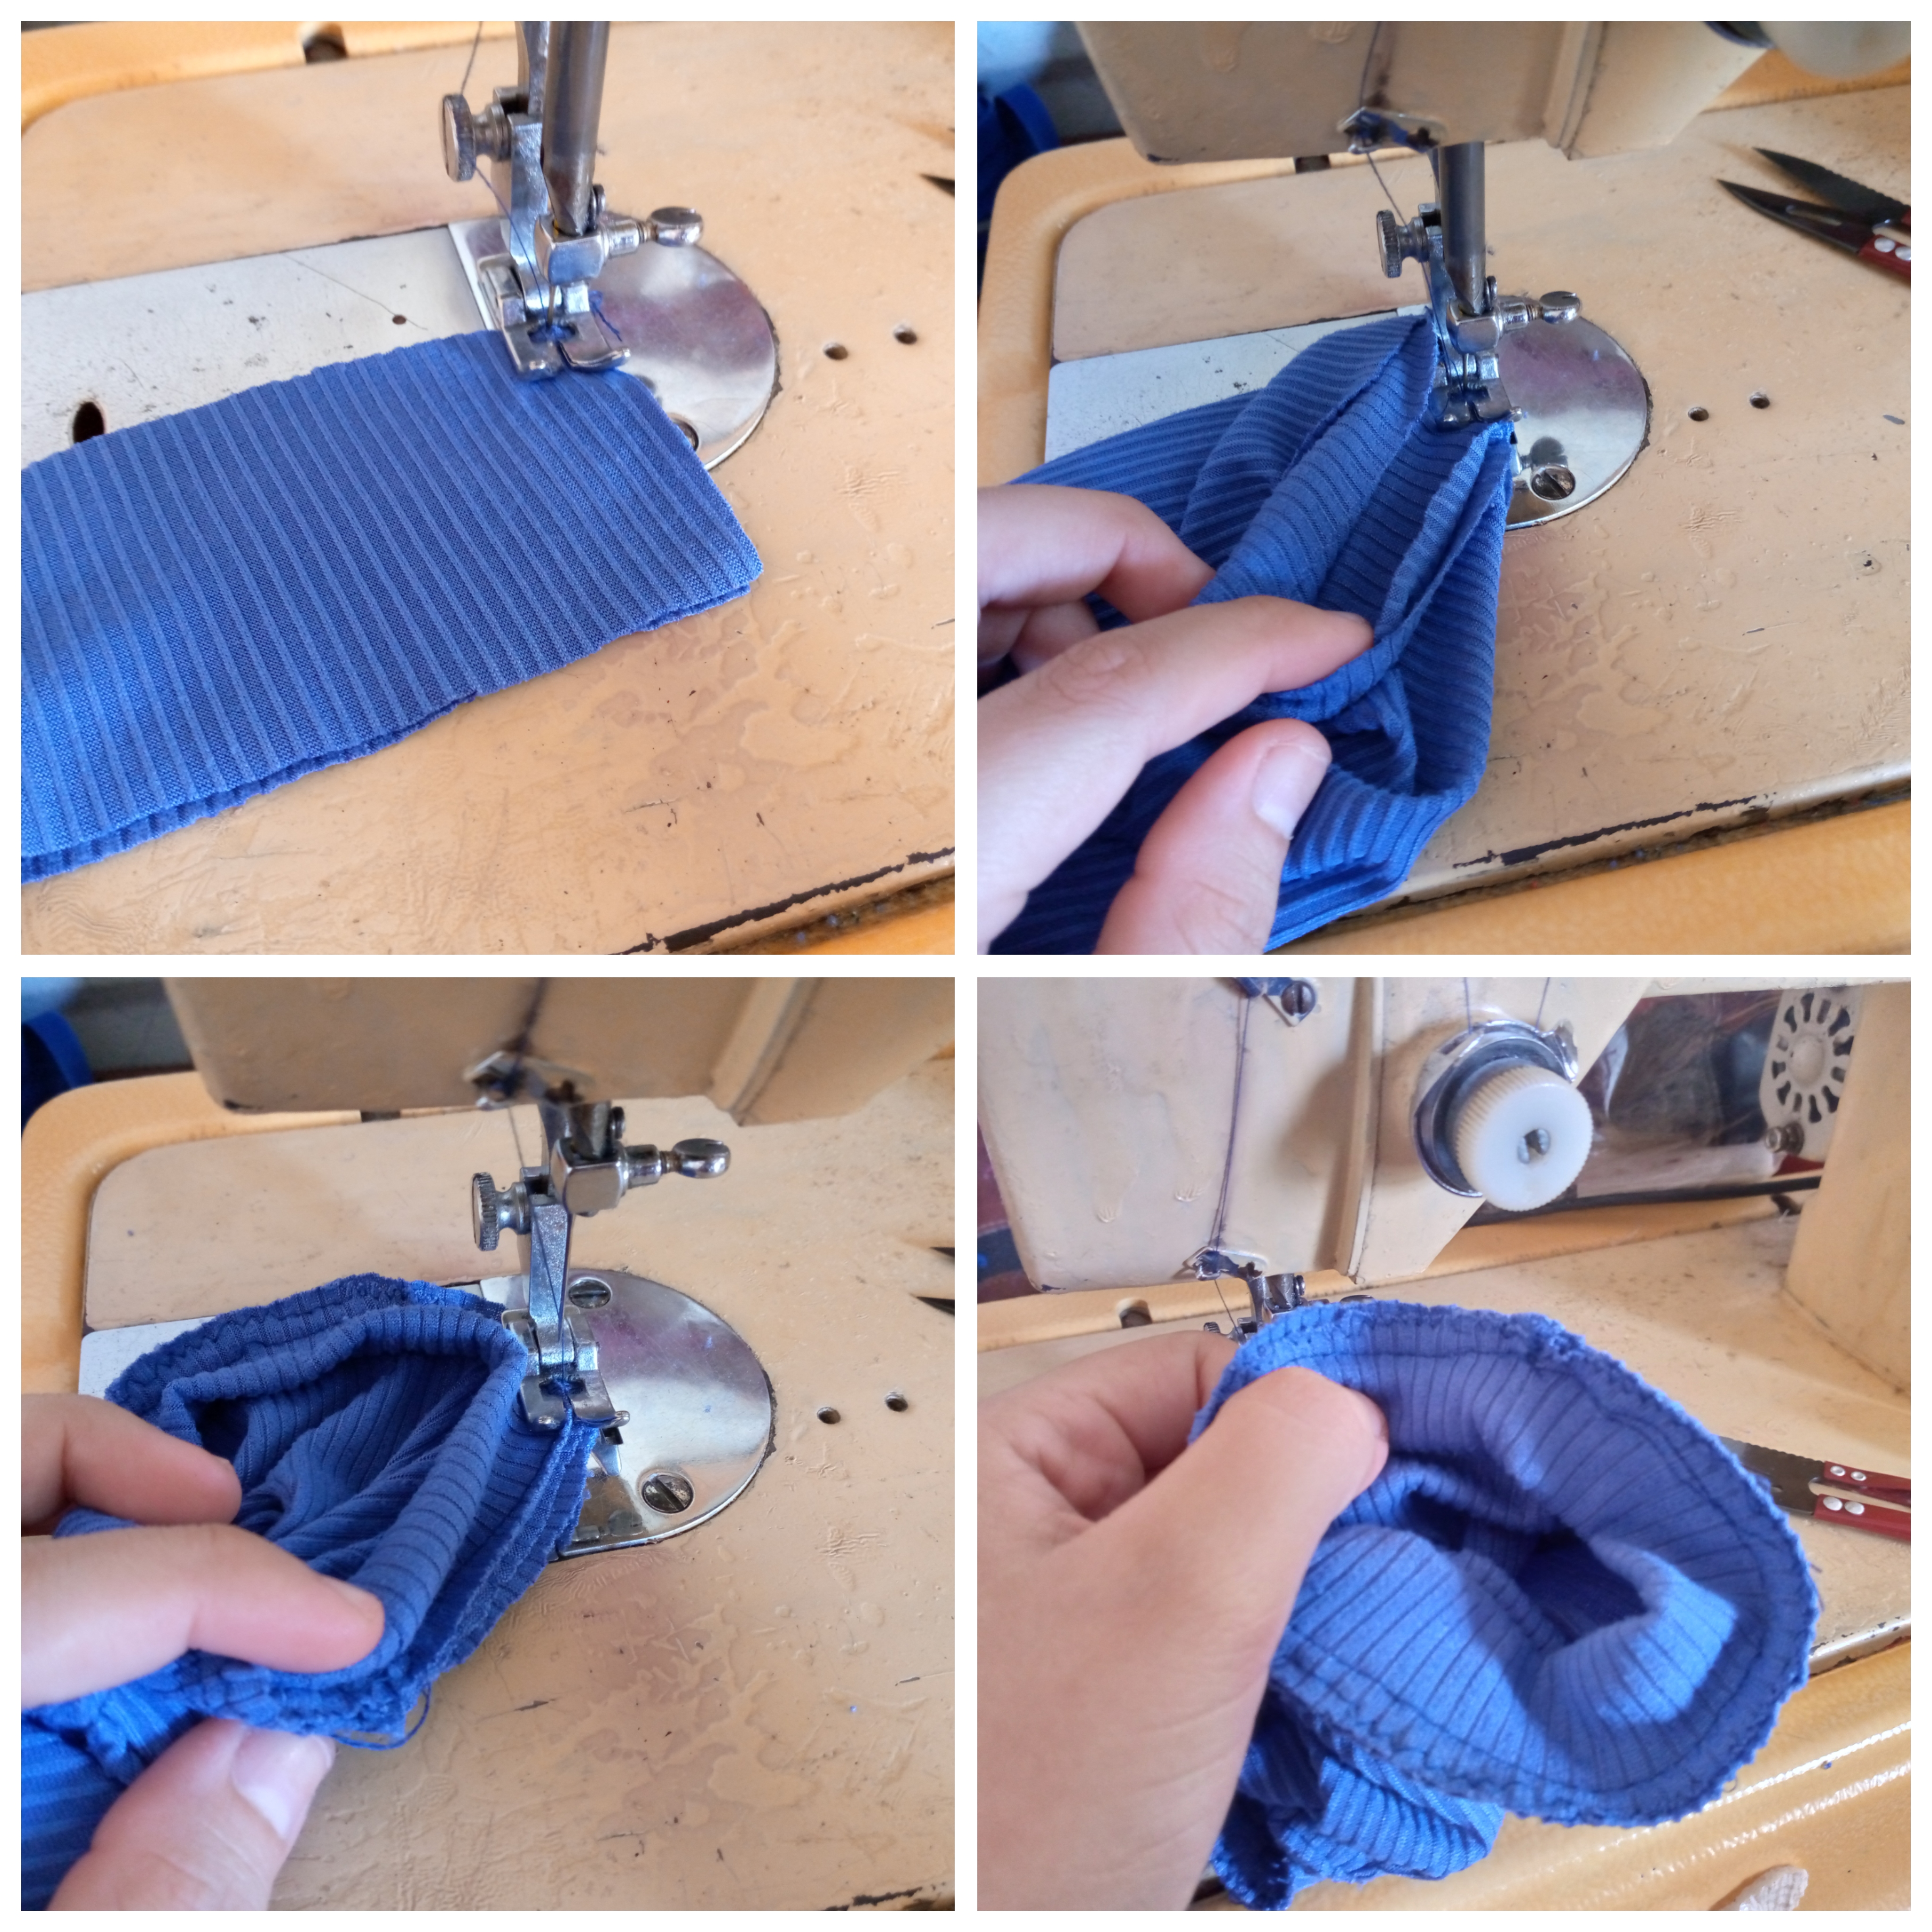
Now if we move on to sew the shoulder part of the blouse on both sides with a straight and zigzag stitch simulating an overlock stitch, we open it and on the armhole side I will be placing the sleeve and holding it with a pin, it is time to sew the sleeve while we make small planks to gather it so our sleeve is baggy and we close the sides of the blouse.
Paso 04
Step 04
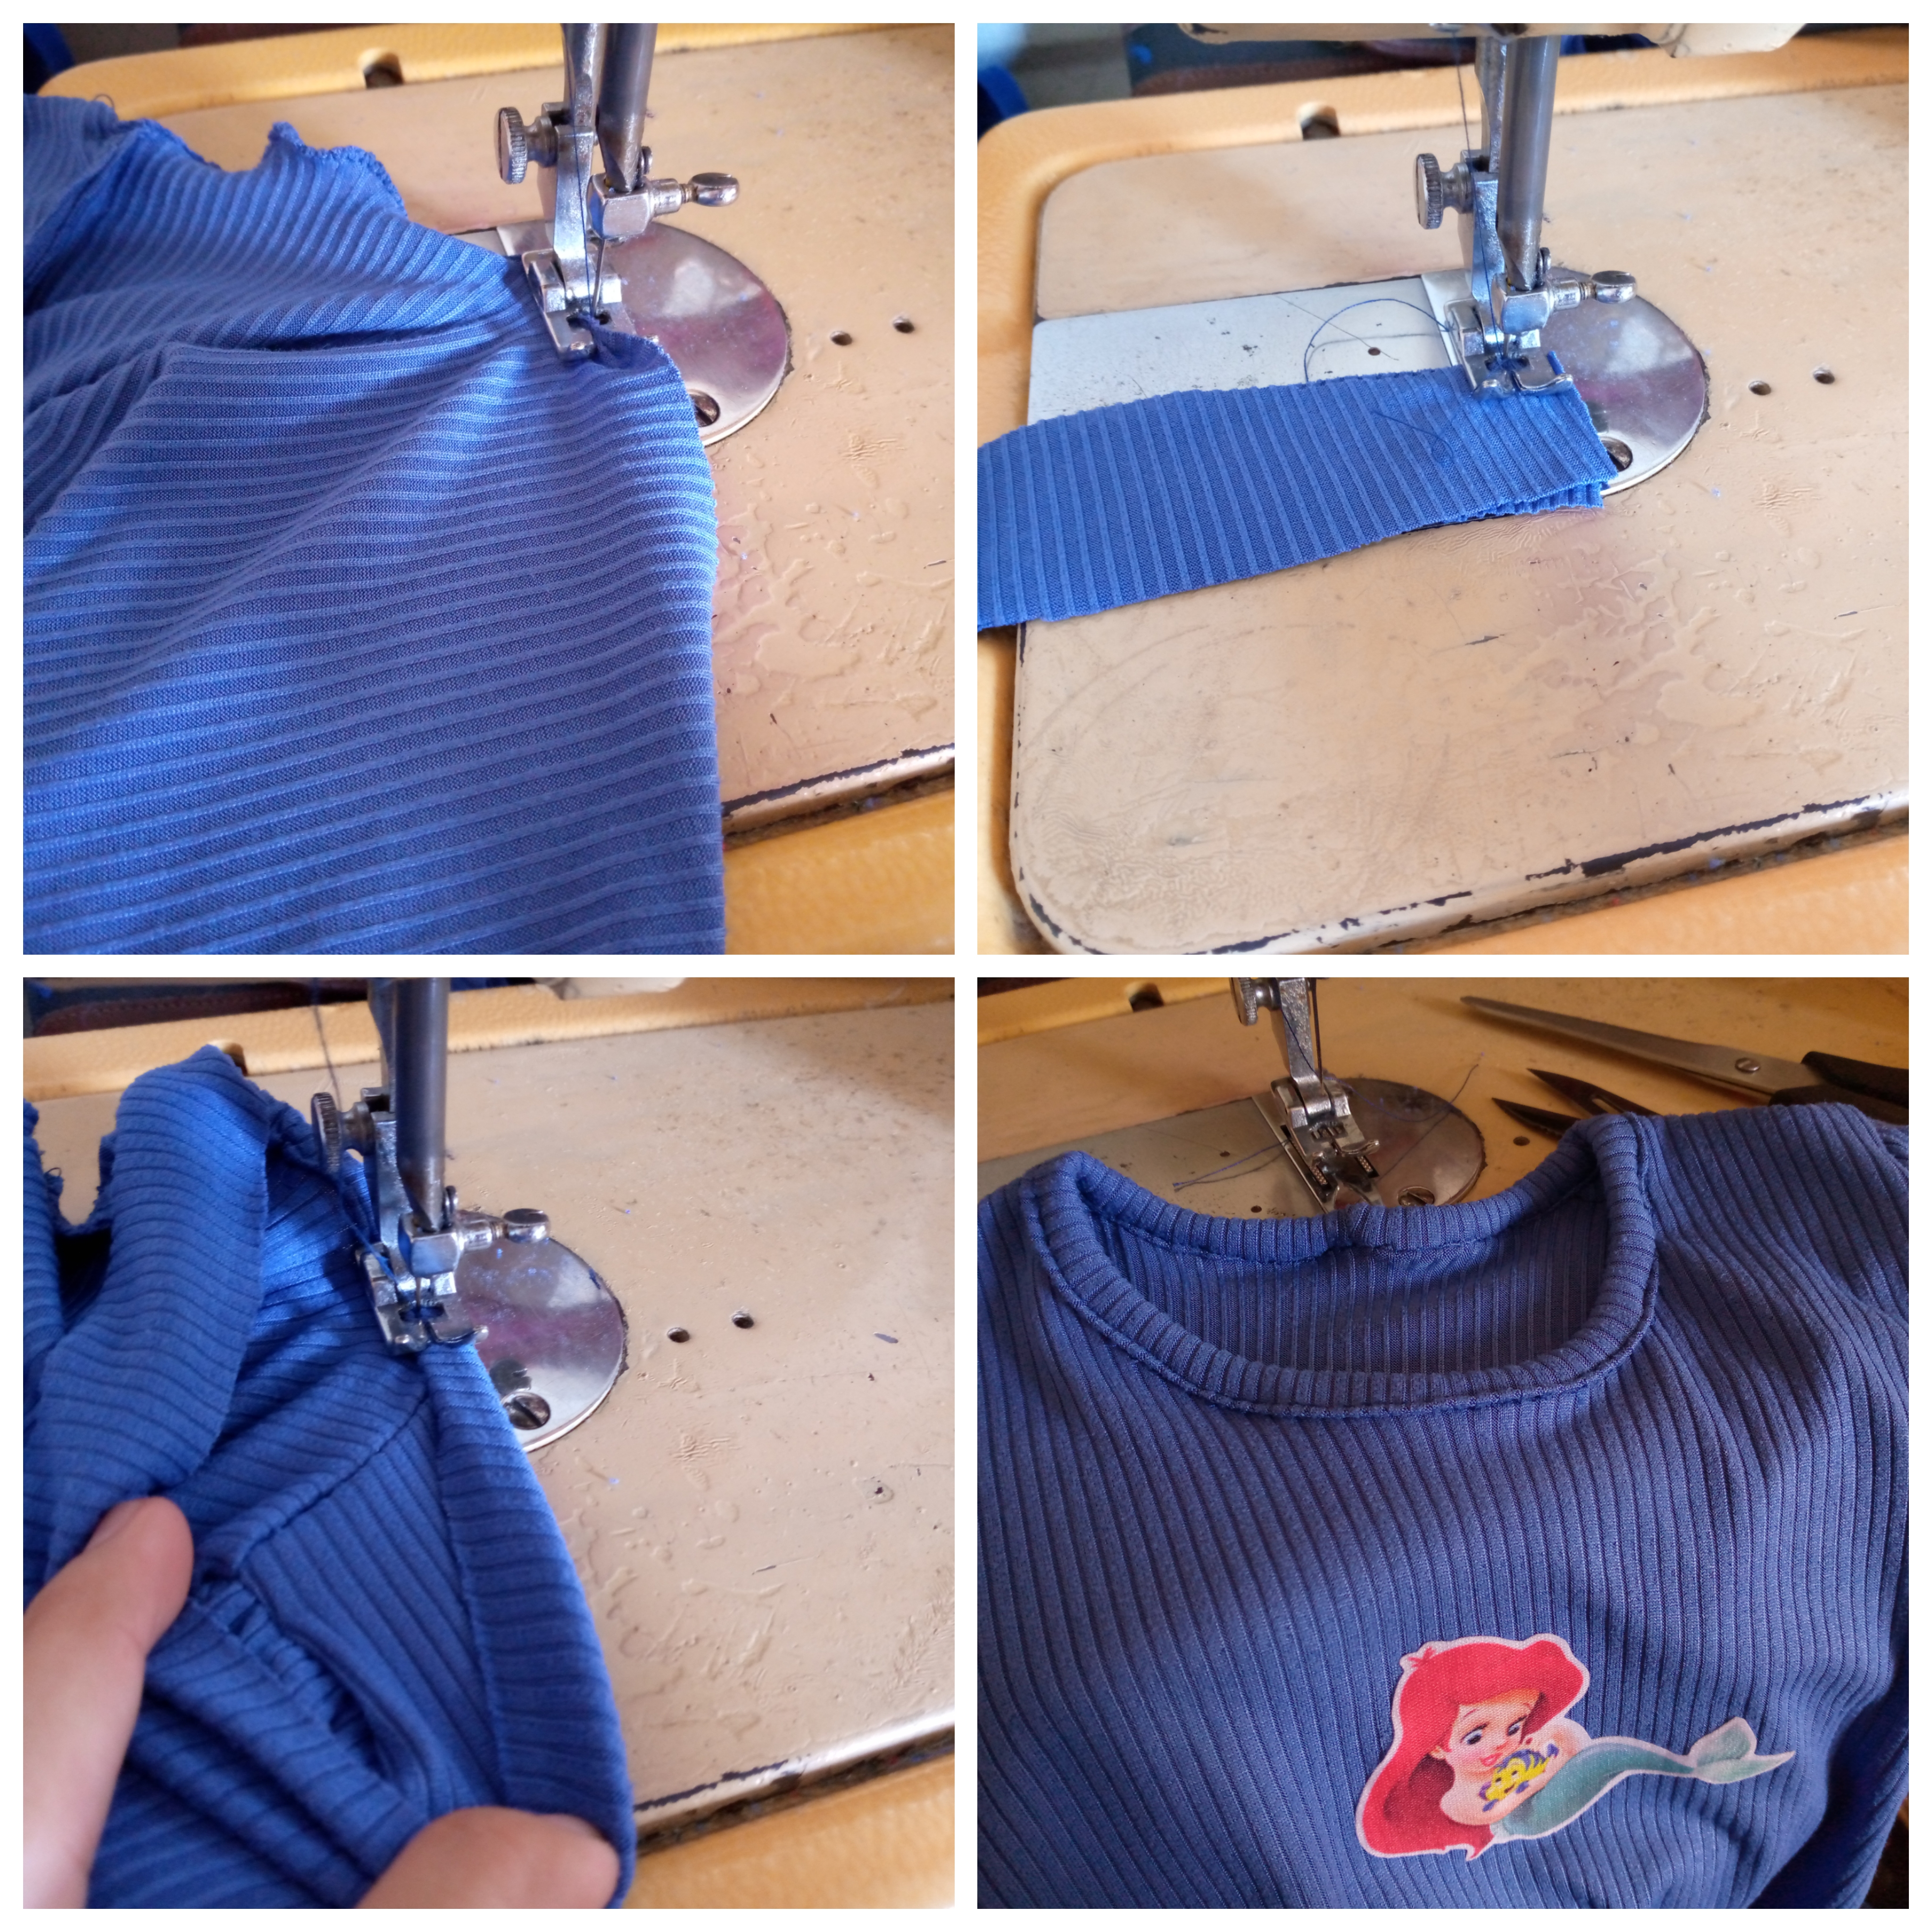
We join the piece that we will use for the cuffs of the sleeves, then we fold it and proceed to sew around the entire outline of the sleeve, stretching it a little while sewing. We will do the same step with the other sleeve.
Paso 05
Step 05
I finish my garment by sewing a flounce at the bottom with a zigzag seam in the shape of a lettuce, stretching the fabric, we zigzag it and then we zigzag it twice again, then we seal the bias of the neck, we sew from the inside out with a straight seam along the bias all the way around the neck and we overlock it, thus finishing.
.jpg)
Resultado:// Result:
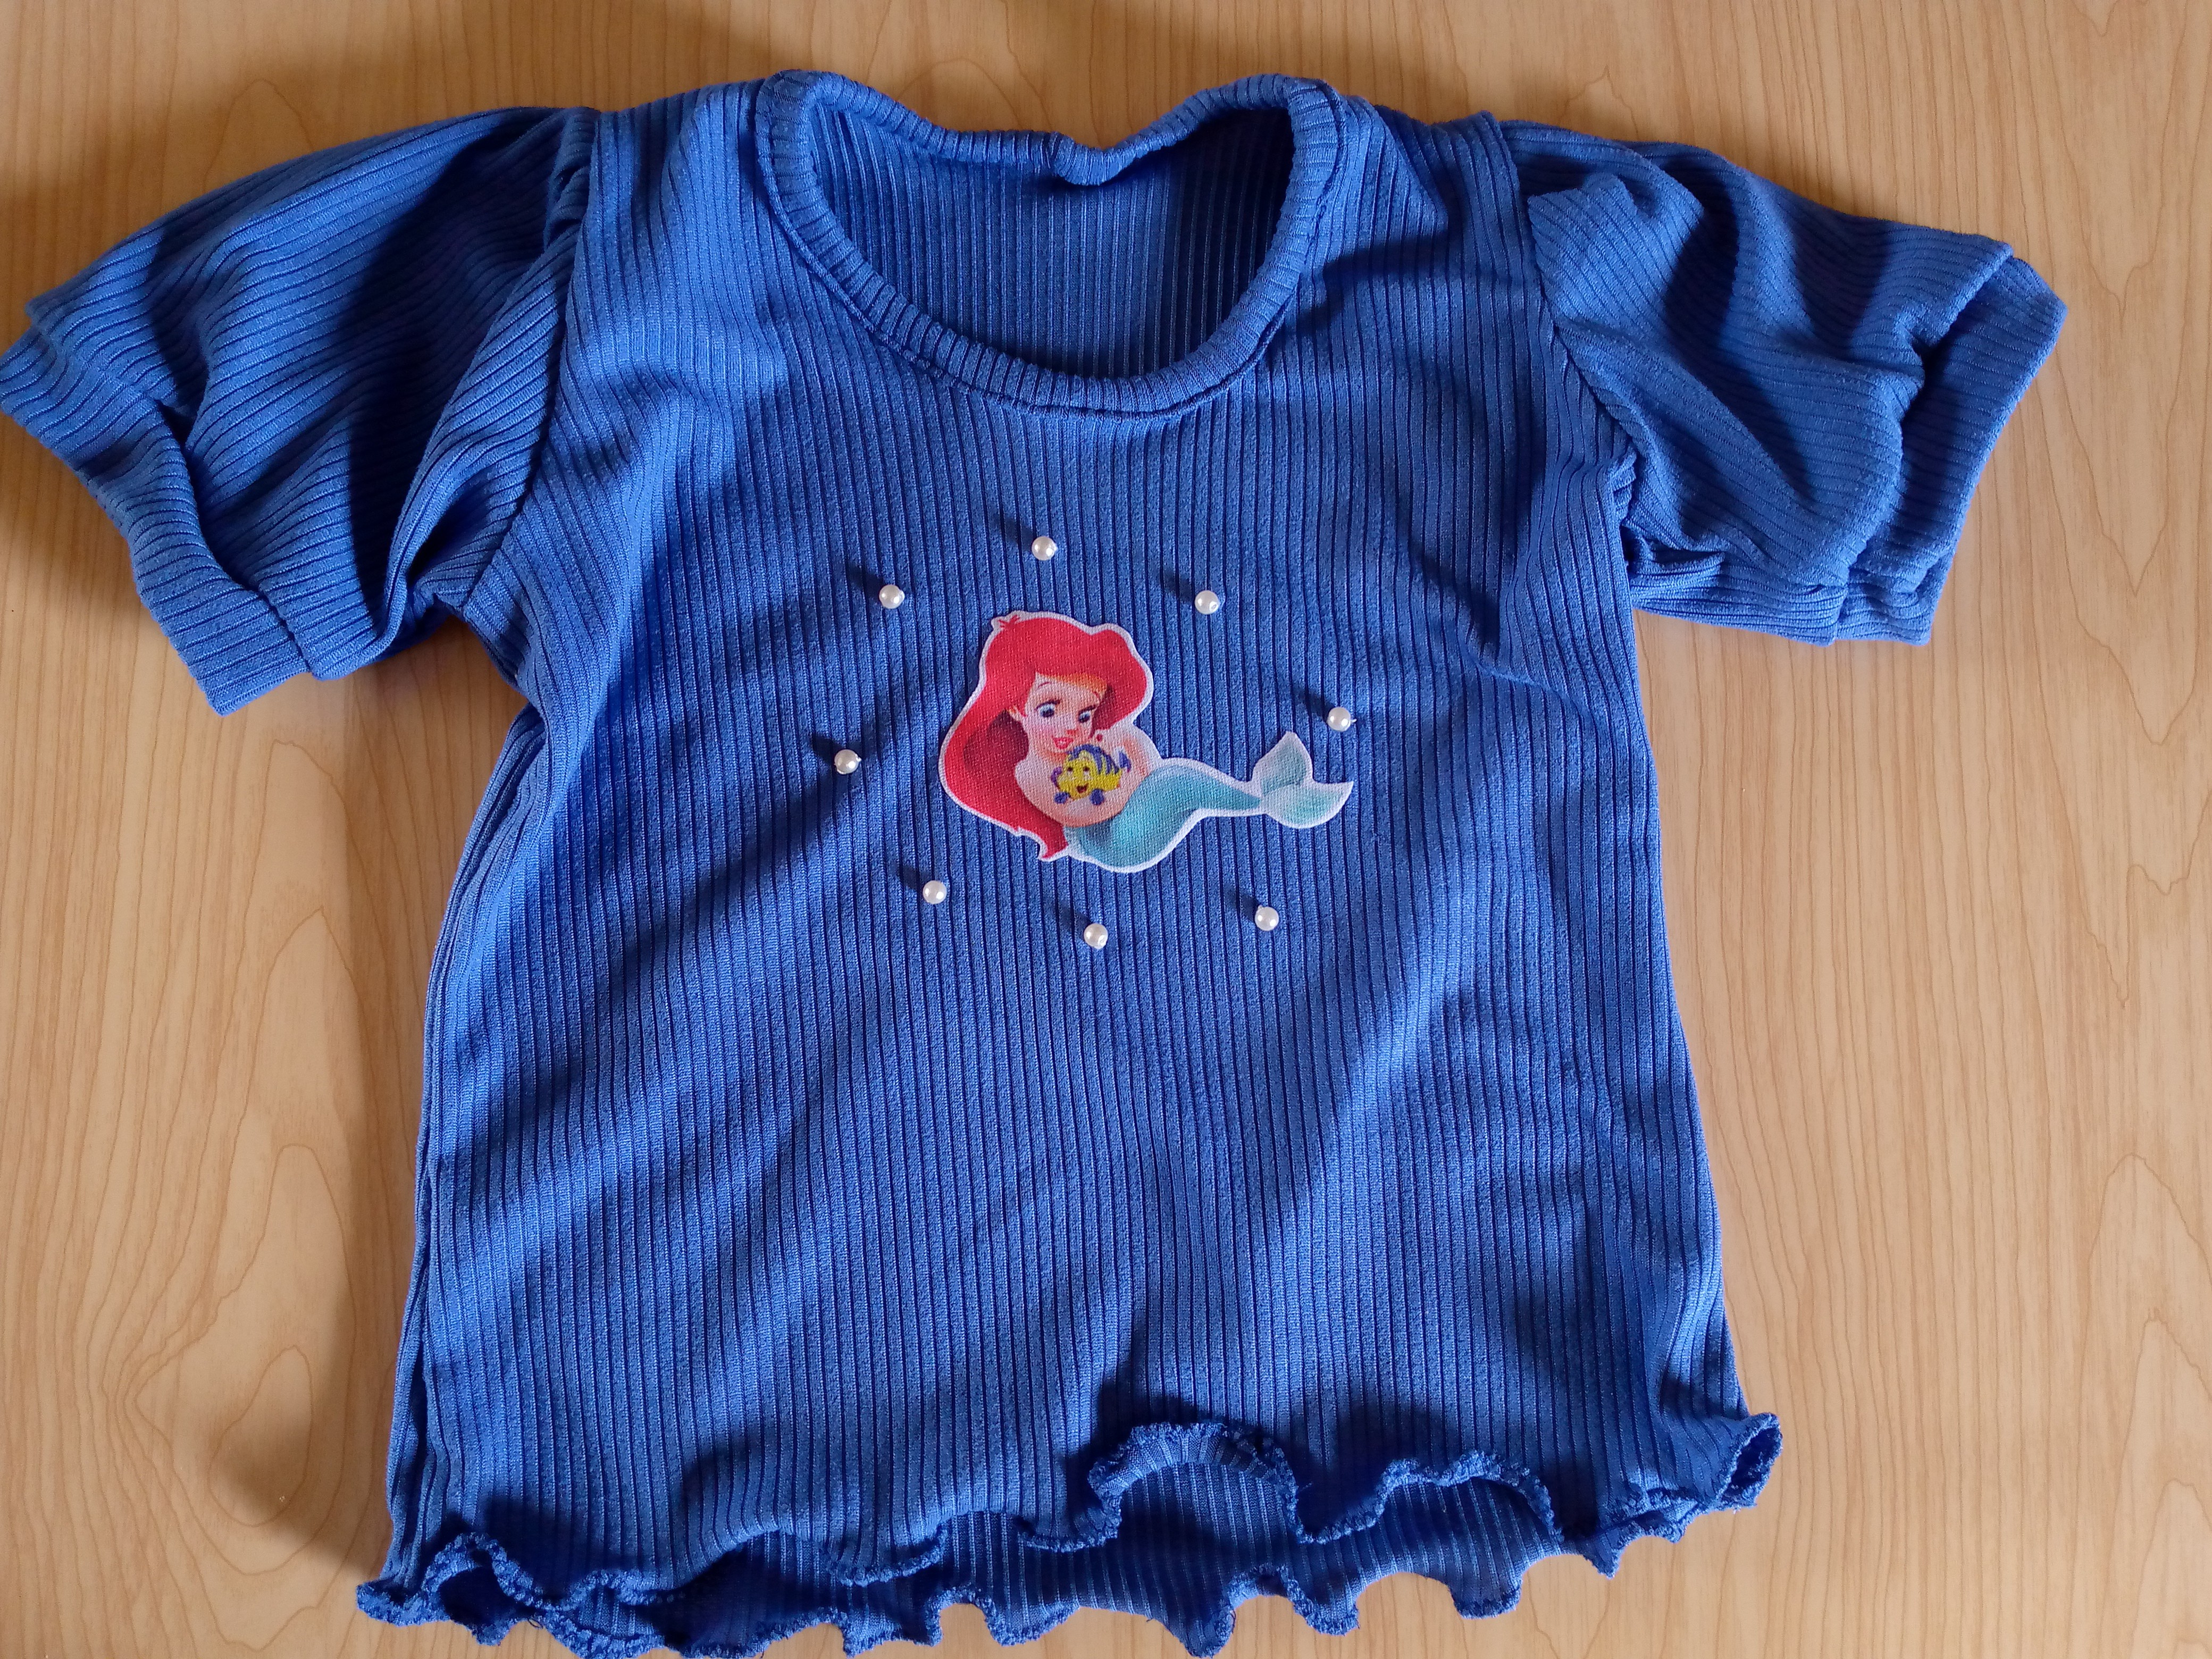
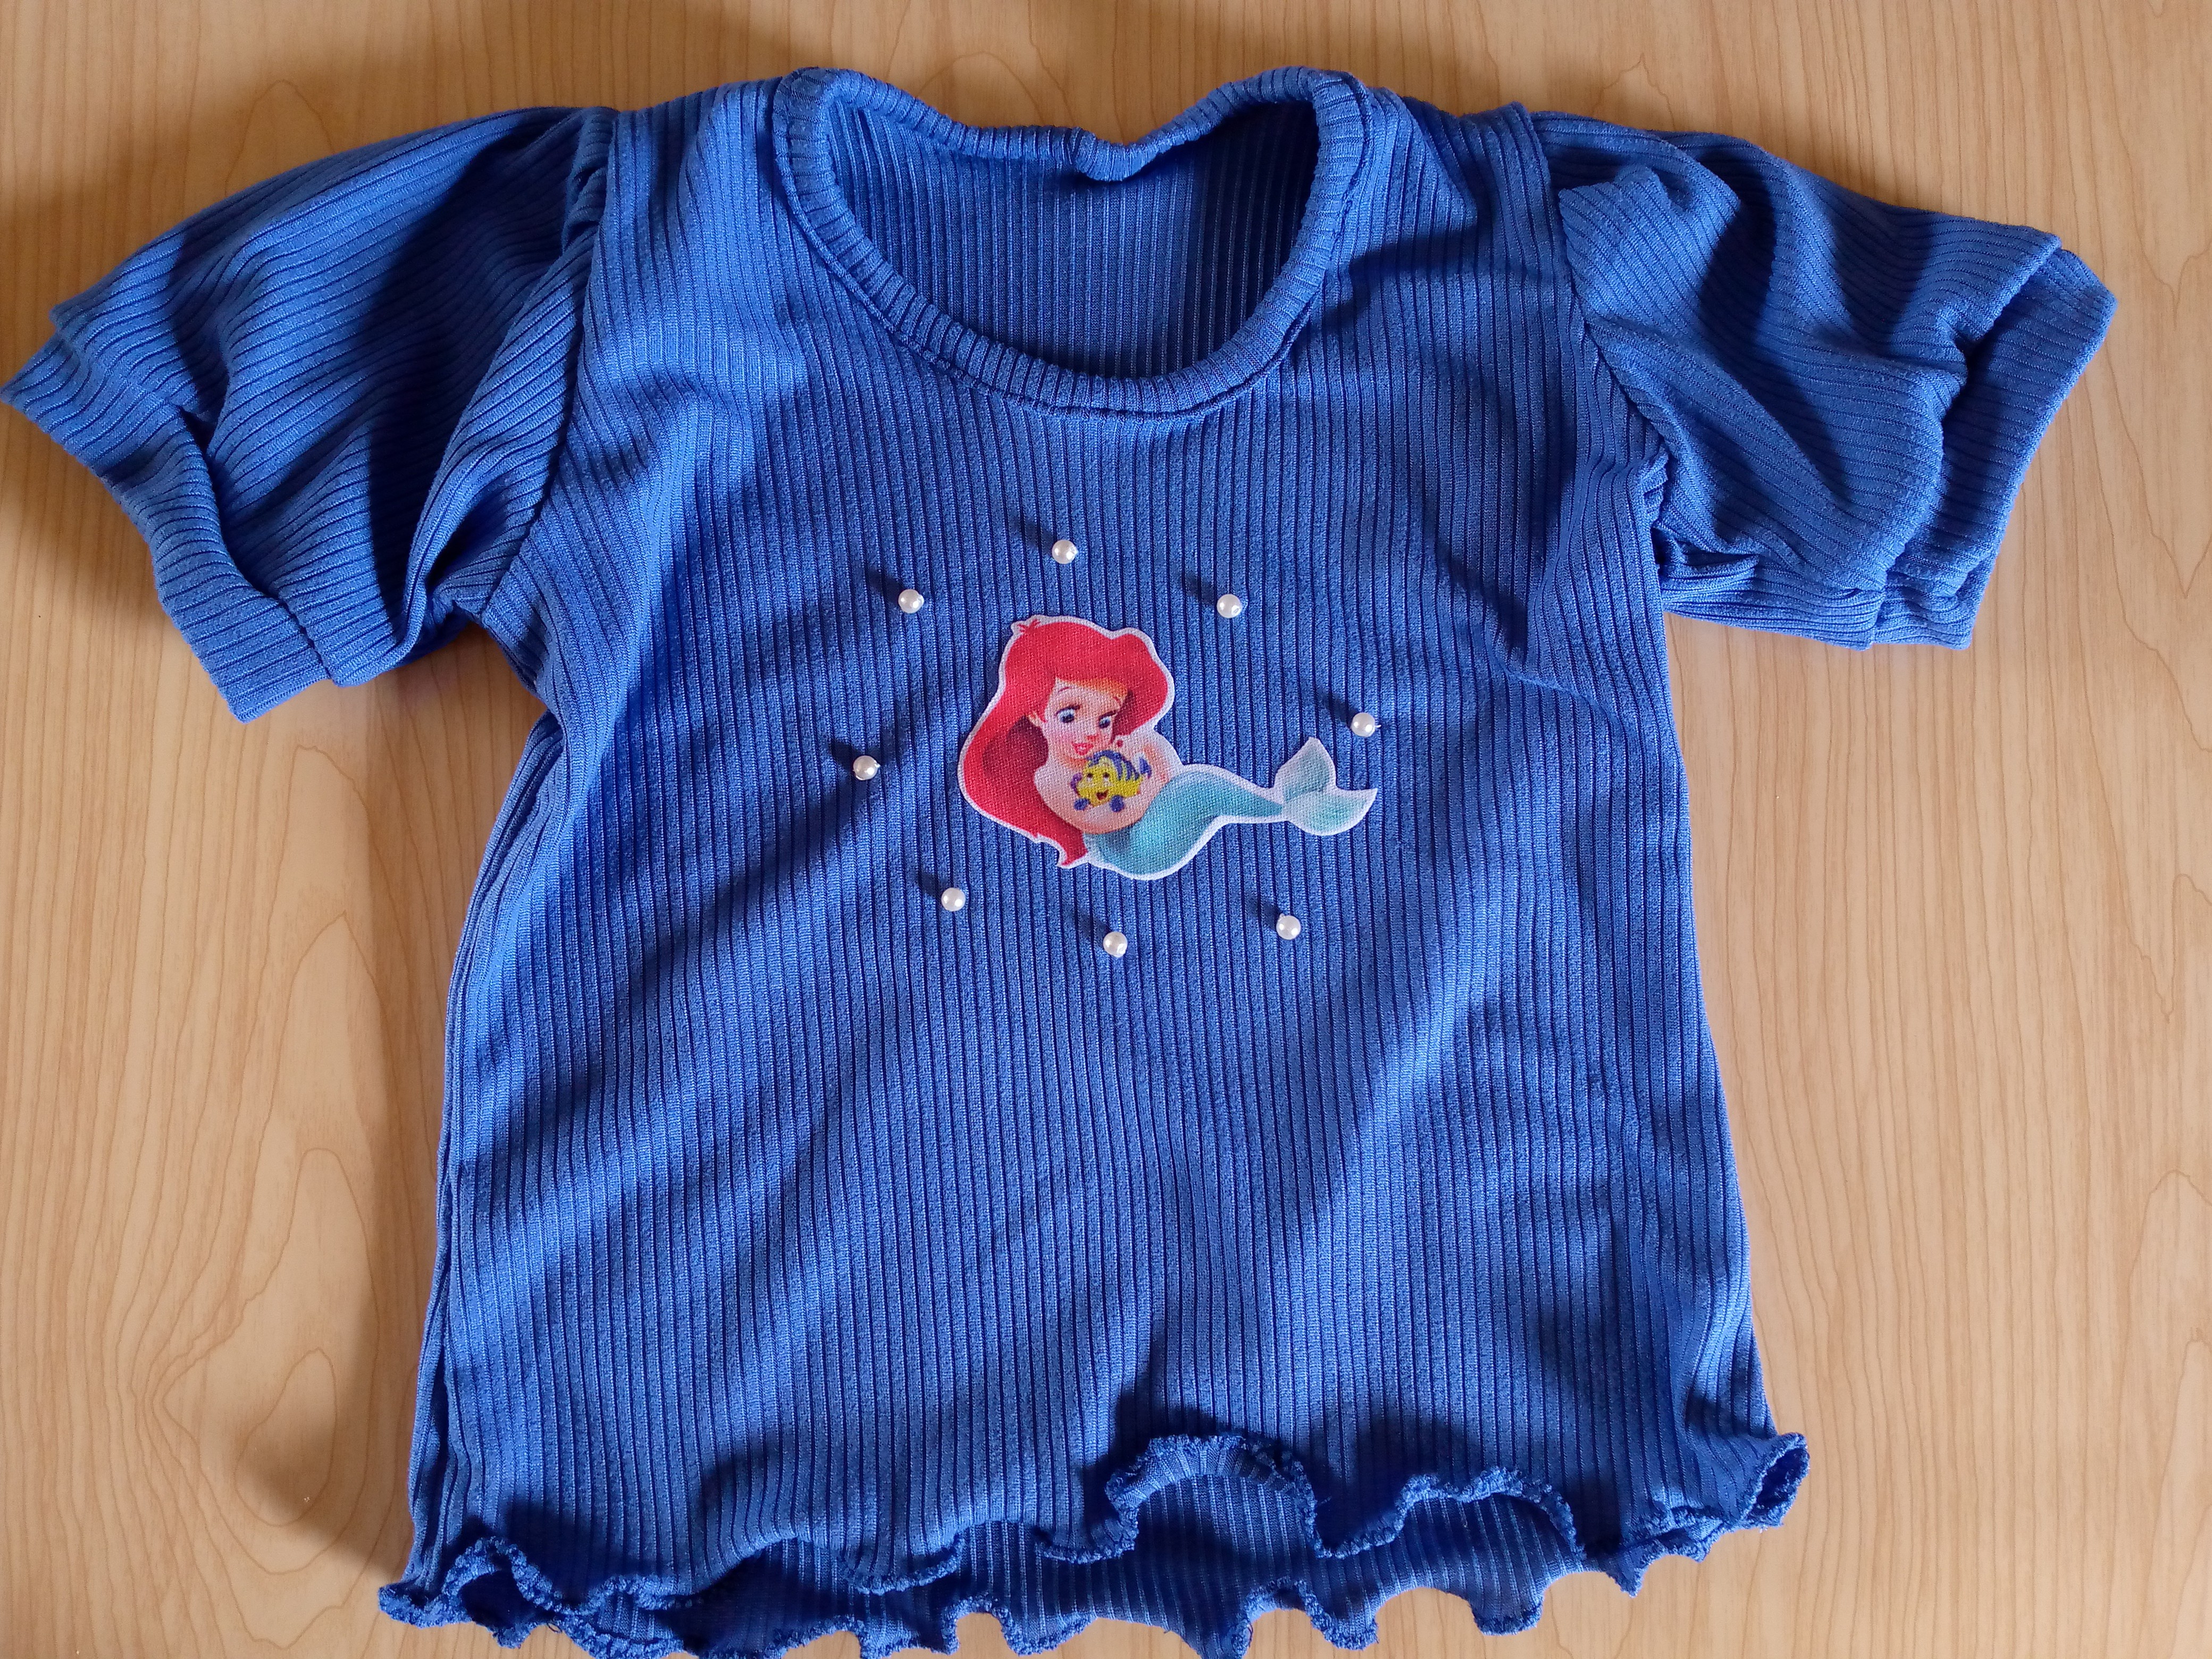
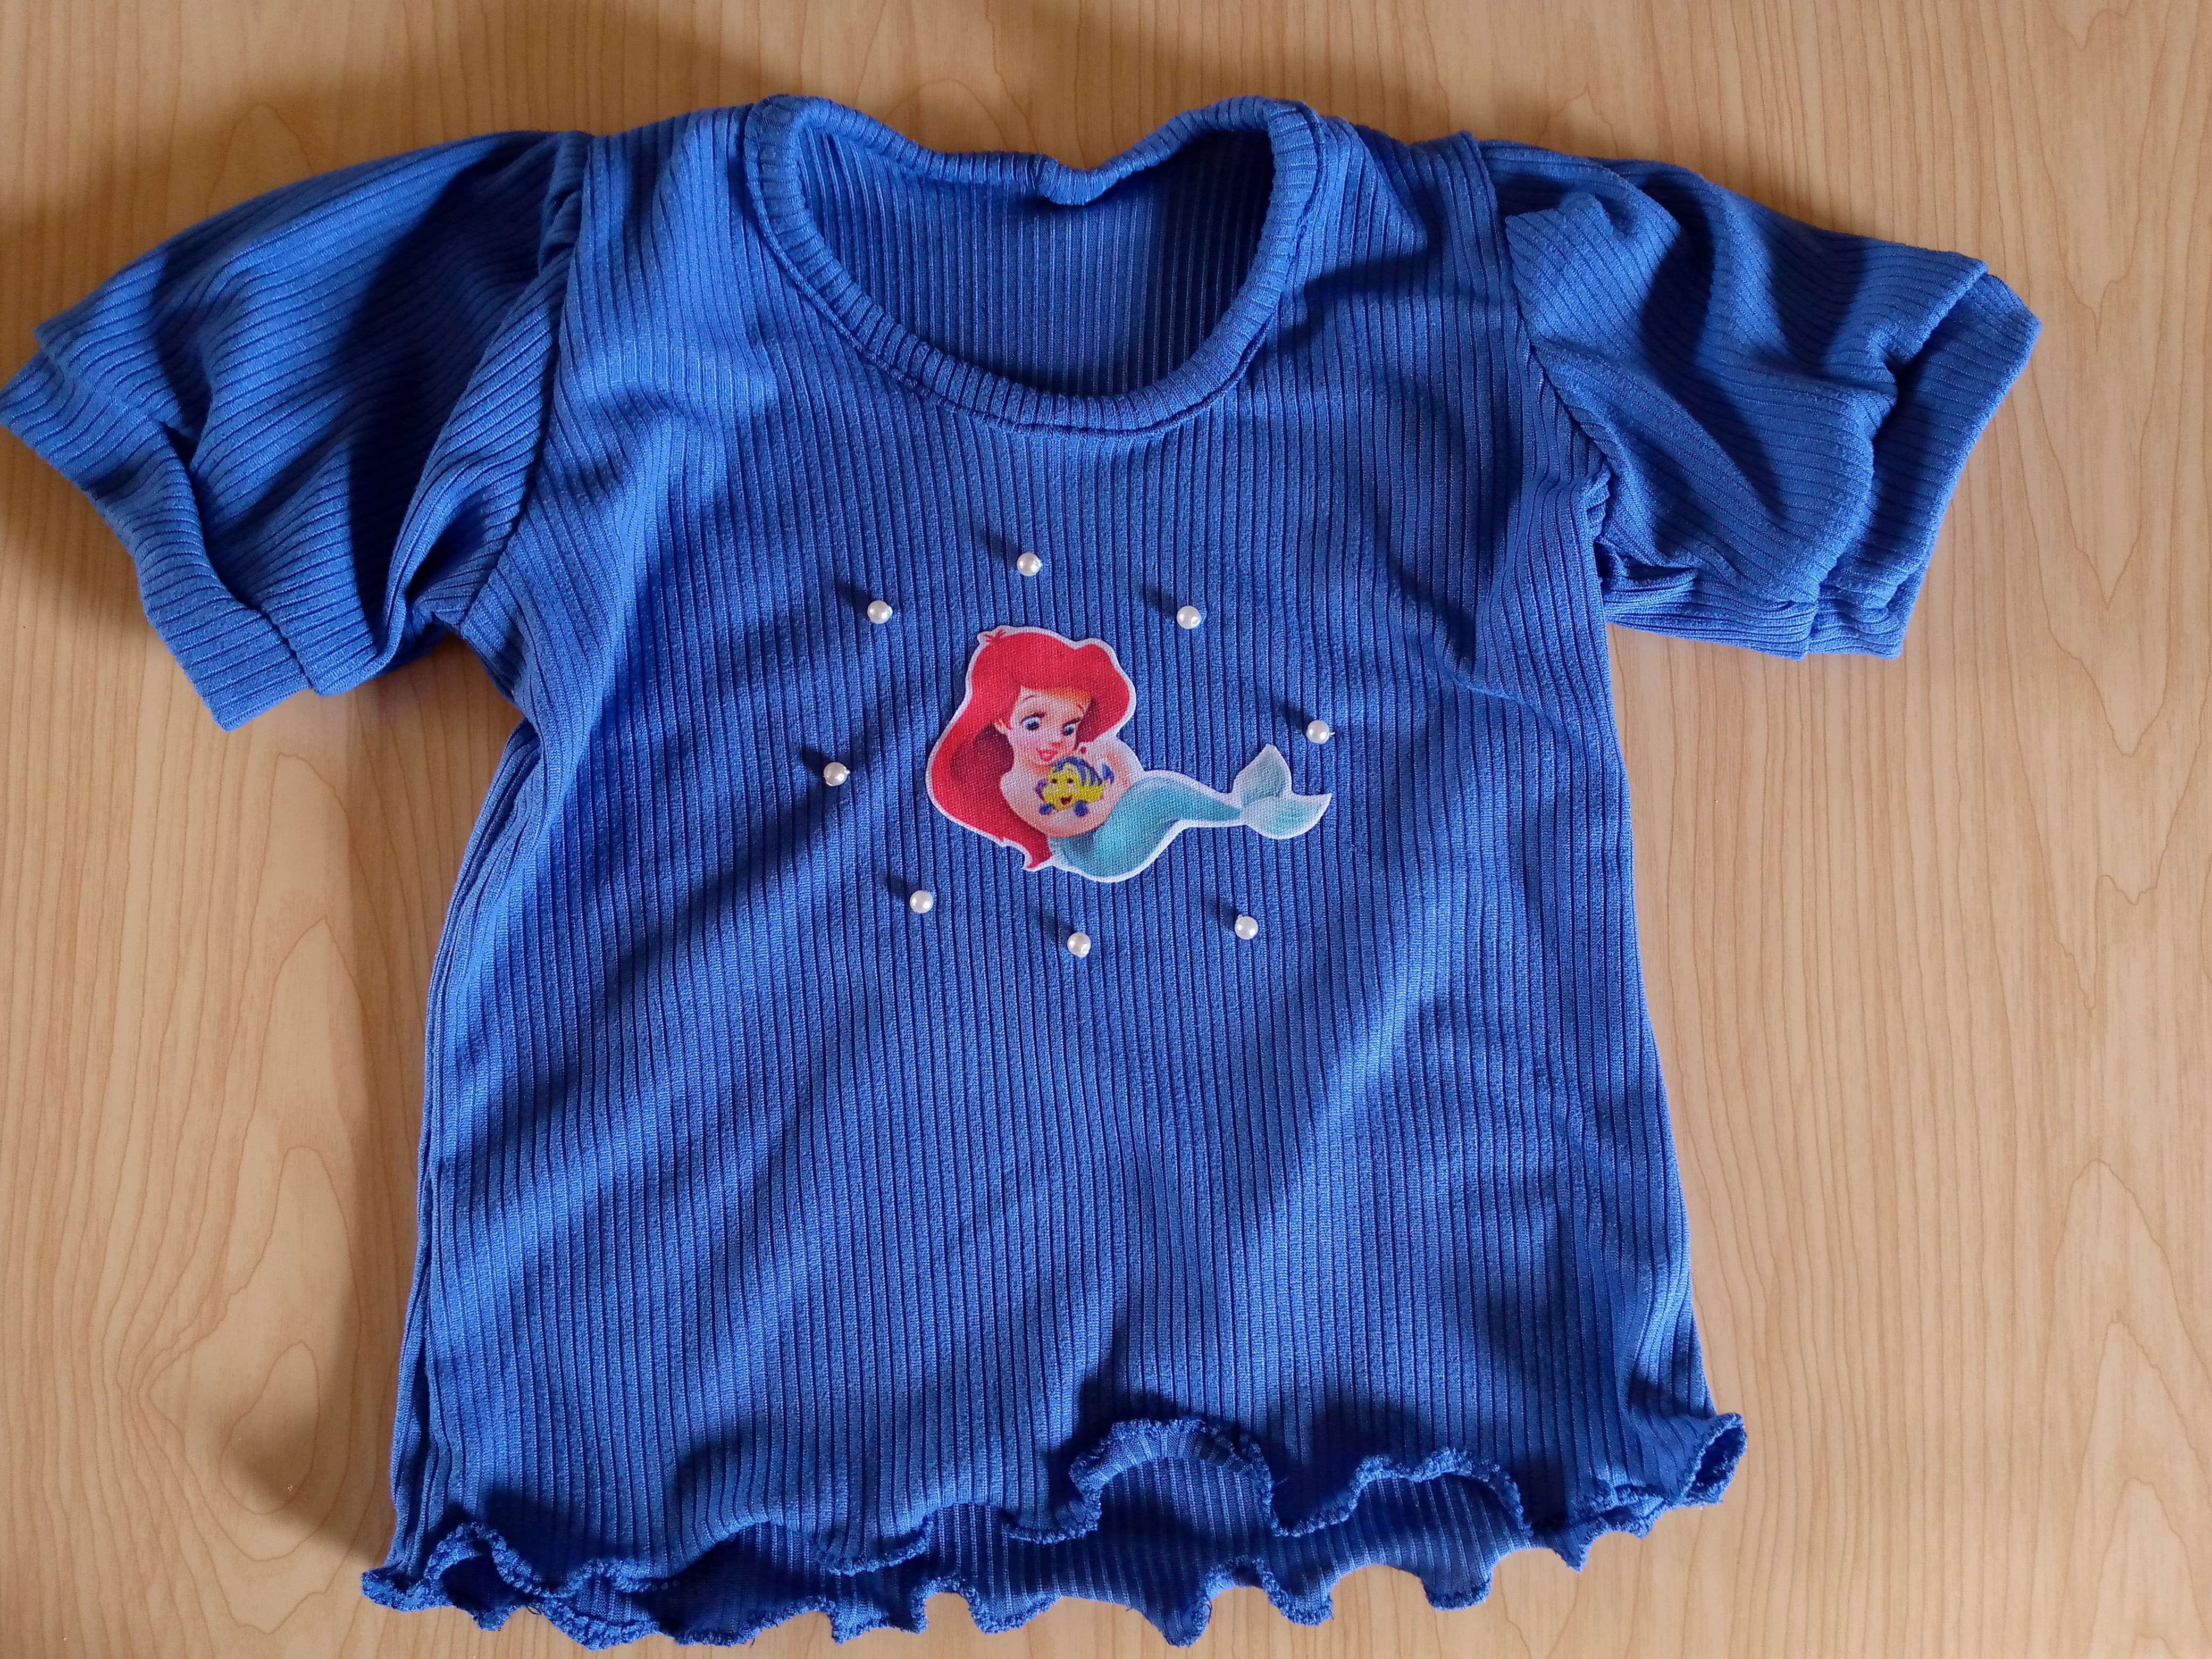
After the blouse was ready, I placed eight decorative pearls to make this design and blouse prettier. It looks very cool and pretty. What did you think? I hope you liked how to place the appliqués on your blouses and how to make this beautiful model. I say goodbye to you wishing you a beautiful afternoon, until another next blog 🥰.
.jpg)
Creating things with love 🌷❤️
🦋✨ All the images in this publication are my author ,📱taken with my TecnoSpark8C cell phone |📸Photos edited in PicsArt and Canva. Text translated in Google Translate.
Que linda blusa amiga, las ondas en el el ruedo me encantan le dan un estilo fresco y playero, gracias por compartir.
Saludos!
Holi hermosa que tengas bendecida noche ,sabes que a mí me encanta hacer este ruedo a las blusas de niña 😍y a ellas les encanta así mismo es da un toque fresco ,saludos ☺️
Congratulations @anne002! You have completed the following achievement on the Hive blockchain And have been rewarded with New badge(s)
Your next payout target is 4000 HP.
The unit is Hive Power equivalent because post and comment rewards can be split into HP and HBD
You can view your badges on your board and compare yourself to others in the Ranking
If you no longer want to receive notifications, reply to this comment with the word
STOPCheck out our last posts: