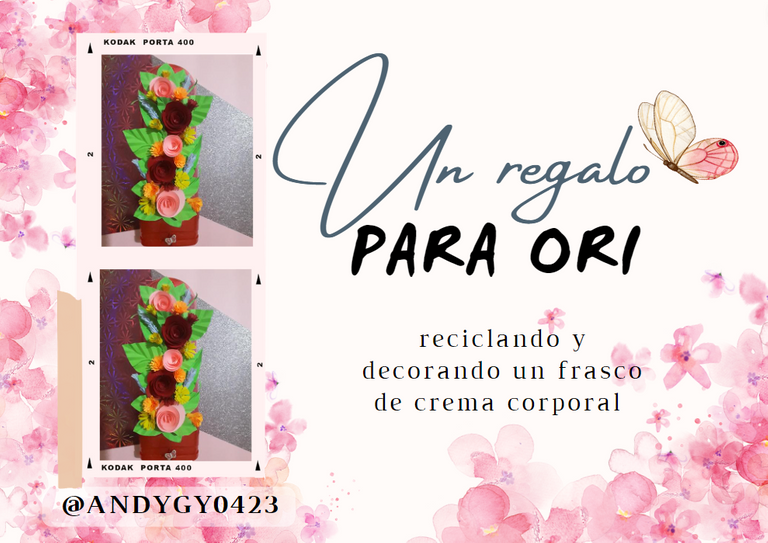

Cualquier cosa se puede reutilizar para hacer algo hermoso.
Anything can be reused to make something beautiful.
Hola amigos de #hive, hoy les quiero mostrar una manera increíble de reutilizar los frascos de crema corporal.
Hi #hive friends, today I want to show you an awesome way to reuse body cream jars.
Hace un buen tiempo que guardo varios frascos de cremas corporales porque tenía la ilusión de poder hacer alguna manualidad con ellos, y llegó el día en que esa ilusión se materializó.
I've been saving several jars of body creams for a long time because I had the illusion of being able to make some crafts with them, and the day came when that illusion materialized.
El mes pasado fue el cumpleaños de mi amiga Ori, y me puse a buscar entre mis cosas agún material que pudiera utilizar para hacerle un bonito regalo de cumpleaños, ya que no tenía suficiente cartulina para hacer una caja de regalo, que había sido mi idea inicial. Casualmente, conseguí los frascos de crema corporal y se me ocurió esta idea que les mostraré a continuación.
Last month was my friend Ori's birthday, and I started looking through my things for some material I could use to make her a nice birthday present, since I didn't have enough cardboard to make a gift box, which had been my initial idea. Coincidentally, I got the jars of body cream and came up with this idea that I will show you below.

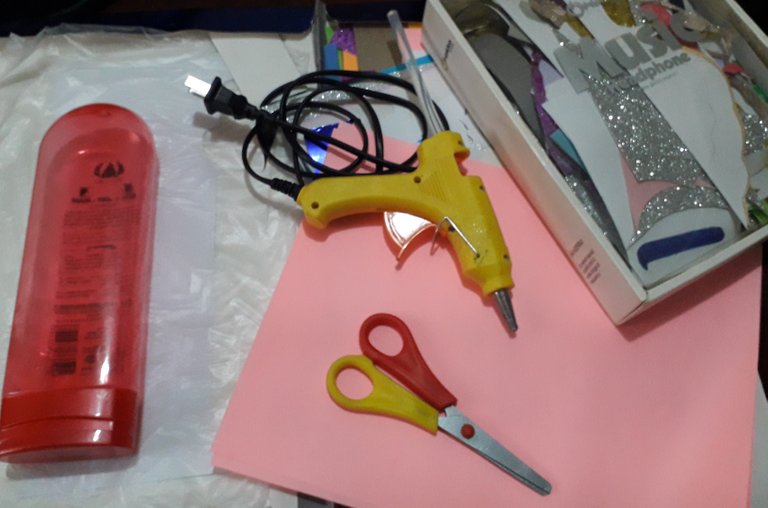
Materiales / Materials
| Materiales | herramientas |
|---|---|
| frasco de crema corporal | tijeras |
| hojas de colores | cutter |
| cartulina de colores | encendedor |
| barras de cilicón | pistola de cilicón caliente |
| hilo chino | cuchillo |
| ensamble de mariposa | estufa |
| Materials | Tools |
|---|---|
| bottle of body cream | scissors |
| colored paper | cutter |
| colored cardboard | lighter |
| hot glue sticks | hot glue gun |
| chinese thread | knife |
| butterfly assembly | stove |
Pasos / Steps
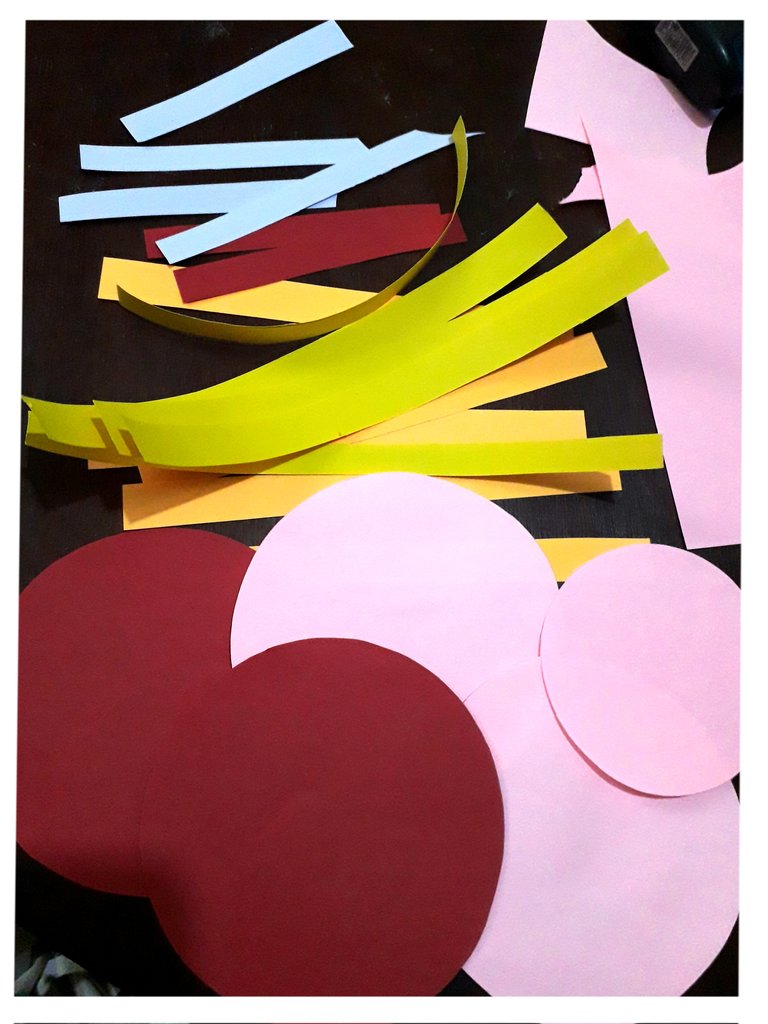
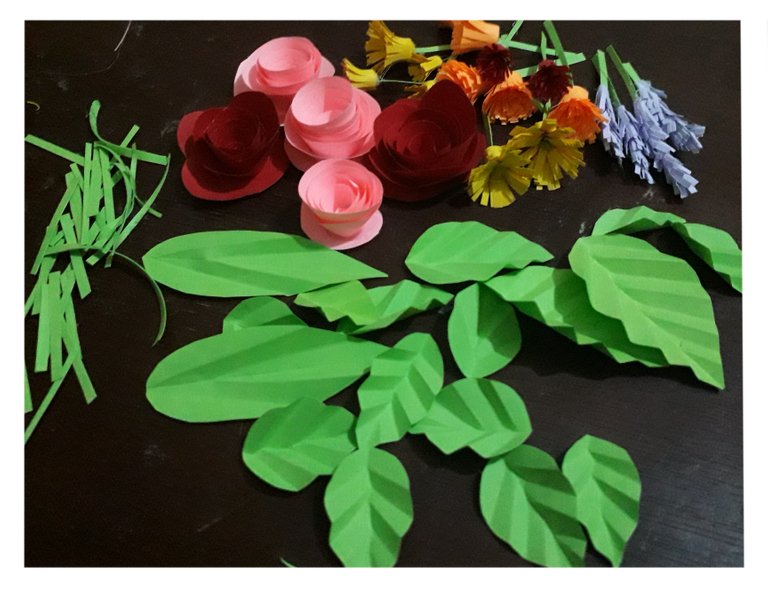
1.- Con las tijeras, recortar círculos y tiras de papel y cartulina de colores. Para hacer las folres con los círculos, se siguen los pasos que muestro aquí, en una publicación anterior.
1.- With the scissors, cut out circles and strips of colored paper and cardboard. To make the folres with the circles, follow the steps I show here, in a previous publication.
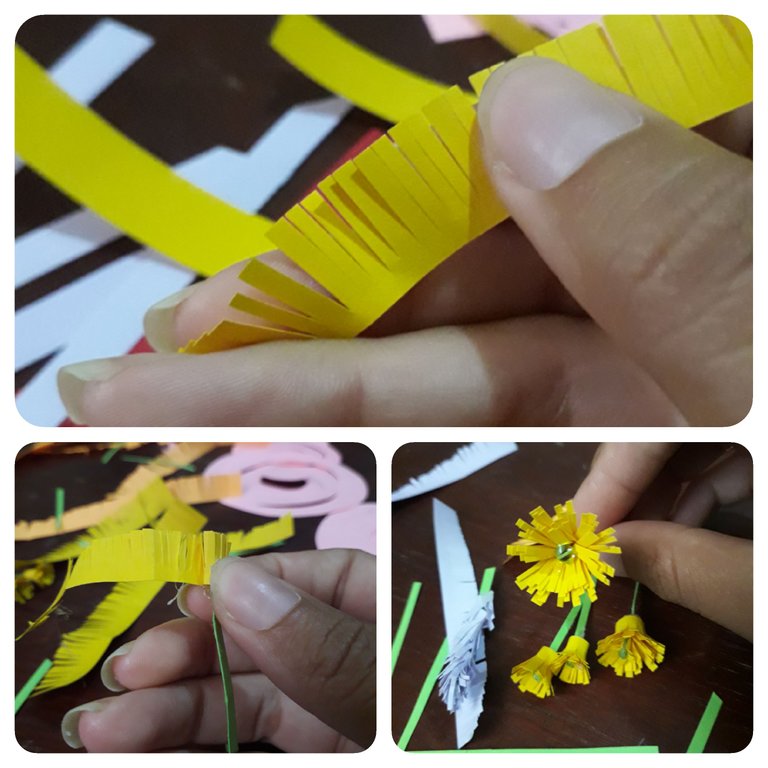
2.- Para hacer las flores con las tiras de papel, primero se cortan surcos en la tira, como se muestra en la imagen, luego se enrolla al rededor de un palito de cartulina verde, y se pega muy bien con cilicón caliente.
2.- To make the flowers with the paper strips, first cut grooves in the strip, as shown in the image, then wrap it around a green cardboard stick, and glue it very well with hot glue.
Las hojas también se hacen con el procedimiento que muestro aquí, en la misma publicación de las primeras flores. Y así quedan las flores terminadas.
The leaves are also made with the procedure shown here, in the same publication of the first flowers. And this is how the finished flowers look like.
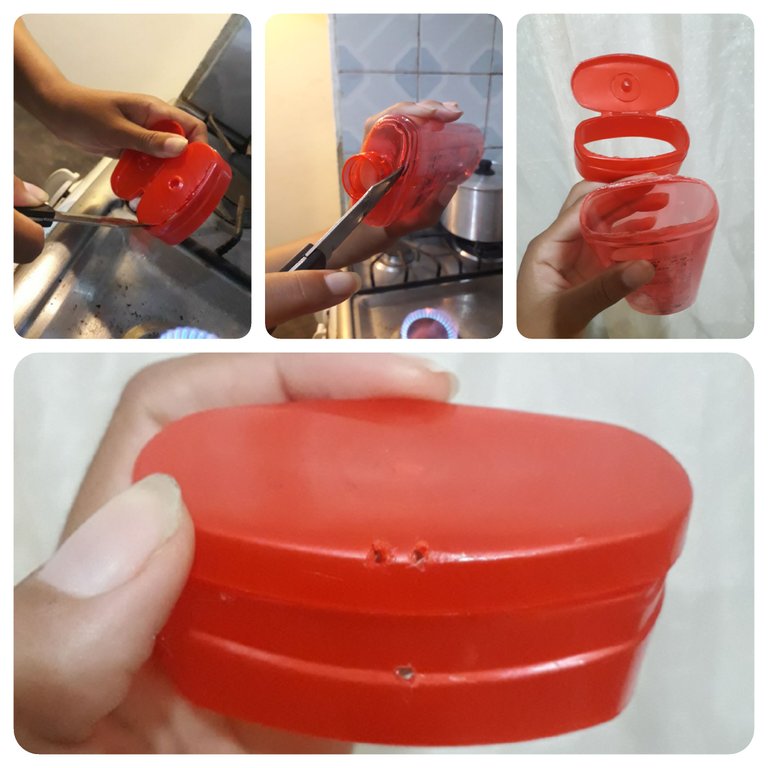
3.- En el caso del frasco, después de haberlo limpiado muy bien, se calienta el cuchillo en la estufa para cortar con mayor facilidad el plástico. Se corta la parte superior del frasco, donde está la rosca, al igual que en la tapa, tal y como se muestra en la imagen. También se hacen tres perforaciones en la tapa, como lo indica la imagen.
3.- In the case of the jar, after having cleaned it very well, heat the knife on the stove to cut the plastic more easily. Cut the upper part of the jar, where the thread is, as well as the lid, as shown in the image. Three perforations are also made in the lid, as shown in the image.
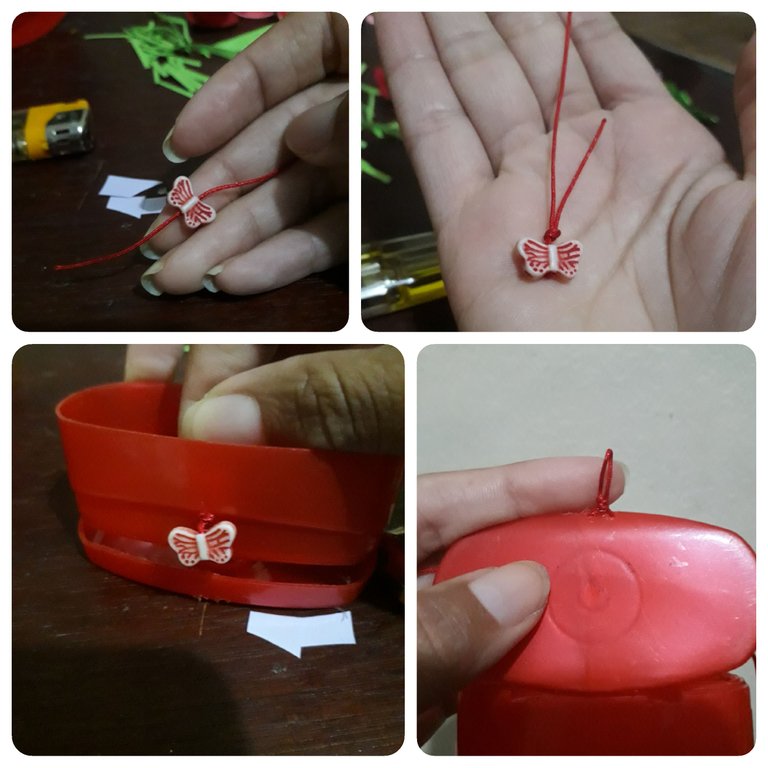
4.-Cortar un trocito de hilo chino, es este caso es de color rojo, e introducirlo a través del orificio del ensamble de mariposa, y gacer un nudo. Introducir el hilo sobrante a través del orificio inferior de la tapa, y hacer un nudo del otro lado, para que la mariposa quede fija. Por último, con untrozo de hilo, hacer una orejita y anudarla en los otros dos orificios de la tapa, para poder enganchar la mariposa.
4.- Cut a small piece of Chinese thread, in this case red, and insert it through the hole in the butterfly assembly and tie a knot. Insert the excess thread through the lower hole of the lid, and tie a knot on the other side, so that the butterfly is fixed. Finally, with a piece of thread, make a small ear and knot it in the other two holes of the lid, so that the butterfly can be attached.
5.- Con cilicón caliente, pegar la tapa y el frasco, para comenzar a decorar con las flores de papel y cartulina.
5.- With hot glue, glue the lid and the jar, to start decorating with paper flowers and cardboard.
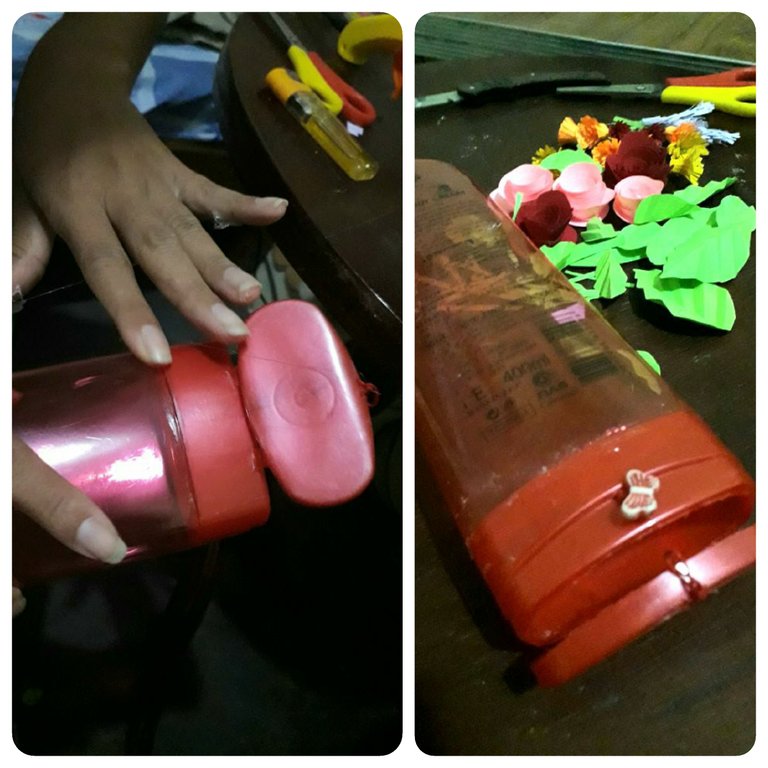
6.- Se comienza a decorar el frasco con las hojas y flores grandes, distribuidas de la manera que se prefiera. Luego, se pegan las hojas flores pequeñas para rellenar los espacios vacíos.
6.- Start decorating the jar with the leaves and large flowers, distributed in the way you prefer. Then, glue the leaves and small flowers to fill the empty spaces.
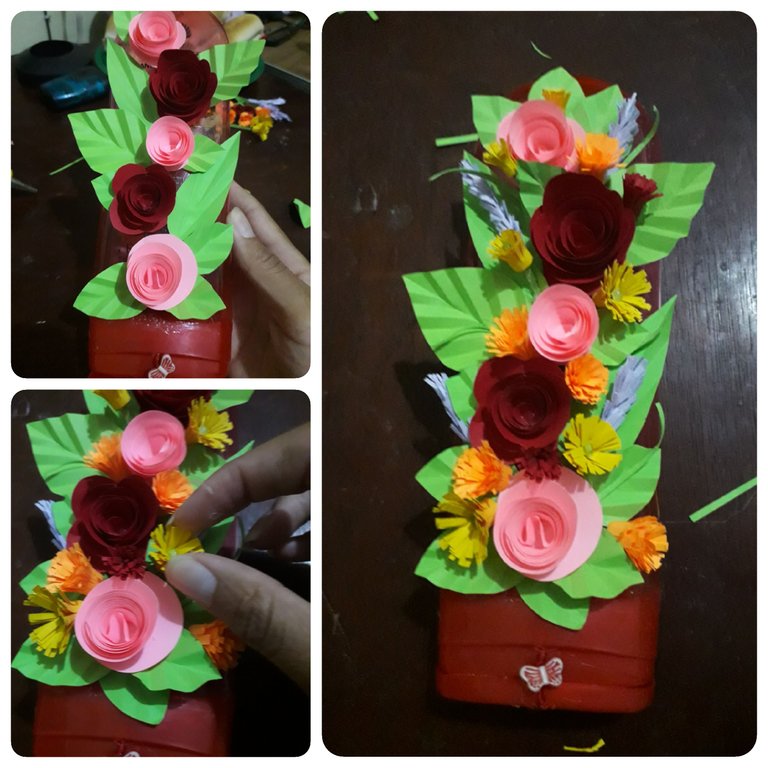
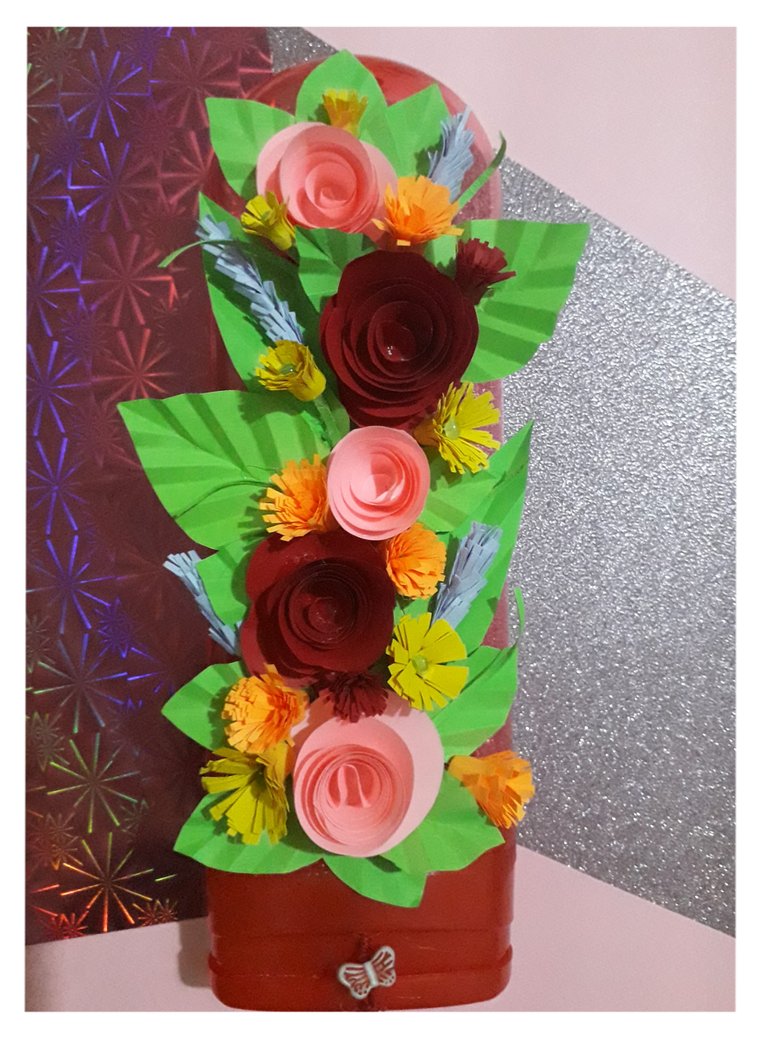
Y así queda terminado el frasco para el regalo. Yo lo rellené con algunos dulces y accesorios para la cumpleañera.
And that's how the gift jar is finished. I filled it with some candies and accessories for the birthday girl.
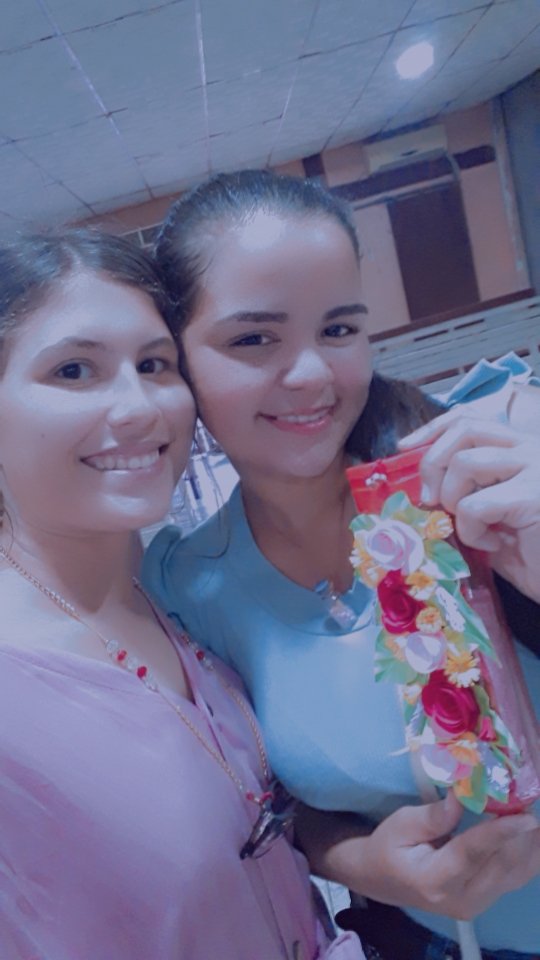
A mi amiga Ori le gustó muchísimo su regalo. Espero que a ustedes también les haya gustado su elaboración.
My friend Ori loved her gift. I hope you also liked the way it was made.
Gracias por ver mi publicación.
Thanks for vewing my post.
20/08/23

Todas las imágenes son de mi propiedad, sacadas con mi teléfono Samsung Galaxy j6.
La portada y los separadores han sido hechos por mí, con Canva.
Traducción hecha por Deepl traductor.
All images are my own, taken with my Samsung Galaxy j6 phone.
Cover and dividers have been made by me, with Canva.
Translation done by Deepl translator.

Congratulations @andygy0423! You have completed the following achievement on the Hive blockchain And have been rewarded with New badge(s)
Your next target is to reach 500 upvotes.
You can view your badges on your board and compare yourself to others in the Ranking
If you no longer want to receive notifications, reply to this comment with the word
STOPTo support your work, I also upvoted your post!
Check out our last posts:
Hola Chama, me gustó mucho tu regalo para Ori.
Fue bastante ingenioso y creativo ❤️💖 te felicito, espero sigas creando más cositas como estas.
Muchas gracias amiga 😘
Te felicito por tu creatividad. Un saludo a la cumpleañera. Sabes que muchas veces no es el regalo 📦 si no más bien el detalle.
Así es, muchas veces el esfuerzo del detalle da más peso al obsequio. Me alegra que le haya gustado.
Wow
Turned the trash to gold.
Nice
!DIY
!discovery 30
Oh thanks for the support!
I'm so glad you liked it.
This post was shared and voted inside the discord by the curators team of discovery-it
Join our Community and follow our Curation Trail
Discovery-it is also a Witness, vote for us here
Delegate to us for passive income. Check our 80% fee-back Program
Really Thanks for the support!
wow, who knew lotion cans could be put to good you like this.
Nice work.
Thanks for the support @diyhub!
You can query your personal balance by
!DIYSTATSThanks for the support!
Te quedó muy hermosa la decoración, wao! sigamos reciclando y haciendo cosas bellas.
Muchas gracias, así es, y podemos darle una segunda vida útil a lo que para otros parece inútil.