Cordial saludo a este grupo dedicado a la creatividad. Que pone en sus manos el poder de su imaginación. Quisiera compartir con ustedes un trabajito hecho a crochet.
Cordial greetings to this group dedicated to creativity. That puts in your hands the power of your imagination. I would like to share with you a little crochet work.
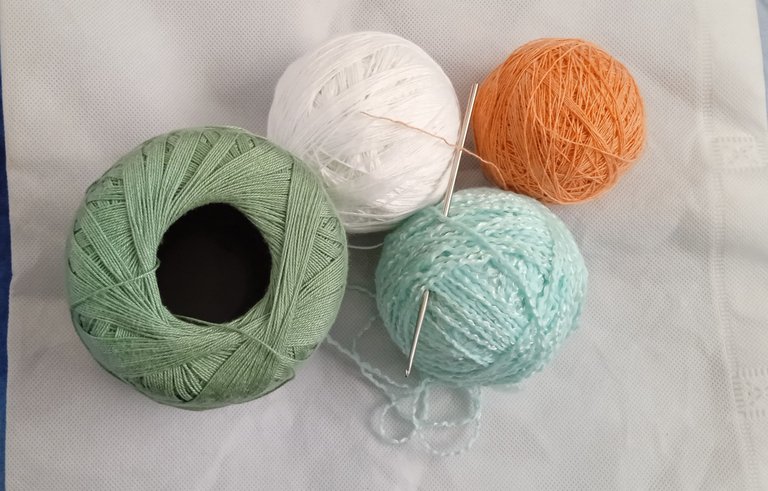
Cómo hobbie me dedico a tejer, y pues puedo vender algunas cositas. Estoy estudiando y no tengo mucho tiempo para hacer más proyectos. Lo considero una forma de despejar mi mente. Ayuda a estar concentrada y tener mi atención enfocada en no perder los puntos y entrelazar el hilo correctamente, es una actividad que con el tiempo se convierte en un reto personal.
As a hobby I dedicate myself to knitting, and I can sell some things. I'm studying and I don't have much time to do more projects. I consider it a way to clear my mind. It helps to be concentrated and have my attention focused on not losing the stitches and weaving the yarn correctly, it is an activity that eventually becomes a personal challenge.
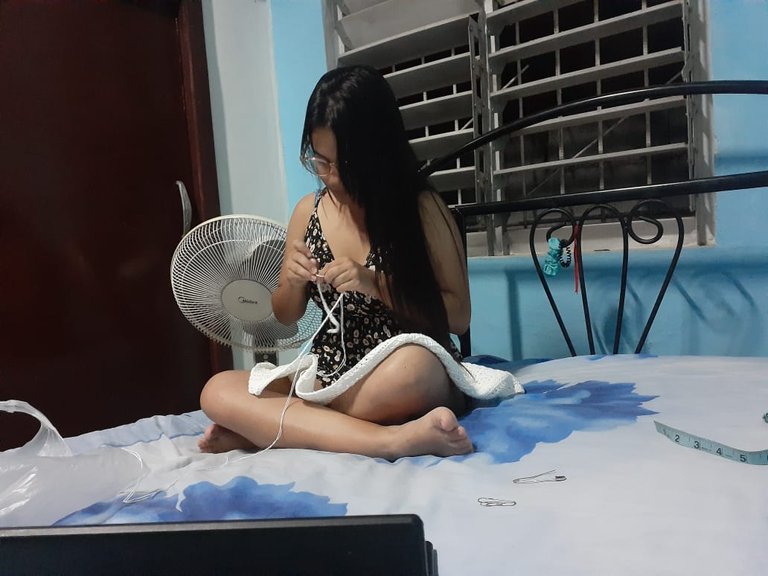
Quería compartirles un pequeño proyecto. No tuve la oportunidad de tirarle fotos al paso a paso pero puedo explicarles cómo lo hice. Primeramente siempre se empieza con el nudo deslizado.
I wanted to share with you a little project. I didn't have the chance to take pictures of the step by step but I can explain how I did it. First of all you always start with the slip knot.
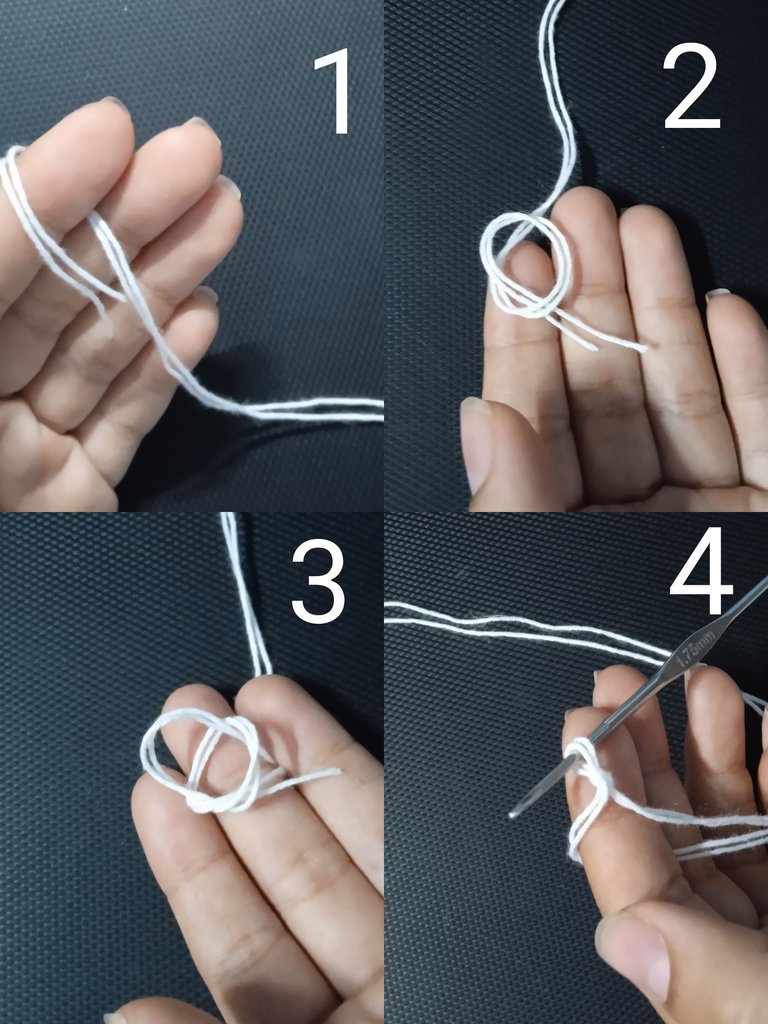
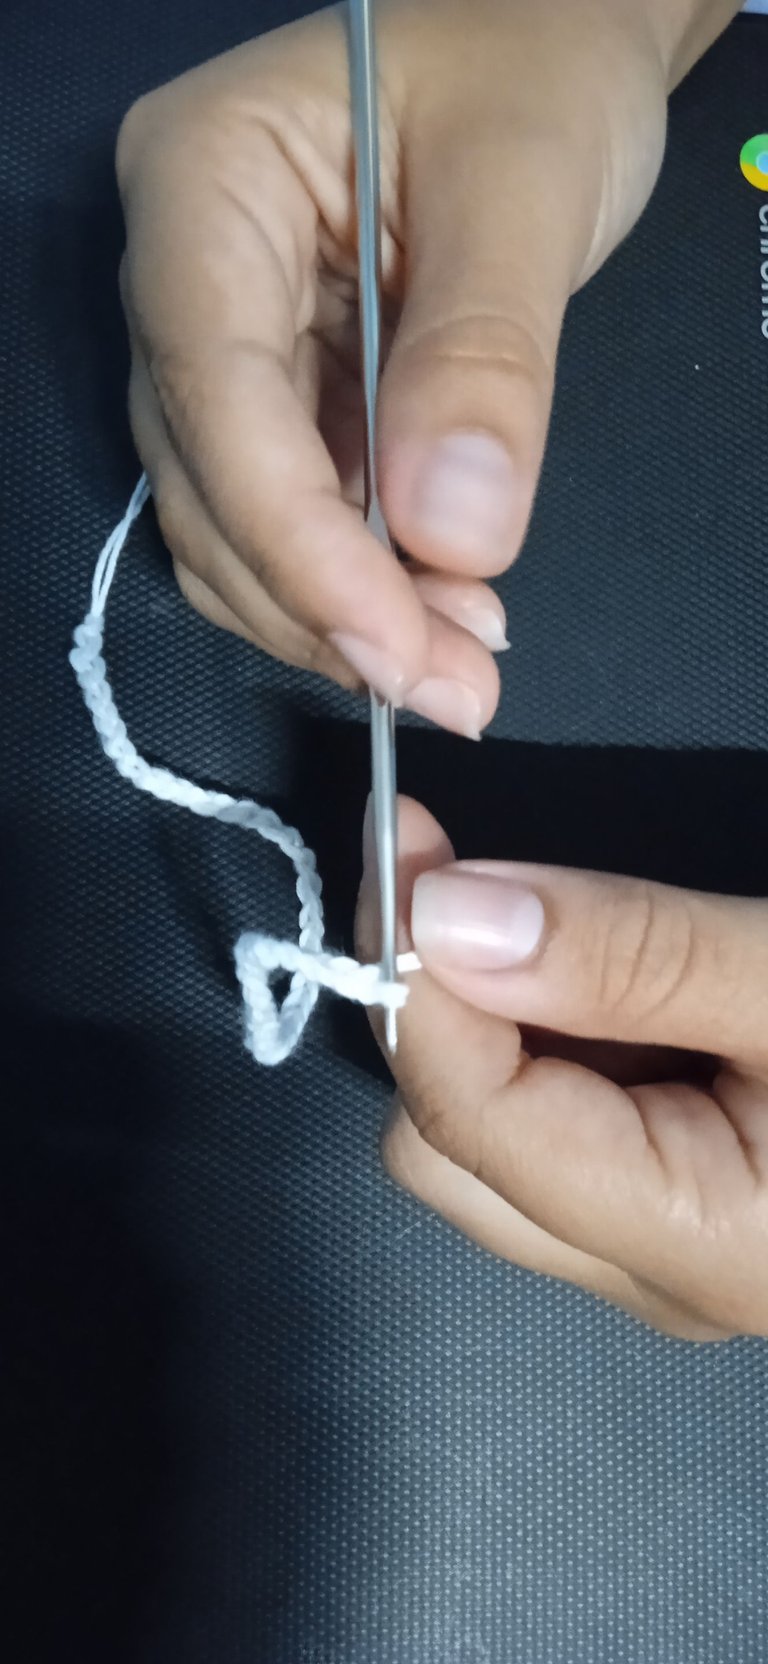
Deben tener en cuenta que el hilo encaje con la aguja que están utilizando. Yo uso una aguja de 1.75 mm, y para que el top quede tupido uno dos hilos del mismo color o aveces lo hago ligando colores. A partir de ahí se comienza a hacer una cadeneta de base con puntos deslizados. El punto deslizado se usa para tejer una estructura muy densa. Este punto no se utiliza para proyectos enteros de ganchillo, sino para cerrar una vuelta y para tejer un borde de acabado.
El punto deslizado se trabaja en 2 pasos:
Introduce el ganchillo a través del bucle (contado desde el ganchillo sería el segundo punto).
Coge hebra con el ganchillo. Pasa la hebra por dos lazadas en el ganchillo al mismo tiempo.
You must make sure that the yarn fits the needle you are using. I use a 1.75 mm needle, and to make the top dense I knit two yarns of the same color or sometimes I do it by linking colors. From there you start making a base chain with slip stitch. The slip stitch is used to knit a very dense structure. This stitch is not used for whole crochet projects, but to close a round and to knit a finishing edge.
The slip stitch is worked in 2 steps:
Insert the crochet hook through the loop (counted from the crochet hook would be the second stitch).
Pick up yarn with the crochet hook. Pass the yarn through two loops on the crochet hook at the same time.
Cómo este es un top para una niña de 3 años tuve en cuenta las siguientes medidas:
Cintura: 50 cm
Largo: 22 cm
Amplitud debajo de las axilas: 13 cm
Cuello: 12 cm
Tirantes: 28 cm
Luego de realizar las cadenetas de base que empezaría desde la parte de la cintura para arriba, haciendo disminuciones. Levanto con puntos altos. Para realizar los puntos altos: Tejer una cadena de base y por ser el primer punto se trabajará sobre el 4º punto de comienzo para contrarrestar la altura del punto. Hacer una lazada en el ganchillo.
Hacer otra lazada en el ganchillo y pasarla a través del punto de la cadena. Quedan tres puntos en el ganchillo. Hacer otra lazada en el ganchillo. Pasar la lazada a través de dos puntos del ganchillo.Quedan dos puntos en el ganchillo.Hacer la última lazada en el ganchillo. Pasar la lazada a través de los dos puntos que quedan en la aguja.
As this is a top for a 3 year old girl I took into account the following measurements:
Waist: 50 cm
Length: 22 cm
Width under the armpits: 13 cm
Collar: 12 cm
Straps: 28 cm
After making the base chain stitches that would start from the waist up, making decreases. I lift with high stitches. To knit the double crochet: Knit a base chain and because it is the first stitch, work over the 4th starting stitch to counterbalance the height of the stitch. Make a loop on the crochet hook.
Make another loop on the crochet hook and pass it through the chain stitch. Three stitches remain on the crochet hook. Make another loop on the crochet hook. Pass the loop through two stitches on the crochet hook.2 stitches remain on the crochet.Make the last loop on the crochet hook. Pass the loop through the two stitches remaining on the needle.
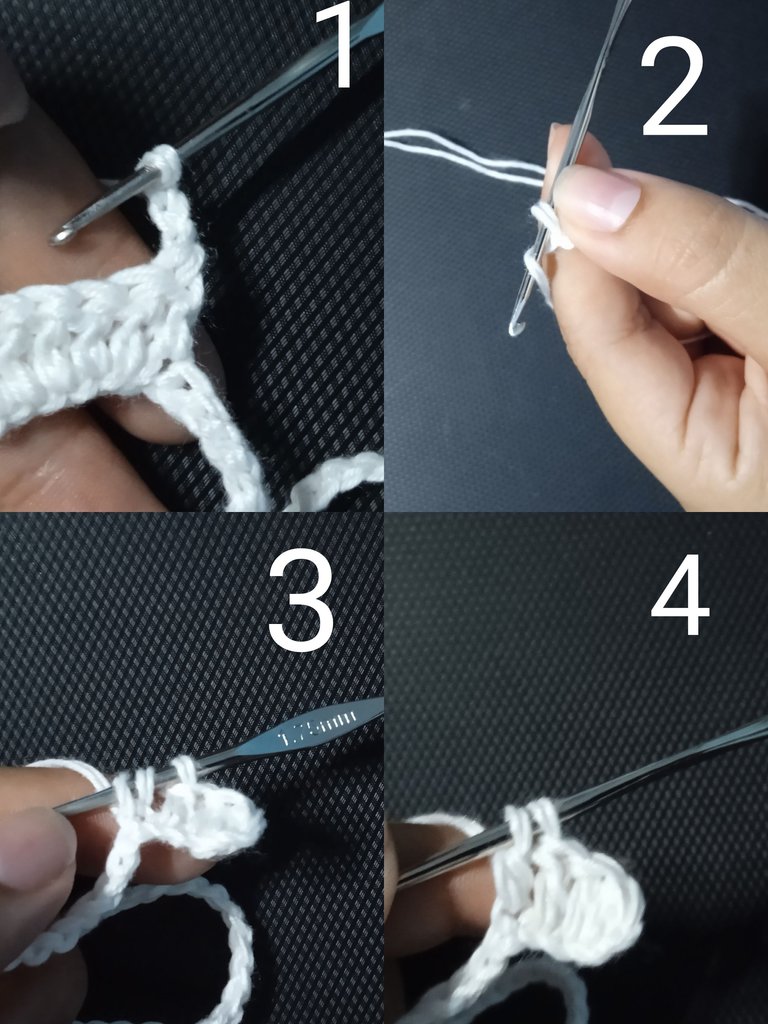
Al terminar hago seguido las tiras, intento hacerlas un poco gruesas. Hago el borde de todo el top con puntos deslizados, que es el mismo punto que se realiza para hacer la cadena de base. Al finalizar, se hacen puntos cuadrados (así lo llamo yo) para hacer la parte posterior del top. Tener en cuenta los huecos para pasar el hilo por la parte trasera. Y listo.
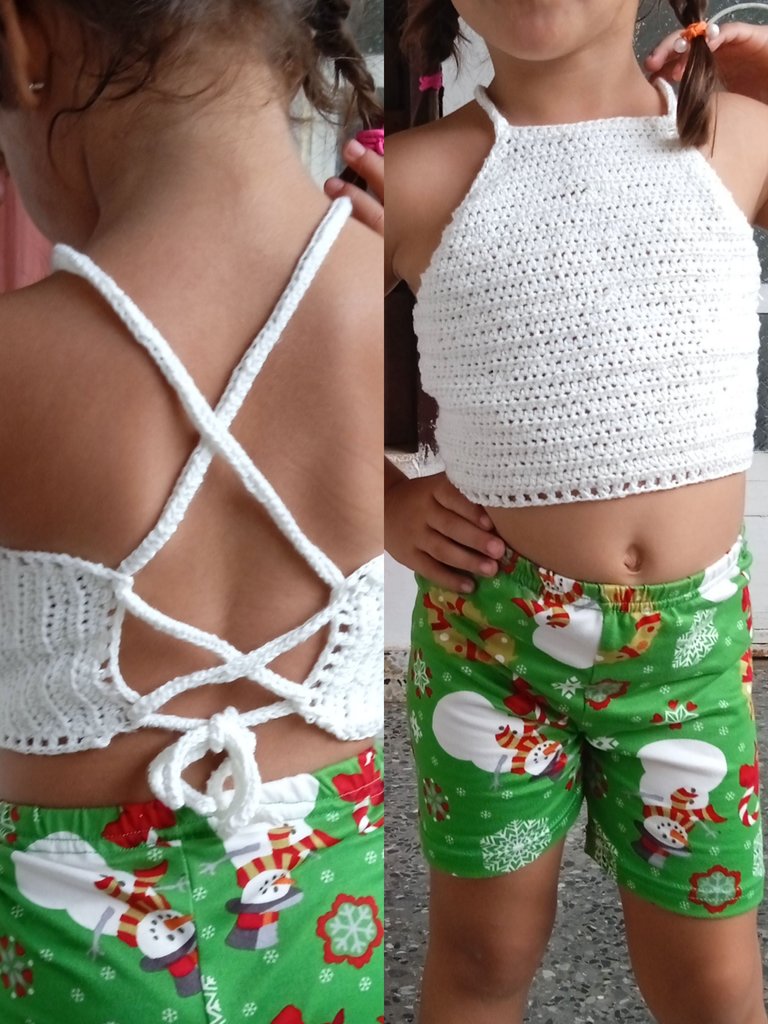
When I finish I make the strips in a row, I try to make them a little thick. I make the border of the whole top with slipped stitches, which is the same stitch that is used to make the base chain. At the end, I make square stitches (that's what I call it) to make the back of the top. Keep in mind the holes to pass the yarn through the back. And that's it.
Un proyecto súper fácil. No sé explicar del todo. Pero bueno espero que a alguien le sirva este minitutorial.
Este fue un pequeño obsequio que le hice a mi sobrinita. Tal vez no quedó muy espléndido, lo espléndido fue verla a ella contenta con su su blusita tejida por su tía.
Si te interesa aprender todo con respecto a este arte, puede buscar más información en libros digitales. Gracias a la tecnología podemos acercarnos a nuevos conocimiento y así usar de forma productiva las redes sociales.
A super easy project. I don't know how to explain it at all. But I hope someone will find this mini tutorial useful.
This was a small gift I made for my niece. Maybe it wasn't very splendid, what was splendid was to see her happy with her little blouse knitted by her aunt.
If you are interested in learning all about this art, you can look for more information in digital books. Thanks to technology. With technology we can approach new knowledge and use social networks in a productive way.
Créditos
Fotos tomadas por mi, Redmi 9A
Traducido por DeepL Translate
Credits.
Photos taken by me, Redmi 9A
Translated by DeepL Translate
Congratulations @amahive03! You have completed the following achievement on the Hive blockchain And have been rewarded with New badge(s)
Your next target is to reach 1750 upvotes.
You can view your badges on your board and compare yourself to others in the Ranking
If you no longer want to receive notifications, reply to this comment with the word
STOPCheck out our last posts:
Qué buen post, amiga. Me recuerda mucho mi infancia, cuando mi mamá tejía zapaticos, con zuela de vinil. Los vendía en el hospital de maternidad. Tenía hilos de todos los colores.
Ay que lindo. Nunca he tejido zapaticos de bebé, tengo que hacerlo. Muchas gracias ☺️
Muy bonito tejido tienes mucho talento un saludo para ti y sigue practicando creo que puedes crear grandes cosas feliz noche
Muchas gracias por su lindo comentario. ❤️🙏
Es una práctica muy bonita, mi bisabuela hace bellos trabajos tejiendo. Creo que es muy bueno saber hacer muchas cosas, felicidades 👍
Es muy interesante y me parece genial para mi eso es un talento jj un saludo amiga