Holaa, feliz noche apreciados amigos de este espacio creativo #HiveDiy🌼
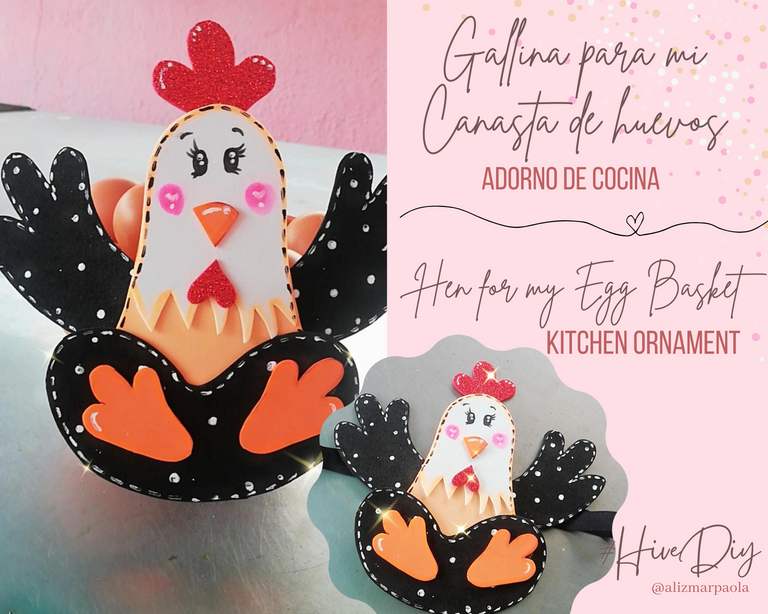
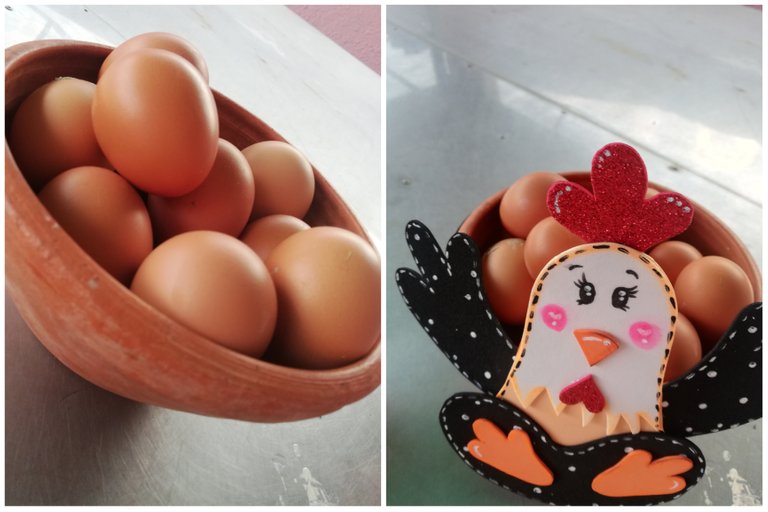
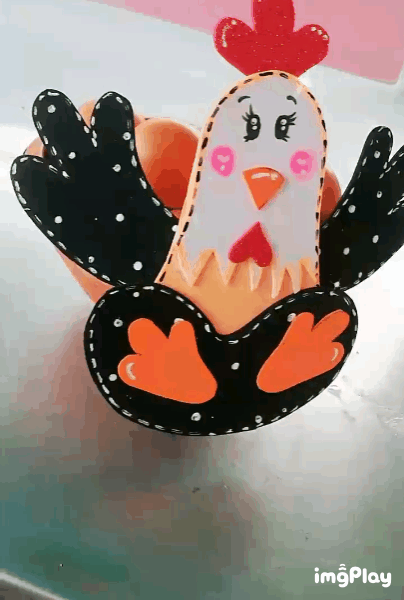
El dia de hoy les muestro a continuación un lindo adorno de Cocina, específicamente un adorno para canastas de huevos. En mi caso utilizo una taza de arcilla, así que quise darle otra vista, muy fácil de hacer y dará un aspecto más bonito en mi cocina, espero les guste.
Holaa, happy evening dear friends of this creative space #HiveDiy🌼
Today I show you below a cute Kitchen ornament, specifically an egg basket ornament. In my case I use a clay cup, so I wanted to give it another view, very easy to make and will give a nicer look in my kitchen, I hope you like it.

MATERIALES | MATERIALS
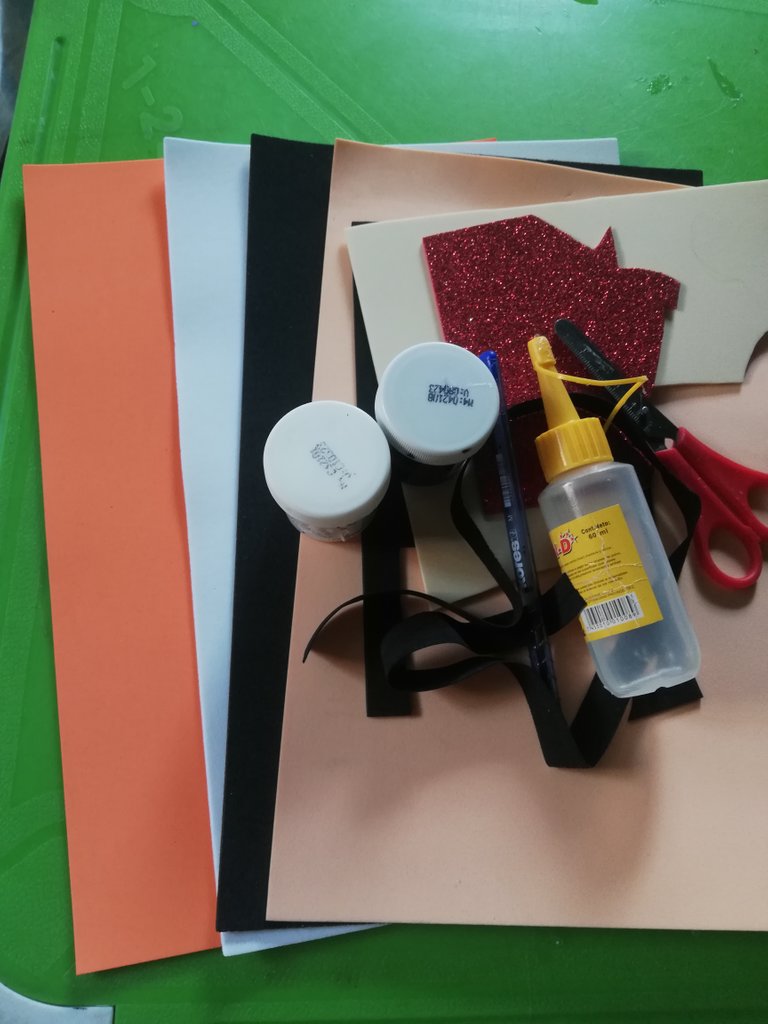
🌼Foami de diversos colores
🌼Silicón
🌼Pintura negra y blanca
🌼40 cm de cinta elástica
🌼Tijera
🌼Foami in different colors
🌼Silicone
🌼Black and white paint
🌼40 cm elastic ribbon
🌼Scissors

PASO A PASO | STEP BY STEP
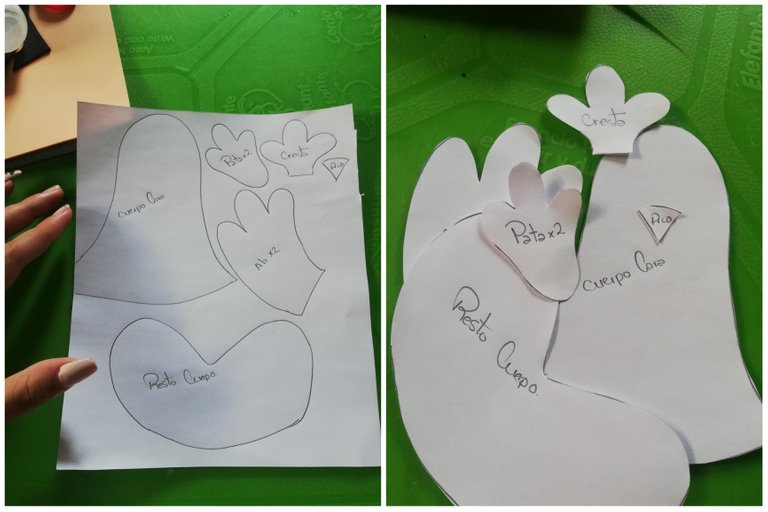
•Realice en una hoja los patrones y luego recorté.
•I made the patterns on a sheet of paper and then cut them out.

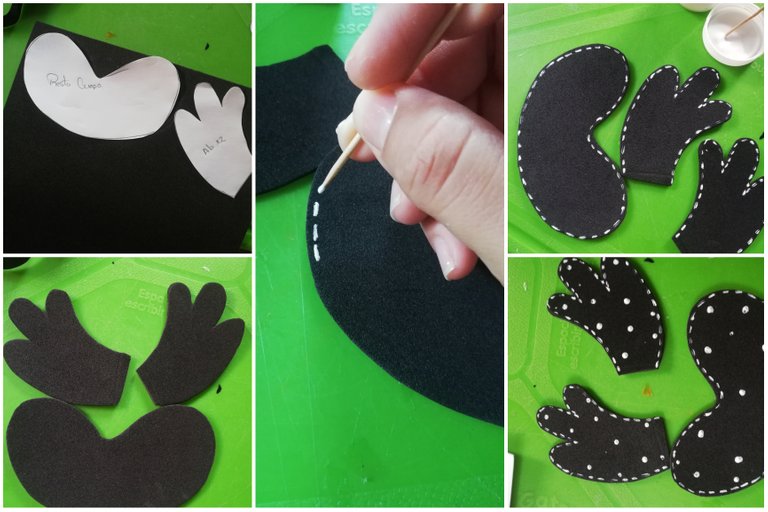
•En el foami negro comencé a marcar y recortar los patrones correspondientes a la parte baja del cuerpo y las alas.
•Con pintura blanca realice un borde a cada pieza y posterior unos puntos también.
•On the black foami I began to mark and cut out the patterns corresponding to the lower part of the body an d the wings.
•With white paint I made a border on each piece and then some dots as well.

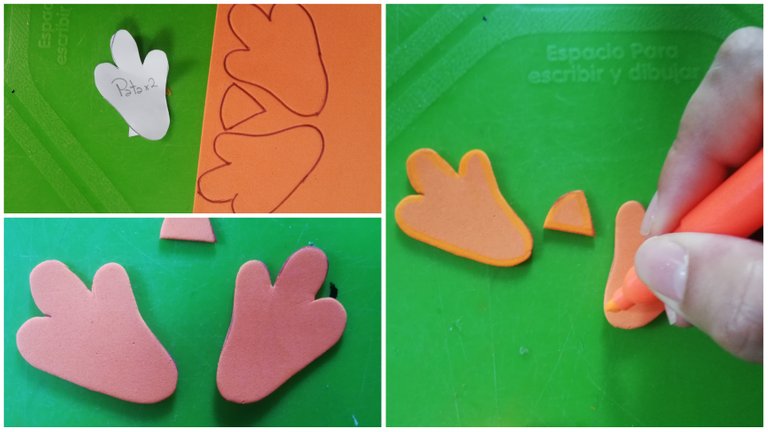
•En foami naranja realice las patas y el pico de la gallina. Luego con resaltador naranja difumine el borde.
•In orange foami make the legs and the beak of the hen. Then with orange highlighter blur the border.

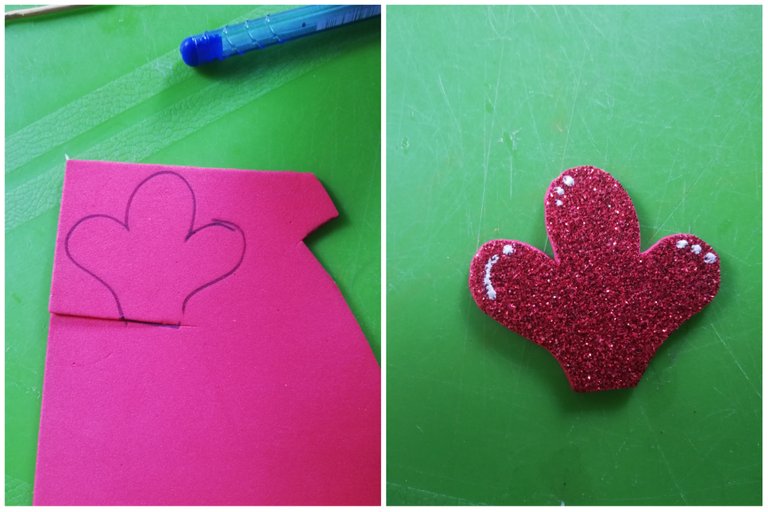
•En foami rojo le hice una cresta y con pintura blanca di algo de luz.
•In red foami I made a crest and with white paint I gave some light.

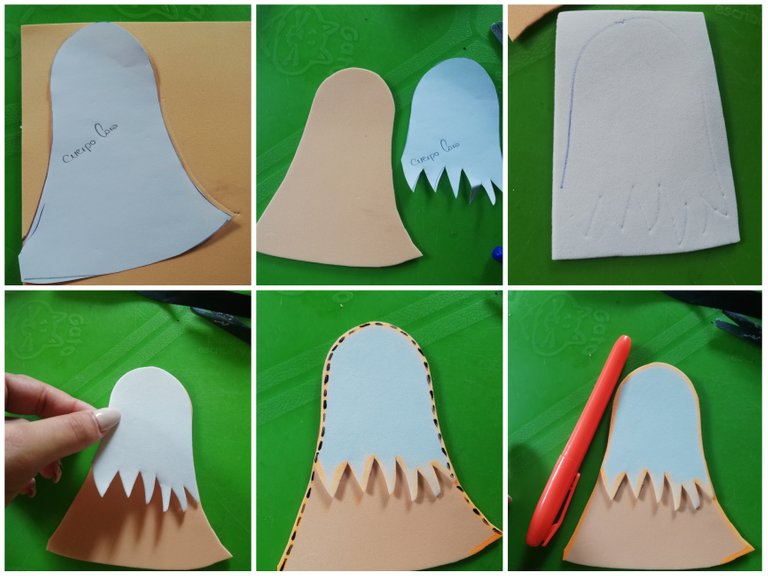
•Para la parte superior del cuerpo utilicé foami color salmón, luego se me ocurrió dividir en dos y marque otra pieza en foami blanco la cual luego pegue sobre la base salmón.
•Hice un borde con pintura negra.
•For the upper part of the body I used salmon colored foami, then I decided to divide it in two and mark another piece in white foami which I then glued over the salmon base.
•I made a border with black paint.

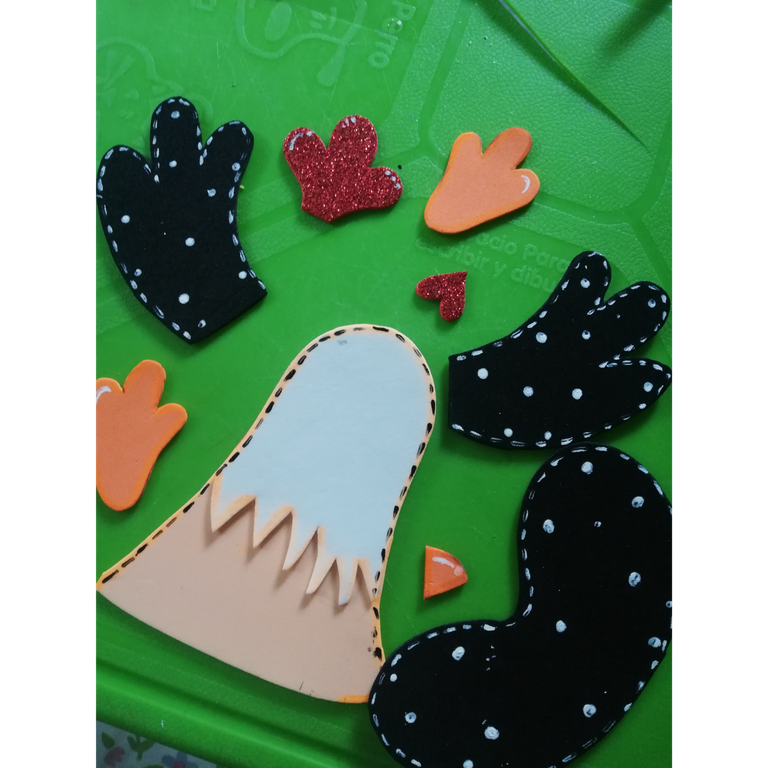
•Termine así por separado todas las partes que conforman la gallina.
•Finish all the parts that make up the hen separately.

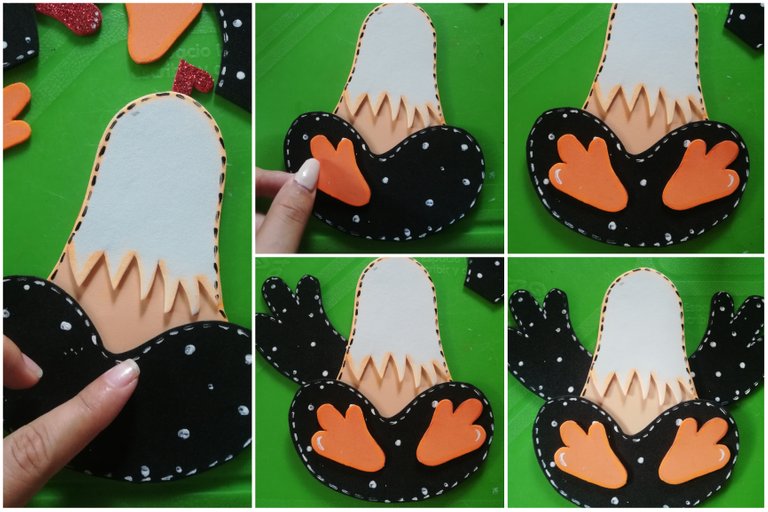
•Pará armar la gallina, pegue la parte inferior del cuerpo a la que hice anteriormente
•Sobre esta pegue las patas una a cada lado y justo sobre ellas pegue las alas.
•To assemble the hen, glue the lower part of the body to the one I made earlier.
•On this glue the legs one on each side and just above them glue the wings.

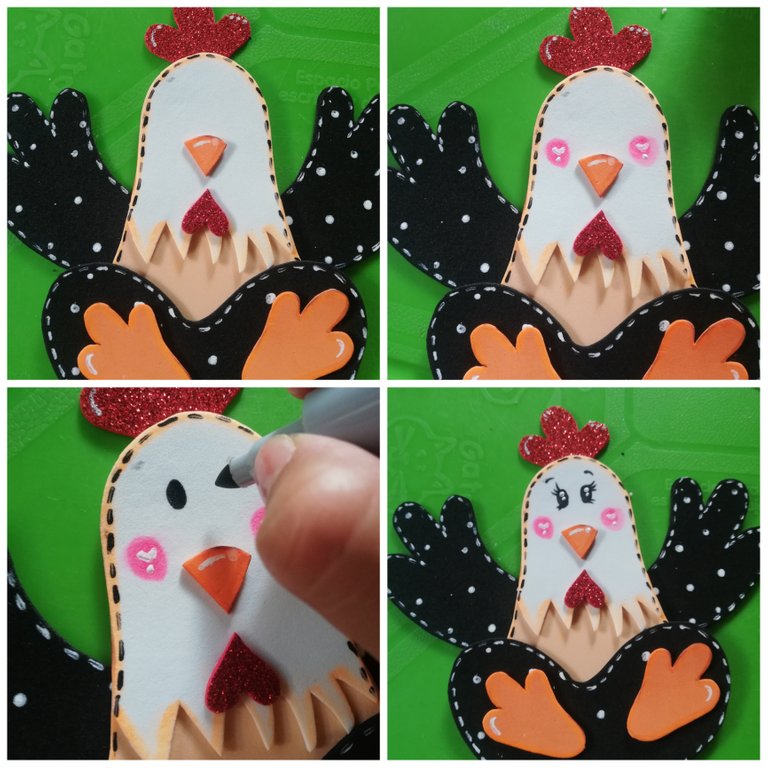
•Pegue la cresta, y el pico. Realice las mejillas y con marcador negro le hice los ojos, pestañas y cejas.
•Con pintura blanca di algo de luz.
•Glue the crest and the beak. I made the cheeks and with black marker I made the eyes, eyelashes and eyebrows.
•With white paint I gave some light.

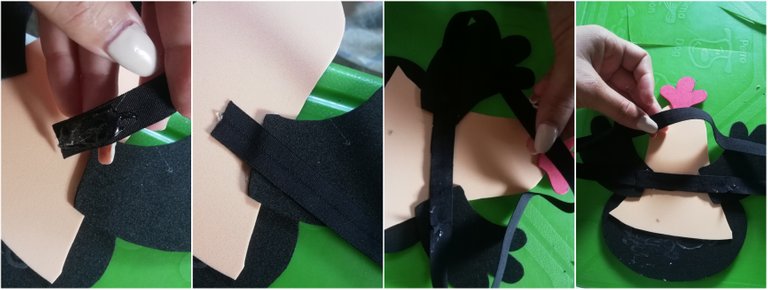
•Pará finalizar por la parte trasera pegue la cinta elástica solo en sus puntas.
•Y asi obtenemos un práctico y lindo adorno par nuestra canasta de huevos.
•Finally, glue the elastic ribbon on the back side only at the ends.
•And thus we obtain a practical and nice decoration for our egg basket.

Resultado Final | Final Result
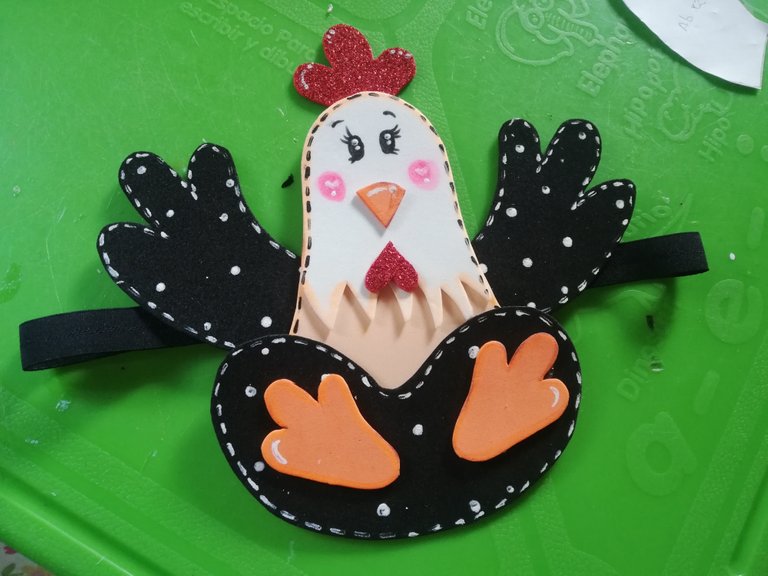

Espero les guste esta publicación💖
I hope you like this publication💖


Siempre dando lo mejor de ti💕 esta muy bello
Gracias Wen, que bueno que te haya gustado 💖
Saludos mi bella siempre me han encantado estas gallinas de cocina, te quedo hermosa la verdad, felicidades 👏 😉
Holaaa, graciass.. Que bueno saber que es de tu agrado, gracias por tu bonito comentario.
Bendiciones muñeca 😘🤗
Hola... Que hermosura. 😍
Holaa, graciass 🤗
Saludos..
Te quedo muy hermoso, suerte..
Holaaa, gracias 🤗